Simon Says Stamp Harlequin Heart

Hello Friends and welcome back! I’m back today with a project featuring the new Harlequin Heart stamp from one of Simonn’s latest releases, To Love. Let’s go ahead and get right into it!

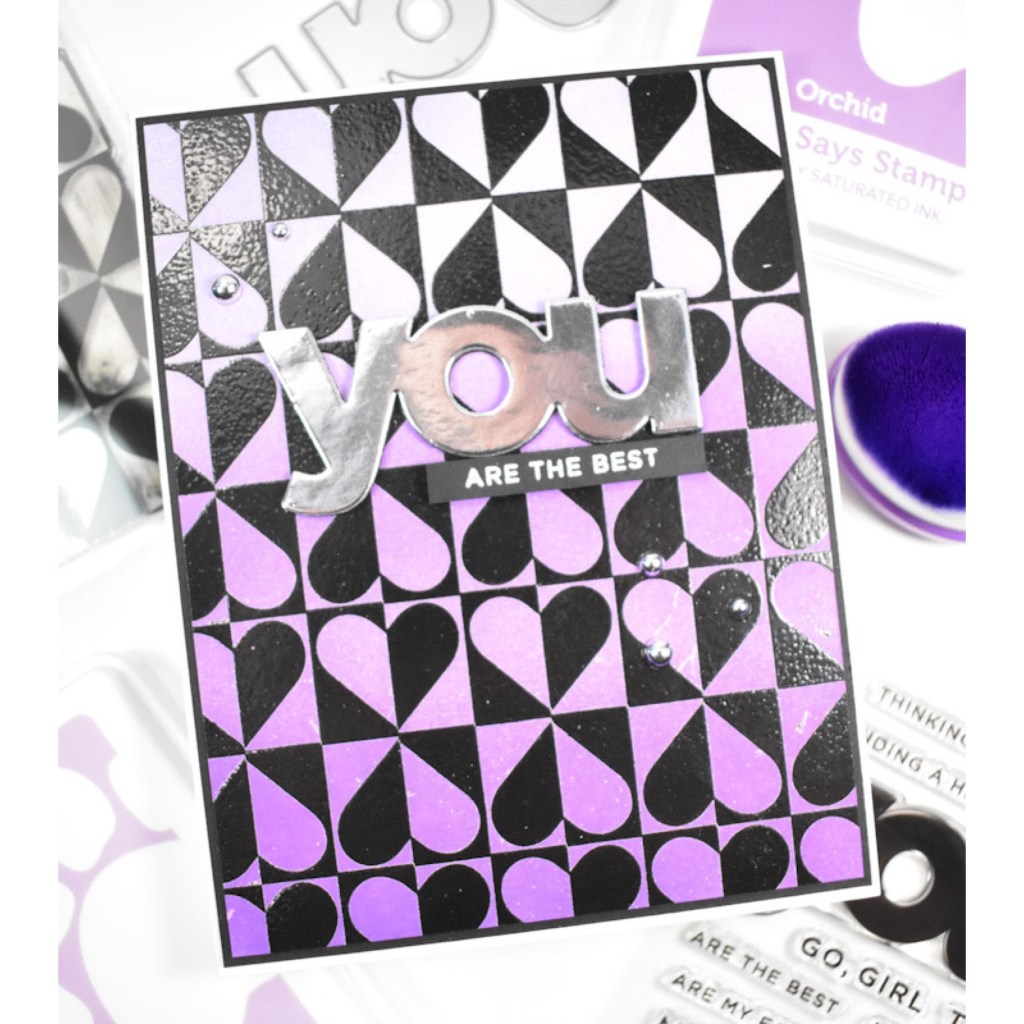
NOTE: all supplies are linked in the thumbnails at the end of this blog post.
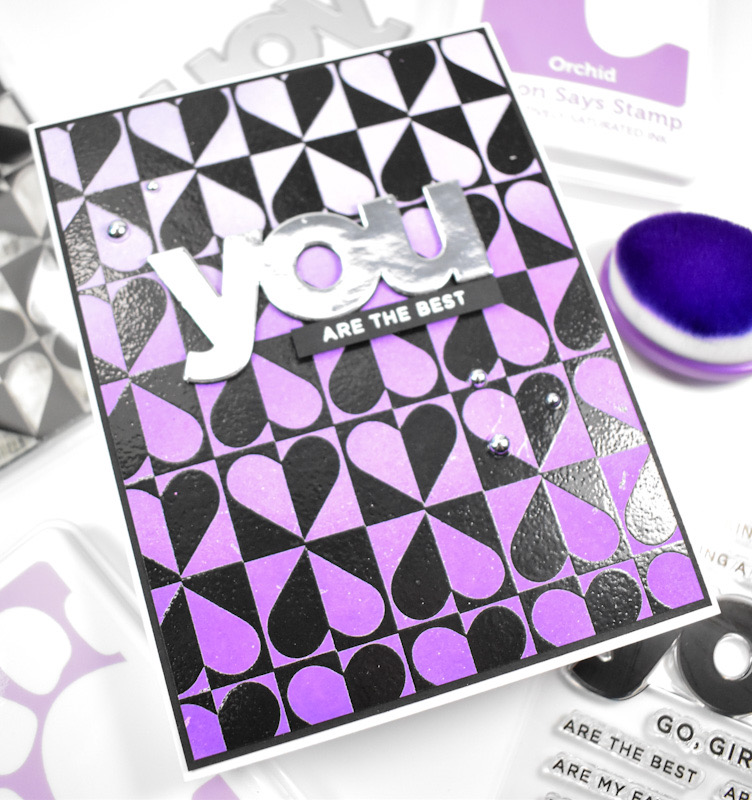
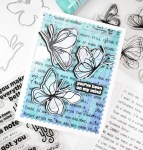
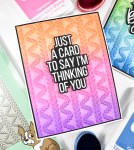
I began this project by stamping the Harlequin Heart onto a panel of Neenah 110lb cardstock using VersaFine Onyx Black ink and heat setting that using Ranger Clear Embossing Powder. Next, I did some ink blending on the panel using Lilac, Orchid and Amethyst inks.

The panel was trimmed down and adhered to a black panel for contrast, before being adhered to the card base. I die cut the You sentiment once from silver cardstock and three times from black and adhered all of those together for a stacked sentiment. I stamped the sub-sentiment, which is from the You stamp set, using VersaMark ink and heat set that using Detail White Embossing Powder.

I adhered the sub-sentiment using foam strips and added some silver metallic pearls to pull it all together and add some bling.

I hope you enjoyed this project! Don’t forget to check out the entire release, as there are lots of good things for those Valentine cards. Thanks again for joining me, and have a wonderful day!
Supply List

Affiliate links used at no cost to you. What does this mean? If you use the links within this post to make a purchase, I receive a small commission, which allows me to continue to post crafty content for your enjoyment. I truly appreciate your support!
Latest Posts

Latest Instagram Posts

Simon Says Stamp To Love And To Be Loved Release Blog Hop – Day 1

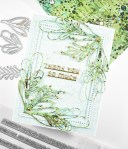
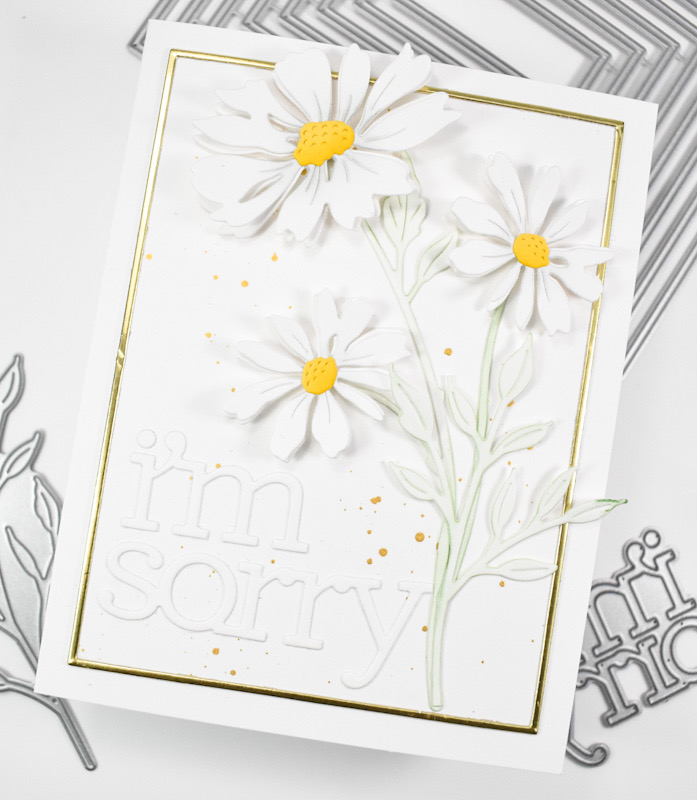
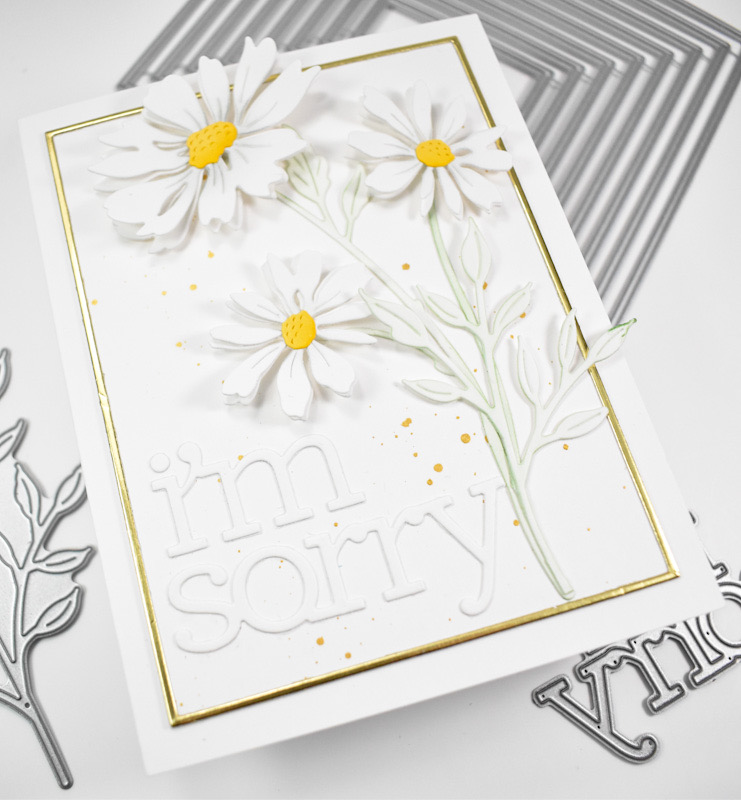
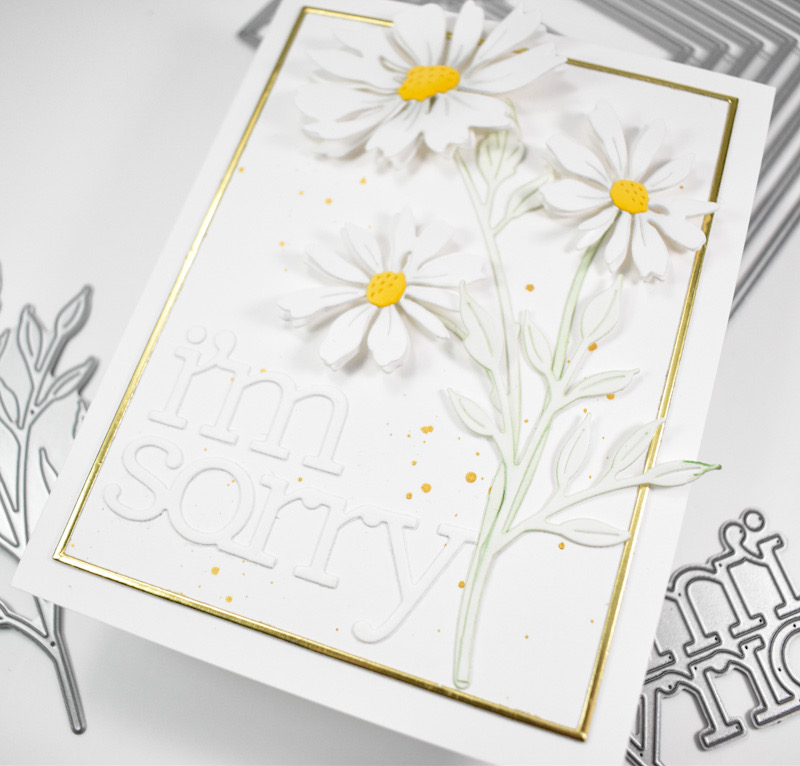
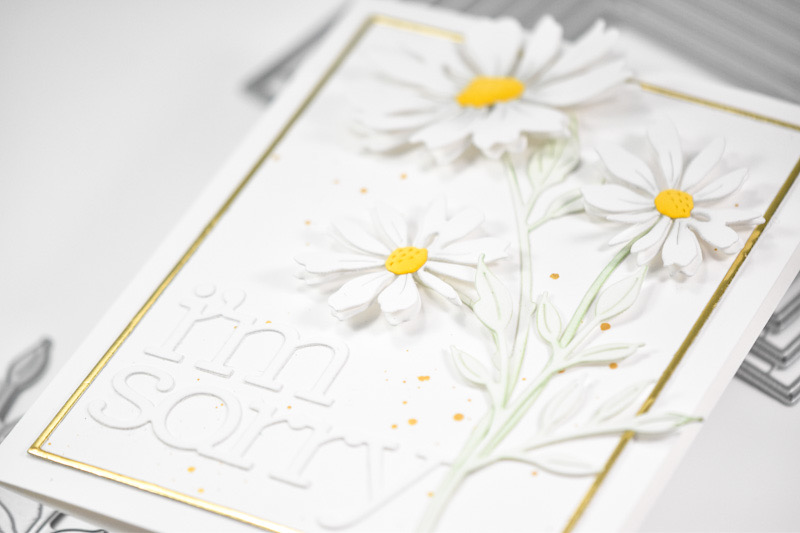
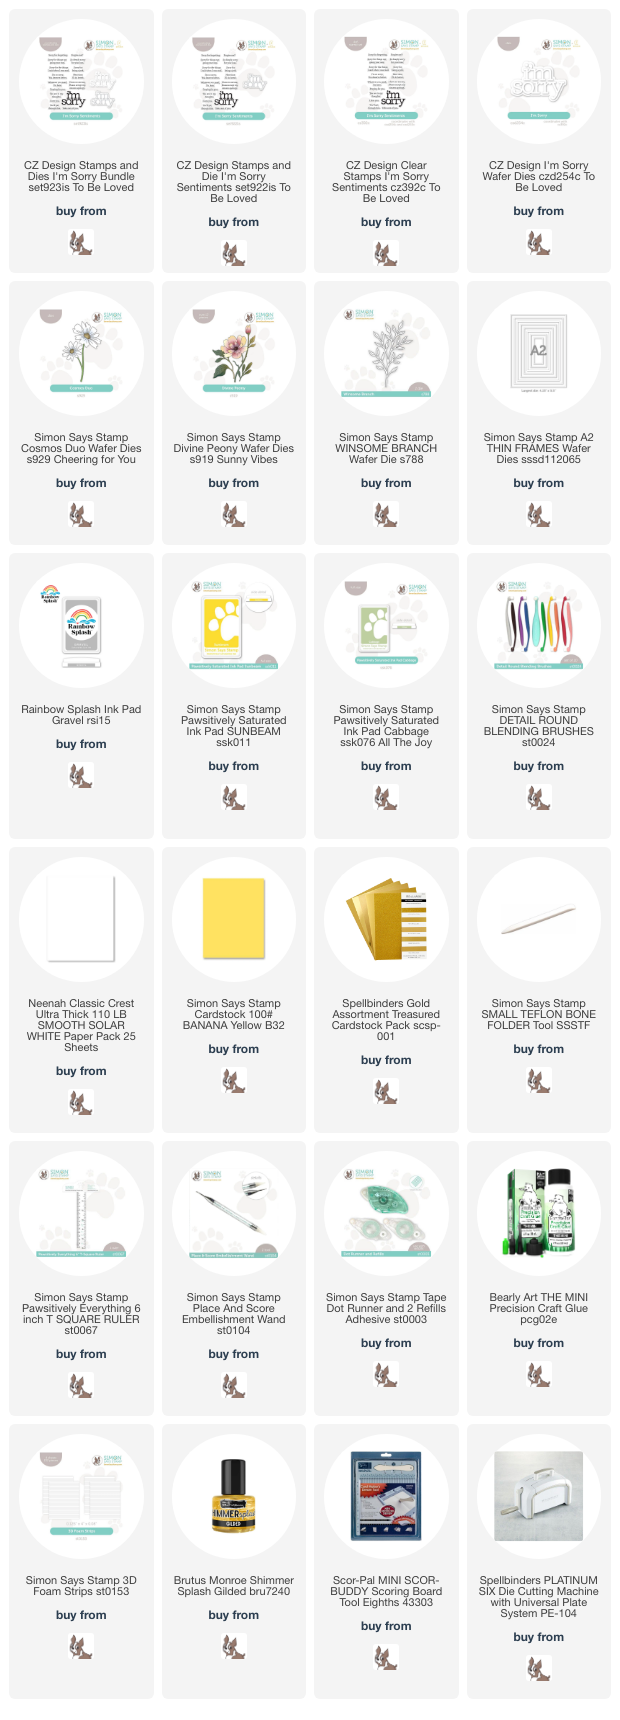
Hello Crafty Friends and thanks for joining me! Welcome to Day 1 of the Simon Says Stamp Blog Hop featuring the To Love and To Be Loved releases! Be sure to comment along the hop for your chance to win a $25 coupon from Simon! There’s also a free gift with purchase when you spend $50 or more on new release products! A chance to win a coupon, a free gift with purchase AND tons of inspiration .. YES PLEASE! My project for today is featuring the new I’m Sorry die cut in my usual floral fashion! Let’s go ahead and go through the details!

NOTE: all supplies are linked in the thumbnails at the end of this blog post.

I began this project by cutting a panel of Neenah 110lb cardstock down to the same size as the gold thin frame and splattering it with gold acrylic paint. I set that aside to dry while I worked on the other elements of the card.

The I’m Sorry sentiment was cut once, and I die cut a few white flowers using the Cosmos Duo set, and cut the centers of the flowers from yellow cardstock. The flowers needed a little bit of shading so I added that with some Gravel ink. The centers also got some shading using Sunbeam ink. The flowers are two layers because I wanted more fullness, so I went ahead and assembled all of the pieces using liquid glue.

Now here is where things get a little wonky! I needed a longer stem for the flowers so I die cut the stem from the Divine Peony set, and I die cut a few leaves from the Winsome Branches set to go along with the stem from the Cosmos set. Light ink blending using Cabbage ink was applied to the stems and leaves.

To assemble the card, I glued the gold frame to the splattered panel, added the I’m Sorry and then added the one long stem. The first two flowers were then adhered using foam strips, I added the second stem, along with the third flower and then added the leaves atop the stems. The panel was then adhered to the card base to finish up.

That does it for this one! I hope you enjoyed it as much as I did! Be sure to comment along the Hop for your chance to win! You can begin the Hop over on Simon’s blog to make sure that you catch all of the inspiration from the team. And, stay tuned for Day 2 tomorrow for more chances to win! Thanks so much for joining me, and I hope you have a great day!

HOP ORDER:

Simon Says Stamp Blog  
Caly Person
Cathy Zielske
Jennifer McGuire
Barbara Tarayao
Emily Midgett
Amy Rysavy
Debby Hughes
Keisha Charles
Alberto Gava
Miriam Prantner
Heather Ruwe
Tina Smith
Jean Doeringsfeld
Tracy Ware
Natasha Vacca

Supply List

Affiliate links used at no cost to you. What does this mean? If you use the links within this post to make a purchase, I receive a small commission, which allows me to continue to post crafty content for your enjoyment. I truly appreciate your support!

Latest Posts

Latest Instagram Posts
Simon Says Stamp Simple Love You

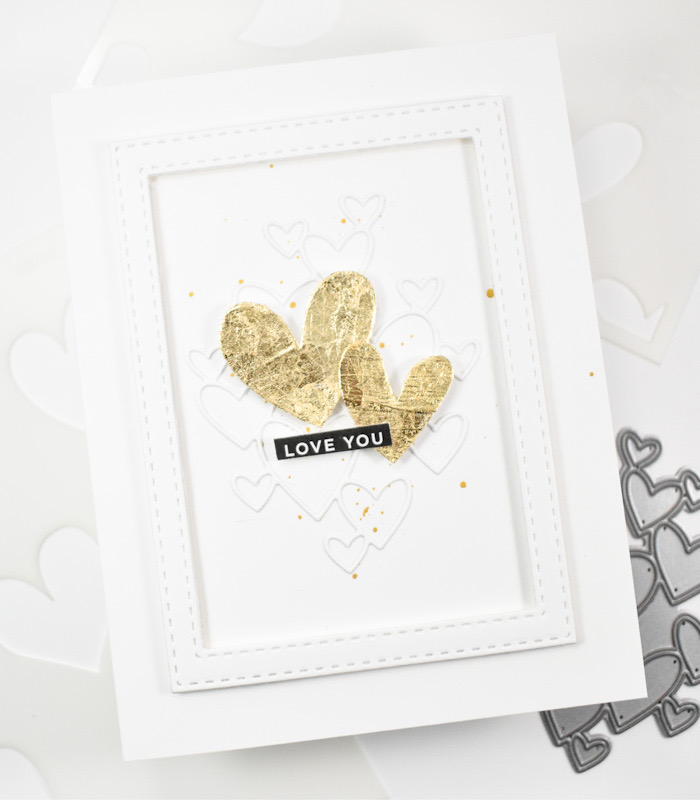
Hello and welcome back! Simon’s brand new release, To Be Loved, is live today and I’m back with a project featuring the new Funky Hearts Stencil. It may not look like I used the stencil on this card, but I assure you that I did! It’s just a little reminder that there are many ways to use a stencil! Let’s go into it, shall we?

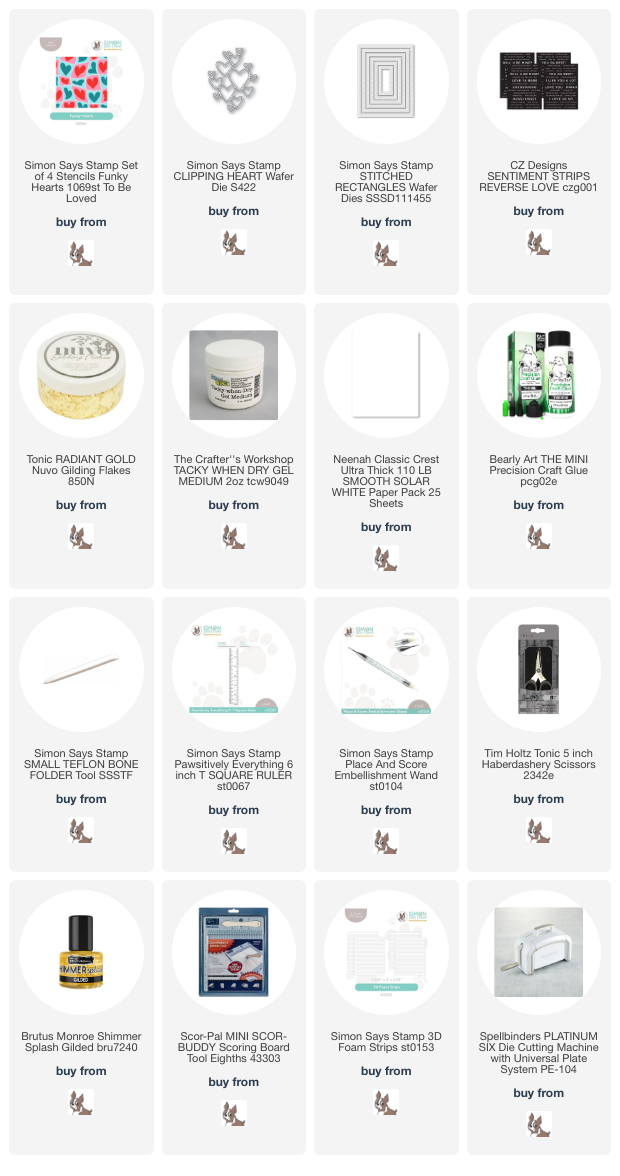
NOTE: all supplies are linked in the thumbnails at the end of this blog post.

I began this card by placing the stencil onto a scrap panel of Neenah 110lb cardstock and applying a layer of Tacky When Dry paste. I actually did this twice, because I wasn’t sure if I wanted to use one heart or two. I set that aside to dry while I worked on the rest of the card.

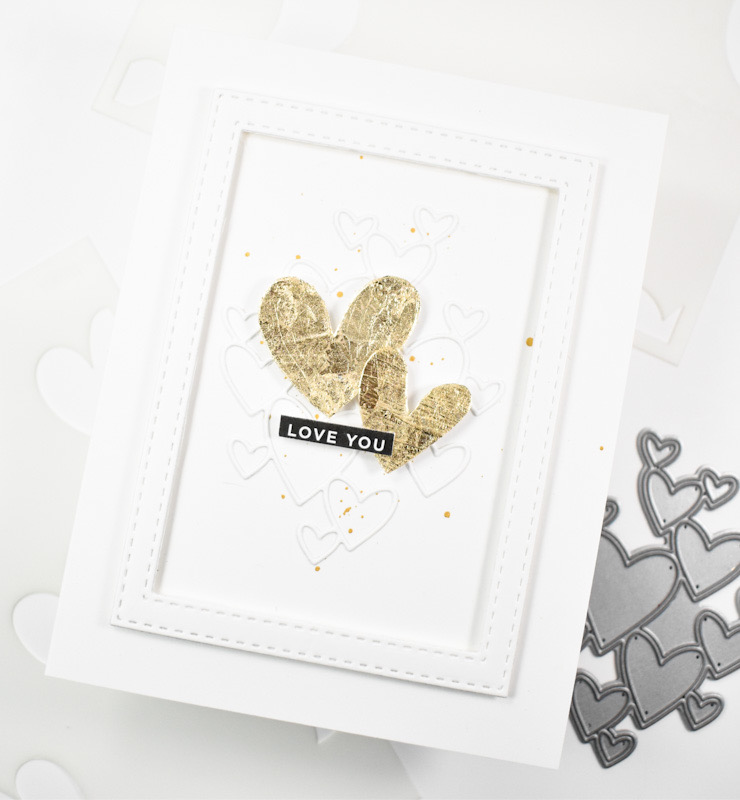
I wanted this to be a more clean and simple design, so I went ahead and splattered my card base with gold acrylic ink and put that over with the hearts to dry. I used the Clipping Heart and die cut that once from Neenah, and I went ahead and cut a frame using the Stitched Rectangles. Once the hearts were dry, I applied some gold gilding flakes and rubbed those in to make sure that I have good coverage. Those were then fussy cut for their use on the card.

The frame was adhered to the card base using foam strips, and the white hearts were adhered inside the frame using liquid glue. The gold hearts were adhered in the middle using the same foam strips, as well as the tiny sentiment, which is from the Reverse Love Sentiment Strips.

That does it for this one! It’s a super simple card, but I quite like how it turned out! Thanks again for stopping by, and don’t forget to check out the entire To Be Loved release over on Simon’s website. Have yourself a wonderful day!

Supply List

Affiliate links used at no cost to you. What does this mean? If you use the links within this post to make a purchase, I receive a small commission, which allows me to continue to post crafty content for your enjoyment. I truly appreciate your support!

Latest Posts

Latest Instagram Posts

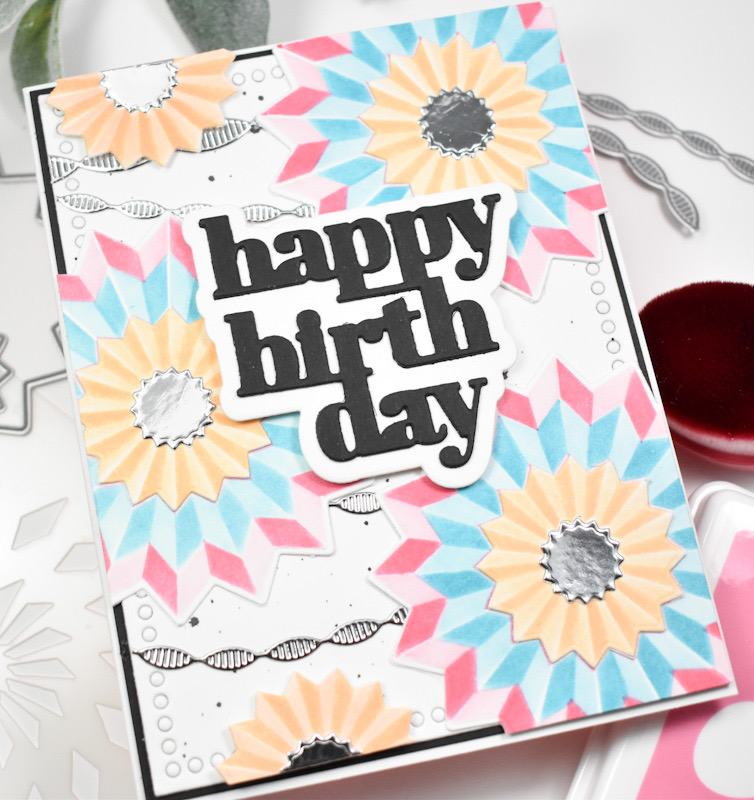
Simon Says Stamp Birthday Rosettes

Hello Friends! I hope you’re doing well! I appreciate you stopping by to check out today’s project featuring the Layered Rosette die and stencil combo! Let’s not waste time and jump right into it!

NOTE: all supplies are linked in the thumbnails at the end of this blog post.

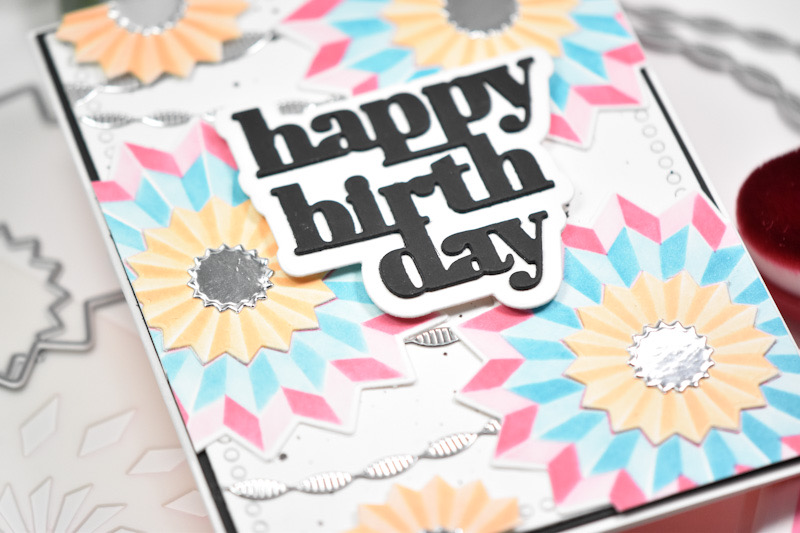
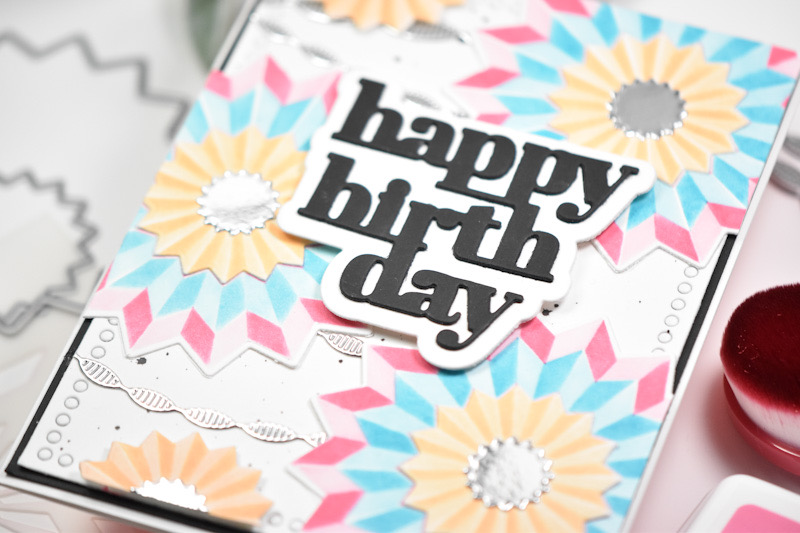
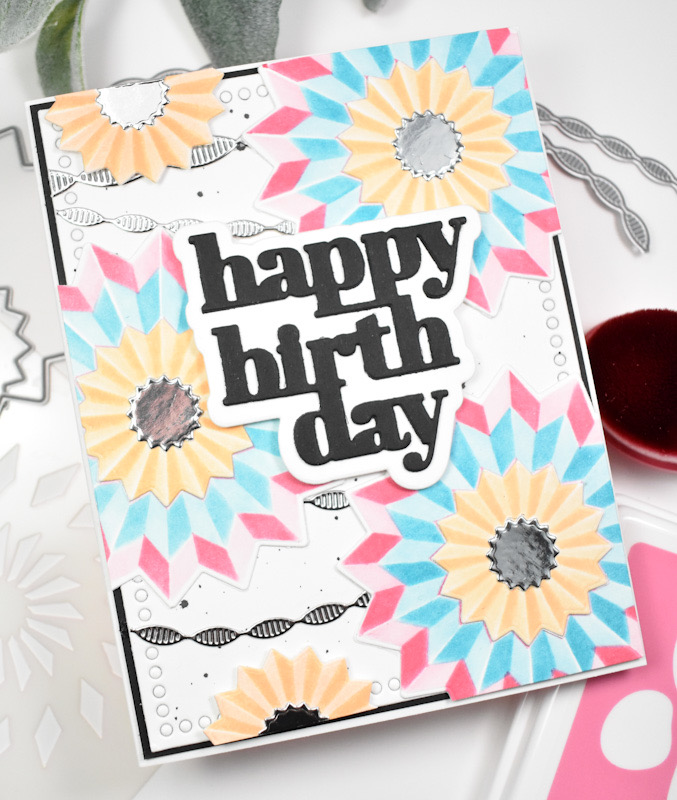
I began this project by cutting the Layered Rosettes from Neenah 110lb cardstock and then used the stencils for the ink blending. The colors used were Guava, Watermelon, Cantaloupe, Melon, Surf and Ocean. Once the ink blending was complete, I adhered the layers of the Rosettes together using liquid glue along with silver centers.

For the background, I used the A2 Marquee die and splattered that with black acrylic ink before adhering the silver Streamer Ribbons die cuts. The Rosettes were then adhered using liquid glue and trimmed off before adhering this panel to a black panel for contrast.

The Happy Birthday sentiment was cut from black cardstock twice, the shadow portion was cut from Neenah 110lb twice and all of the pieces were adhered together before being added to the card with foam strips.

That does it for this one! I hope you enjoyed it, and I hope it inspires you to get crafty in your space! Thanks again for joining me, and I hope you have a fabulous day! Stay awesome, Friend!

Supply List

Affiliate links used at no cost to you. What does this mean? If you use the links within this post to make a purchase, I receive a small commission, which allows me to continue to post crafty content for your enjoyment. I truly appreciate your support!

Latest Posts

Latest Instagram Posts