Simon Says Stamp Nesting Bird

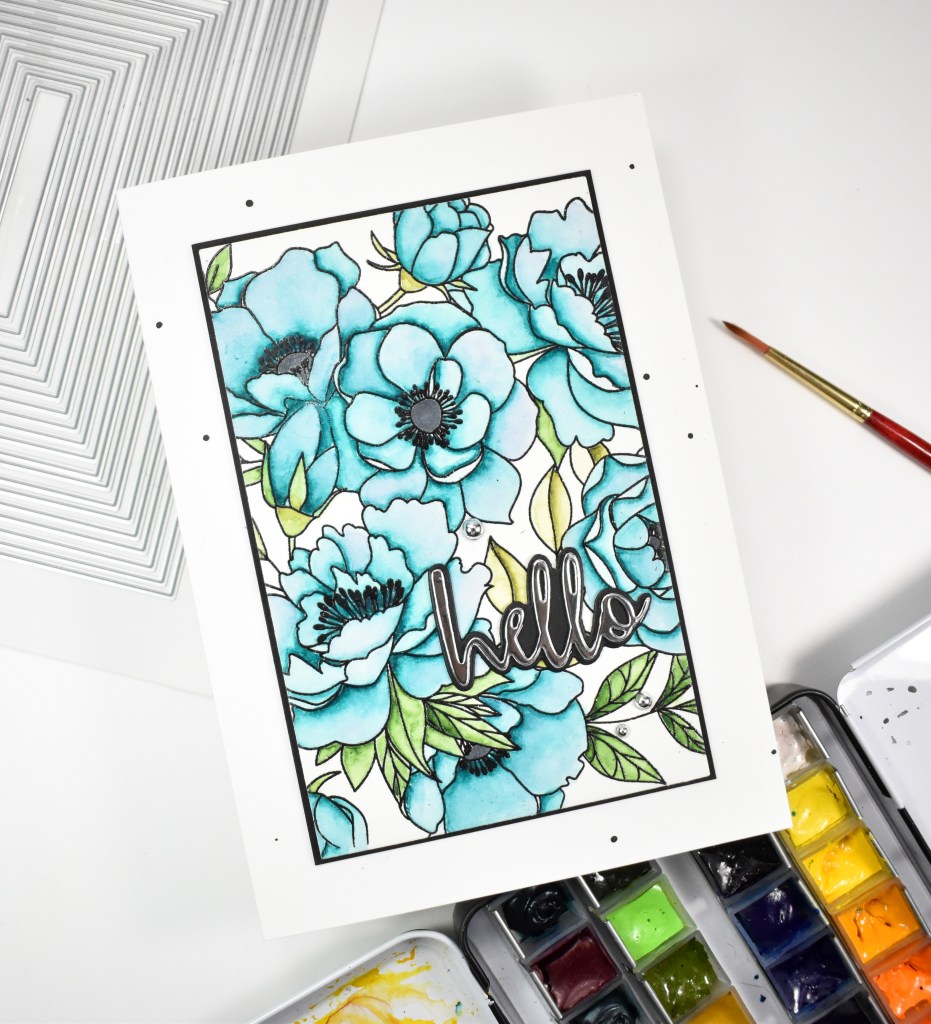
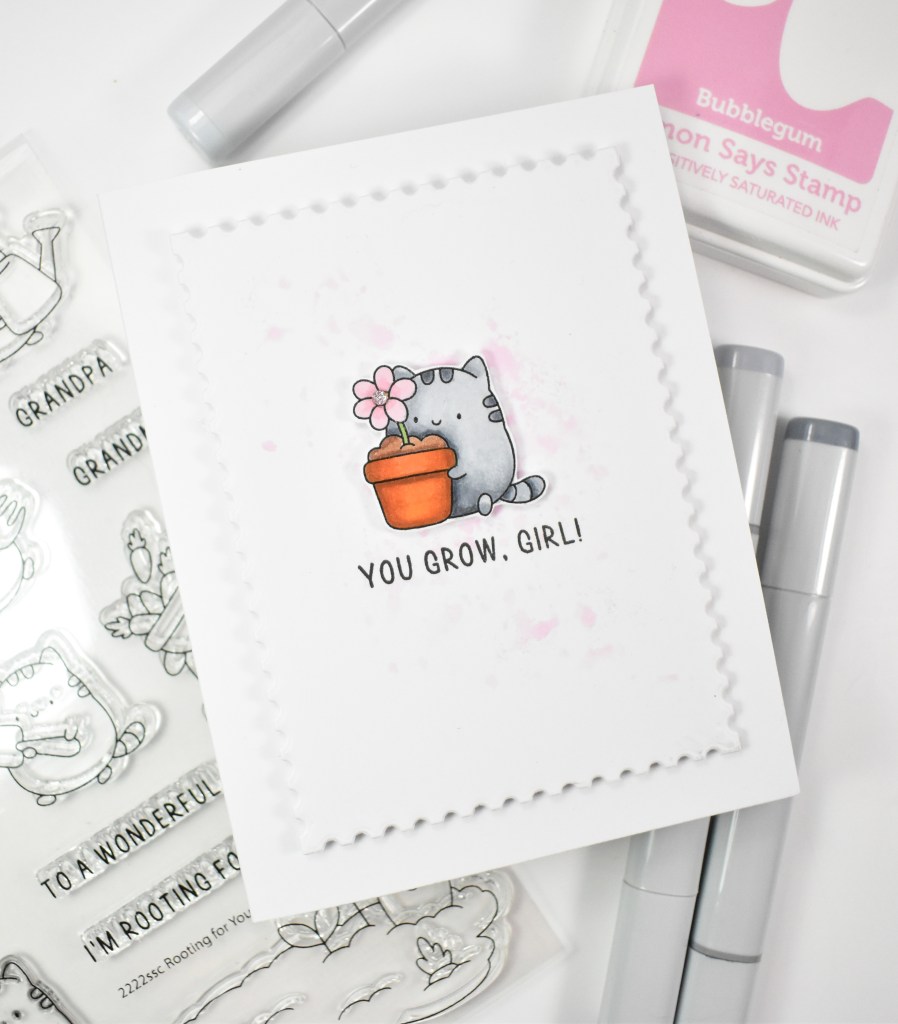
Hello Friends, and thanks for joining me! I’m back today with a project featuring the new Fun Birdie from Simon’s latest release, Happy Camper. Let’s get right into the details!

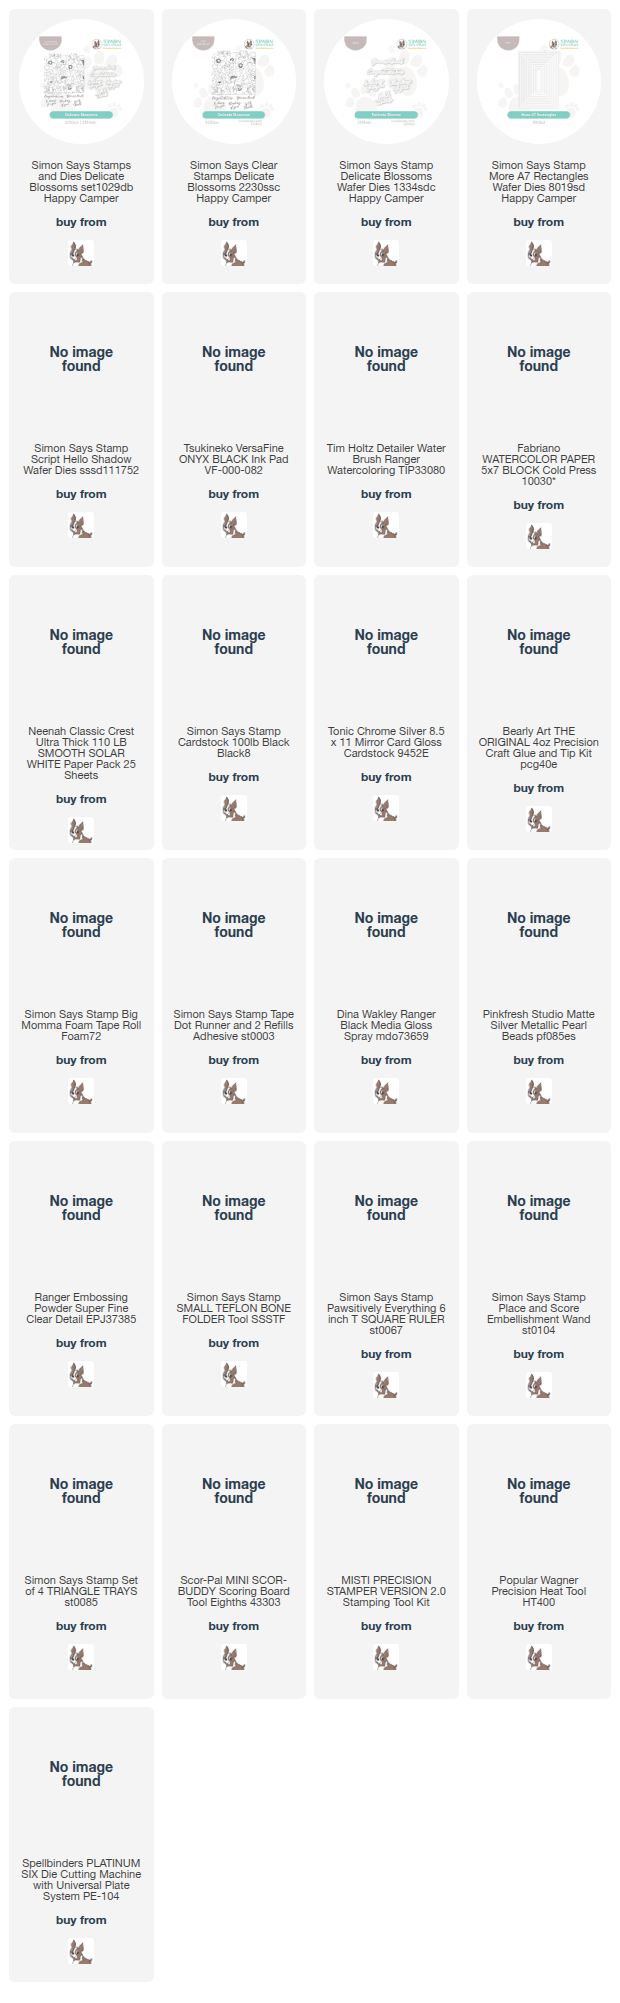
NOTE: all supplies are linked in the thumbnails at the end of this blog post.
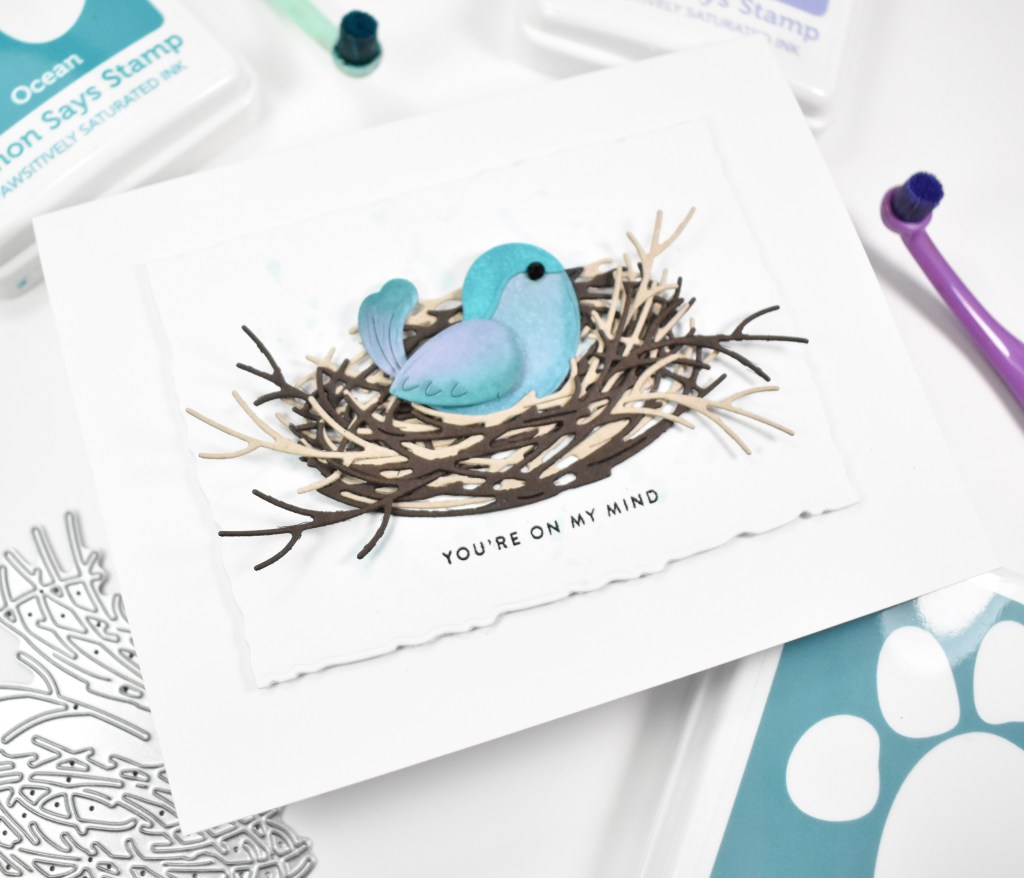
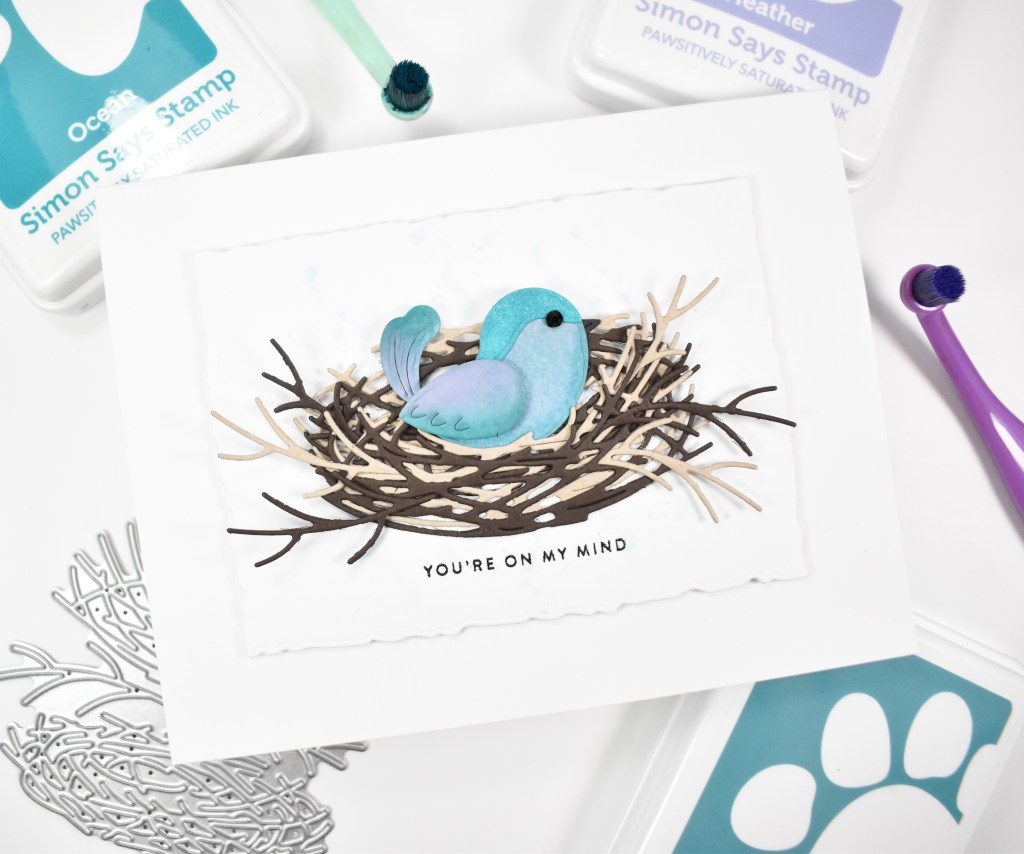
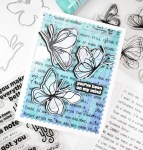
I began this project by die cutting the bird pieces from Neenah 110lb cardstock and did some ink blending using Surf, Ocean, Mist, Heather and Black inks. Once done with the ink blending, I assembled the bird using liquid glue, adding a black gem for the eye.

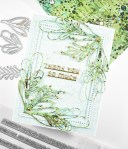
Next, I cut the Rustic Nest from dark brown and Desert Storm cardstock, adhering the pieces together, tucking in the twigs on the side. The background panel was created by cutting it with a deckle edge die, smooshing some Seafoam ink onto my glass mat and using a paper towel inside a ziplock bag to tap the color onto the panel. This is a technique that Cathy Zielske uses, and it works really well!

I decided on the nest placement and stamped the sentiment directly on the panel using VersaFine Onyx Ink and heat set that using clear embossing powder. The nest was glued to the panel and the bird was glued inside the nest. The panel was adhered to the card base using foam tape to finish up.

That does it for this one! Head on over to Simon’s website to check out the entire Happy Camper release. Thanks again for joining me, and don’t forget to stay awesome, friend!
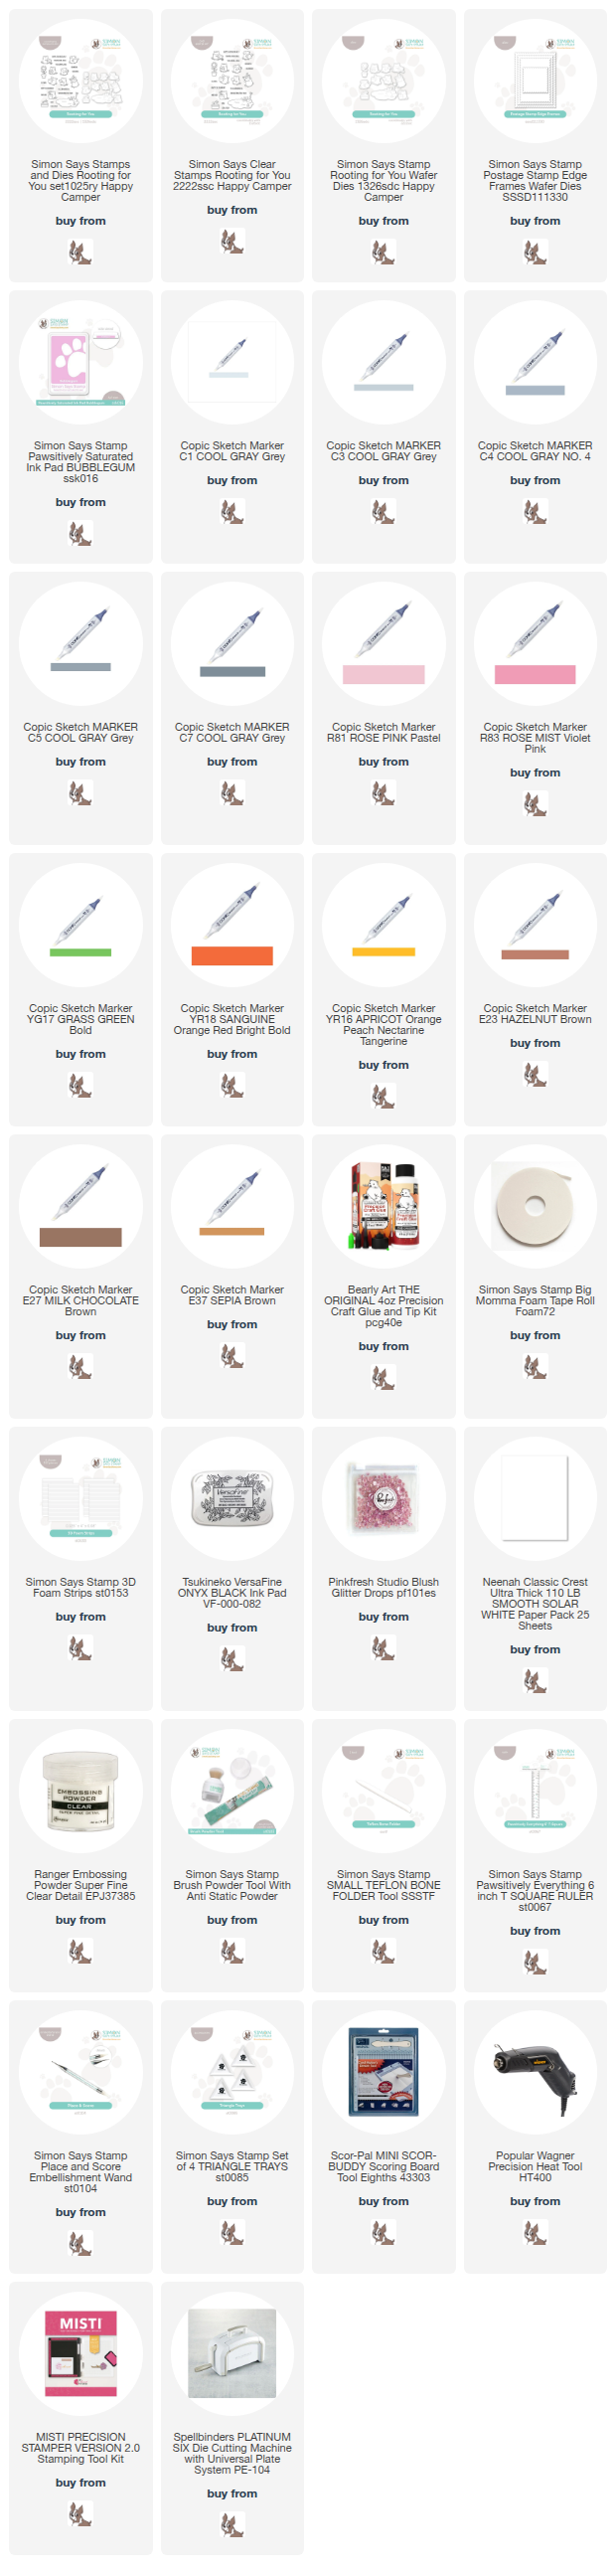
Supply List
Affiliate links used at no cost to you. What does this mean? If you use the links within this post to make a purchase, I receive a small commission, which allows me to continue to post crafty content for your enjoyment. I truly appreciate your support!
Latest Posts
- Together By Design Featuring Altenew
- Simon Says Stamp Artsy Butterflies Text
- Spellbinders Trailside Birthday Raccoon

- Simon Says Stamp Grateful Heart

- Simon Says Stamp Braided Greetings

Latest Instagram Posts