Spellbinders Birthday Daisies

Hello Friends, and welcome back! Spellbinders April releases are live and I’m back again today with another project featuring Yana’s Daisies. I previously posted a project that used just the petals from this project, so you’ll have to check that out. Let’s go ahead and get into the details, shall we?

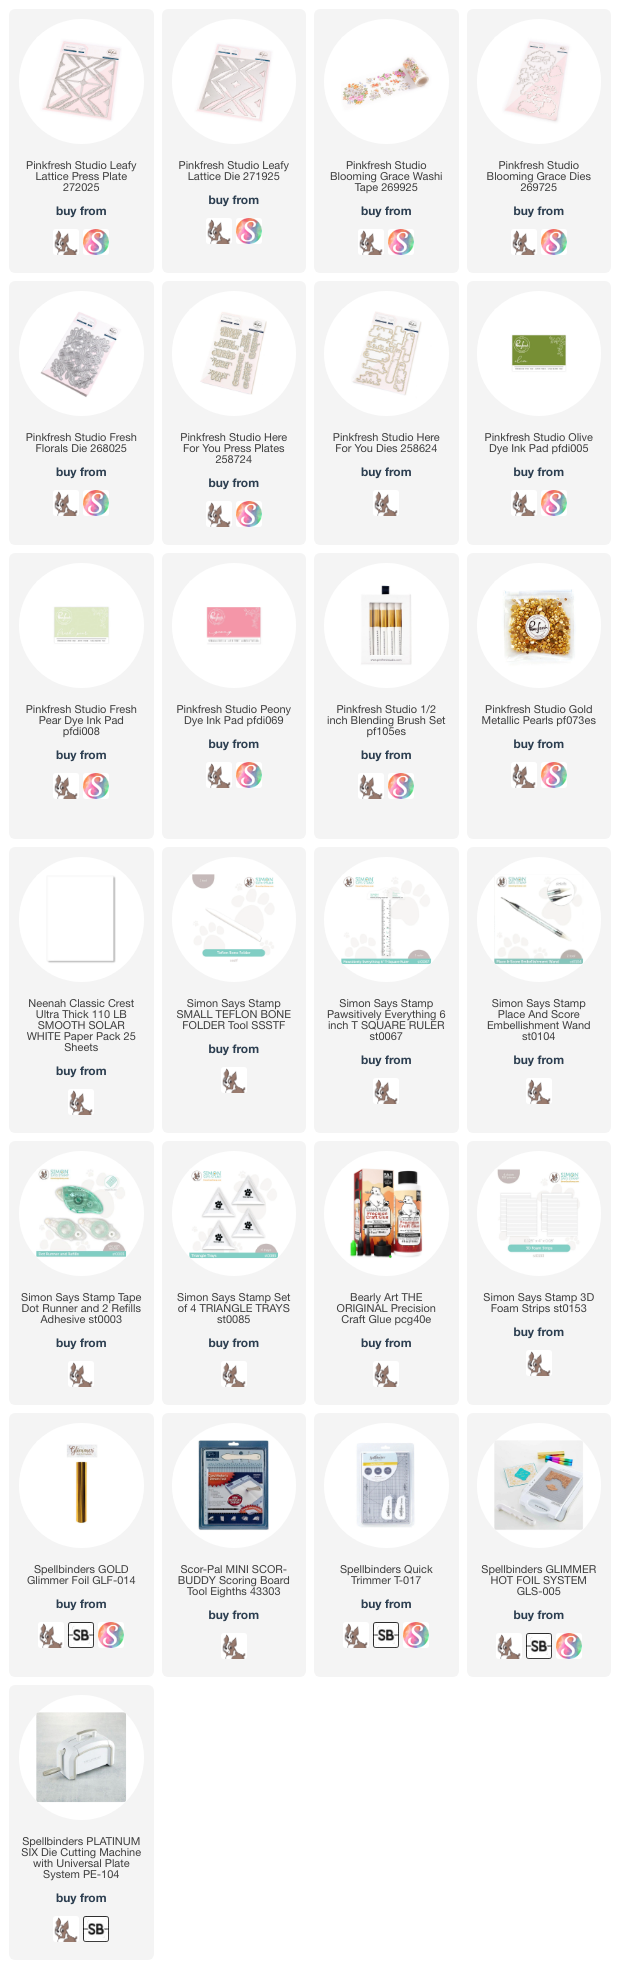
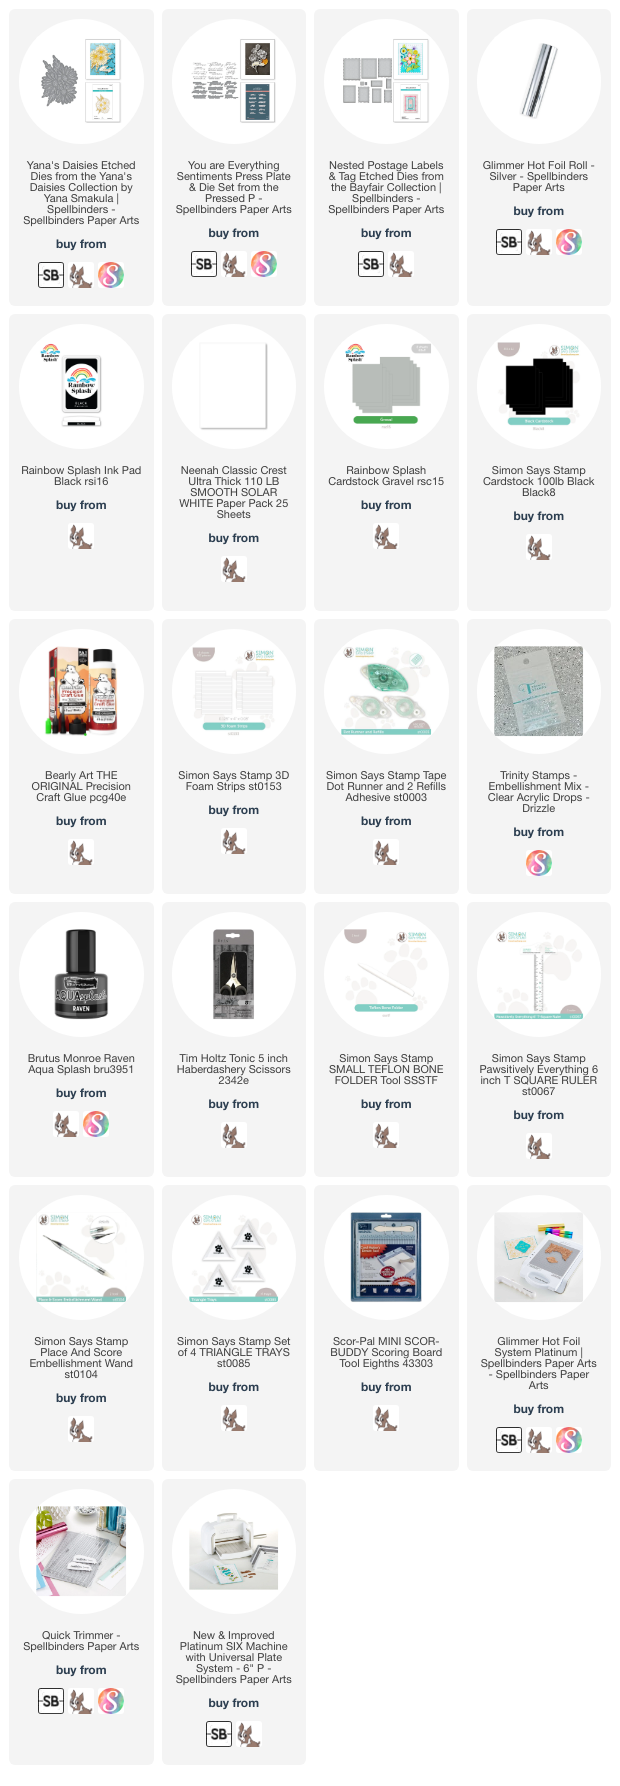
NOTE: all supplies are linked to multiple sources in the thumbnails at the end of this blog post.
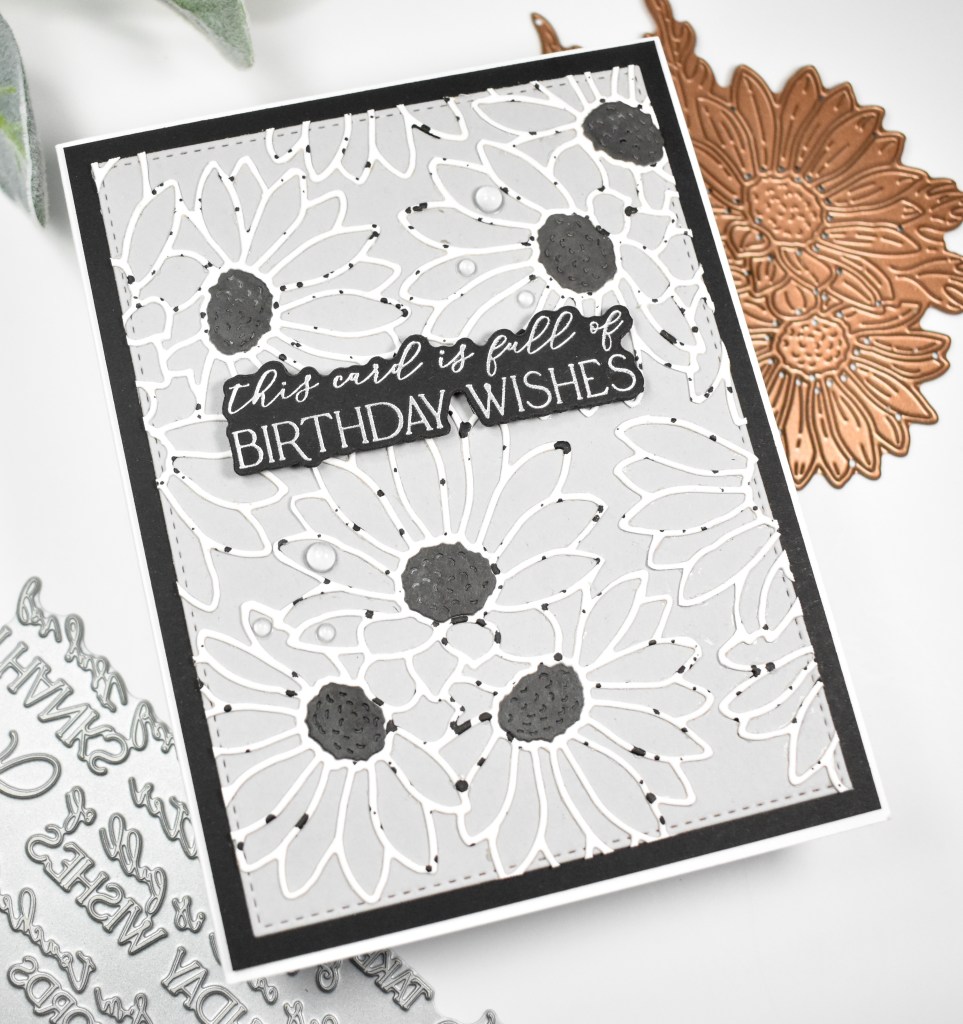
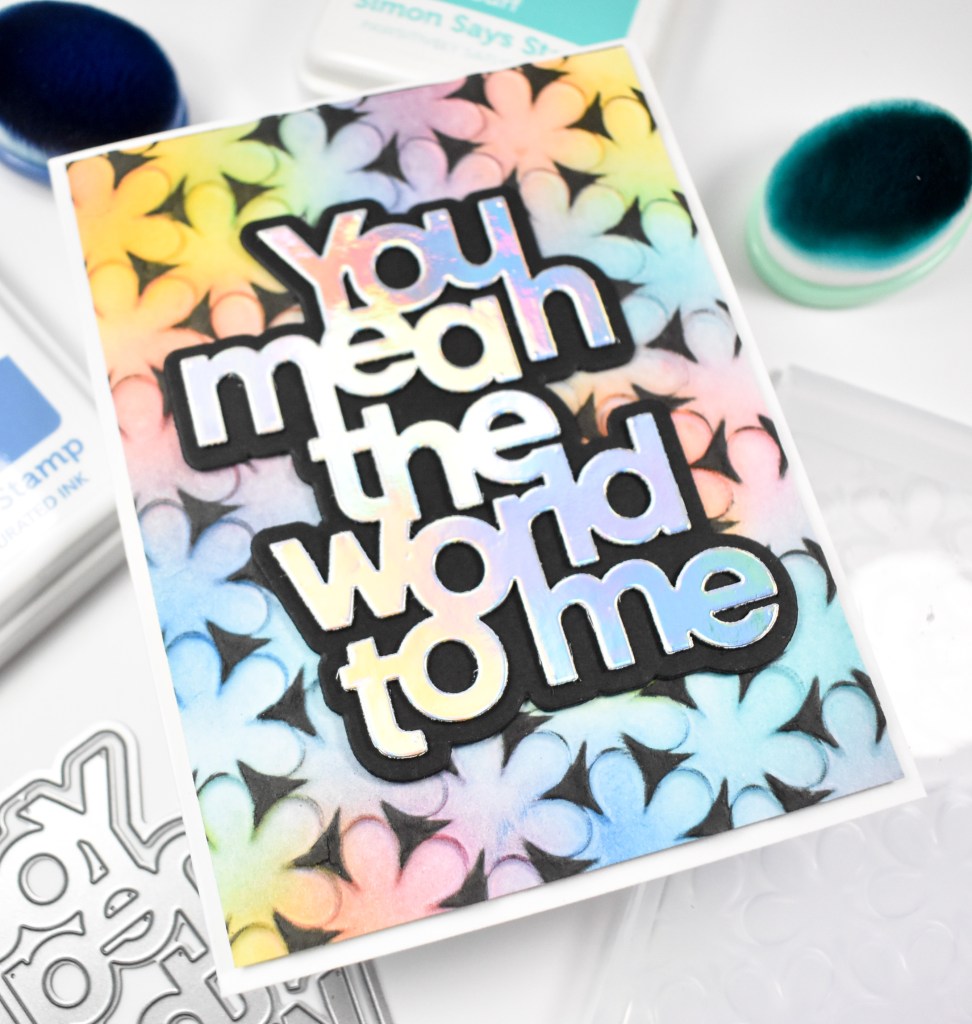
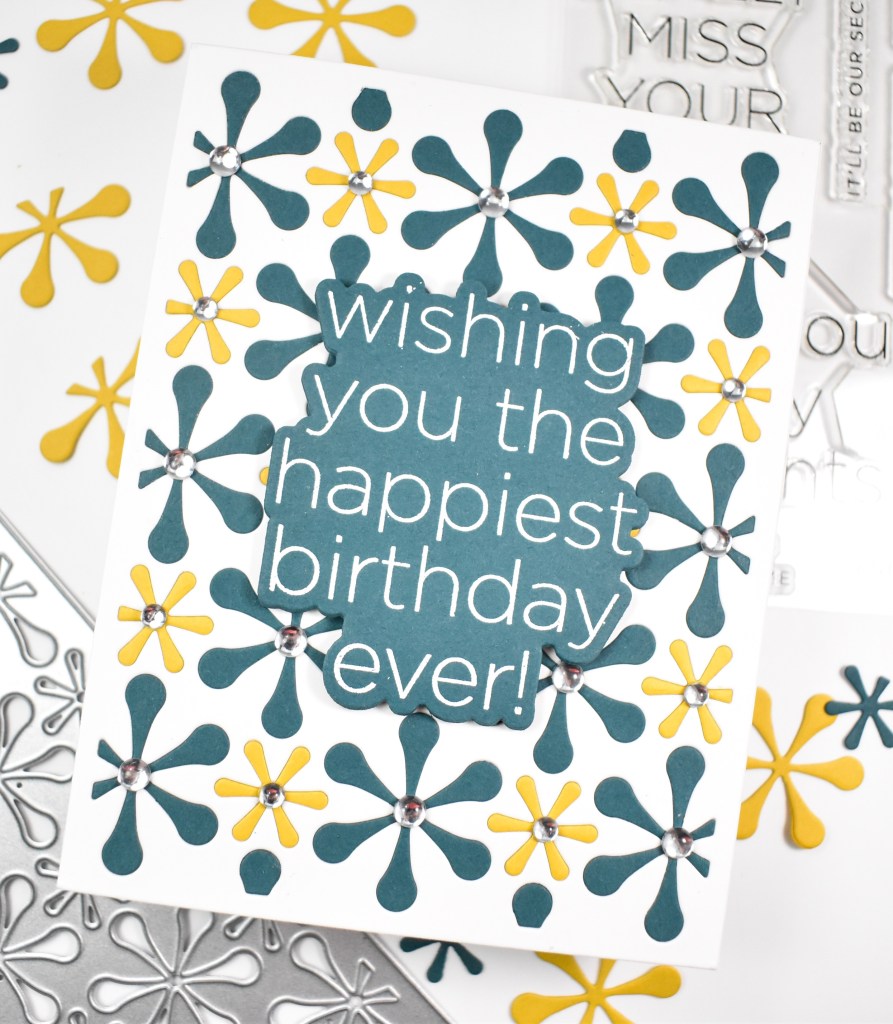
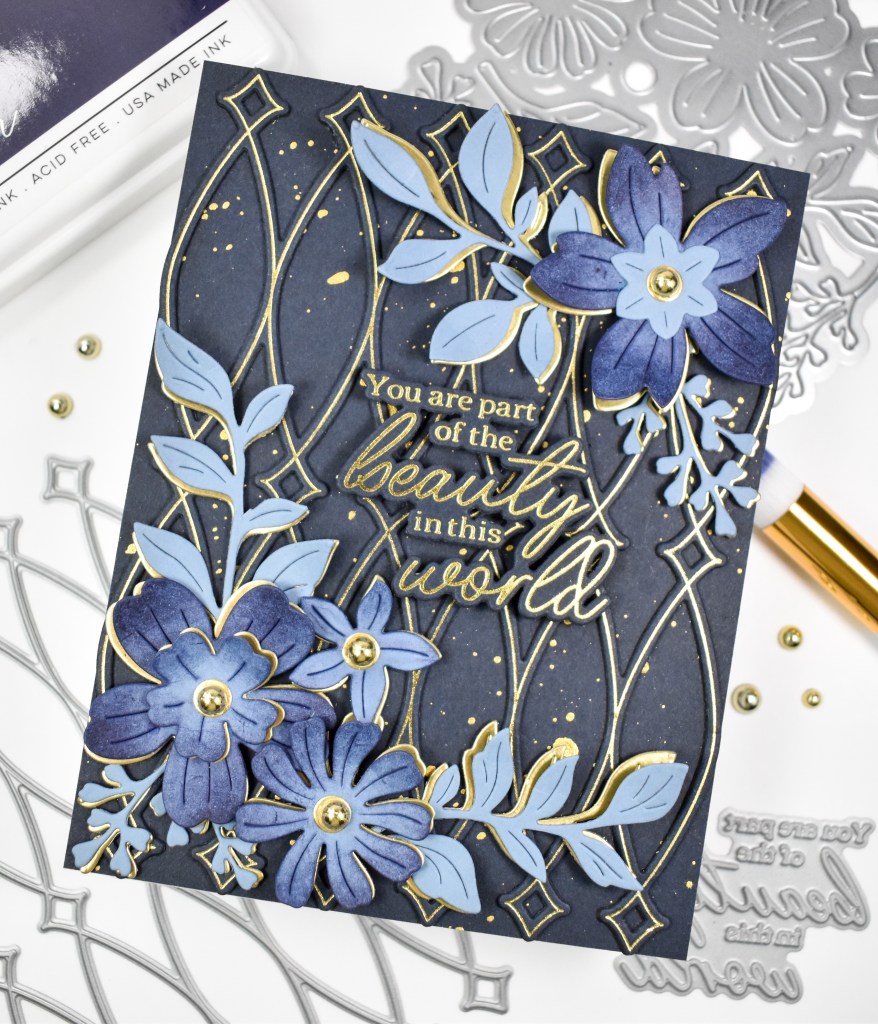
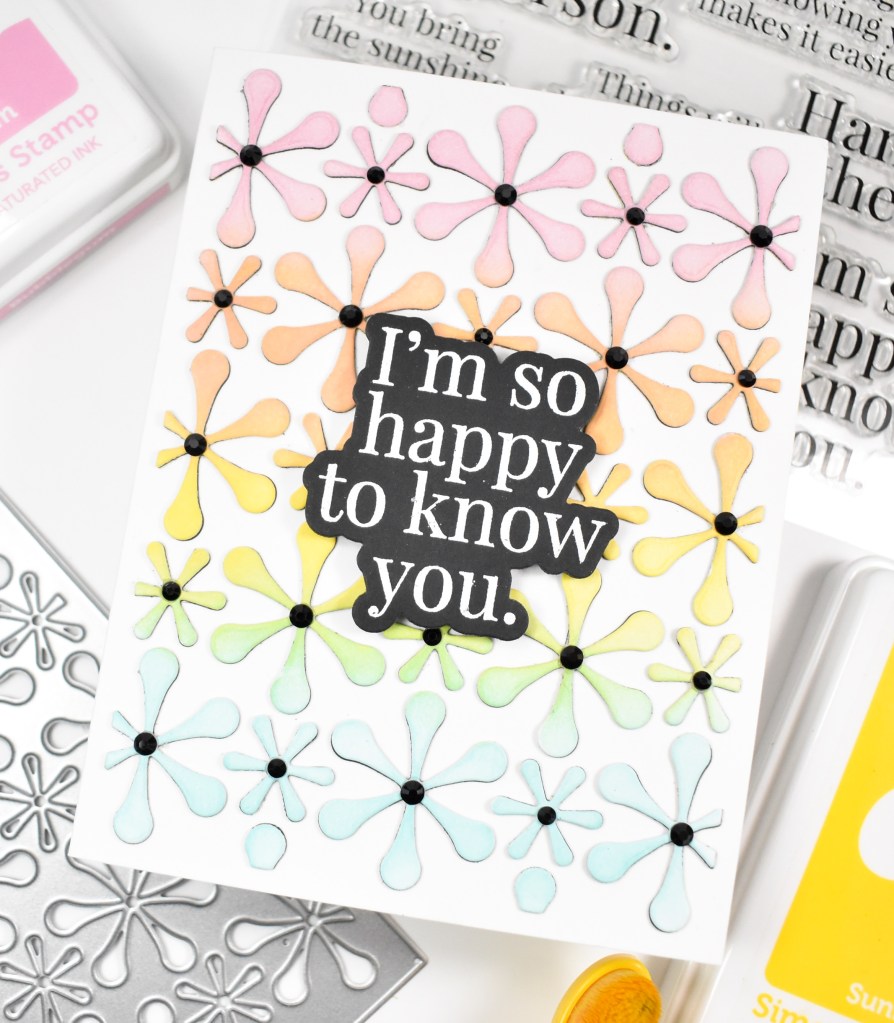
I began this project by die cutting Yana’s Daisies several times from Neenah 110lb cardstock. I knew that I wanted to use just the outline for this project, so I carefully trimmed the leaves off of the daisies. Once I was done with my cutting, I splattered the daisy outlines with black acrylic ink.

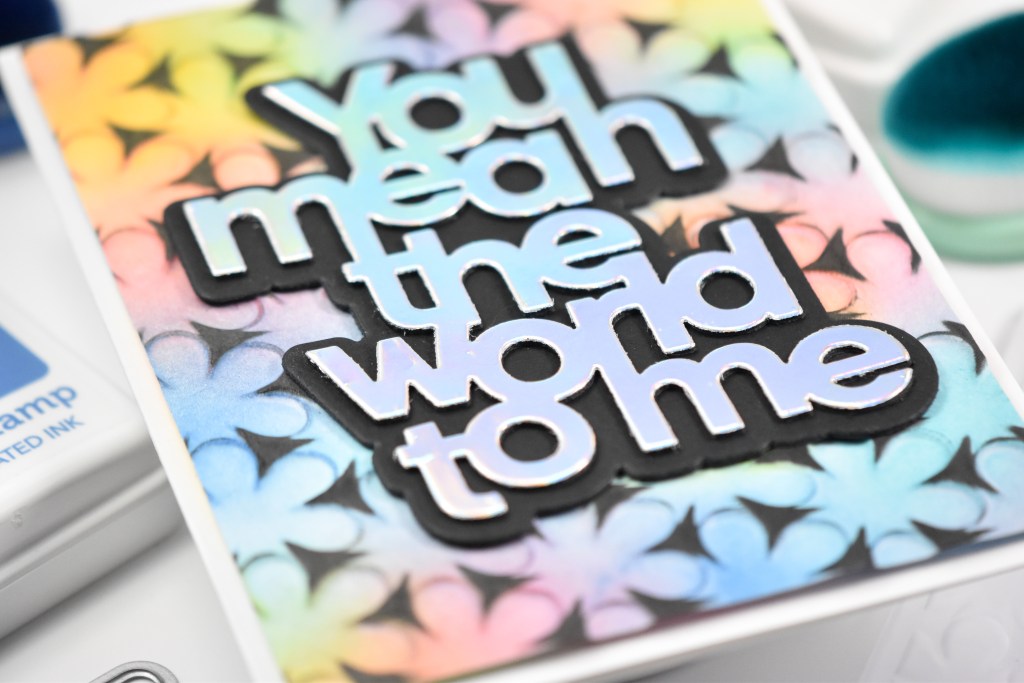
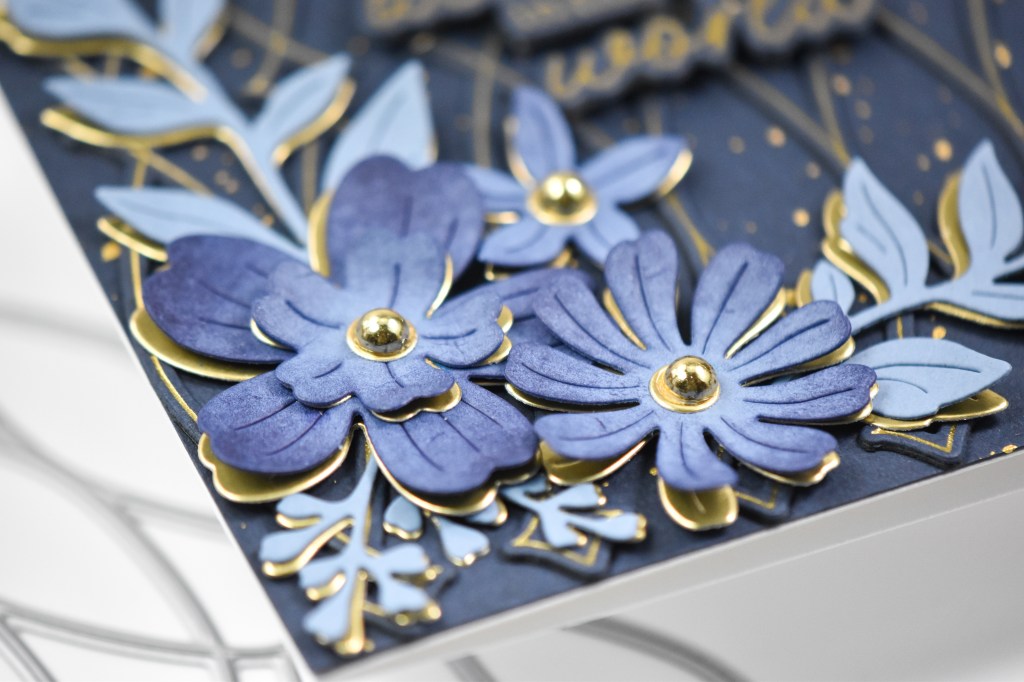
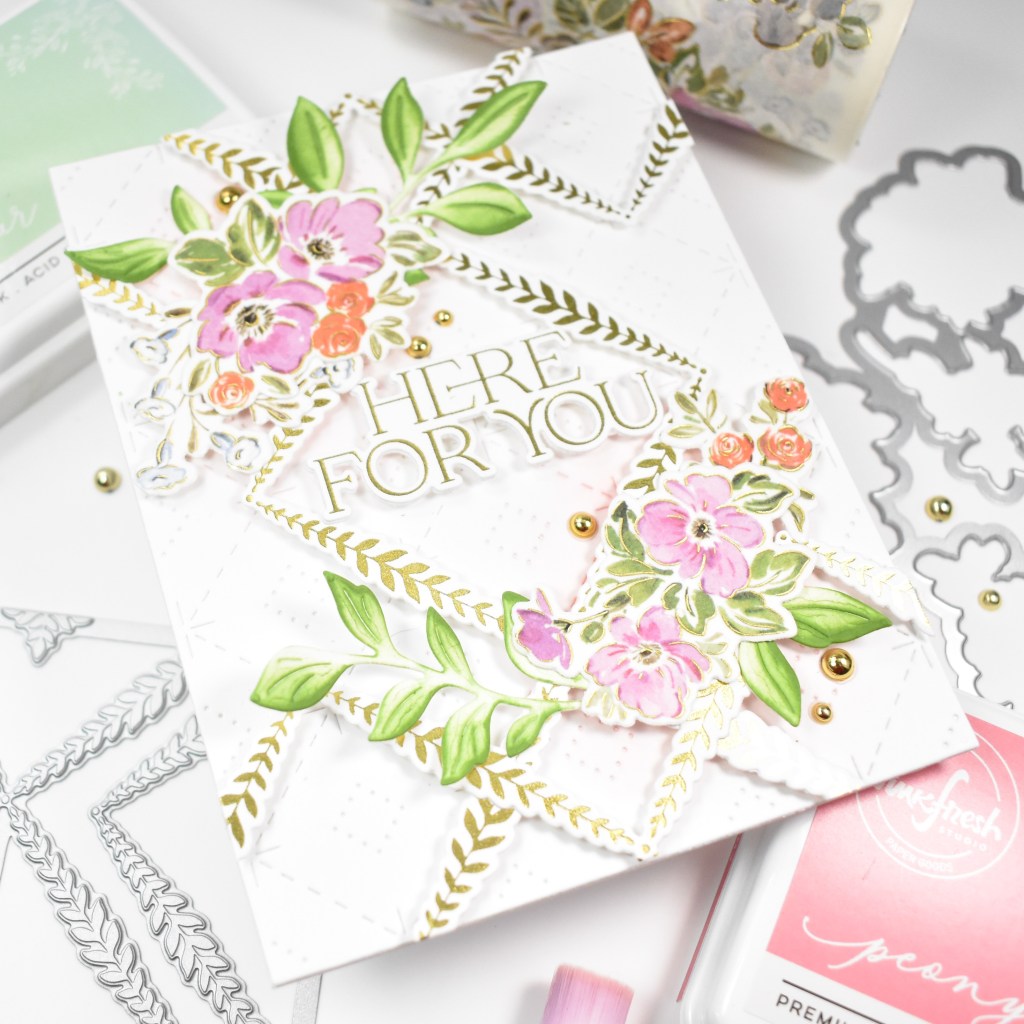
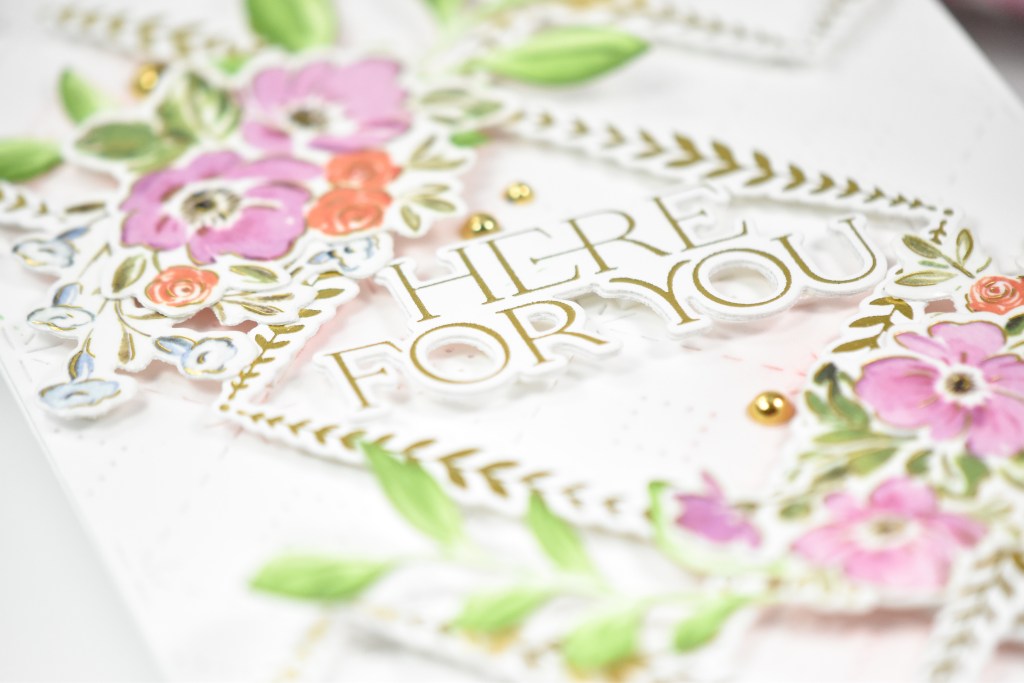
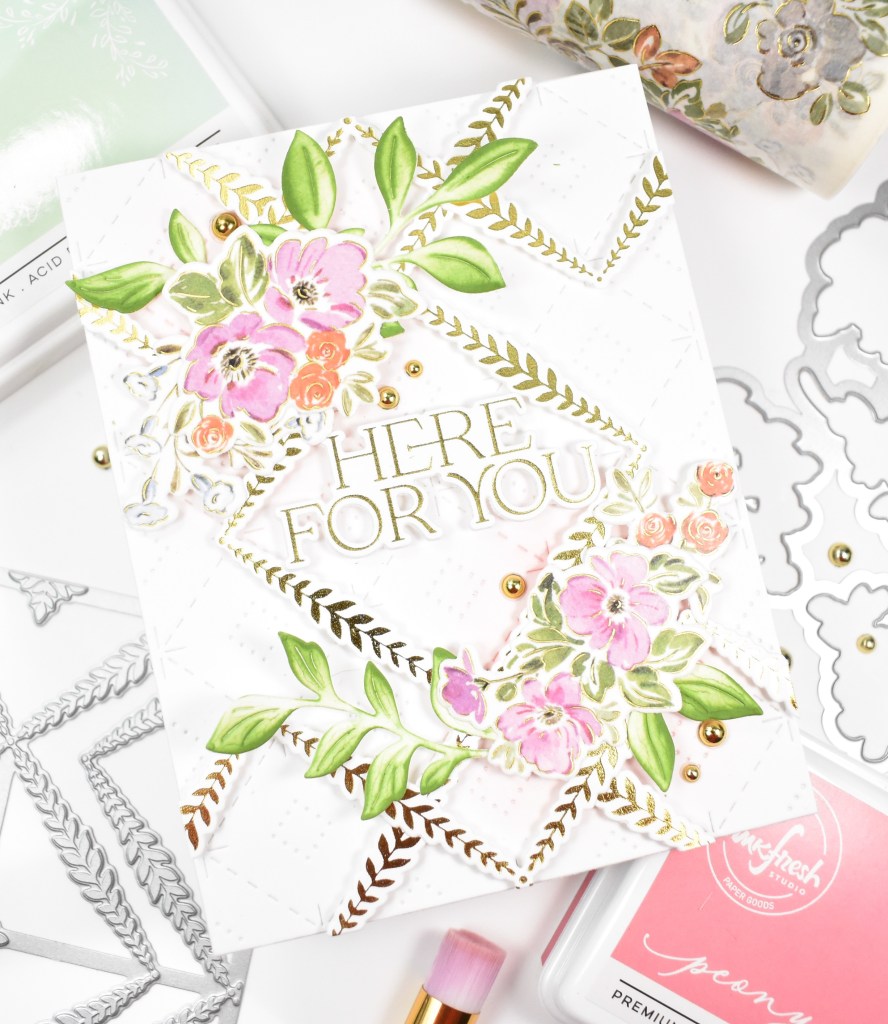
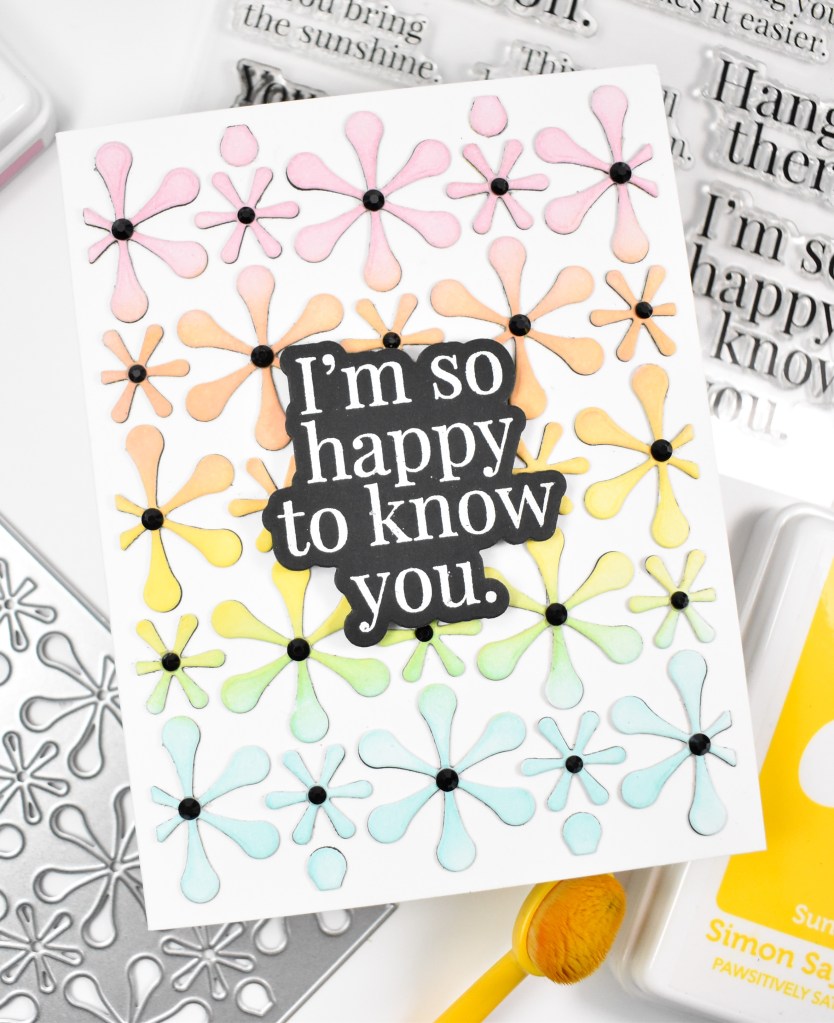
My background was created using Gravel cardstock along with the Nestled Postage Labels & Tag set. I did not want to have to cut the daisies again to get black centers, so I just used a black ink pad for that. I began adhering the daisy clusters with liquid glue, filling in all of the spaces and trimming off the excess. The sentiment was silver foiled onto black cardstock and trimmed out several times for a stacked sentiment.
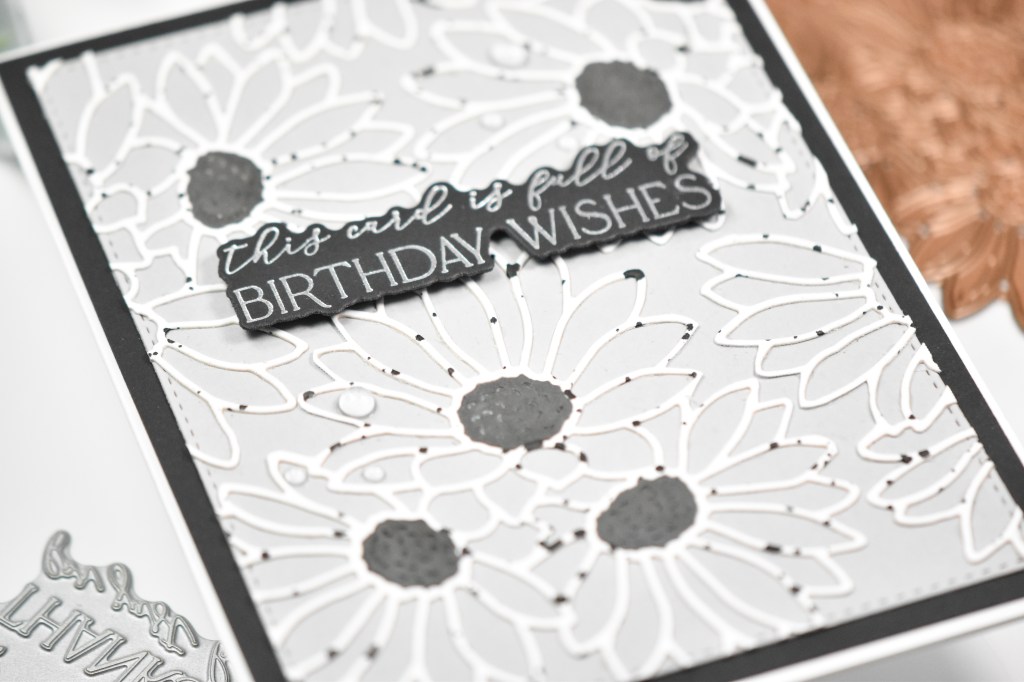
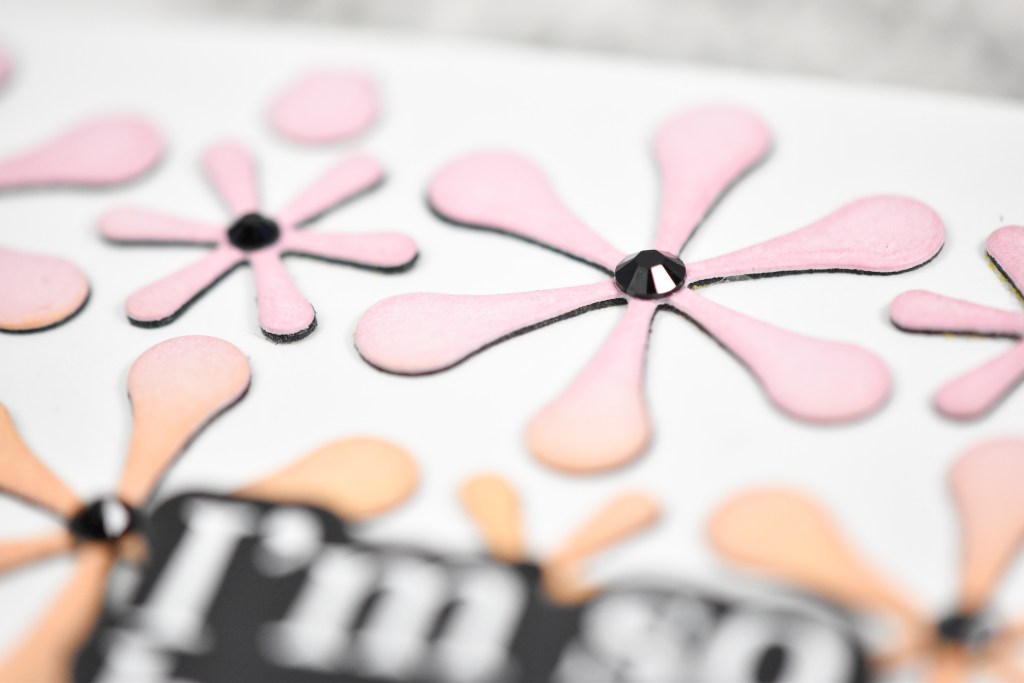
The gray panel was adhered to a black panel, the sentiment was adhered using foam strips, the centers were added in place and clear drops were added to finish up.

That does it for this project! I hope you enjoyed it, and I hope it inspires you to get crafty in your space! Don’t forget to check out all of the April releases over the Spellbinders webpage. Thanks again for stopping by, and I hope you have a fabulous day!

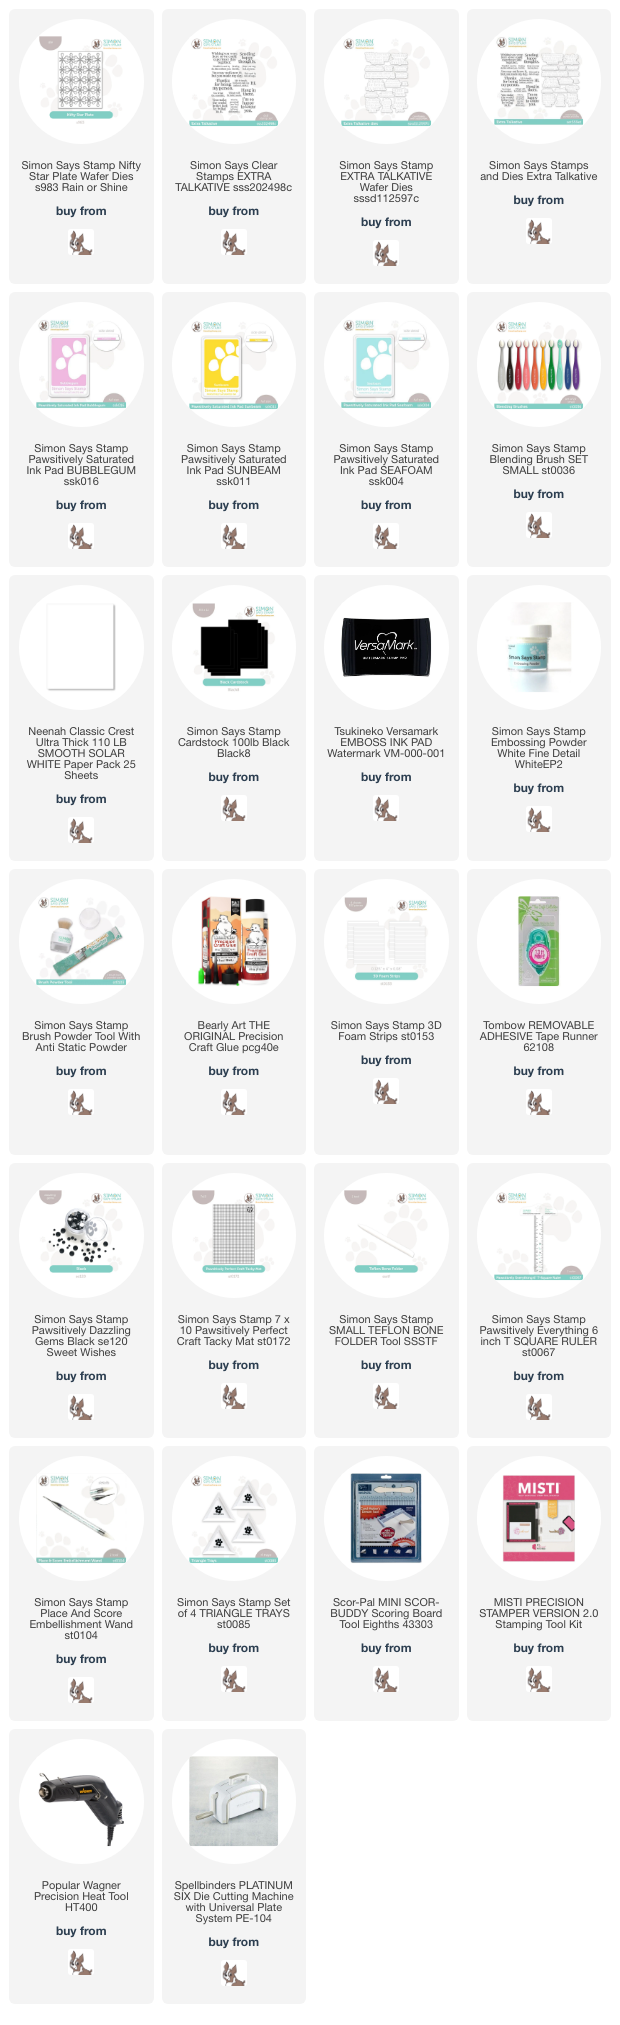
Supply List
Affiliate links used at no cost to you. What does this mean? If you use the links within this post to make a purchase, I receive a small commission, which allows me to continue to post crafty content for your enjoyment. I truly appreciate your support!
Latest Posts
- Simon Says Stamp Braided Greetings

- Together By Design Color Cube Floral

- Simon Says Stamp Cute Duckling

- Simon Says Stamp Watercolor Wild Rose

- Simon Says Stamp Striped Missing You

Latest Instagram Posts