Simon Says Stamp Falling in Love

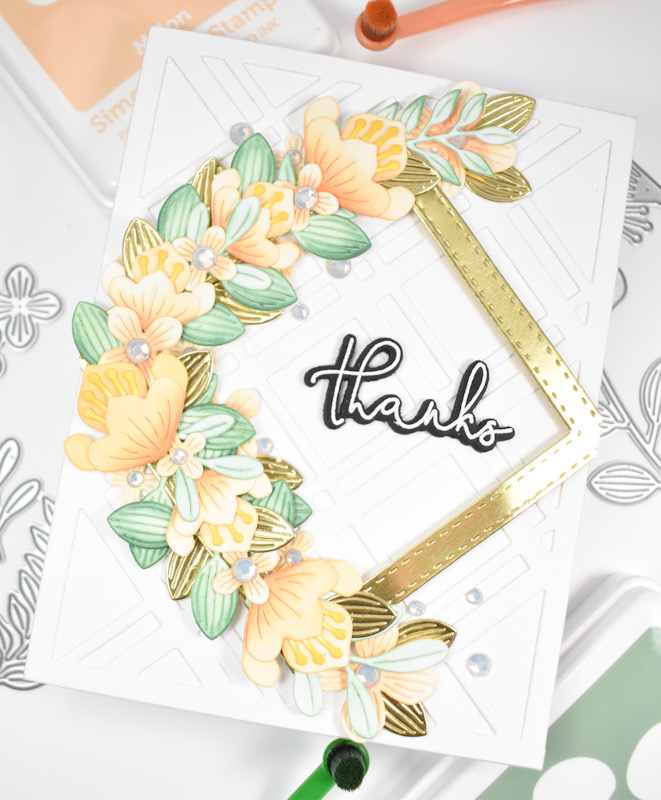
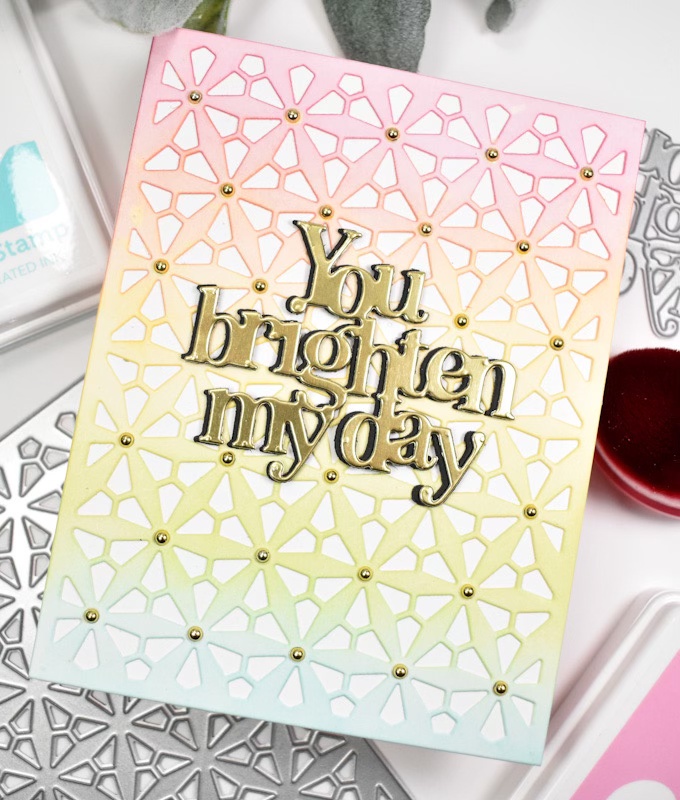
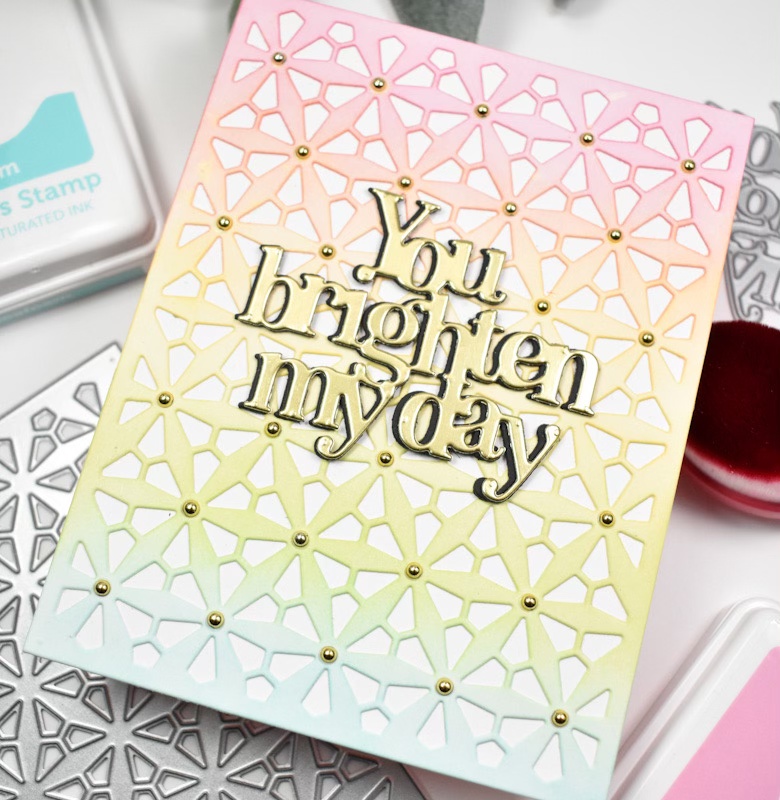
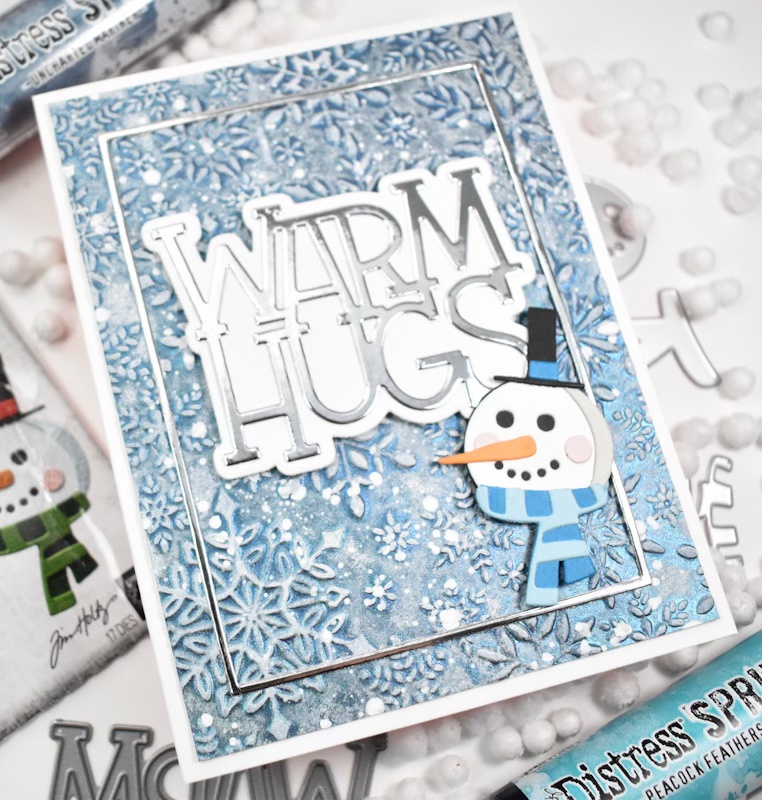
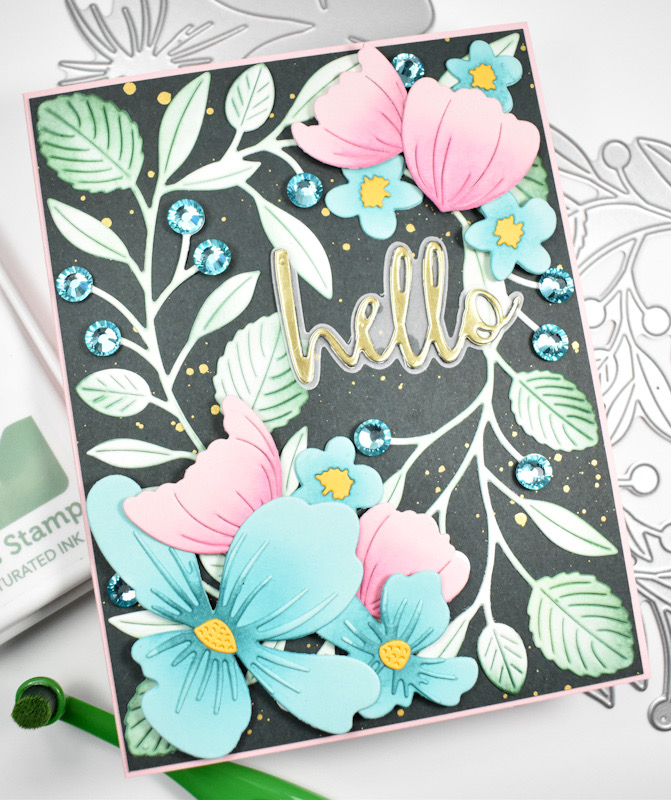
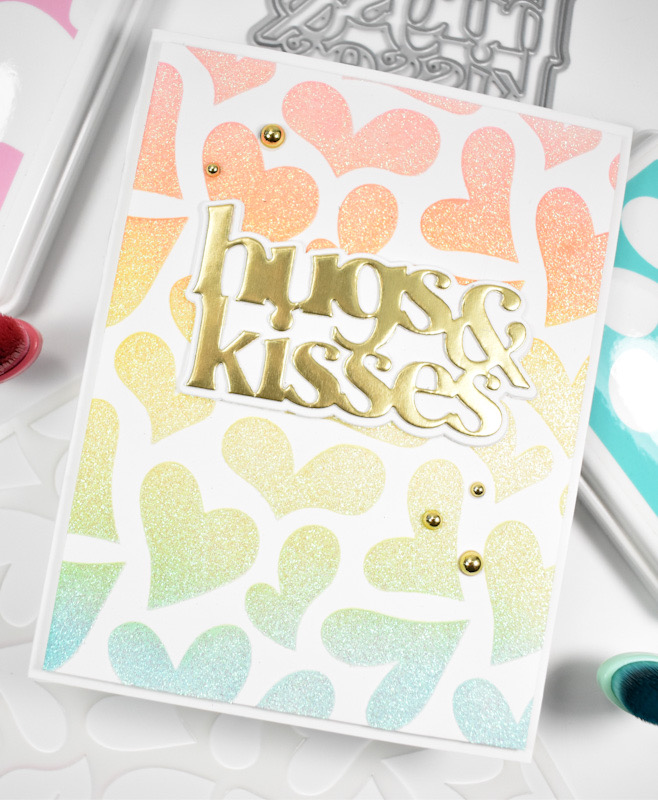
Hey There Friends! Thanks so much for stopping by to check out today’s project featuring the Falling in Love stencil from Simon’s latest release, To Love. I love good rainbow cards, so let’s go through the deets!
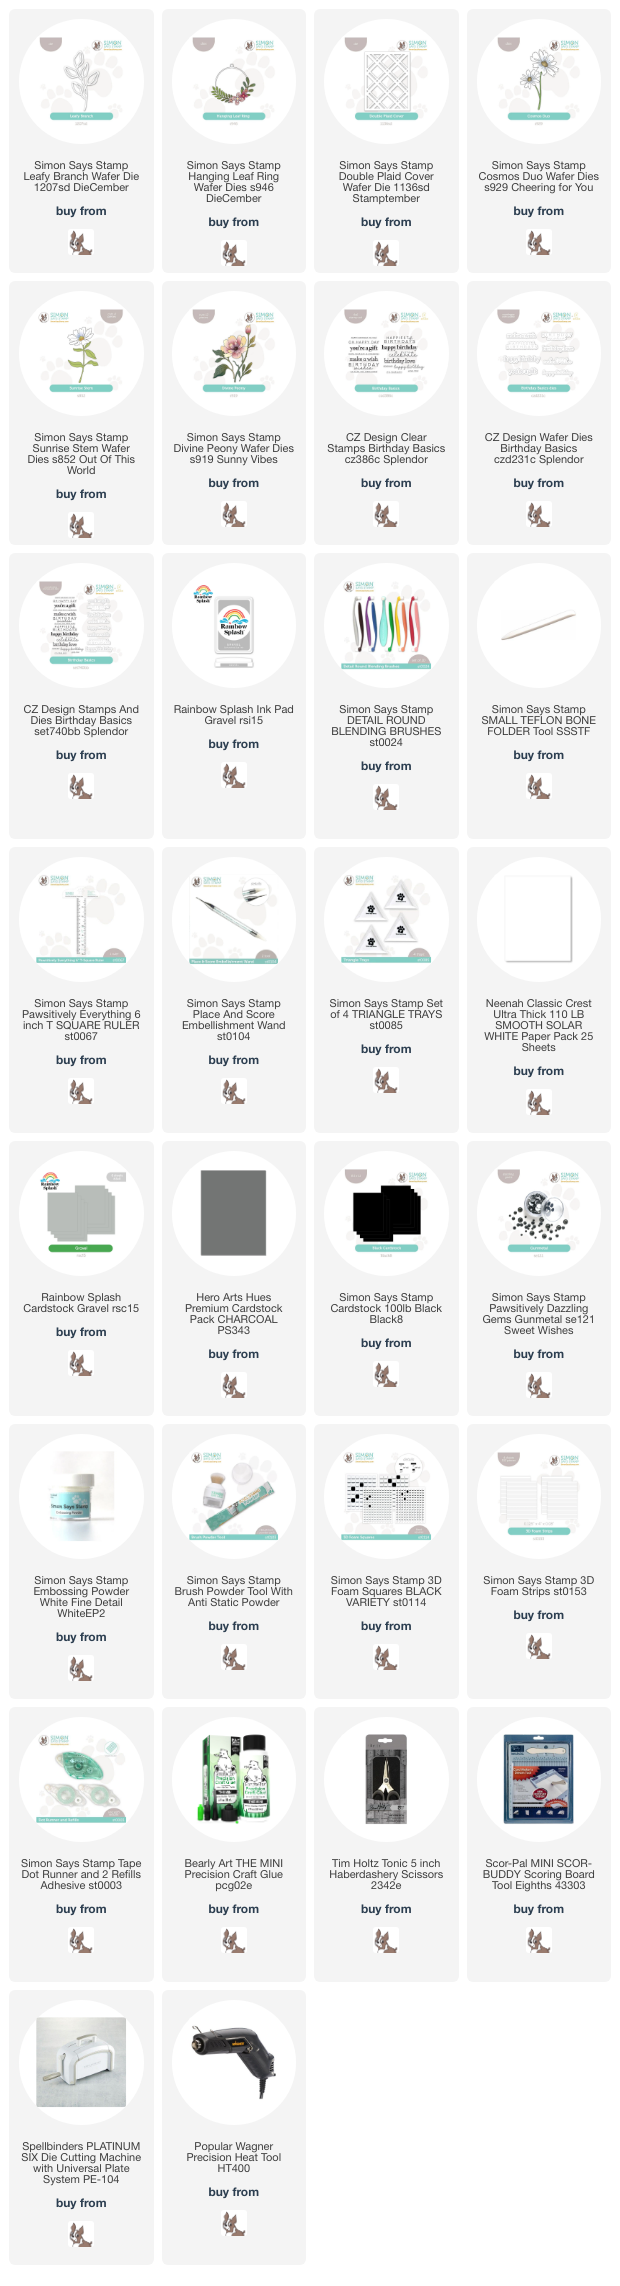
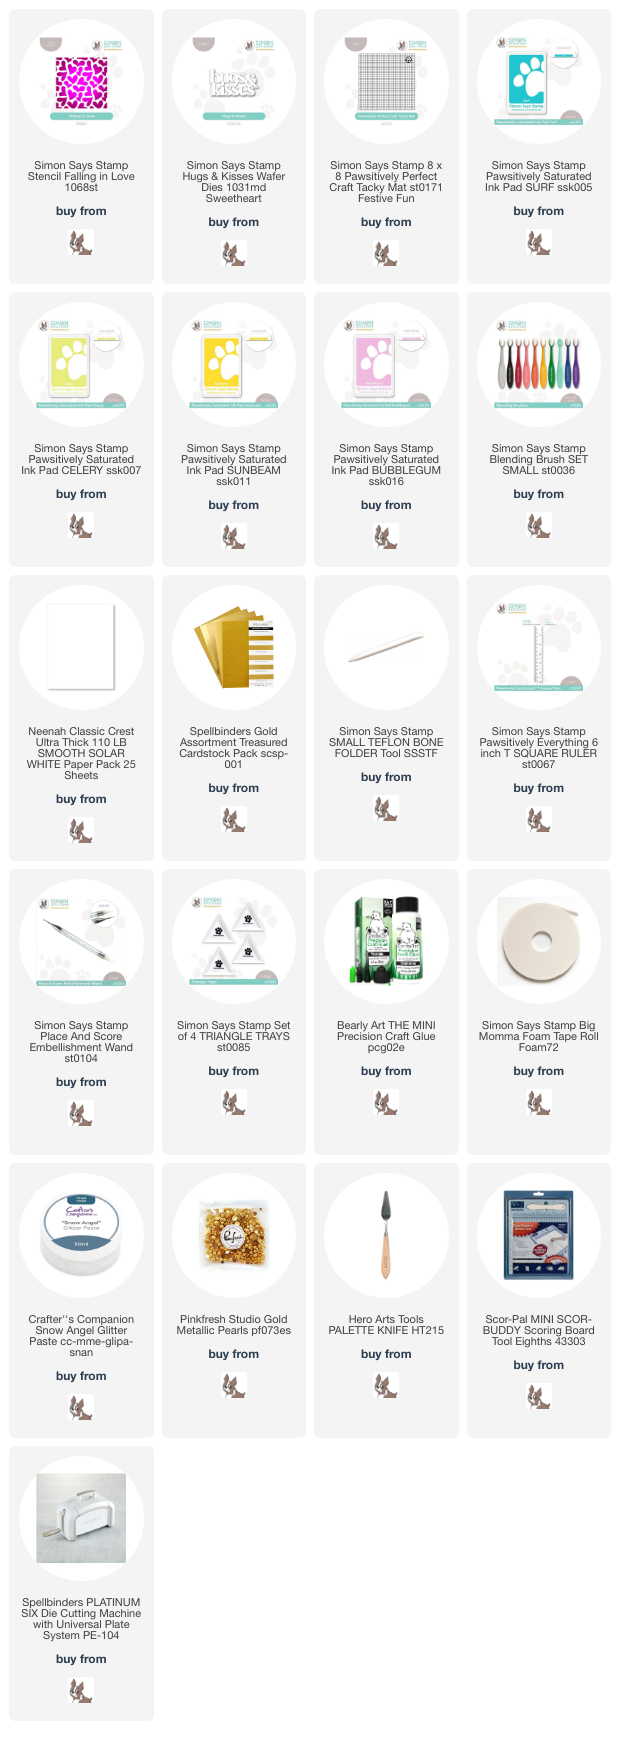
NOTE: all supplies are linked in the thumbnails at the end of this blog post.
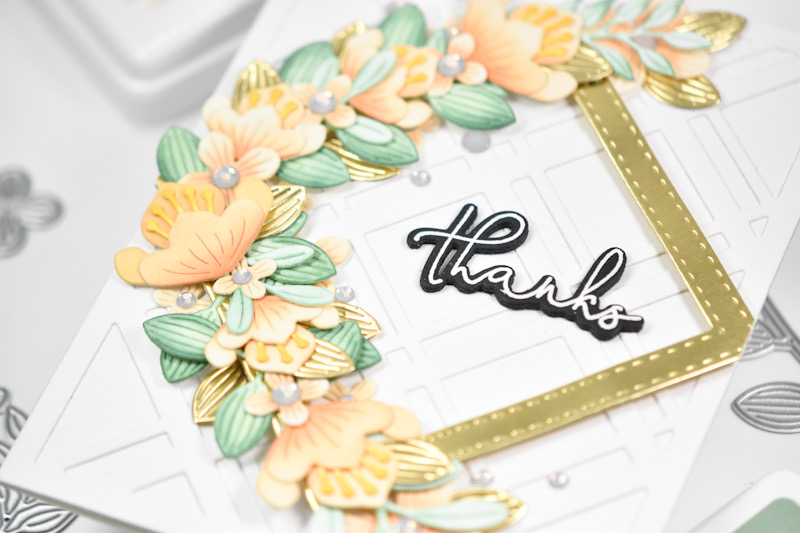
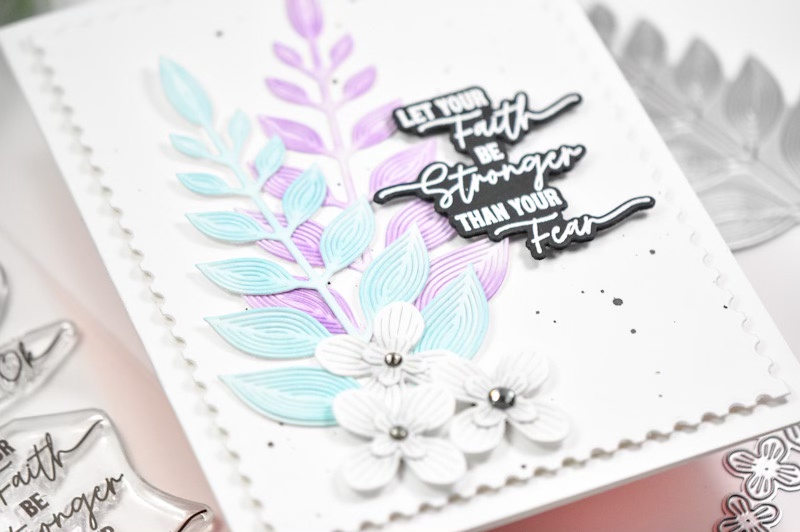
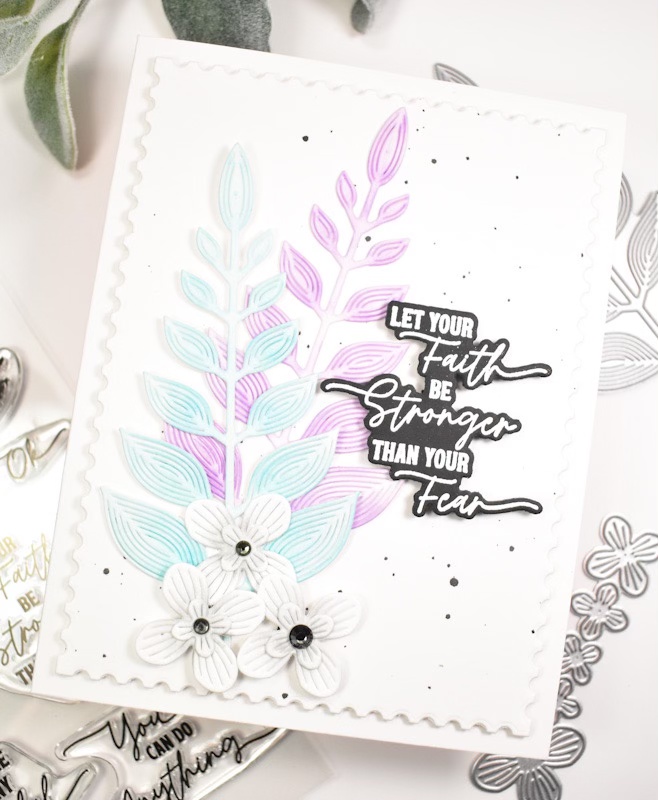
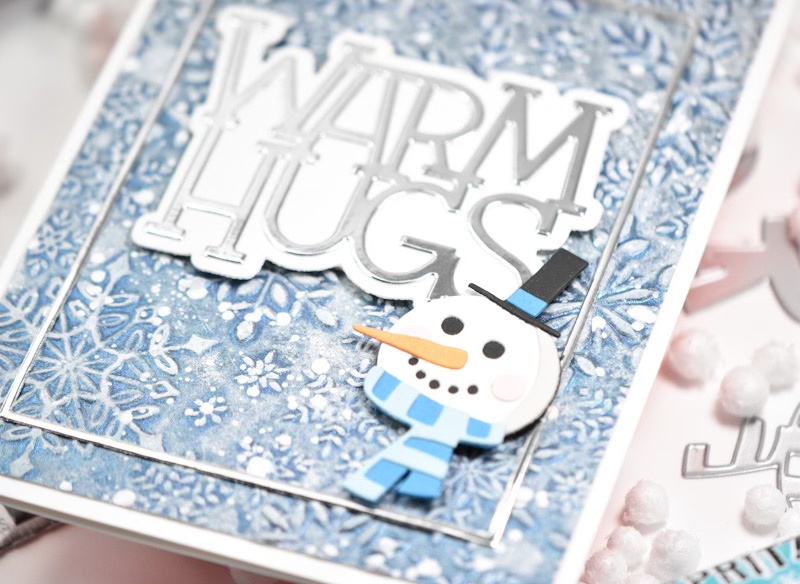
I began this project by ink blending over the stencil using Bubblegum, Sunbeam, Celery and Surf inks. I went and washed the stencil and put it back over the panel and applied Snow Angel Paste over that.

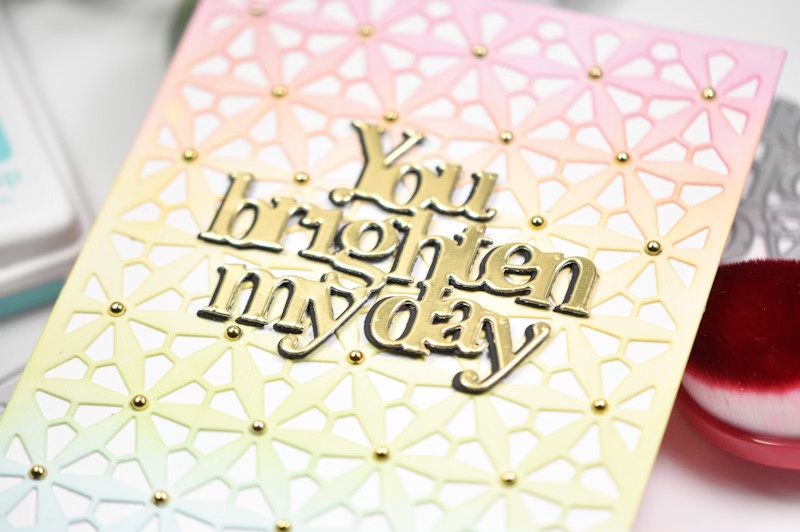
While that was drying, I die cut the Hugs & Kisses sentiment once from gold cardstock, twice from Neenah 110lb and cut the shadow twice as well. Those were all adhered together for that stacked sentiment that I love so very much!

Once my panel was completely dry, I adhered it to the card base using foam tape and glued the sentiment directly atop that. A few gold embellishments were added to finish up.
Super simple project for today! Head on over to Simon’s website to catch the full To Love release! Thanks again for joining me, and don’t forget to stay awesome, friend!

Supply List
Affiliate links used at no cost to you. What does this mean? If you use the links within this post to make a purchase, I receive a small commission, which allows me to continue to post crafty content for your enjoyment. I truly appreciate your support!
Latest Posts
- Simon Says Stamp Braided Greetings

- Together By Design Color Cube Floral

- Simon Says Stamp Cute Duckling

- Simon Says Stamp Watercolor Wild Rose

- Simon Says Stamp Striped Missing You

Latest Instagram Posts