Simon Says Stamp STAMPtember Collaboration with Concord & 9th

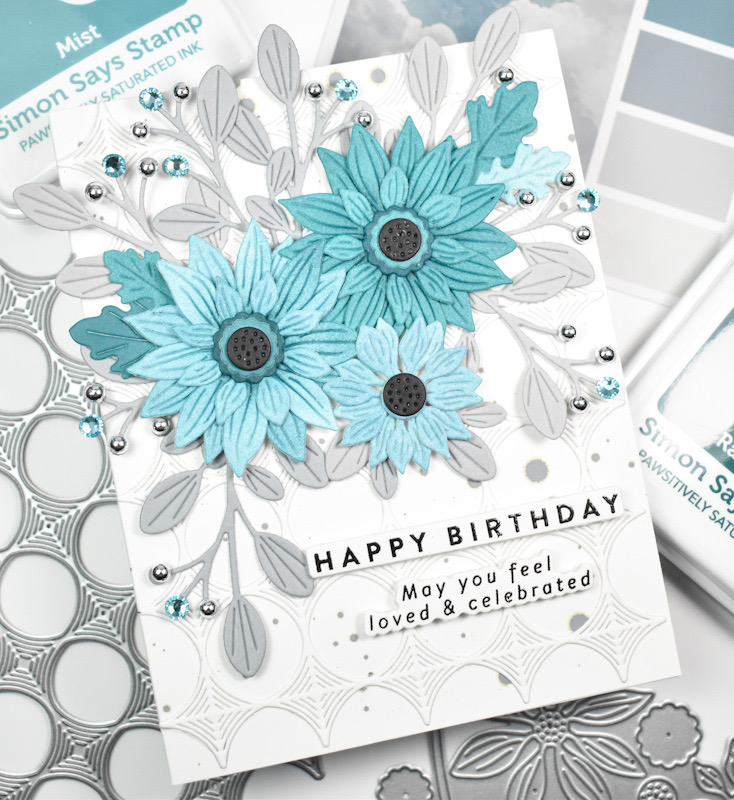
Hello Friends and welcome back! Today’s STAMPtember collaboration set is with Concord & 9th and features a wreath building stamp set. Let’s not waste time and get into the details!

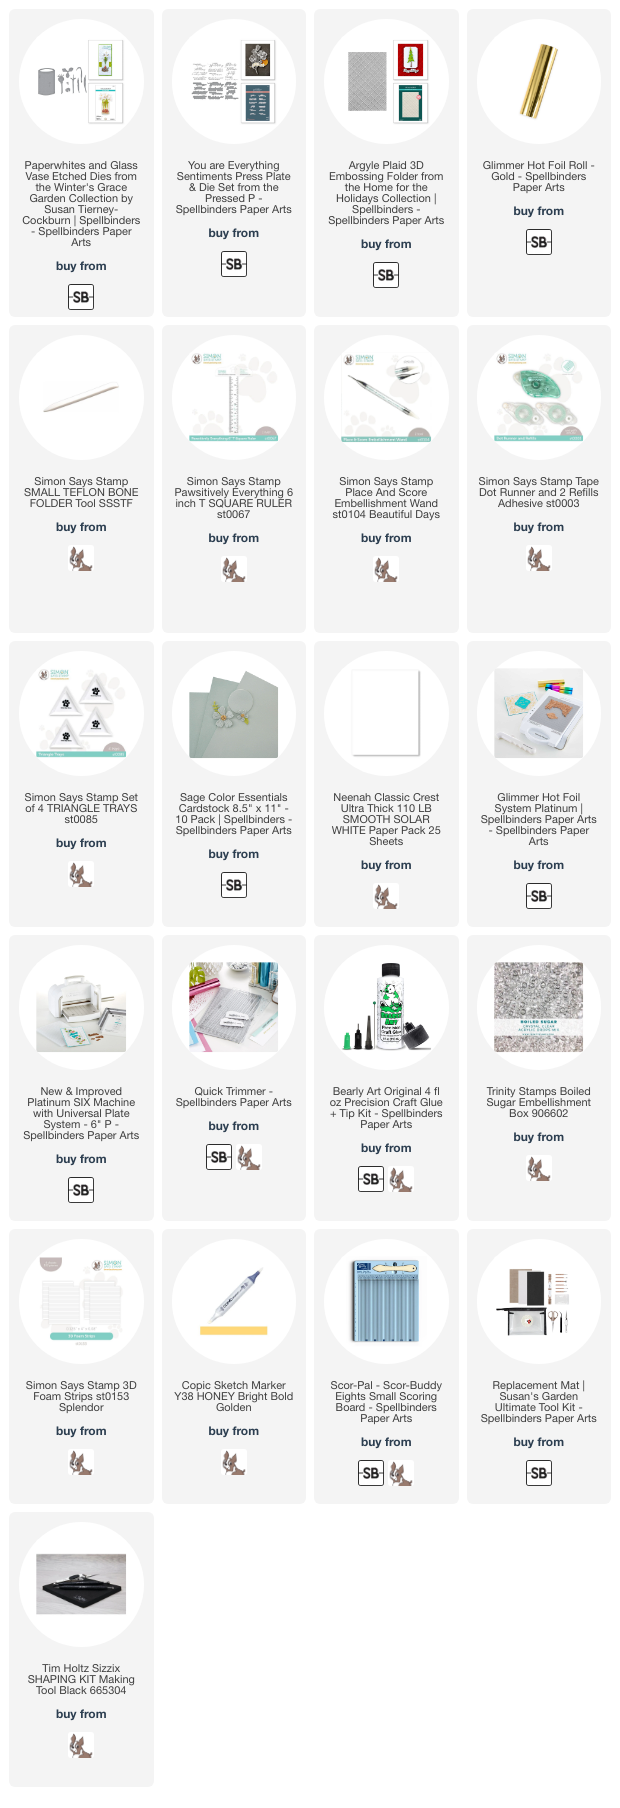
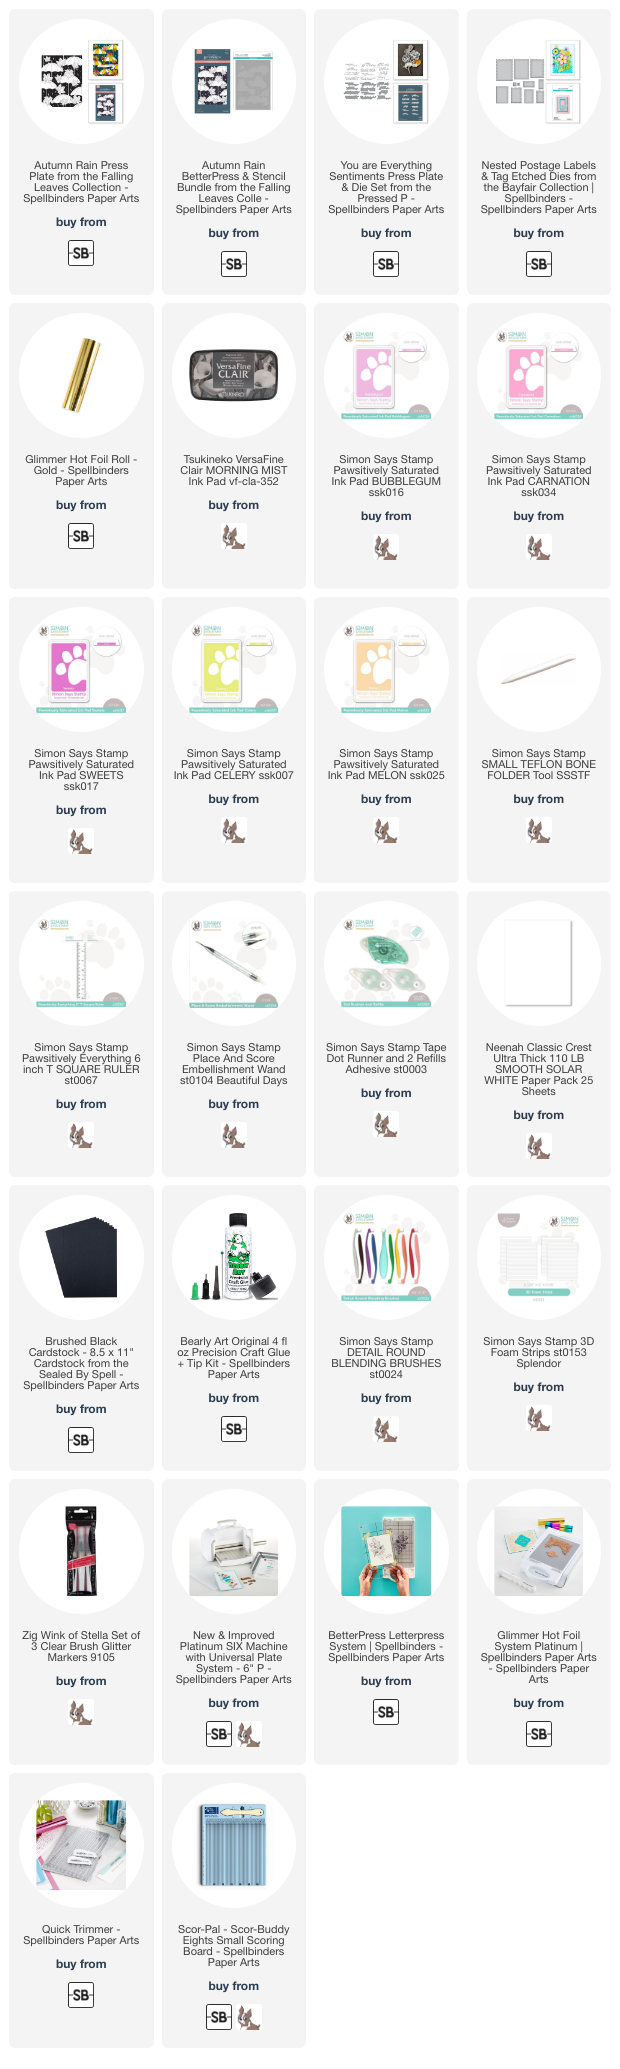
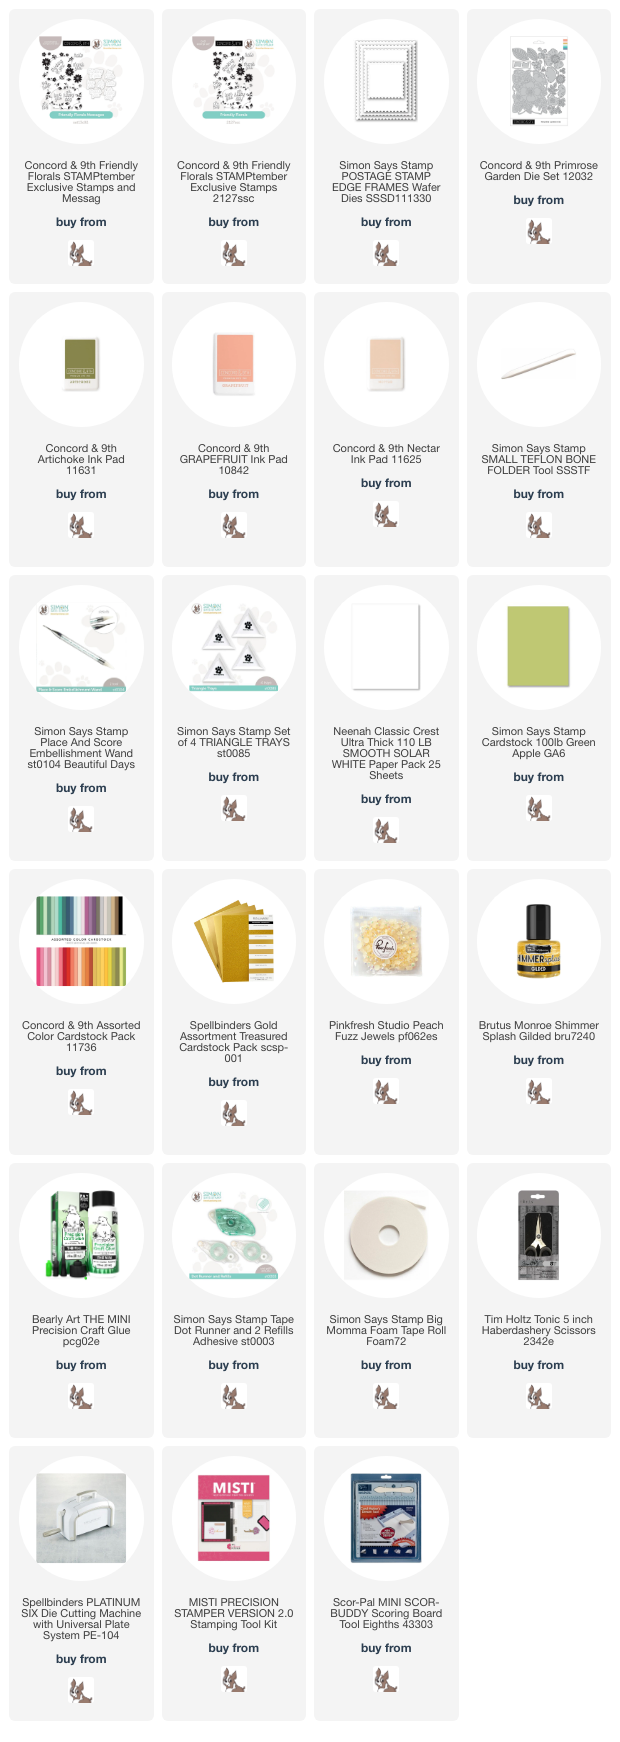
NOTE: all supplies are linked in the thumbnails at the end of this blog post.
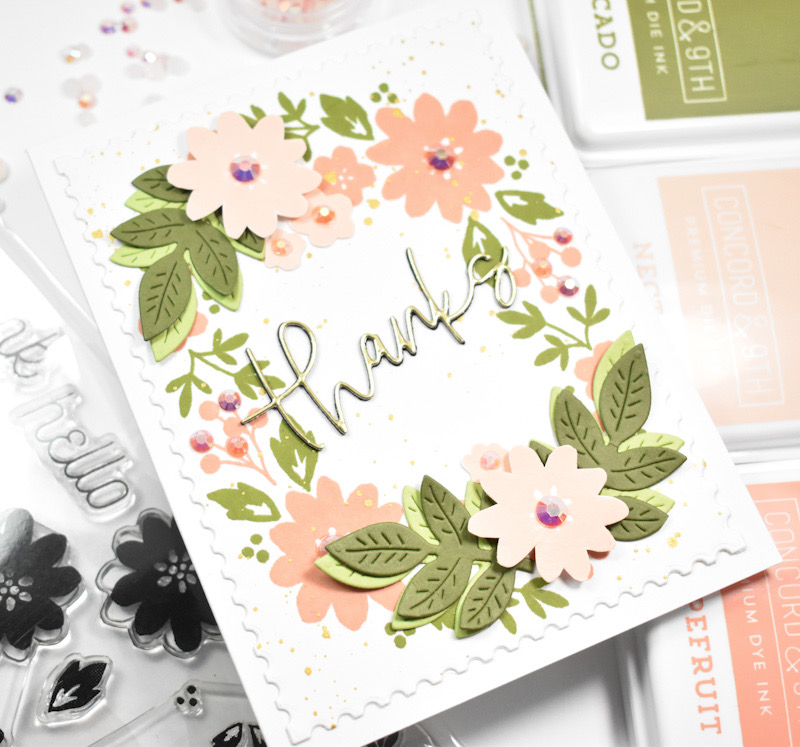
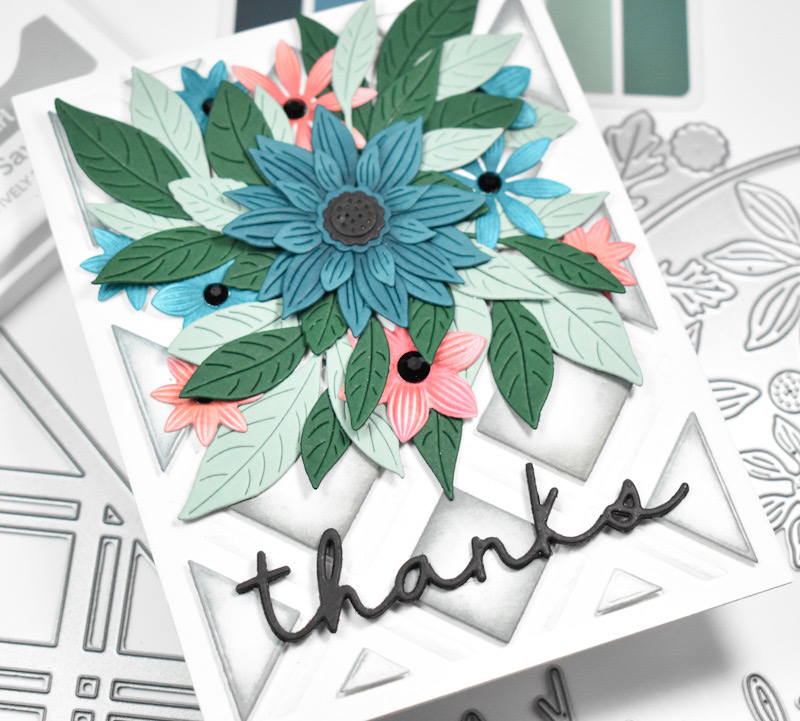
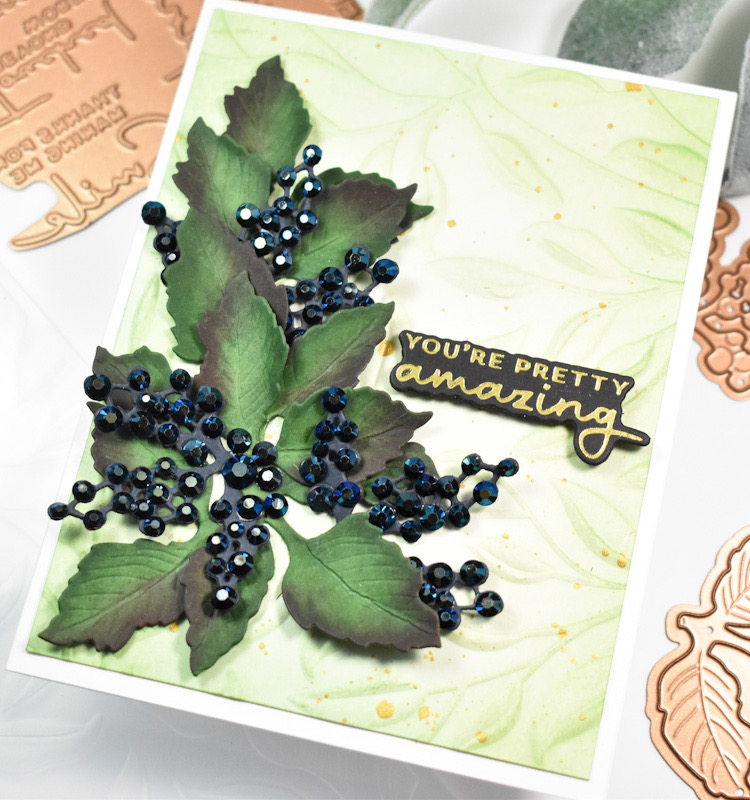
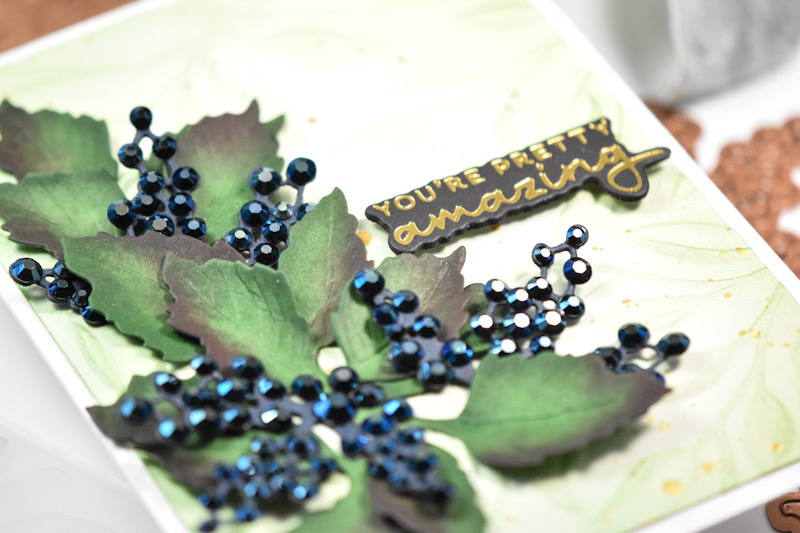
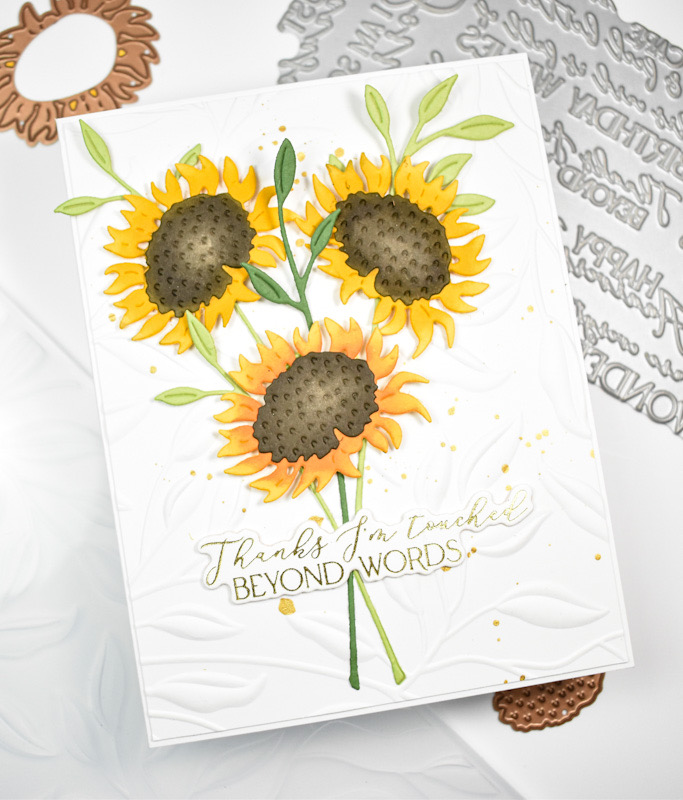
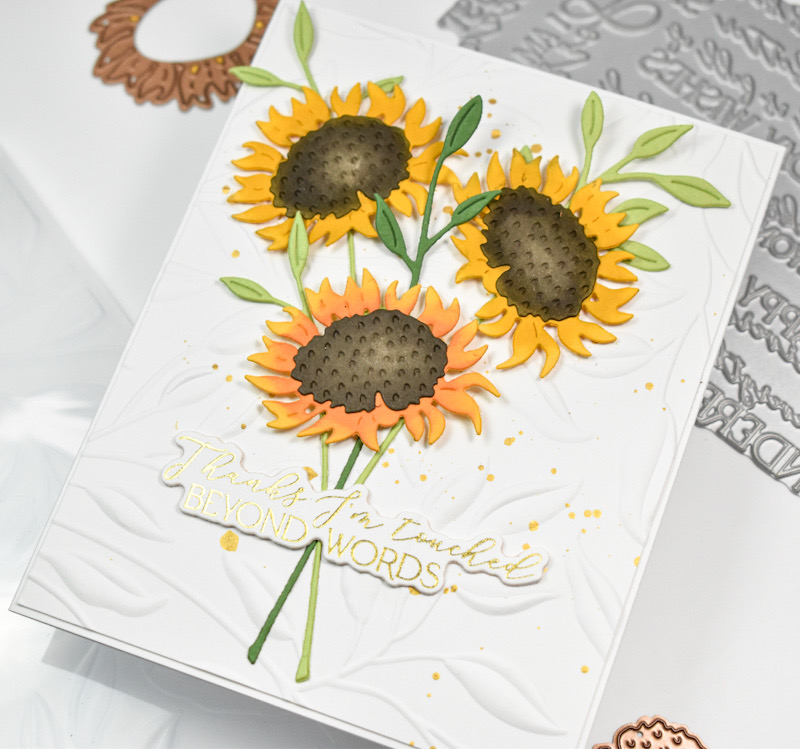
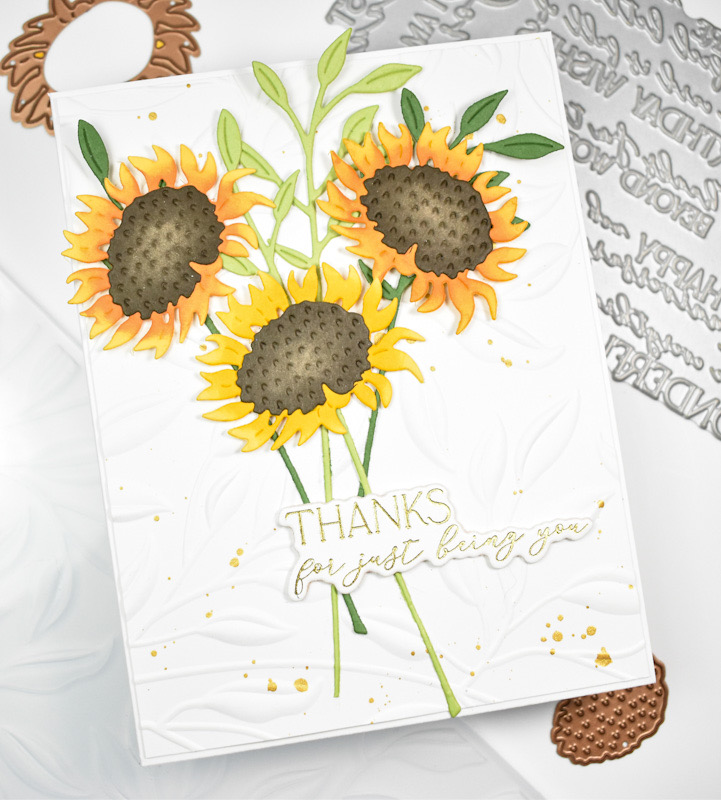
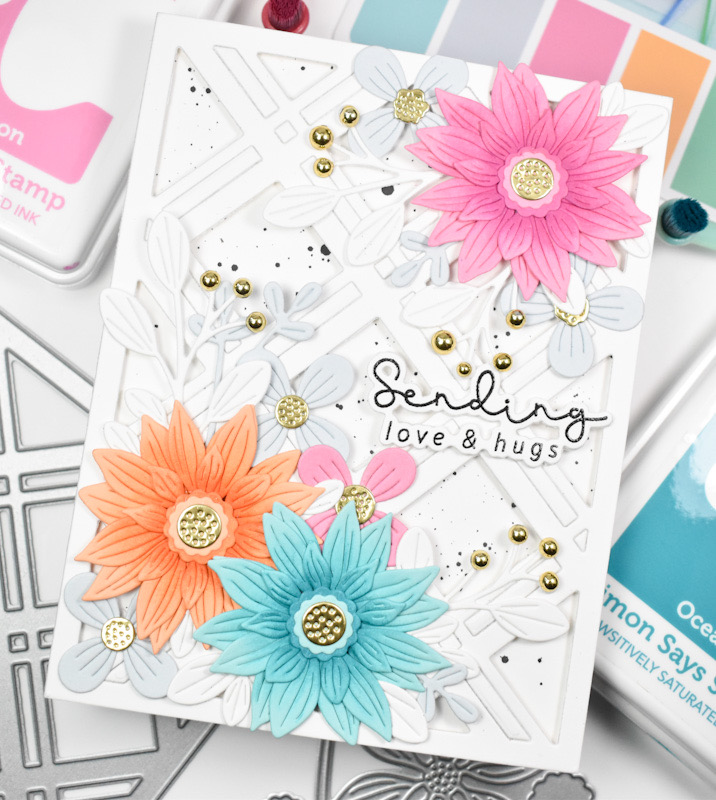
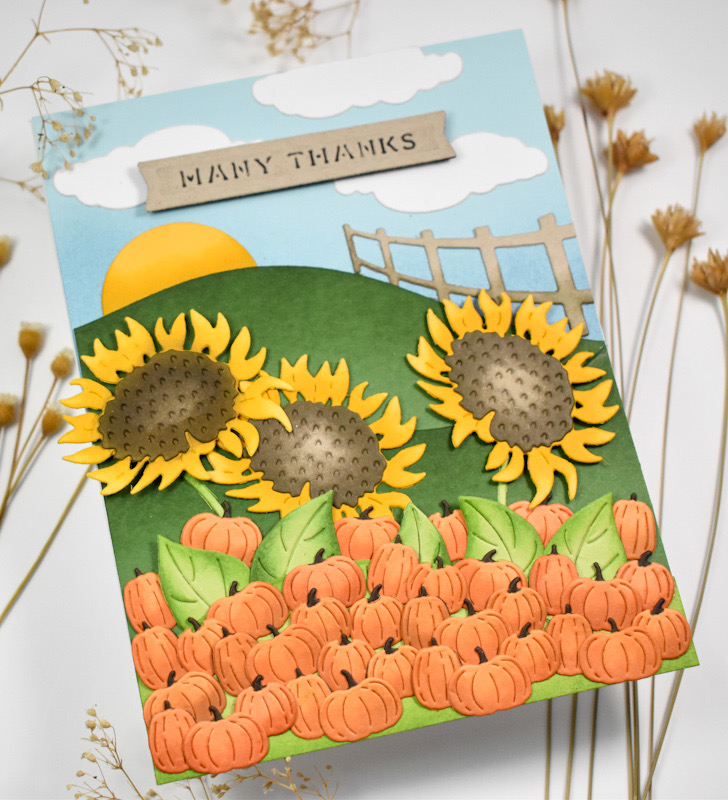
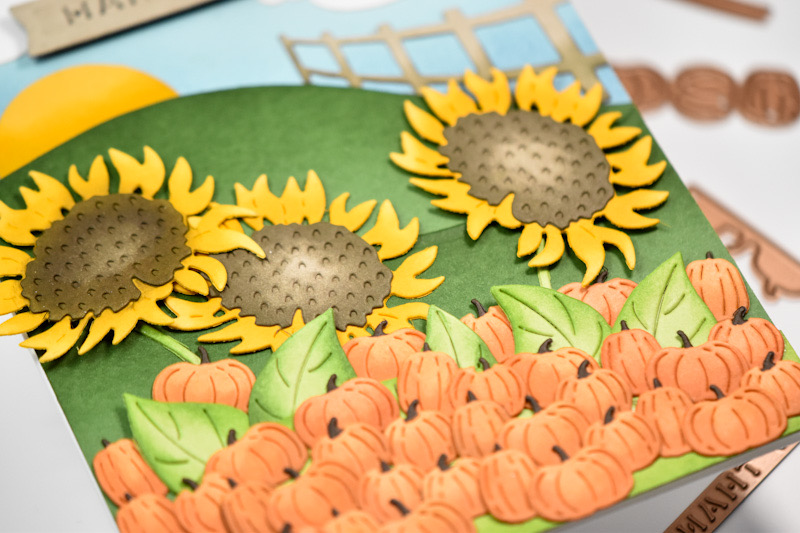
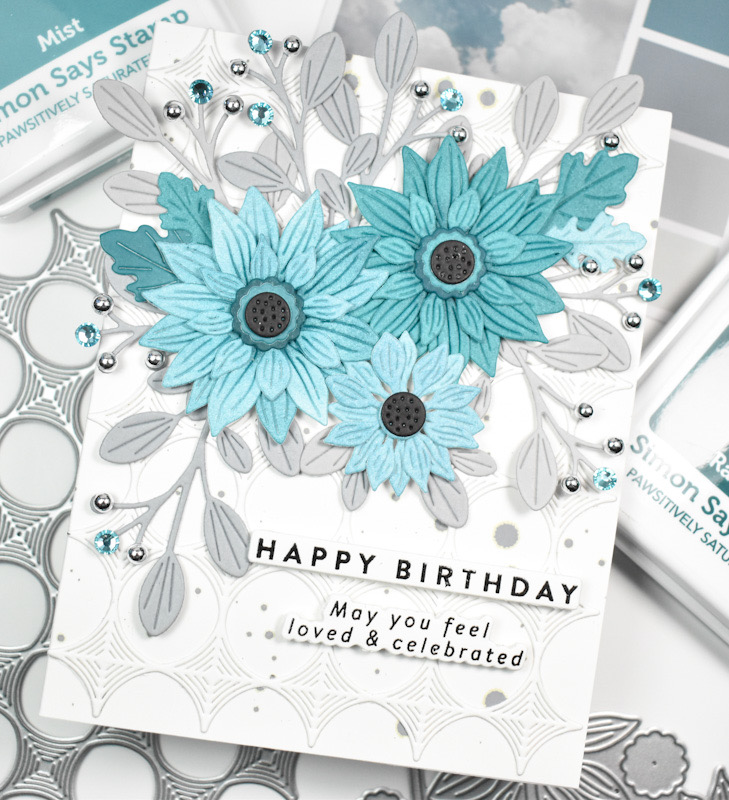
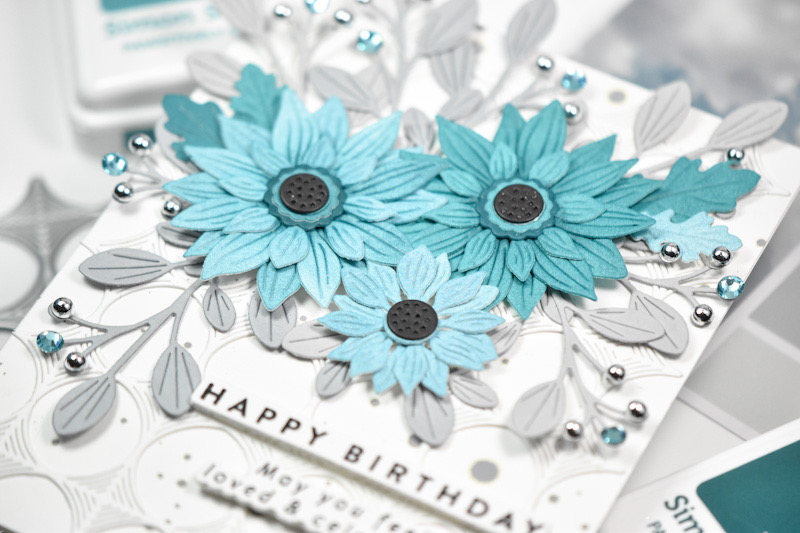
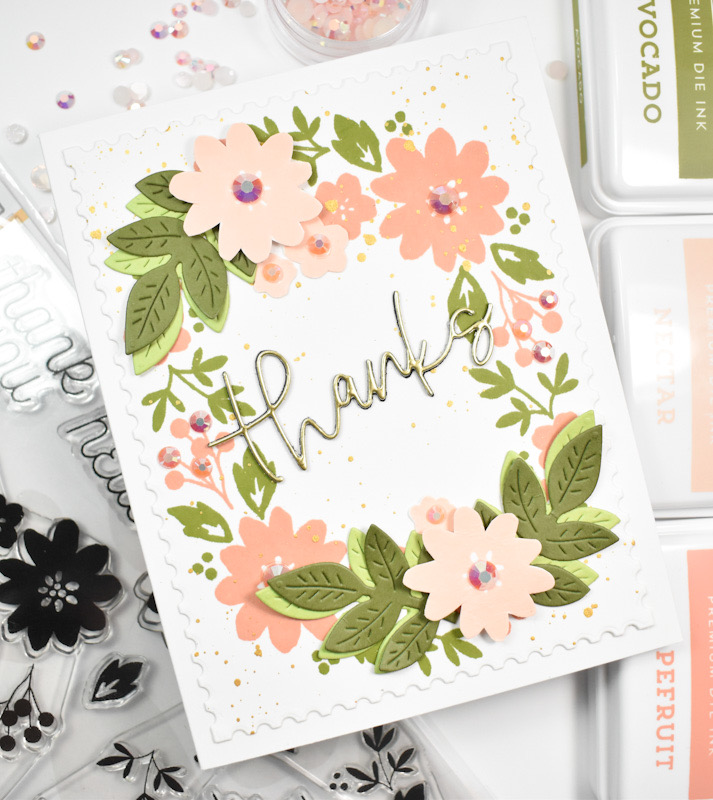
I began this card by stamping the florals and leaves onto a panel of Neenah 110lb cardstock using C&9 inks in Grapefruit and Artichoke. This set also includes individual flowers, so I stamped those using Nectar ink and fussy cut those out.
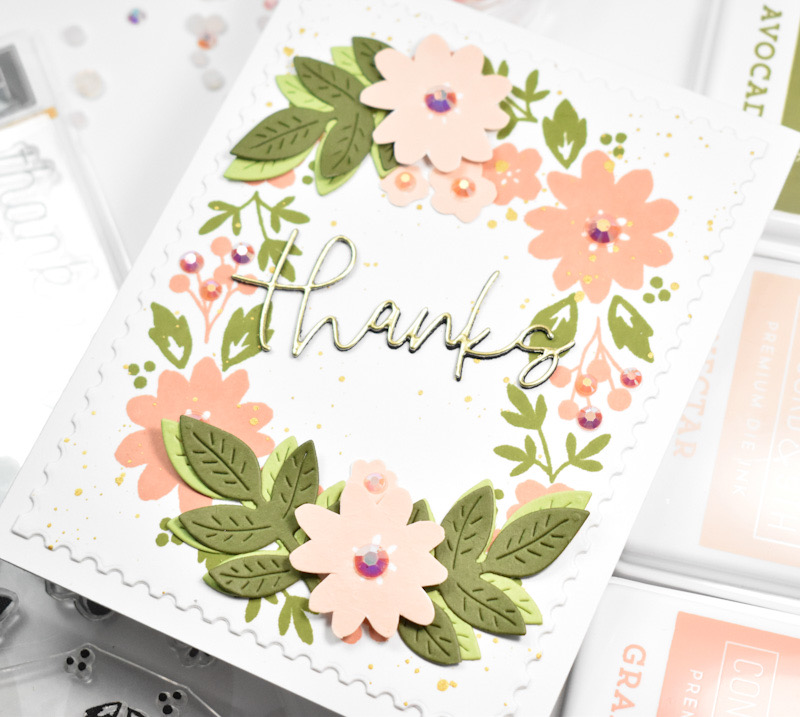
I trimmed the panel down using SSS Postage Stamp Edge Frames and gave it a gold splatter for additional interest. I always need more leaves so I used the C&9 Primrose Garden dies for those, and cut several leaves from two colors of green cardstock.
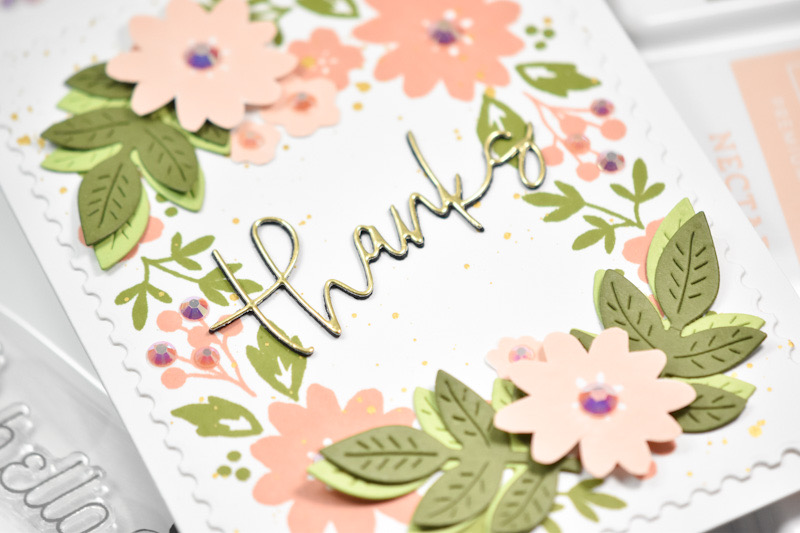
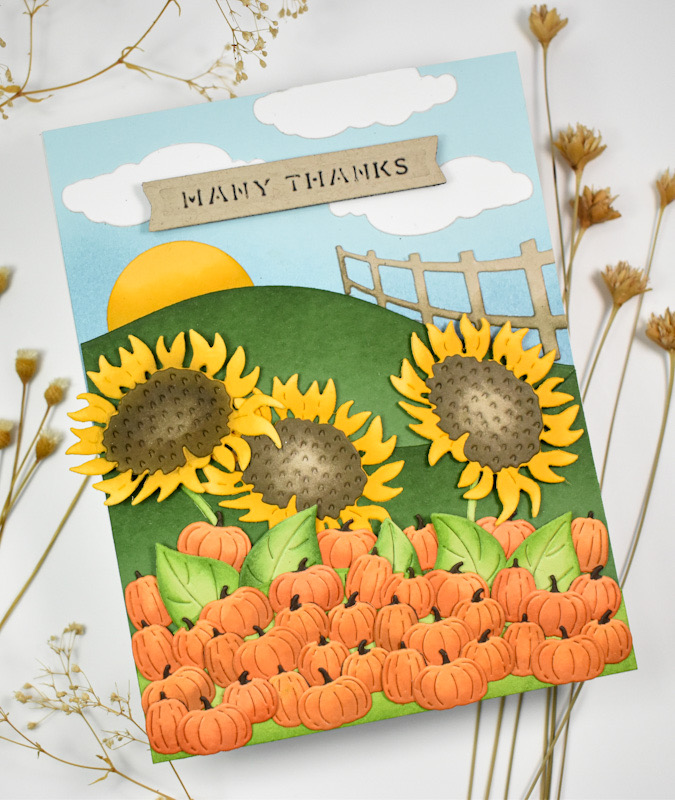
The sentiment that I used is the C&9th Scripted Thanks die, which is from a summer camp bundle several years ago and doesn’t appear to be available. But, you can use whatever you have in your stash that will fit. I cut the thanks once from gold cardstock and twice from black cardstock and adhered those together using liquid glue.

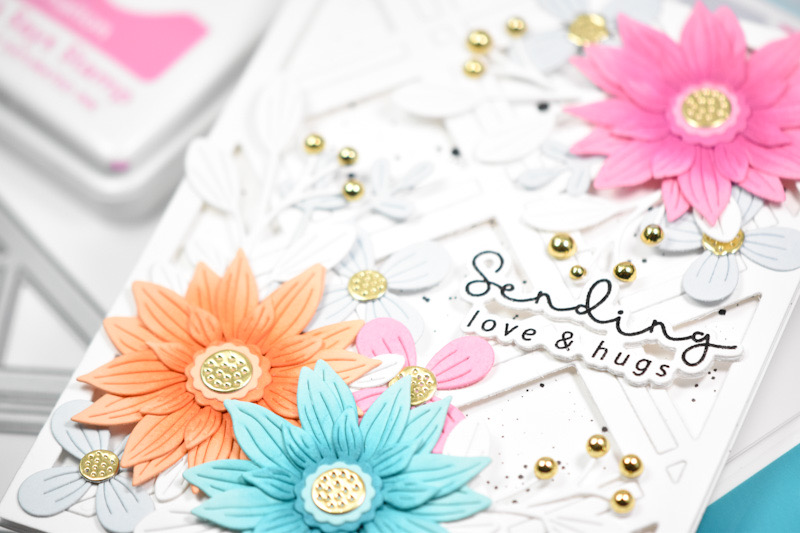
My panel was adhered to the card base and I glued the green leaves in place and adhered the individual flowers atop those with foam tape. To finish up, I added some PinkFresh Jewels for some sparkle.
That does it for this project! I hope you enjoyed it, and I hope it inspires you to get crafty in your space! Don’t forget to head over to Simon’s website to snatch up your copy of this collab set, because once they’re gone, they’re gone forever! Thanks again for stopping by, and I hope you have a wonderful day!
Supply List
Affiliate links used at no cost to you. What does this mean? If you use the links within this post to make a purchase, I receive a small commission, which allows me to continue to post crafty content for your enjoyment. I truly appreciate your support!
Latest Posts
- Simon Says Stamp Braided Greetings

- Together By Design Color Cube Floral

- Simon Says Stamp Cute Duckling

- Simon Says Stamp Watercolor Wild Rose

- Simon Says Stamp Striped Missing You