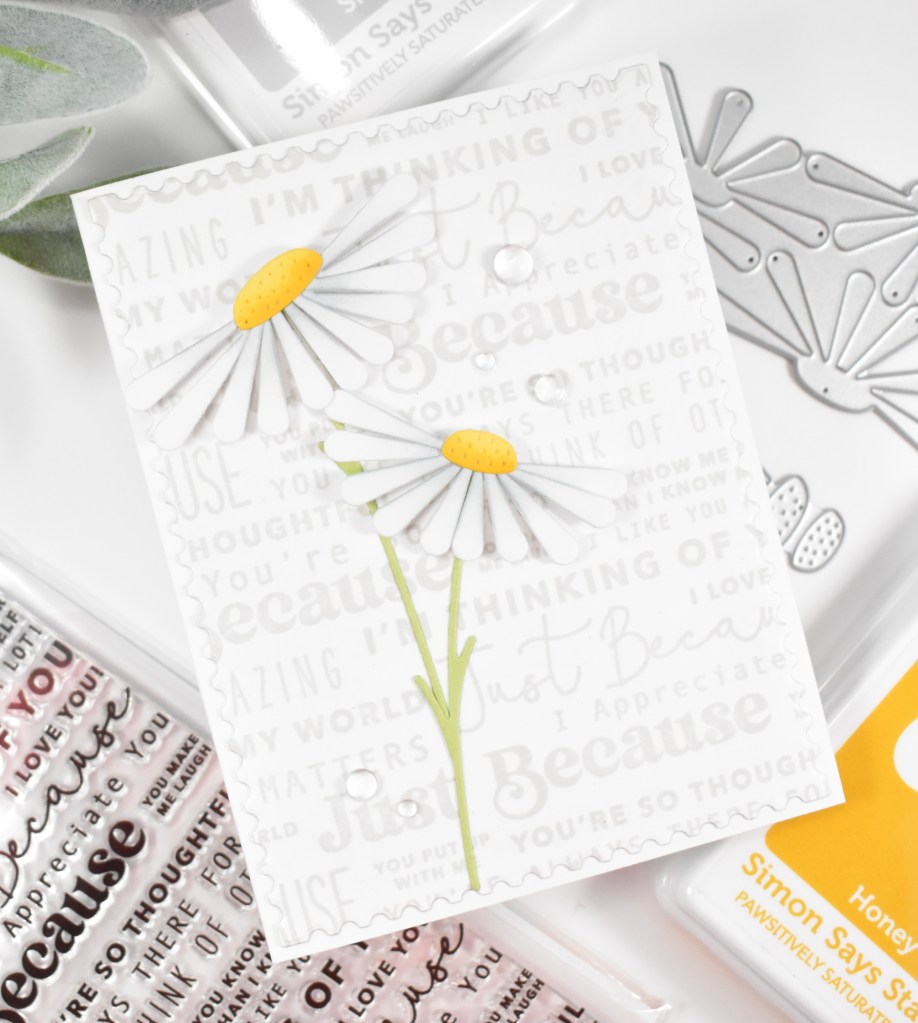
Simon Says Stamp Just Because Daisies

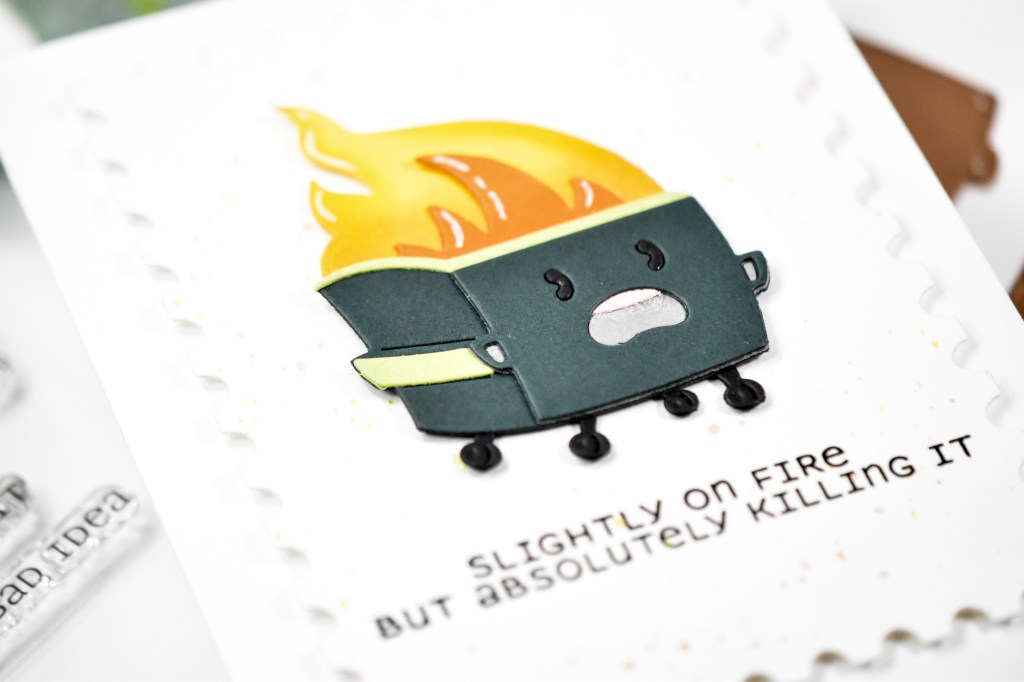
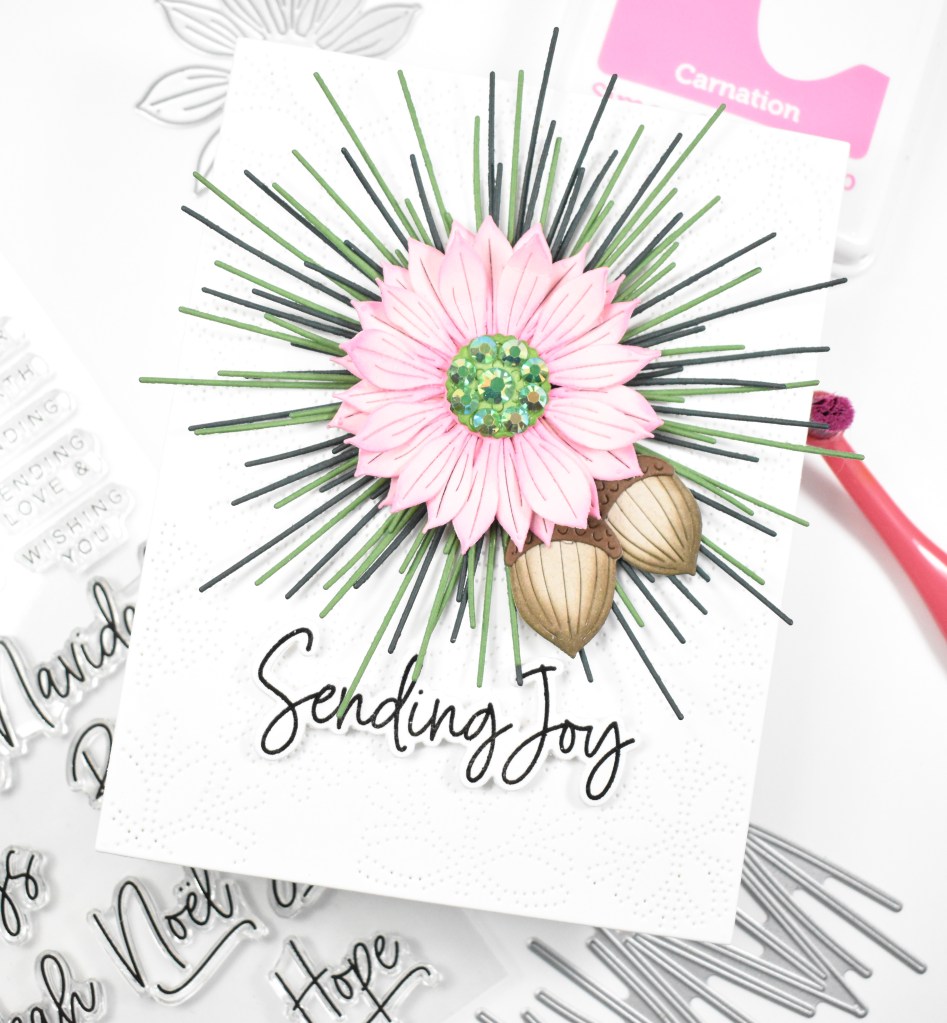
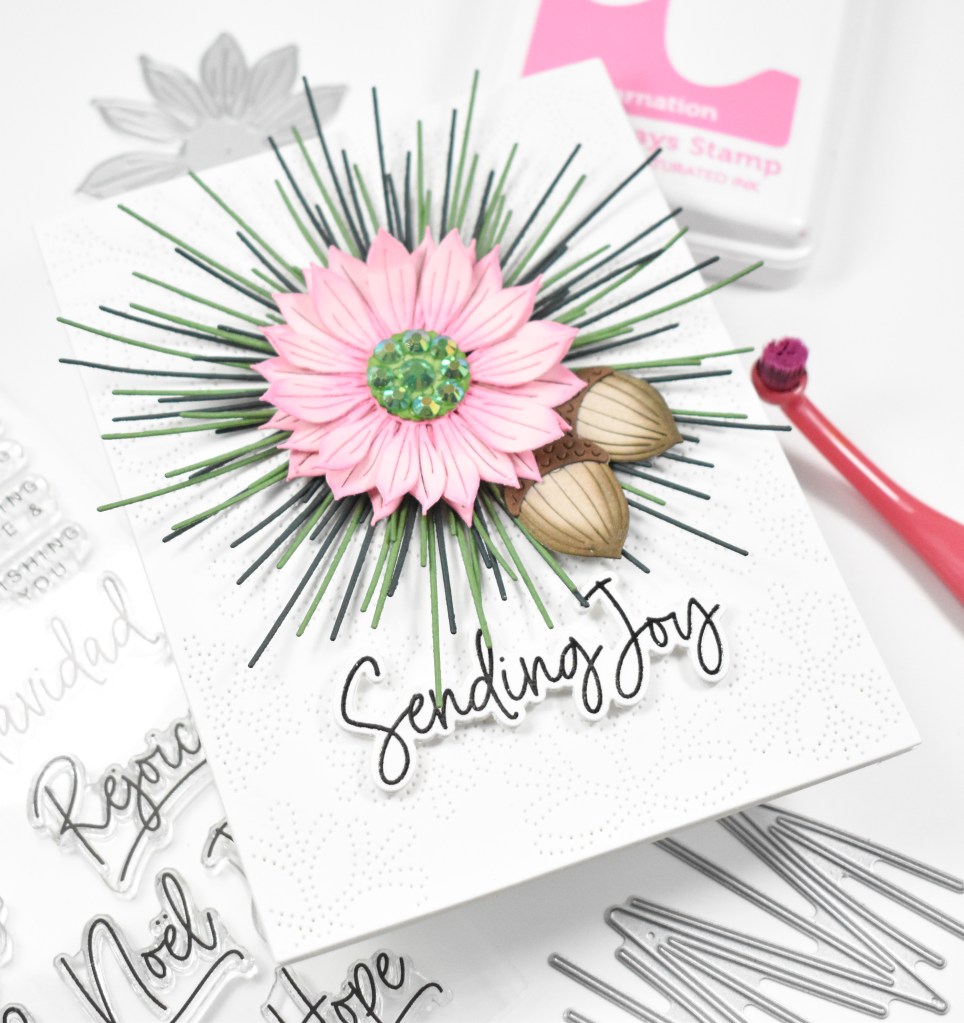
Hello Friends, and thanks for stopping by to check out today’s project featuring a couple of products from Simon, including the Tilted Daises. This was a quick one, so let’s zoom through the details.
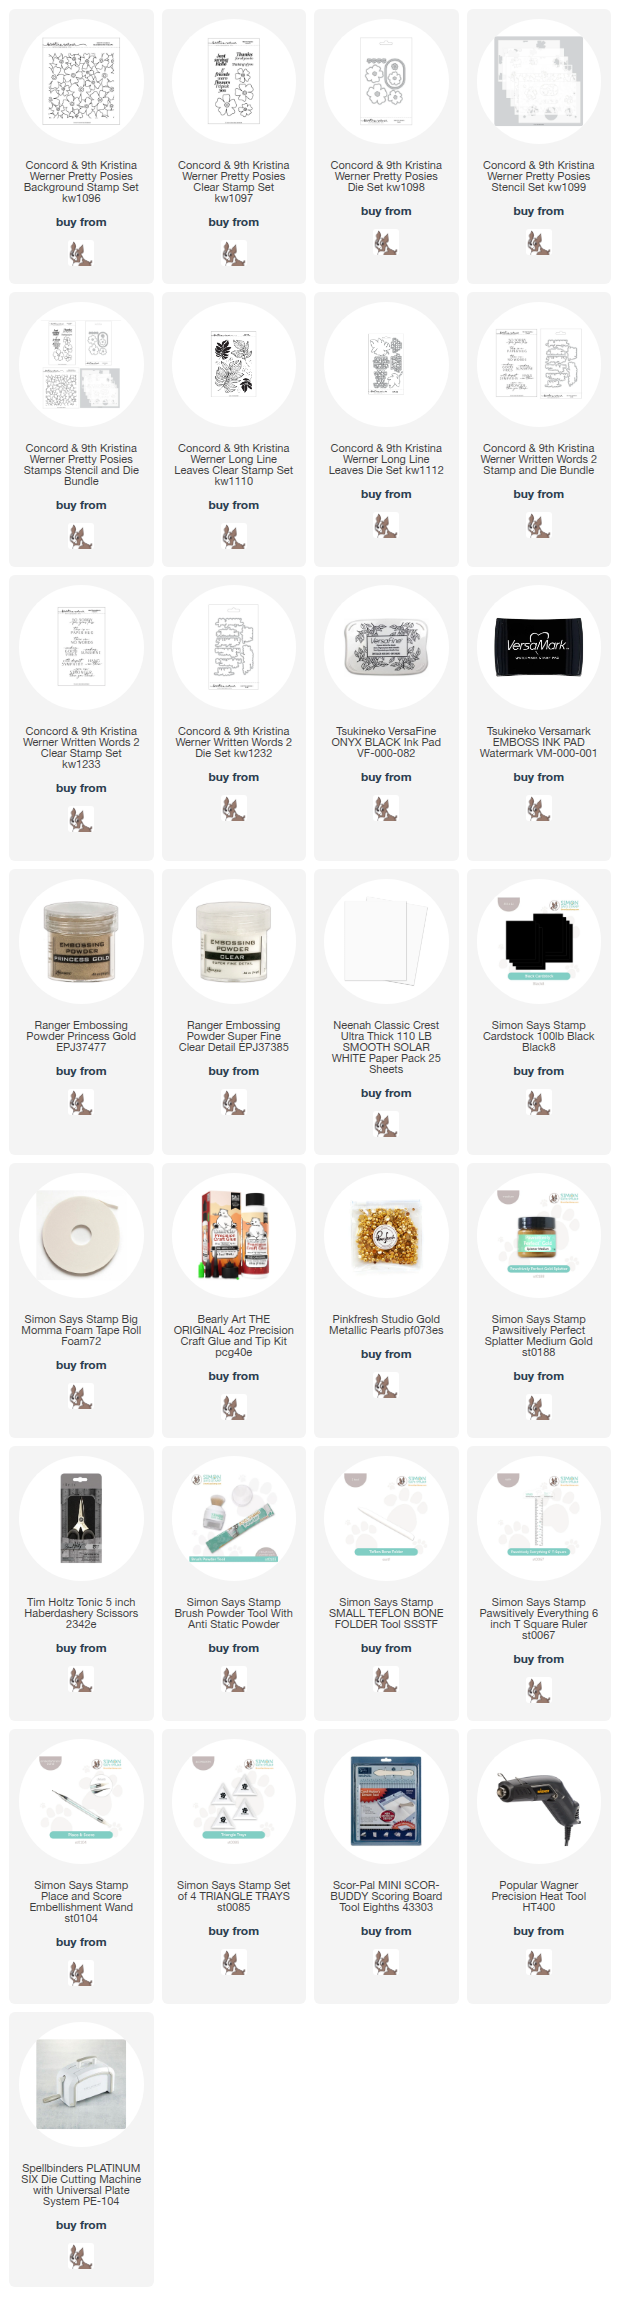
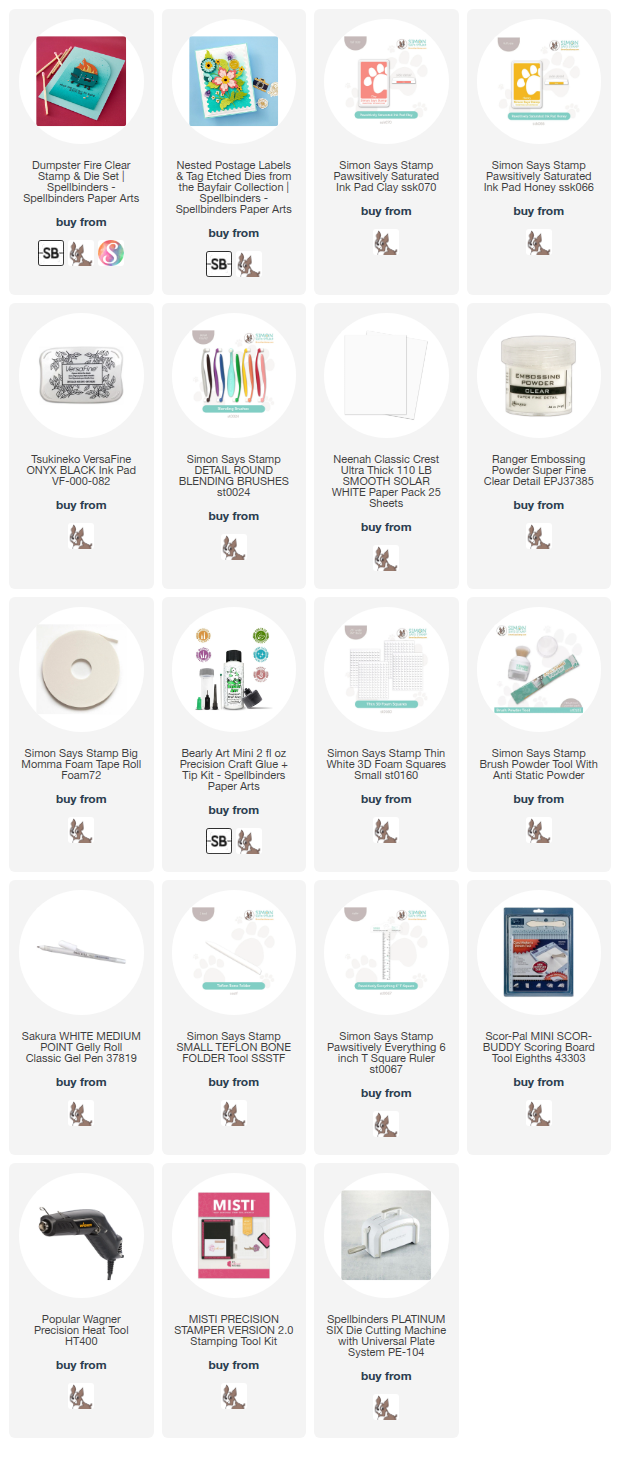
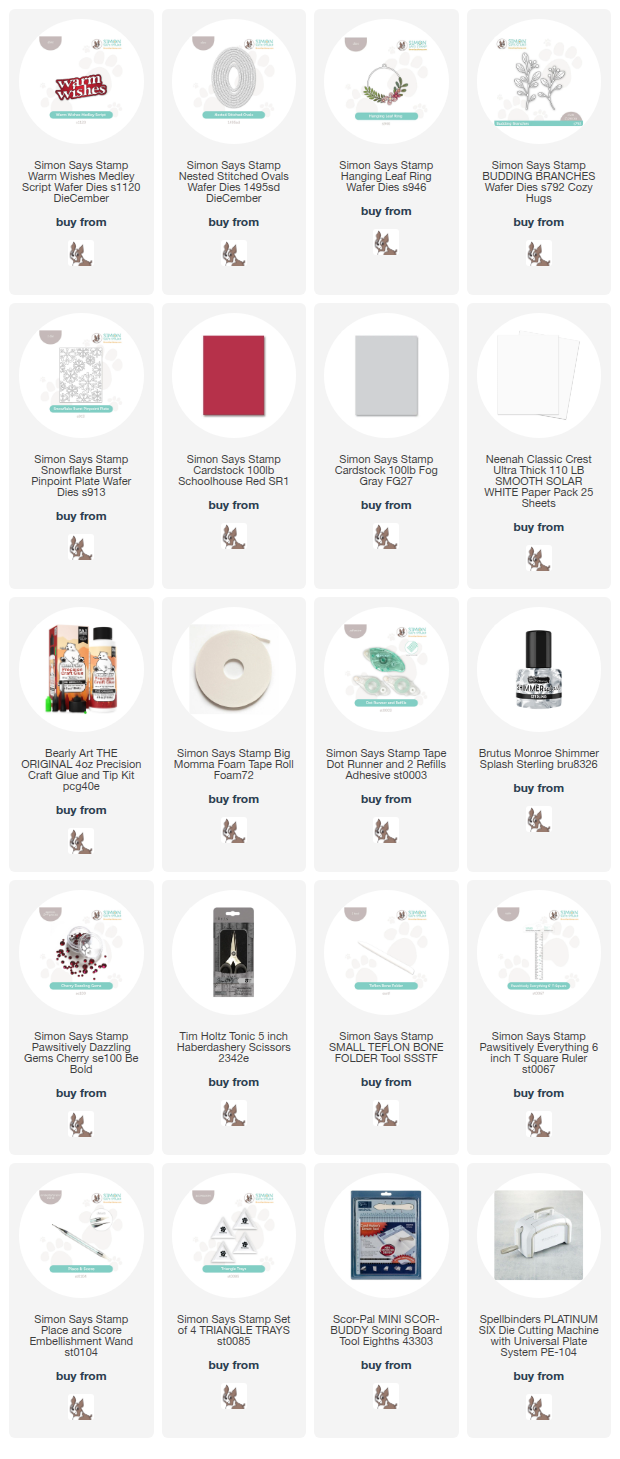
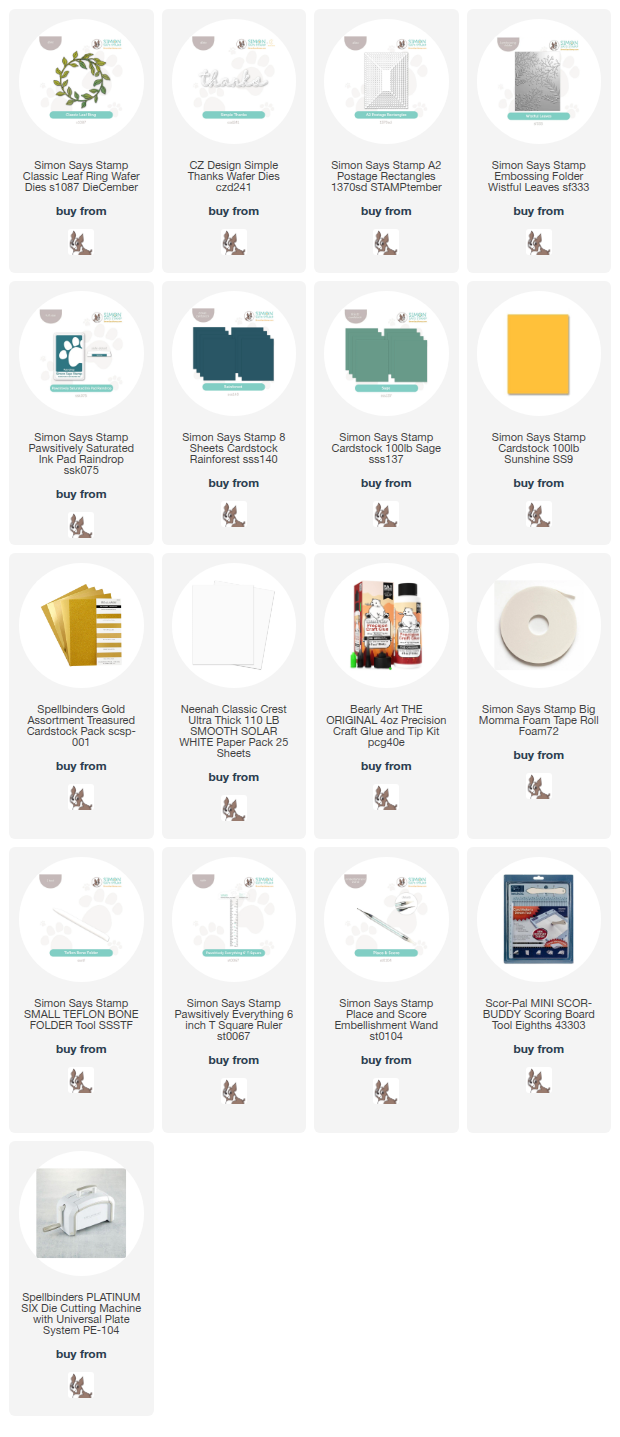
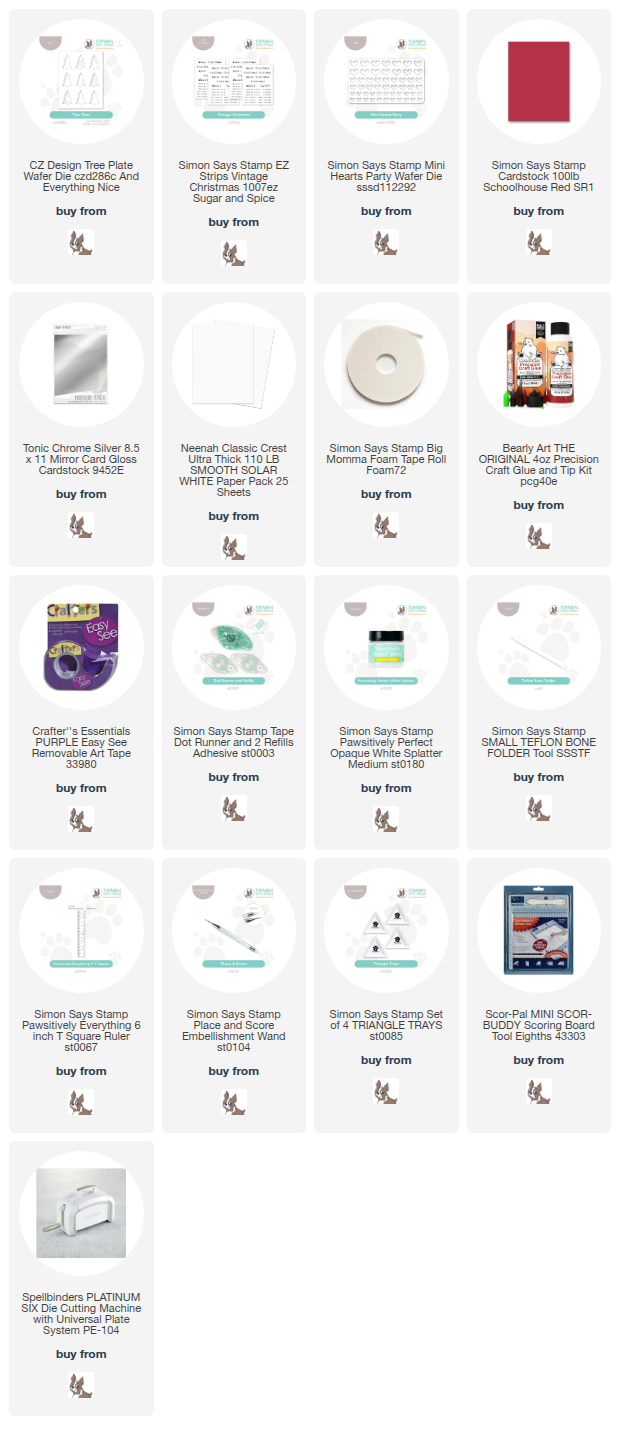
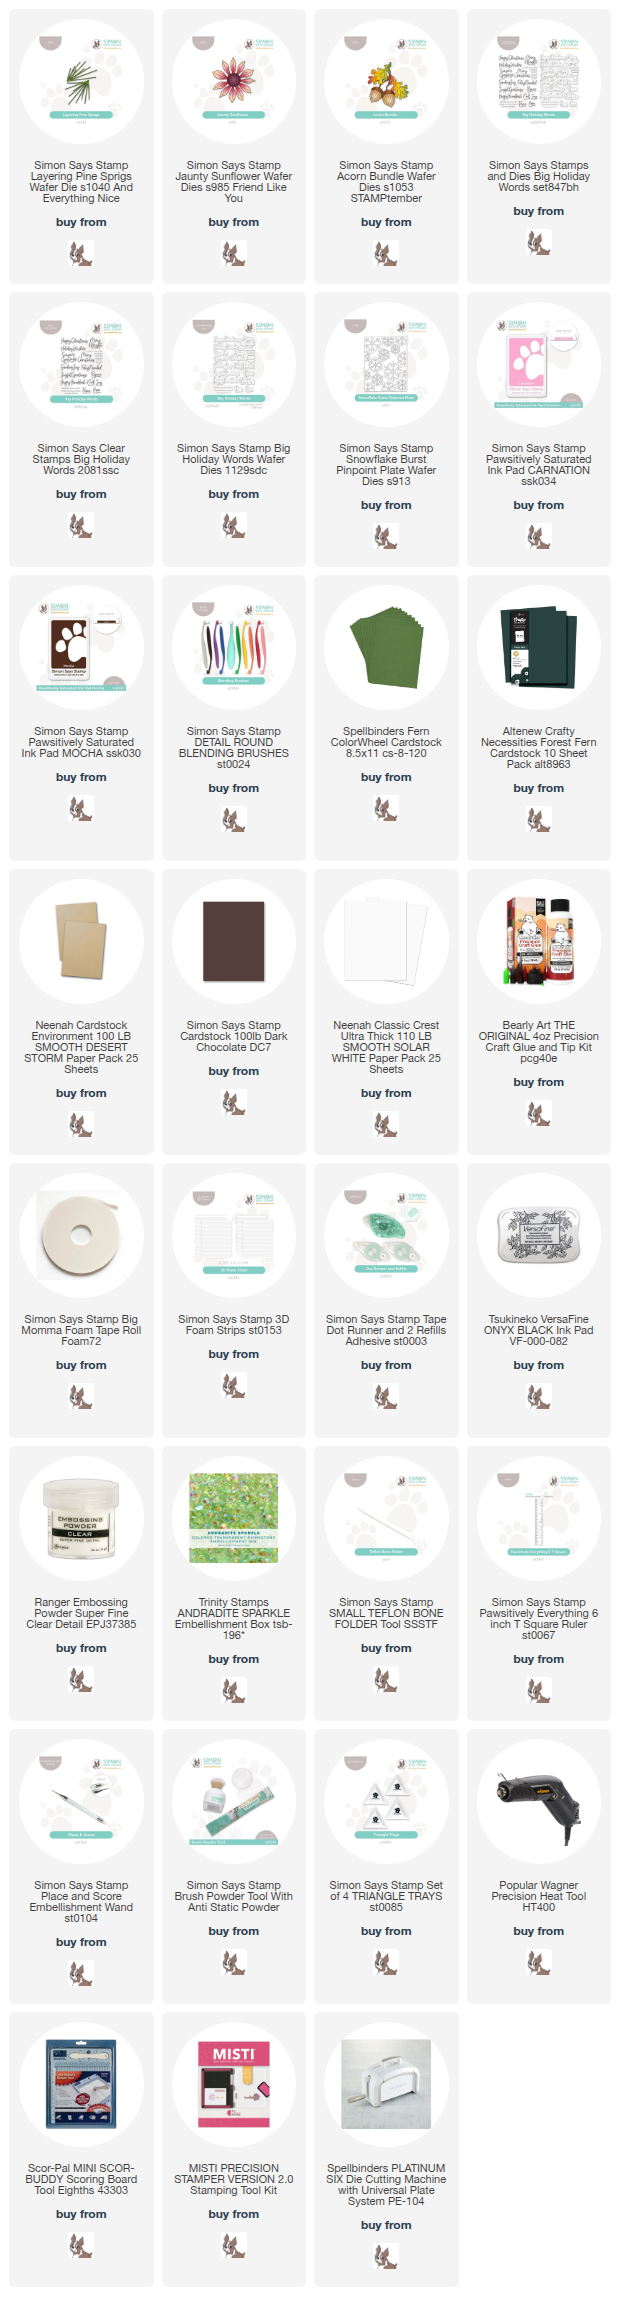
NOTE: all supplies are linked in the thumbnails at the end of this blog post.
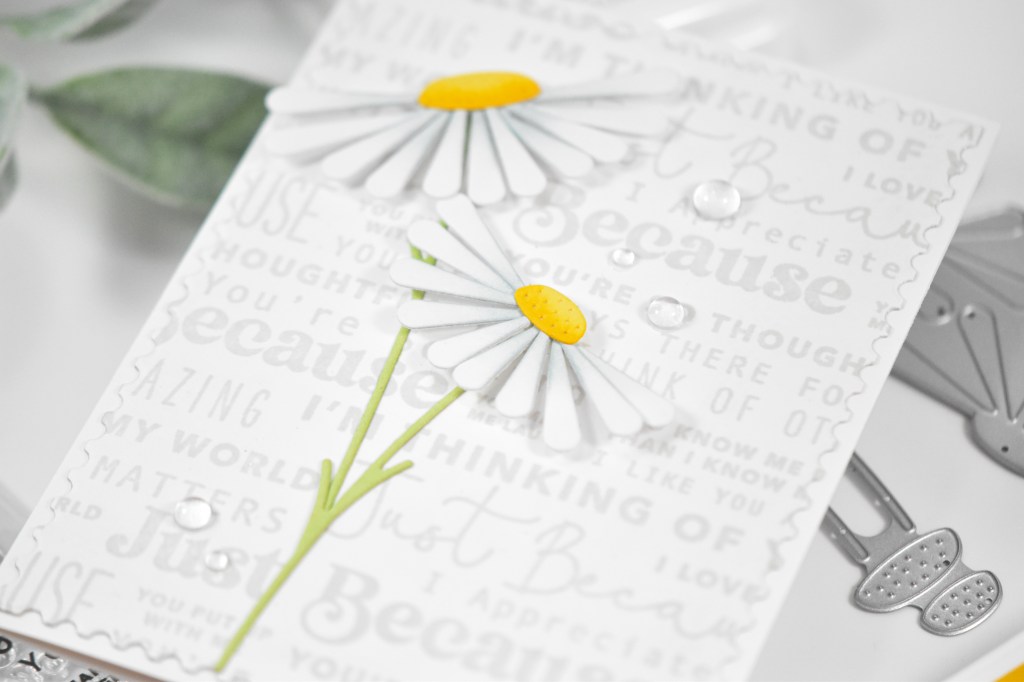
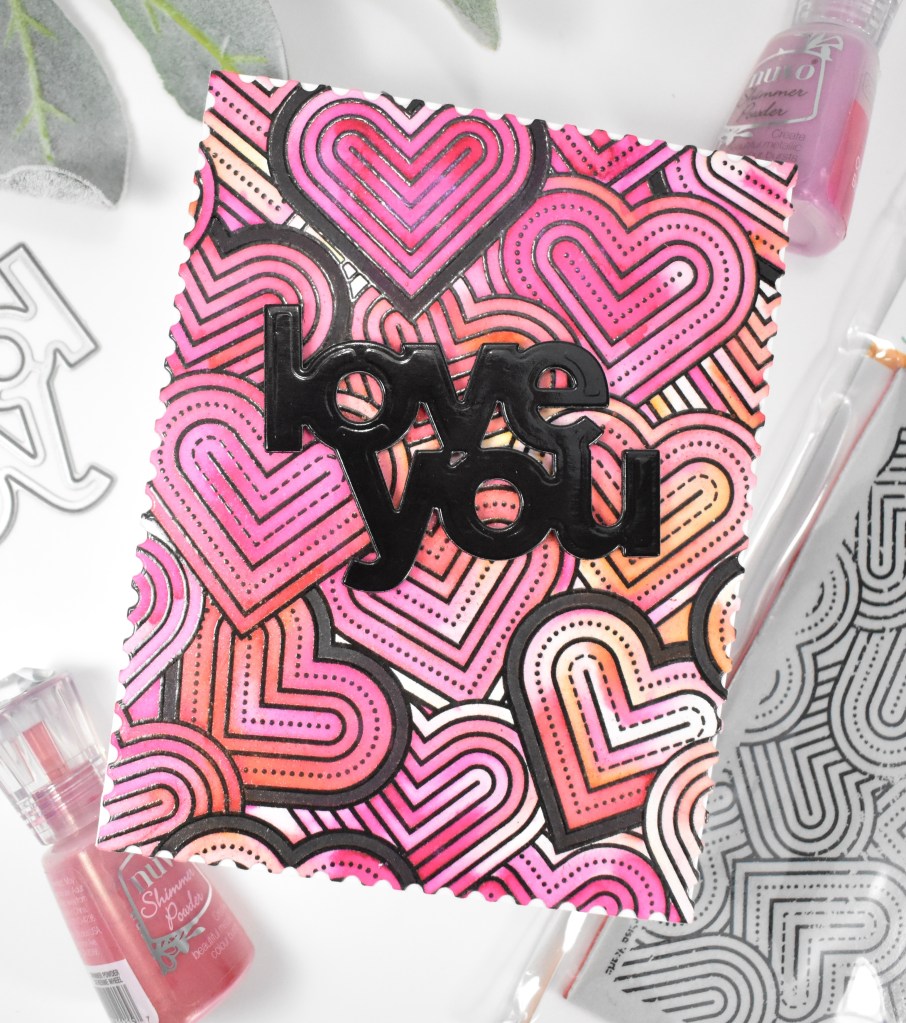
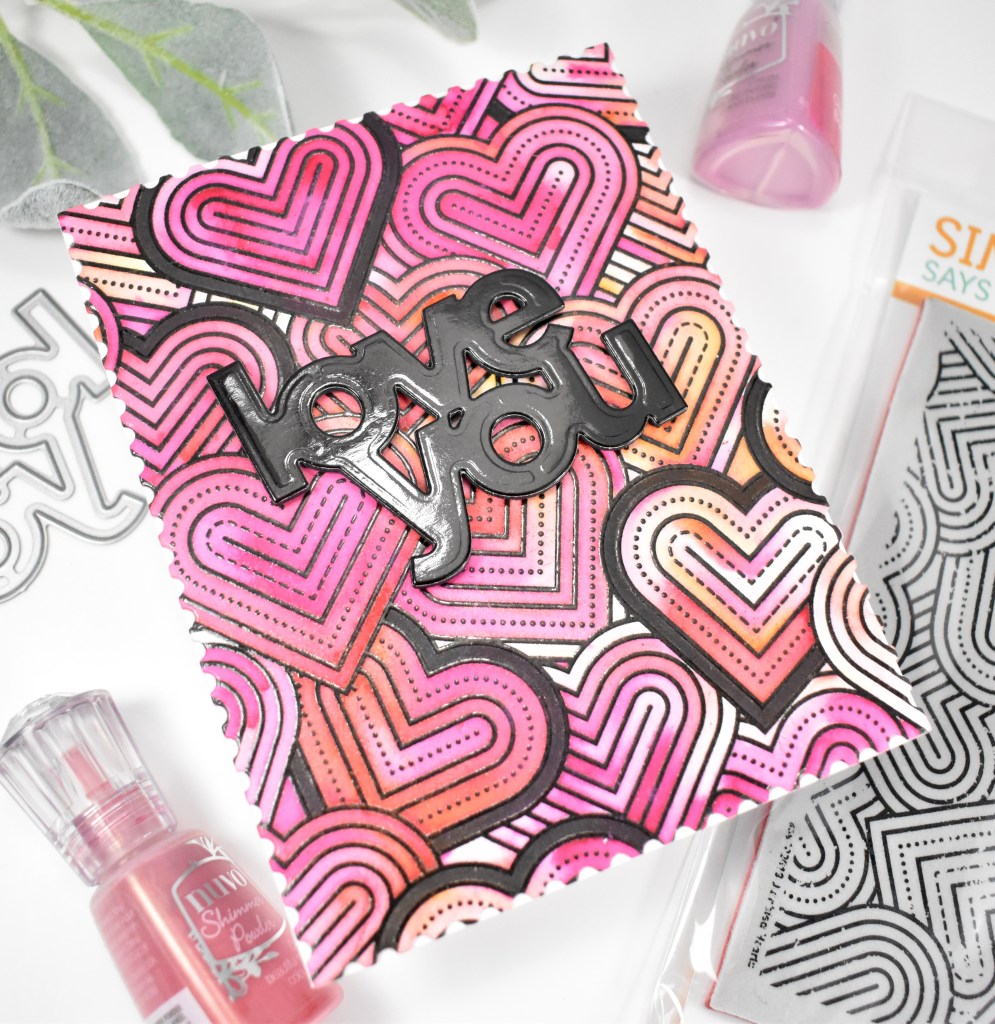
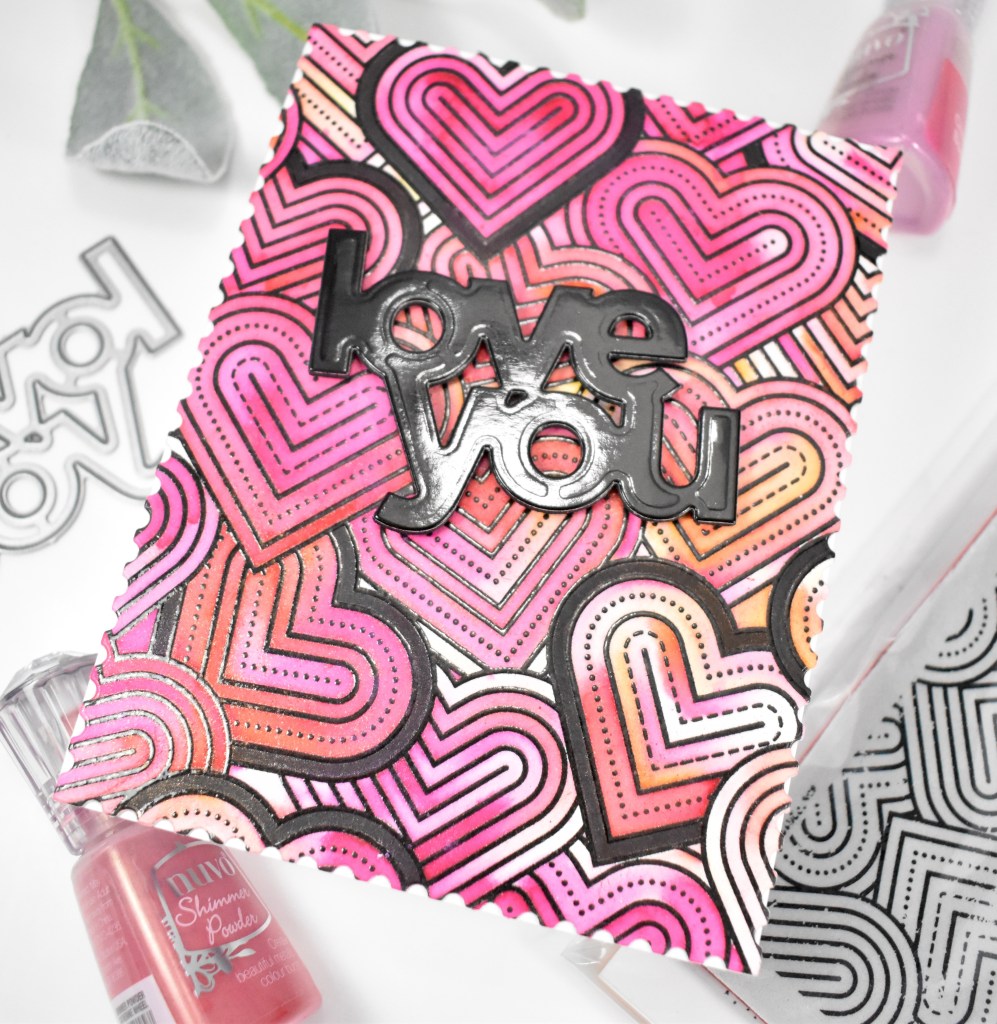
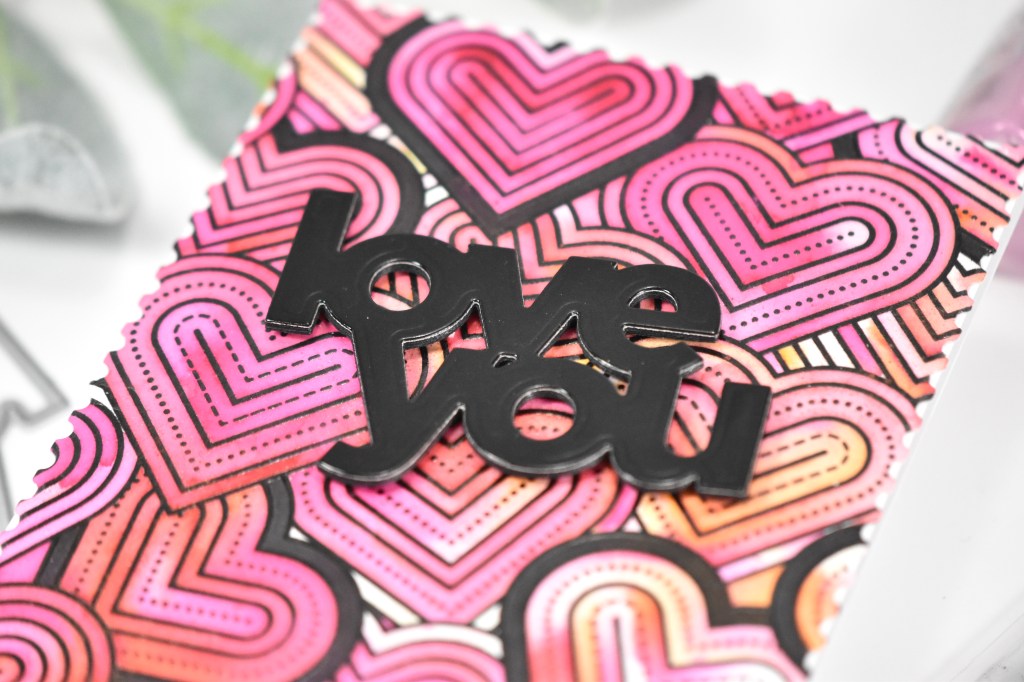
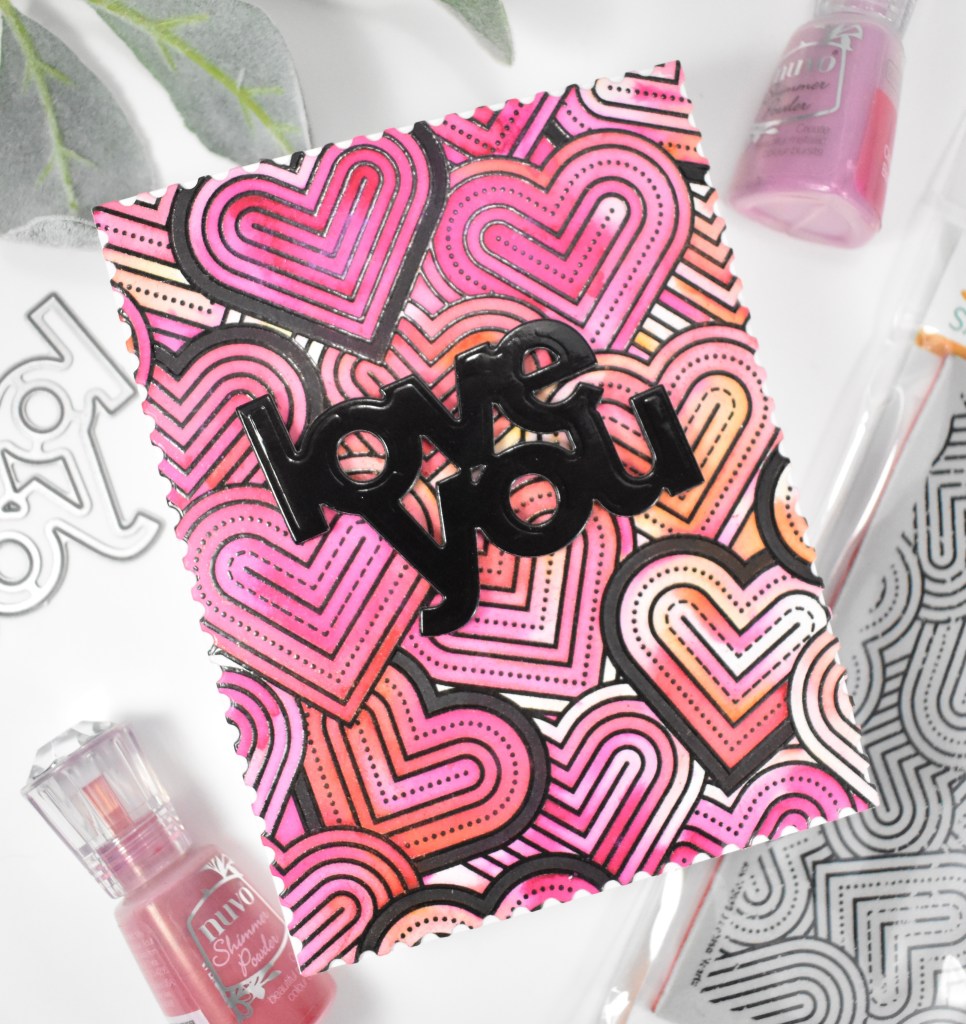
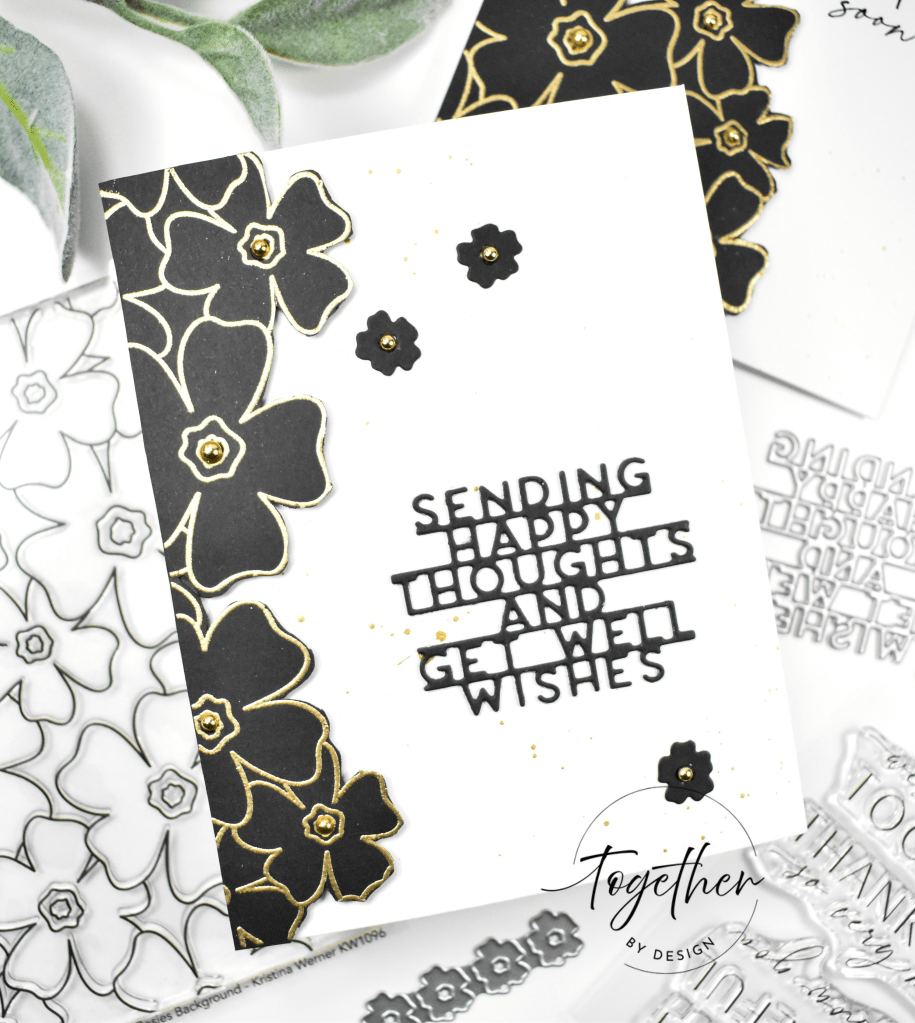
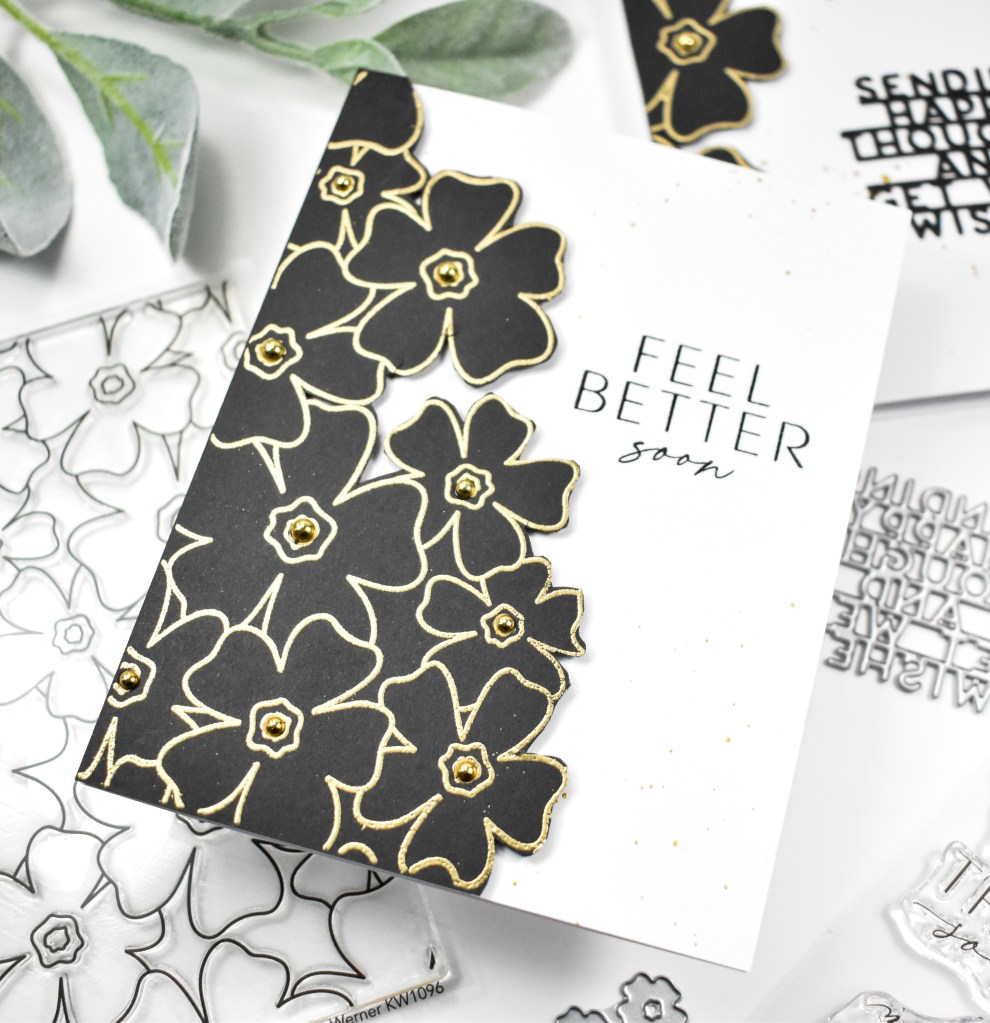
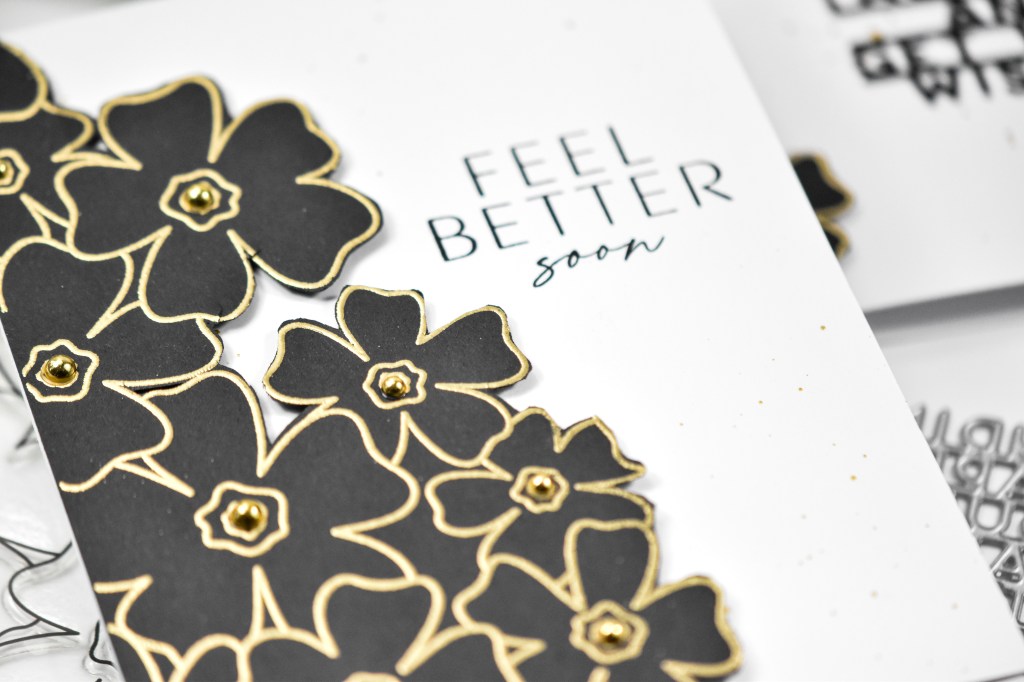
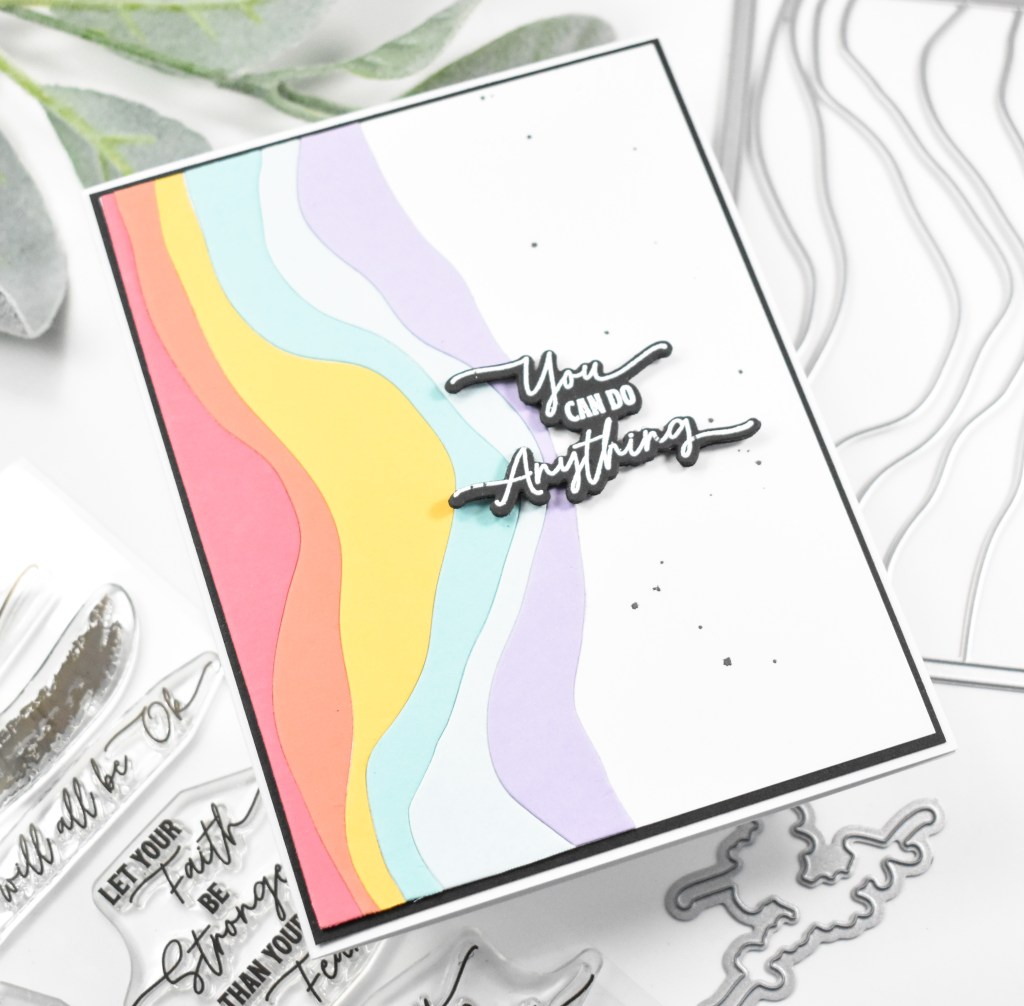
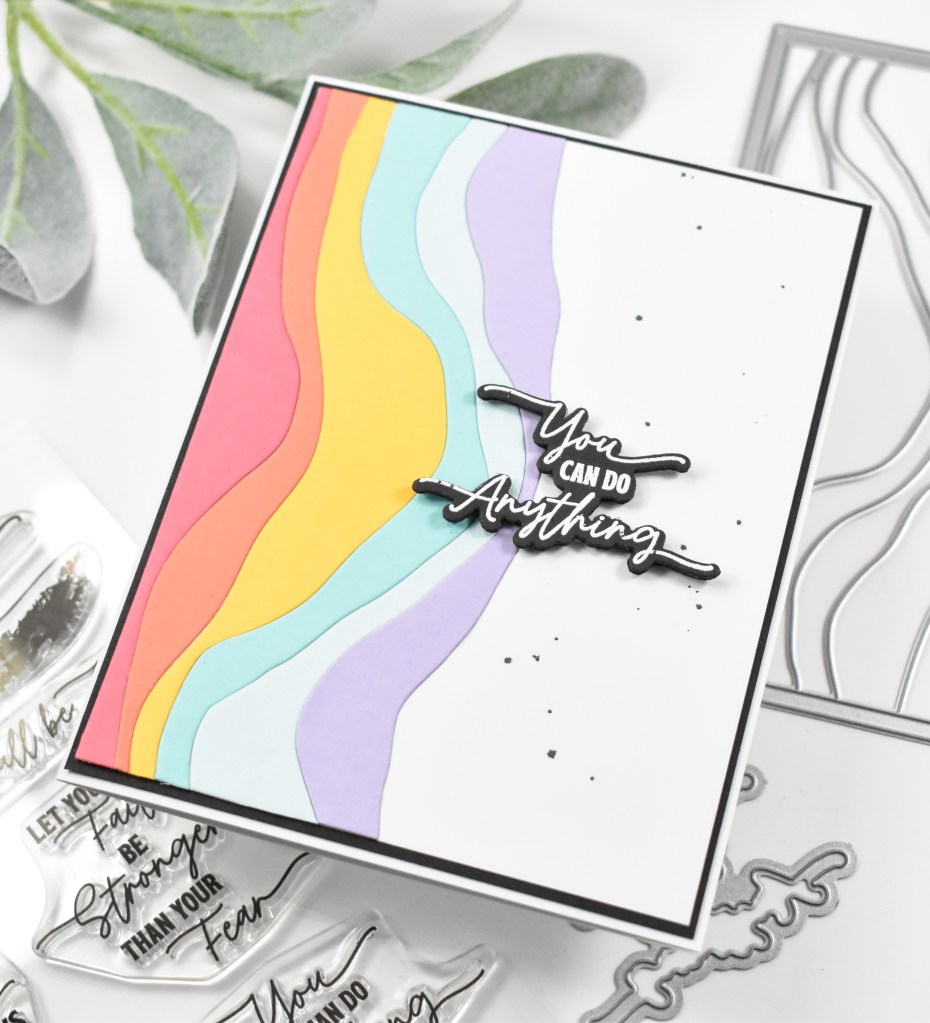
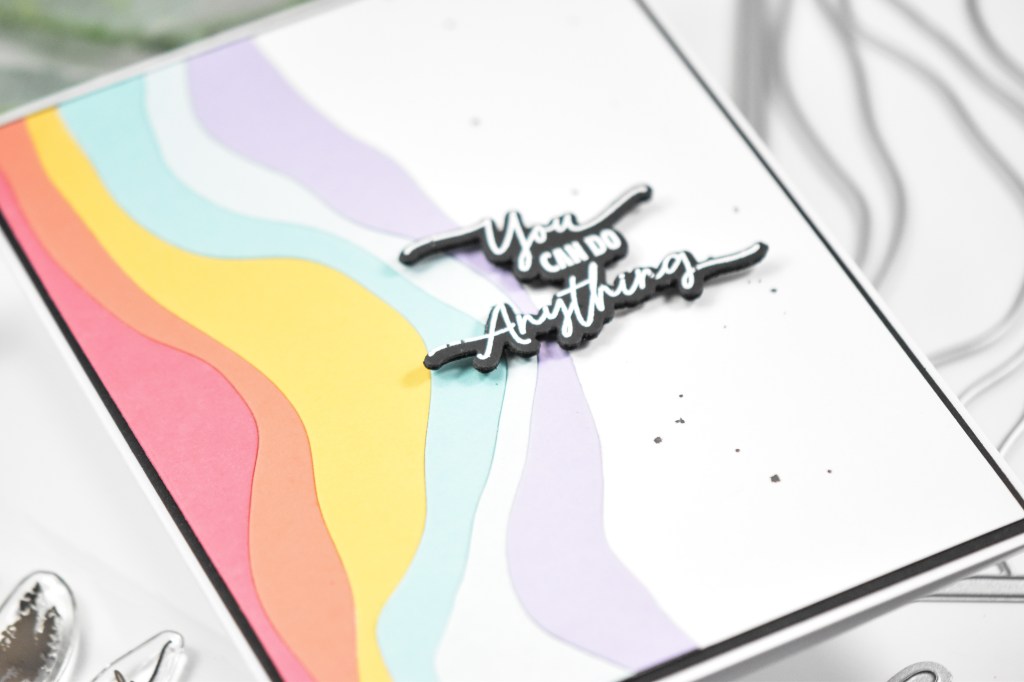
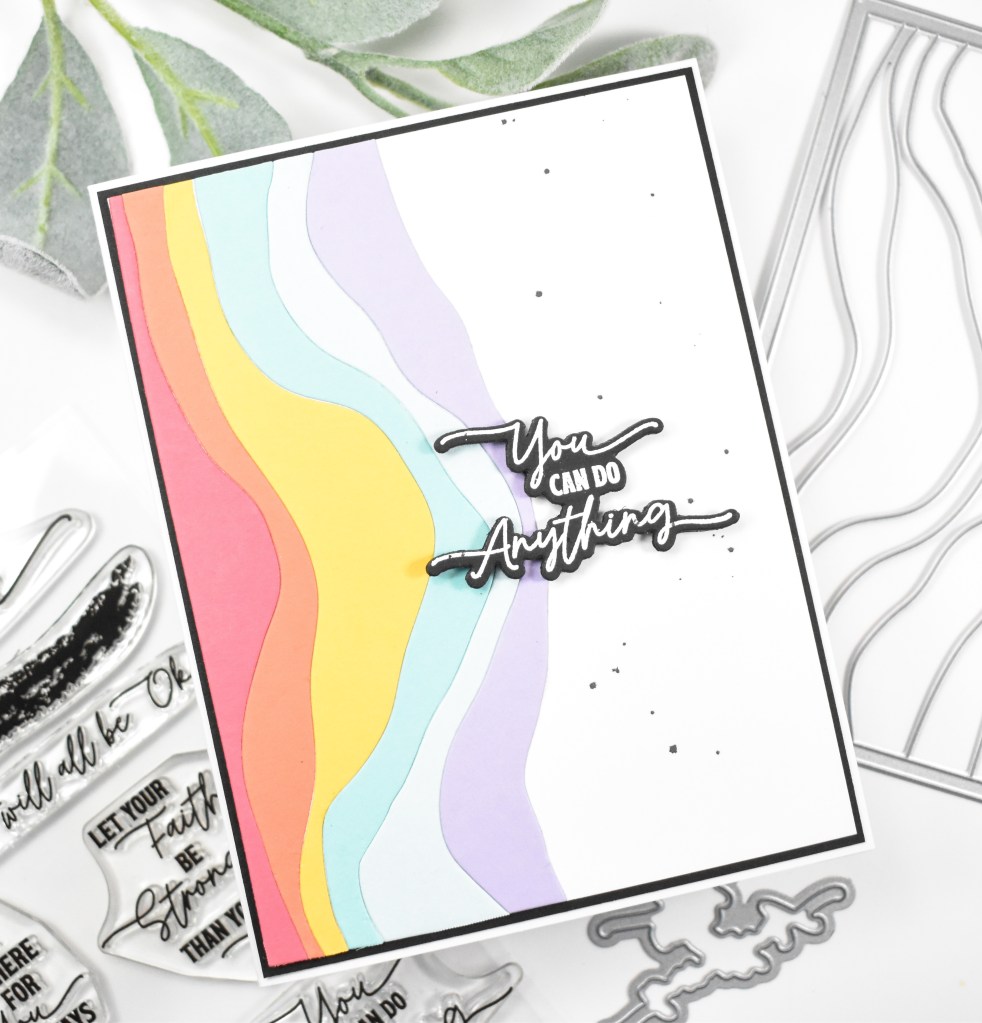
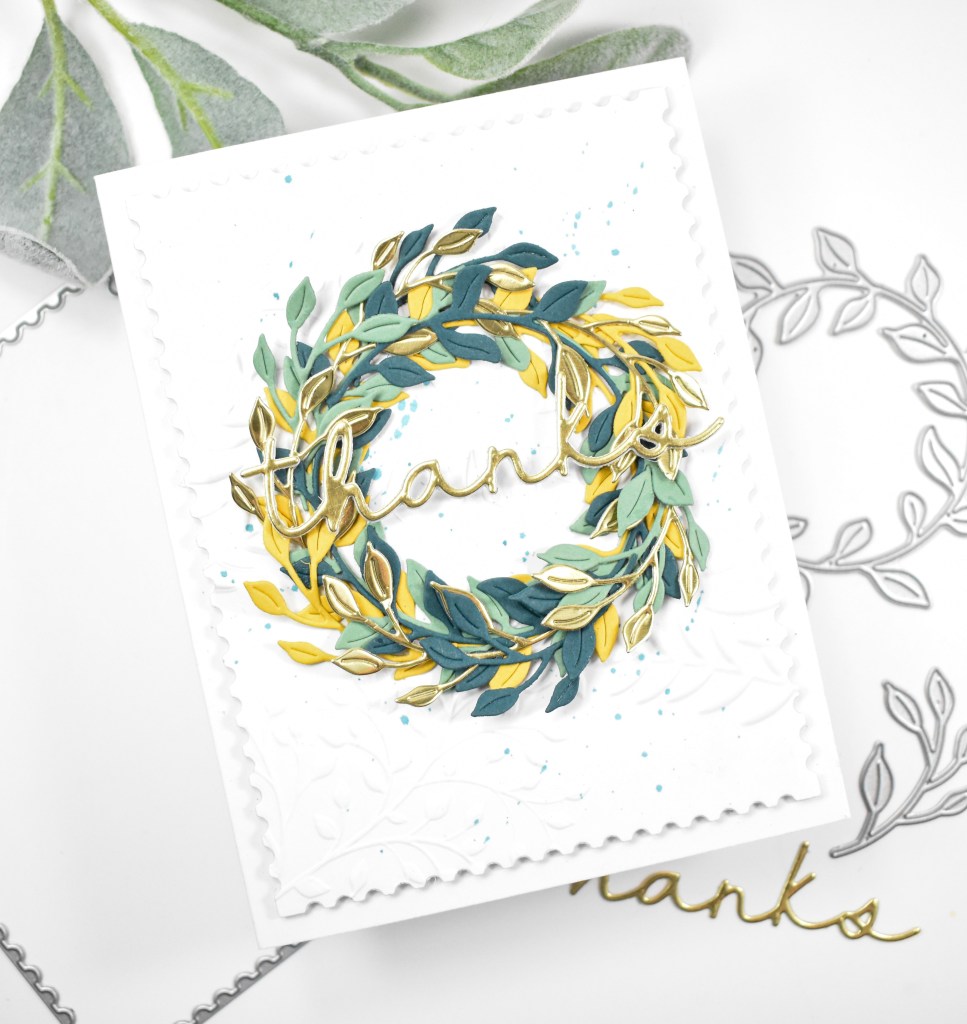
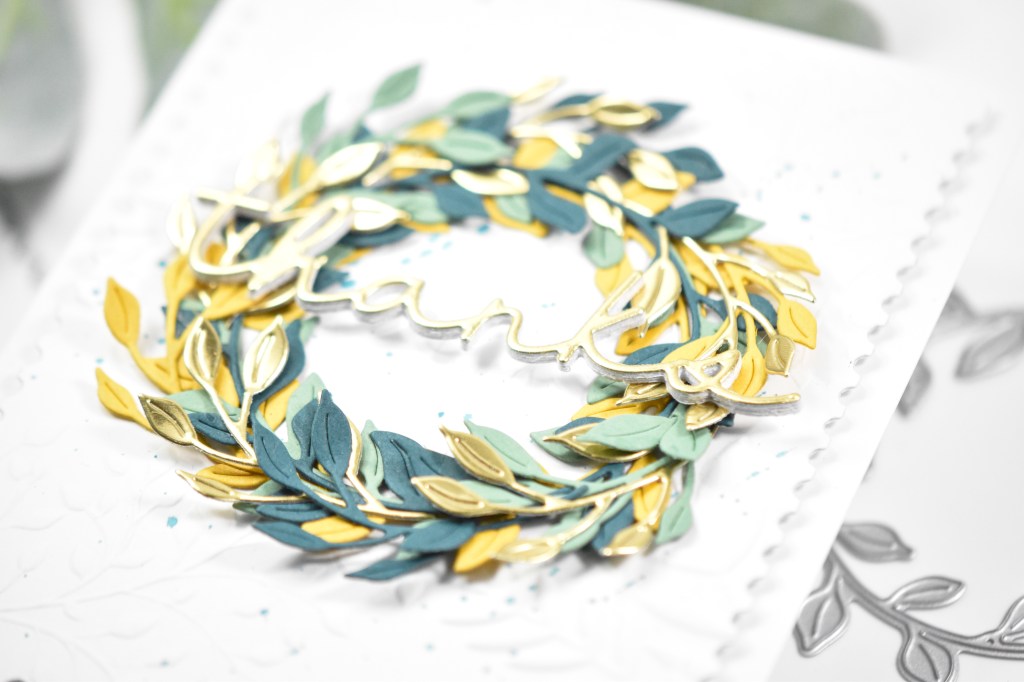
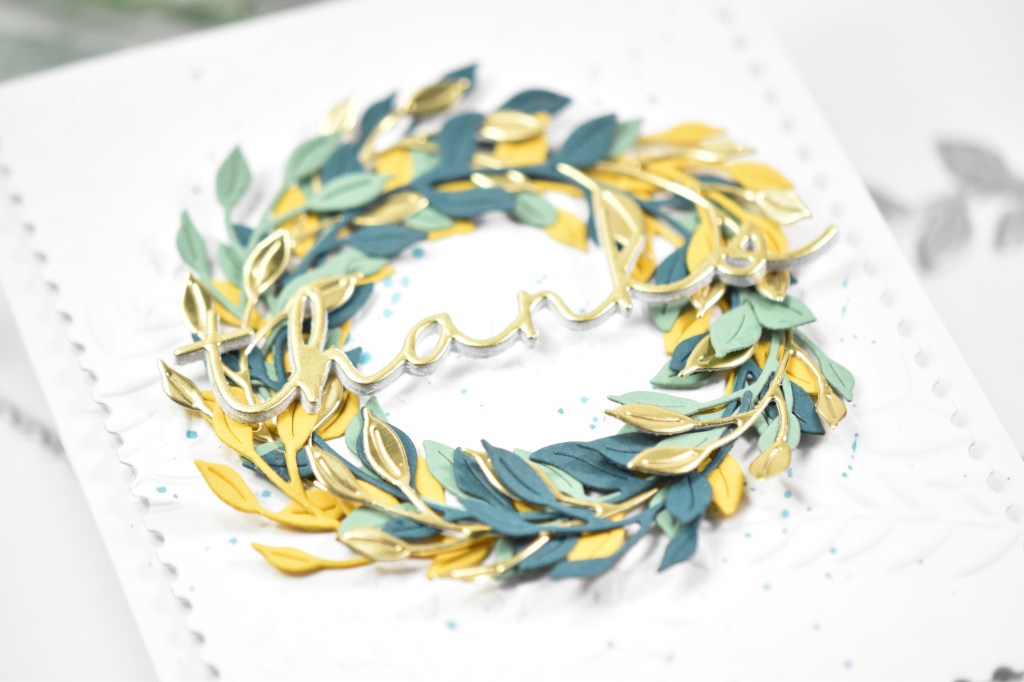
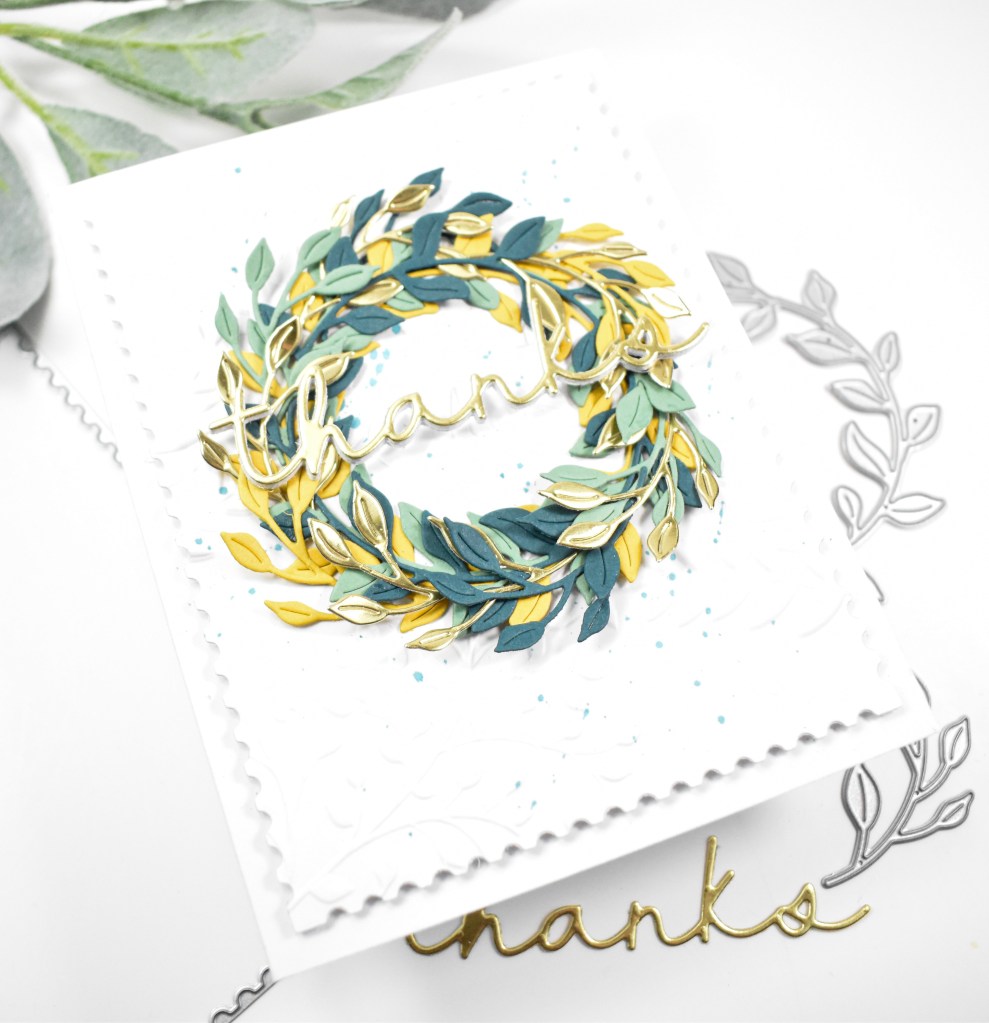
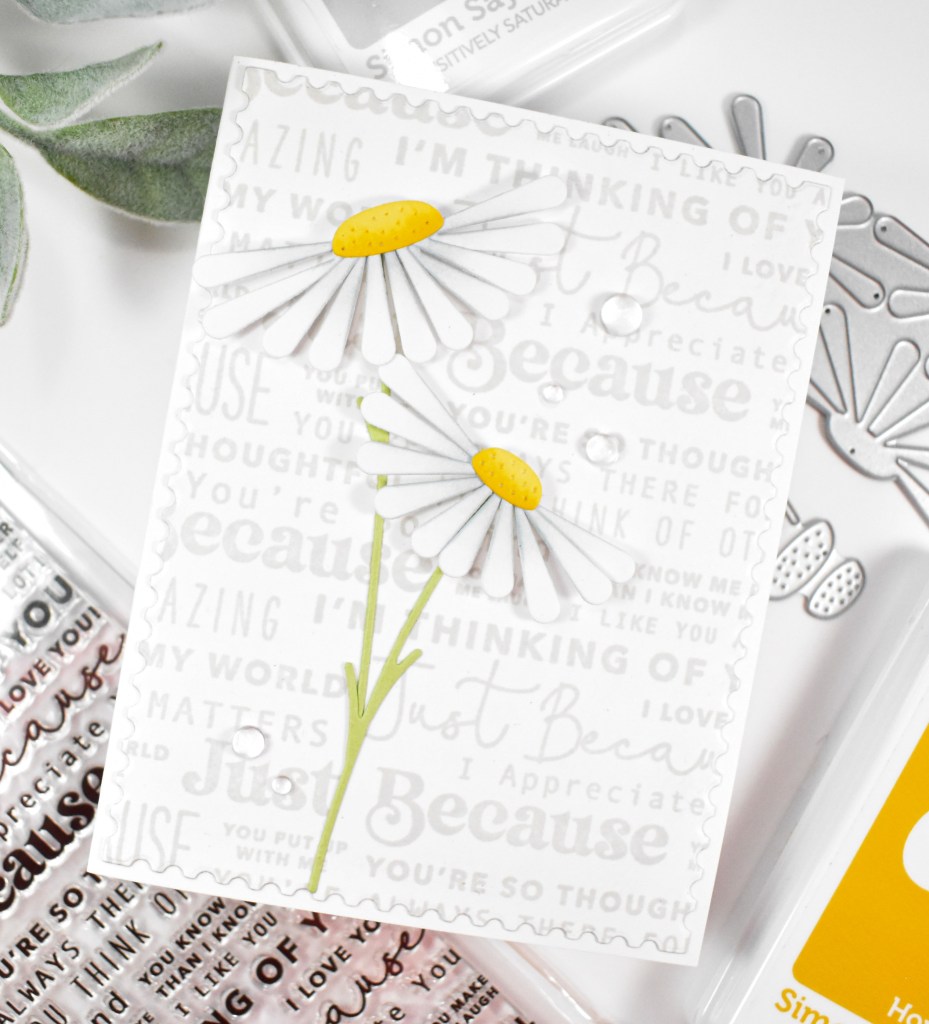
I began this project by die cutting the daisy pieces from white, yellow and green apple cardstock. I did some light ink blending on the flower portions using Honey and Shark inks before assembling them with liquid glue.
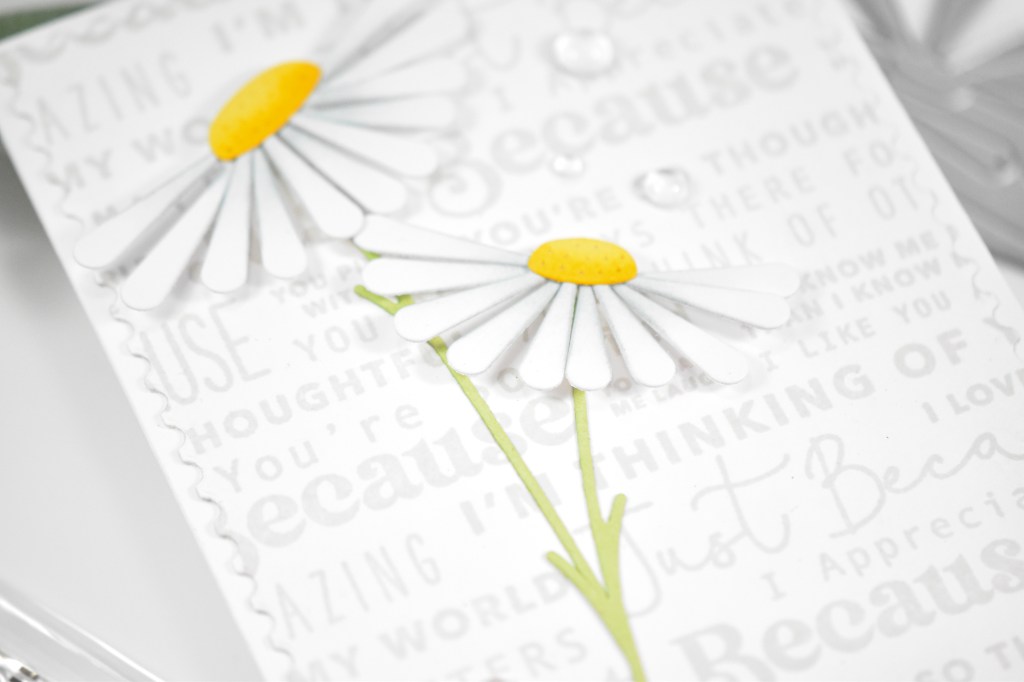
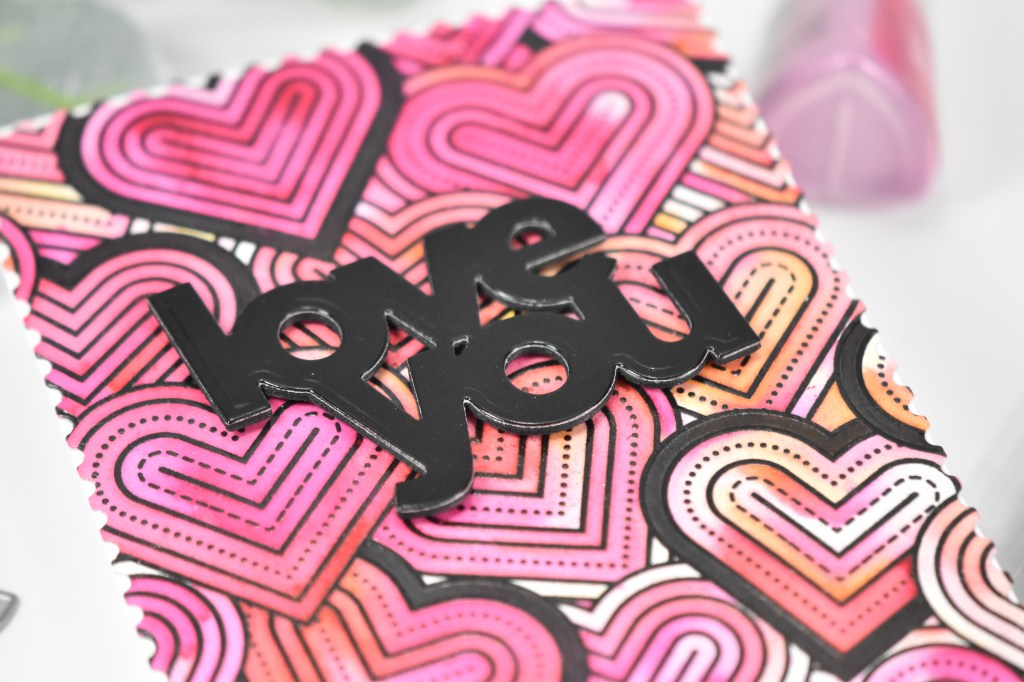
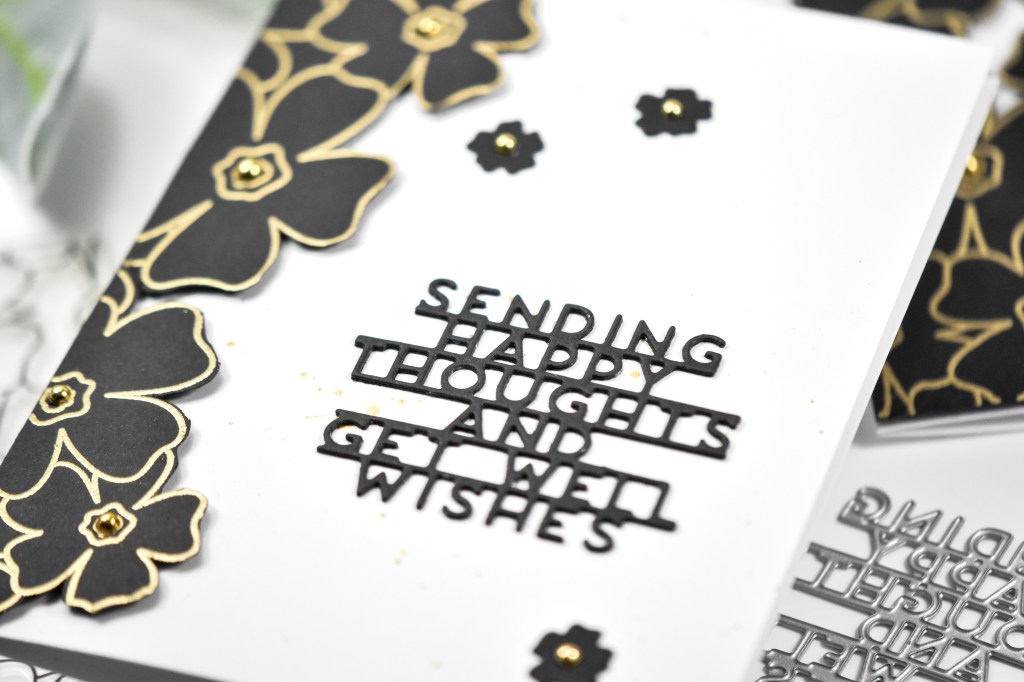
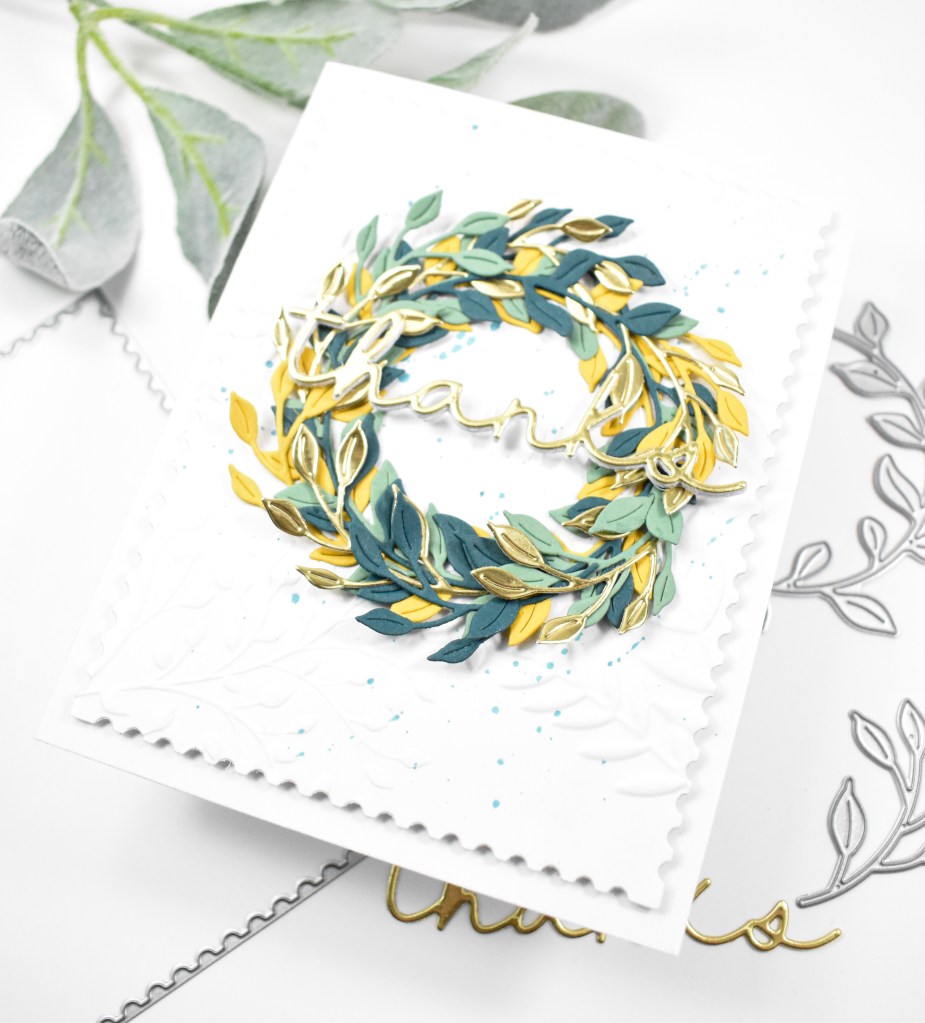
The background was stamped onto a panel using Misty Coast ink and trimmed down using the A2 Postage Rectangles. The stems were glued in place atop the panel, while the flowers were adhered using foam strips. The panel was adhered to the card base, and clear drops were added to finish up.
That does it for this one! Thanks again for joining me, and have a super awesome day!
Supply List
Affiliate links used at no cost to you. What does this mean? If you use the links within this post to make a purchase, I receive a small commission, which allows me to continue to post crafty content for your enjoyment. I truly appreciate your support!

Latest Posts
- Simon Says Stamp Tattered Florals

- Simon Says Stamp Amazing Floral

- Simon Says Stamp Friendly Butterflies

- Simon Says Stamp Graceful Hugs

- Simon Says Stamp Hello Butterflies

Latest Instagram Posts