Together By Design Featuring CZ Design “Simple Ho”
Together By Design is a monthly collaboration where a small group of designers all create with products from the same featured brand. Each of us chooses a favorite product and puts our own creative spin on it, showing just how many different ways one brand can inspire. Follow along, explore every project, and discover new designers and new favorites along the way.

This month’s featured brand/product:  CZ Designs “Simple Ho”
Here is a list of designers participating this month:

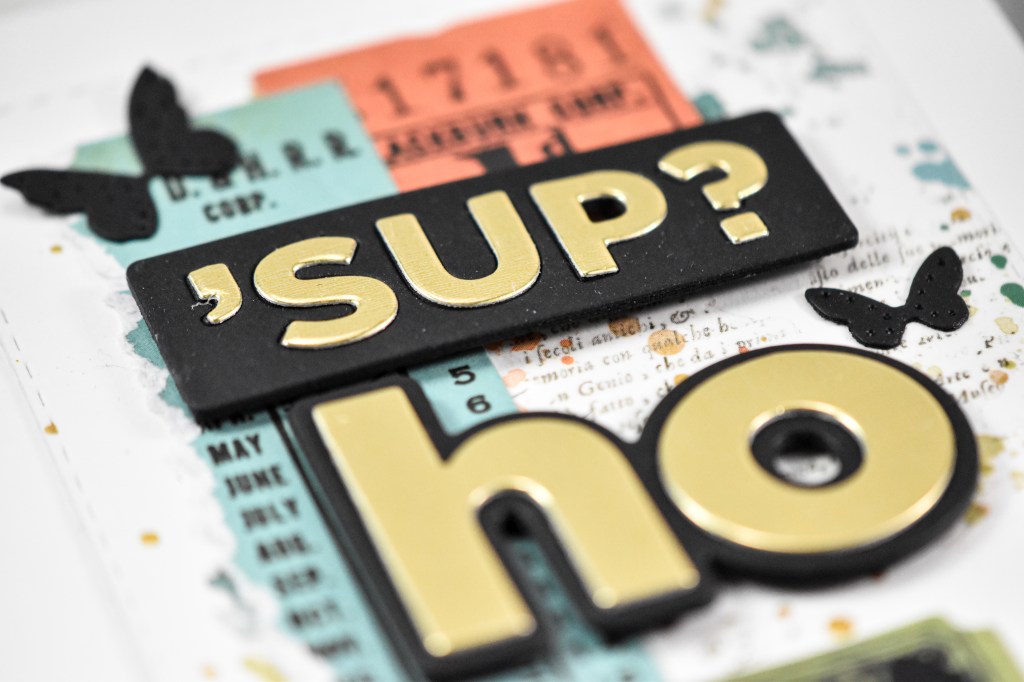
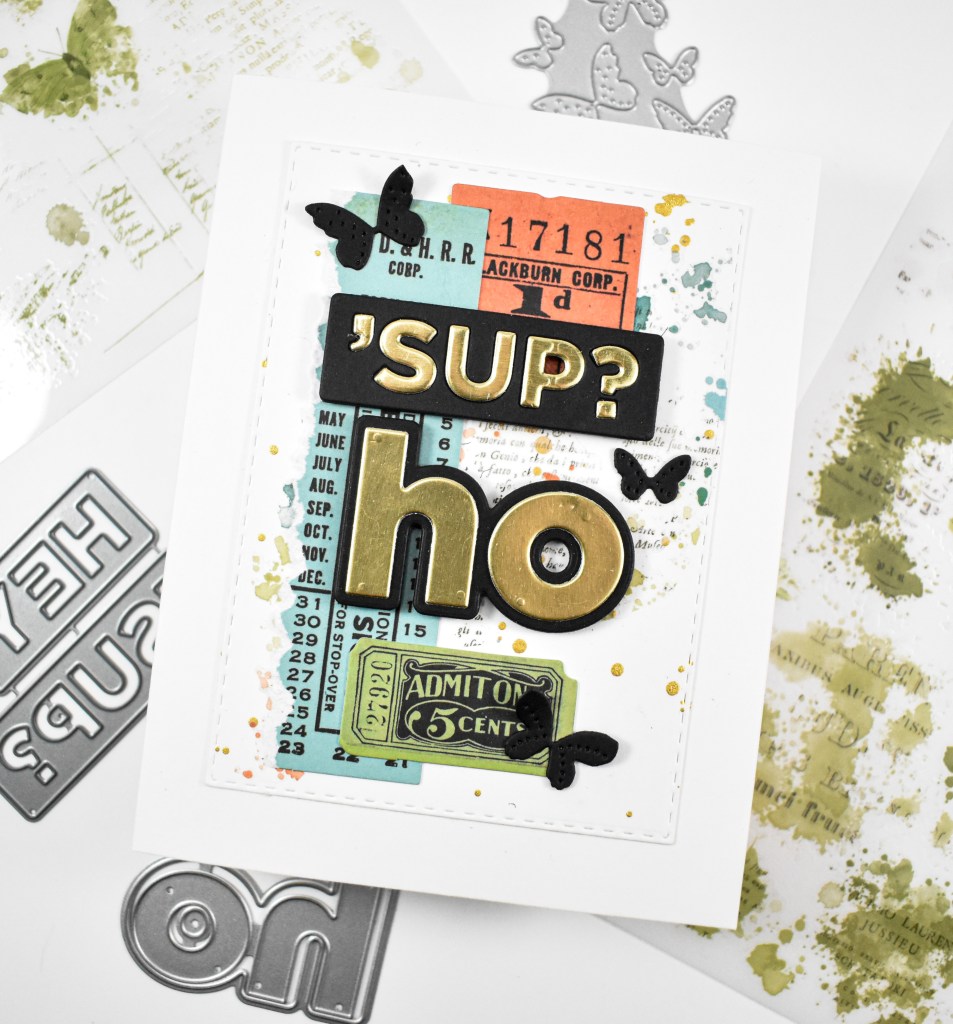
I’ll start by saying that I chose this month’s product .. If you know me personally, you know that I’m quite churlish with a weird sense of humor. I will often use the term Ho as a funny greeting, or a funny term of endearment. I mean absolutely no disrespect when I’m using the term. While at CREATE this year with my friends, I saw this die cut hanging in the Holiday section and I jokingly said, “Wassup, Ho?” And things spiraled from there, using various sentiments that we saw with the word Ho at the end of it. Examples, You’re doing great, Ho. Sending love and hugs, Ho. You make everything better, Ho. You get the idea! Hence, Ho became our chosen product for this month’s design.
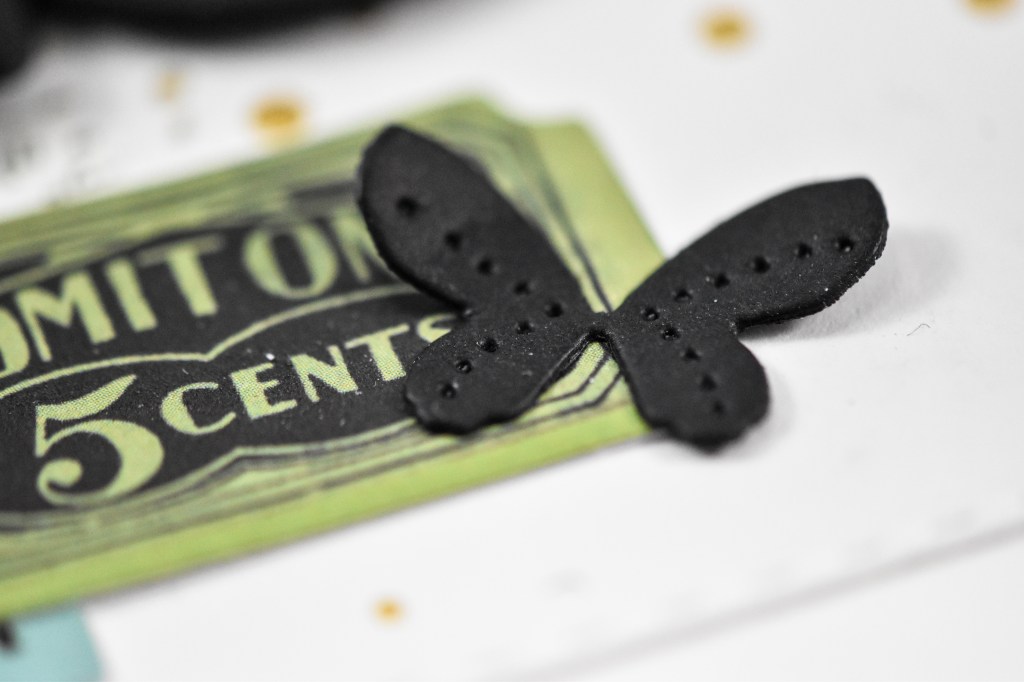
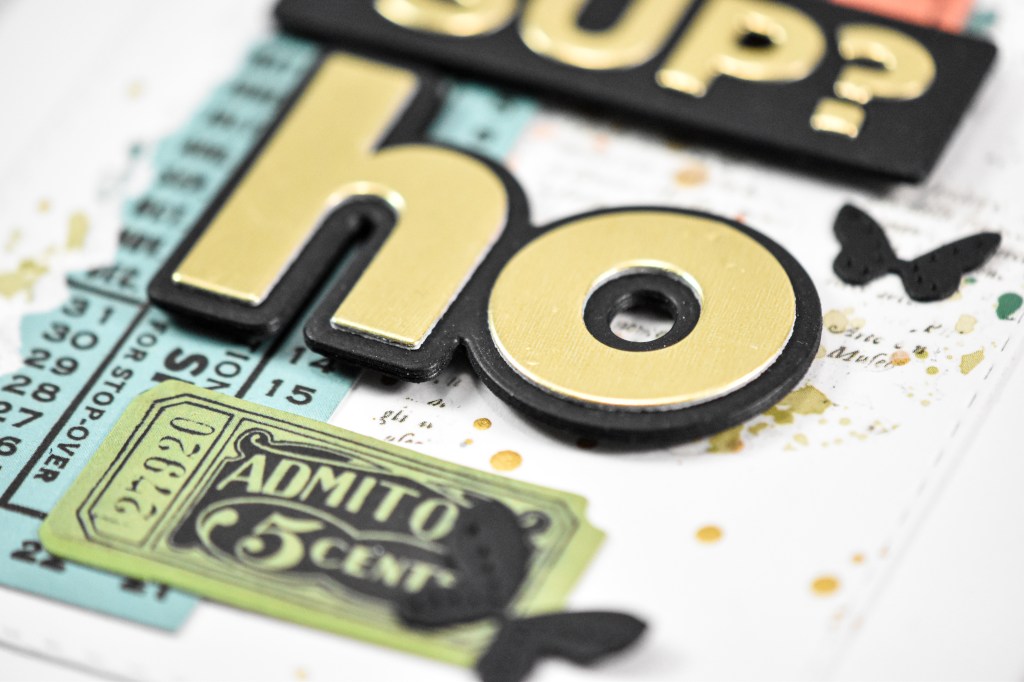
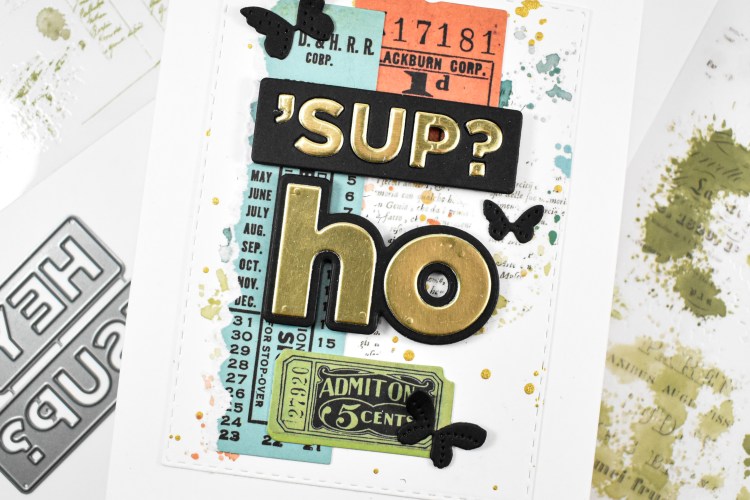
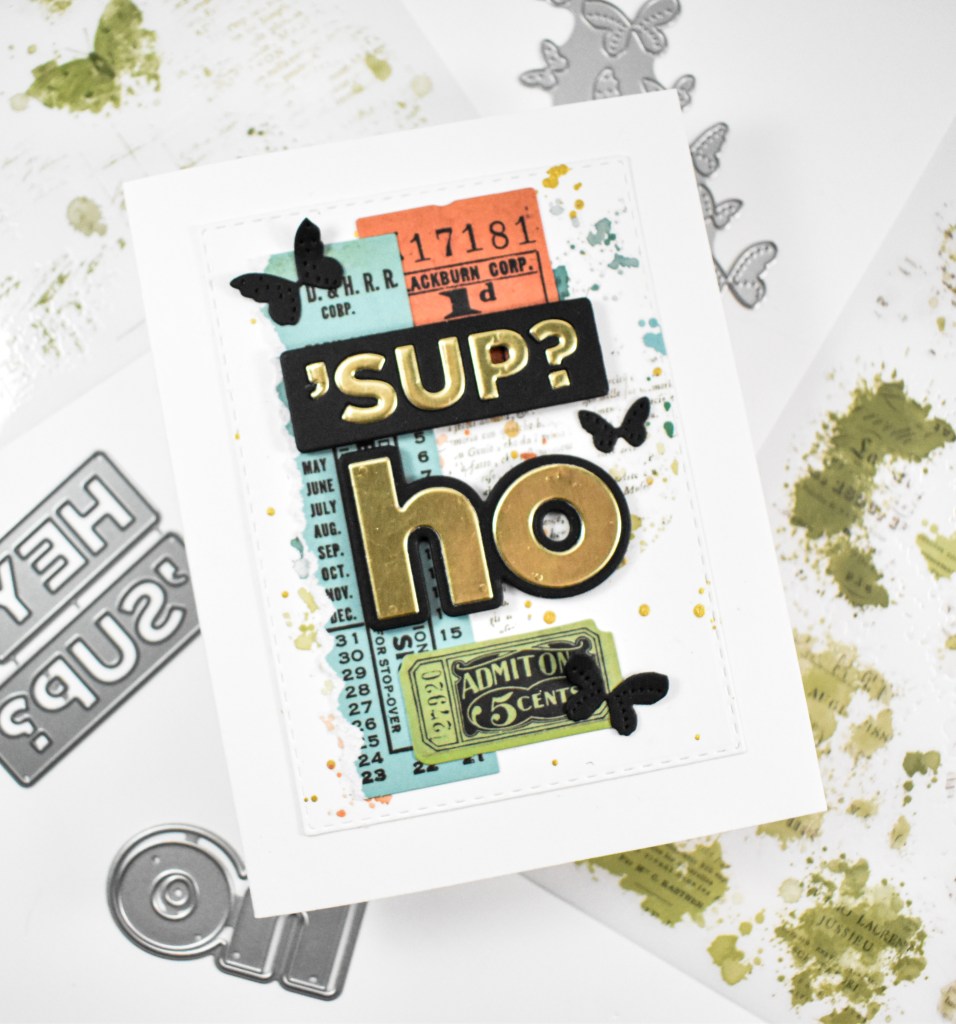
I recently purchased a bunch of 49 and Market products, to include rub-on transfers and various ephemera pieces, so I decided to put some of those to good use! However, in searching for these products online, it appears that it has sold it, which tends to be the case with the 49 and Market collections. My apologies on that. I began this project by die cutting a panel using the Nested Stitched Rectangles and adding some gold splatter, followed by some rub-on transfers.
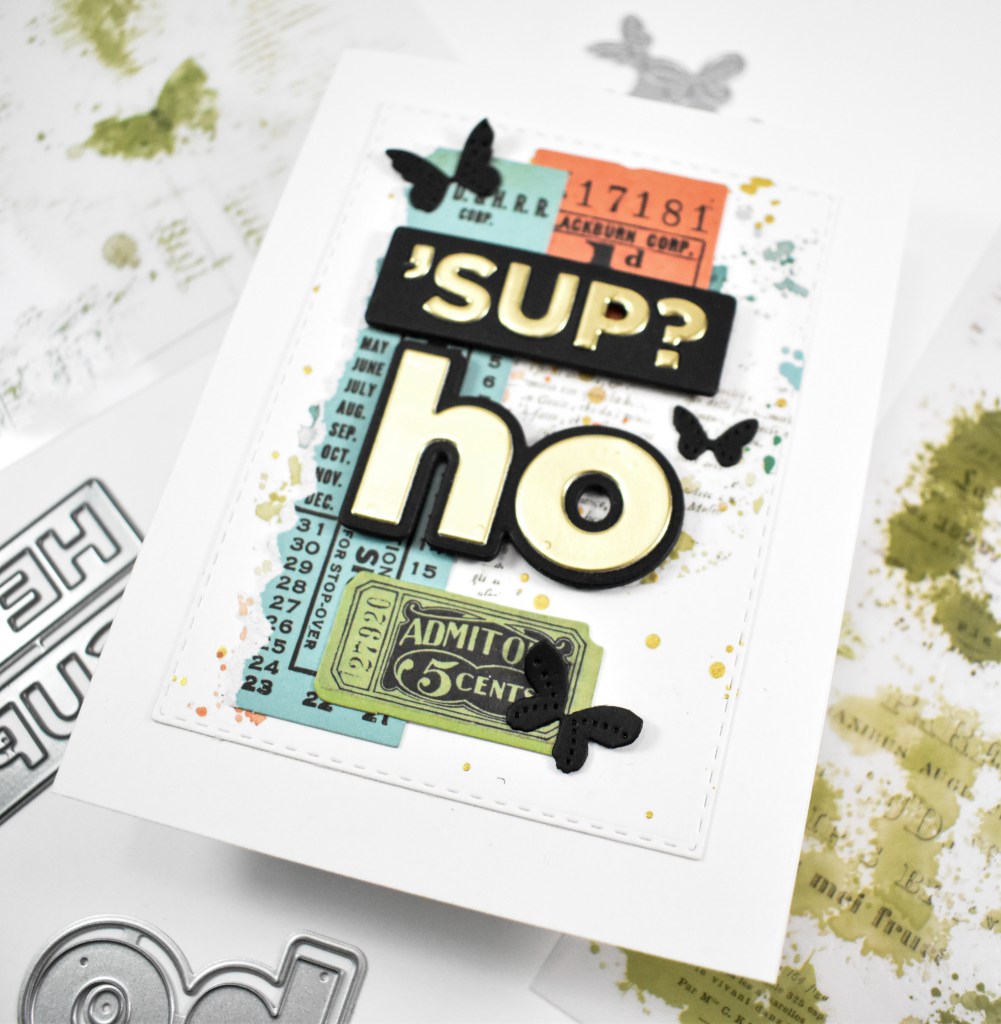
I pulled some ephemera pieces that would match the colors of the rub-ons that I used. Next, I die cut the sentiments a bunch of times from black and gold cardstock, adhering all of those together for a very stacked sentiment. Unfortunately, it appears that the “sup” die cut has been discontinued, which is sad, because I really like it! I tore the edge of one piece of ephemera and secured it with liquid glue, along with the other pieces, while the sentiments were adhered using foam tape. I felt some black butterflies were in order, so I cut and added a few of those to finish up.
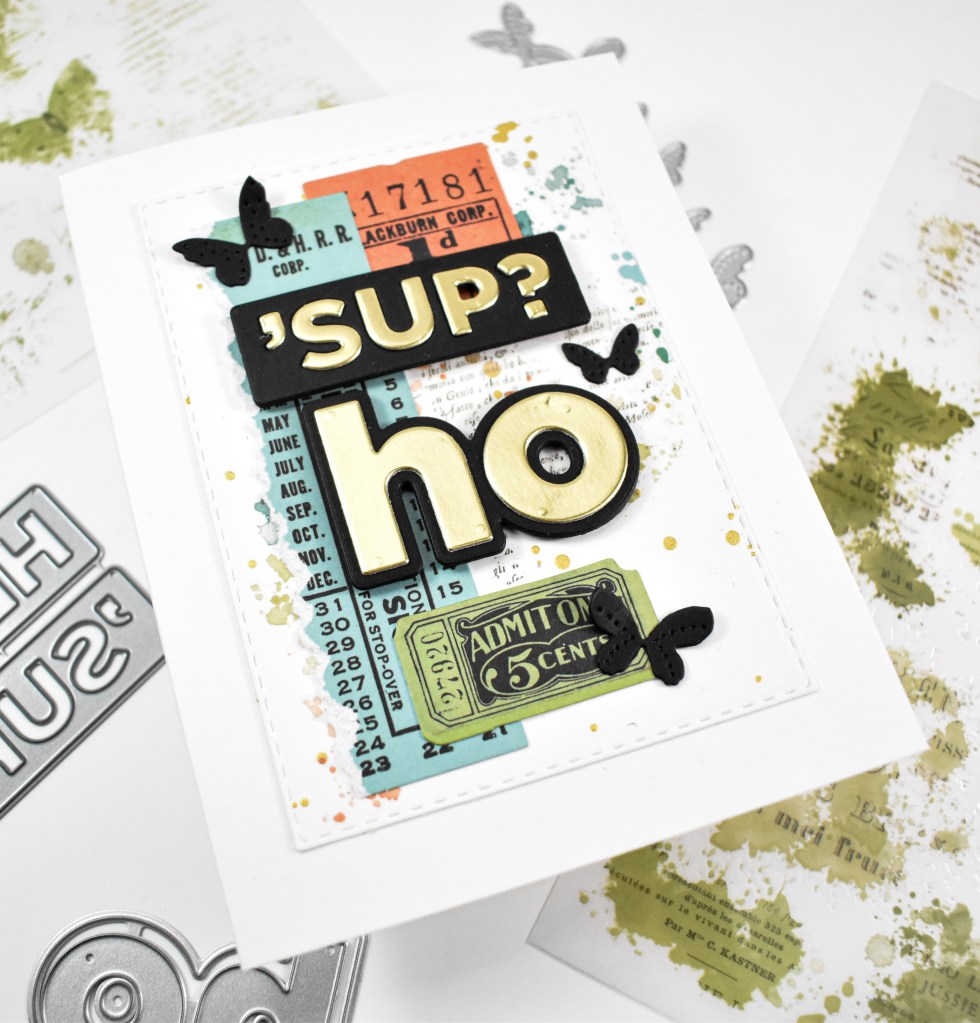
I hope that if you’re seeing this card, you are finding humor and not finding offense, because it really is just my weird sense of humor. I hope you’ll check out the posts from my friends to see how their creative juices flowed using the say die cut. Thanks so much for stopping by, and I hope you have yourself a fabulous day!
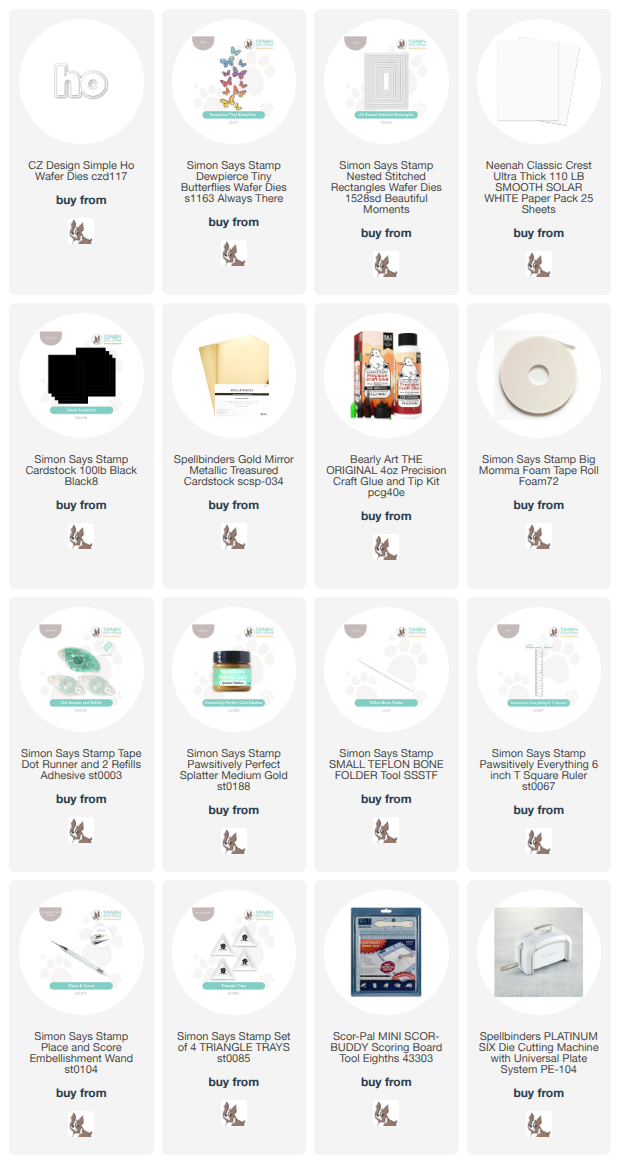
Supply List:

Affiliate links used at no cost to you. What does this mean? If you use the links within this post to make a purchase, I receive a small commission, which allows me to continue to post crafty content for your enjoyment. I truly appreciate your support!
Latest Posts

Latest Instagram Posts
Simon Says Stamp Patterned Birthday Floral

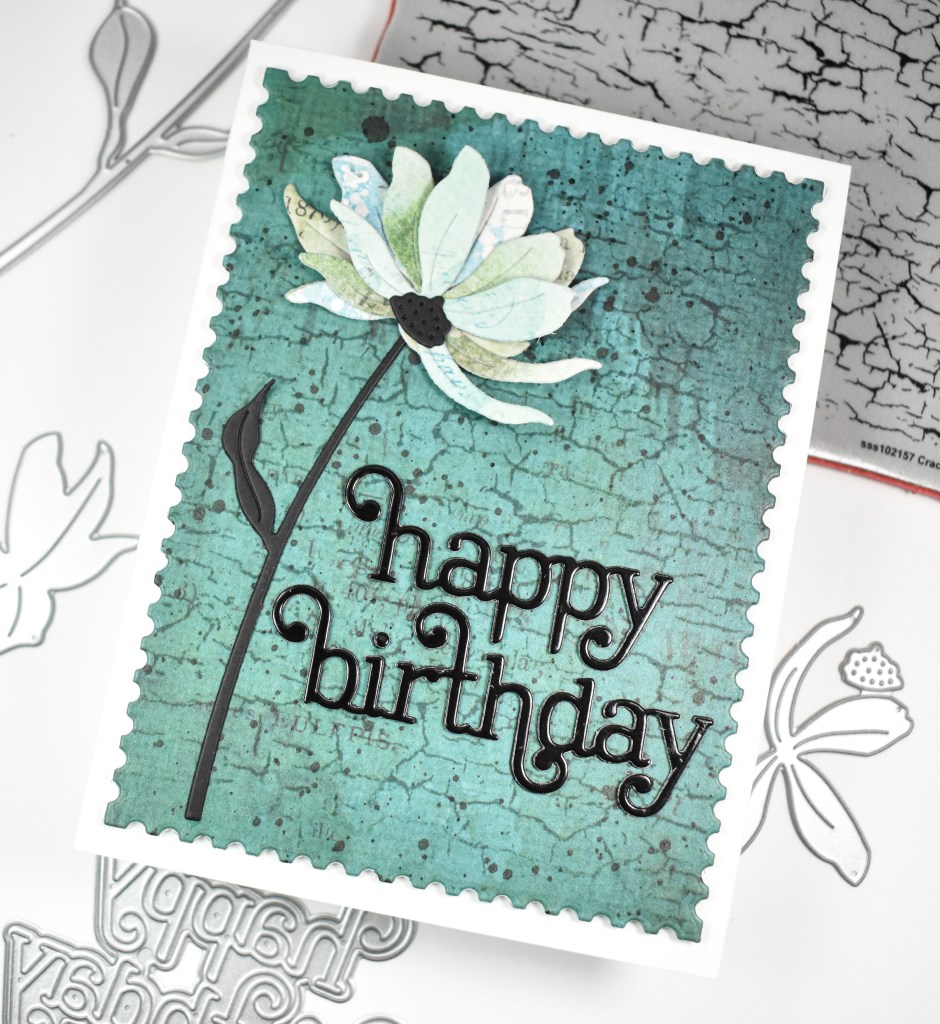
Hello Friends and welcome back! Today’s post is once again featuring the Tattered Daisy from Simon’s latest release, Moments In Time. It also includes this new Giggle Happy Birthday sentiment! I had a lot of fun with this die cut and made too many projects, but florals make me happy, so there’s that! Let’s get into the details, shall we?

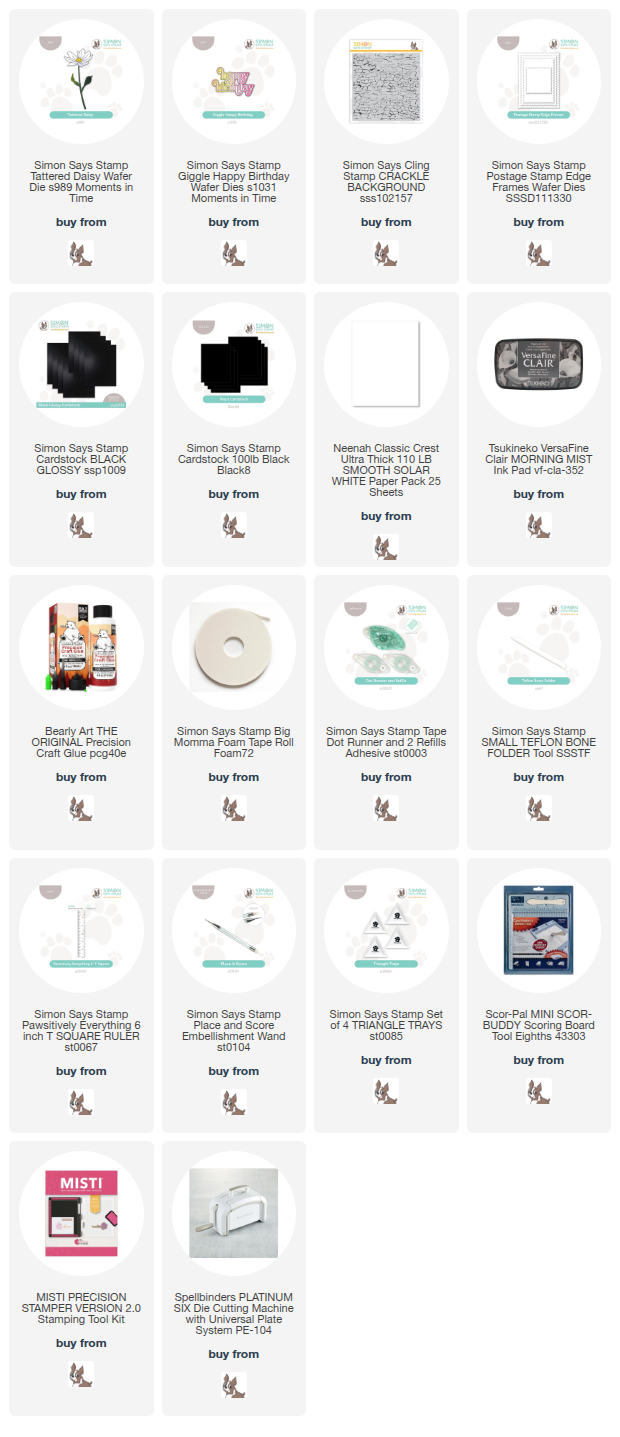
NOTE: all supplies are linked in the thumbnails at the end of this blog post.

I knew that I wanted to make a patterned paper daisy, so I rummaged through all of my papers and finally settled on the Viken design from 49 and Market. I really do apologize for using products that aren’t on the Simon website any longer. I do tend to hoard my patterned papers for extended periods of time and then they go out of stock or become discontinued. However, there are many companies that carry papers that would work for this design, if you choose to recreate it. If you’re anything like me, I’m sure you probably have some stashed away somewhere just looking for a project to call home!

Moving on .. I die cut the daisy several times from several papers and glued them all together, including a black stem and center. My background paper is also from this collection that I stamped the Crackle Background onto using VersaFine Clair Morning Mist ink, black splattered and then trimmed down using the Postage Stamp Edge Frames die.

The new Giggle Happy Birthday sentiment was cut once from black glossy cardstock and twice from regular black and glued together for a stacked sentiment. The panel was adhered to the card base using foam tape, while the flower and sentiment were adhered using liquid glue to finish up.

That does it for this project! I hope you enjoyed it as much as I did! Thanks for stopping by, and have yourself a wonderful day!

Supply List

Affiliate links used at no cost to you. What does this mean? If you use the links within this post to make a purchase, I receive a small commission, which allows me to continue to post crafty content for your enjoyment. I truly appreciate your support!

Latest Posts

Latest Instagram Posts

Vintage Bits Cards

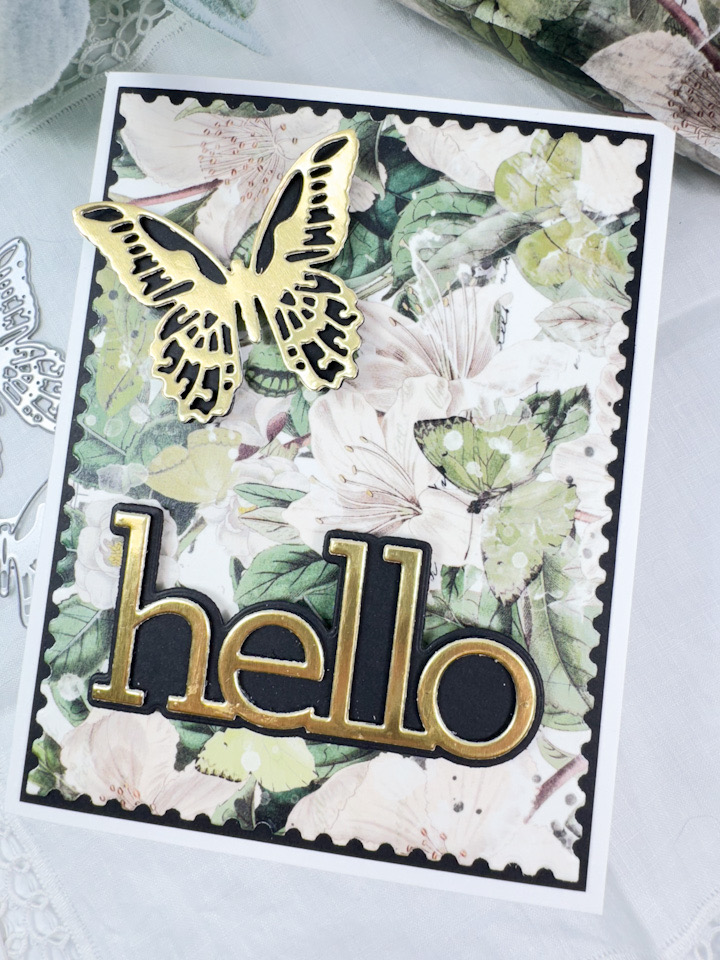
Hello Crafty Friends, and welcome back to my blog! I’m so glad that you stopped by! I love big washi, and I cannot lie! Ok, did you sing that line in the tune of I Like Big Butts?! Because I sure did! There are several companies that have big, beautiful washi tapes, and I’m just here to say that there needs to be a washi tape design team, and I need to be on it! I could create cards for days on end with washi tapes from 49 and Market and PinkFresh Studio. Anyhoo, today’s card is featuring the Vintage Bits washi tape from 49 and Market, so let’s run through the details.

Main Products:

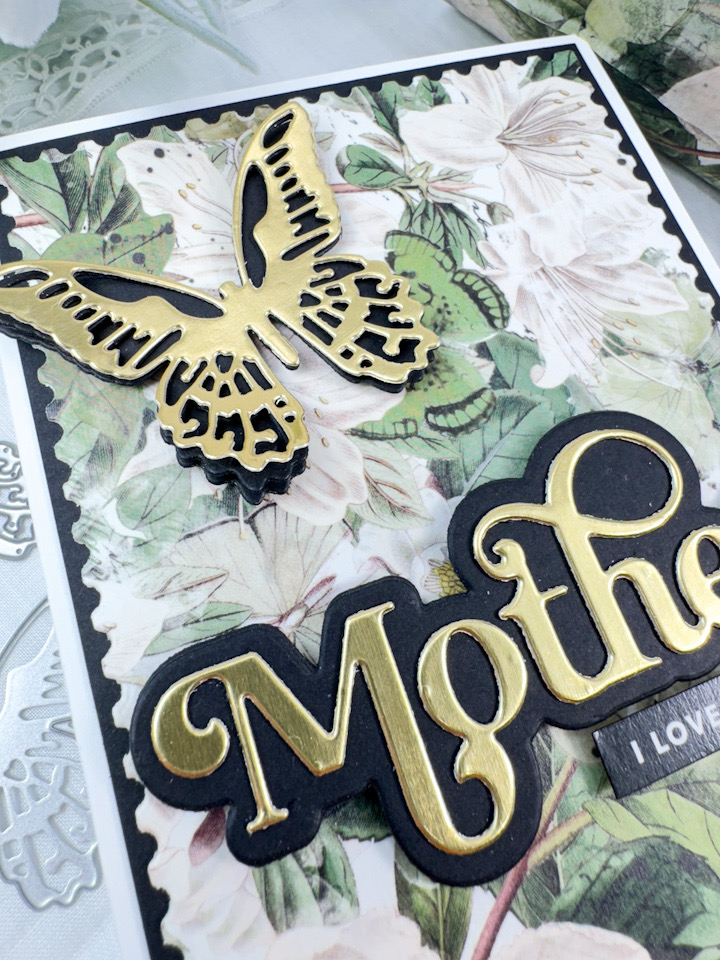
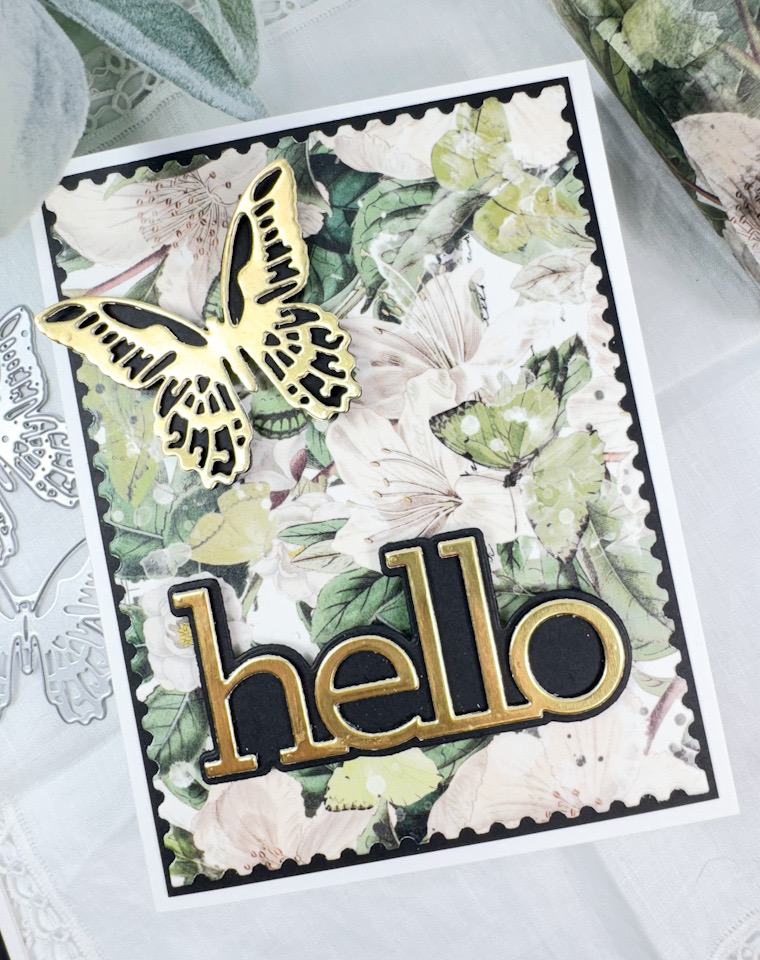
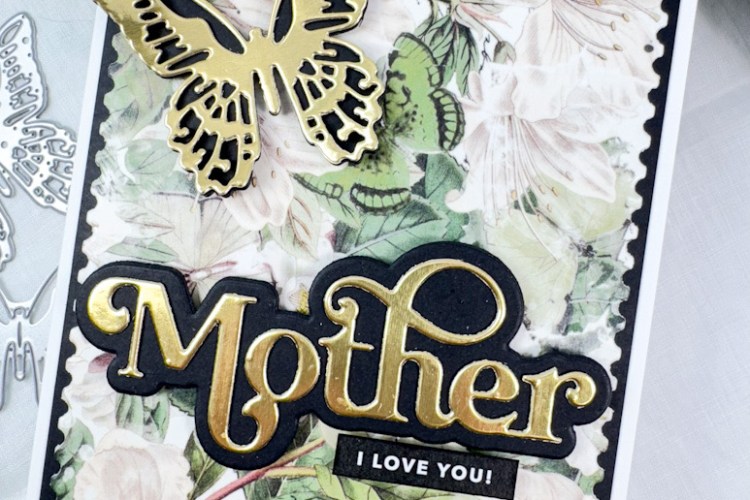
I began this project by creating a panel of washi on Neenah 110lb cardstock and trimming it down using the SSS Postage Stamp Edge Frames. I thought that black and gold would look amazing with this, so that’s the direction that I went. I used the SSS Fancy Mother and SSS Hello and cut those once from gold cardstock and twice from black cardstock. I also cut the shadow portions twice as well, and adhered all of those pieces together using liquid glue.

I wanted another design element on the card, so I used the Tim Holtz Sizzix Mini Detailed butterflies set. I also cut that once from gold and twice from black and adhered them together. My panels were also adhered to a black panel to pull the design together.

The sentiments and butterflies were adhered to the cards using SSS 3D Foam Tape for a bit of dimension to finish up.

These are super simple cards, but I really love this washi tape! It makes for easy, yet beautiful cards, in my opinion! So, like I said, there needs to be a washi tape design team, and I need to be on it! Thanks for stopping by today! I hope you have a wonderful day, and don’t forget to stay awesome, friend!

Other Products:

* Affiliate links used at no cost to you. Thanks so much for your support!

Latest Posts

Latest Instagram Posts