Spellbinders Thank You Botanical

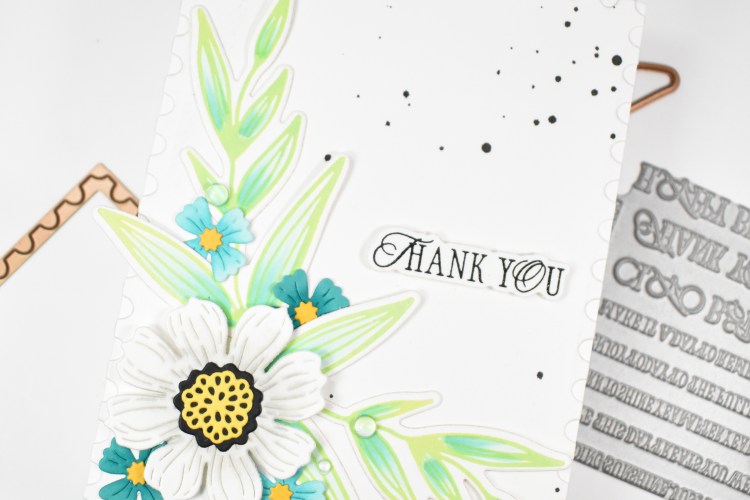
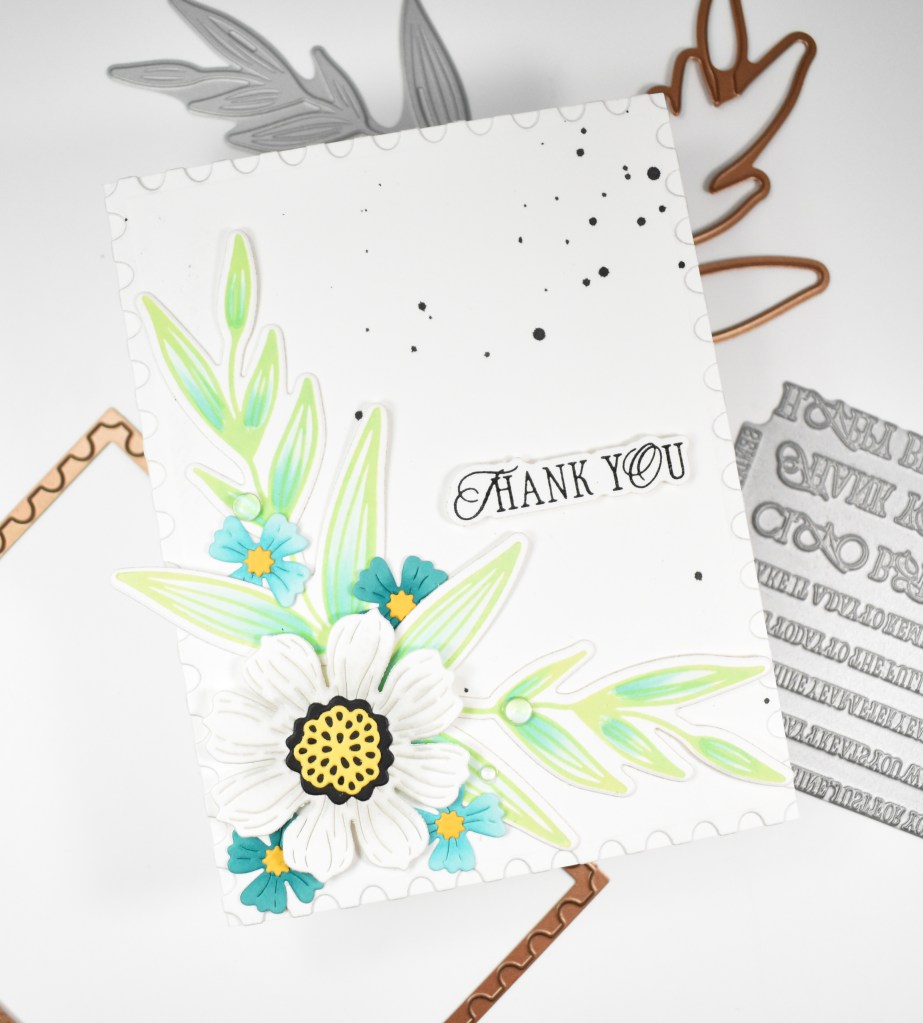
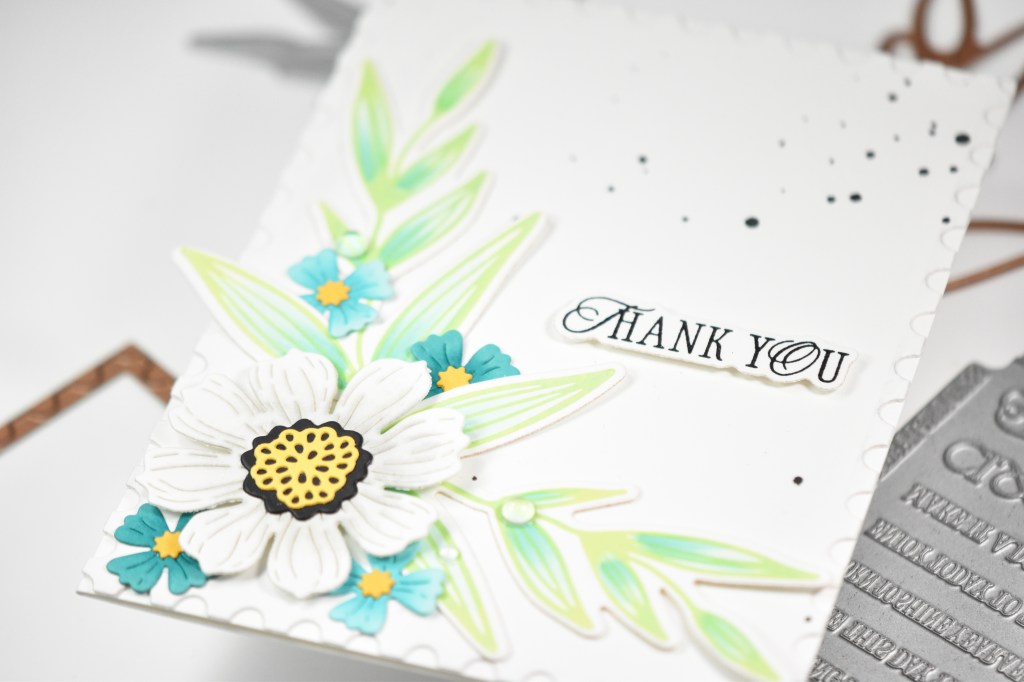
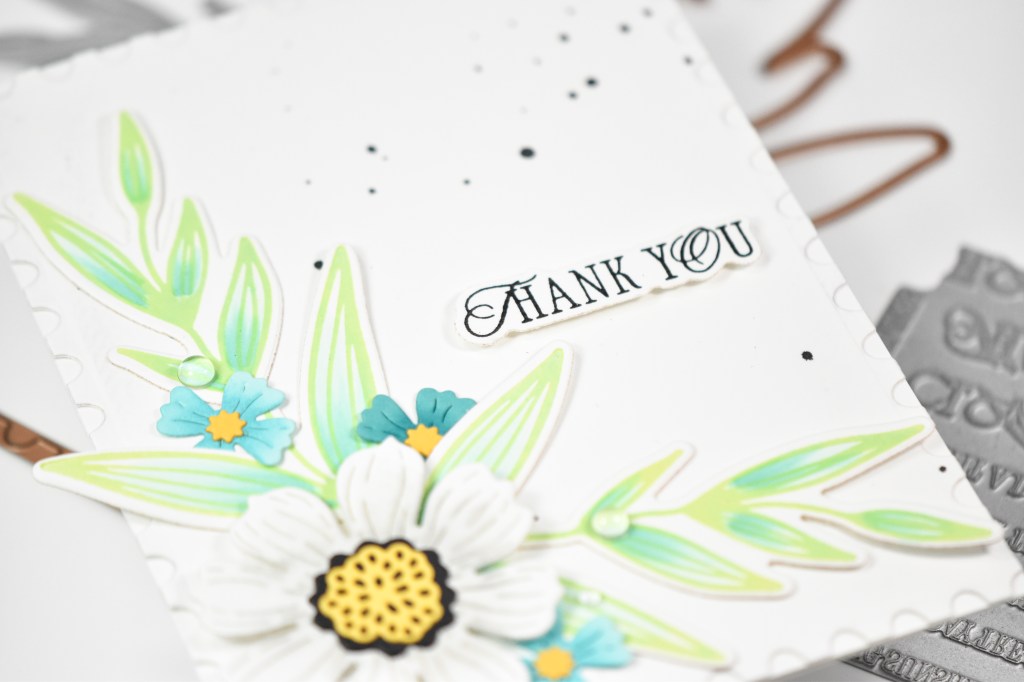
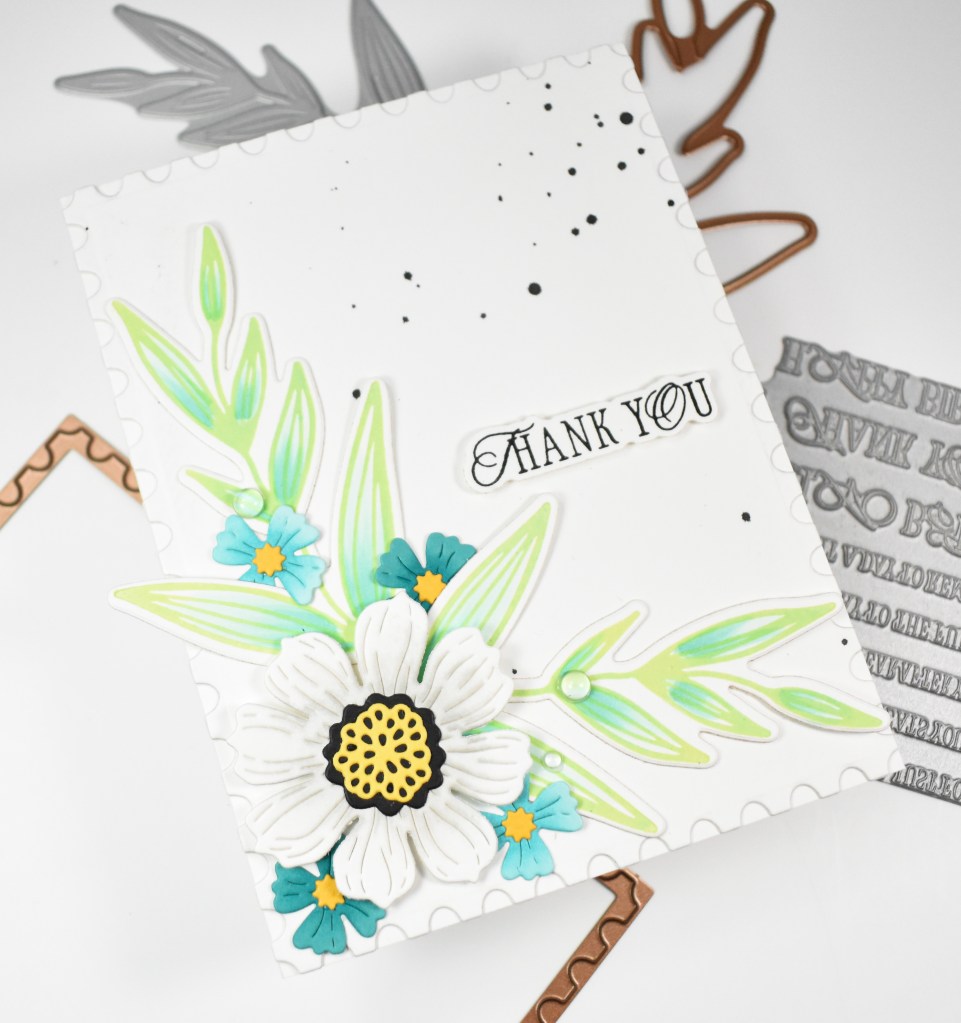
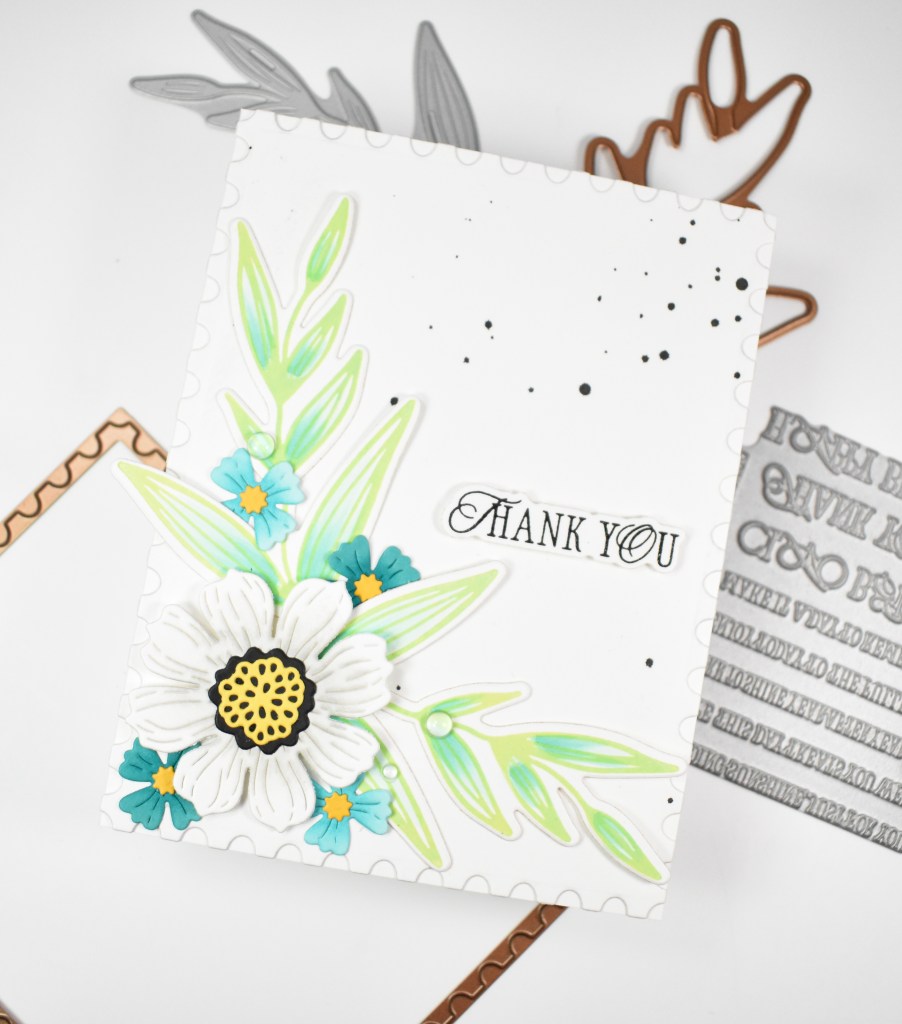
Hello Friends, and thanks for joining me! Today’s project is featuring the Modern Botanicals from Spellbinders and Dina Wakely. This set includes several elements, but I opted to just use the leaf for my project. Let’s go ahead and go through the details.

NOTE: all supplies are linked to multiple sources in the thumbnails at the end of this blog post.
I began this project by inking up the leaf on the BetterPress system using Celery and Seafoam inks. I did this twice and then used the coordinating die to trim those out. While I was inking, I went ahead and inked up the La Dolce Vita Sentiments using VersaFine Onyx Black ink. I used clear embossing powder to heat set it. I wasn’t sure that this technique would work, but I went with it anyway. I used the coordinating die to trim that out as well. Before moving on, I added some color to the leaves using Copic Markers BG11 and BG32.

I then did some die cutting using the Vivid Blooms set from Neenah 110lb cardstock, as well as Waterfall, Teal Topaz, Beeswax and black. I did some light ink blending on the flowers before assembling them using the same Seafoam ink along with PFS Misty Coast ink. Before the assembly of the card, I cut a panel using the Nested Postage Labels & Tag and black splattered that.

The panel was secured to the card base, the leaves were glued in place, as was the smaller flowers, while the larger flower and the sentiment were adhered using foam tape. A few clear drops were added to finish up.

That does it for this project! I hope you enjoyed it, and I appreciate you stopping by. Have a wonderful day, and stay awesome, friend!

Supply List

Affiliate links used at no cost to you. What does this mean? If you use the links within this post to make a purchase, I receive a small commission, which allows me to continue to post crafty content for your enjoyment. I truly appreciate your support!
Latest Posts

Latest Instagram Posts

Simon Says Stamp Relax Snake Plant

Hello Crafty Friends and welcome back! Today’s project is featuring the new Snake Plant Stencil and Die from Simon’s latest release, Moments In Time. Let’s jump right into it.

NOTE: all supplies are linked in the thumbnails at the end of this blog post.

I began this project by gathering a panel of Neenah 110lb cardstock, my inks and a Craft Tacky Mat. This stencil set has five stencils, so the inks that I used were Celery, Limelicious, Fairway, Pearfection and Emerald.

Once the ink blending was complete, I used the coordinating die to cut out the leaves. I also cut the leaves from Fern and black cardstock and adhered all of those together, offsetting them slightly. This was then adhered to a Forest panel that I had previously gold splattered.

The sentiment, which is included with the die set, was cut once from gold cardstock and once from black cardstock, while the shadow portion was cut twice from the same Forest cardstock. This was then glued directly atop the leaves to finish up.

That does it for this one! The snake plant always reminds me of my Mom, as she always had one on the front porch. I would love to have one, but the google machine says that they are toxic to cats, and I’m a cat person. Oh well. Thanks again for joining me, and I hope you have a wonderful day!

Supply List

Affiliate links used at no cost to you. What does this mean? If you use the links within this post to make a purchase, I receive a small commission, which allows me to continue to post crafty content for your enjoyment. I truly appreciate your support!

Latest Posts

Latest Instagram Posts
Simon Says Stamp You Are Amazing Vintage Bloom

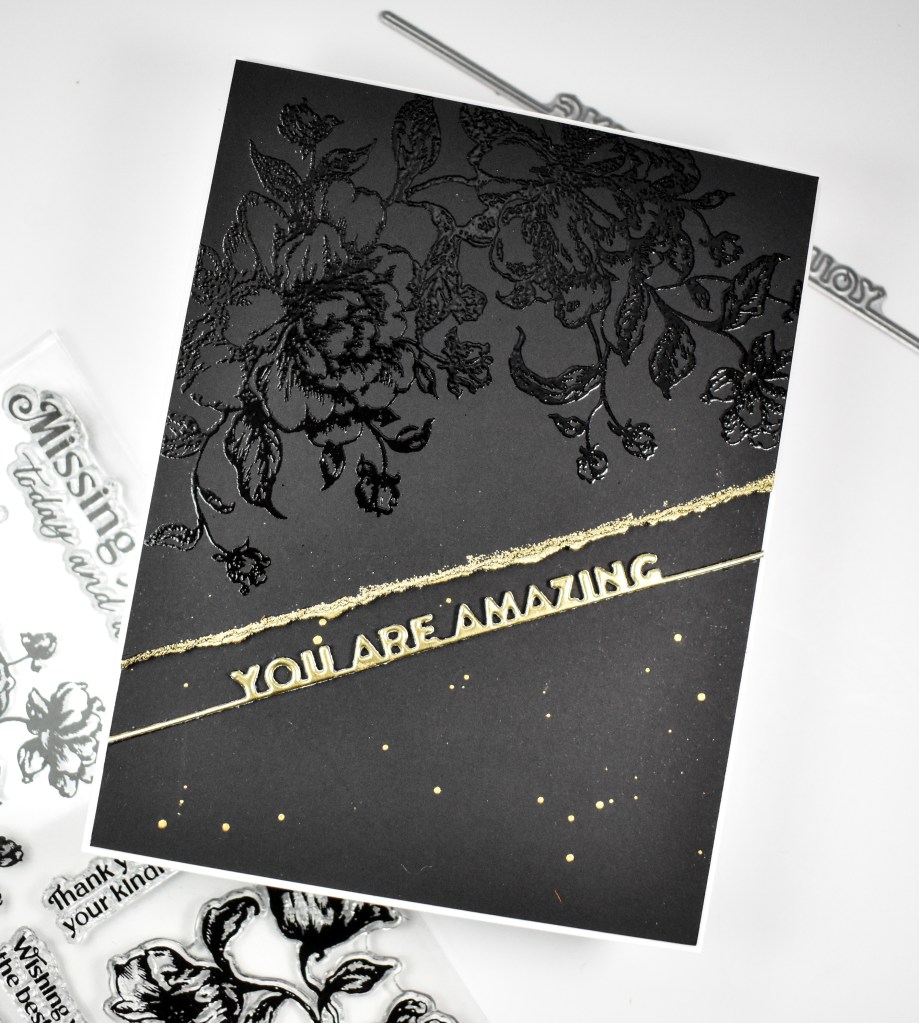
Hey There, Friends! Thanks so much for stopping by! Today’s project is featuring the new Vintage Blooms from Simon’s latest release, Moments In Time. This is a super simple project, but I always love dark and dramatic cards, so let’s go ahead and go through the details for this one!

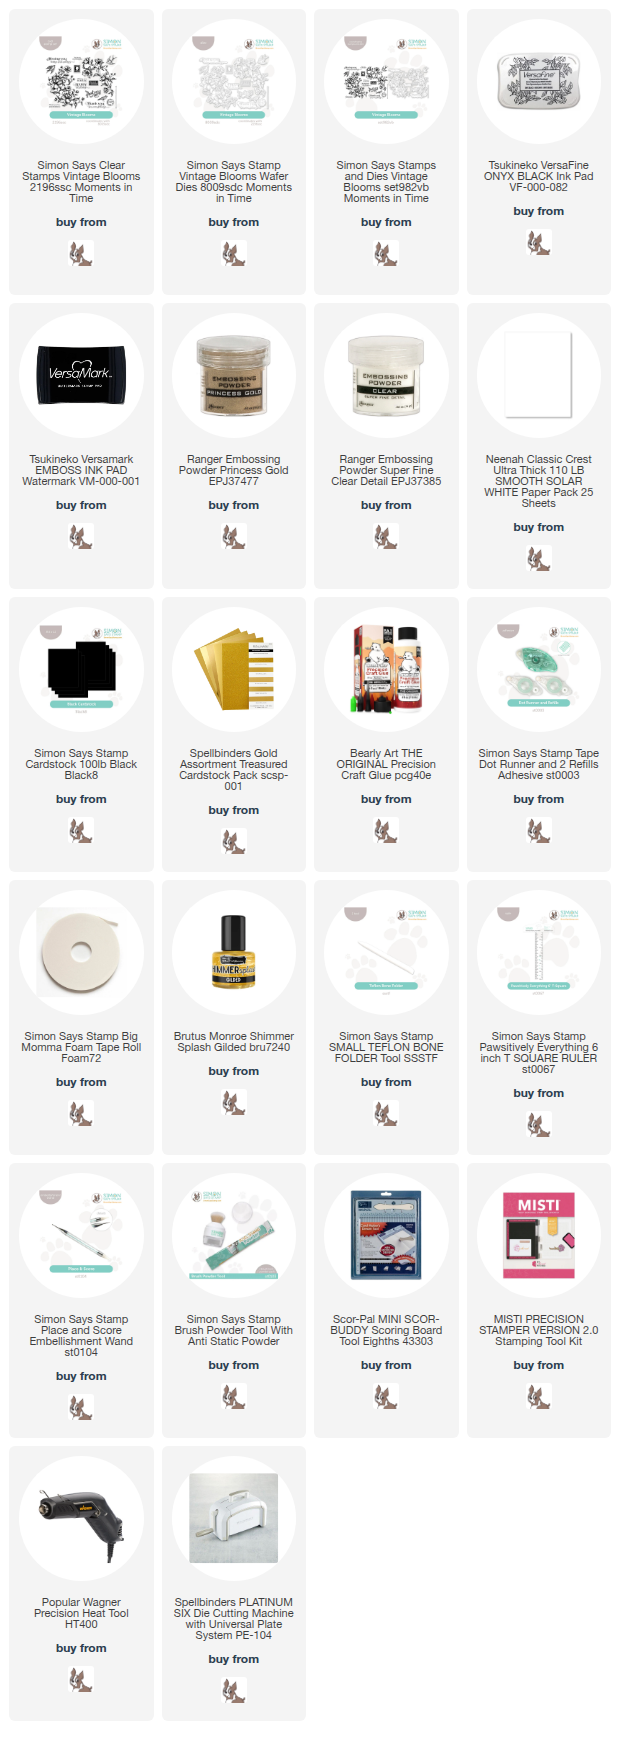
NOTE: all supplies are linked in the thumbnails at the end of this blog post.

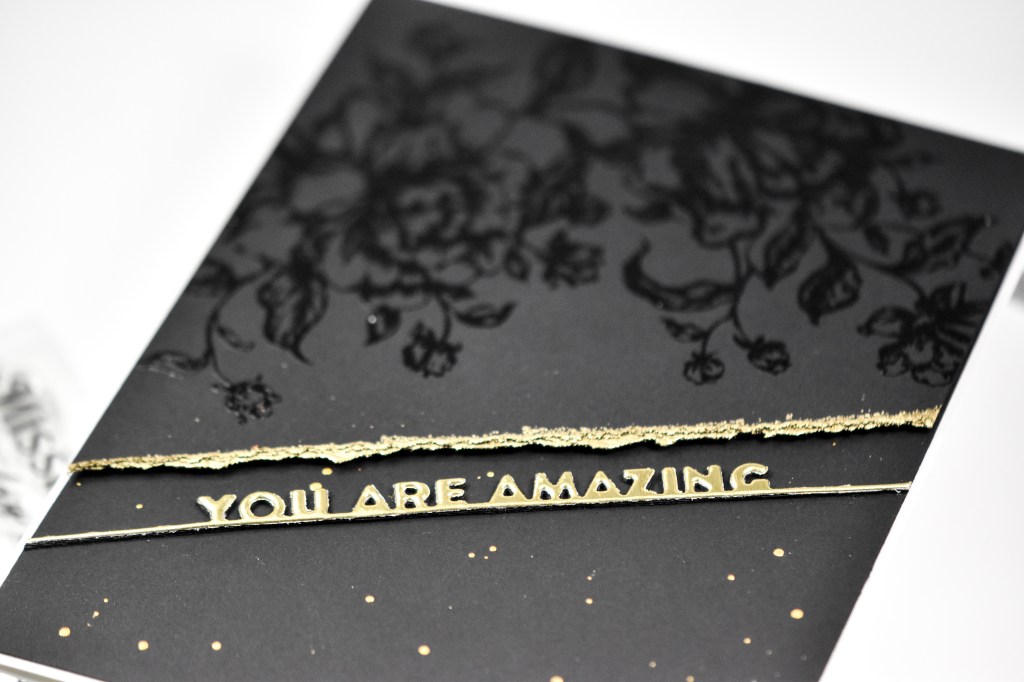
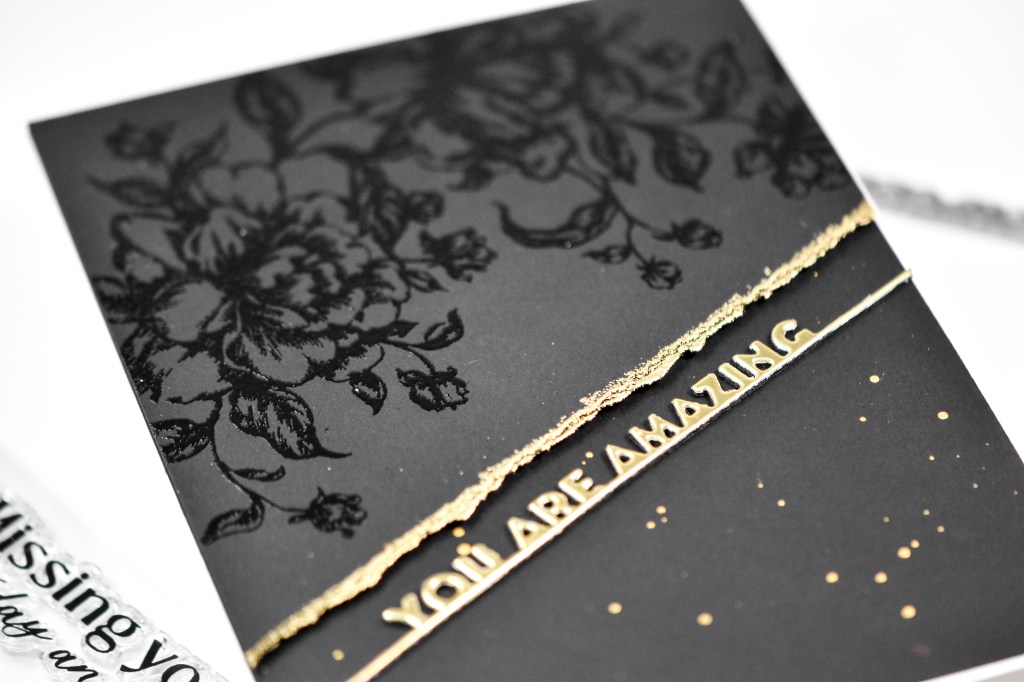
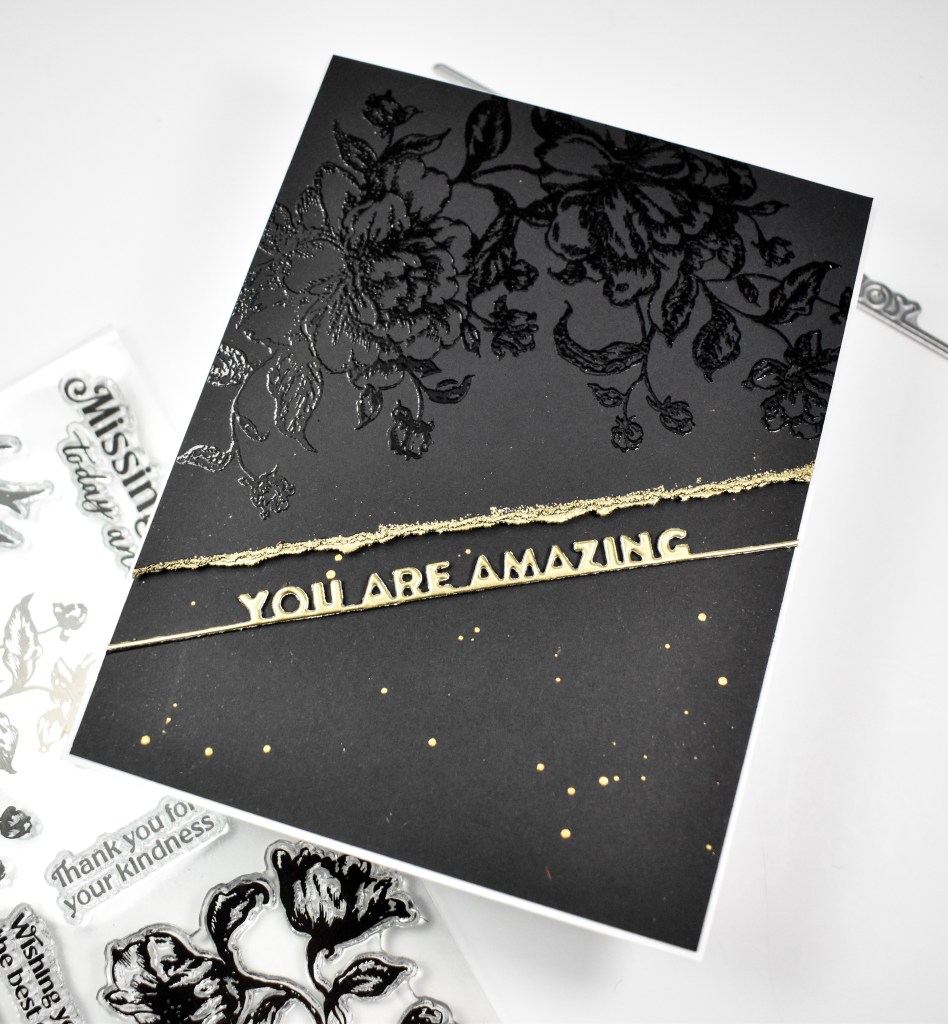
This Vintage Blooms stamp set has two larger floral images, and I decided to just use one of them on the corner of a black panel. I stamped the floral using VersaFine Onyx Black Ink and heat set it using Ranger Clear Embossing Powder. I then took a deckle edged ruler and ripped off the remaining portion of the panel.

I wanted that rough edge to have some detail, so I rubbed the VersaMark Ink pad along the edge and heat set it using Ranger Princess Gold Embossing Powder. Before adhering the stamped panel to another black panel with foam tape, I gold splattered that for some additional interest.

The sentiment is from a discontinued Simon set, but in looking on their website, Papertrey Ink has some similar items that would work great too. I die cut the sentiment once from gold cardstock and twice from black cardstock for a stacked sentiment and then glued that along the torn edge.

That does it for this project! A dark, clean and simple design! This design would be great for any occasion, but I also can see it as a wedding card as well. Don’t forget to check out the entire Moments In Time release over on Simon’s website. I hope you have an absolutely wonderful day!

Supply List

Affiliate links used at no cost to you. What does this mean? If you use the links within this post to make a purchase, I receive a small commission, which allows me to continue to post crafty content for your enjoyment. I truly appreciate your support!

Latest Posts

Latest Instagram Posts

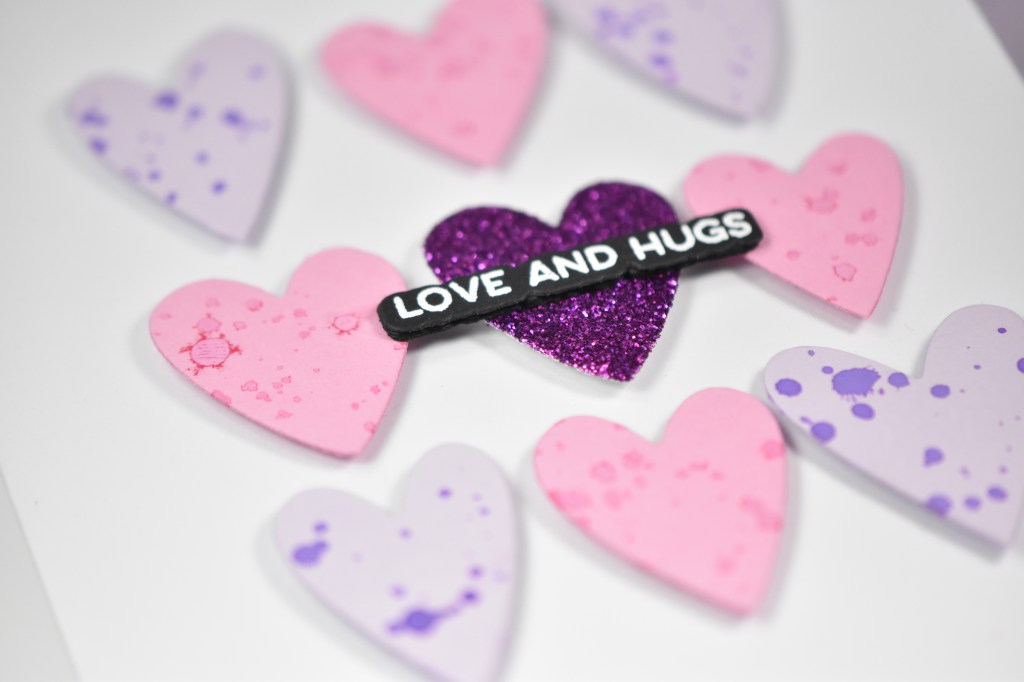
Lovely Heart Grids Featuring Your Paper Insider

Hello Crafty Friends and welcome back! I recently received Box 11 from Your Paper Insider, and went to work on creating a few cards! If you haven’t looked into Your Paper Insider, I encourage you to do so! It’s a quarterly subscription box filled to the brim with interesting and gorgeous papers from all over the world! Let’s go ahead and go through the details for this set!

NOTE: all supplies are linked to multiple sources in the thumbnails at the end of this blog post.

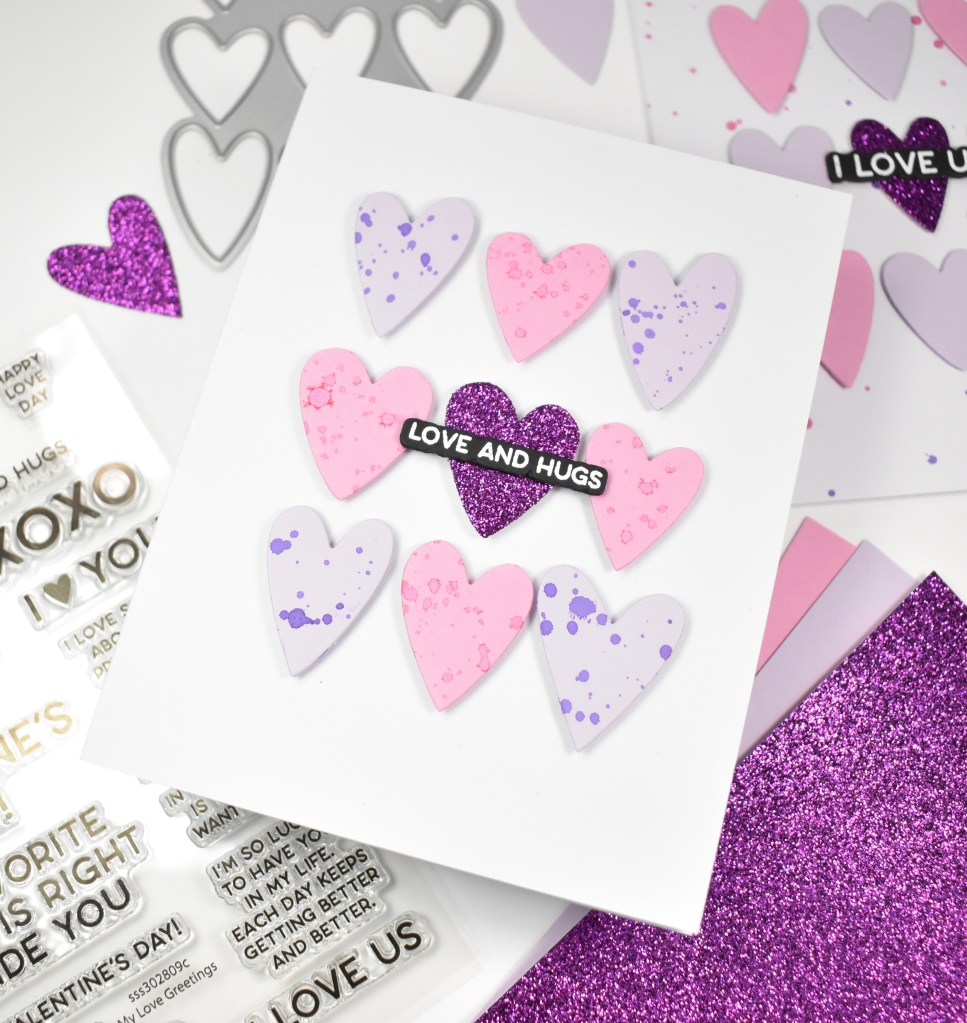
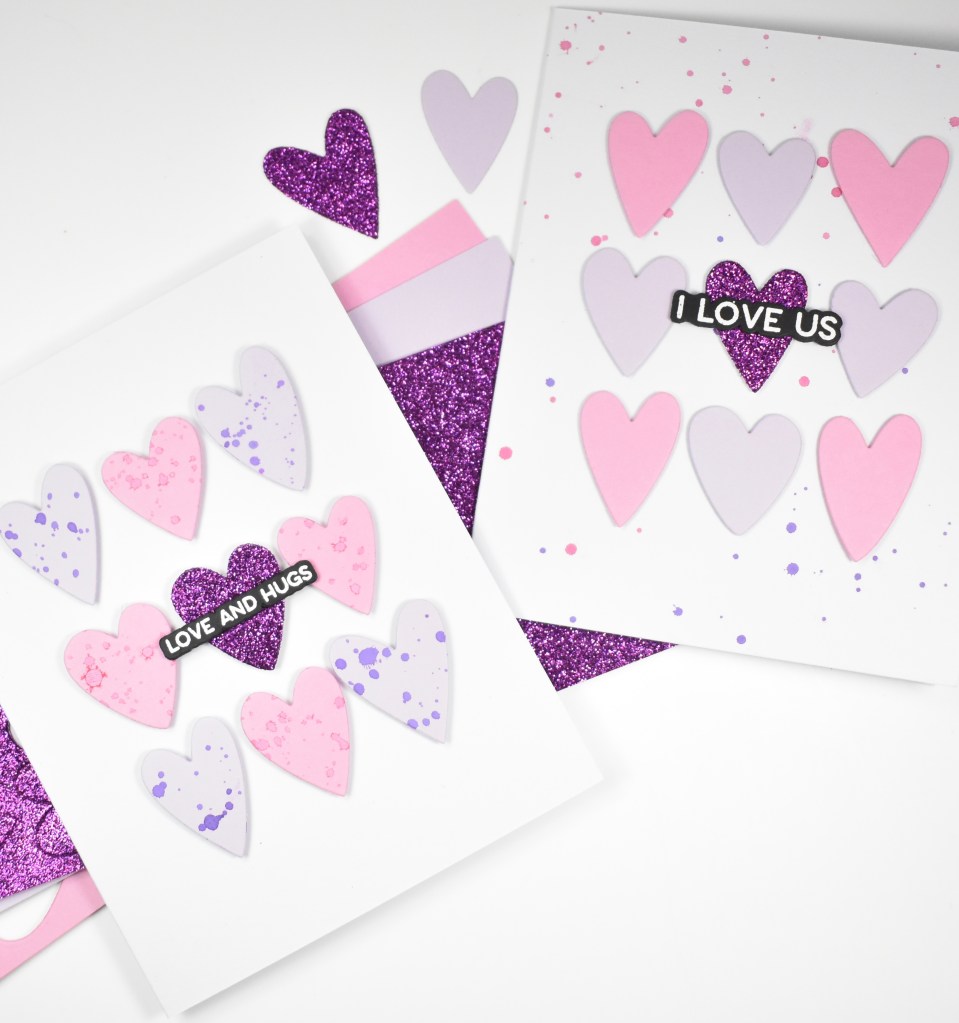
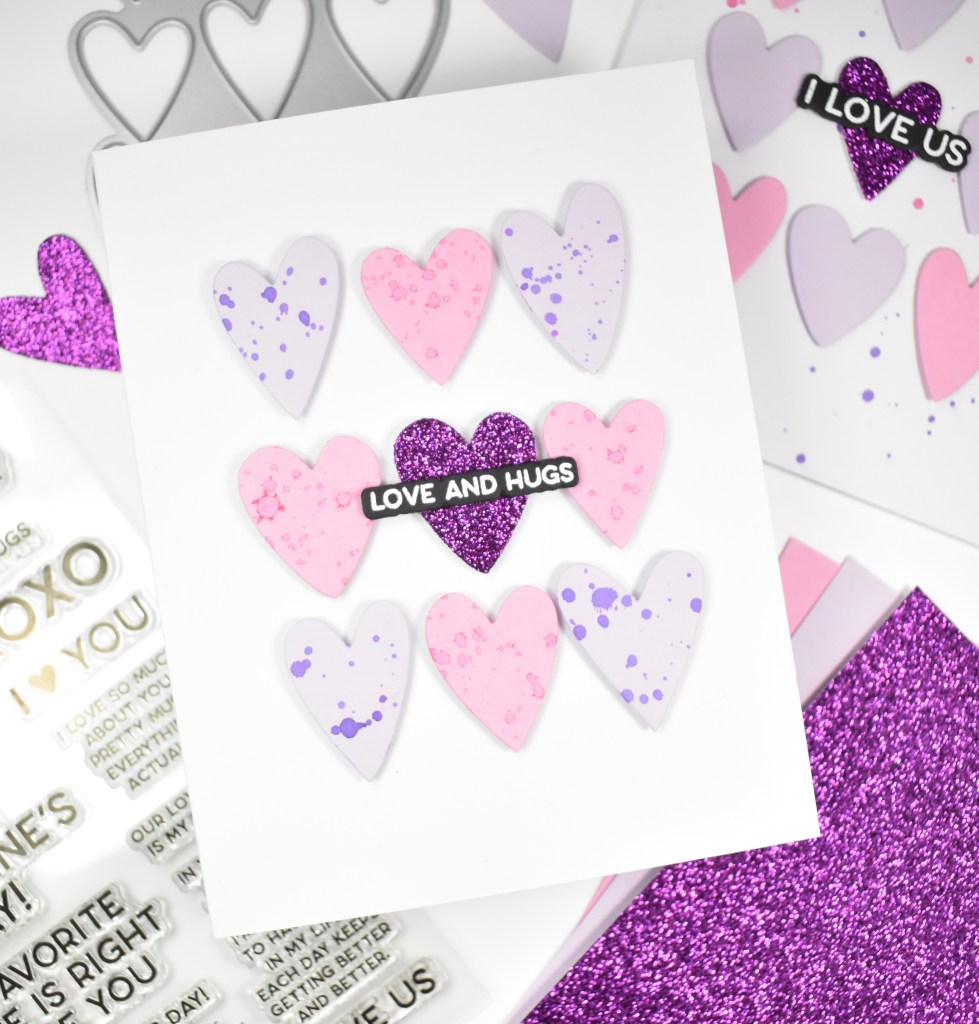
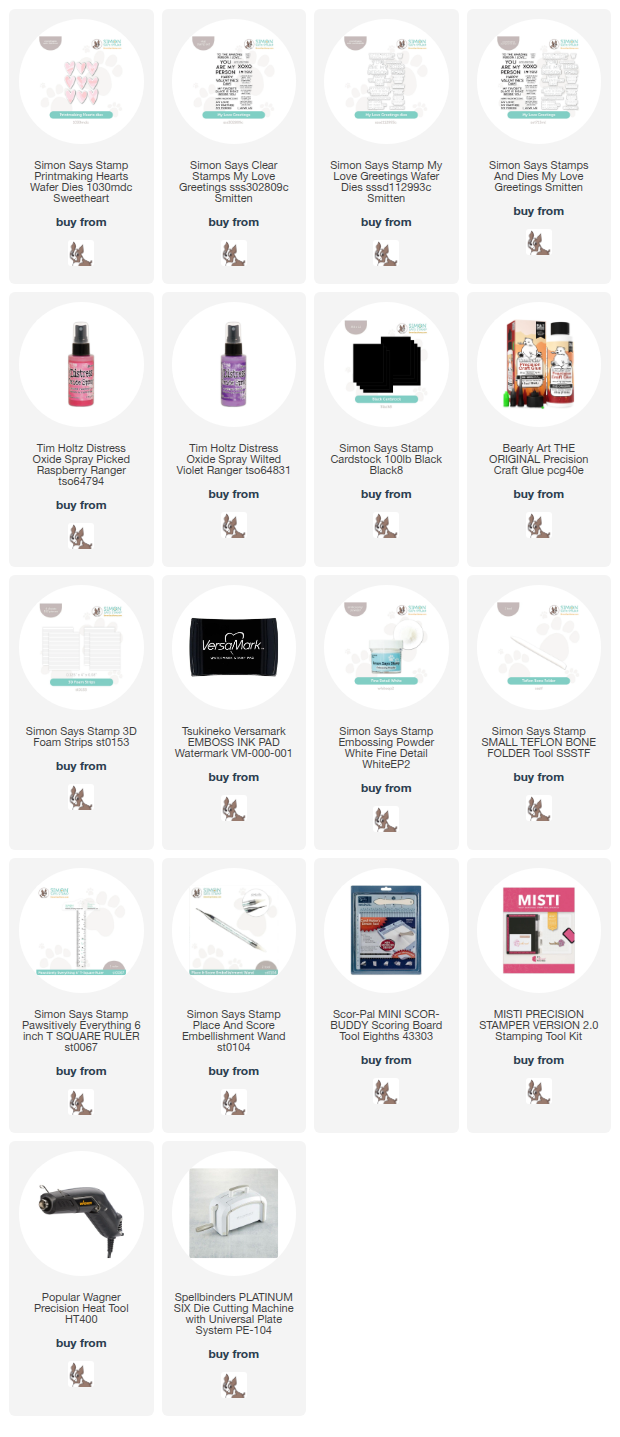
All of the cardstock for both of these cards came from Box 11 with the exception of the black. I thought the pink and purple paired nicely with this awesome purple glitter paper! I began this project by die cutting the SSS Printmaking Hearts once from all three of the colors.

For one of the cards, I opted to splatter the card base with Distress Oxide Sprays in Picked Raspberry and Wilted Violet, while the hearts for the second card got the splatter. I just wanted to mix up the design a little between the two cards.

I placed foam strips on the back of the hearts and secured them to the card bases, mixing up the pattern, but still having the glitter heart in the center. The sentiments were stamped onto black cardstock using VersaMark Ink and heat set using SSS Detail White Embossing Powder. They were trimmed out along with two additional cuts for a stacked sentiment, and adhered directly to the heart using liquid glue.

That does it for these projects! I hope you like them! They’re both simple projects, but sometimes simple is good! Don’t forget to check out Your Paper Insider! Thanks so much for stopping by, and I hope you have a wonderful day!

Supply List

Affiliate links used at no cost to you. What does this mean? If you use the links within this post to make a purchase, I receive a small commission, which allows me to continue to post crafty content for your enjoyment. I truly appreciate your support!

Latest Posts

Latest Instagram Posts
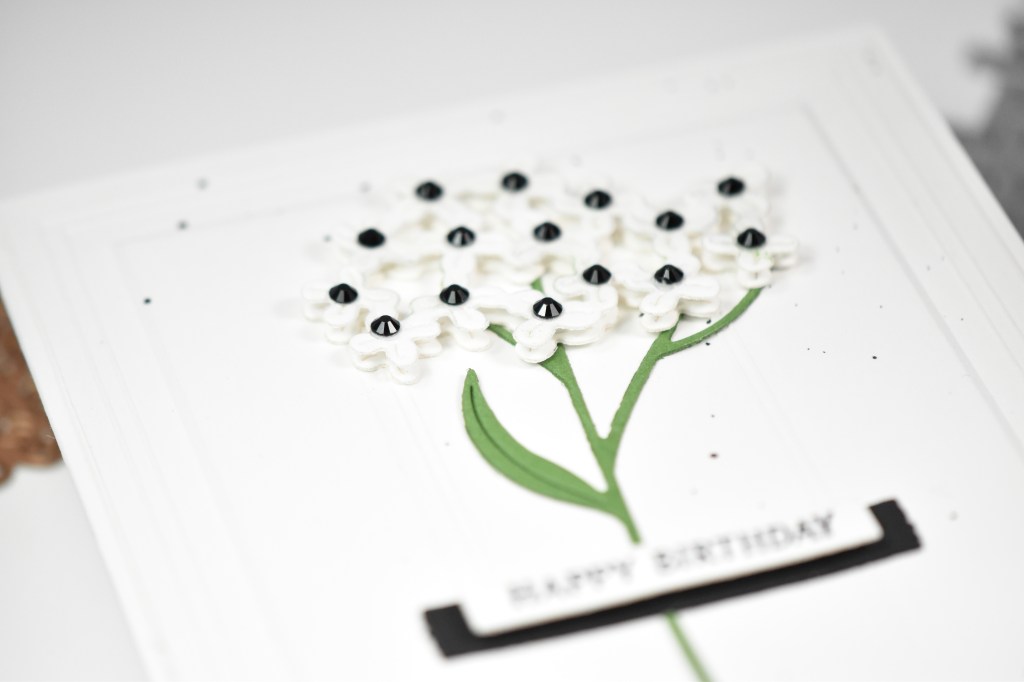
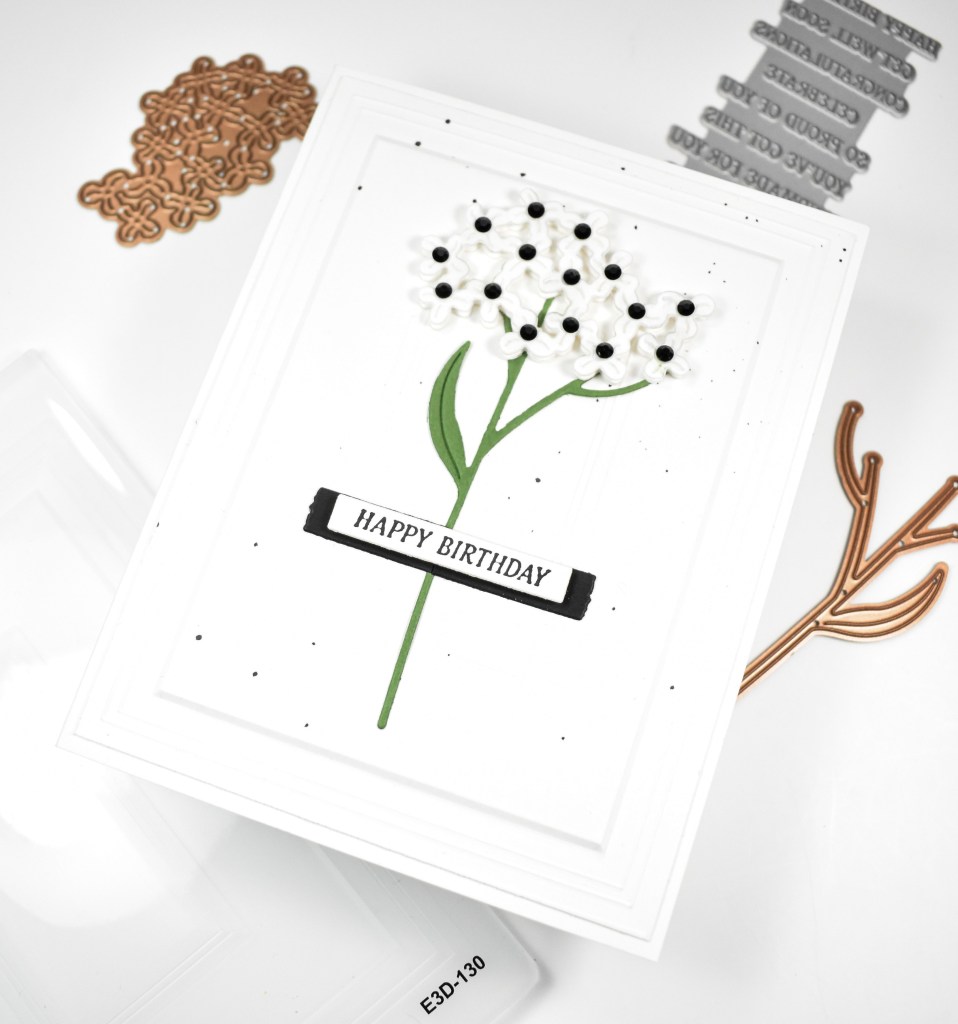
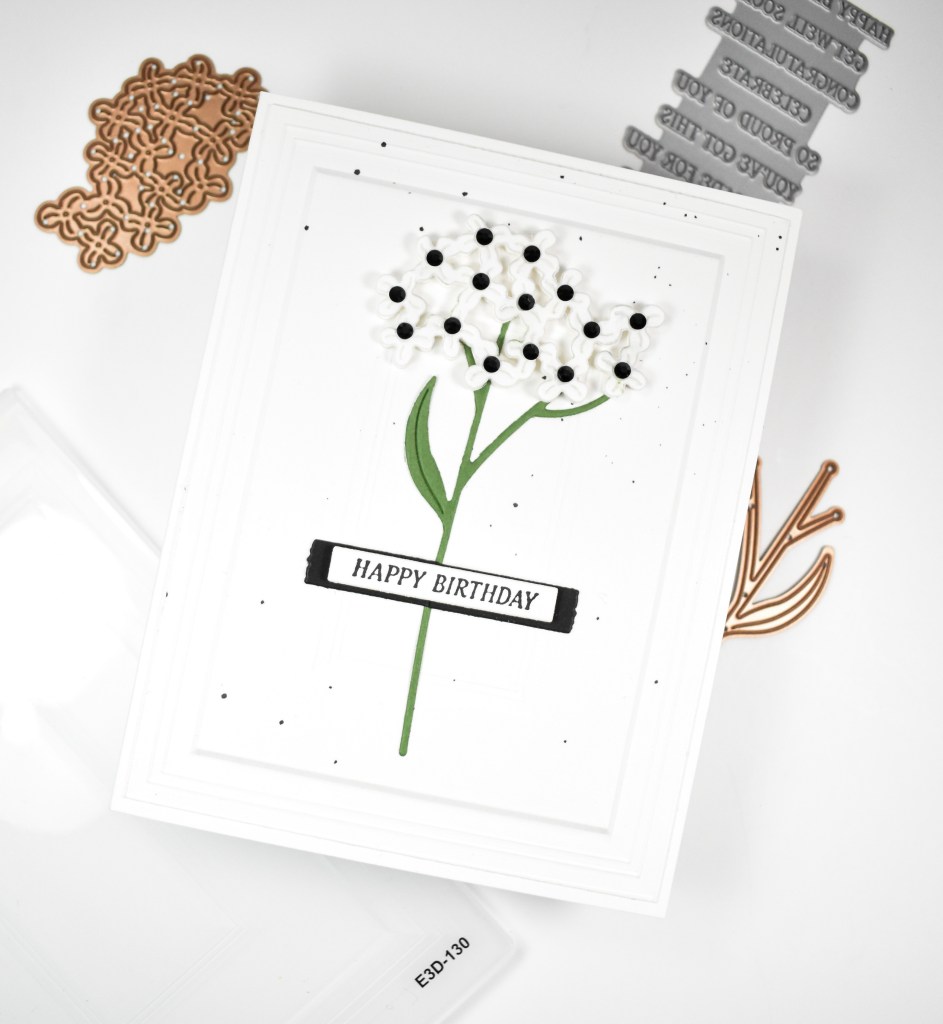
Spellbinders Birthday Field Notes

Hello Friends and welcome back! Today’s project is featuring the Field Notes Wildflowers along with the Molded Frame 3D Embossing Folder from the Spellbinders April releases. I got a little behind from traveling and then being sick for a week, so I’m playing a little bit of catch up! Let’s go ahead and go through the details for this one.

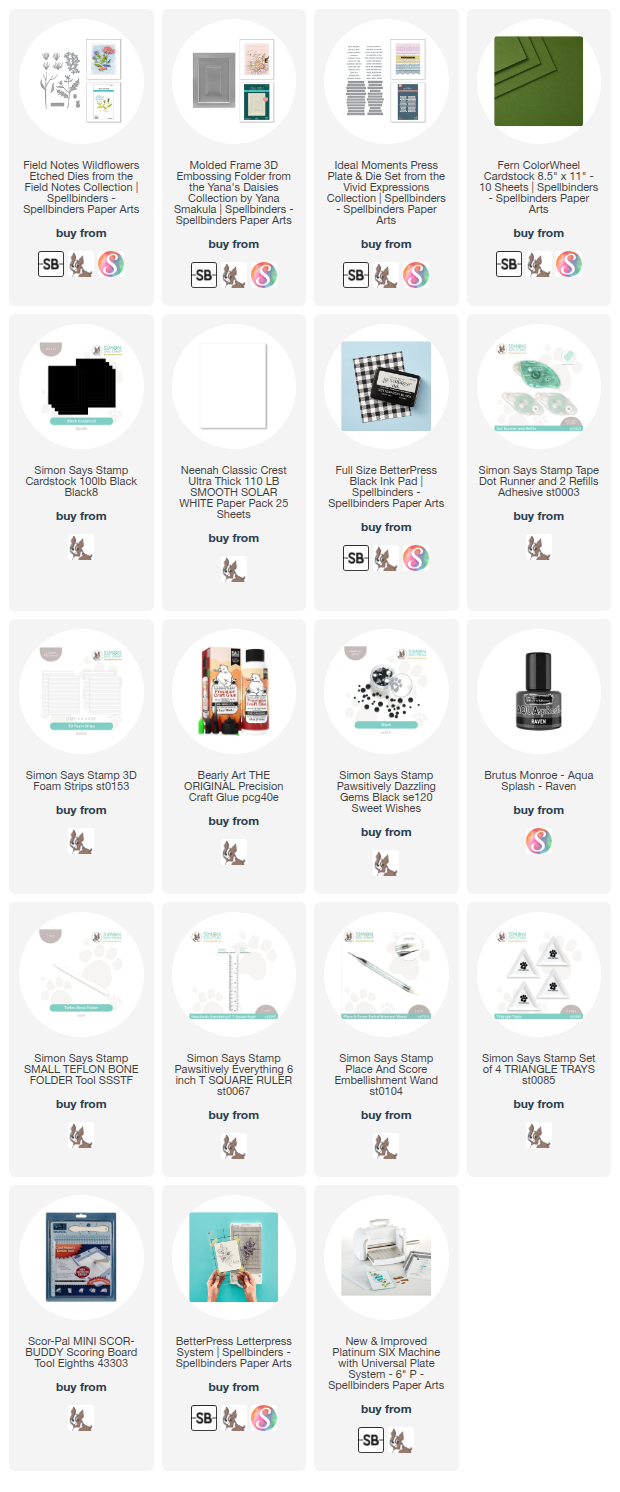
NOTE: all supplies are linked to multiple sources in the thumbnails at the end of this blog post.

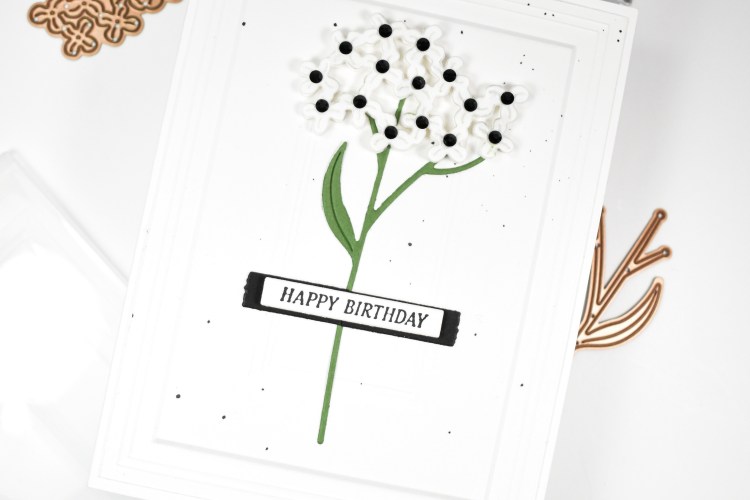
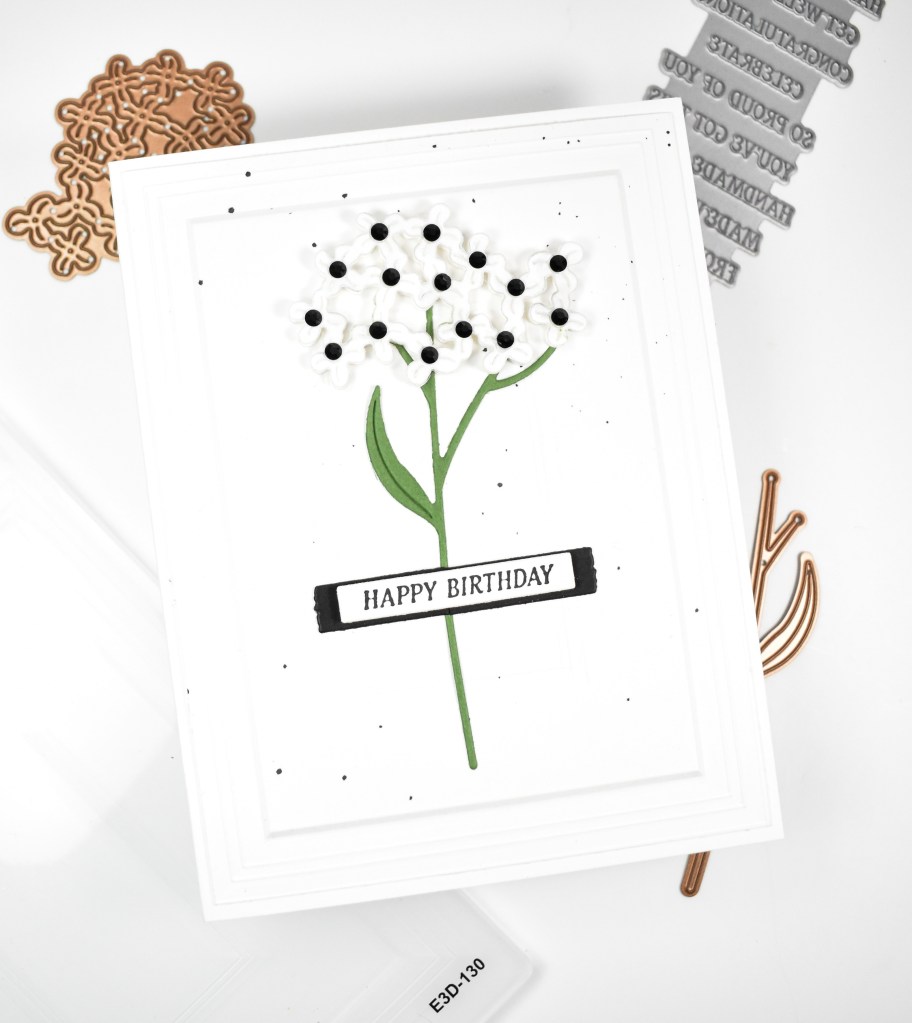
I began this project by creating the background first using the Molded Frame Embossing Folder, trimming it down slightly and then adding some splatter. The next step was to cut the flowers pieces using Neenah 110lb cardstock and Fern cardstock.

I placed tiny pieces of foam tape on one of the floral pieces and then adhered the other piece atop that for a more dimensional look. This was then adhered to the stem and black gems were added to the centers of the flowers.

The black strip is part of the wildflower set, but it was smaller than I wanted, so I just cut two of them and trimmed off one end of both. The sentiment was created using the Ideal Moments Sentiments BetterPress Plate along with black BetterPress ink.

The panel was adhered to the card base, the floral was glued in place along with the black strip and the sentiment was adhered with foam strips to finish up.

A simple project for today, but I love the classic look of white flowers on a white background. I hope you enjoyed it! Thanks again for stopping by, and I hope you have an awesome day!

Supply List

Affiliate links used at no cost to you. What does this mean? If you use the links within this post to make a purchase, I receive a small commission, which allows me to continue to post crafty content for your enjoyment. I truly appreciate your support!

Latest Posts

Latest Instagram Posts

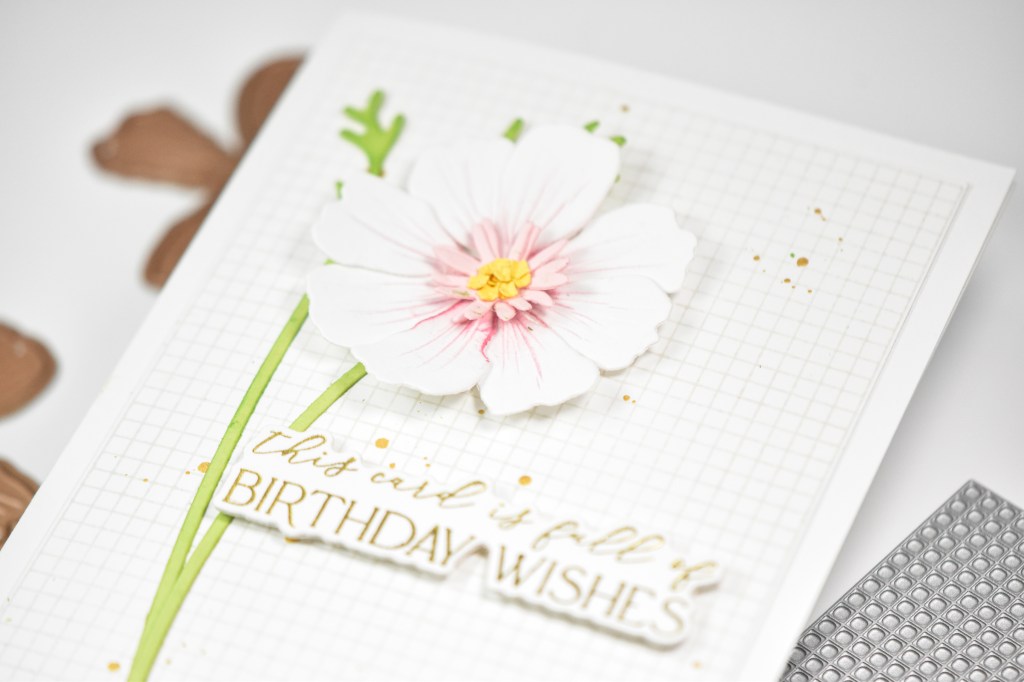
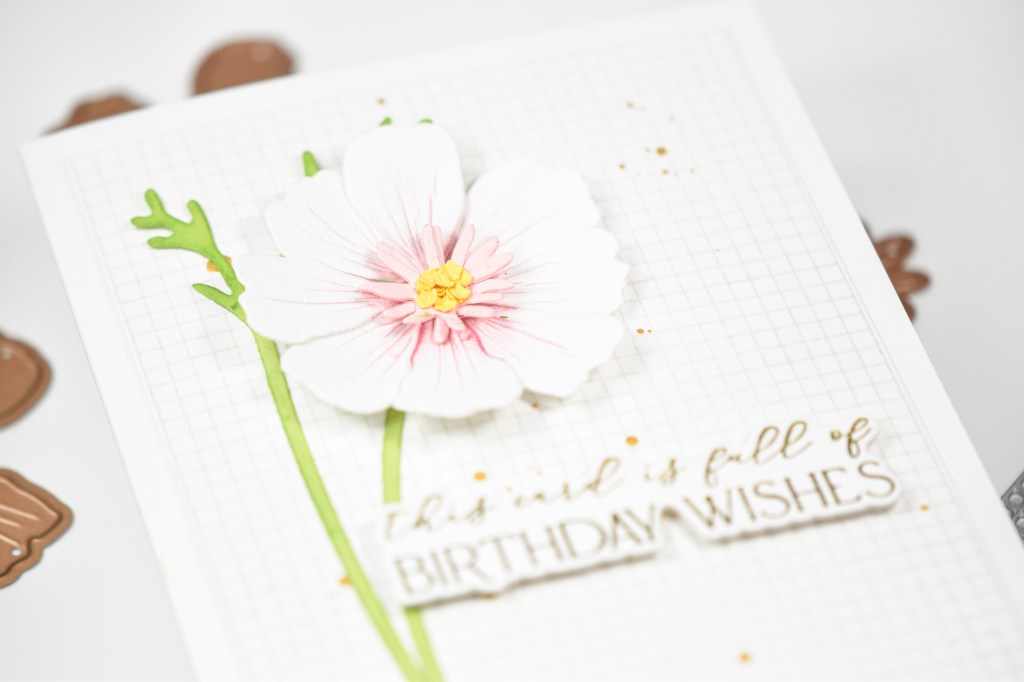
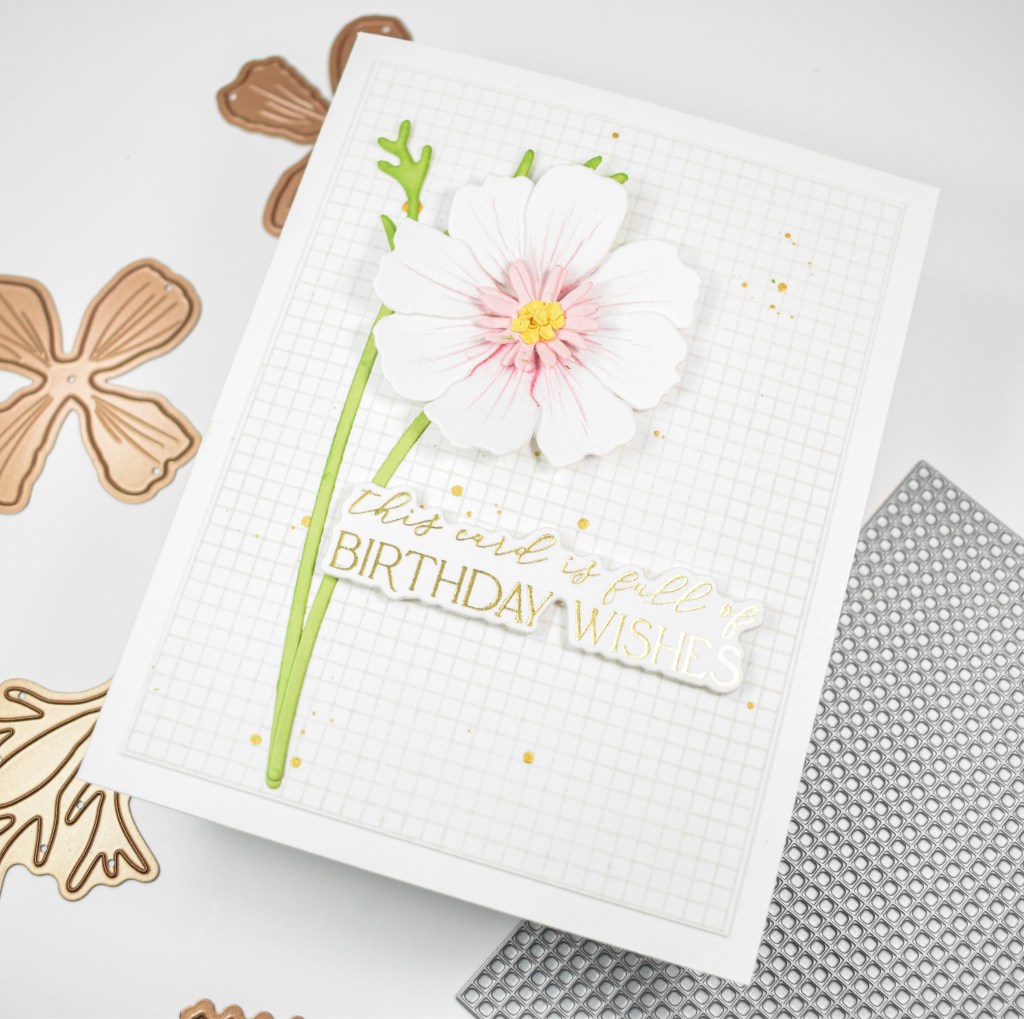
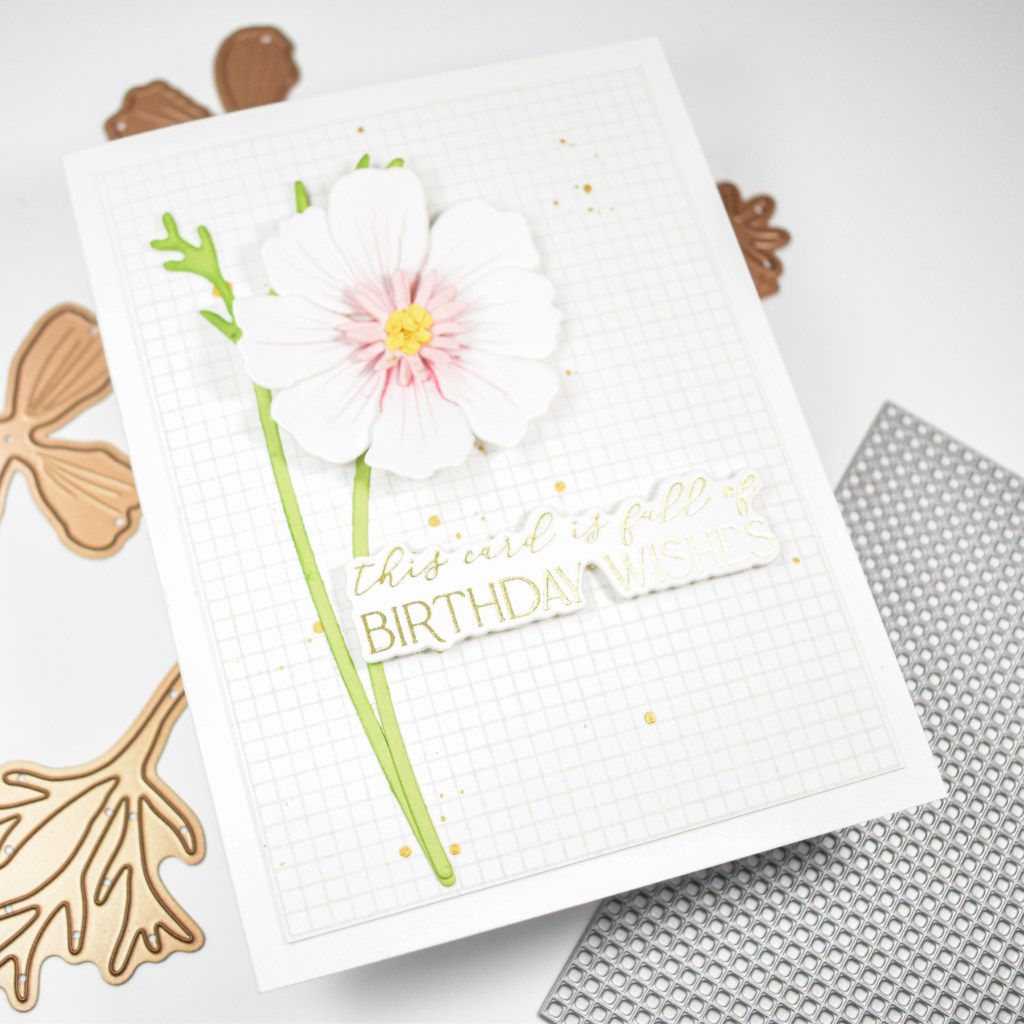
Spellbinders Birthday Cosmos

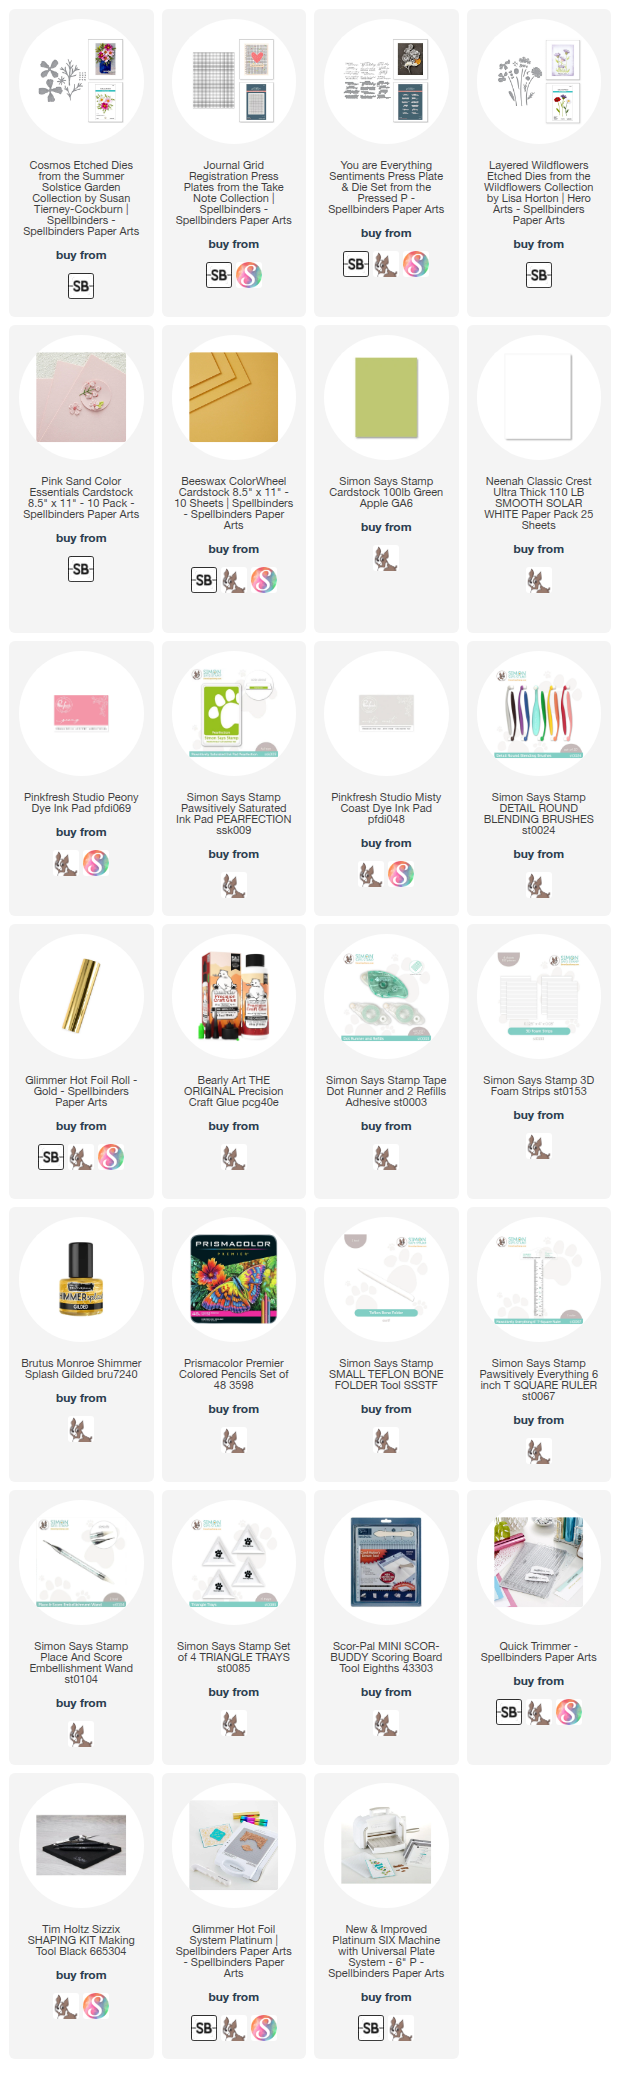
Hello Crafty Friends and welcome back! Today’s project is featuring the new Cosmos, as well as the Journal Grid in a clean and simple design. These products are from the May releases, and you should definitely check them out! Let’s go right into the details!

NOTE: all supplies are linked to multiple sources in the thumbnails at the end of this blog post.

I began this project by cutting the Cosmos from Neenah 110lb cardstock and the pieces from pink and yellow cardstocks. I did some light ink blending on the petals using Peony ink, drew some veins with a pink colored pencil and assembled the flower with liquid glue. I wanted this flower on a stem so I used the Layered Wildflowers set and cut that from Green Apple cardstock with some ink blending with Pearfection ink.

The Journal Grid BetterPress Plate was inked using Misty Coast ink, trimmed down and gold splattered for some additional interest. I chose the light grey ink because I wanted a subtle background for this card.

I gold foiled the You Are Everything Plate onto Neenah 110lb and trimmed it out with the coordinating die, along with two additional cuts because I love that stacked sentiment look. The background was adhered to the card base and the leaves and flower were glued in place while the sentiment were adhered using foam strips.

That finishes up this project! I hope you enjoyed it! Don’t forget to check out all of the May releases over on the Spellbinders website! Thanks again for joining me, and have a fabulous day!

Supply List

Affiliate links used at no cost to you. What does this mean? If you use the links within this post to make a purchase, I receive a small commission, which allows me to continue to post crafty content for your enjoyment. I truly appreciate your support!

Latest Posts

Latest Instagram Posts

Simon Says Stamp In My Thoughts Botanical

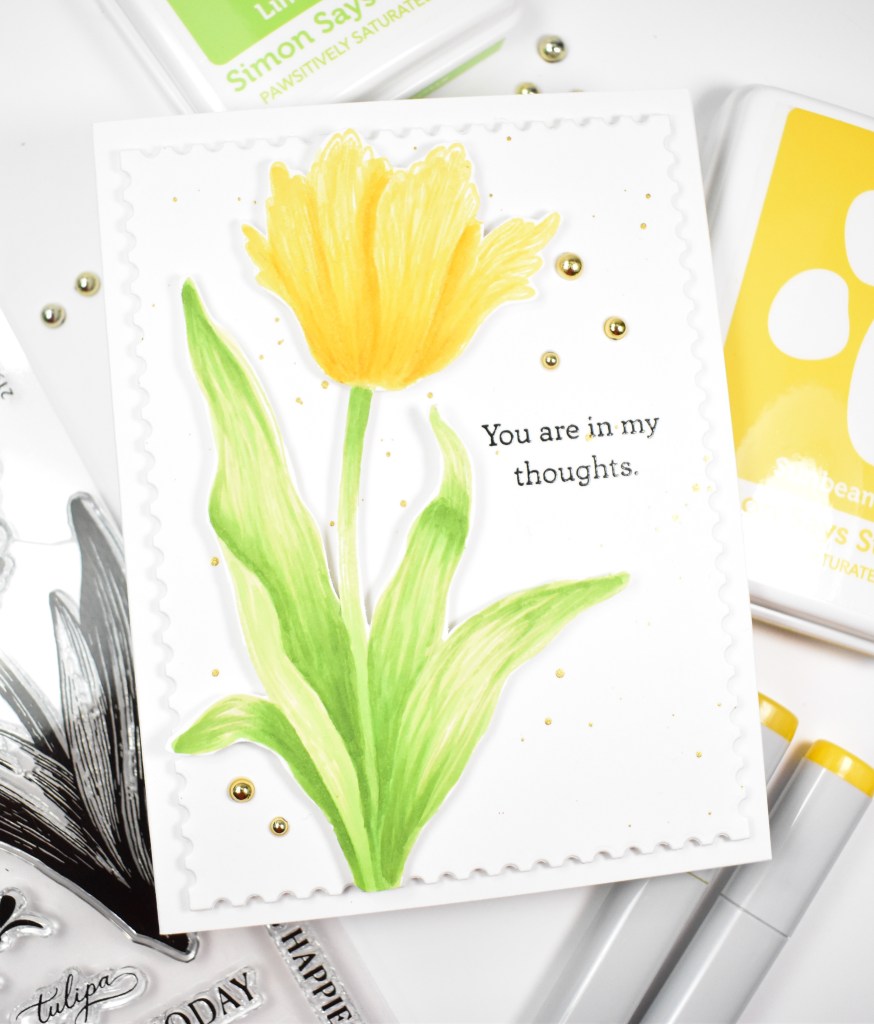
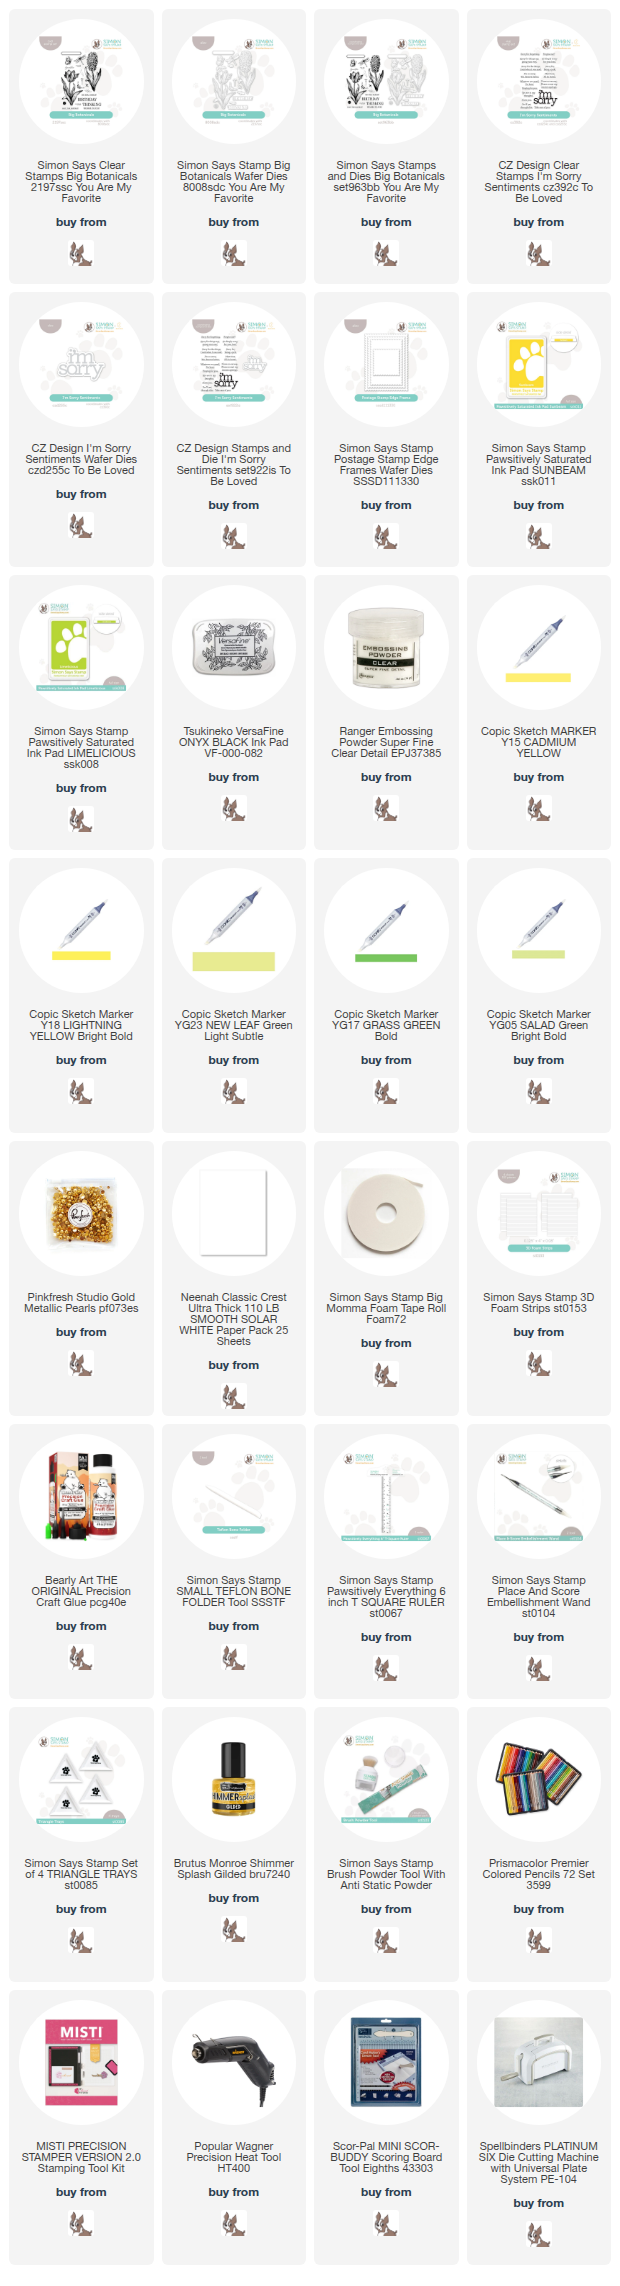
Hello Crafters, and welcome back to my blog! I appreciate you stopping by to check out today’s project featuring the Big Botanicals from Simon’s latest You Are My Favorite release. Let’s not waste time, and get right to the details!

NOTE: all supplies are linked in the thumbnails at the end of this blog post.

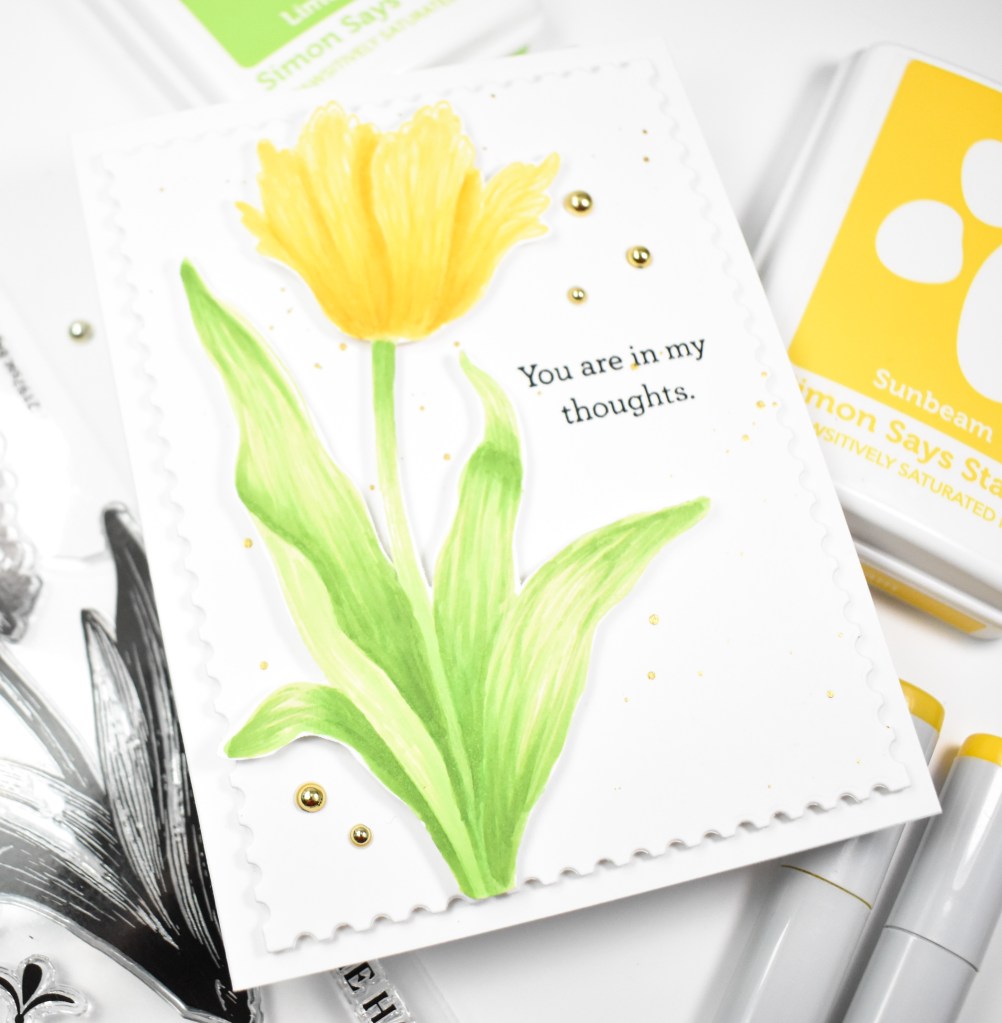
I began this project by stamping the flower portion of this stamp using Sunbeam ink, and the leaf portion using Limelicious ink. I just used a Post-It to mask off the areas, so nothing super technical. I then used Copic Markers Y15, Y18, YG05, YG17 and YG23 to add color to the stamped image. I also went in with some colored pencils to add some extra detail to the shaded areas.

Once I was done with the coloring, I fussy cut the image out. As a note, there are coordinating dies for this stamp set, in case you aren’t a big fan of fussy cutting. My background panel was cut using the Postage Stamp Edge Frames and splattered with some gold ink. Once the splatter was dry, I stamped the sentiment, which is from the I’m Sorry set, using VersaFine Onyx Black ink and heat set using Ranger Clear Embossing Powder.

My panel was adhered to the card base using foam tape, and the floral was adhered using foam strips. I did add a few gold embellishments to tie everything together.

That does it for this project! A relatively clean and simple design for this one. I hope you enjoyed it, and I hope it inspires you to get crafty in your space! Thanks again for stopping by, and I hope you have an awesome day!

Supply List

Affiliate links used at no cost to you. What does this mean? If you use the links within this post to make a purchase, I receive a small commission, which allows me to continue to post crafty content for your enjoyment. I truly appreciate your support!

Latest Posts

Latest Instagram Posts

Simon Says Stamp Birthday Hexagons

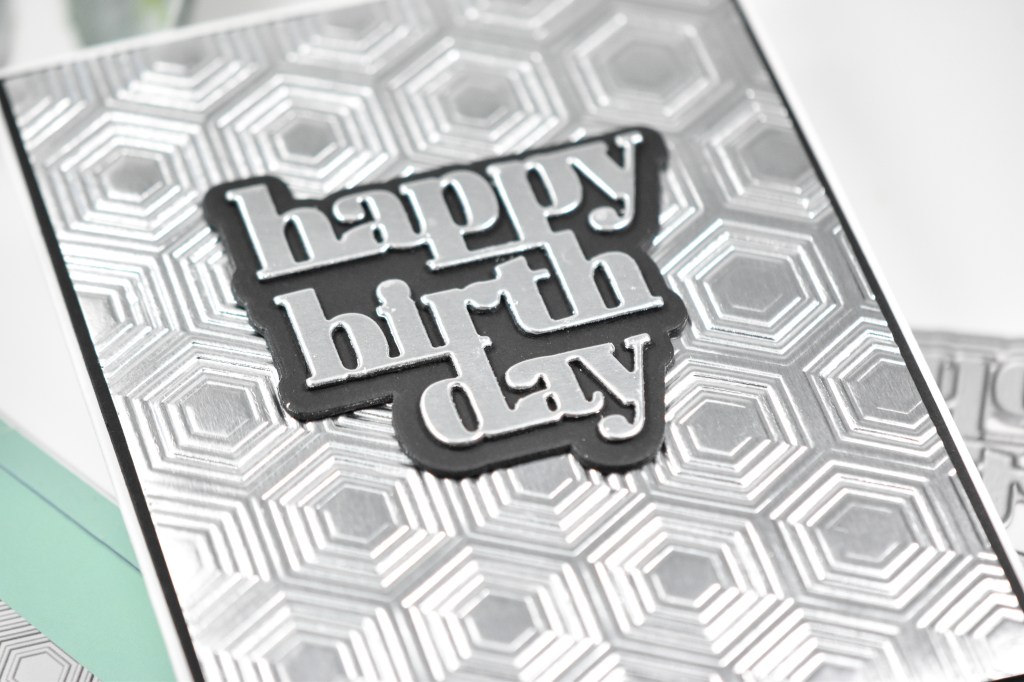
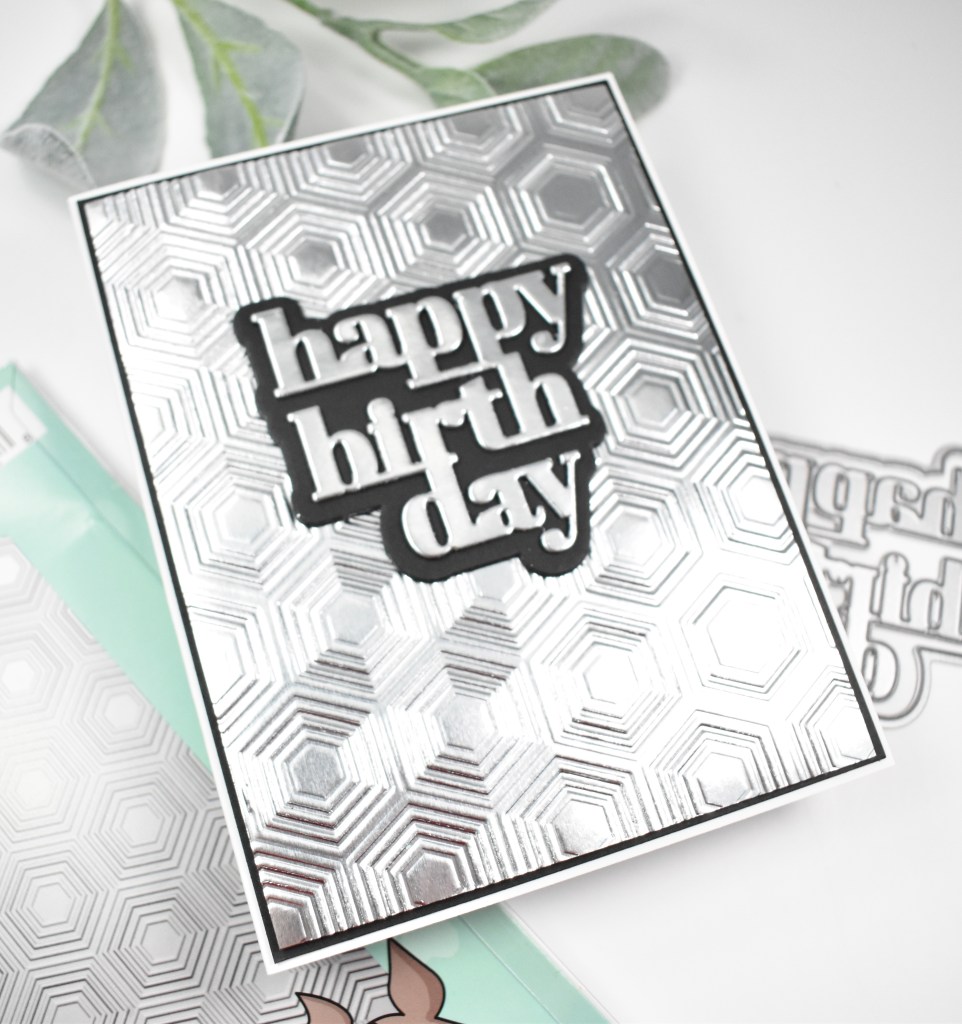
Hello Crafty Friends! Thanks so much for stopping by to check out today’s project featuring the new Hopping Hexagons Embossing Folder from Simon’s latest release, You Are My Favorite. This was a simple project, so it will be a quick one!

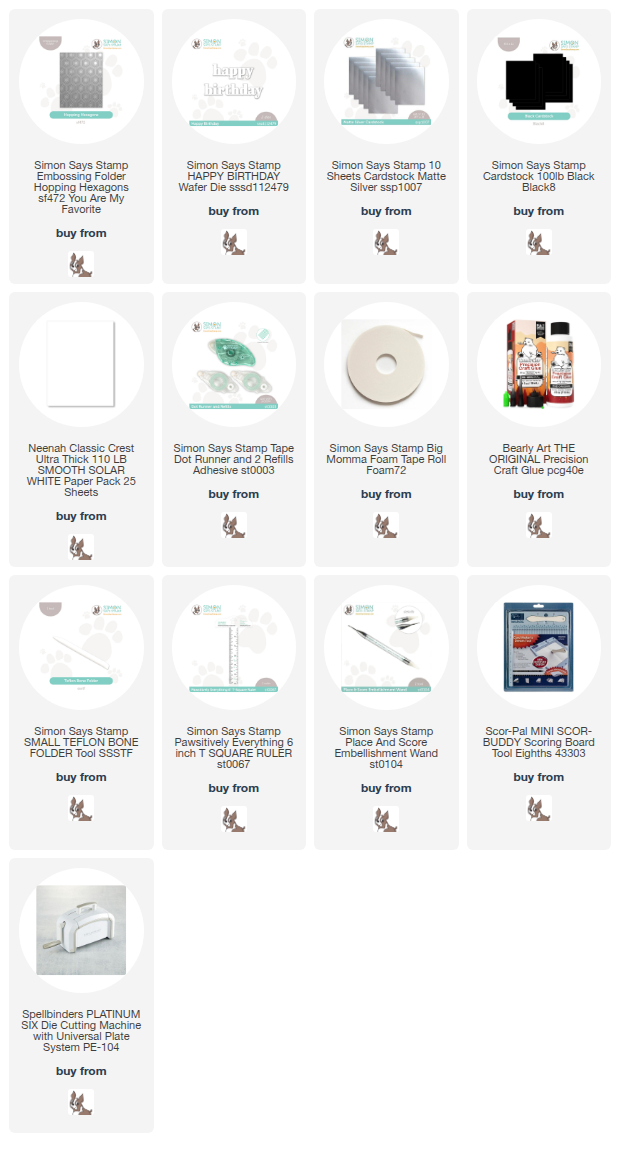
NOTE: all supplies are linked in the thumbnails at the end of this blog post.

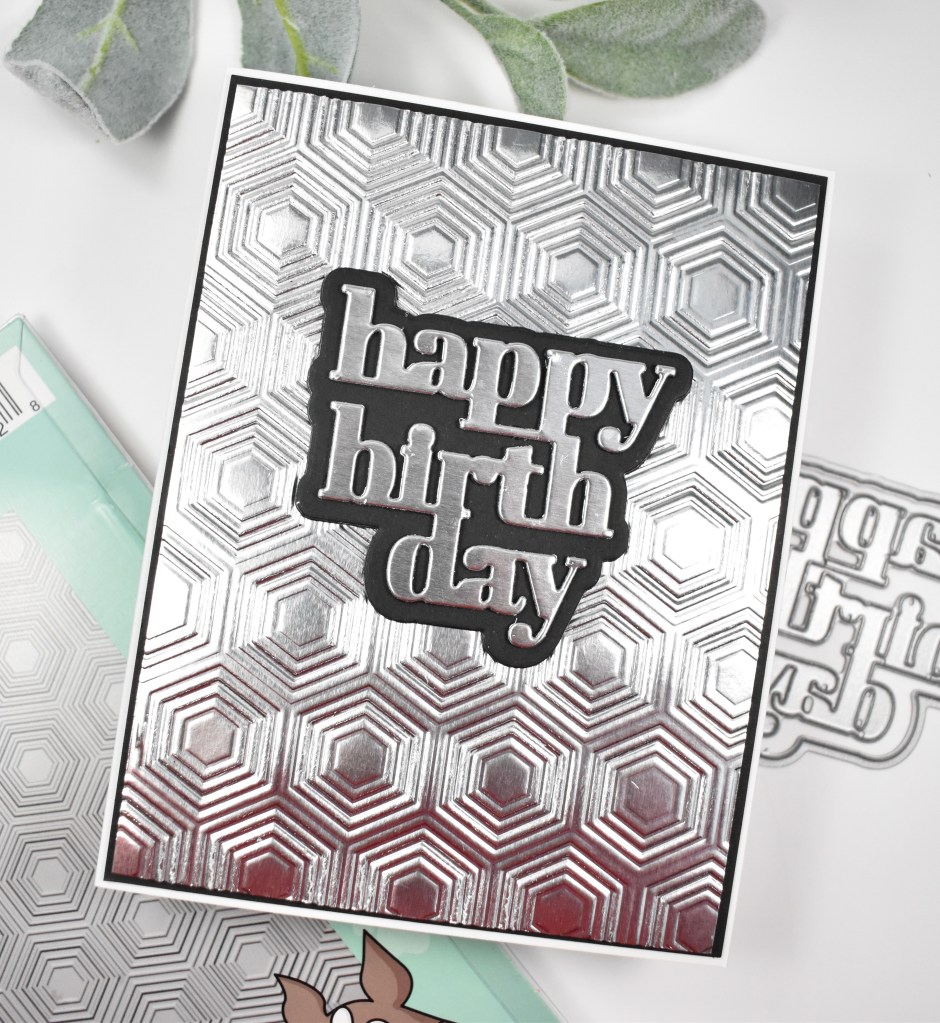
I began this project by embossing a panel of matte silver cardstock in the folder, trimming it down a tad and adhering it to a black panel before adhering to the card base.

I die cut the birthday sentiment (this die was discontinued on the Simon website, so I will link to something similar) from the same matte silver cardstock once and twice from regular black cardstock. In addition, I die cut the shadow portion twice and adhered all of these pieces together for a stacked sentiment. This was then adhered to the embossed panel using liquid glue to finish up.

Super simple project for today, that makes for a great birthday card for anyone. You could also use any sentiment for a quick masculine card. Thanks for stopping by, and I hope you have a wonderful day!

Supply List

Affiliate links used at no cost to you. What does this mean? If you use the links within this post to make a purchase, I receive a small commission, which allows me to continue to post crafty content for your enjoyment. I truly appreciate your support!

Latest Posts

Latest Instagram Posts
Simon Says Stamp Welcome Baby

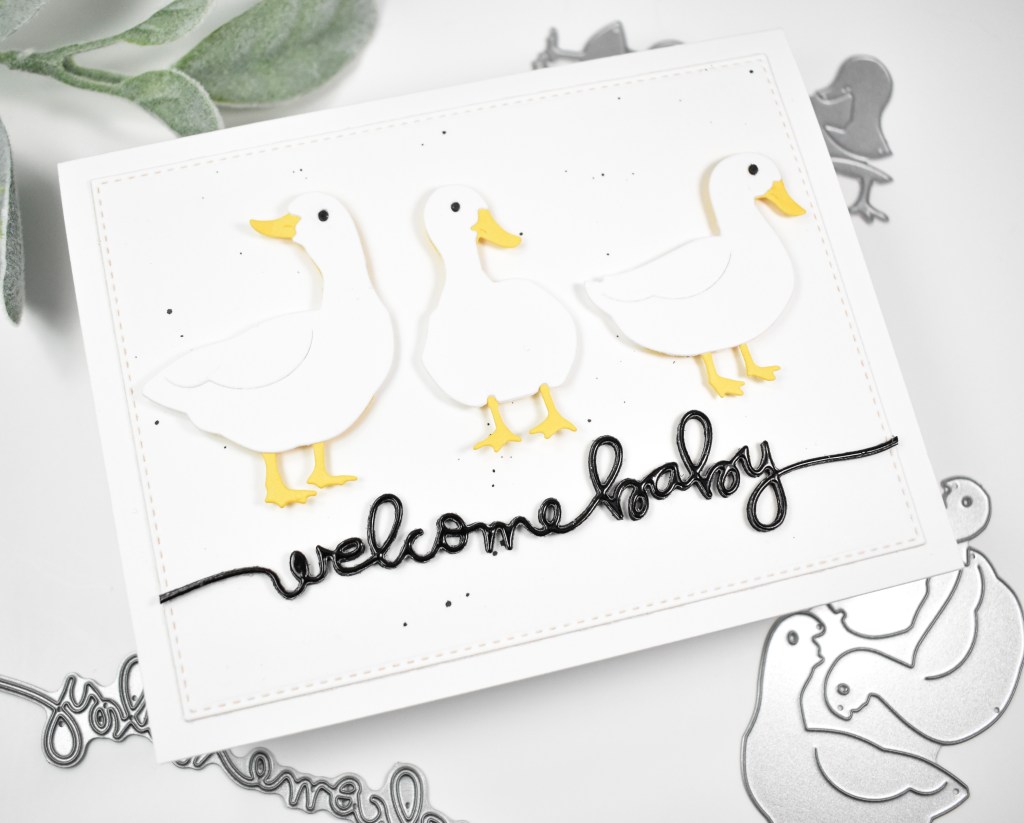
Hello Friends, and welcome back! Today’s post is featuring the new Duck Trio from Simon’s latest release, You Are My Favorite. I do want to note that I used a sentiment die cut that is no longer available, so I will link to something similar in the list below. Let’s get into the details!

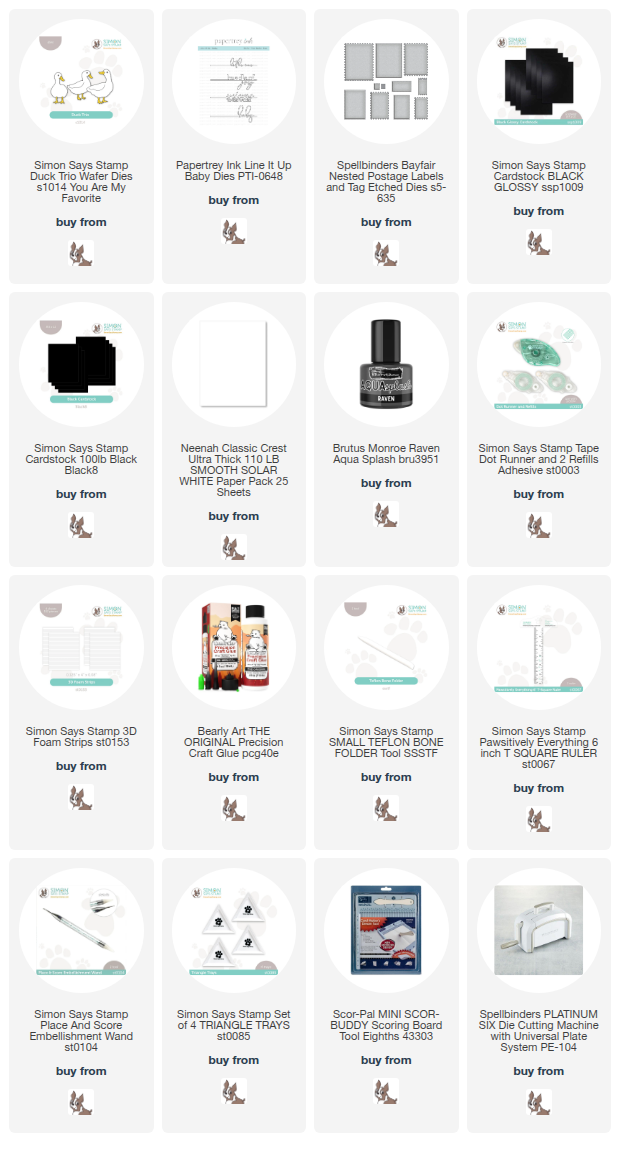
NOTE: all supplies are linked in the thumbnails at the end of this blog post.

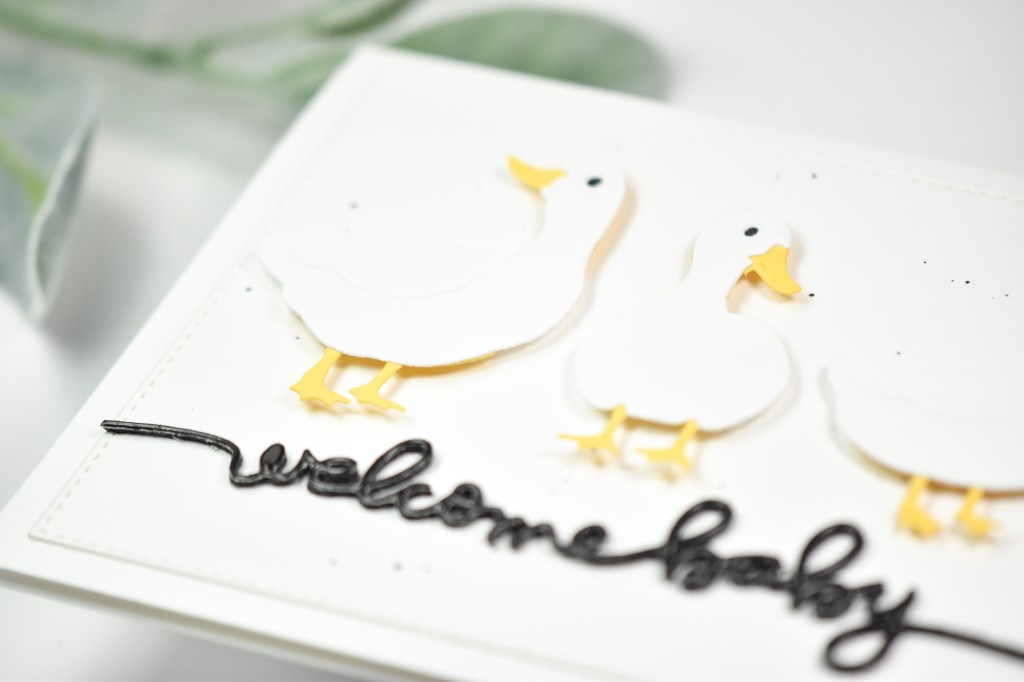
I began this project by die cutting the Duck Trio from Neenah 110lb, black and yellow cardstock. Once those were cut, I assembled the ducks and set them aside while I worked on the other elements of the card.

I die cut a background panel using the Nested Postage Labels & Tag and splattered that with black ink. The sentiment, which is no longer available, was die cut once from black glossy cardstock and three times from regular black, and adhered together for a stacked sentiment.

The sentiment was adhered to the background panel, trimming off the ends, while the ducks were adhered using foam strips for added dimension. Everything was then adhered to the card base to finish up.

That does it for this one! I hope you enjoyed it! My card was made into a baby card, but really, any sentiment of your choosing would work well too! Don’t forget to check out the entire You Are My Favorite release over on Simon’s website! Thanks for joining me, and I hope you have a wonderful day!

Supply List

Affiliate links used at no cost to you. What does this mean? If you use the links within this post to make a purchase, I receive a small commission, which allows me to continue to post crafty content for your enjoyment. I truly appreciate your support!

Latest Posts

Latest Instagram Posts

Simon Says Stamp Thank You Blossom

Hello Friends, and thanks so much for stopping by! I’m back with a project featuring the new Thank You Basics from Simon’s latest release, Rain or Shine. Let’s go ahead and go through the details for this one.

NOTE: all supplies are linked in the thumbnails at the end of this blog post.

I began this project by die cutting the Elegant Blossom Branch from Neenah 110lb cardstock and ink blending the pieces using Guava, Limelicious and Pearfection inks. I did cut the stem portion two additional times and adhered those together, along with the pieces of the flowers with liquid glue.

The background was cut using the Postage Stamp Edge Frames, which is one of my favorites, and then splattered using gold acrylic ink. Once dry, I stamped the sentiment from the Thank You Basics set using VersaFine Onyx Black ink and heat set it with Ranger Clear Embossing Powder. The panel was then adhered to the card base using foam tape, the stem was glued in place and the flowers were adhered with additional pieces of foam tape. To finish up, I added a few clear drops for some shine.

That does it for this one! I really love the clean and simple look of this card. Clean and simple doesn’t always come easy for me, so I do enjoy when an idea comes together! Don’t forget to check out the entire Rain or Shine release over on Simon’s website. Thanks again for stopping by, and I hope you have a fabulous day!

Supply List

Affiliate links used at no cost to you. What does this mean? If you use the links within this post to make a purchase, I receive a small commission, which allows me to continue to post crafty content for your enjoyment. I truly appreciate your support!

Latest Posts
Latest Instagram Posts