Simon Says Stamp Cool Birthday Penguins

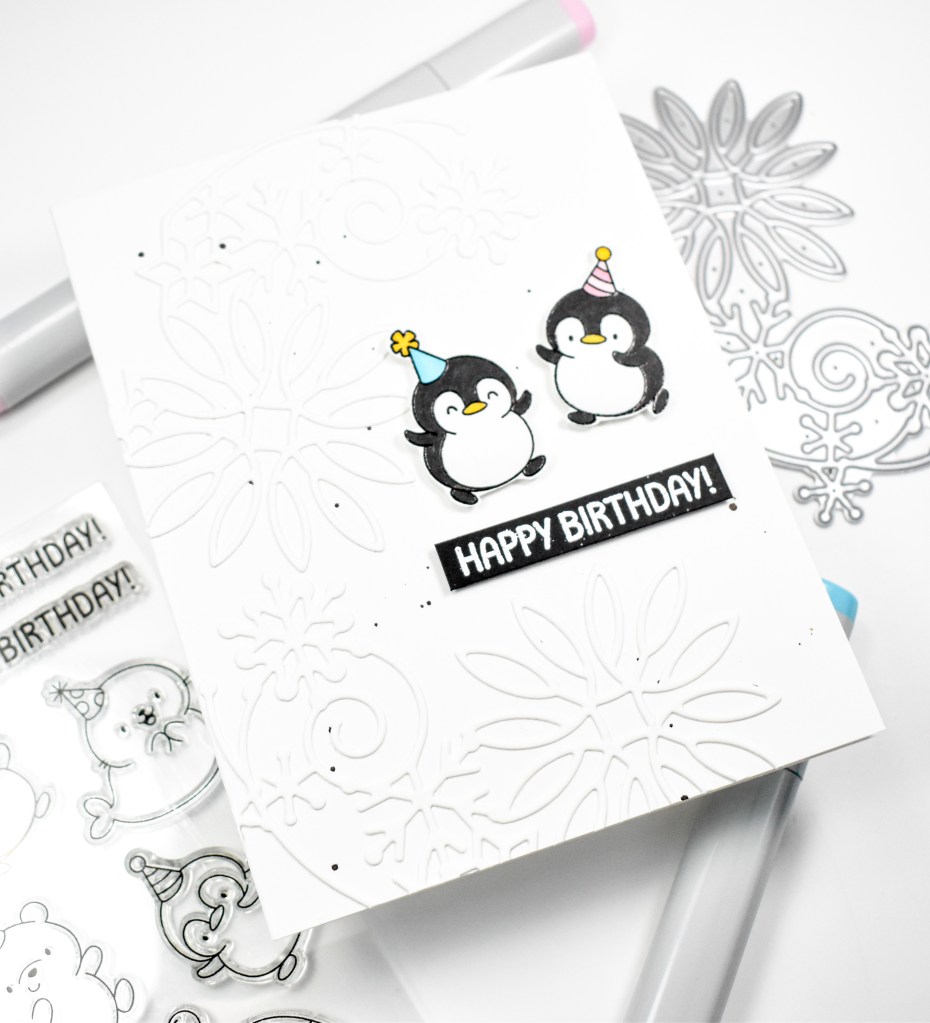
Hey there and welcome back! Today’s post is featuring the new Cool Birthday stamp set from Simon’s latest Sugar & Spice release! I don’t often do clean and simple cards, but that’s what I was going for here. Let’s go ahead and run through the details!

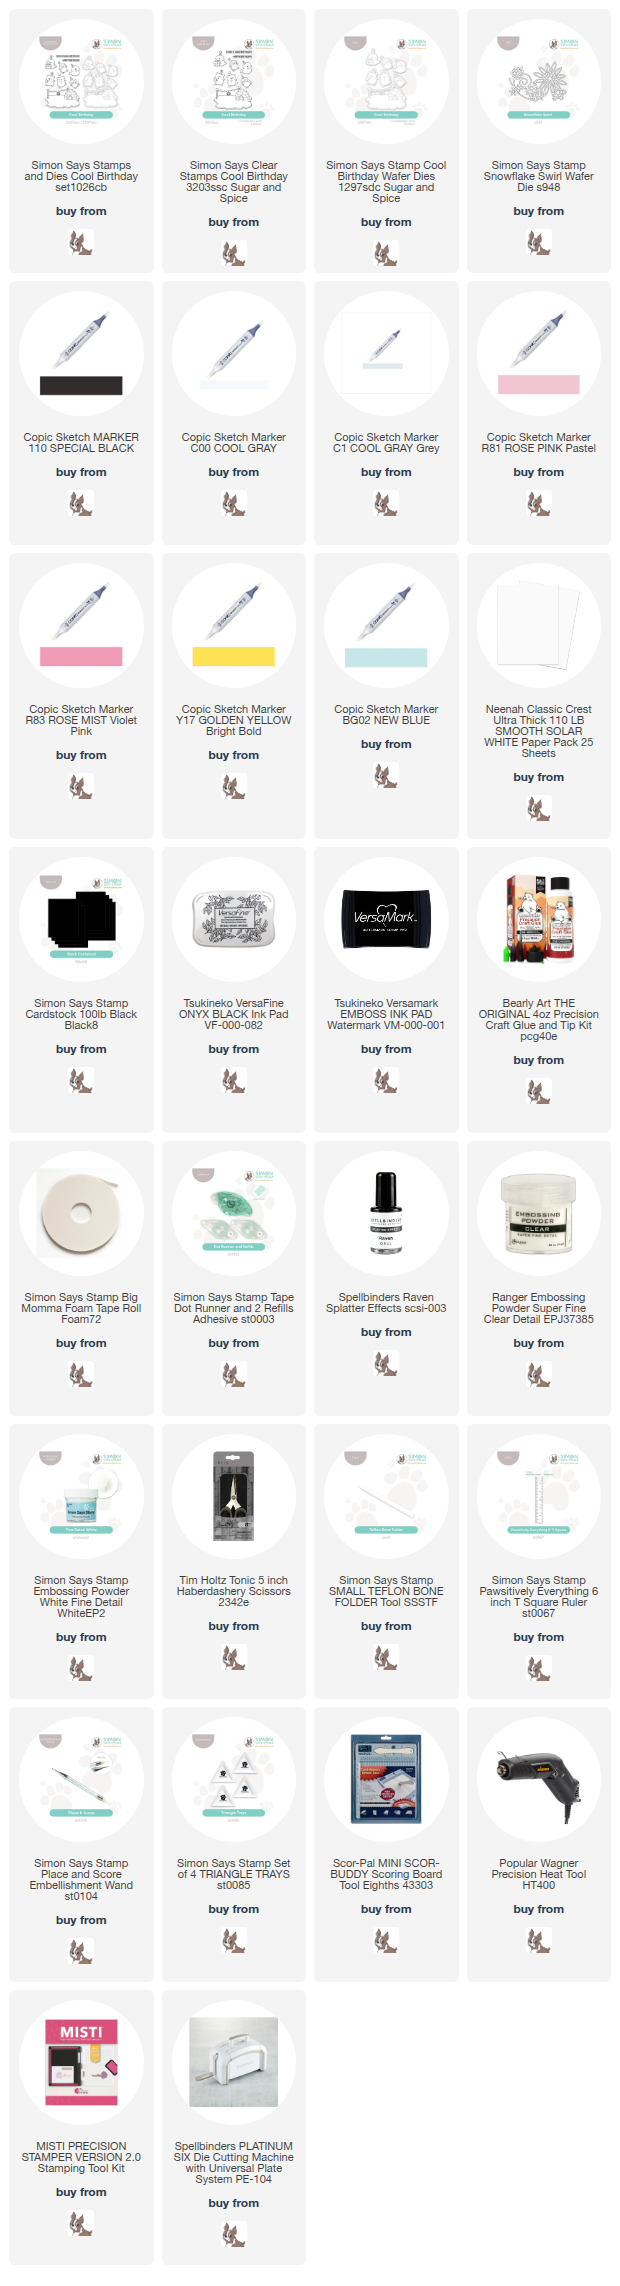
NOTE: all supplies are linked in the thumbnails at the end of this blog post.

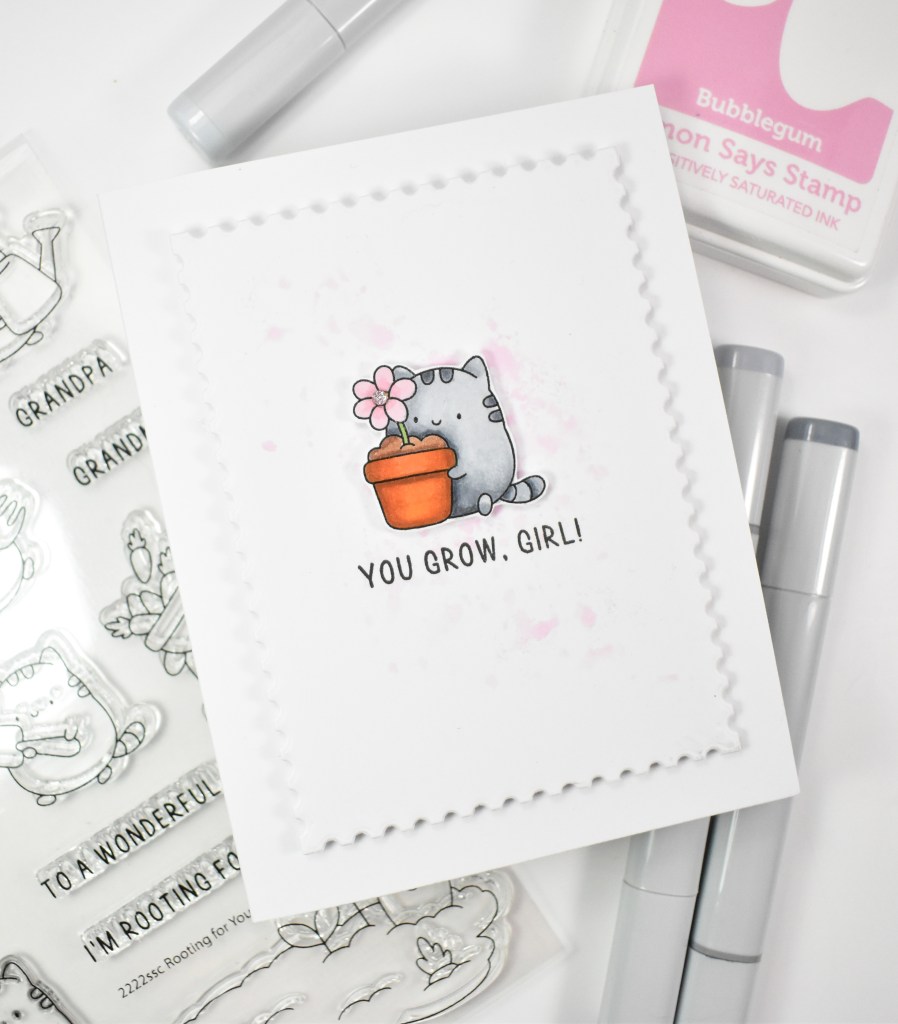
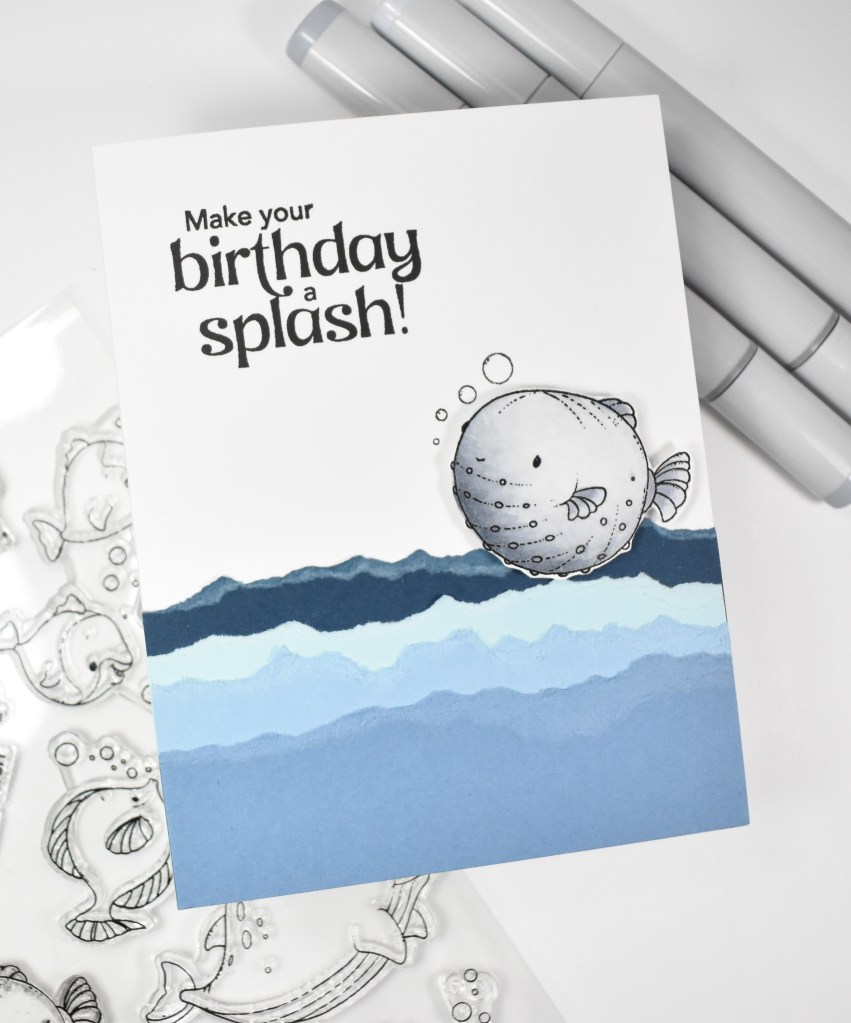
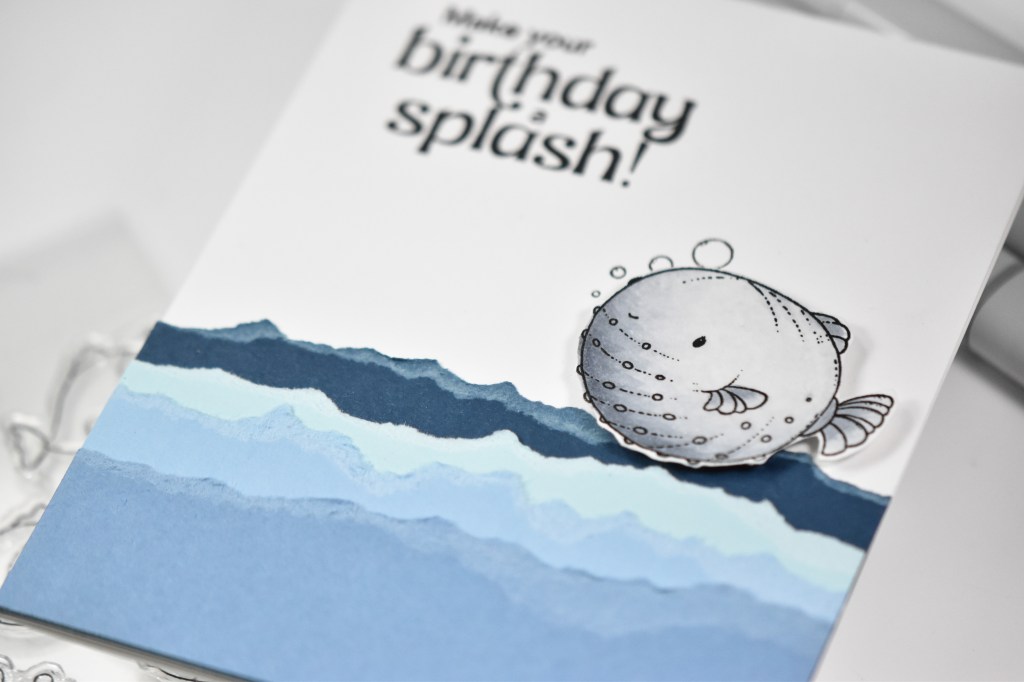
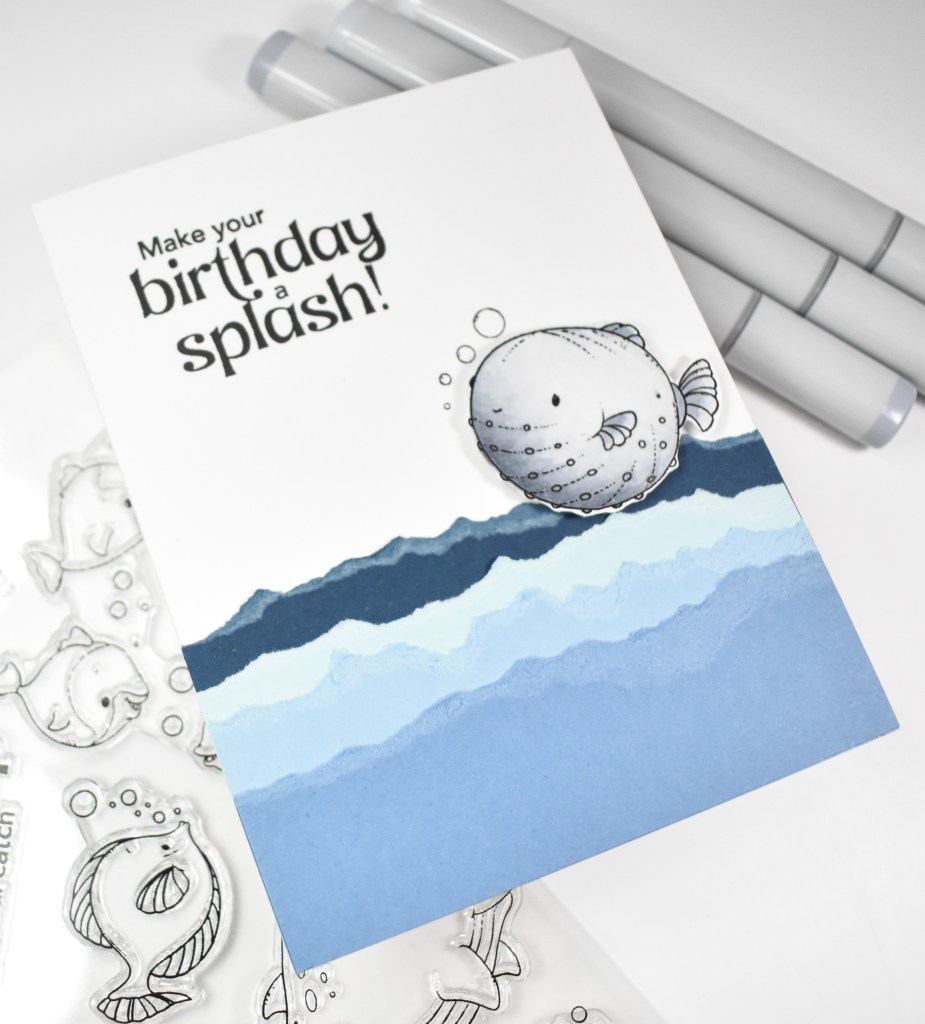
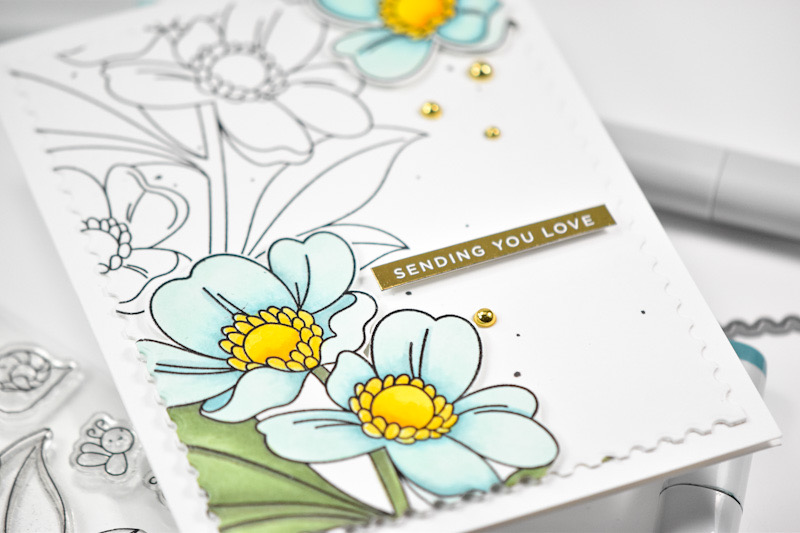
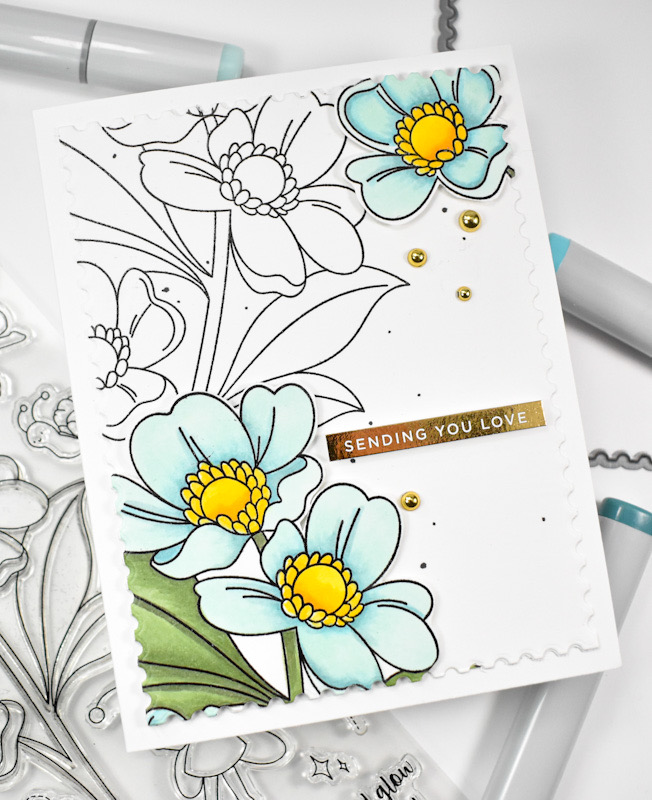
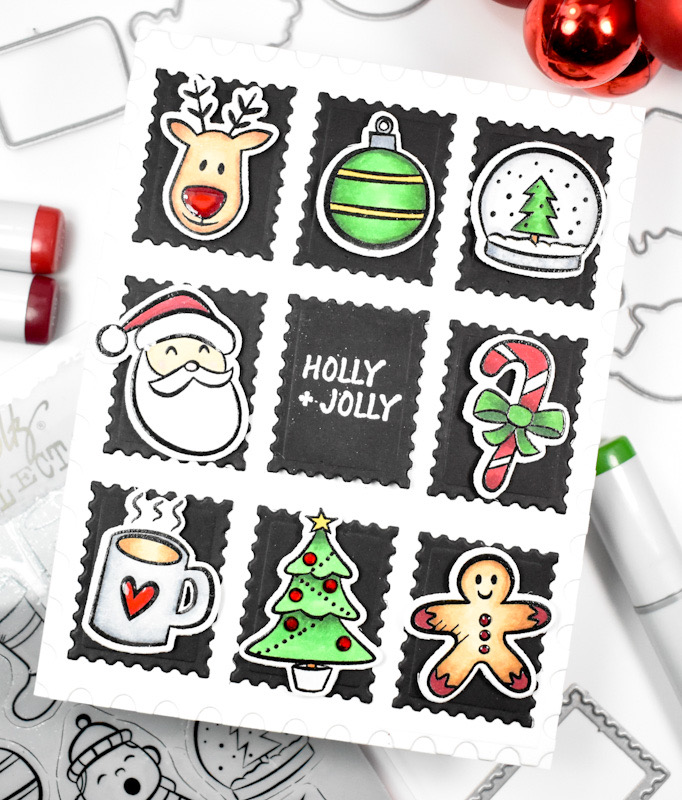
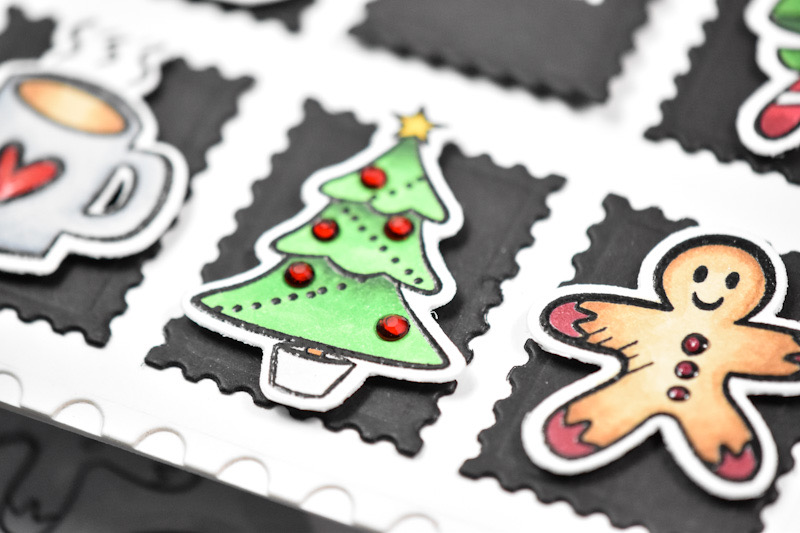
I began this project by stamping the penguins from the new Cool Birthday stamp set using VersaFine Black Onyx ink and heat setting them using clear embossing powder. That’s my preferred method if I know that I’m going to be using Copic markers. Once those were stamped, I went ahead and colored them and fussy cut the images out.

While I was stamping, I went ahead and stamped the sentiment onto black cardstock using VersaMark ink and heat set that using Detail White Embossing Powder. I trimmed it down and put foam tape on the back, along with the penguins.

I gave my card base a light splatter of black before adhering two of the Snowflake Swirl die cuts. The excess was trimmed off, and I adhered the penguins and sentiment to finish up.
A super simple project for today! I hope you enjoyed it! Don’t forget to check out the entire Sugar & Spice release over on Simon’s website. Thanks again for joining me, and I hope you have an awesome day!

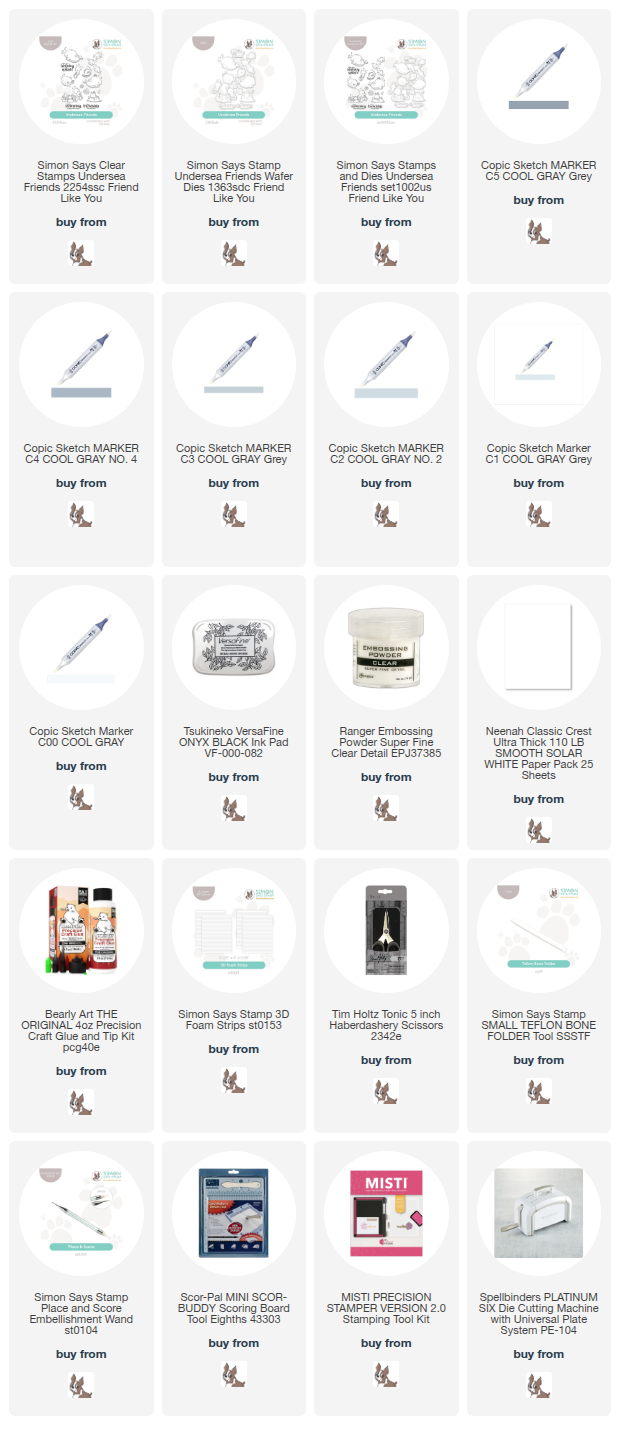
Supply List
Affiliate links used at no cost to you. What does this mean? If you use the links within this post to make a purchase, I receive a small commission, which allows me to continue to post crafty content for your enjoyment. I truly appreciate your support!
Latest Posts
- Simon Says Stamp Leafy Thank You

- Simon Says Stamp Love You Watercolor Hearts

- Simon Says Stamp Just Because Daisies

- Simon Says Stamp Love You Jumbled Hearts

- Together By Design featuring Kristina Werner with Concord and 9th
Latest Instagram Posts