Simon Says Stamp DieCember 2024 Blog Party

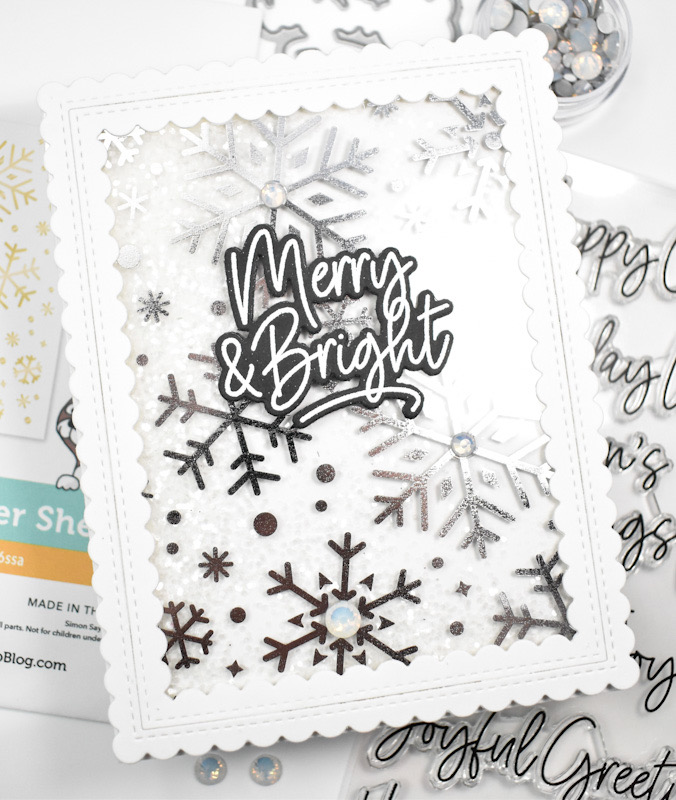
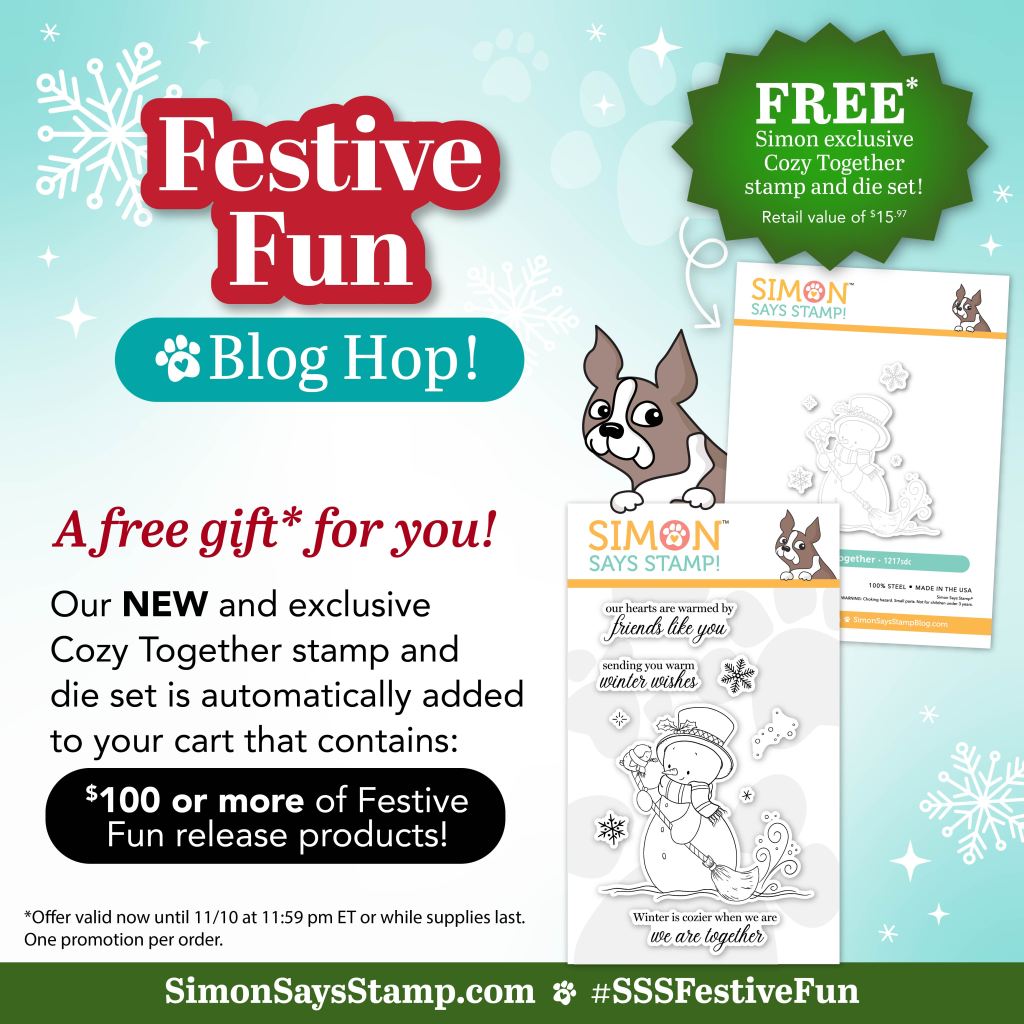
Hello Friends and welcome to the SSS DieCember Blog Party! We have a EPIC party going on today with tons of inspiration to get your creative juices flowing! There’s also a free gift with a $100 DieCember purchase! No code necessary, it will automatically be added to your cart once the dollar amount is met. Please see the attached graphic below for all of the details. You can begin the hop at Simon’s website to soak up all of the inspiration from Simon’s awesome designers! My project today is featuring the new Hanging Leaf Ring, so let’s go ahead and get into the details!


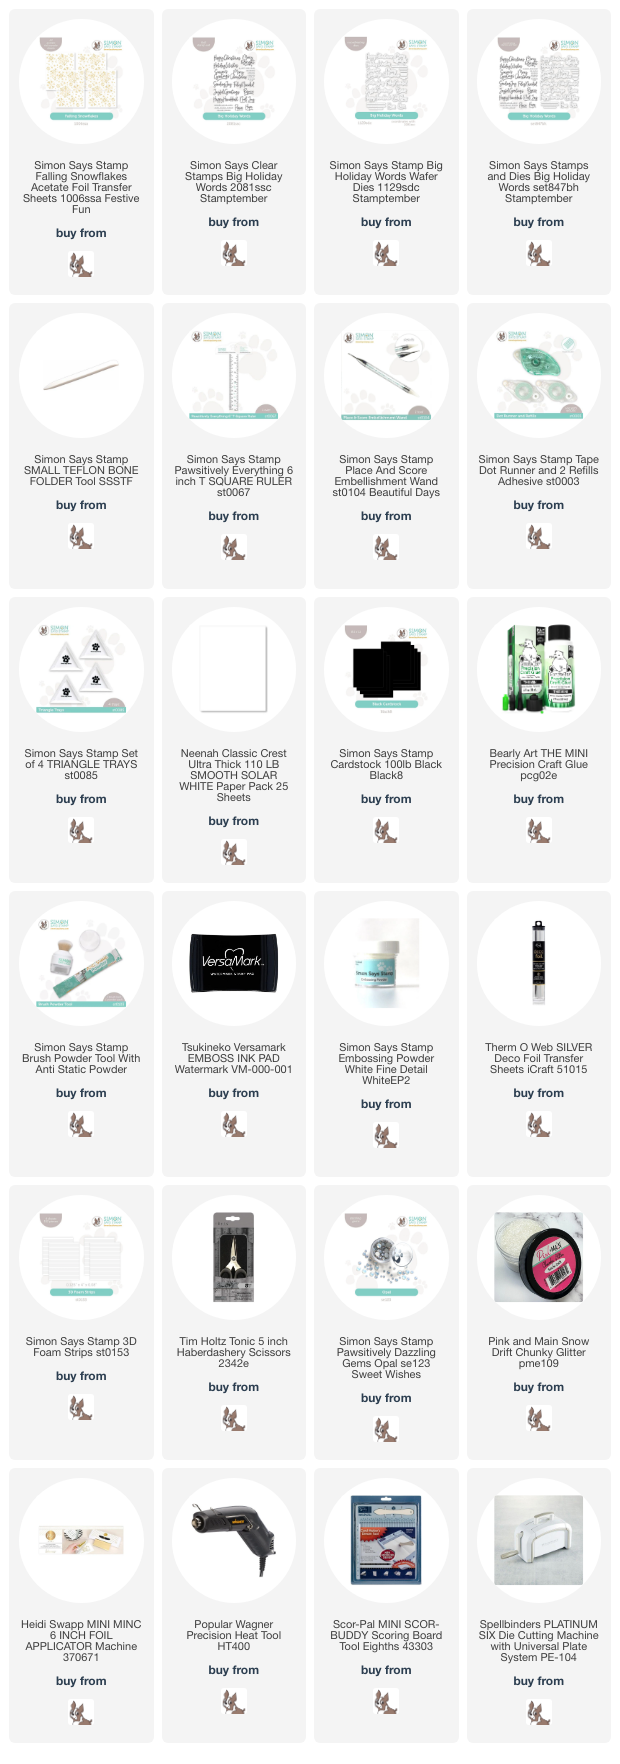
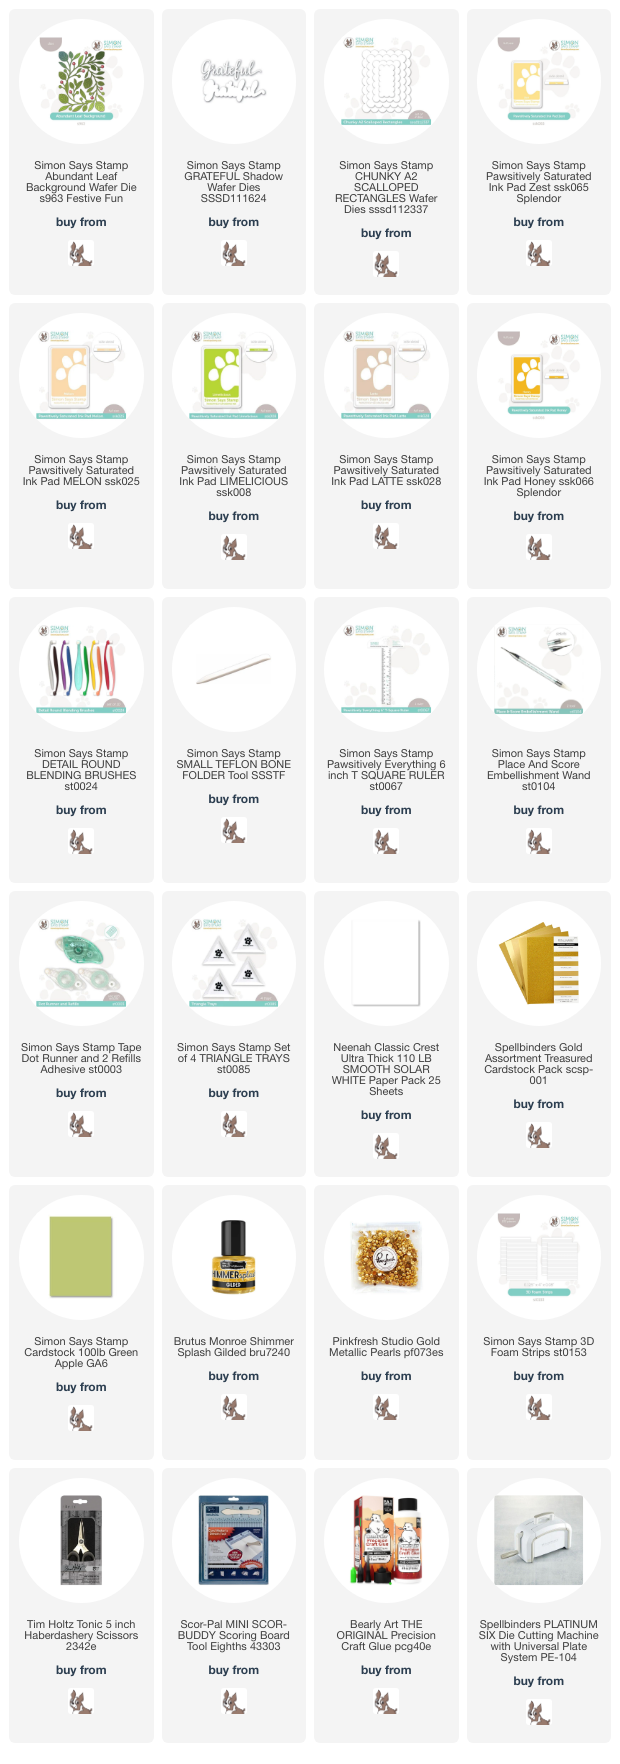
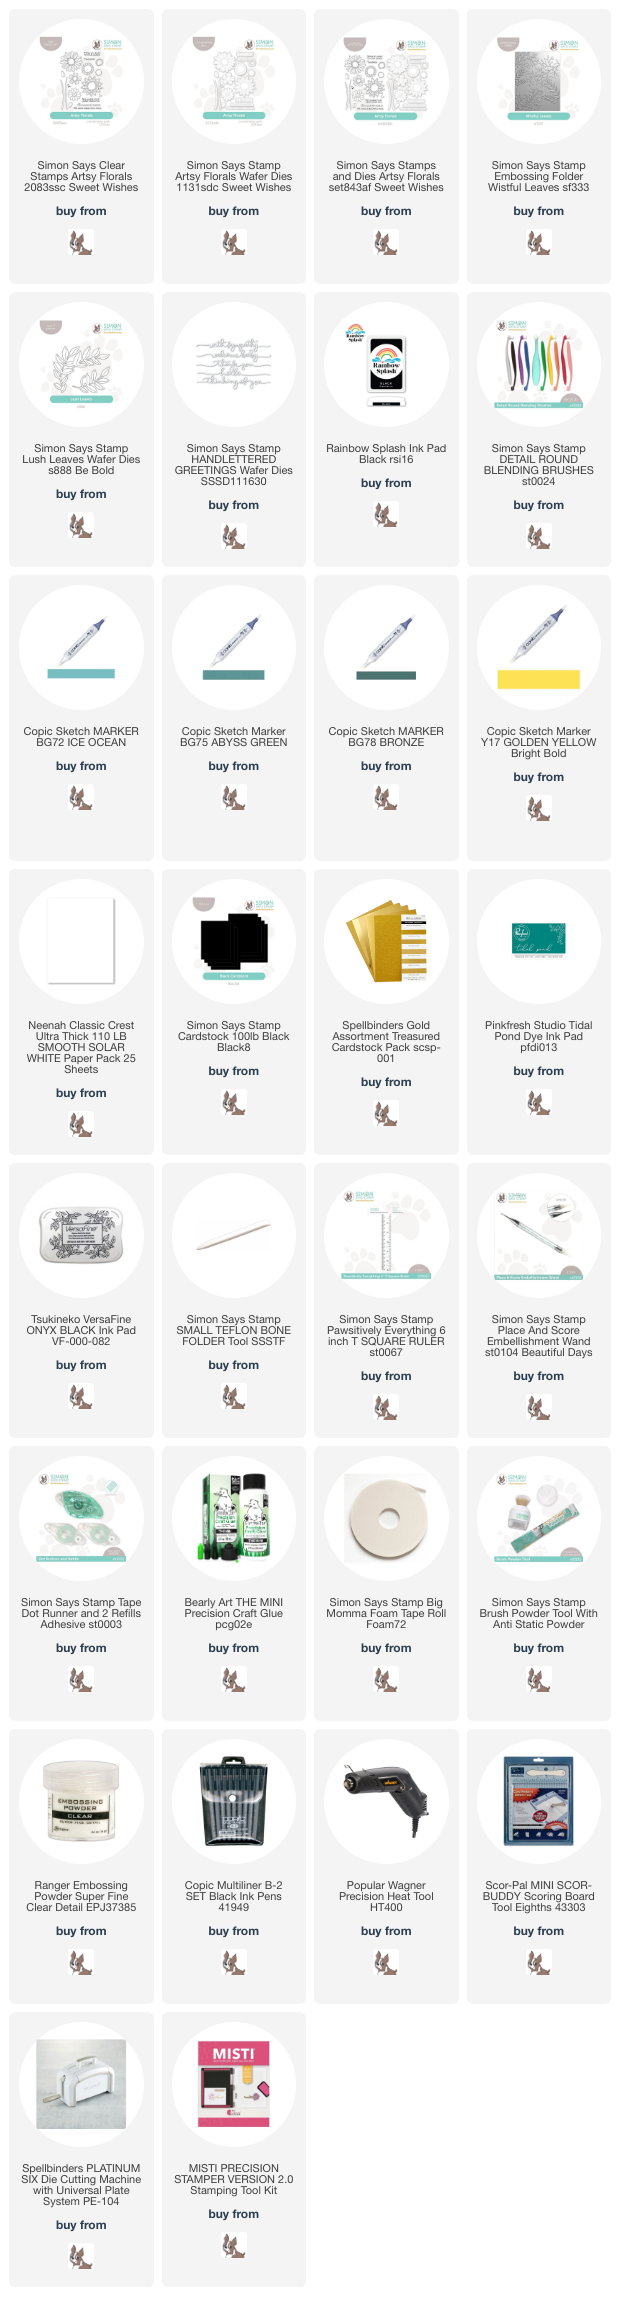
NOTE: all supplies are linked in the thumbnails at the end of this blog post.

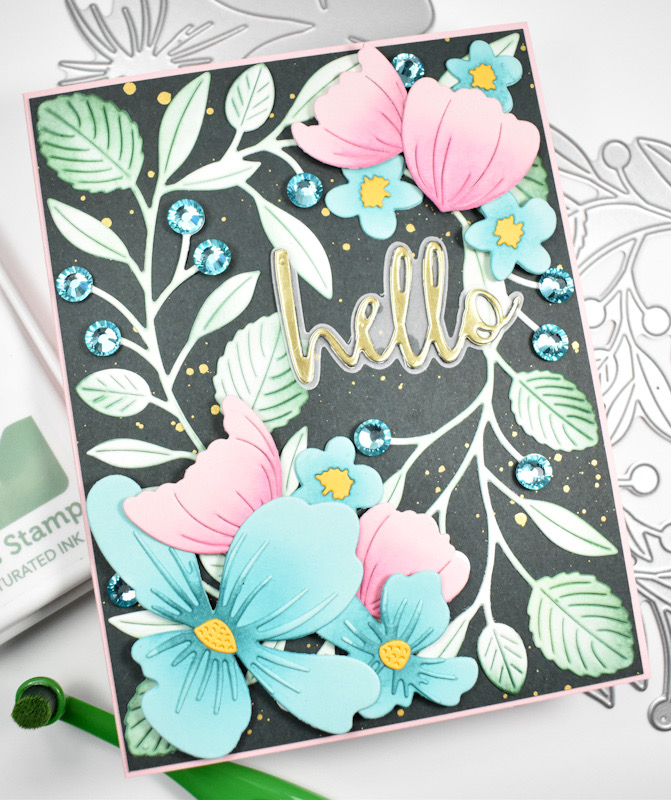
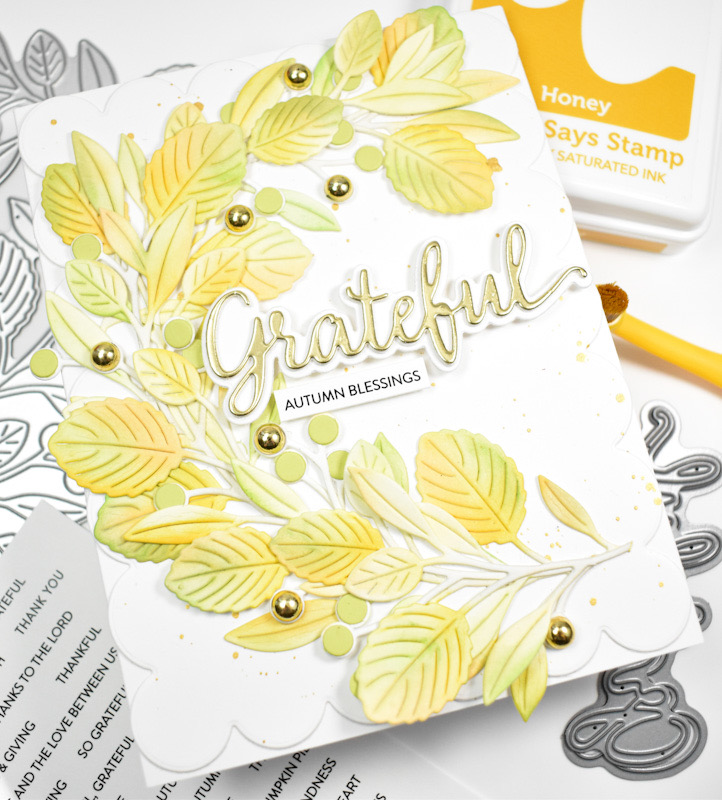
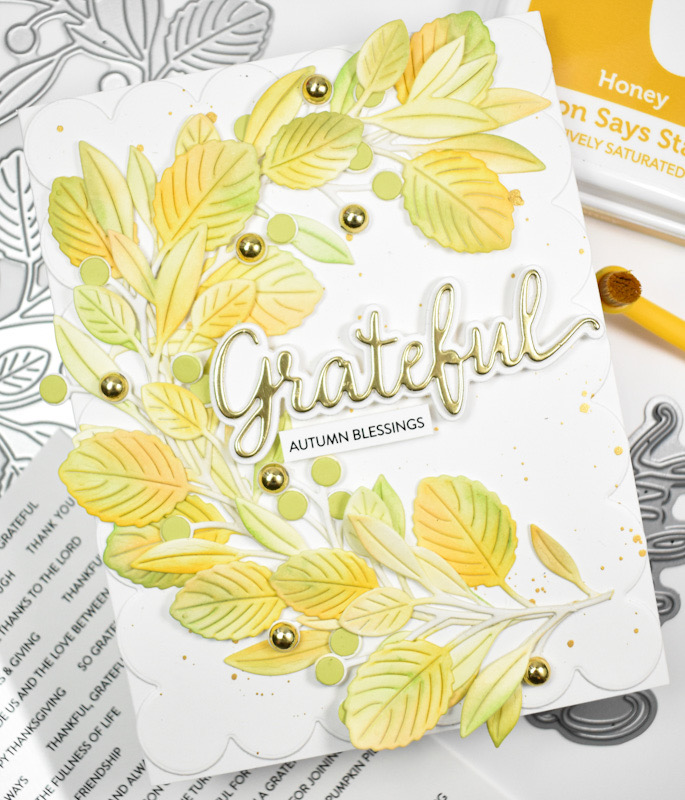
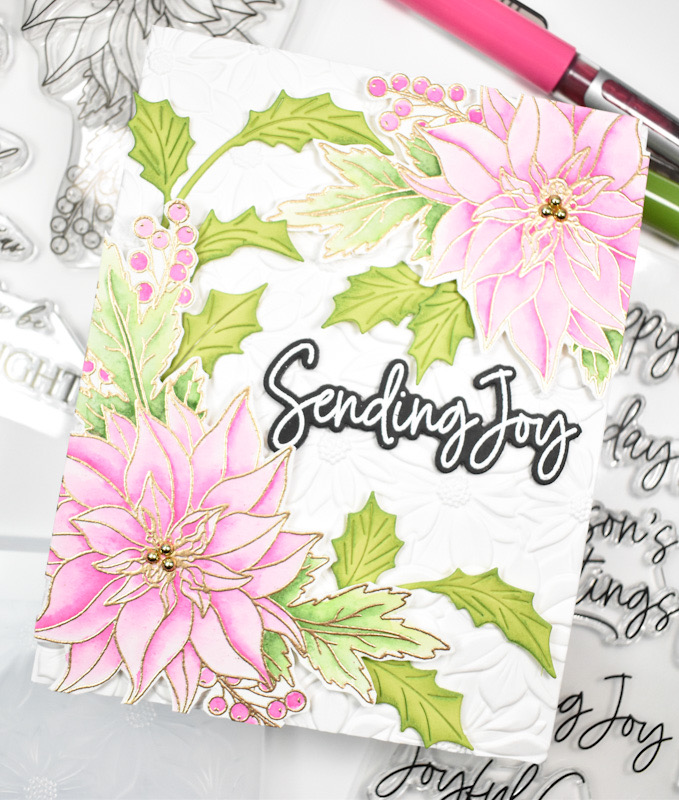
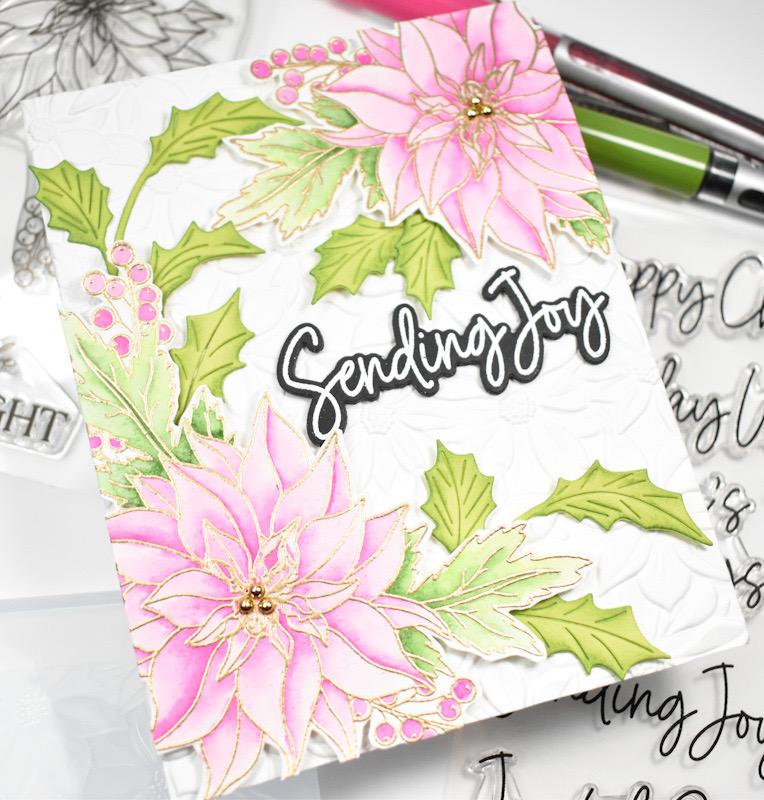
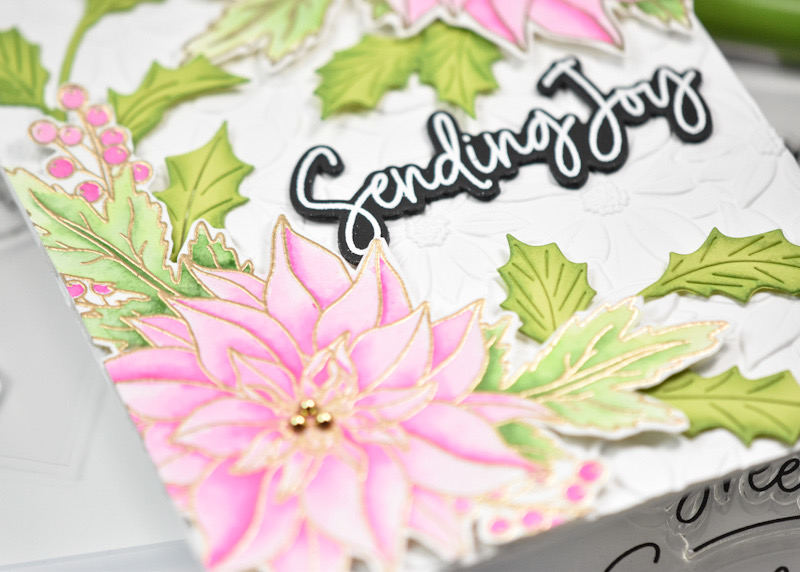
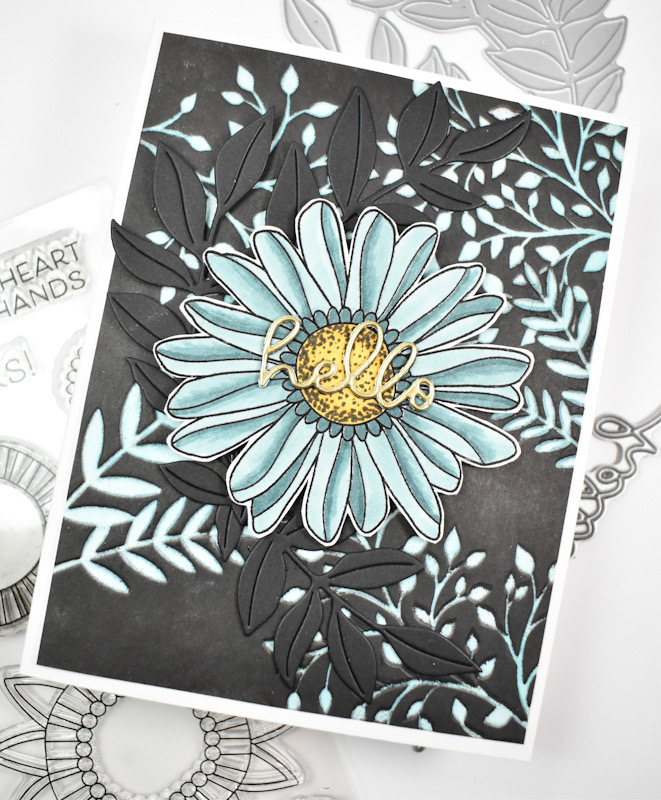
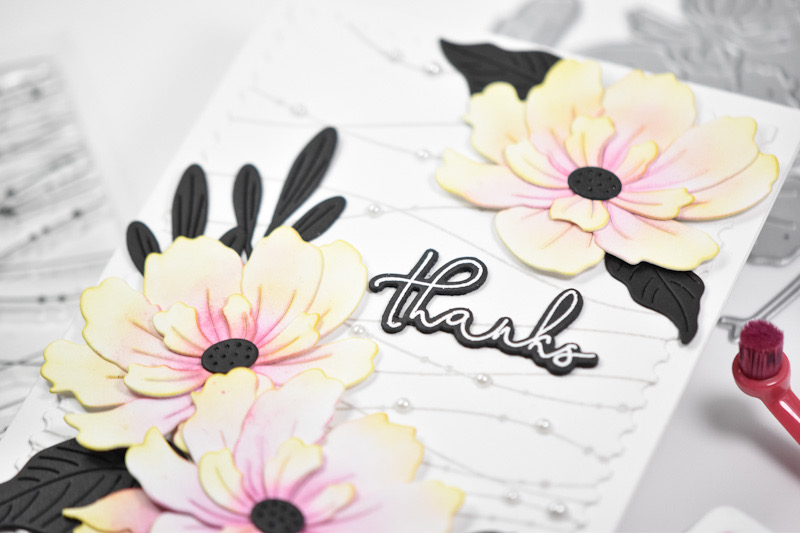
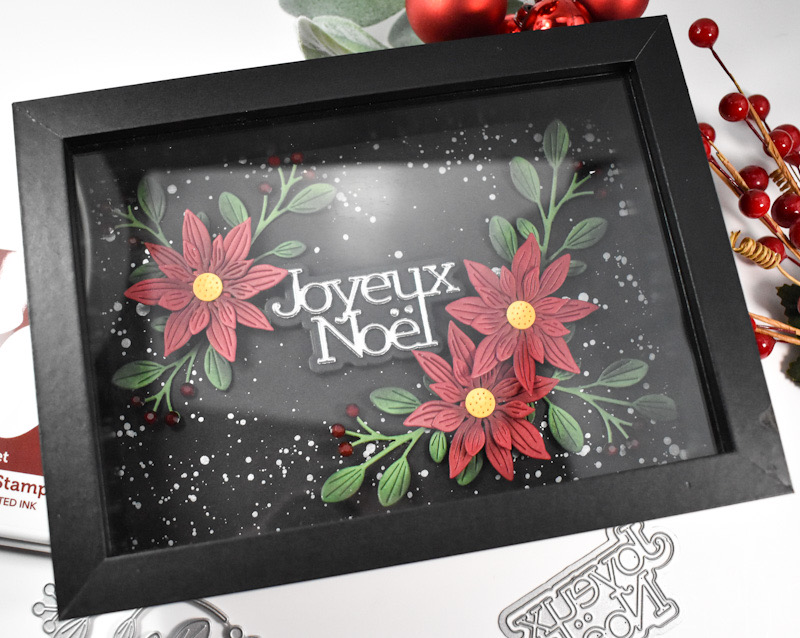
In October I made a shadow box frame and since then, I’ve been itching to make another! The cute flowers and leaves from the Hanging Leaf Ring set seemed to be begging for their place in a frame, so that’s what I set out to do! I die cut around thirty five of the various sizes of flowers for this project and did some light ink blending on most, while a small few had some darker ink blending. The colors that I used were Bubblegum, Carnation, Seafoam, Ocean, Cantaloupe and Sherbet.

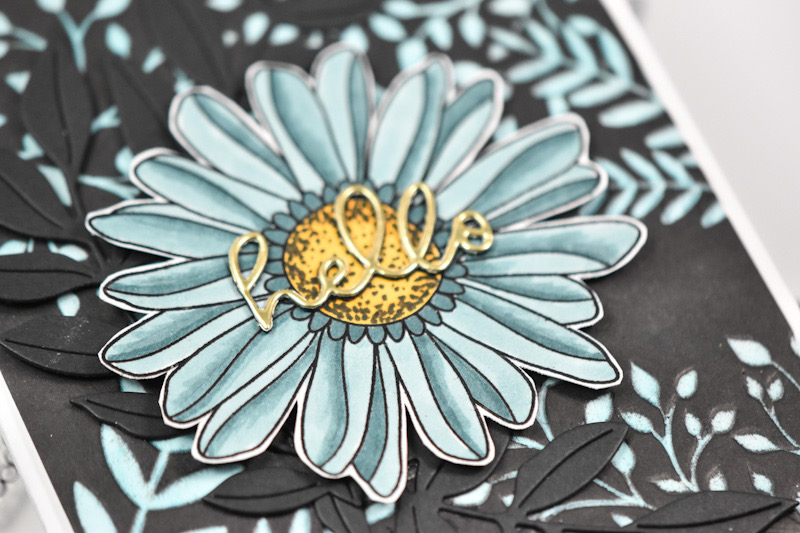
Once all of the ink blending was complete, I assembled the pieces of the largest flowers and added an Opal Dazzling Gem to the center of each flower. It’s a lot of flowers, but it actually went fairly quickly! I die cut a few of the leaves from this set using Smoke cardstock, along with a few leaves using the Budding Branches die.

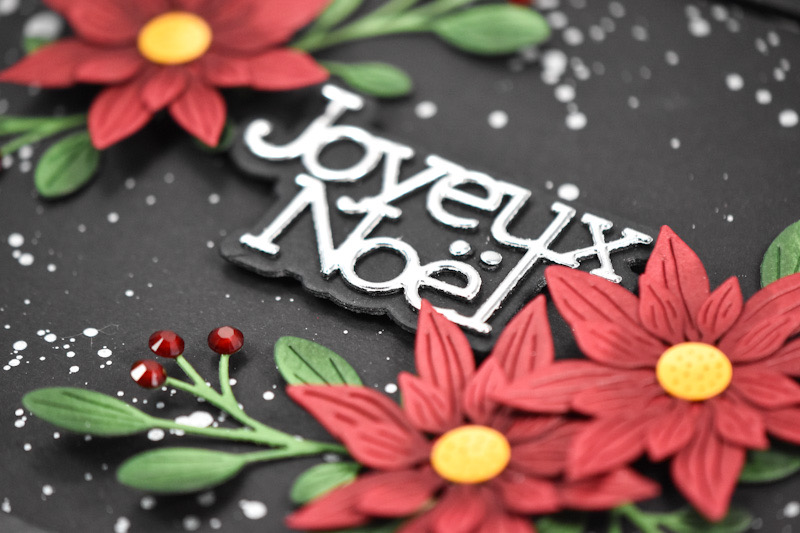
While I was die cutting, I went ahead and cut the sentiment twice from Neenah 110lb cardstock and cut the shadow twice from black cardstock. All of the pieces were adhered together using liquid glue, and I went ahead and put foam strips on the back.

Now that all of the components were ready, I cut a panel of Neenah 110lb cardstock and splattered it with some black acrylic ink before beginning the assembly process. I began by figuring out the center and glued the leaves in place before adhering the sentiment. I then adhered the eight larger flowers and then adhered the remaining smaller flowers around everything.

To finish up, I added more Opal gems to the berry portion of the Budding Branches and put the panel back into the frame. That does it for this project! I hope you enjoyed it as much as I did! I really love how this turned out and am wanting to make one for myself.

Don’t forget to head over to Simon’s storefront to check out the entire DieCember release! And .. don’t forget to head over to Simon’s website for the Blog Party. Thanks for stopping by, and I hope you have an absolutely wonderful day!

Supply List
Affiliate links used at no cost to you. What does this mean? If you use the links within this post to make a purchase, I receive a small commission, which allows me to continue to post crafty content for your enjoyment. I truly appreciate your support!
Latest Posts
- Spellbinders Trailside Birthday Raccoon

- Simon Says Stamp Grateful Heart

- Simon Says Stamp Braided Greetings

- Together By Design Color Cube Floral

- Simon Says Stamp Cute Duckling