Spellbinders Happy Christmas

Hello Crafty Friends, and welcome back to my blog! I’m back today with a project featuring the new Spellbinders Poinsettia Spray, along with the new Starshine Background as well. Both of these products are from their new Home for the Holidays Collection that is available now over on their website. So, let’s go ahead and run through the details, shall we?

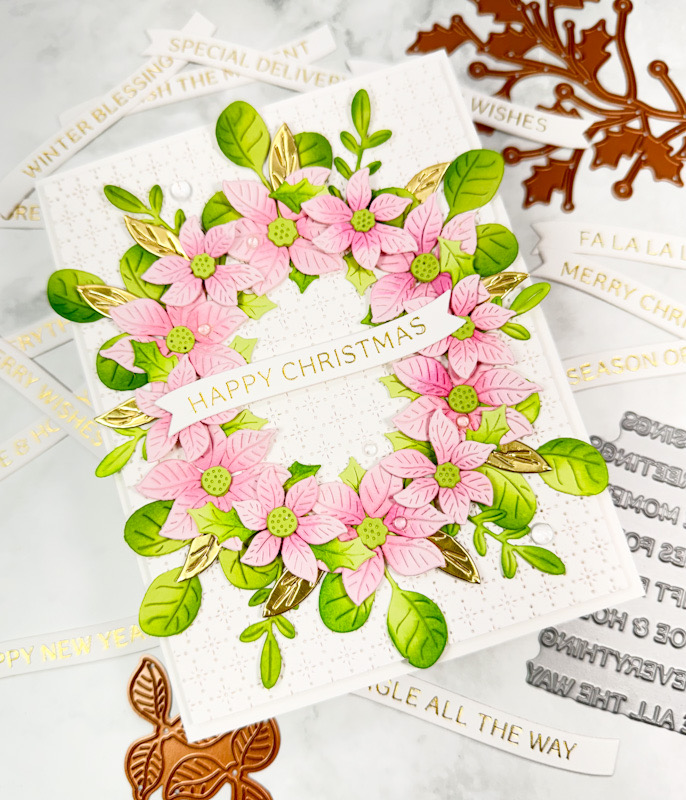
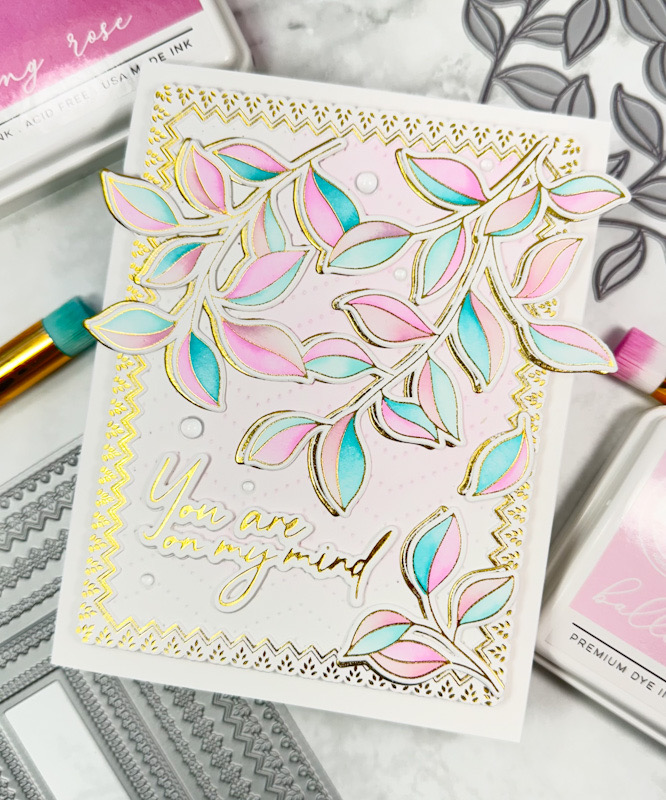
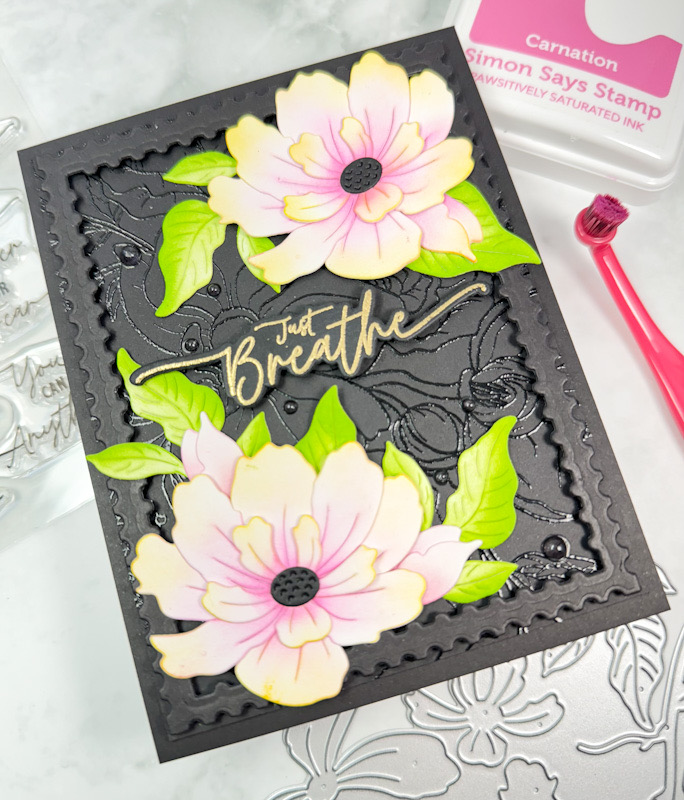
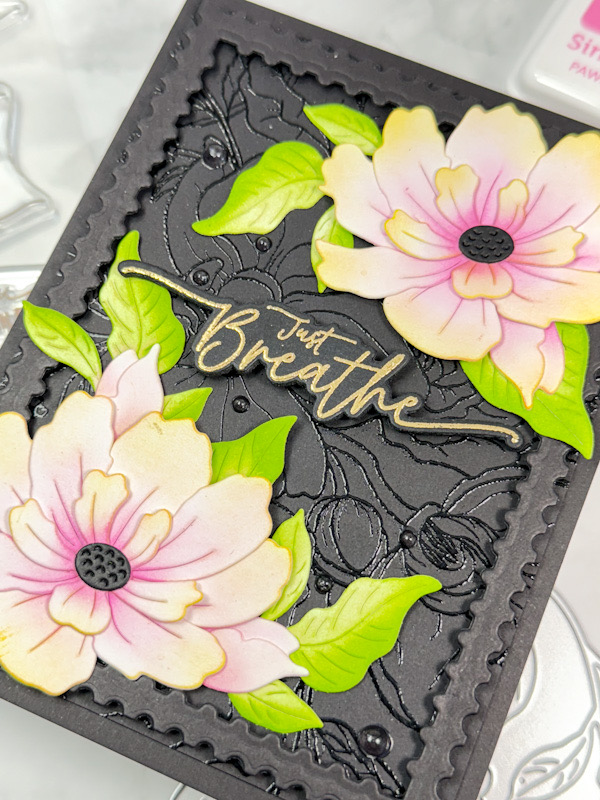
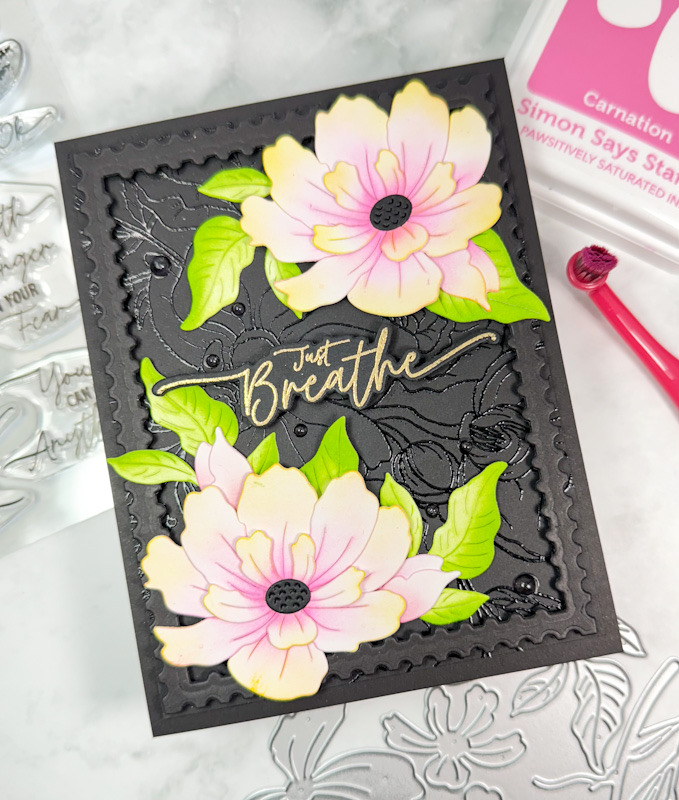
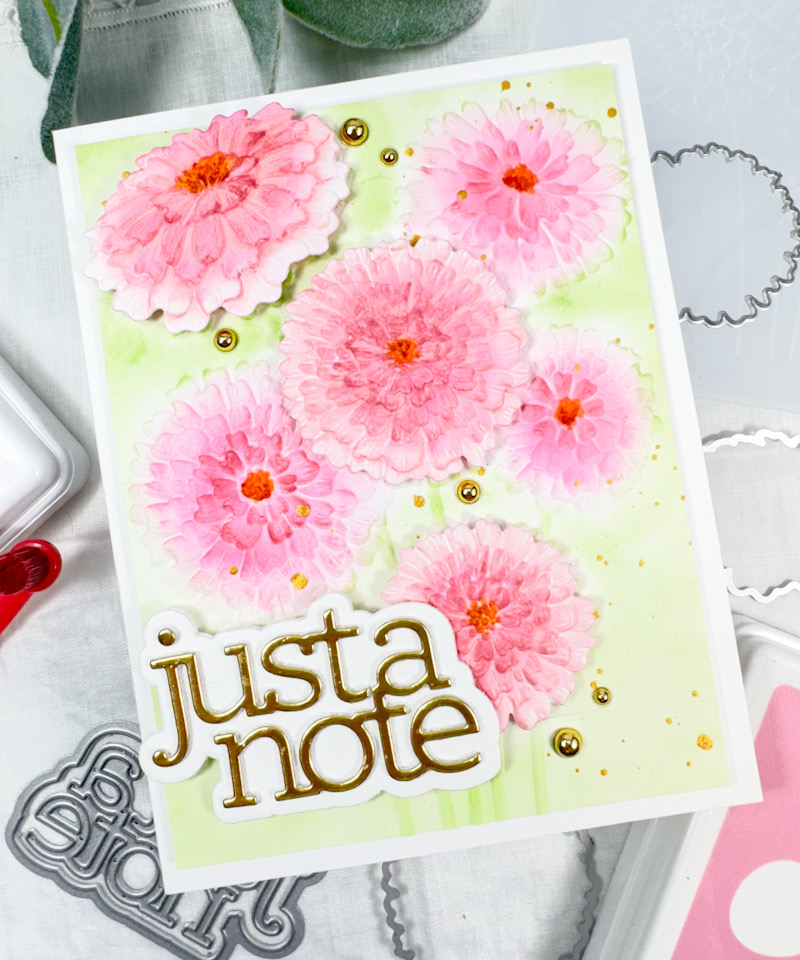
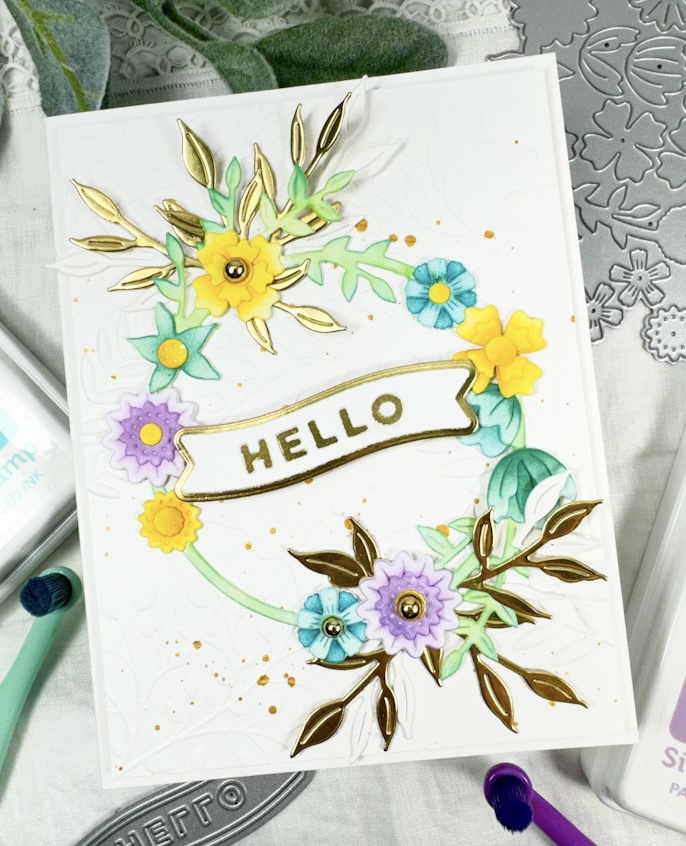
The Poinsettia Spray, as the name suggests, does creates a spray, however, I wanted to make a wreath with the flowers instead. Just another way to stretch your supplies! I began this project by cutting the poinsettias from the set a bunch of times from pink cardstock. While I was cutting, I cut some of the holly leaves and the flower centers from green cardstock as well. Once those were all cut, I sat down to do some ink blending using SSS Pawsitively Saturated Inks in Bubblegum, Carnation and Pearfection.

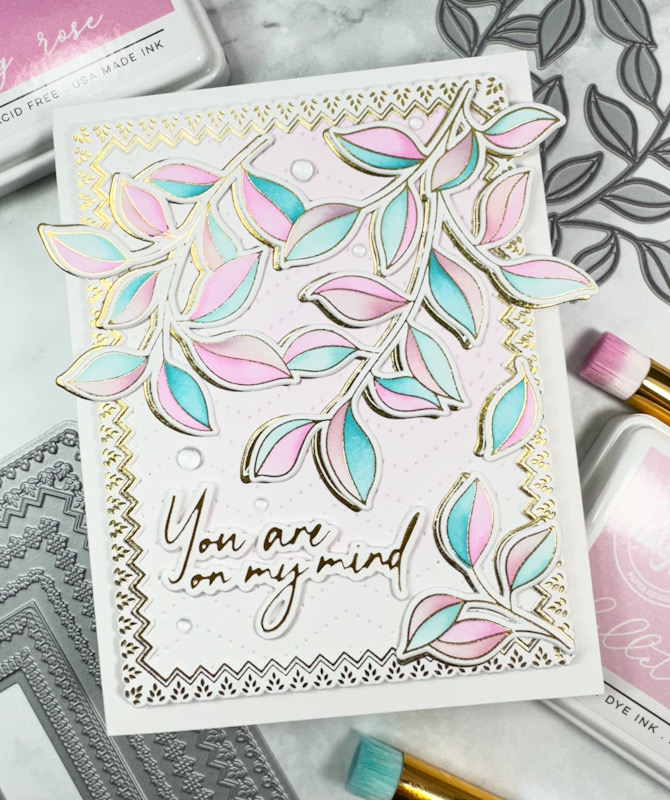
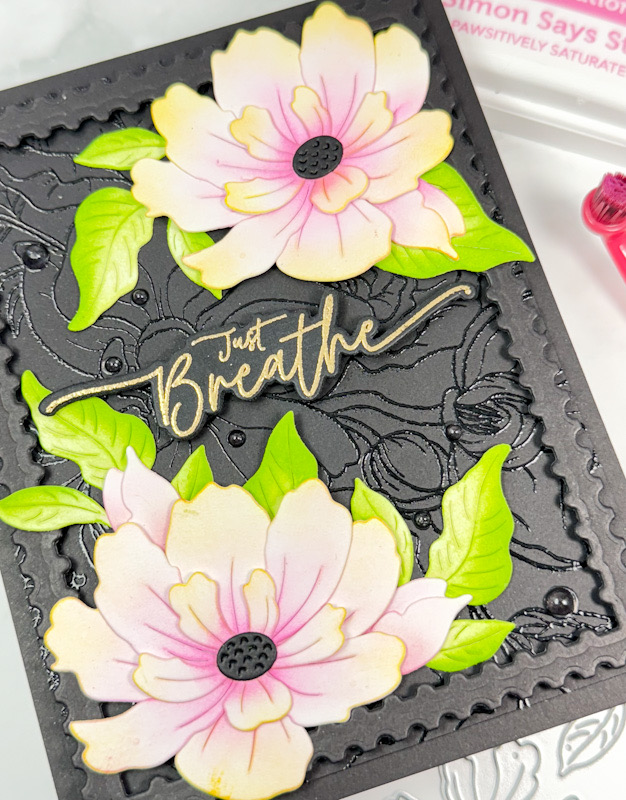
I then assembled the flowers and set those aside while I worked on the rest of the card. I used the Spellbinders Starshine Background and cut that from a panel of Neenah 110lb cardstock and trimmed that down ever so slightly. I started arranging the poinsettias and holly leaves atop the background panel and, of course, decided that I needed more leaves. I cut some leaves from the Spellbinders Club Blooms from the same green cardstock and a few from gold cardstock as well. Those green leaves got the same ink blending before moving on with wreath assembly.

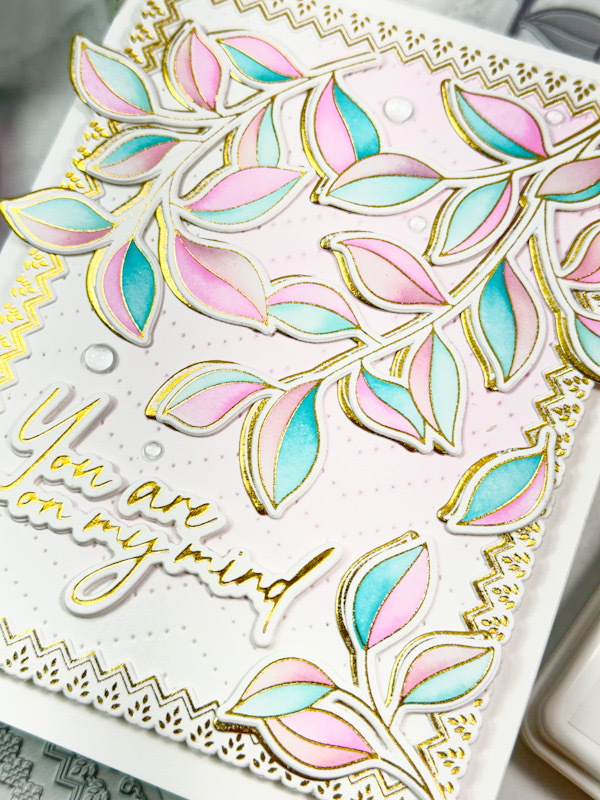
I adhered the leaves in place first using liquid glue, then glued the larger flowers in place and then secured the smaller flowers with foam tape for a little added dimension. I then went back through and glued the tiny holly leaves, as well as the gold leaves in place.

The sentiment is from the new Spellbinders Mistletoe Greetings BetterPress set, and that foiled using gold foil. This is a great set, because it creates several sentiments with one pass, and I just love sets like that! The sentiment was adhered atop the flowers using SSS 3D Foam Strips, and the entire panel was adhered to the card base with foam tape. I added a few clear drops for a bit of interest to finish up.
That does it for this one! I hope you enjoyed it, and I hope it inspires you to get crafty in your space! Don’t forget to check out the entire Home for the Holidays Collection over on the Spellbinders website! Thanks again for stopping by, and I hope you have a wonderful day!
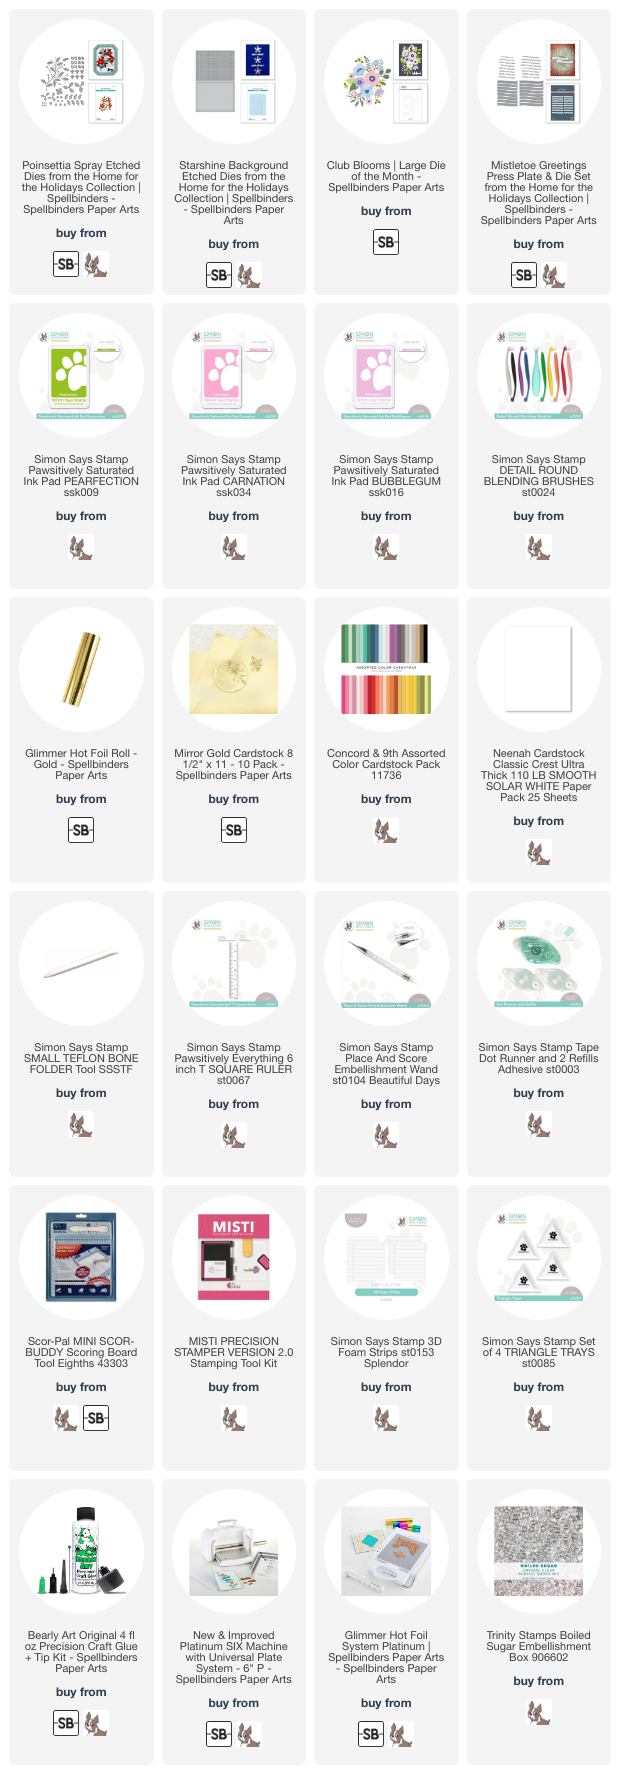
Supplies
* Affiliate links used at no cost to you. What does this mean? If you use the links within this post to make a purchase, I receive a small commission, which allows me to continue to bring you crafty content for your enjoyment. I truly appreciate your support!
Latest Posts
- Spellbinders Trailside Birthday Raccoon

- Simon Says Stamp Grateful Heart

- Simon Says Stamp Braided Greetings

- Together By Design Color Cube Floral

- Simon Says Stamp Cute Duckling