Reverse Confetti Tropical Leaves Birthday

Hello Crafty Friends and welcome back! It’s day one of the Reverse Confetti Countdown to Confetti! I’ve had so much fun guest designing for Reverse Confetti this month! Their new July release is awesome, with so many fun, cute and beautiful things to play with! To celebrate the sneak peeks, we are having a blog hop! You can hop around and leave comments along the way for your chance to win a $15 gift certificate! Details below! Today’s project is featuring the new Tropical Leaves! So let’s jump right in, shall we?! Please note that the new product links will not be active until the release day and time.

I’m going to preface this post by saying that the gel print, which I used for the Tropical Leaves, was created a REALLY long time ago! Like a really long time ago! It’s just been sitting in my stash. With that being said, the tools used for the gel print were inexpensive acrylic paints, a brayer, thin white paper and the gel press itself. Nothing fancy at all!

To begin this project, I stamped the Tropical Leaves on the gel print using VersaFine Onyx Black ink and heat embossed them with Ranger Clear Embossing Powder. I had two sheets of the gel prints, so I went ahead and repeated that process again. I then ran the stamped leaves through my die cutting machine using the Tropical Leaves Confetti Cuts. I ran the leaf die cuts through once more using Neenah 110lb and adhered those to my gel print leaves, only because my gel print leaves were on thin white paper and they needed some more stability. I pulled out a piece of watercolor paper and taped it to my board using masking tape. My board is an inexpensive clipboard from Target that I found a long time ago. I saturated my watercolor panel with water and added coordinating colors to it using my Karin Brushmarkers.

While that was drying, I used the Stitched Note and Frames Confetti Cuts to cut some frames from Neenah Classic Crest 110lb cardstock. I then used the Peekaboo Cover Panel Confetti Cuts to cut my dry watercolor panel, and adhered that to my card base, which is also Neenah 110lb. I fashioned the frames atop the watercolor panel making an X in the center of the card using foam tape. I trimmed off the excess frame portions and added those to the outer corners of my card.
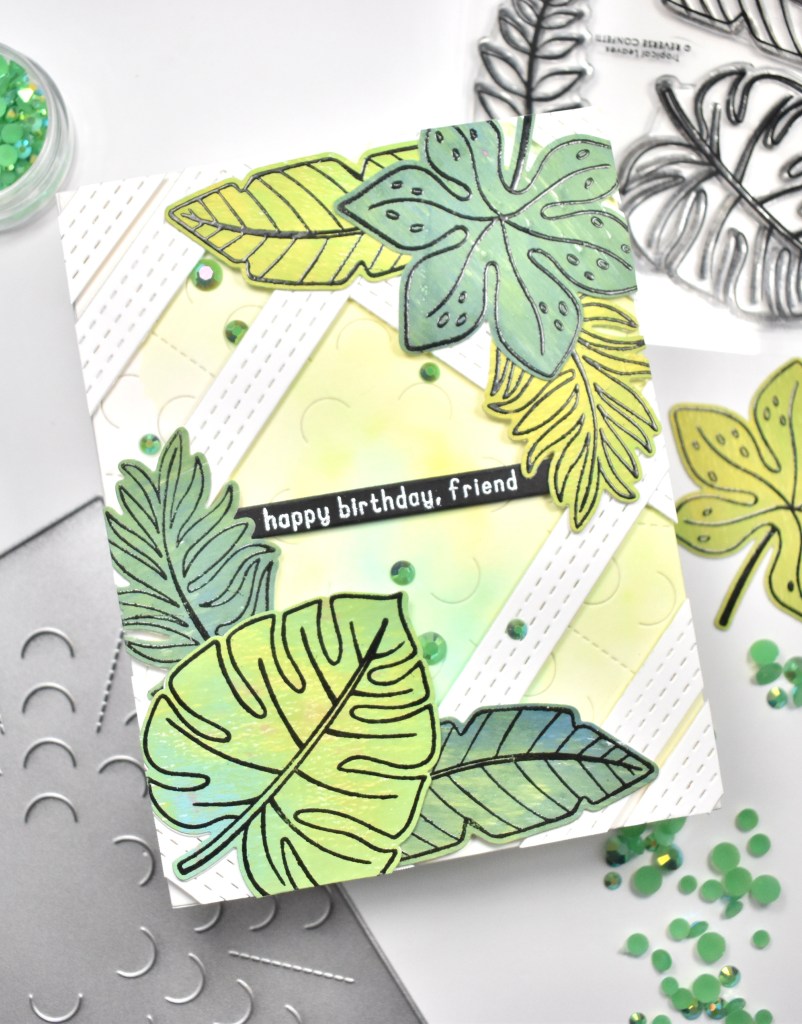
I opted for a Happy Birthday sentiment from the Word Up set. I stamped that on black cardstock using VersaMark ink and heat embossed it using SSS Detail White Embossing Powder. I trimmed it down and mounted it to my card using foam tape as well. I then used a combination of foam tape and glue to position my leaves in the corners of the card around the sentiment.
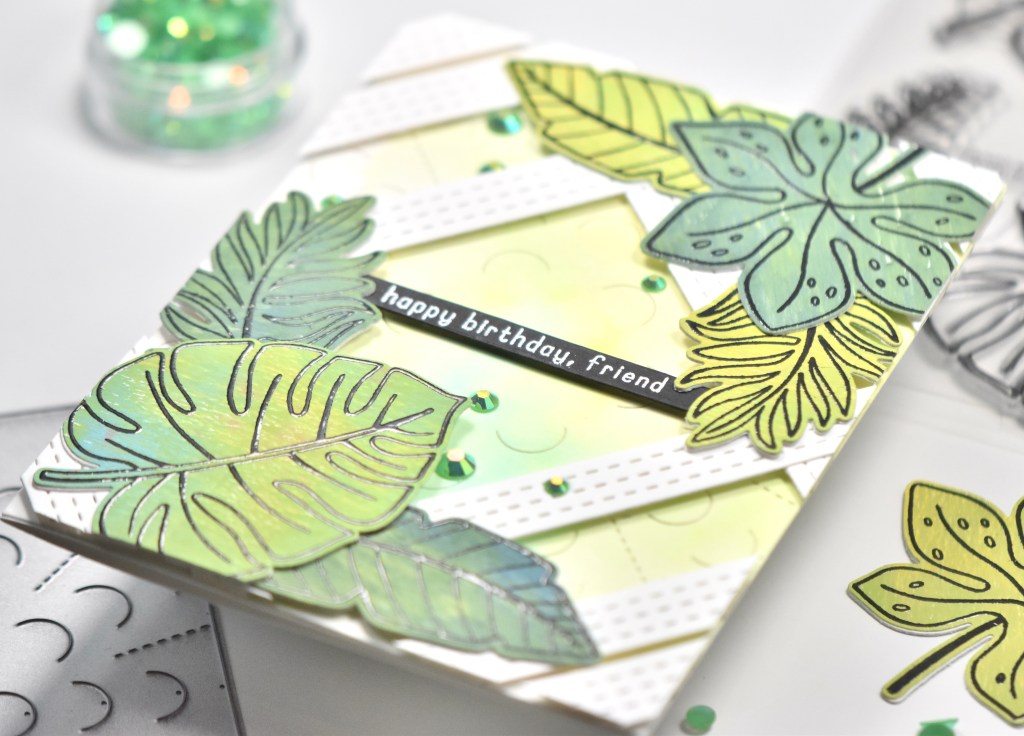
To finish up, I added some PinkFresh Studio Jewels because every card needs bling in my opinion! I hope you enjoyed this project, and I hope it inspires you to get crafty in your space! Don’t forget to check out the July release from Reverse Confetti! Super fun and super cute! You don’t want to miss it! Keep in mind that the new product links won’t be active until the release goes live on July 8th.
As I mentioned earlier, to celebrate we are having a blog hop! Visit each of my teamies blogs and leave comments along the way for your chance to win a $15 gift certificate! All the details can be found on the Reverse Confetti blog. And .. you can also comment over on their Facebook page for yet another chance to win a gift certificate! The full hop list is below.
Supply List:
- Reverse Confetti Tropical Leaves
- Reverse Confetti Tropical Leaves Confetti Cuts
- Reverse Confetti Peekaboo Cover Panel Confetti Cuts
- Reverse Confetti Stitched Note and Frames Confetti Cuts
- Reverse Confetti Word Up
- Neenah Classic Crest Solar White 110lb Cardstock
- VersaFine Onyx Black Ink
- VersaMark Ink
- Ranger Clear Embossing Powder
- SSS Detail White Embossing Powder
- Black Cardstock
- Karin Brushmarkers
- PinkFresh Studio Jewels
- Gel Press
- Brayer
- Craft Tacky Glue
- 3M Foam Tape
- Masking Tape
- Tim Holtz Scissors
- Hard Board
- Misti
- Fluid Watercolor Paper
- Anti-Static Powder Tool
- Watercolor Brush
- Marvy Jewel Picker
- Gemini Jr.
*Affiliate links used at no cost to you. Thank you so much for your support!
- STAMPtember CZ Design Exclusive

- Altenew Seasonal Blooms Card Duo

- STAMPtember 2026 Party!

- Simon Says Stamp Birthday Gifts

- Simon Says Stamp Amazing Daisies