Simon Says Stamp Hummingbird Hugs

Hello Crafty Friends, and welcome back! I’m back today with a project featuring the new Brilliant Hummingbird from Simon’s latest release, Friend Like You. Let’s run through the details!

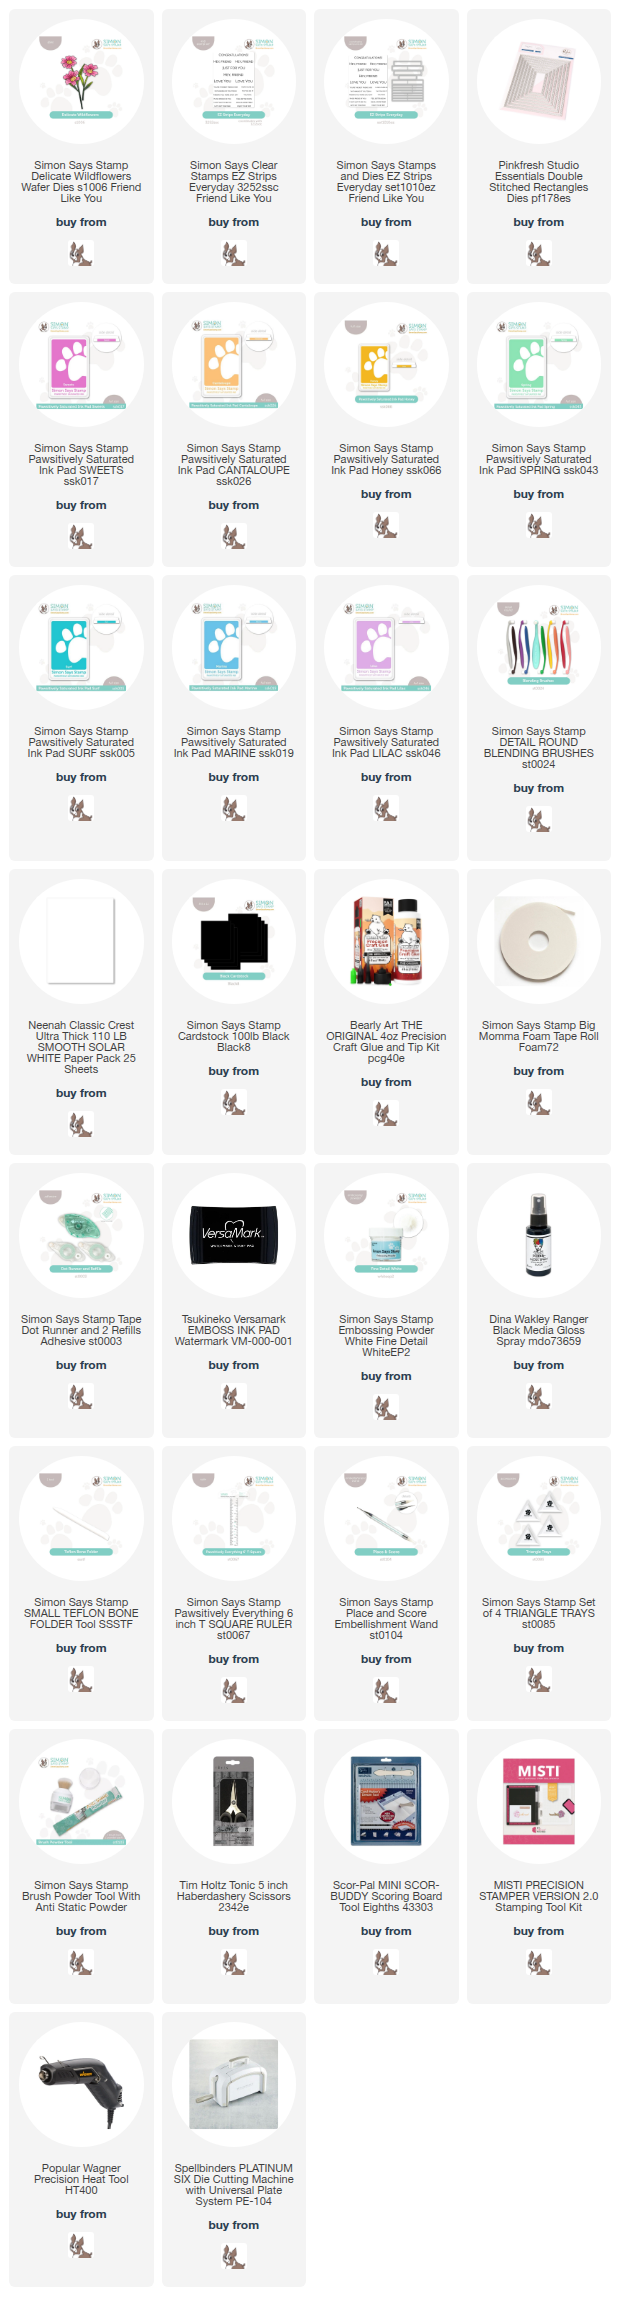
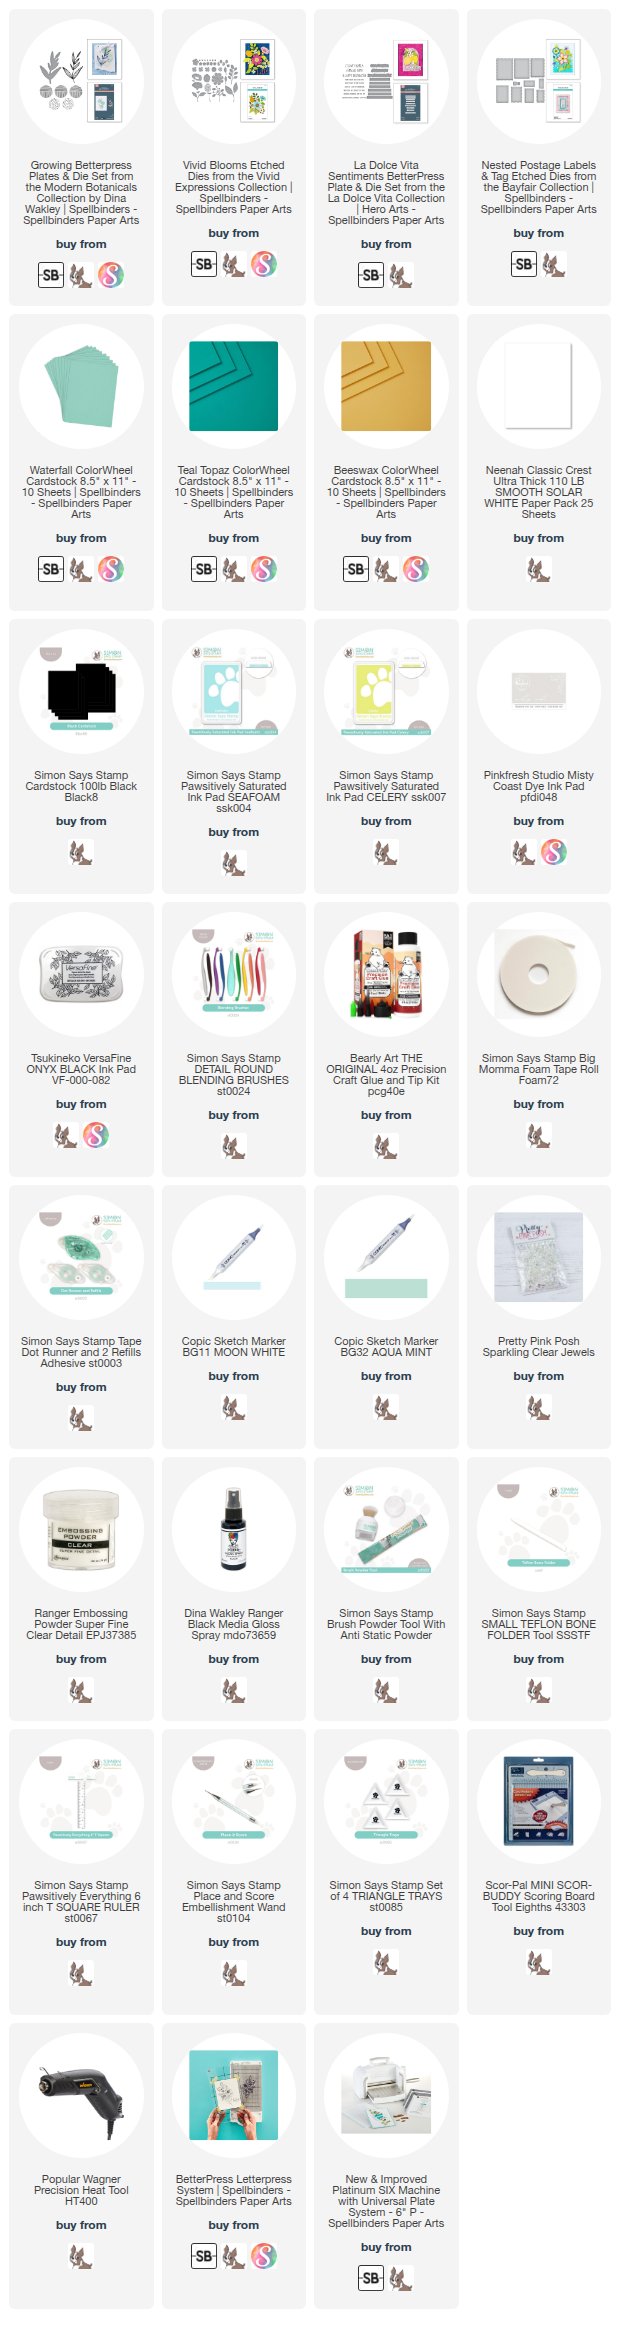
NOTE: all supplies are linked in the thumbnails at the end of this blog post.
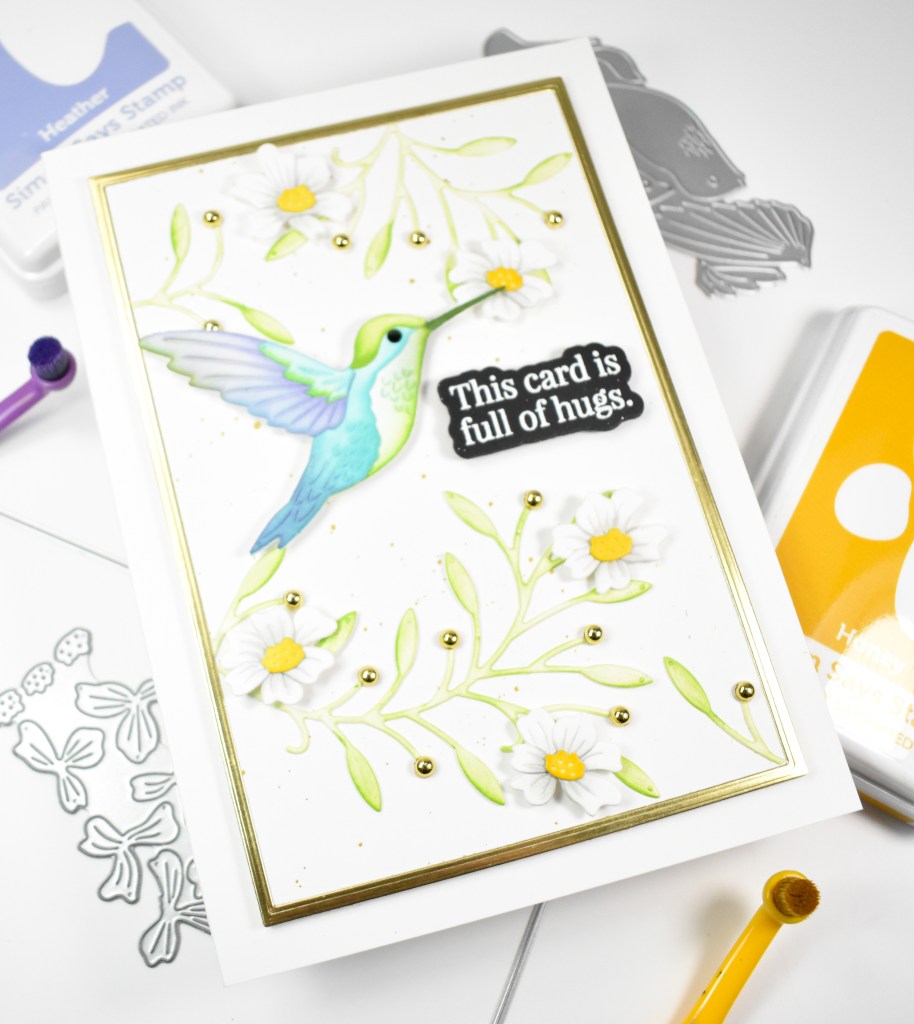
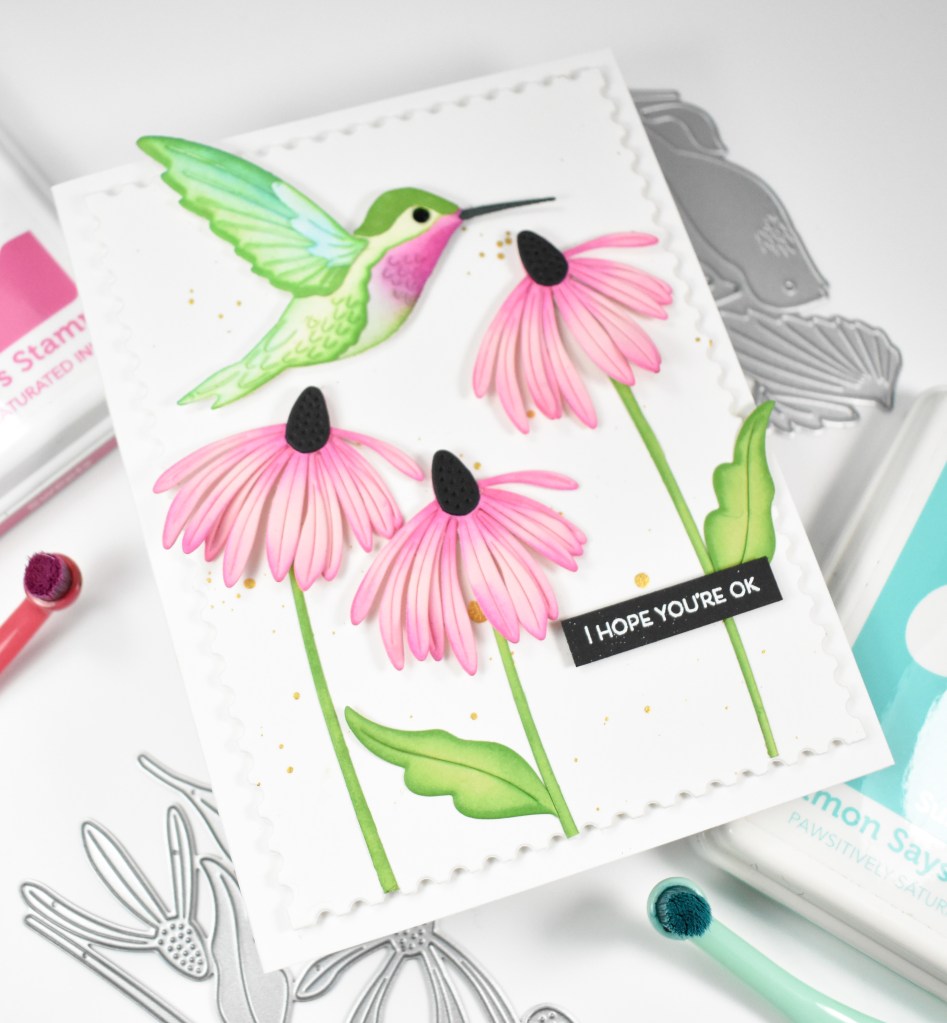
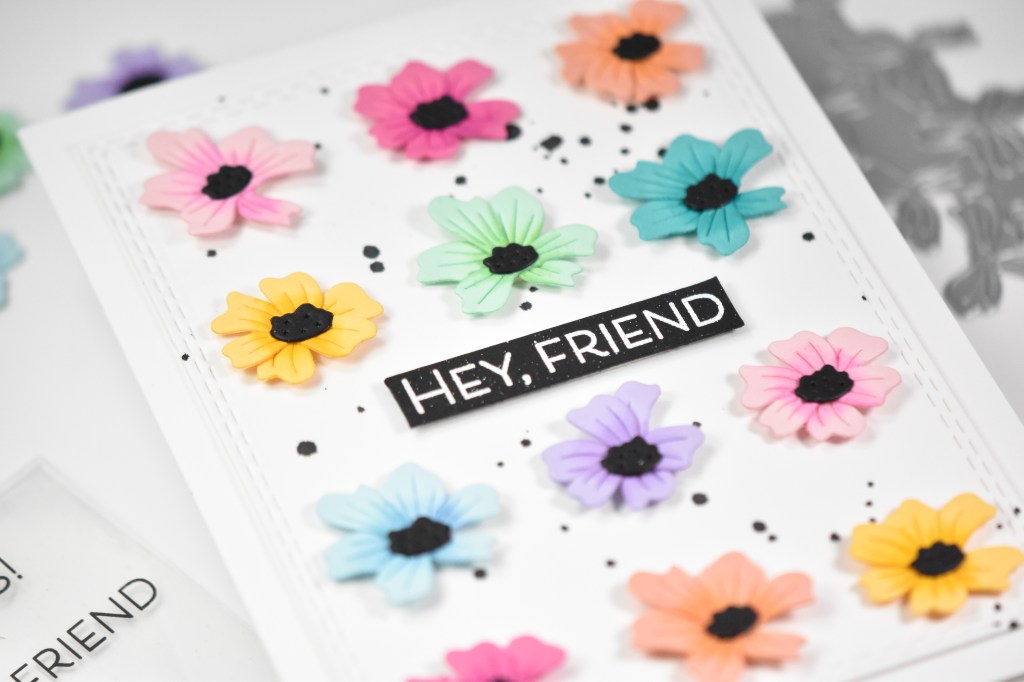
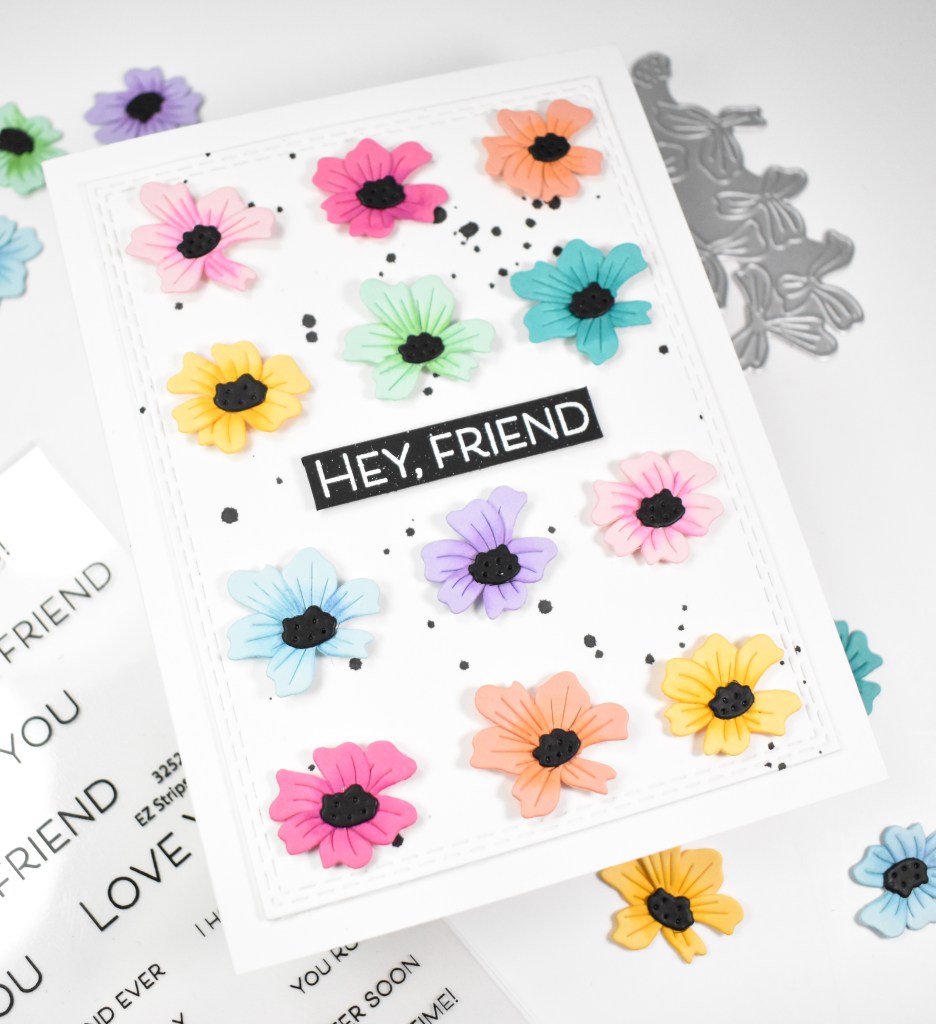
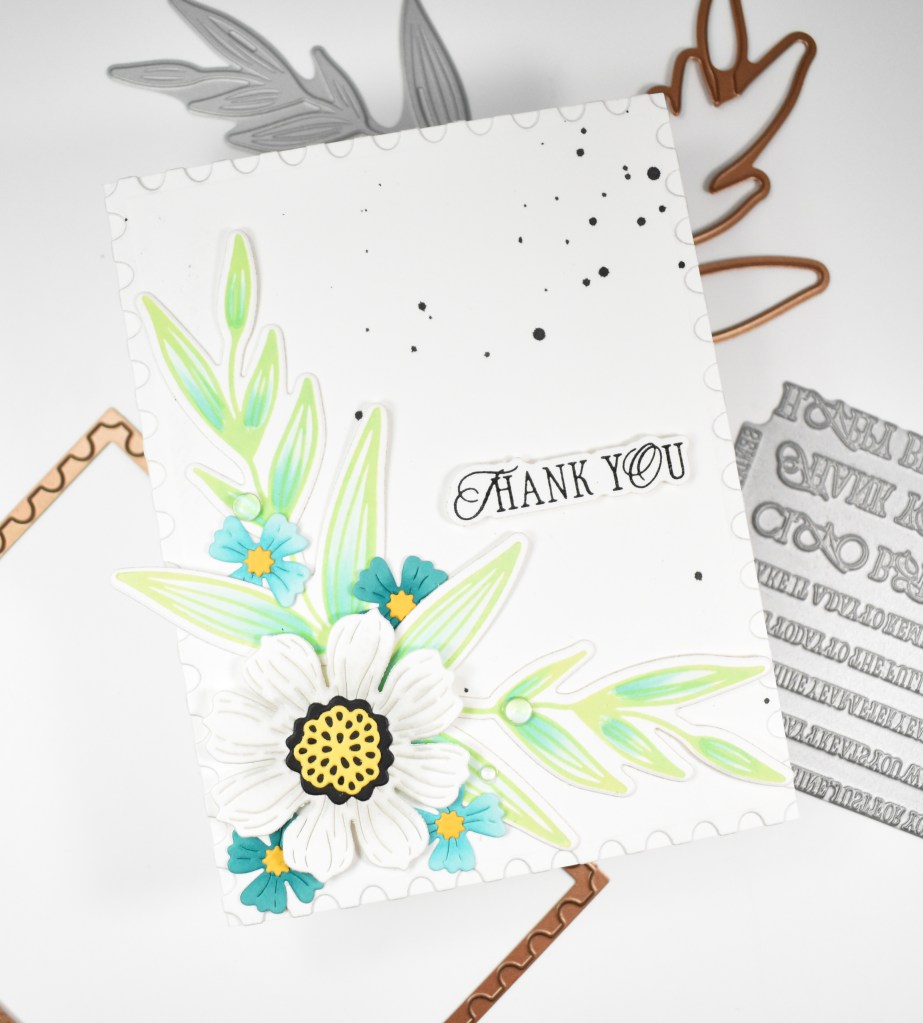
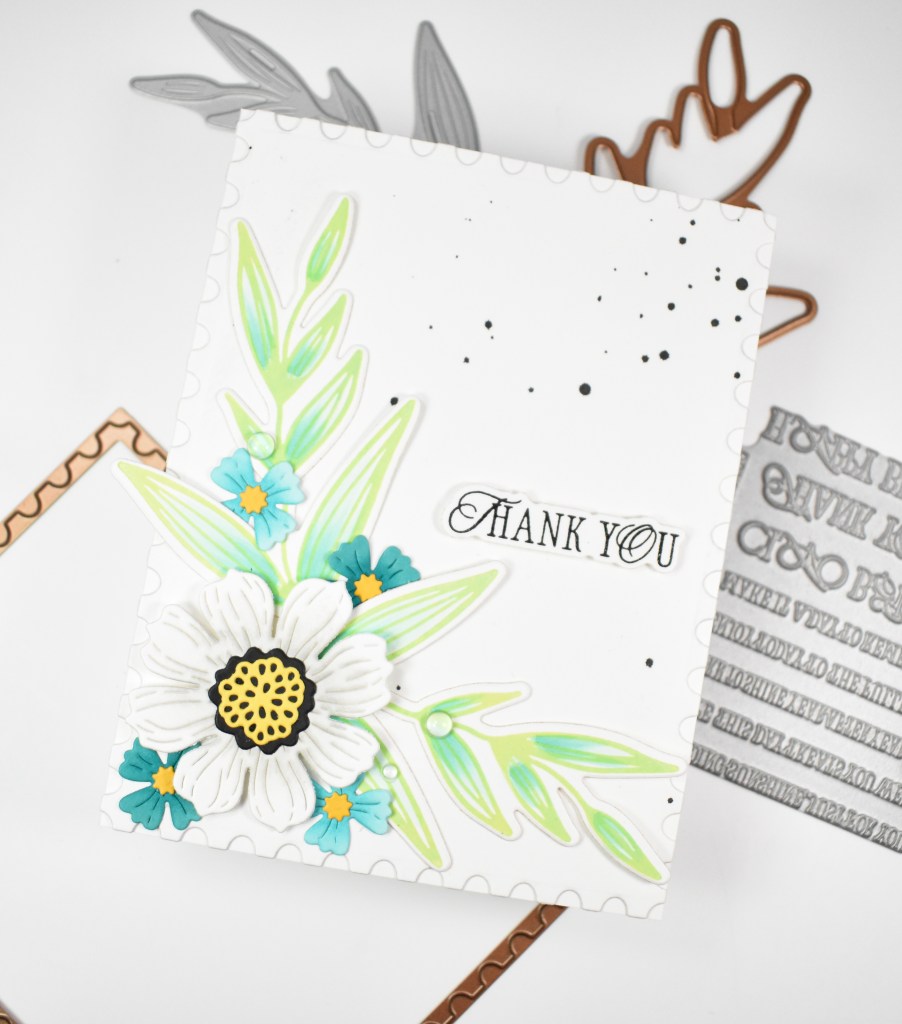
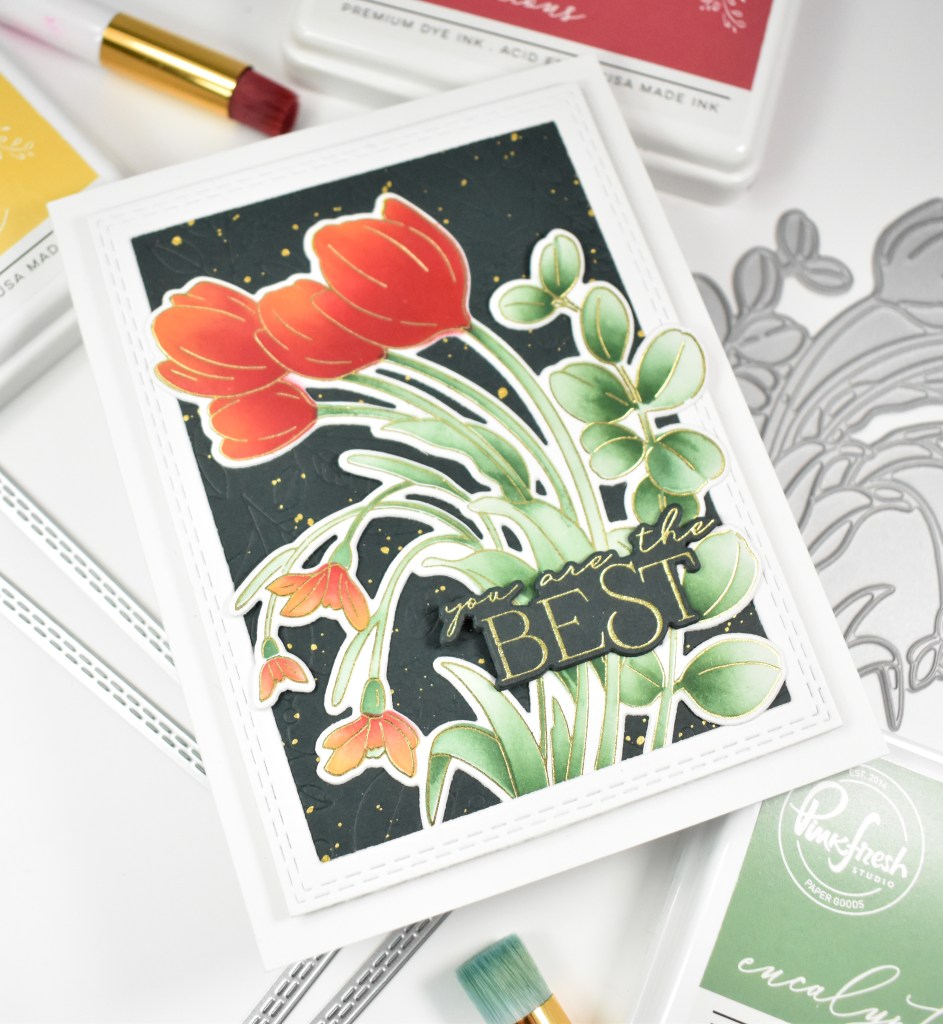
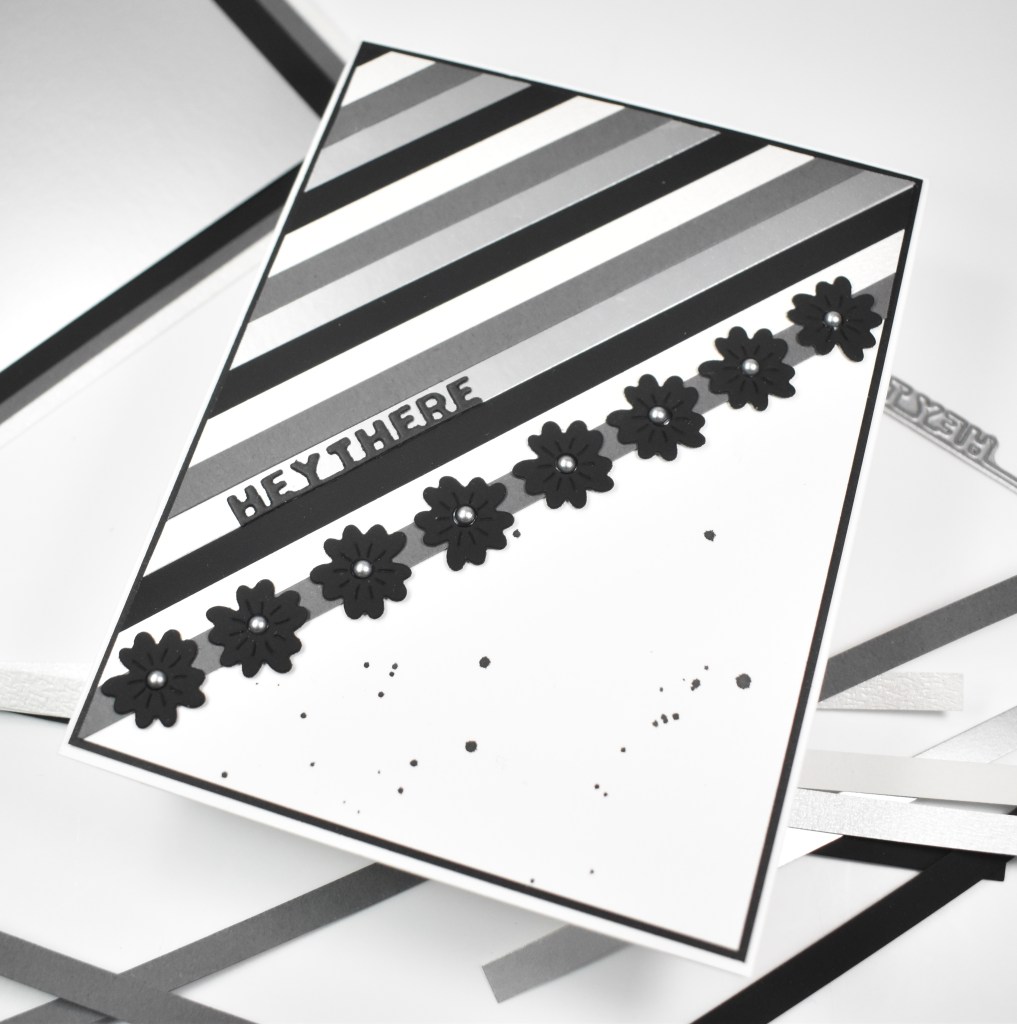
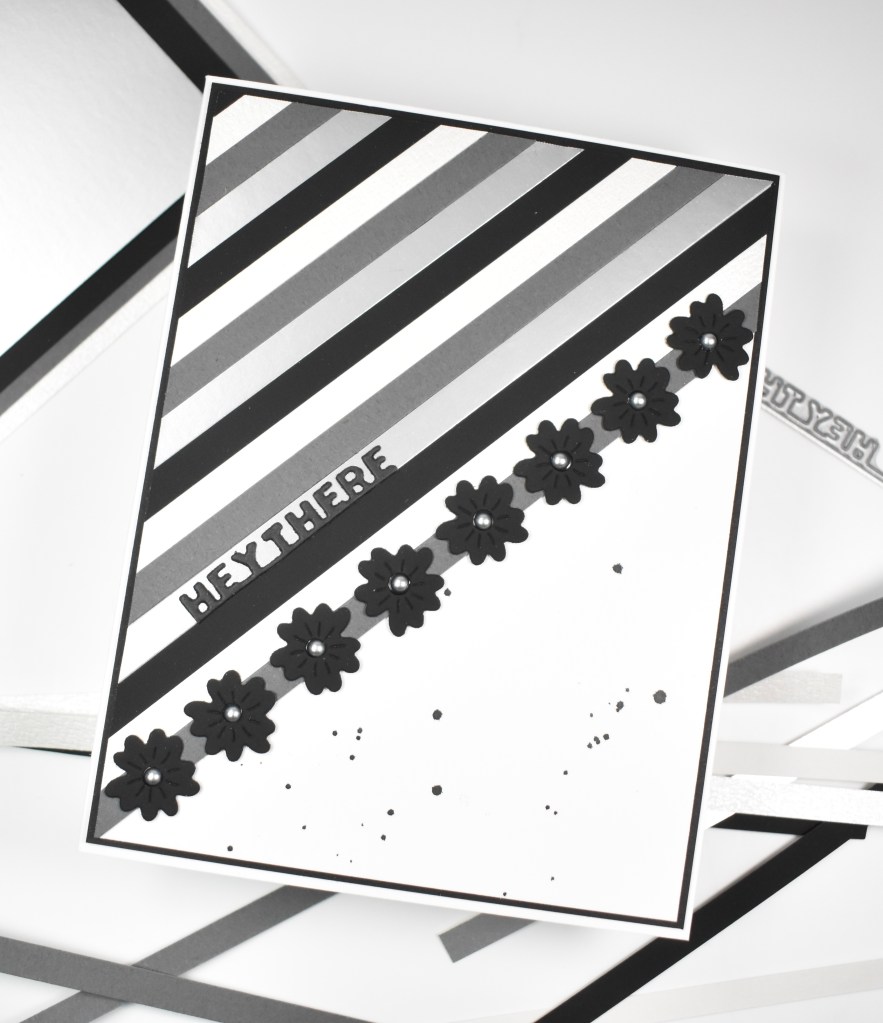
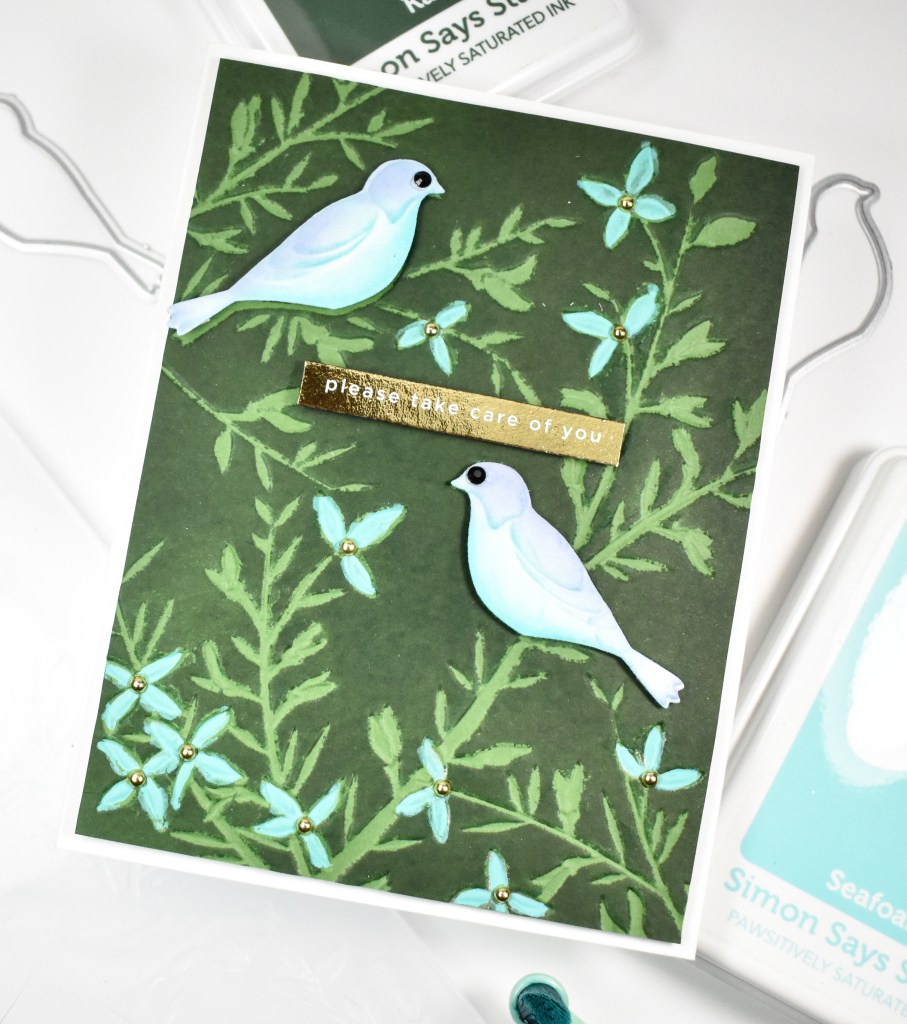
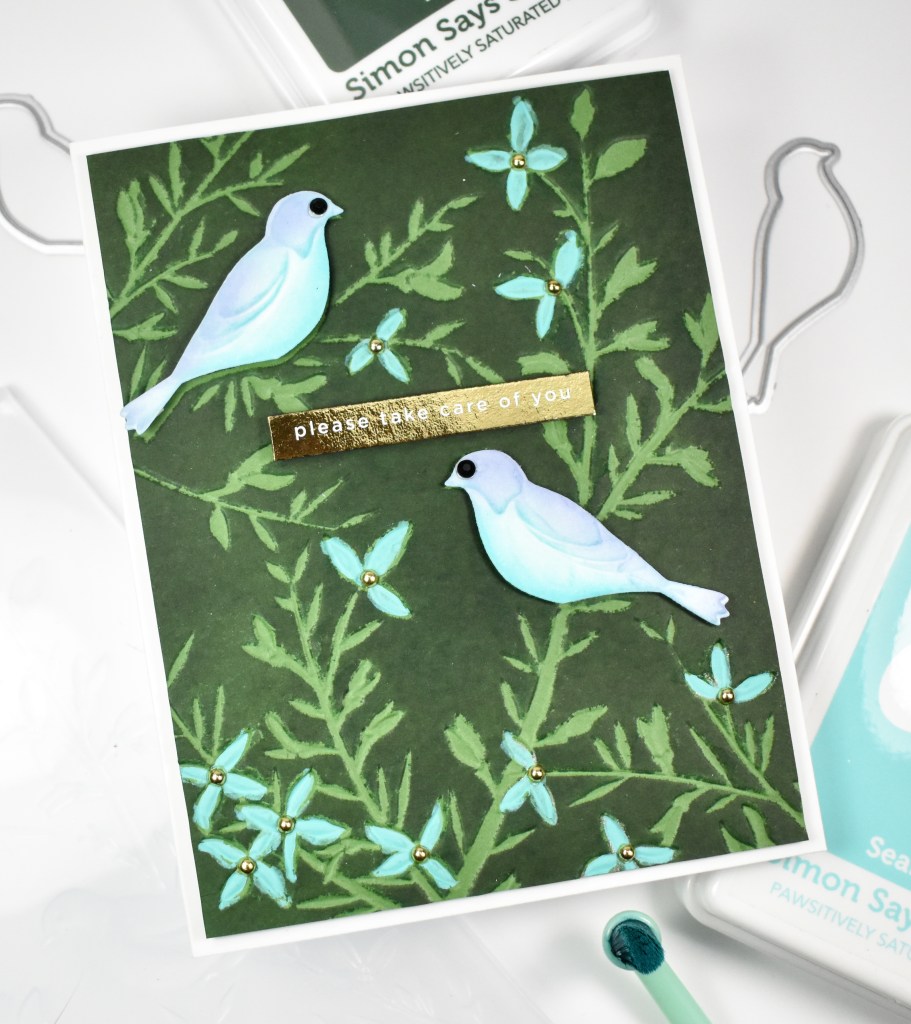
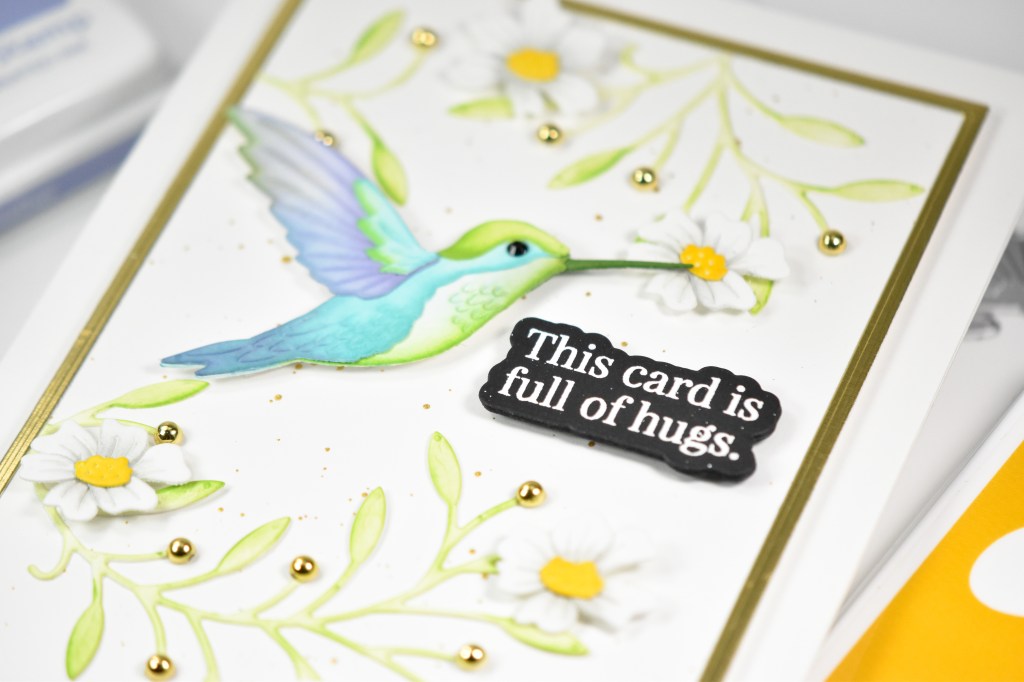
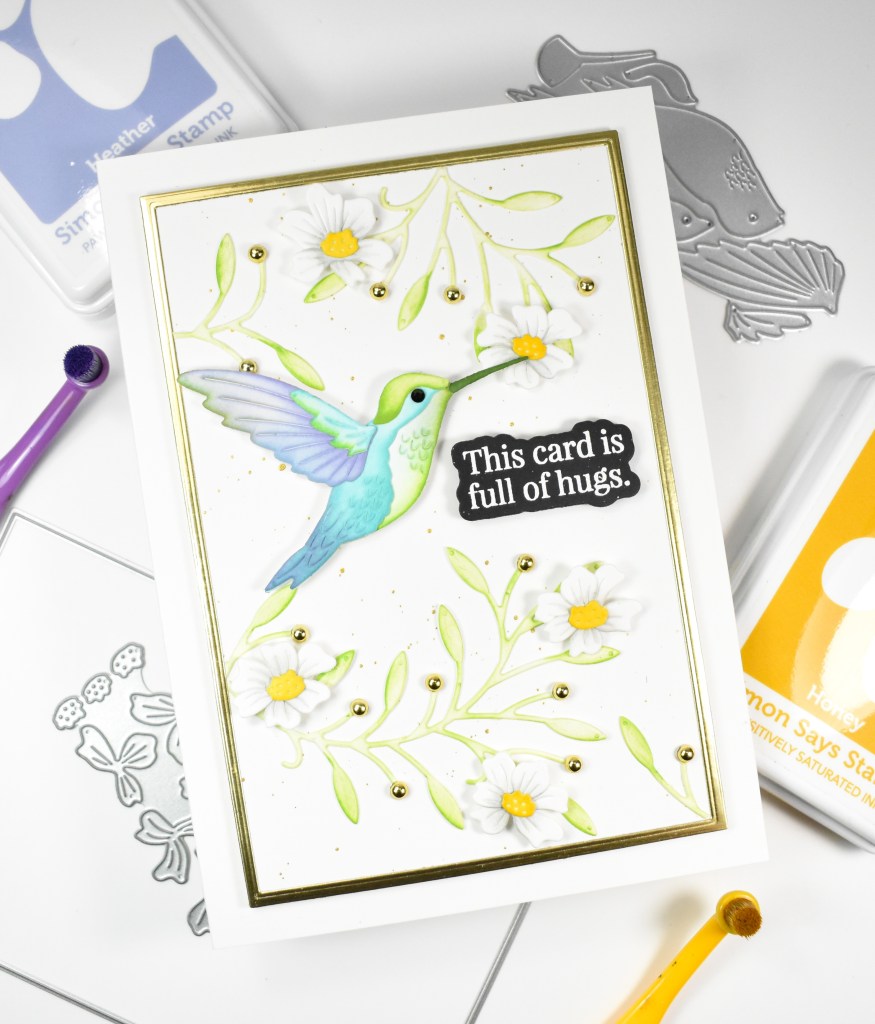
I began this project by die cutting the Brilliant Hummingbird, the Delicate Wildflowers and the Dainty Floral Vine all from Neenah 110lb cardstock. I went ahead and pulled Heather, Honey, Pearfection, Seafoam and Gravel inks to do all of the ink blending on these elements. Once I was done, I assembled the hummingbird and flowers and set those aside while I worked on the rest of the card.
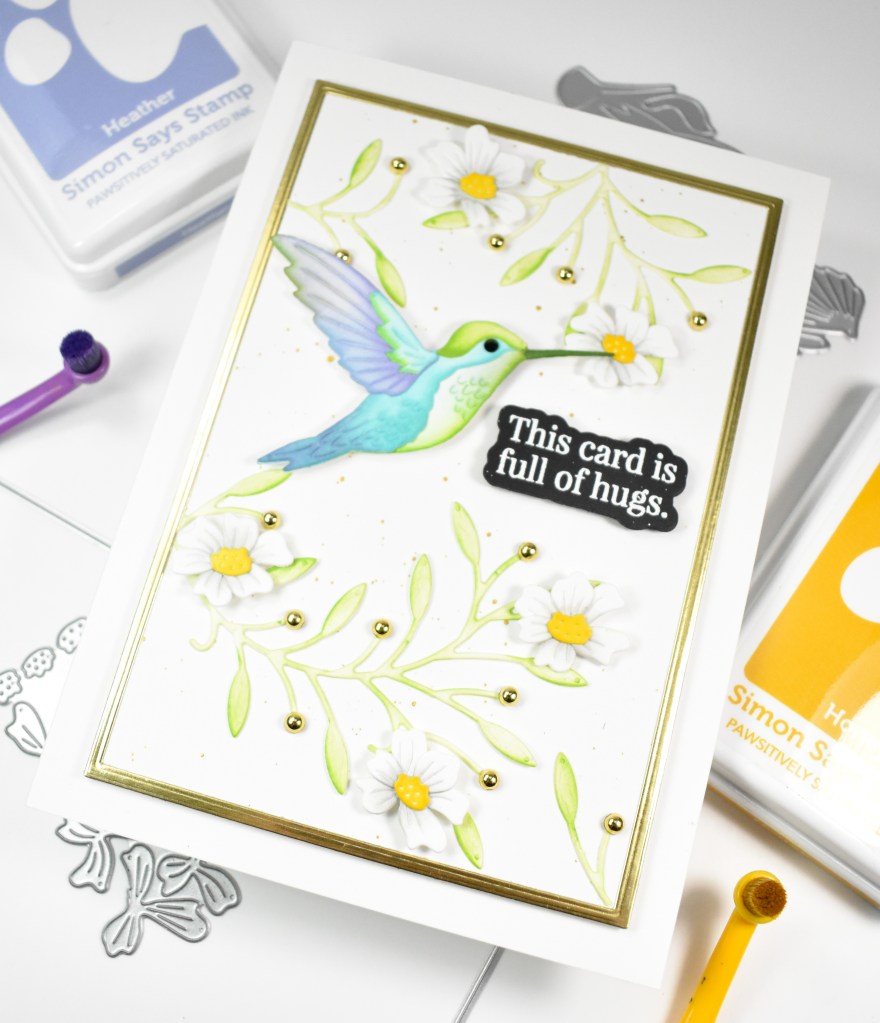
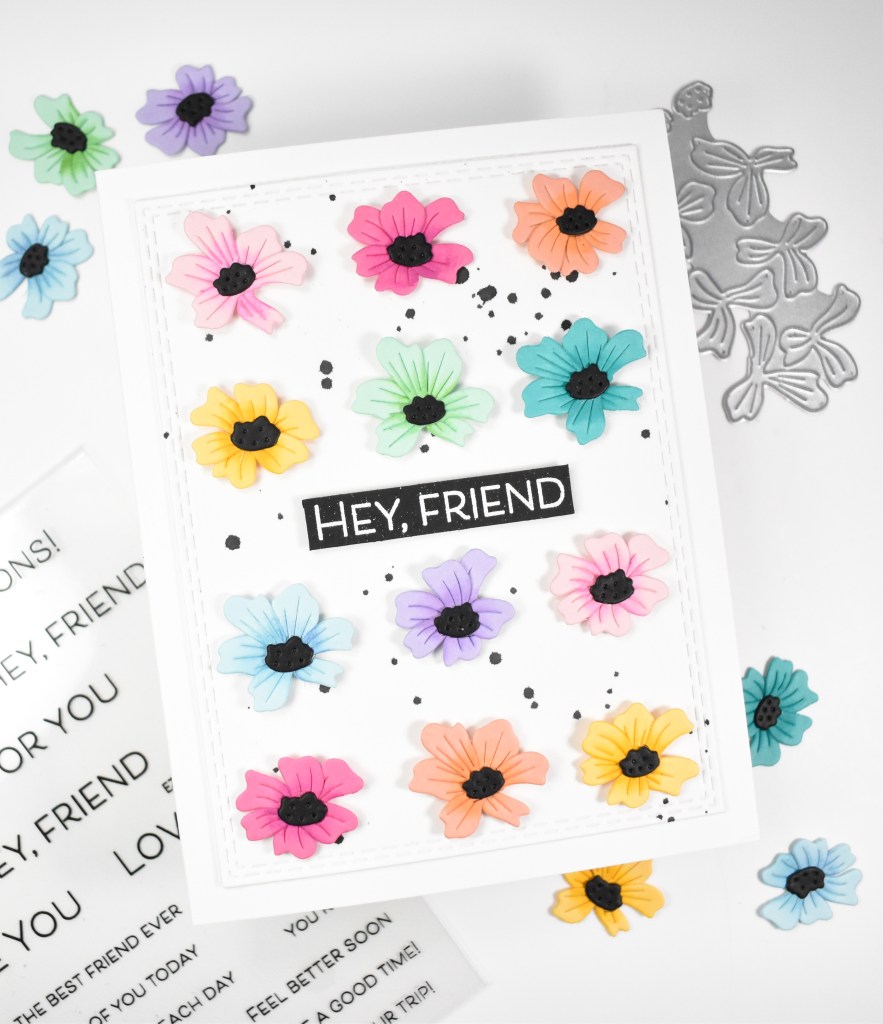
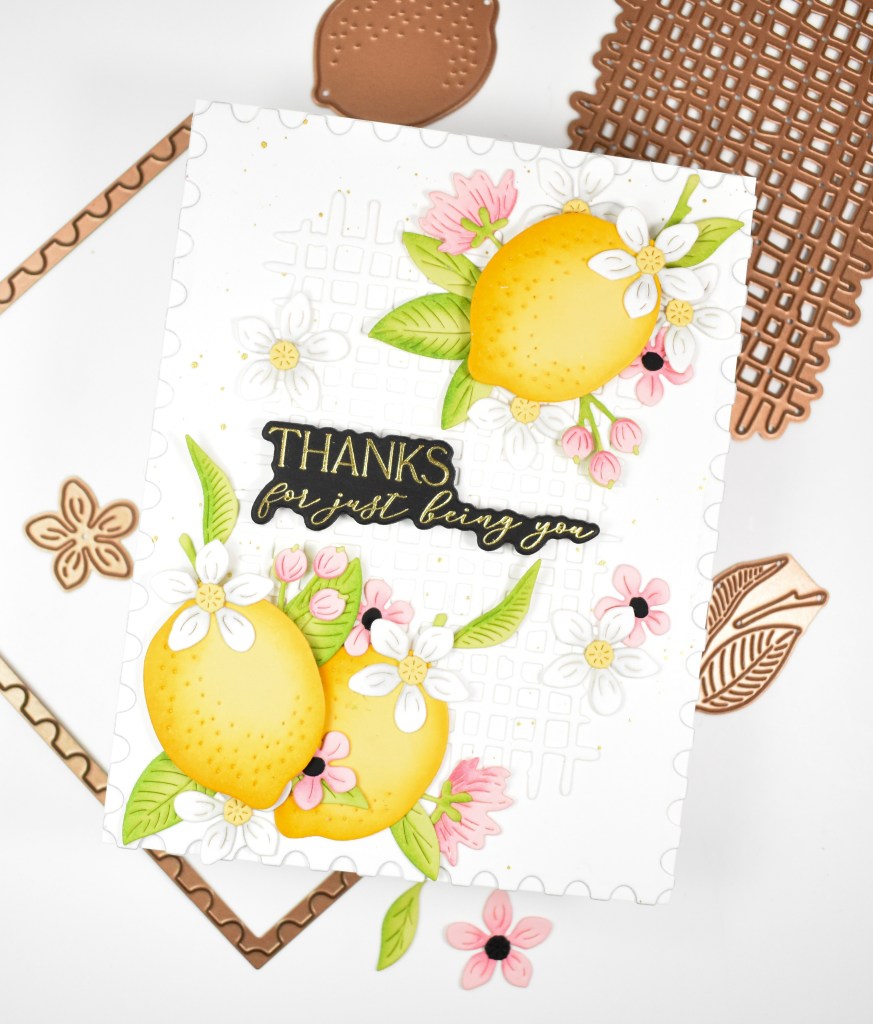
I used the new A7 Rectangles and cut a panel of Neenah that got gold splattered. I also used two of the rectangles to cut a gold frame that would go around the outside of splattered panel that I just cut. I glued the gold frame in place and then began gluing the leaves in place.

The sentiment was stamped with VersaMark Ink and heat embossed using Detail White Embossing Powder. I trimmed that out three times for a stacked sentiment. The sentiment, flowers and hummingbird were adhered using foam strips for some added dimension and some gold pearls were added for some shine to finish up.
That does it for this project! I don’t often enjoy making A7 cards, but sometimes the extra space is nice. I hope you have an awesome day, and don’t forget to check out the entire Friend Like You release.
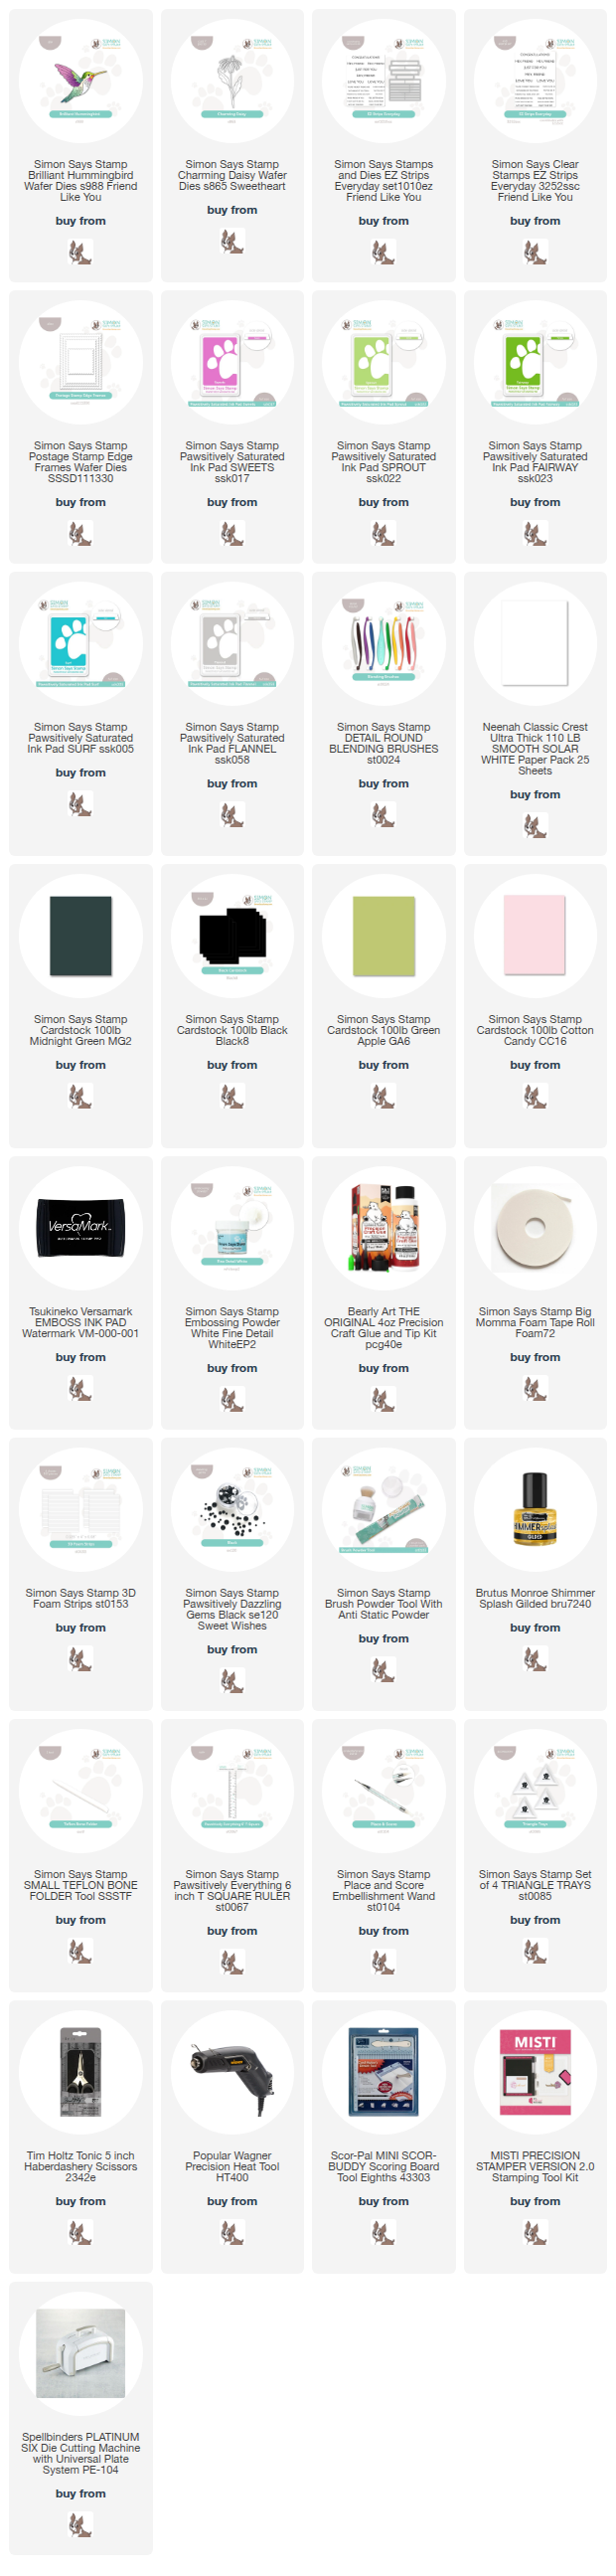
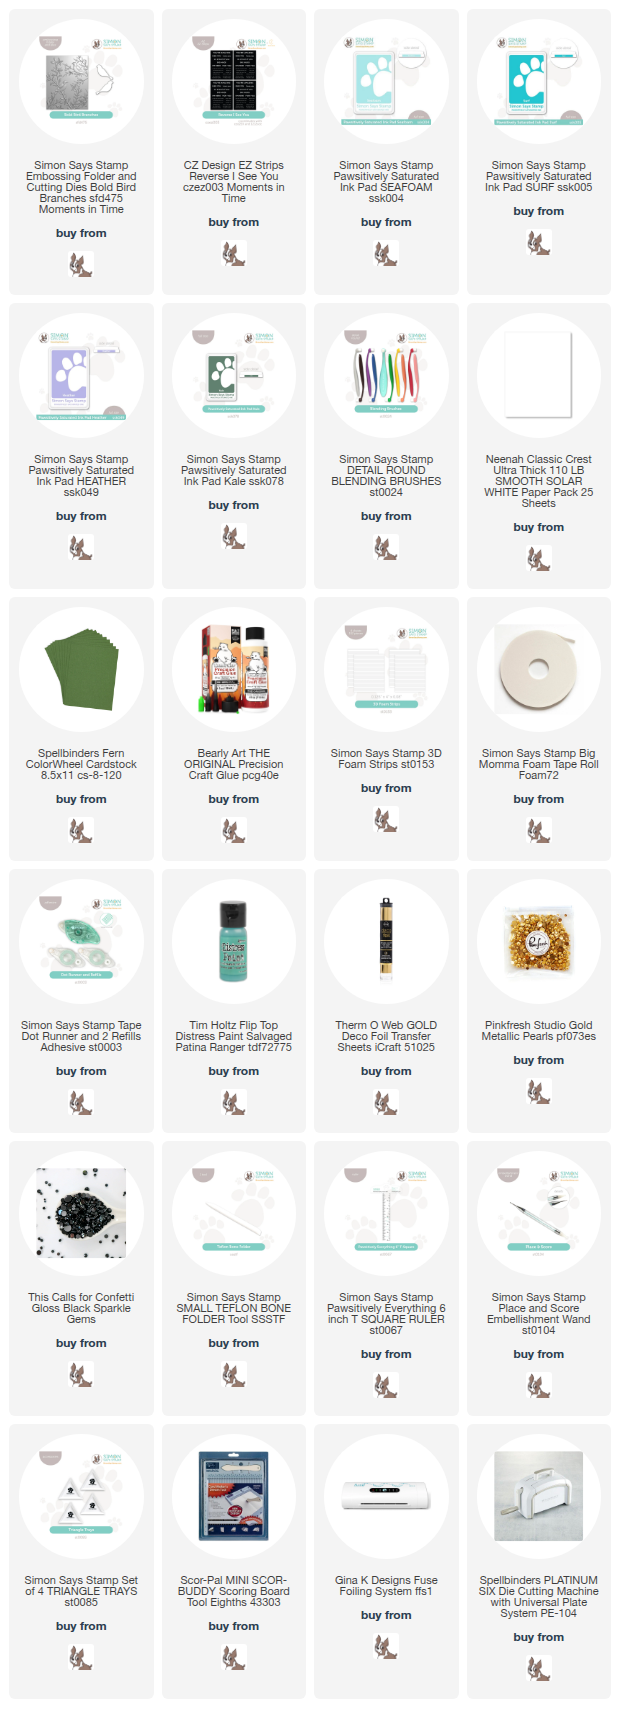
Supply List
Affiliate links used at no cost to you. What does this mean? If you use the links within this post to make a purchase, I receive a small commission, which allows me to continue to post crafty content for your enjoyment. I truly appreciate your support!

Latest Posts
- Simon Says Stamp Grateful Heart

- Simon Says Stamp Braided Greetings

- Together By Design Color Cube Floral

- Simon Says Stamp Cute Duckling

- Simon Says Stamp Watercolor Wild Rose

Latest Instagram Posts