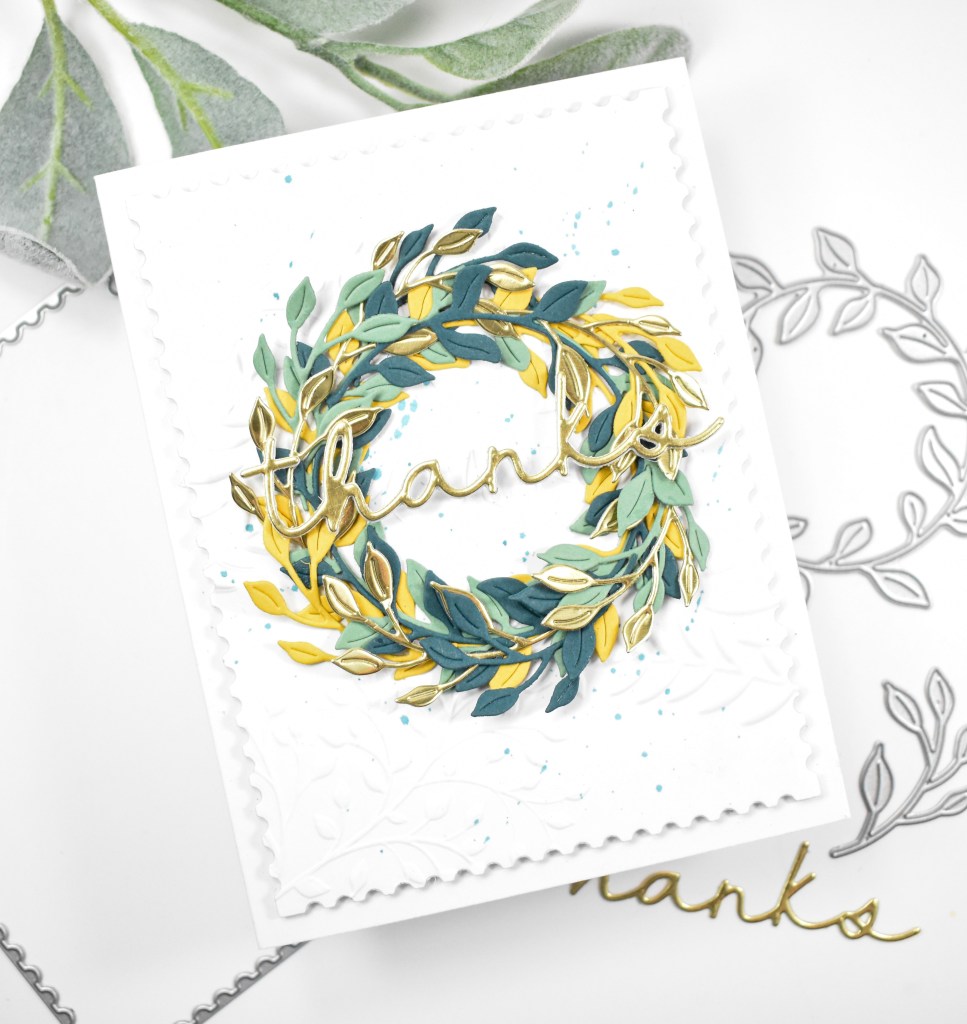
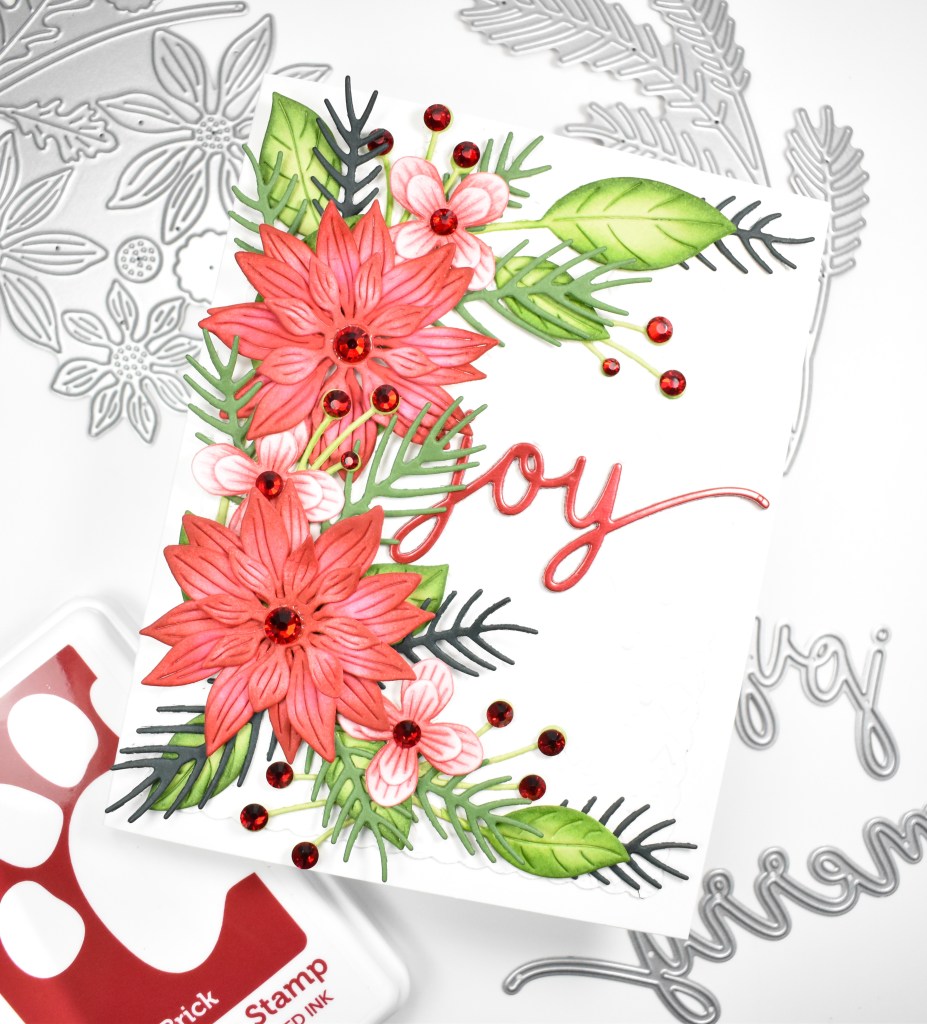
Spellbinders Dear Santa Floral Letter

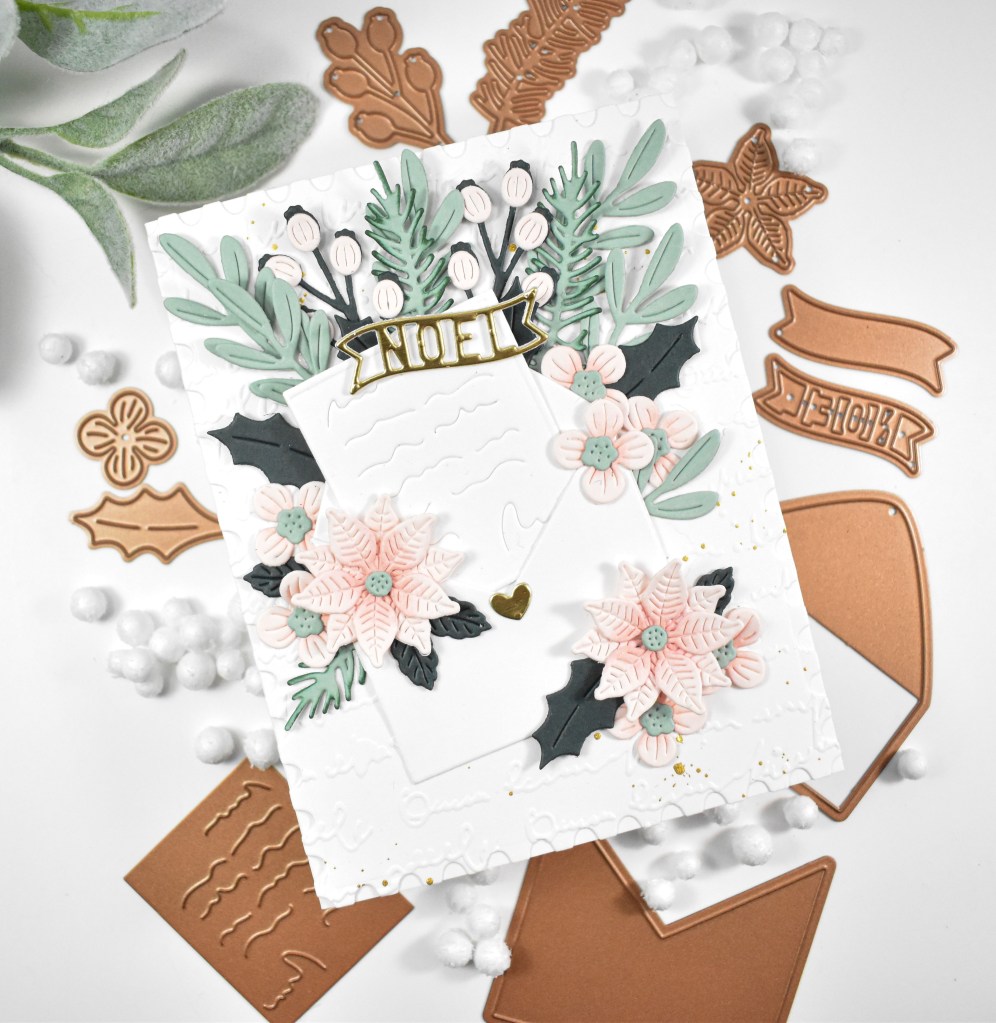
Hello Friends, and thanks so much for stopping by to check out today’s project! This one is featuring the Happy Post Envelope and Festive Floral Mix from the Spellbinders Dear Santa collection. I always enjoy working with florals from Spellbinders, and this project was no exception! Let’s go ahead and run through the details!
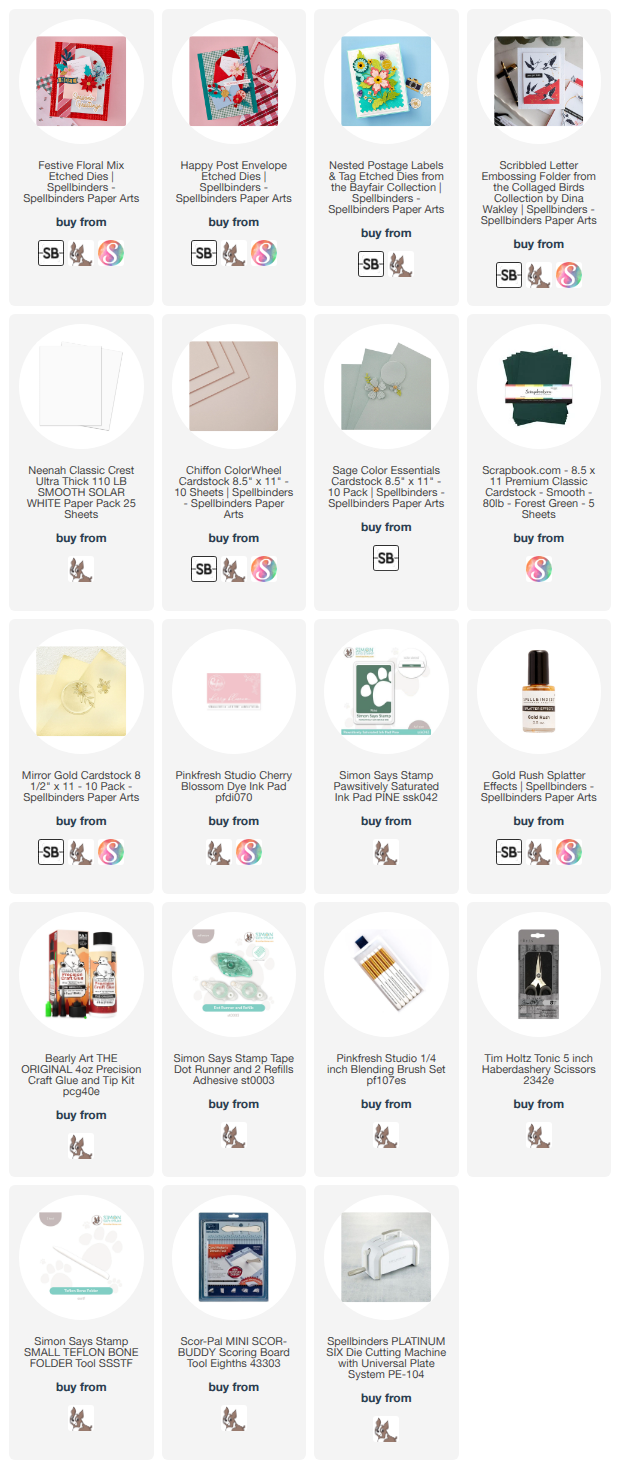
NOTE: all supplies are linked to multiple sources in the thumbnails at the end of this blog post.
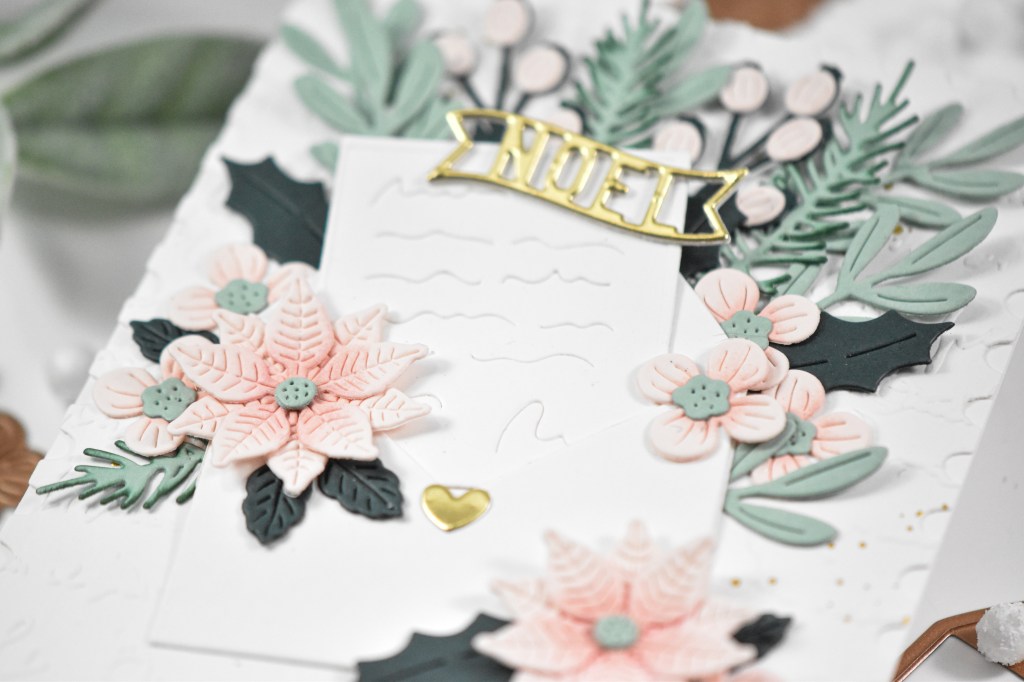
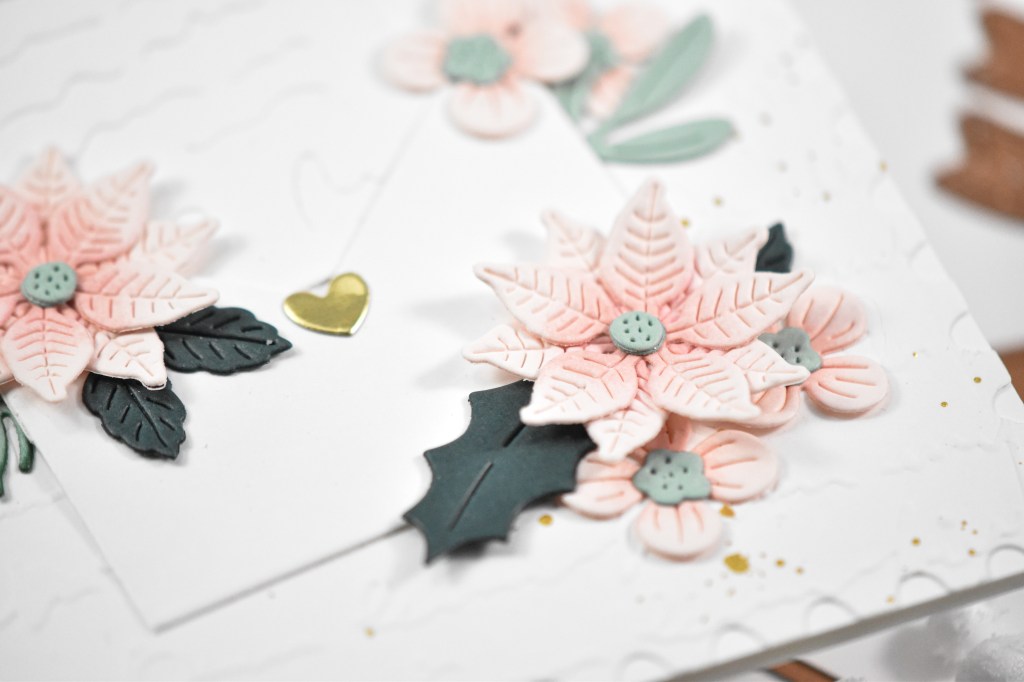
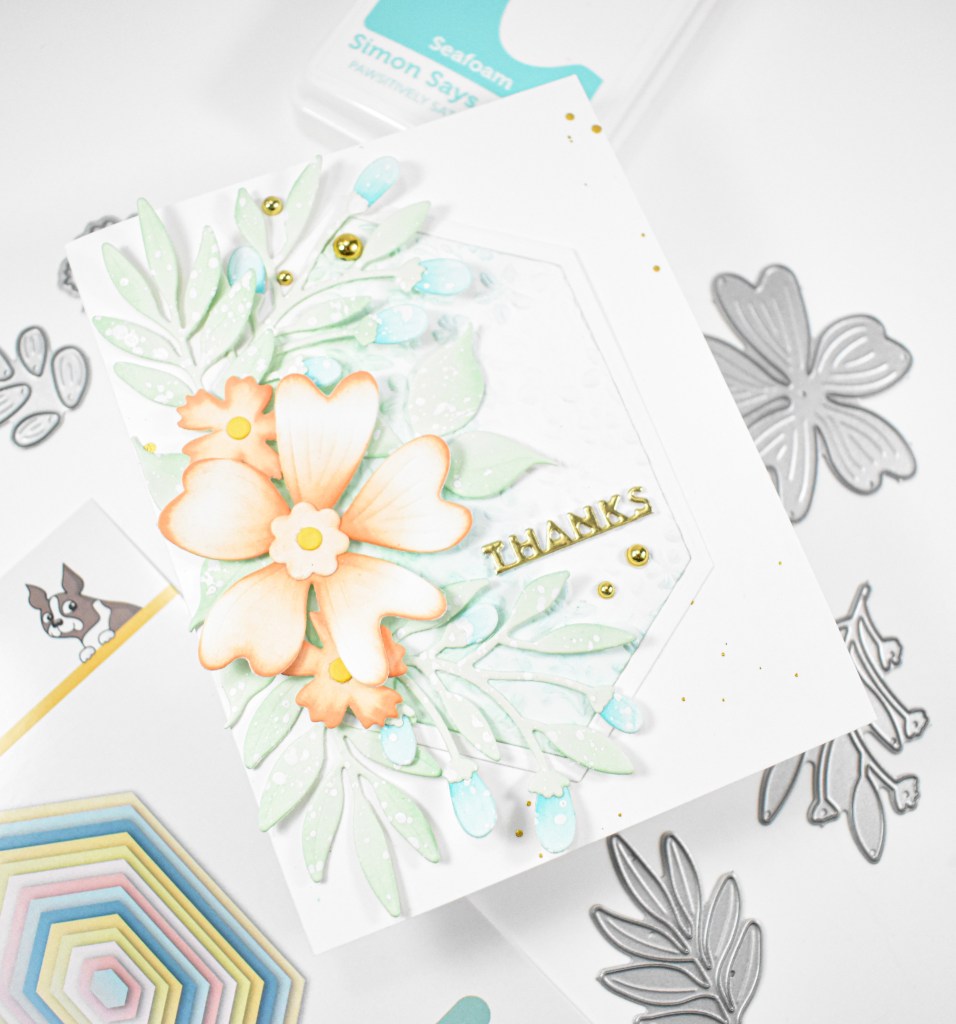
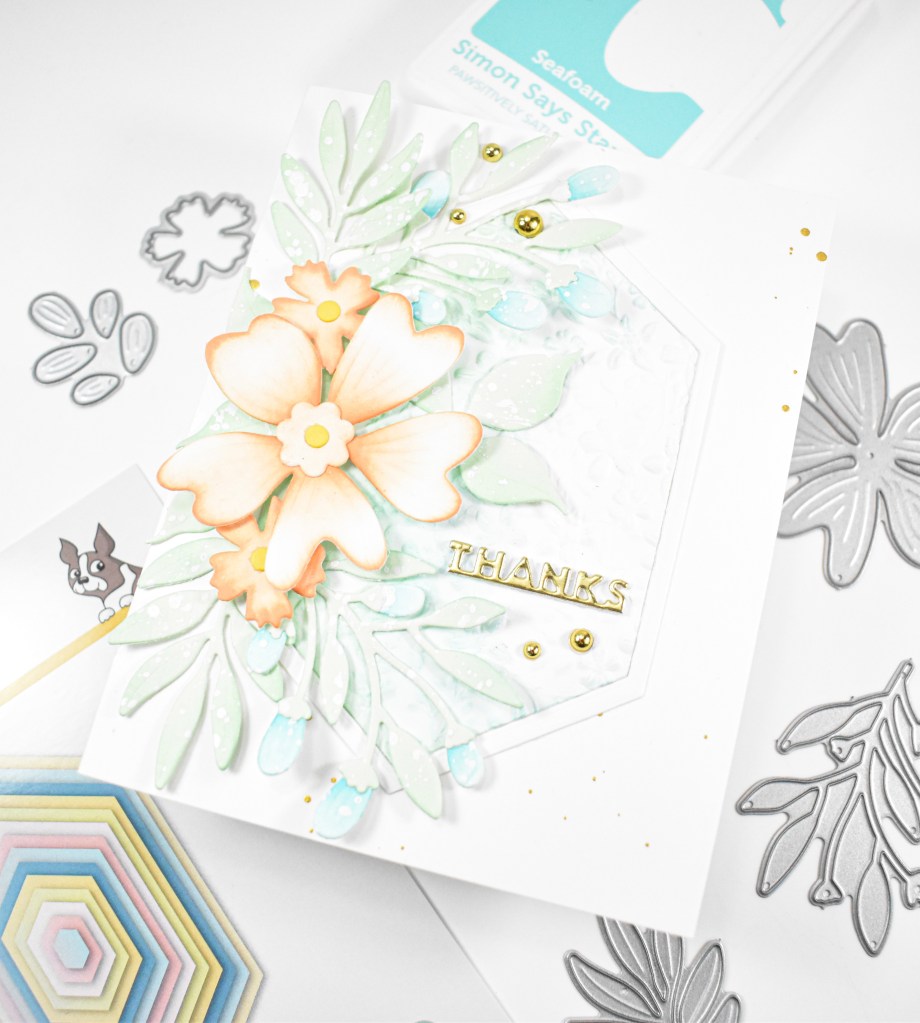
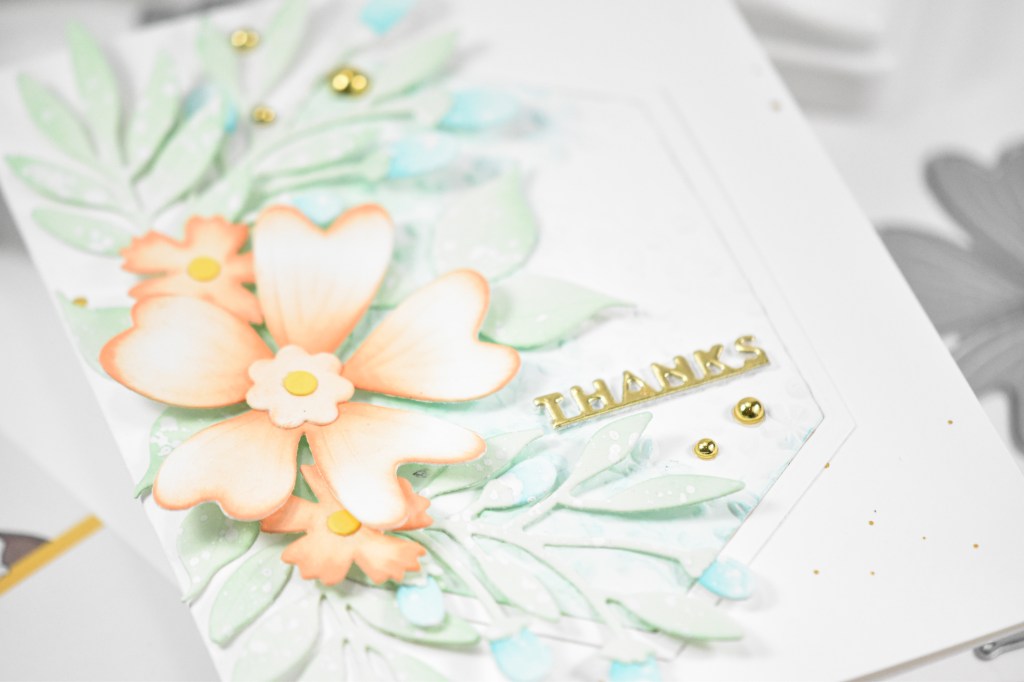
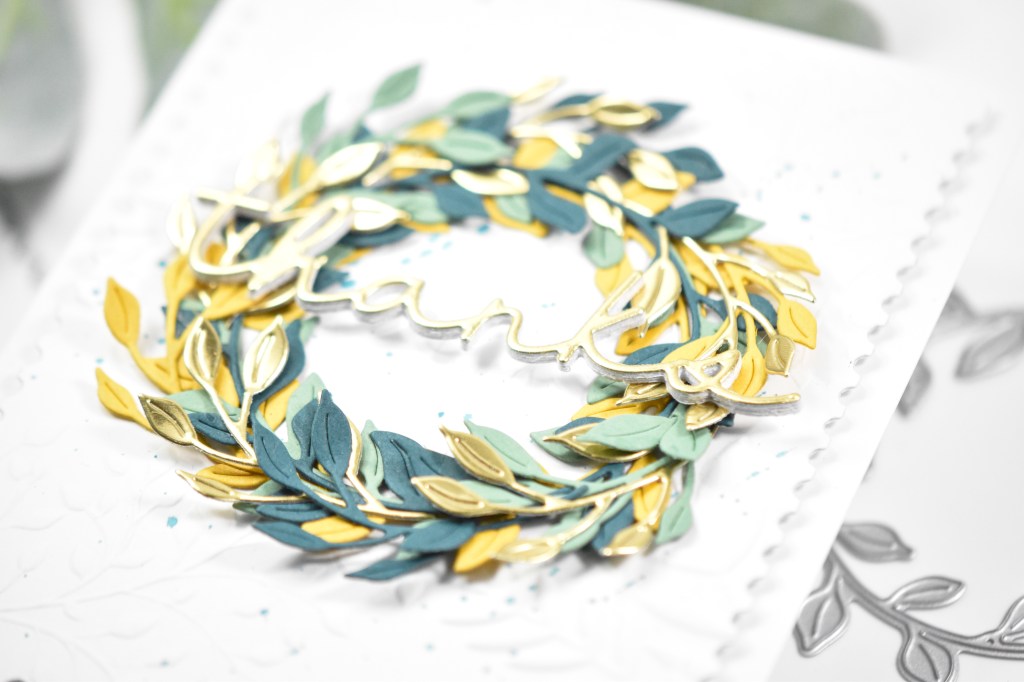
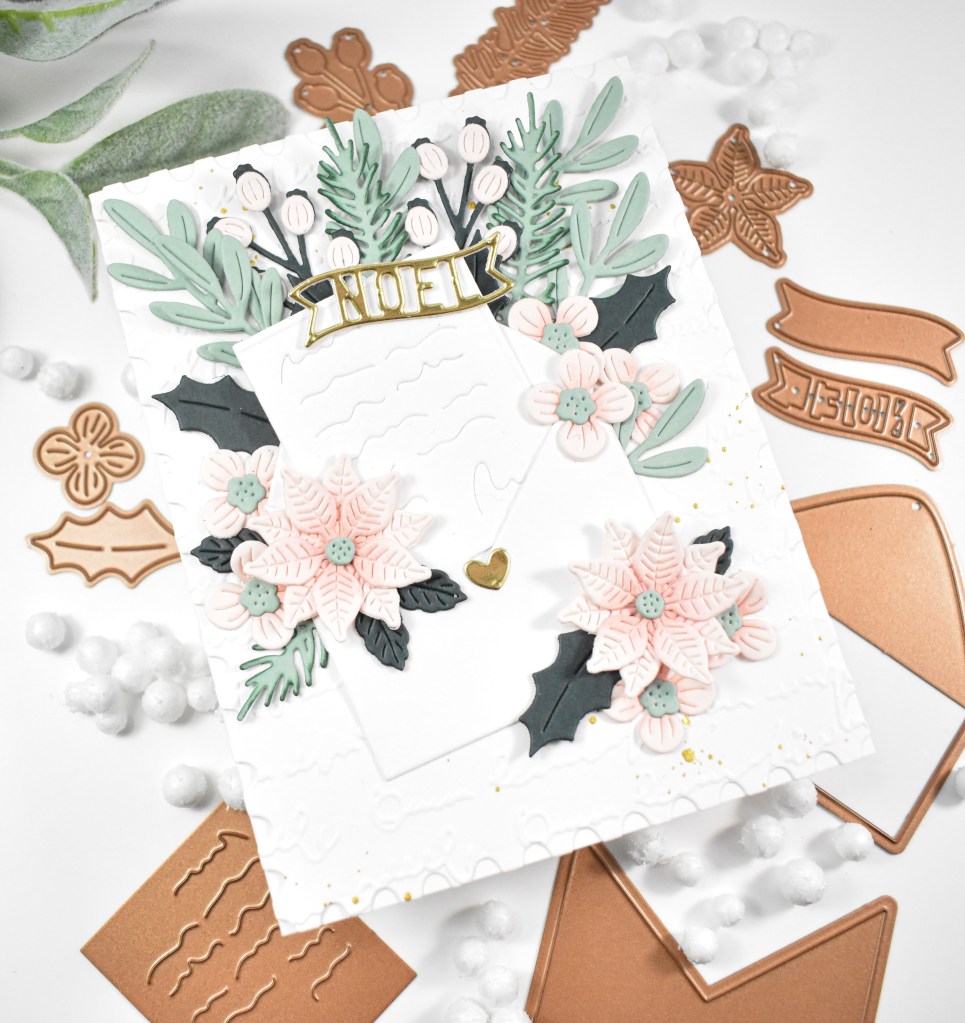
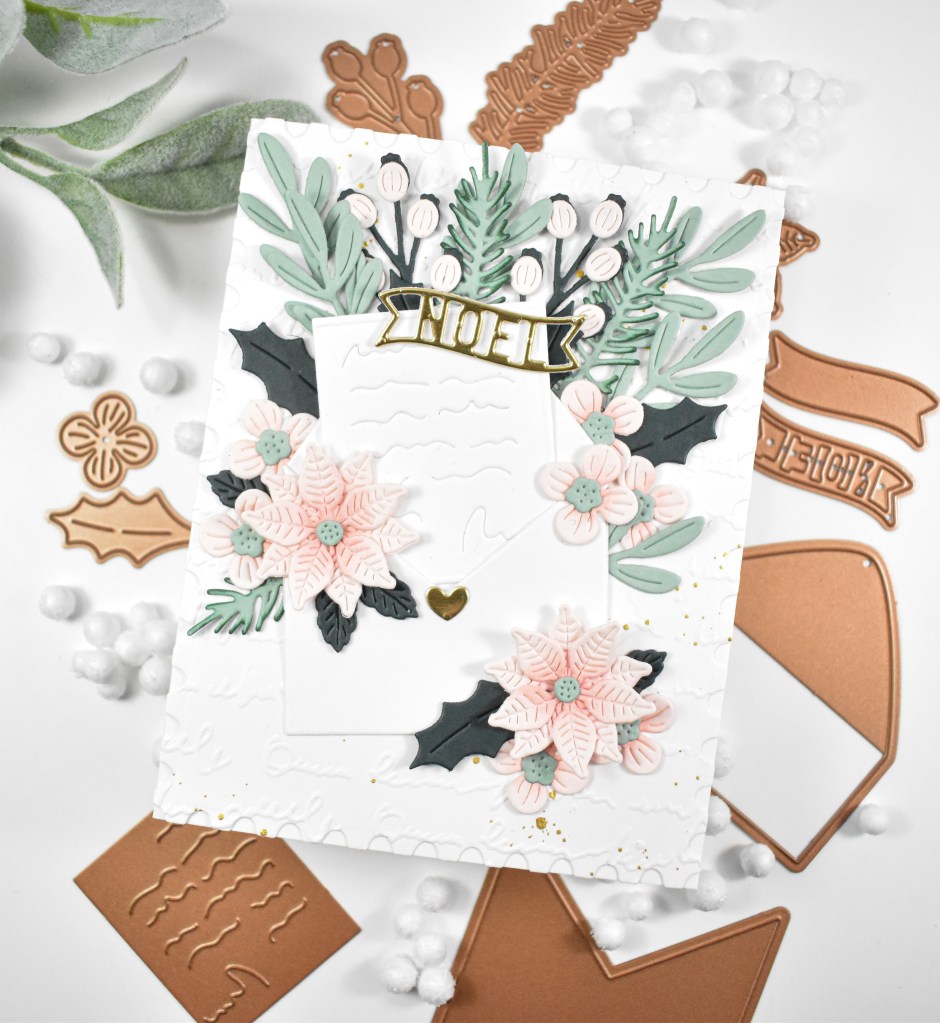
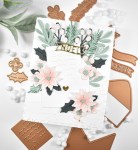
I began the project by die cutting my florals from Chiffon cardstock, and the various leaves from Sage and Forest cardstock. The envelope elements and my background were cut from Neenah 110lb cardstock. I did some ink blending on the flowers and leaves using Cherry Blossom and Pine inks. Once that step was complete, I assembled the flowers and set those aside.
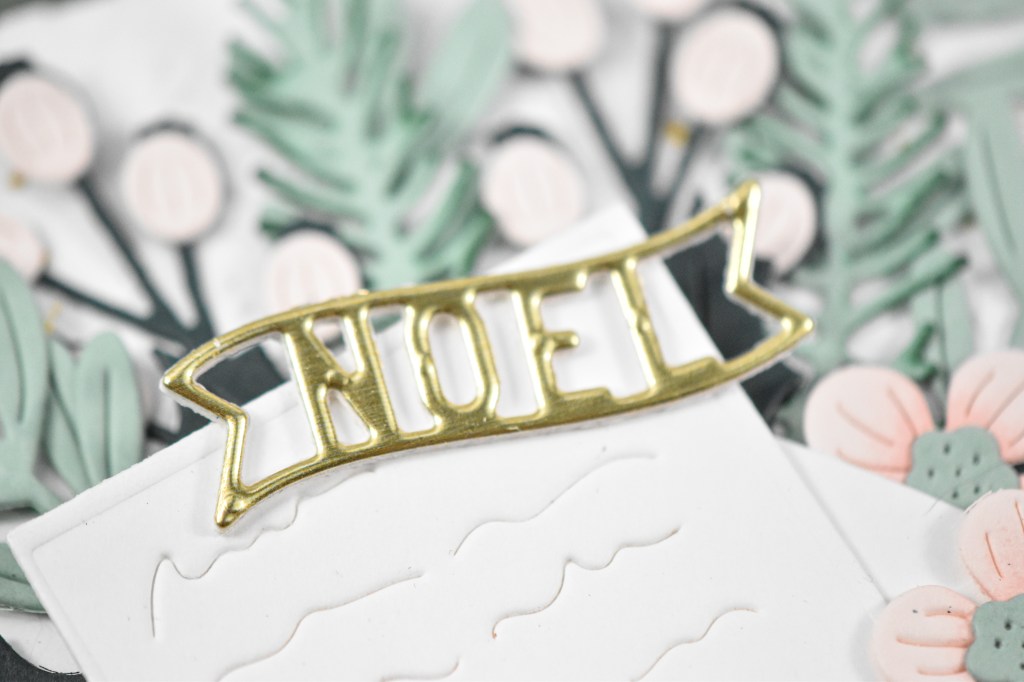
My background panel was cut using the Nested Postage Labels and Tag and then embossed using the Scribbled Letter Embossing Folder. I thought that folder would pair well with the die cut letter that would be tucked into the envelope. Before adhering the background to the card base, I did give it a gold splatter treatment. At this point, I went ahead and cut the heart and the Noel sentiment from gold cardstock. The sentiment was also cut several times from Neenah so that it would be a bit more sturdy.
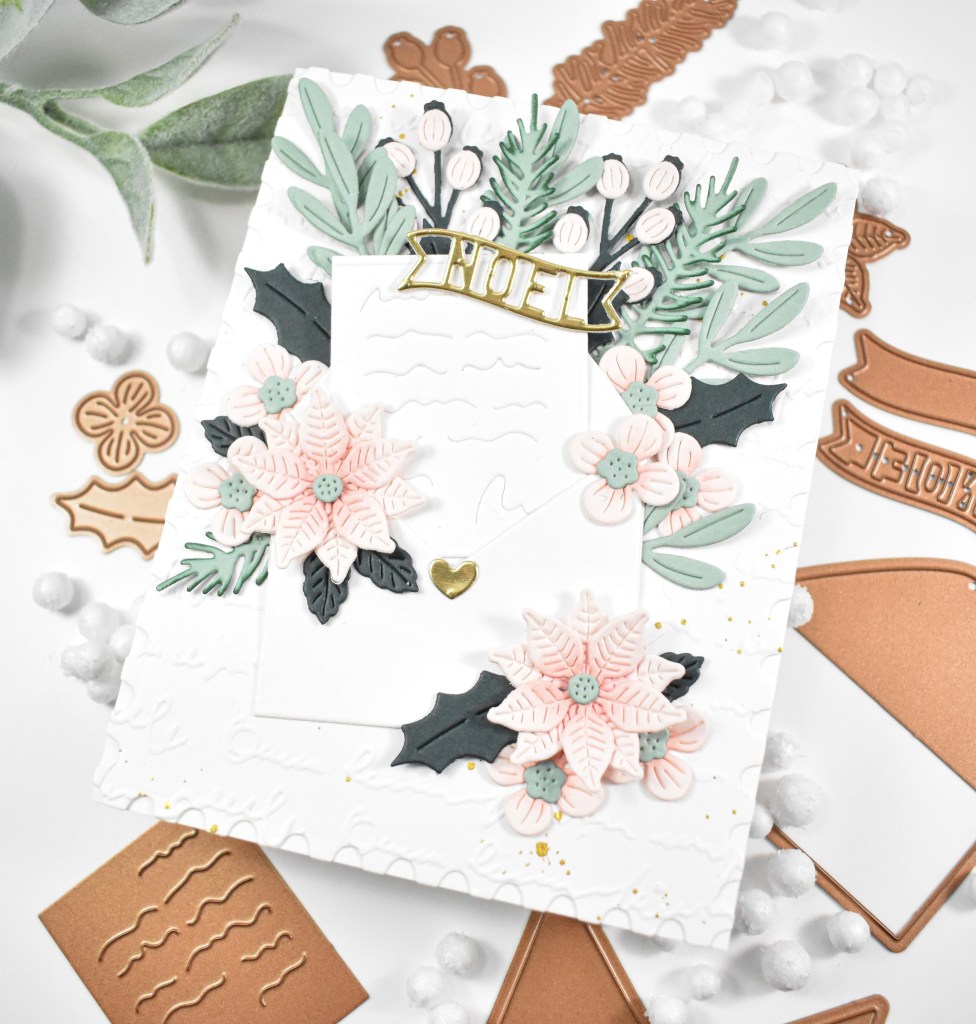
The envelope was assembled and adhered to the panel, and I began tucking in the flowers and leaves adhering those with liquid glue. The gold heart and sentiment were then added to finish up.
That does it for this project! I hope you enjoyed it as much as I did! I’m really loving this color palette, and might need to try it again on a different project! Thanks again for stopping by, and I hope you have yourself a wonderful day!
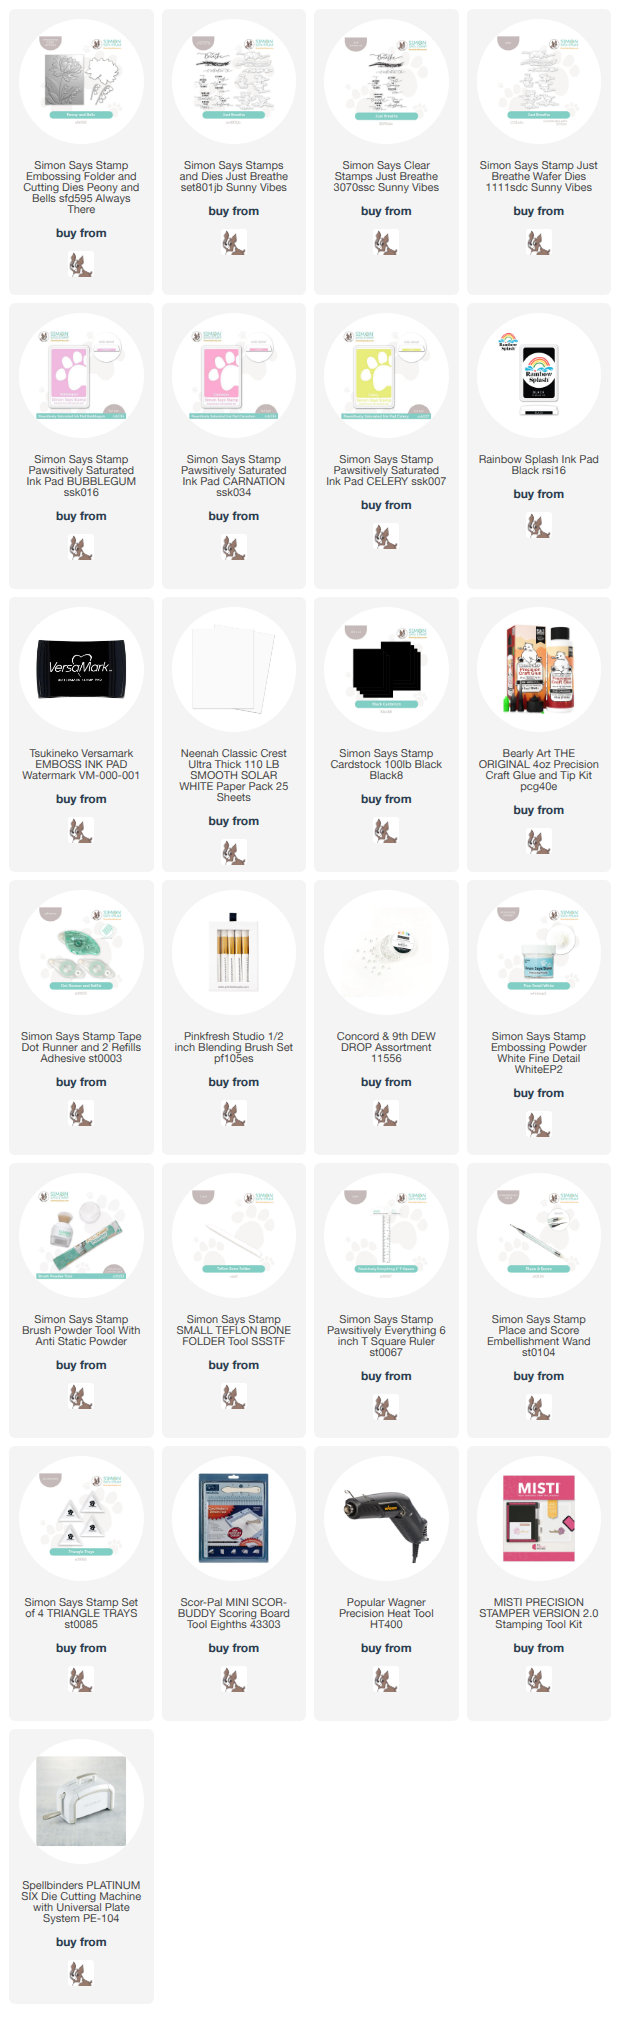
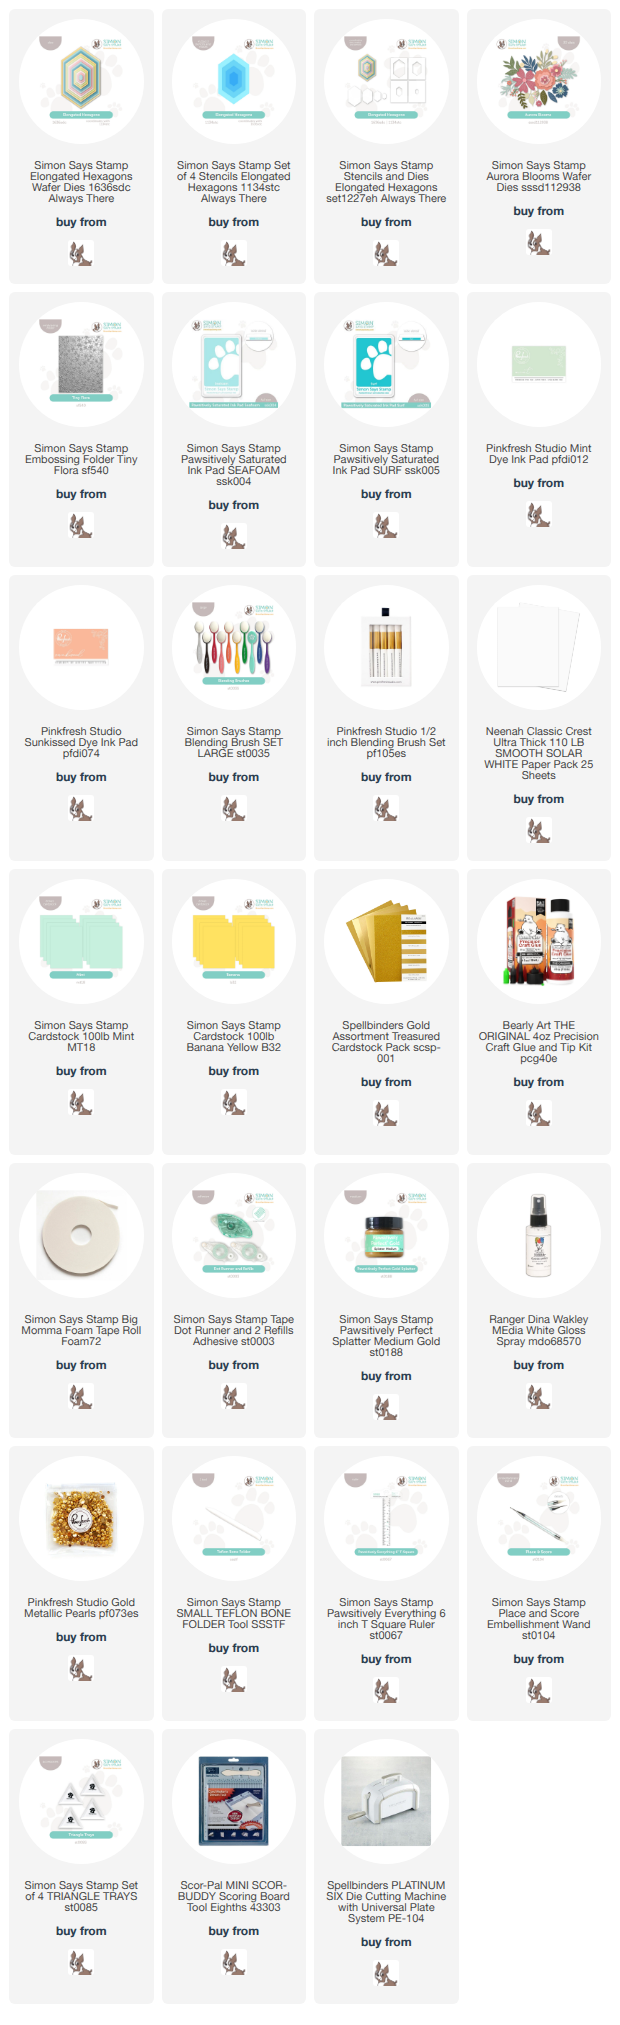
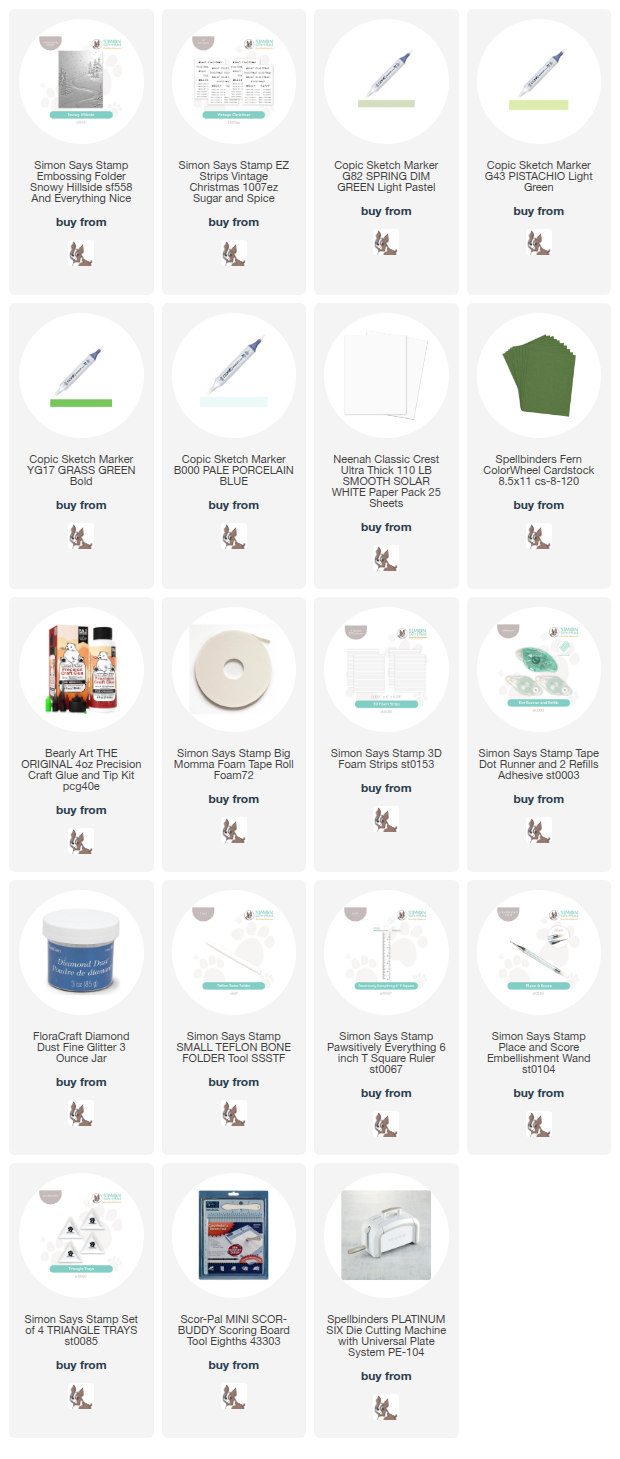
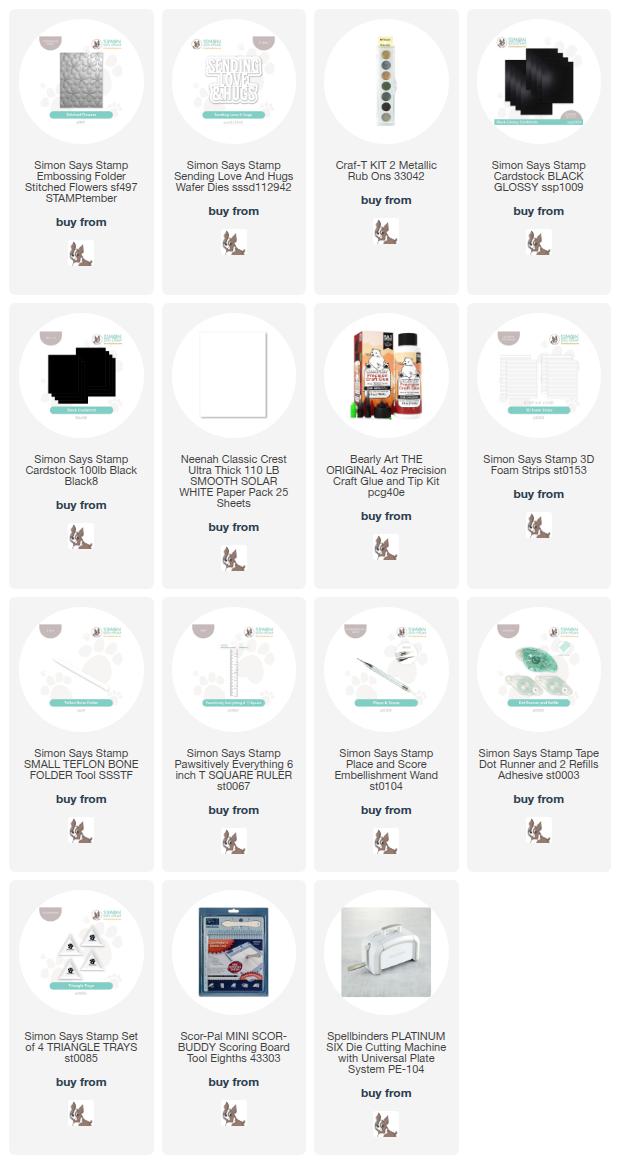
Supply List:
Affiliate links used at no cost to you. What does this mean? If you use the links within this post to make a purchase, I receive a small commission, which allows me to continue to post crafty content for your enjoyment. I truly appreciate your support!
Latest Posts
- Simon Says Stamp Rainbow Oak Leaf
- Spellbinders Dear Santa Floral Letter
- Simon Says Stamp Grungy Dewdrop Daisy

- Simon Says Stamp Pastel Birthday Wishes

- Simon Says Stamp Best Fish

Latest Instagram Posts