Simon Says Stamp Beautiful Definition

All the Feels Release

Hey Guys! How’s everyone doing? Simon Says Stamp is continuing the All the Feels celebration with an Instagram Hop today! You should swing over there to check it out! They are giving away a $25 gift card at every stop on the hop! Wow! You can check out my Instagram or Simon’s Instagram for all the details and a full hop list!

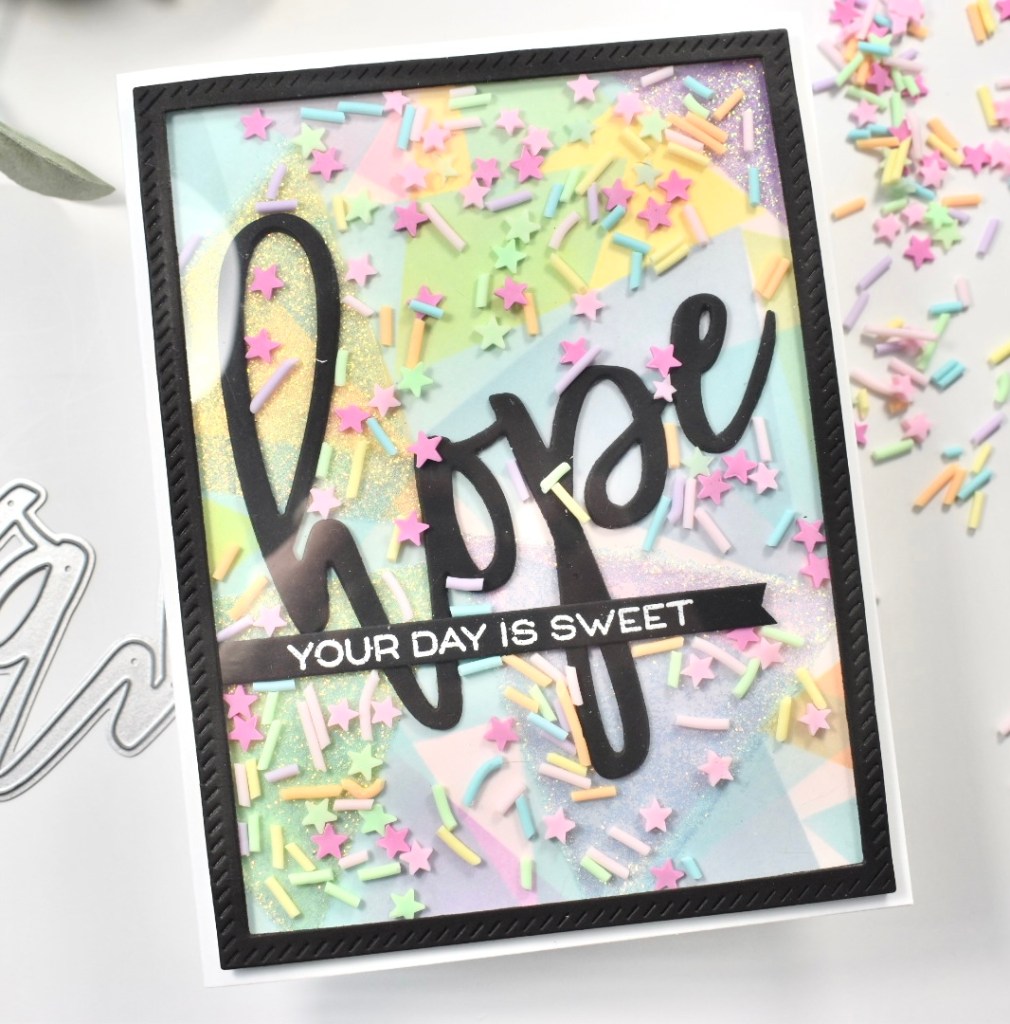
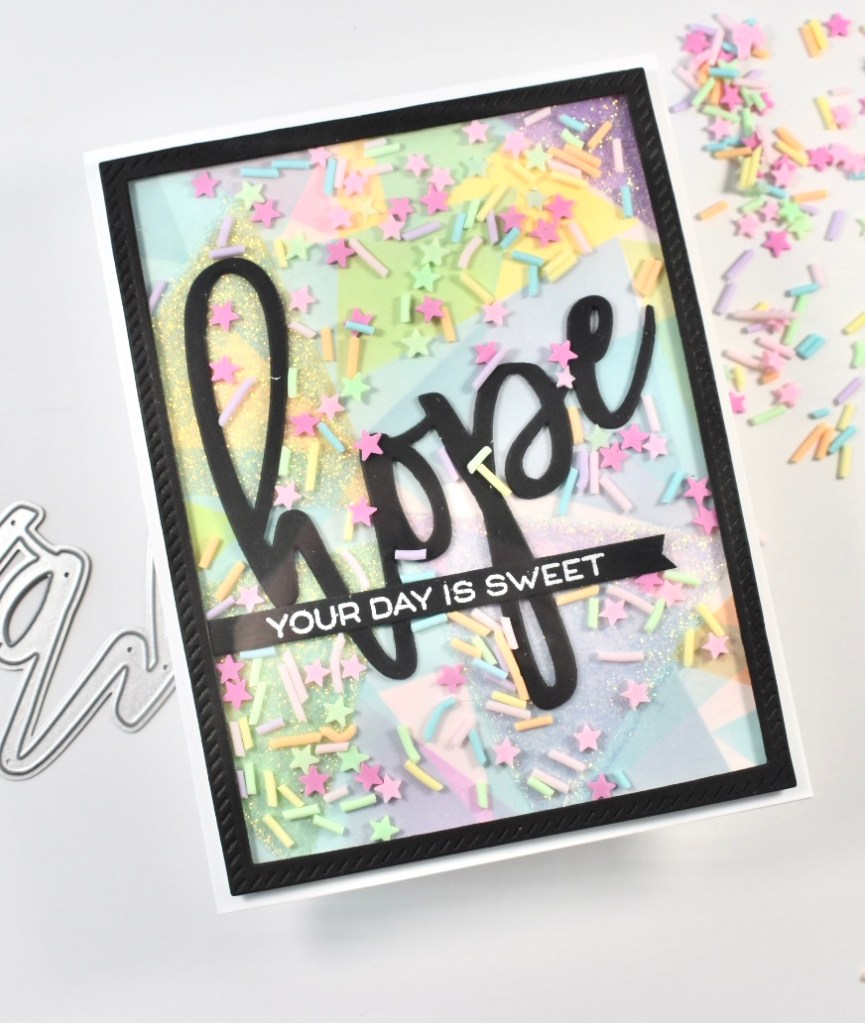
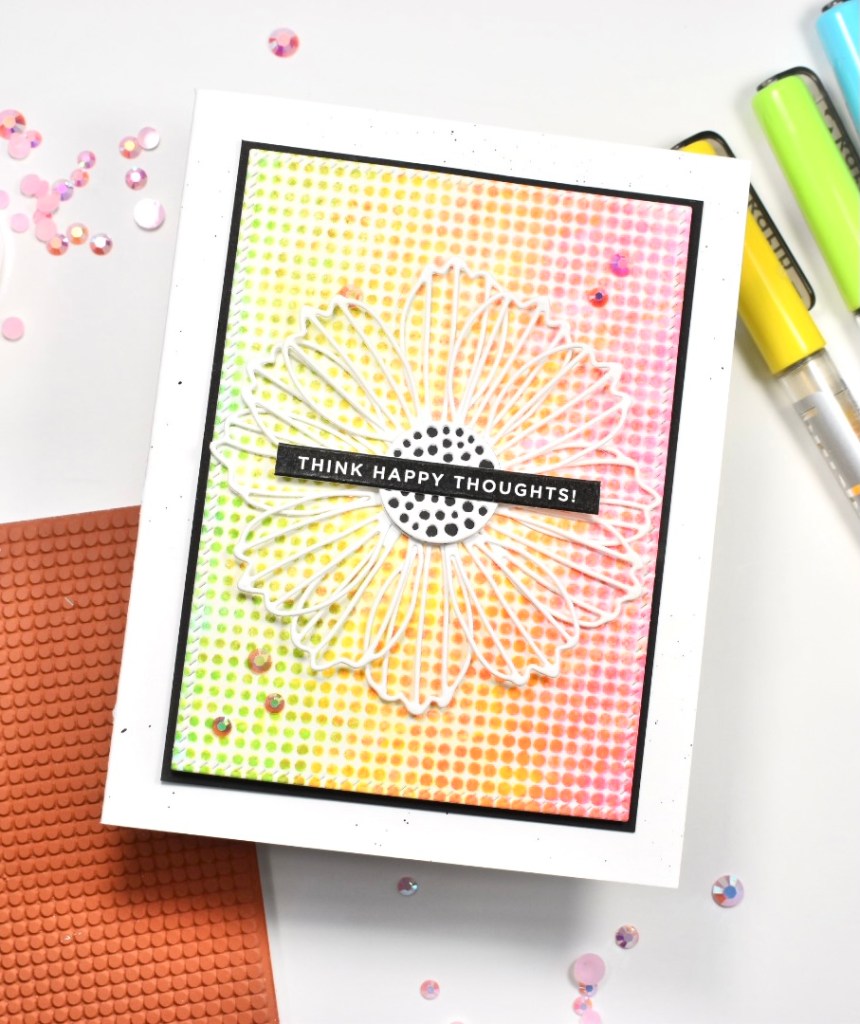
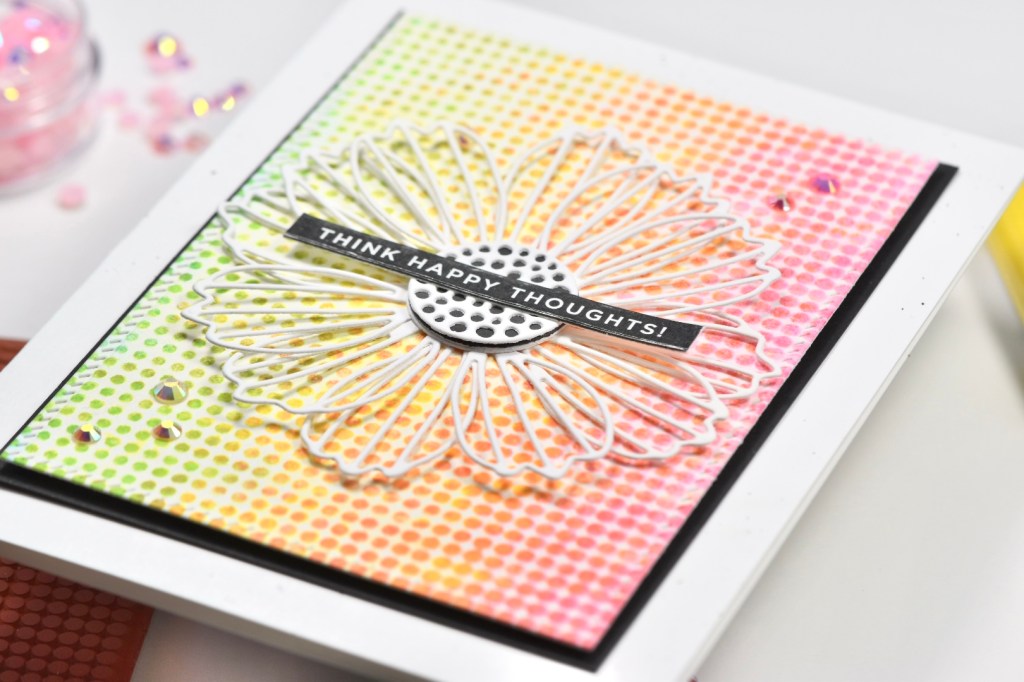
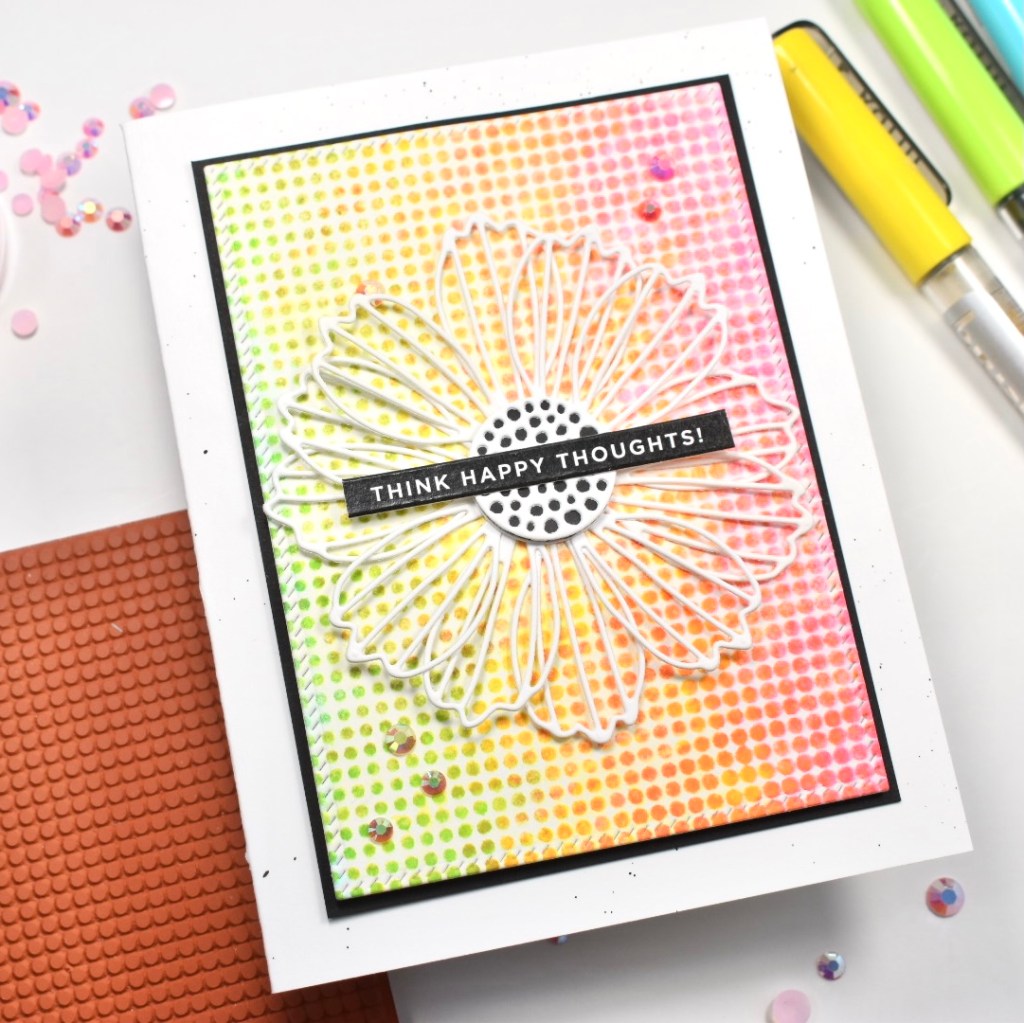
So let’s get into today’s project. I love how this card turned out! I rarely say that about my own cards, because I’m my own worst critic ya know. Today’s card is featuring the Mini Slimline Patterns 1 stencil set, along with the Mini Stars Party Die. To begin, I cut a panel of Neenah Classic Crest 110lb cardstock the same size as the star stencil and taped those together using masking tape. I did some light ink blending using PinkFresh Studio Raspberry Bliss, Sweet Mustard, Grassy Knoll and Slumber.

I die cut the Etched Eucalyptus Wreath twice from Neenah 110lb and adhered those together in a few spots using Craft Tacky Glue. I also die cut the Beautiful sentiment twice from Neenah 110lb and once from glitter cardstock and adhered those together. While I was cutting, I went ahead and cut the Mini Stars Party die from the same glitter cardstock.

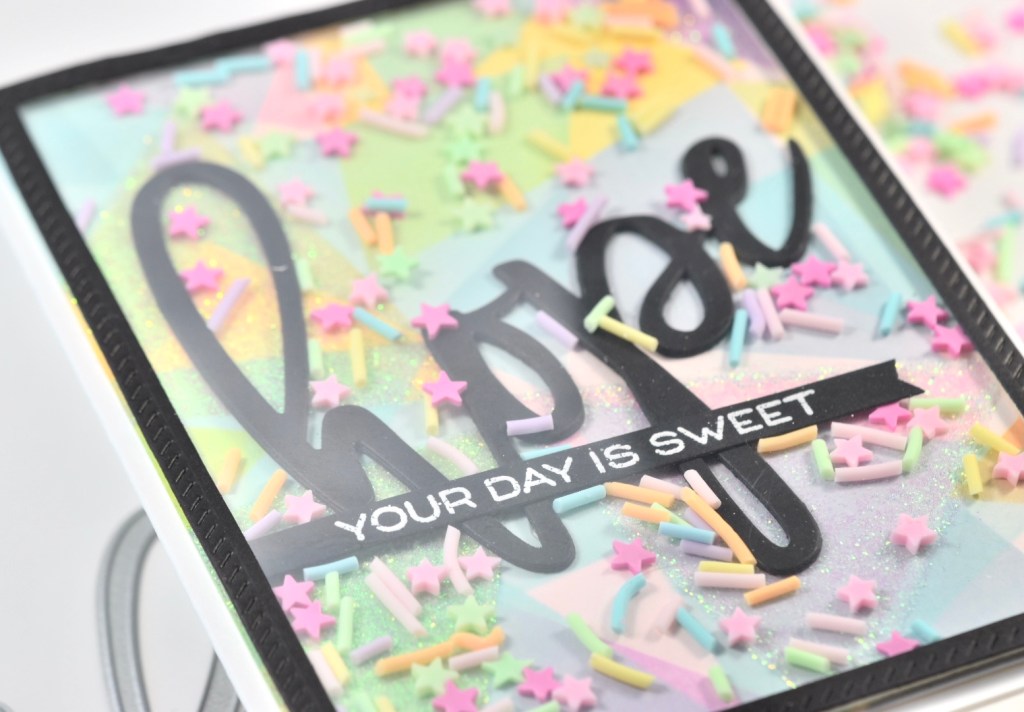
I trimmed my ink blended panel to 3×6 and adhered the Eucalyptus Wreaths using glue and adhered the Beautiful sentiment atop that. I adhered the Sentiment Strip to the panel across the wreath using 3M Foam Tape and went ahead and added some glitter stars with foam tape as well. I added my panel to some black cardstock, because I always like the contrast that it provides. Lastly, I adhered everything to my card base, which is Neenah Classic Crest 110lb.

That wraps up today’s project! I hope you enjoyed it, and I hope you’ll stop by my Instagram to check out the hop! Don’t forget, lots of prizes to be won!

Have a wonderful and stay awesome friends!

Supply List:

*Affiliate links used at no cost to you. Thank you for your support!

Latest Instagram Posts

Waffle Flower Spotlight Triangle

Hello and welcome back crafty friends! I’m still celebrating the Waffle Flower April 2021 release with another project using the Spotlight Triangle Stencil! Let’s not waste any time and get right into it!

I began my project by cutting a panel of Neenah Classic Crest 110lb cardstock to 4″ x 5.25″ and taping the stencil to the paper using masking tape. I chose a few PinkFresh Studio inks to use, which include Sparkling Rose, Apricot, Sunshine, Fresh Pear, Sky Blue, Lavender, Ballet Slipper and Ocean Breeze. I began inking the triangle in rainbow order until I had covered a good bit of my panel.

The white space on the card was bothering me for whatever reason, so to take care of that, I lightly ink blended Ballet Slipper over the entire panel. This still wasn’t tickling my fancy .. Do you ever have projects that don’t come together like they did in your head?! Gah .. so frustrating! I then took my stencil and ink blended Ocean Breeze over some of the triangles that I had already done. This was much better!

When I began this project, I really didn’t know what direction it was headed! I took the stencil again and applied some Gina K Glitz Glitter Gel Iridescent to some of the triangles. This ended up being tedious, because I could only do one triangle at a time. While that was drying, I cut a frame from black cardstock using the PinkFresh Studio Diagonal Stitched Rectangles, and die cut the Oversized Hope three times from black cardstock as well and adhered those together using Craft Tacky Glue.

After seeing the frame and sentiment on my panel, I decided to take a turn and make this into a fun shaker card. I applied Scor-Tape 1/8″ around my black frame and trimmed a piece of acetate just smaller than the frame and adhered those together. I then trimmed 3M Foam Tape to fit the frame and provide space for my shaker bits.

I stamped my sub-sentiment from the Oversized Hope stamp set in VersaMark ink on black cardstock and heat embossed that using Simon Says Stamp Detail White Embossing Powder, and trimmed it out using the Simon Says Stamp Sentiment Label Dies. I glued the Hope sentiment directly to my colored panel and placed foam tape bits on the smaller sentiment for support. I added my shaker bits and adhered the frame. That was then attached to my card base, which is Neenah Classic Crest 110lb cardstock.

That does it for today! I hope you enjoyed this shaker card project, and I hope it inspires you to get crafty! There’s still time to join the blog hop to celebrate this release! Check out my post from Monday or head to the Waffle Flower Blog for all the details!

Thanks so much for stopping by and don’t forget to stay awesome!

Supply List:

*Affiliate links used at no cost to you. Thank you for your support!

Latest Instagram Posts

Simon Says Stamp Cosmo Halftone Square Background

All the Feels Release

Hello there! I’m still playing with goodies from the new Simon Says Stamp All the Feels release, and having a blast doing so! You can check out the full release HERE. There’s so many awesome things to choose from!

For today’s project, I’m featuring the new Halftone Square Background stamp. I honestly have so many Simon backgrounds, but I love them all! They are always my go-to when I’m needing a background of some sort. Anyhoo, let’s get into it.

To begin, I put a piece of Fluid Hot Press Watercolor paper in my Misti and positioned my stamp. I chose some rainbow colors from my set of Karin Brushmarkers and scribbled on one color at a time on the stamp, spritzed it with water, and then stamped it. I repeated this process with the remaining colors. I think that I ended up using five colors. You don’t see that many colors in this project because I cut it apart for multiple projects, and you’ll see the other project later on.

I left my watercolor panel to dry overnight before moving on. I used the PinkFresh Studio Diagonal Stitched Rectangles die to cut my panel down to size. For my focal point, I cut a bunch of petals using the Simon Says Stamp Cosmo Flower Petals from Neenah Classic Crest 110lb cardstock. I stacked a few of the solid flower centers together, along with a black one using Craft Tacky Glue and put one of the detailed flower centers on top of that pile.

I then positioned my flower center in the middle of my panel, without adhering it! I held it there while I glued my flower petals underneath it. Once I got all of those adhered, I then glued my flower center over those. In all, I used twelve flower petals for this project.

I chose a Reverse Sentiment Strip, trimmed it down using the Simon Says Stamp Sentiment Labels Die and glued that to the center of my flower. As we all know, no project is complete without bling! I used the PinkFresh Studio Jewels Mix to add that needed bling. I adhered my card panel to a black cardstock panel using 3M Foam Tape. I then adhered those panels to my previously black splattered card base. For my splatter, I used Royal Talens Amsterdam Oxide Black Acrylic Ink.

Alright, that does it for today’s project! I hope you enjoyed it, and I hope it gives you a spark of creativity! Don’t forget to check out the full release HERE! Thanks so much for stopping by.

Don’t forget to stay AWESOME!

Supply List:

*Affiliate links used at no cost to you. Thank you for your support!

Latest Instagram Posts