Spellbinders All Seasons Floral

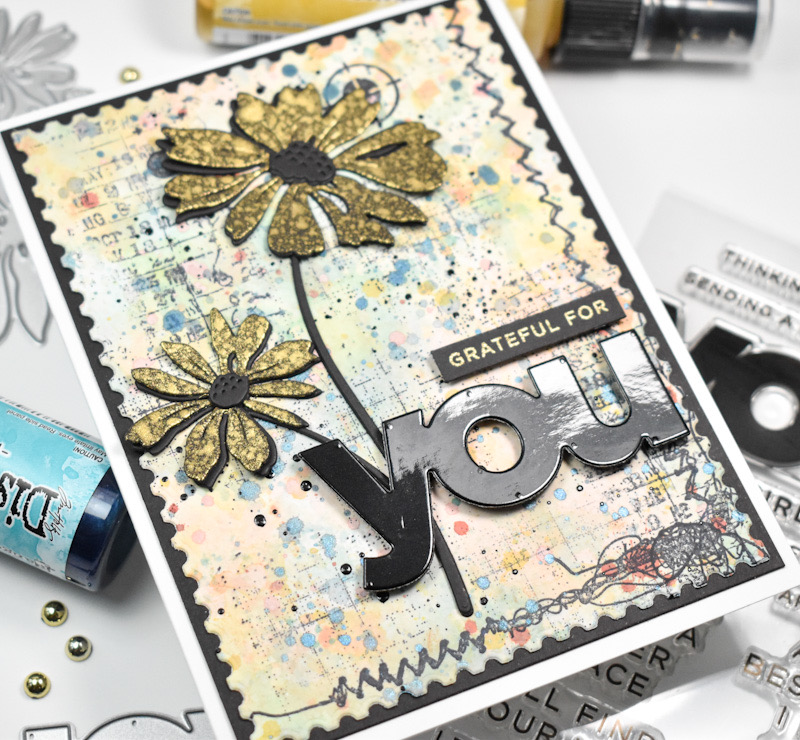
Hello Crafty Friends, and welcome back! The Spellbinders August release is live, and there’s some awesome stuff to peruse! Today’s card is featuring the new All Seasons Spring BetterPress Plate, and if you know me, you know that I’m going to pair it with florals! So, let’s run through the details.
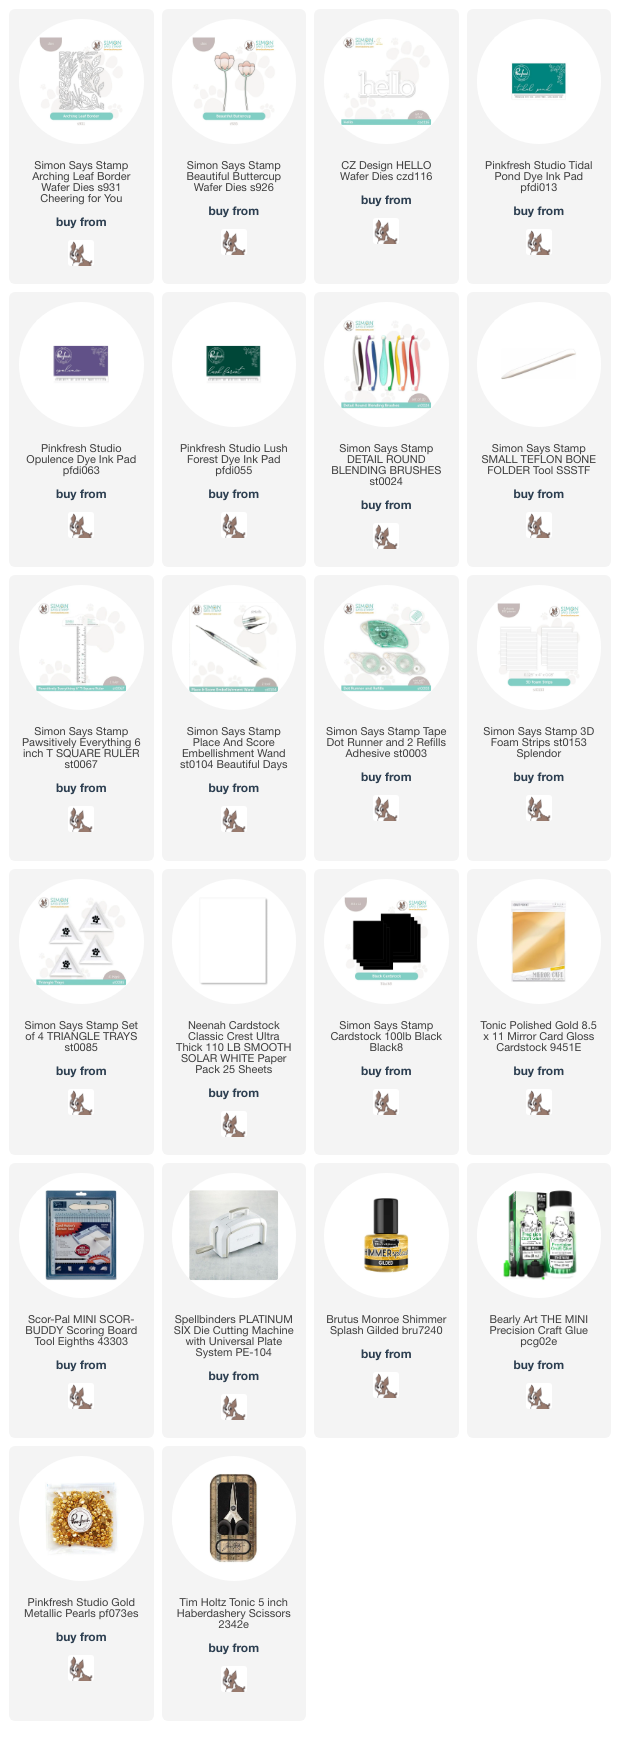
NOTE: all supplies are linked to multiple sources in the thumbnails at the end of this blog post.

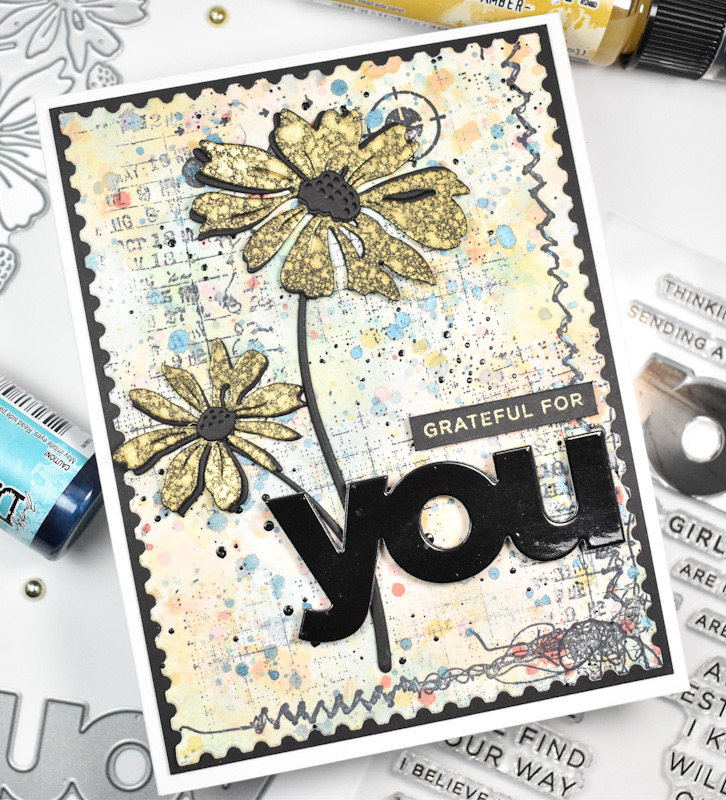
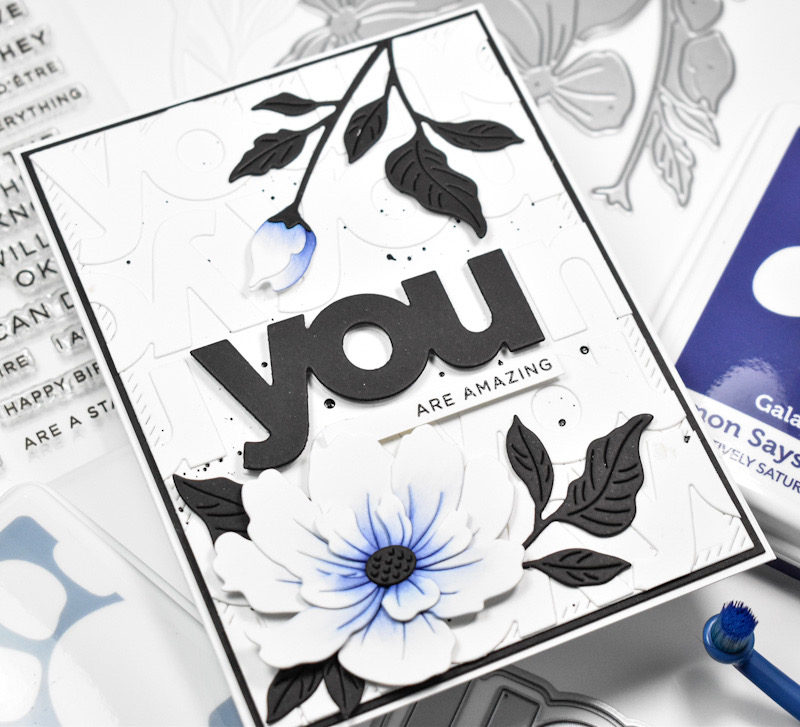
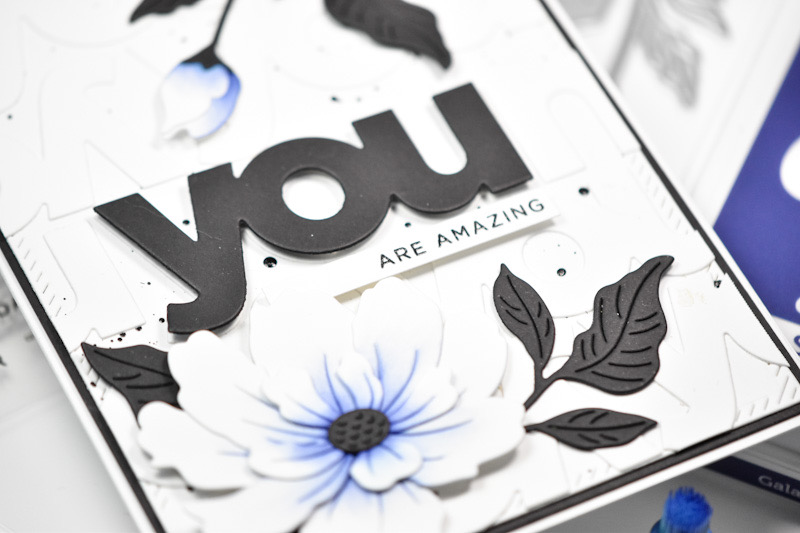
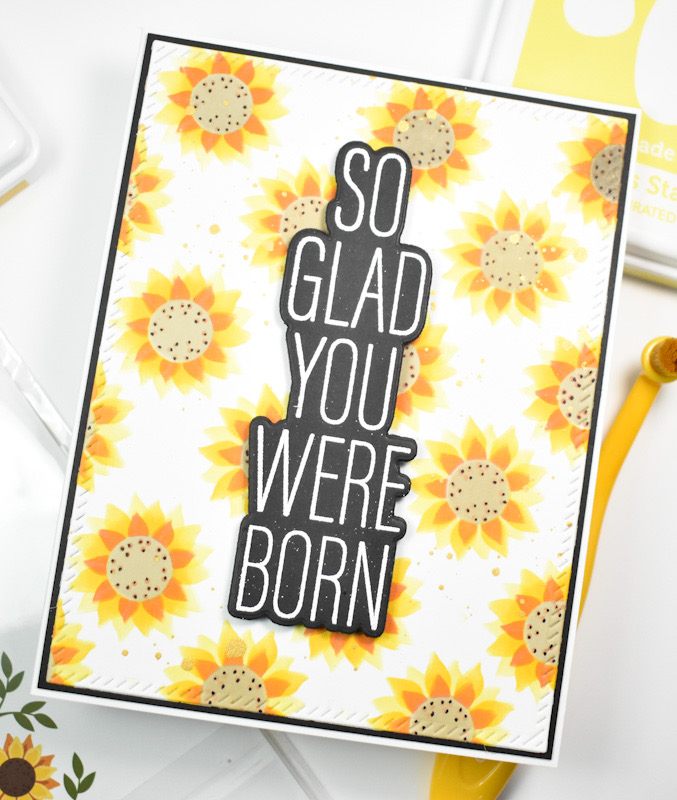
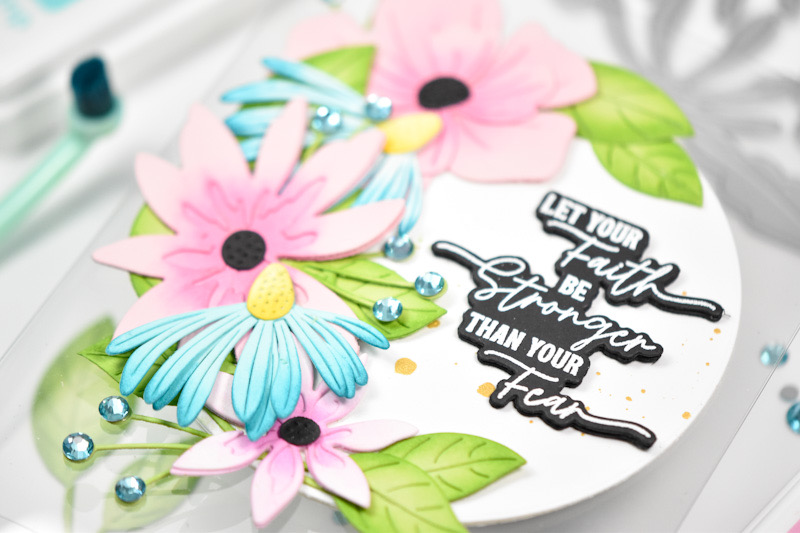
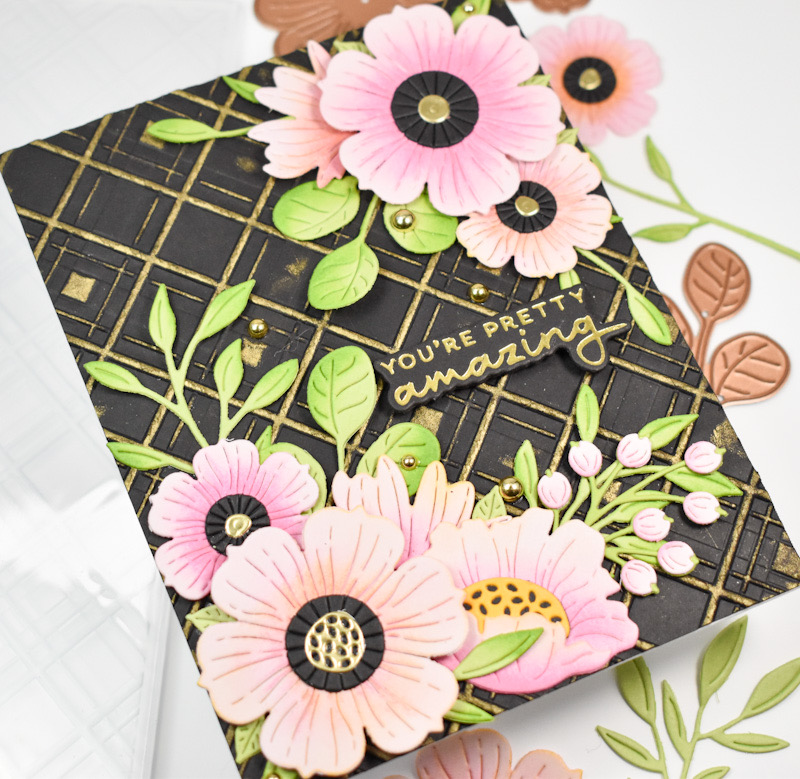
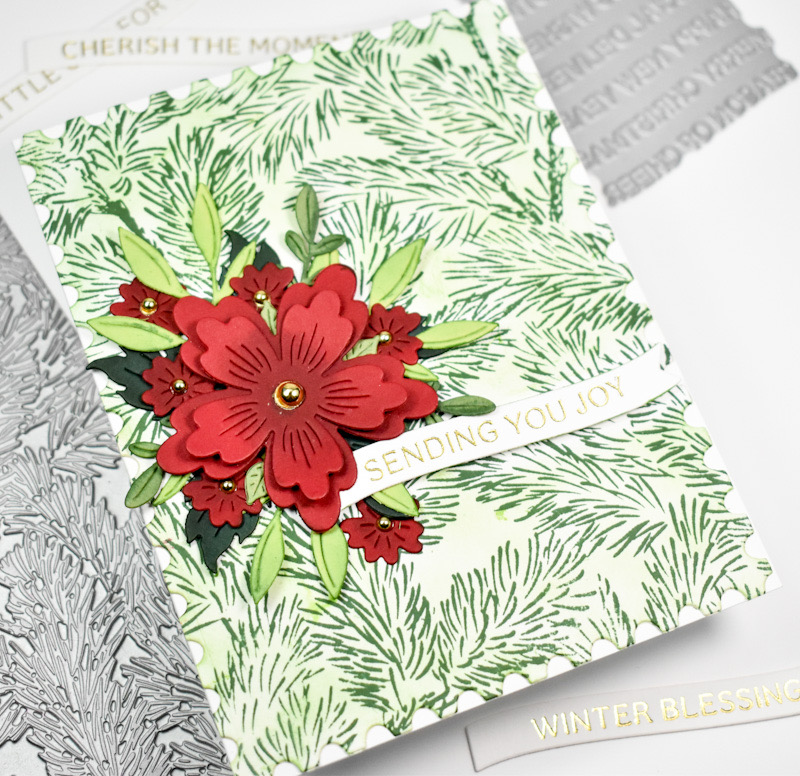
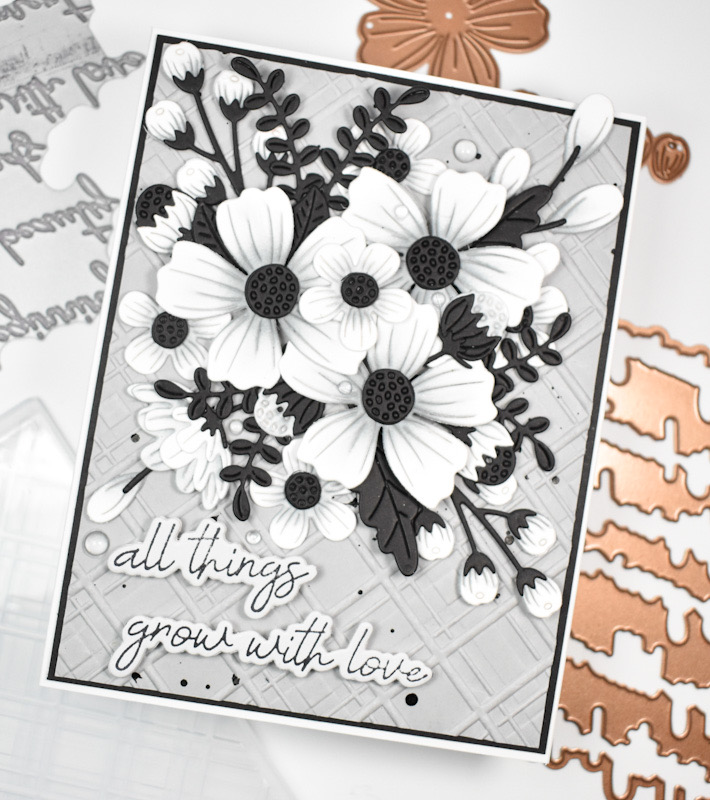
When I was thinking about this card, I wanted to do a monochromatic color scheme, so I went with black, white and grey. I love the look of white flowers with grey shading, so that’s what I set out to do! I used the Spellbinders Be Bold Blooms set and cut a bunch of the flowers from Neenah 110lb cardstock, and I cut the centers and foliage from black cardstock.

I used SSS Pawsitively Saturated Ink in Earl to do the ink blending on the flowers, and when that was complete, I assembled the flowers using liquid glue. I created the background panel by using gravel cardstock and the Spellbinders Argyle Plaid 3D Embossing Folder, and splattered that with some black acrylic ink.

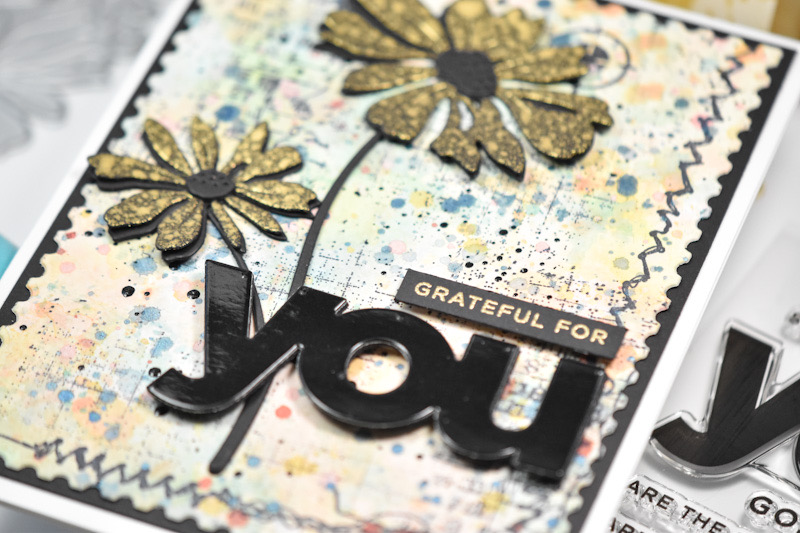
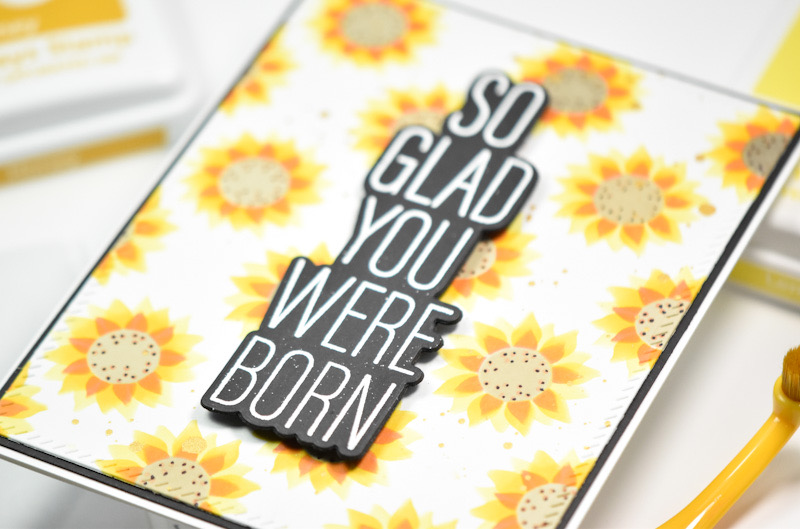
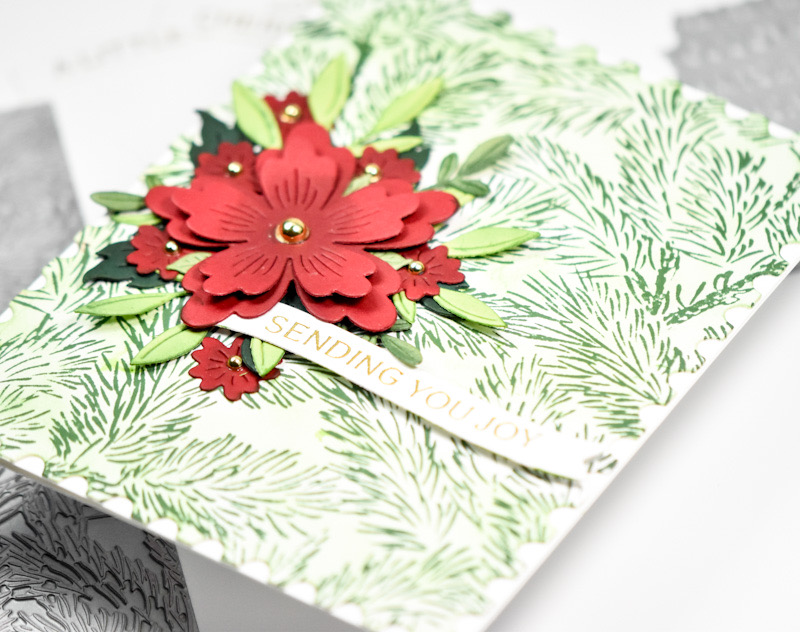
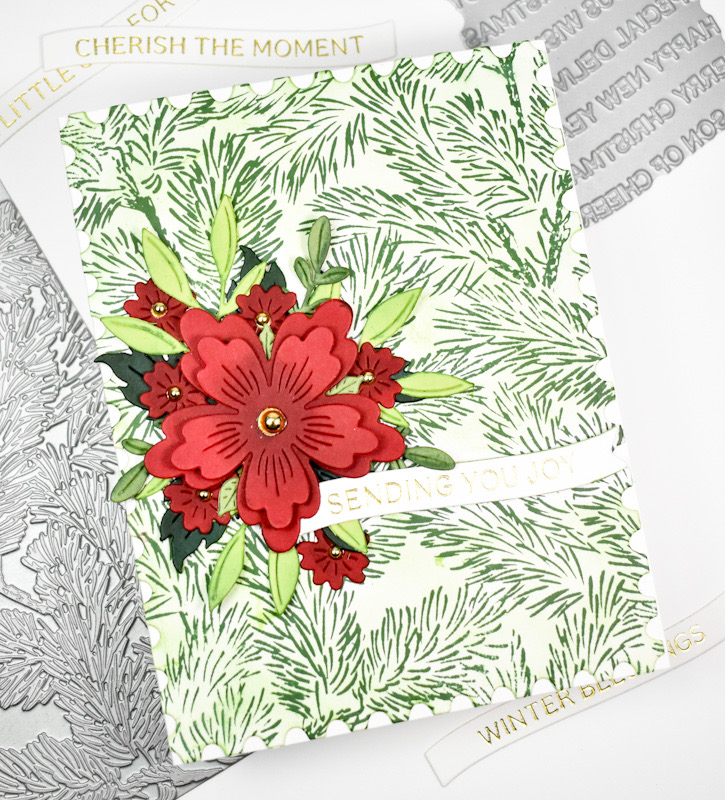
While the panel was drying, I inked up the All Seasons Spring Press Plate using the BetterPress Black ink onto a panel of Pebble BetterPress Cardstock. That was then cut using the included die. I did cut it a second time from Neenah 110 and adhered those pieces together for a stacked sentiment. This particular sentiment is a very long sentiment, and I didn’t like the way it looked on this particular card, so I ended up cutting it into two pieces so that it would fit better.

My embossed panel was then adhered to a black panel for contrast, and I began gluing in the bottom layers first, which included the smaller flowers and the foliage. I adhered the top flowers with foam strips, as well as the sentiment. I had a few leaves left over, so I secured those in place where needed. To finish up, I added a few clear drops.

That does it for this project! I hope you enjoyed it as much as I did! I really love this color combo from time to time, as a change from the pastel flowers. Don’t forget to head over to the Spellbinders website to check out all of the fun, new August products! Thanks again for stopping by, and I hope you have a wonderful day!
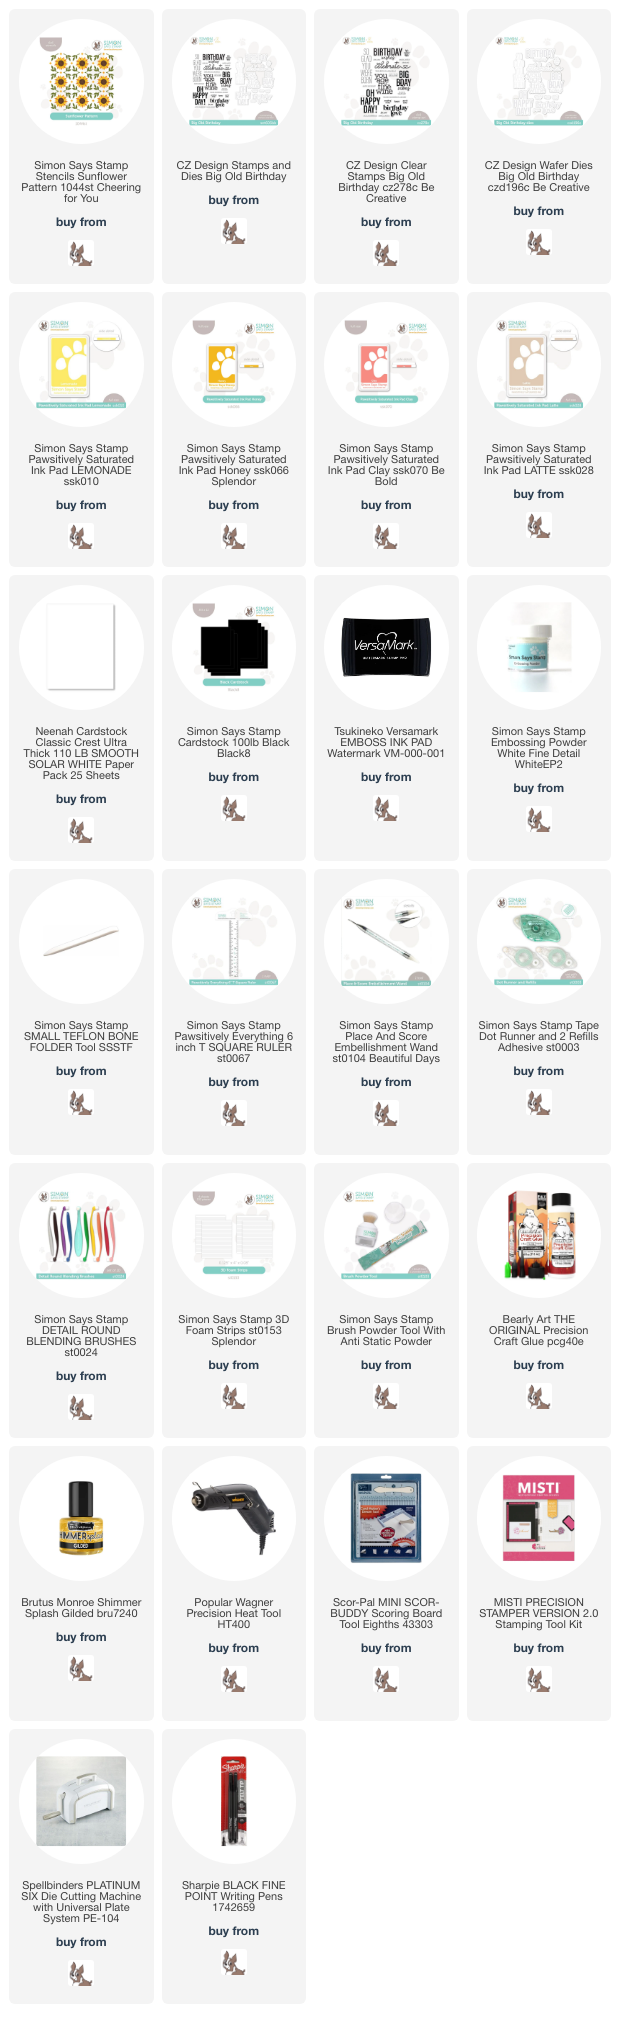
Supply List
Affiliate links used at no cost to you. What does this mean? If you use the links within this post to make a purchase, I receive a small commission, which allows me to continue to post crafty content for your enjoyment. I truly appreciate your support!
Latest Posts
- Simon Says Stamp Braided Greetings

- Together By Design Color Cube Floral

- Simon Says Stamp Cute Duckling

- Simon Says Stamp Watercolor Wild Rose

- Simon Says Stamp Striped Missing You