Scrap Paper Crocus Stems

Hello Friend, and thanks for swinging by! I recently came across Ashild Halvorsen on Instagram where she was using scraps of her gel prints to make “scrap tape.” I don’t have a bunch of gel prints, but I do have a bunch of scraps of patterned paper, and I thought this would be a cute idea to use some of them up. I’m sure if you’re like me, you have an over abundance of scraps as well! Let’s run through the details for these cards.
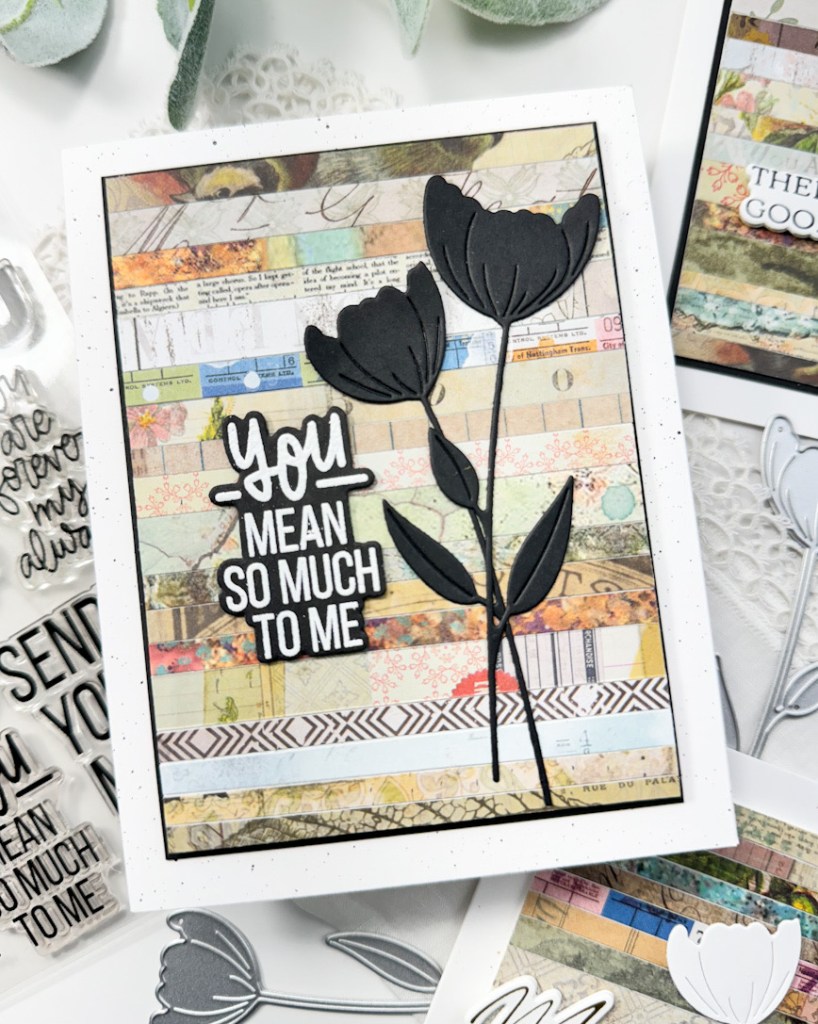
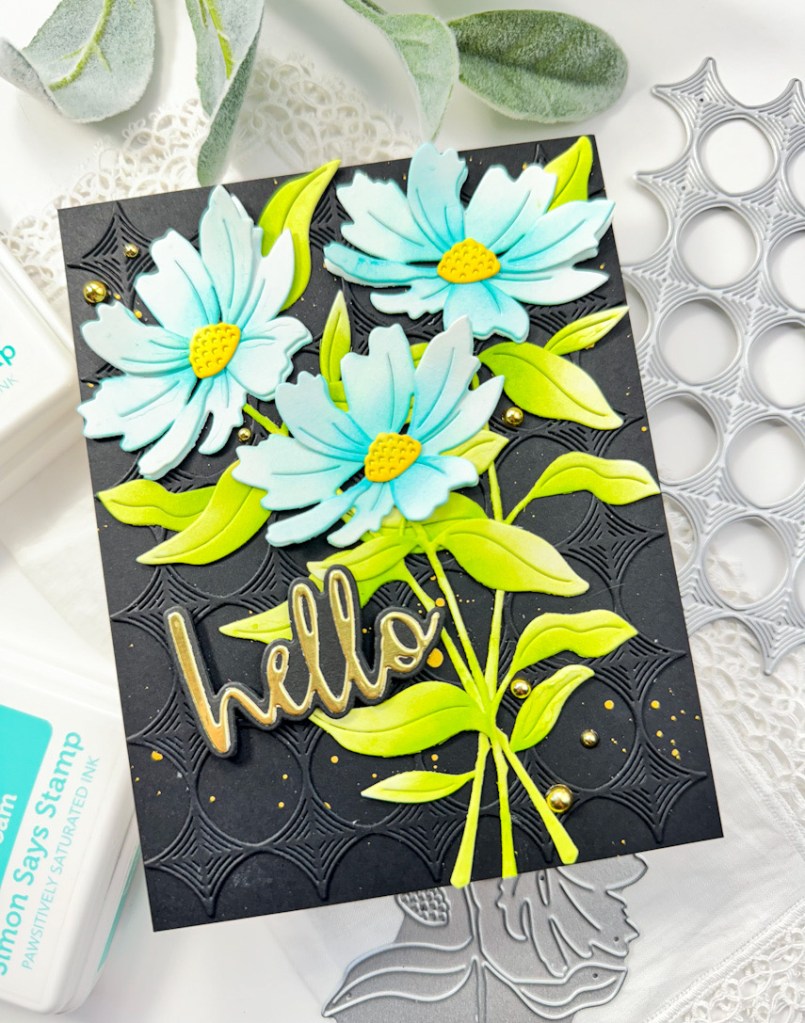
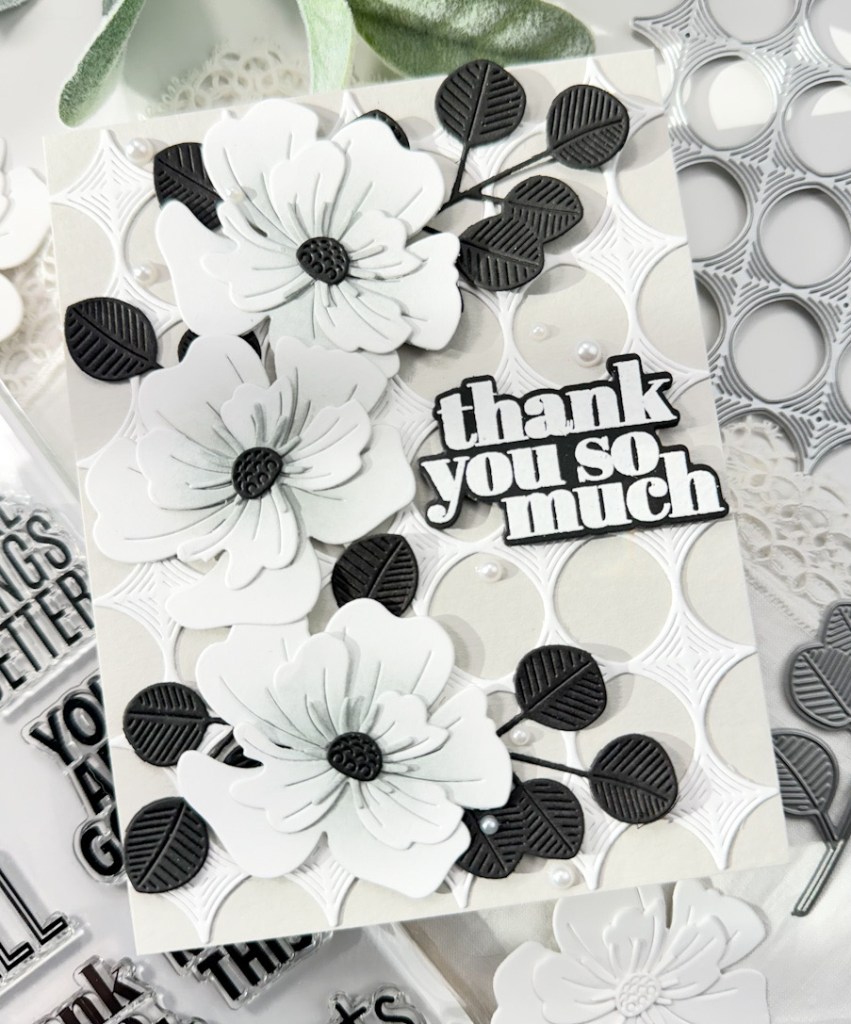
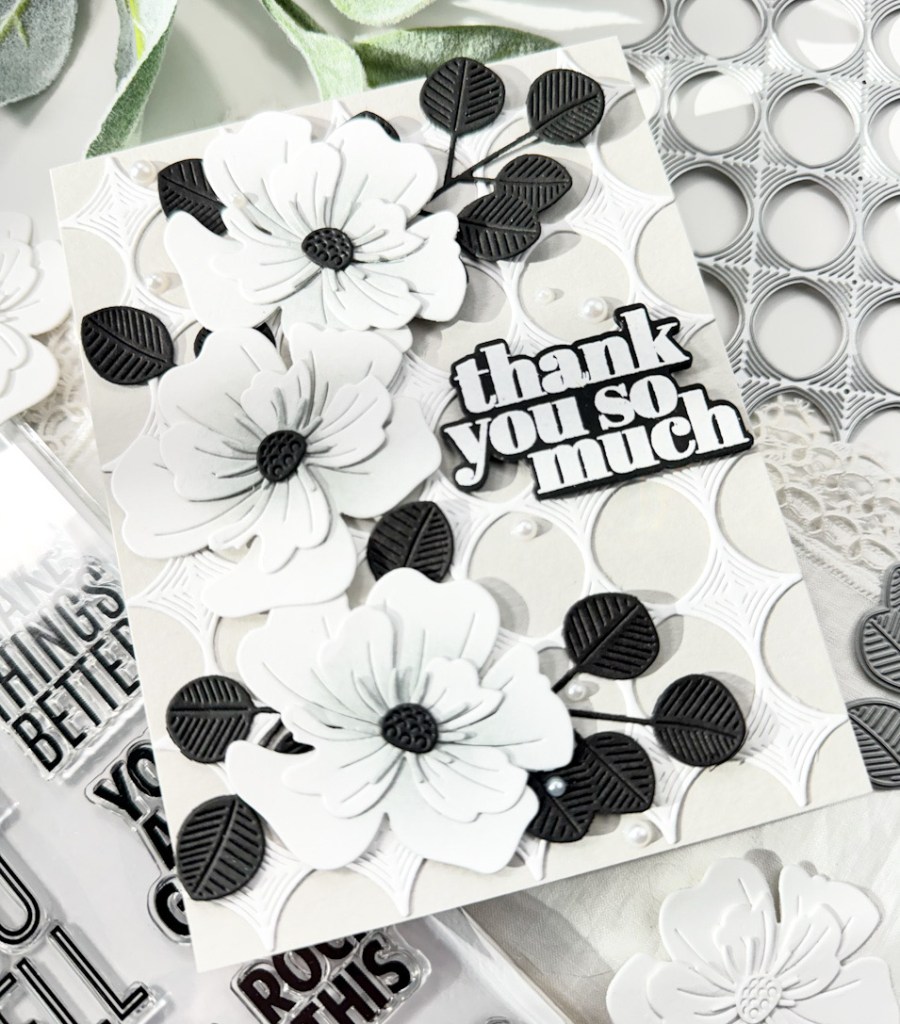
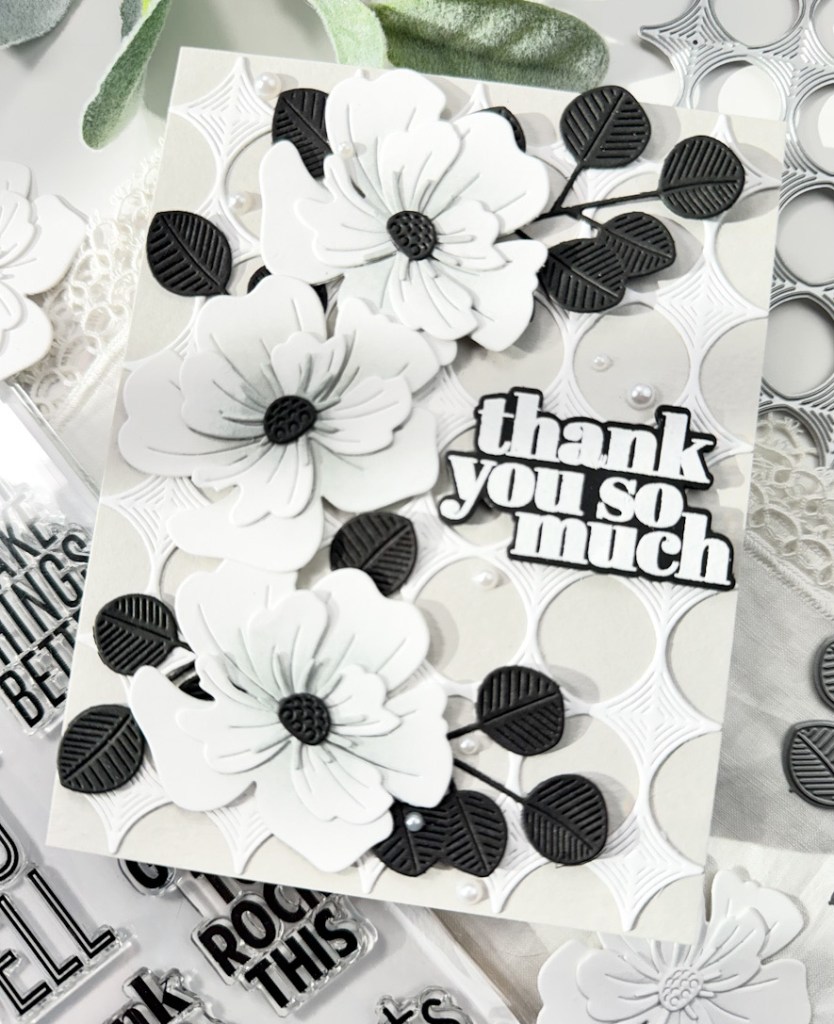
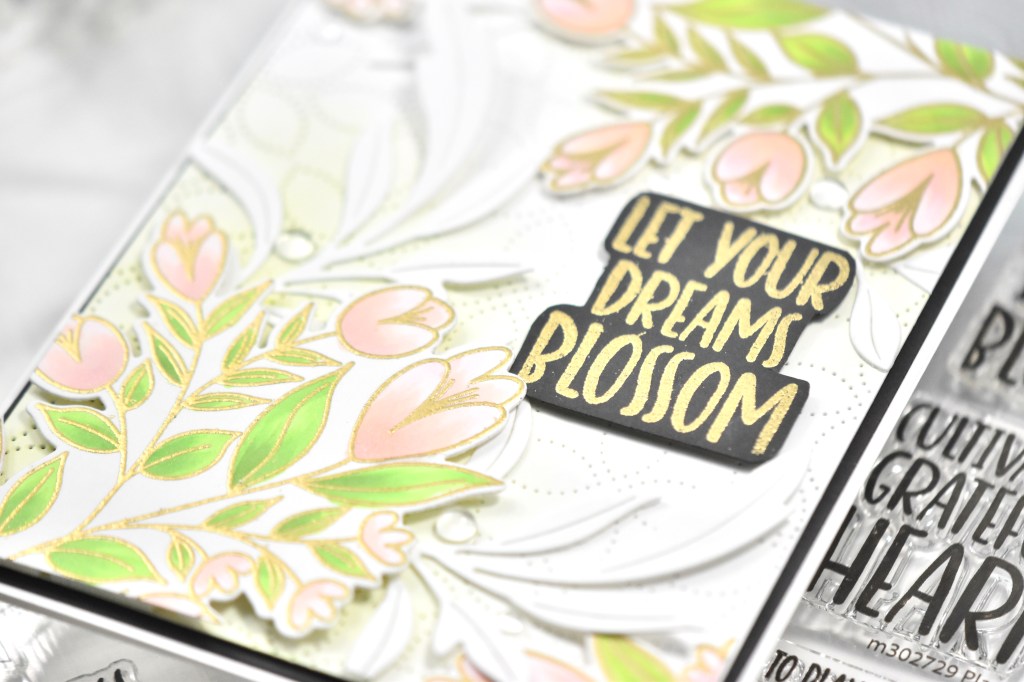
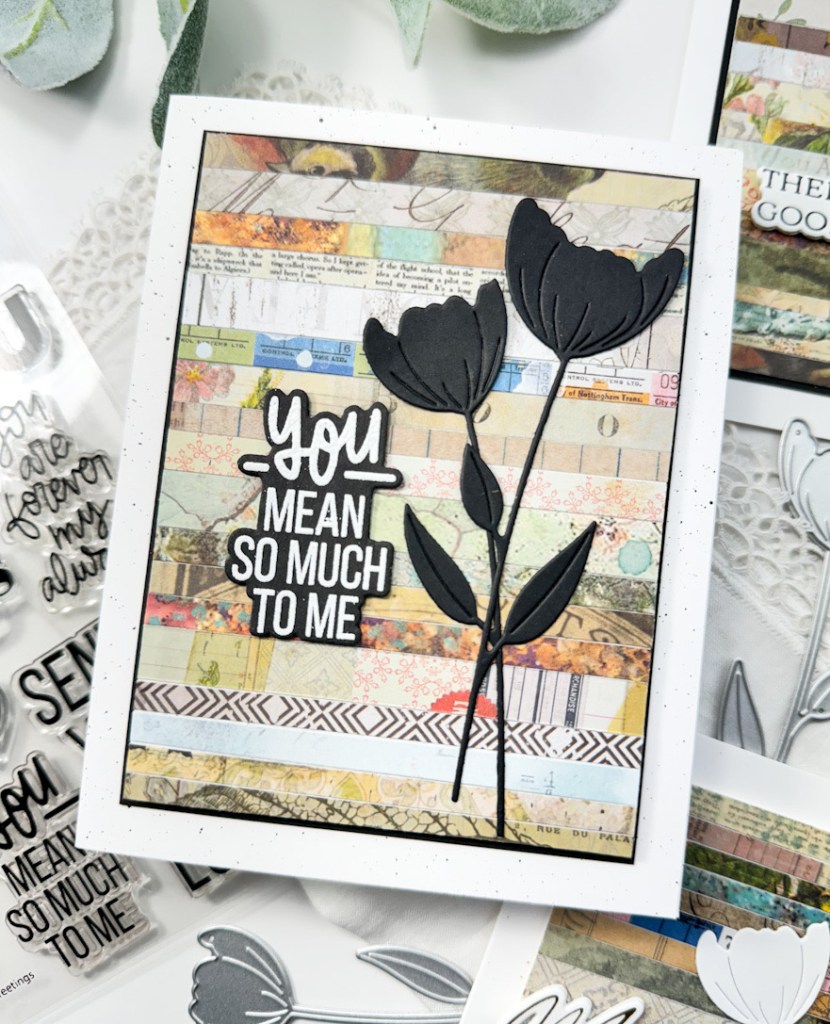
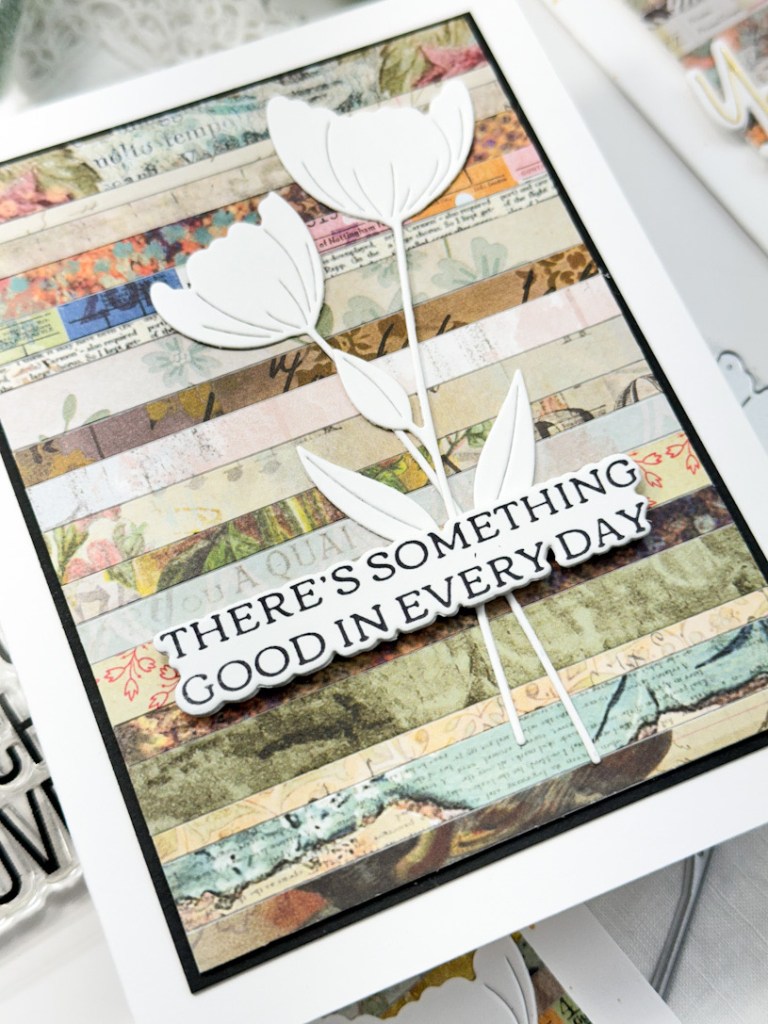
Ashild used tape for her strips, but I wanted mine to be larger, so I cut panels of Neenah 110lb cardstock to 3.5″ x 4.75″. I also took a pile of my scraps and cut them into various strips, with no regard for how thick or thin they were, just cutting. I then used some dot tape runner to cover the panels and began laying down the strips. I ended up making eight panels, but I have enough strips to make about eighteen more!
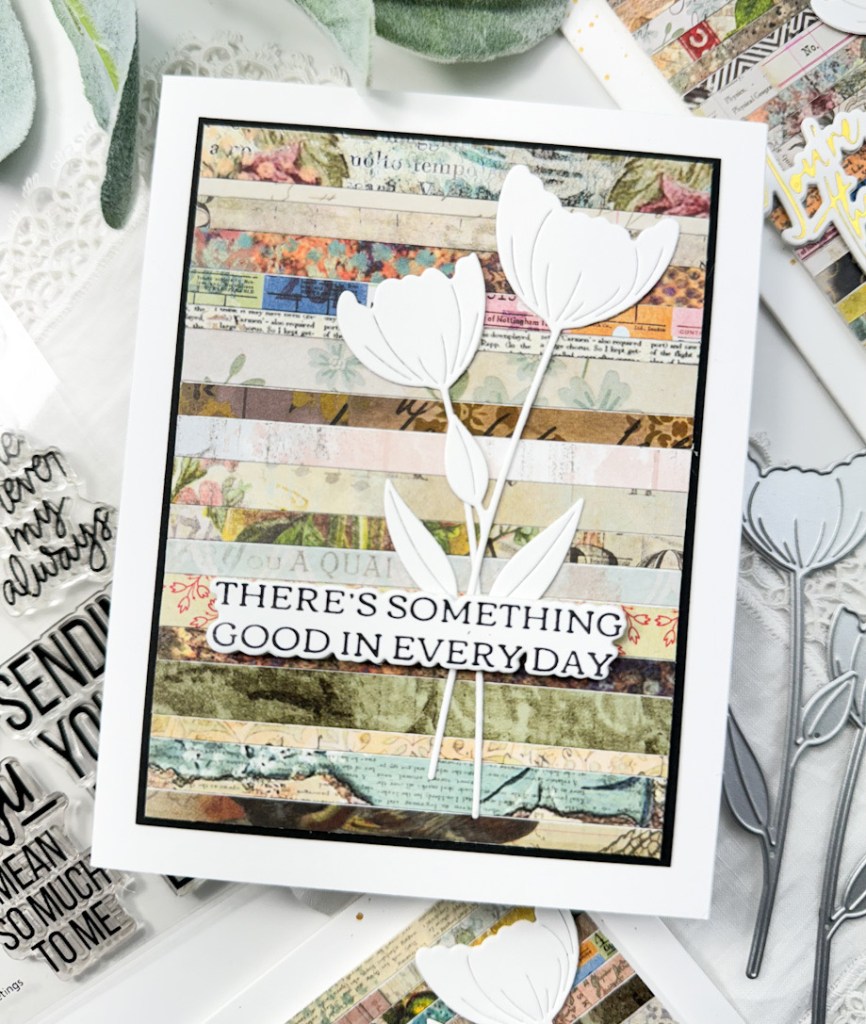

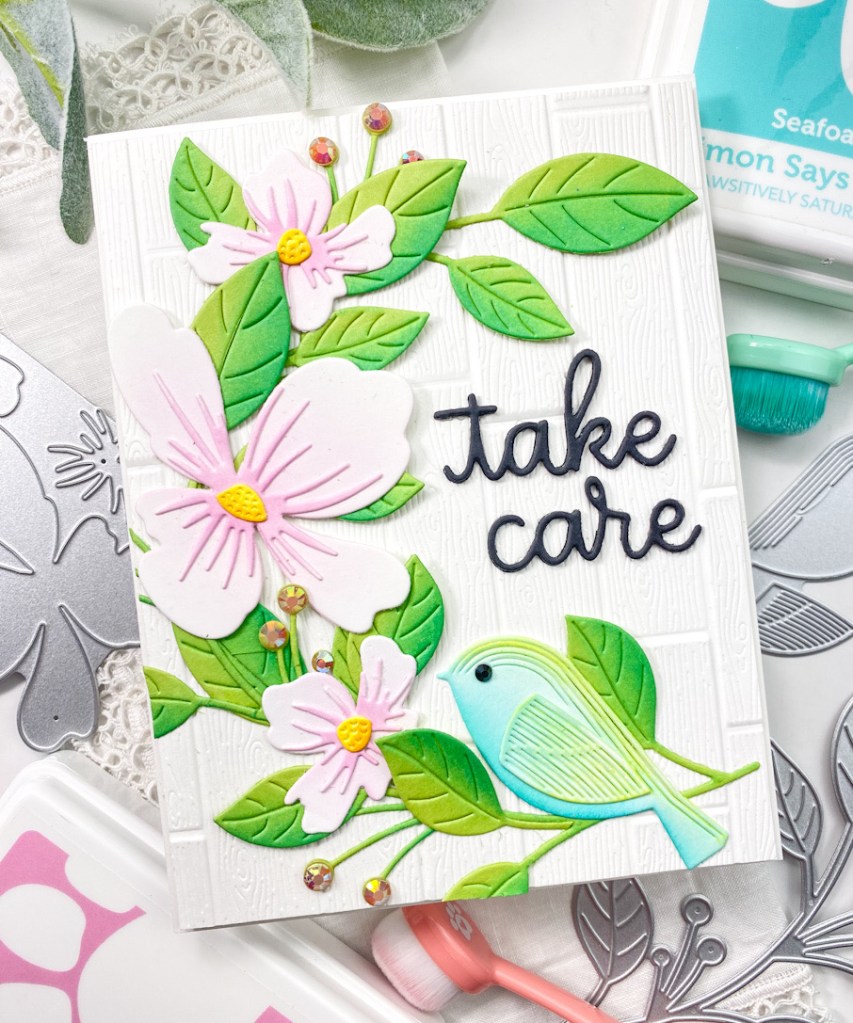
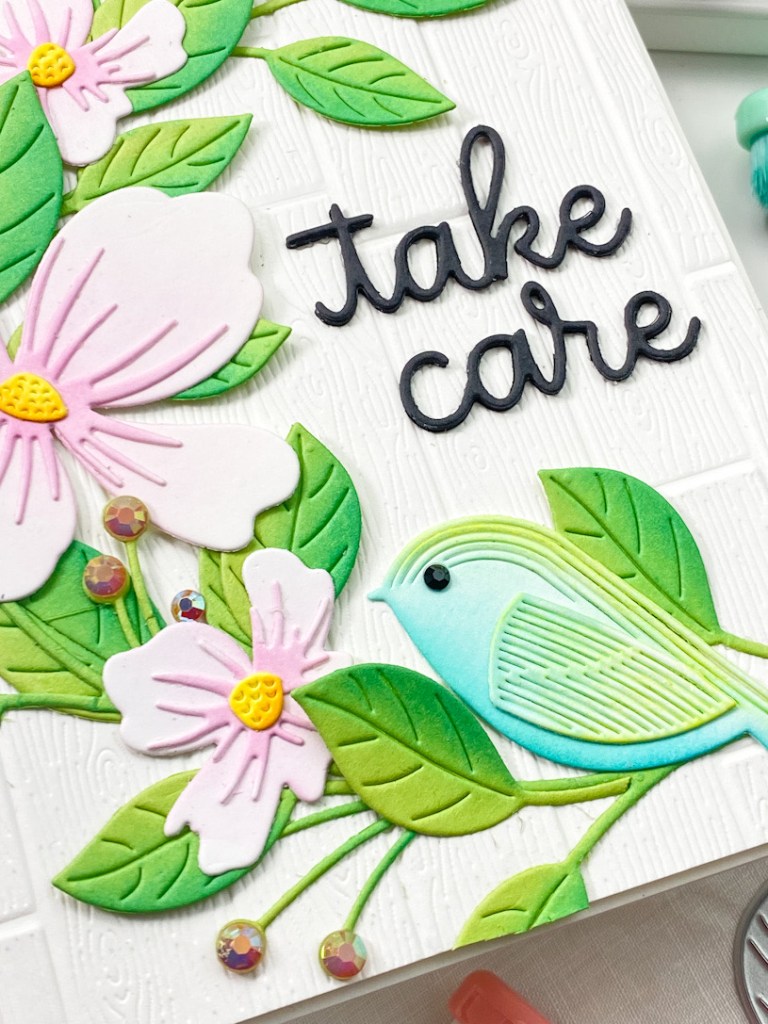
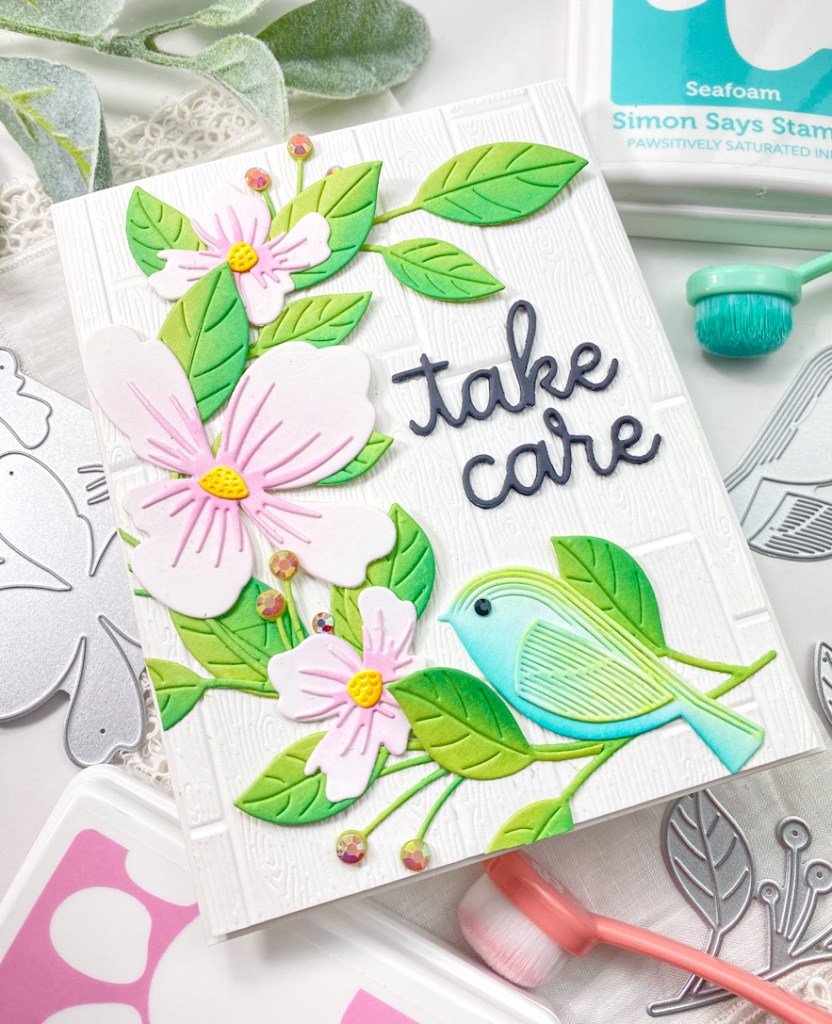
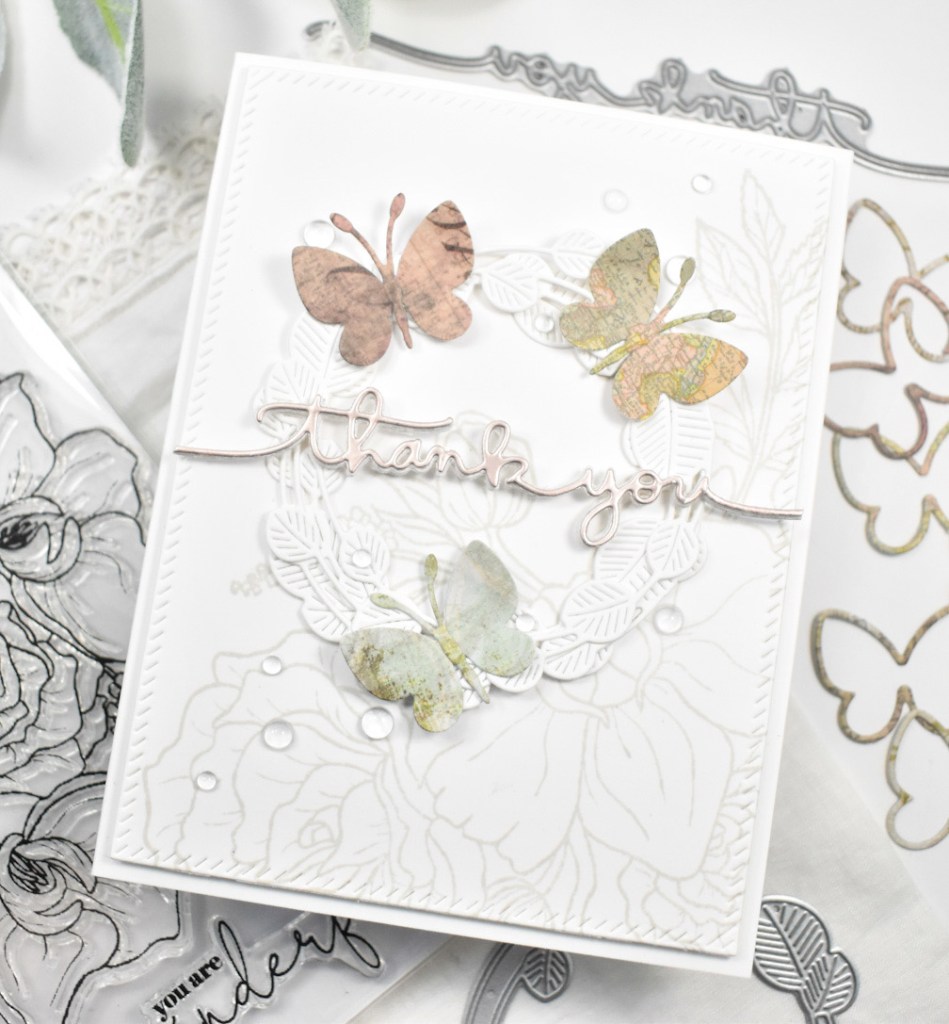
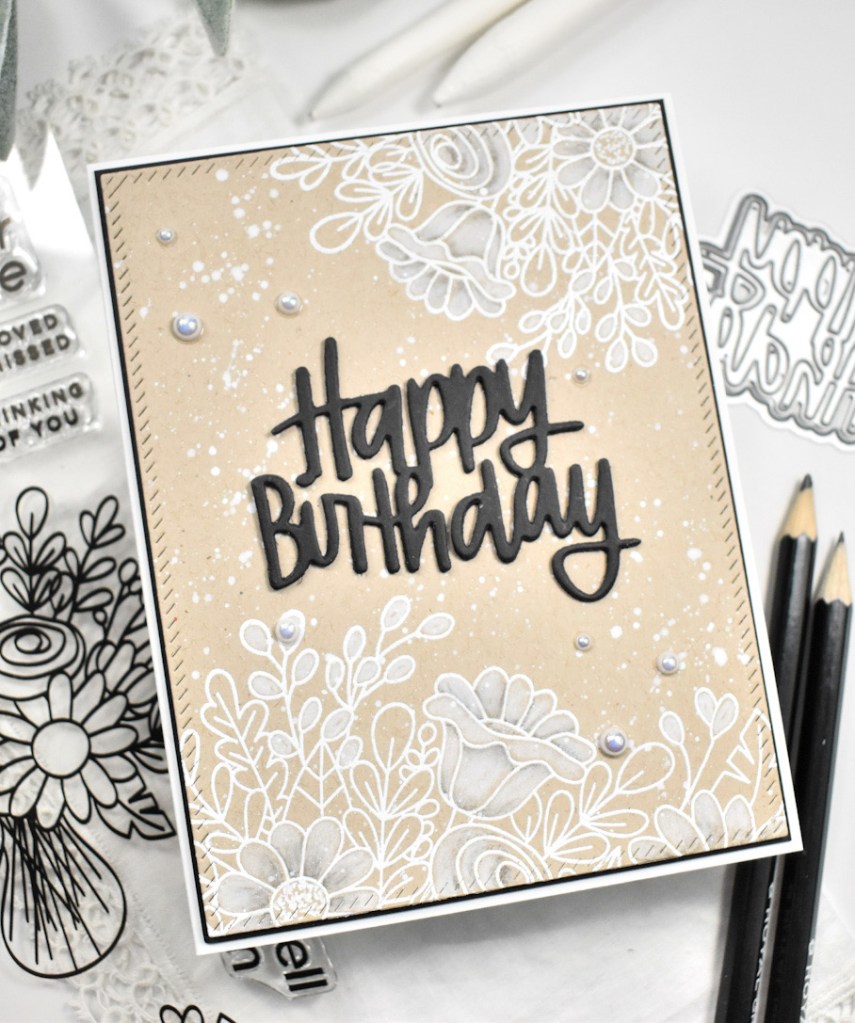
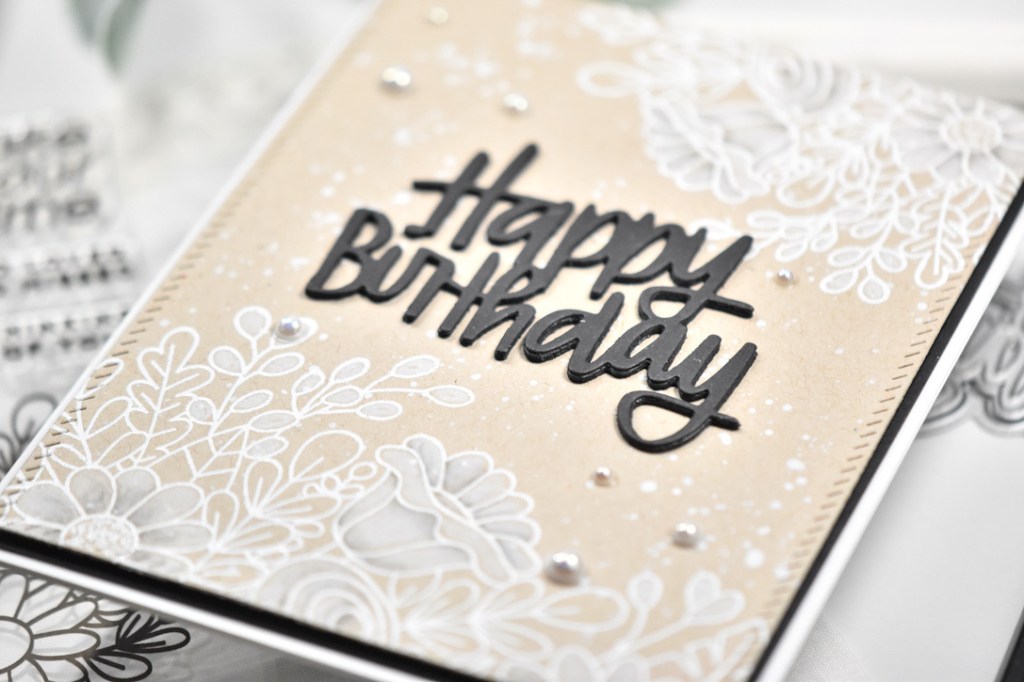
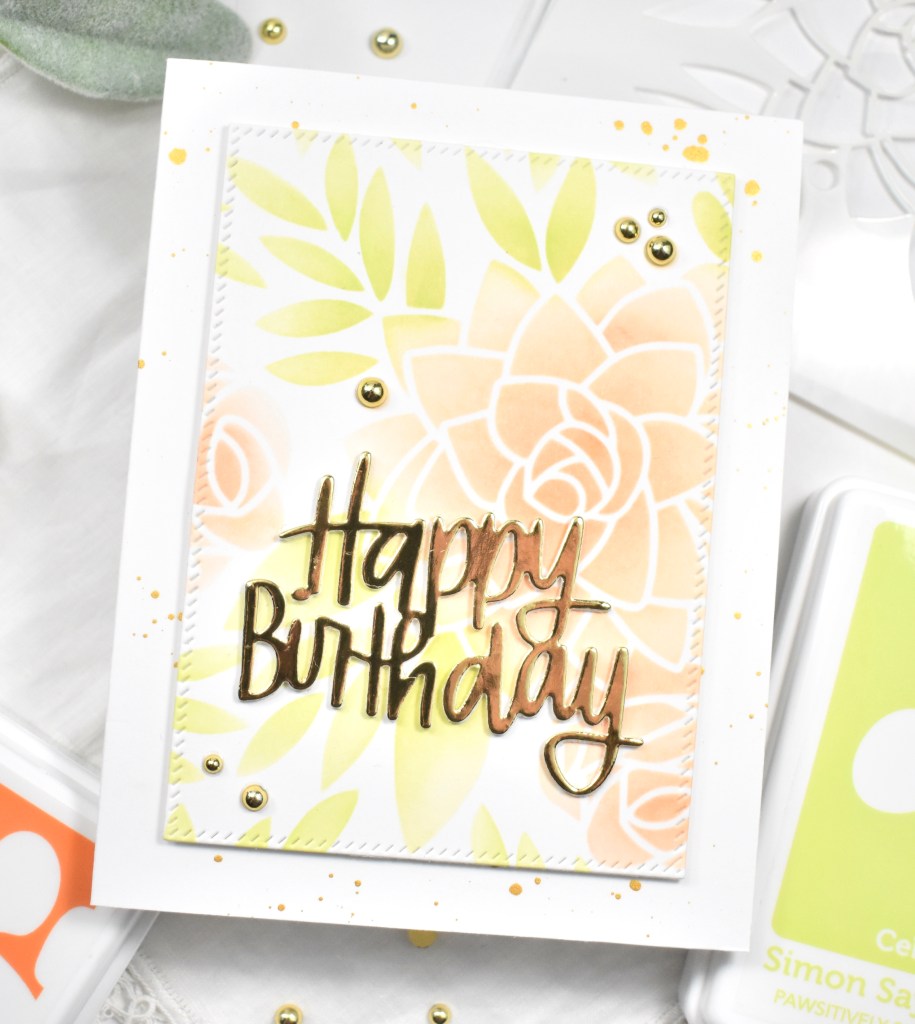
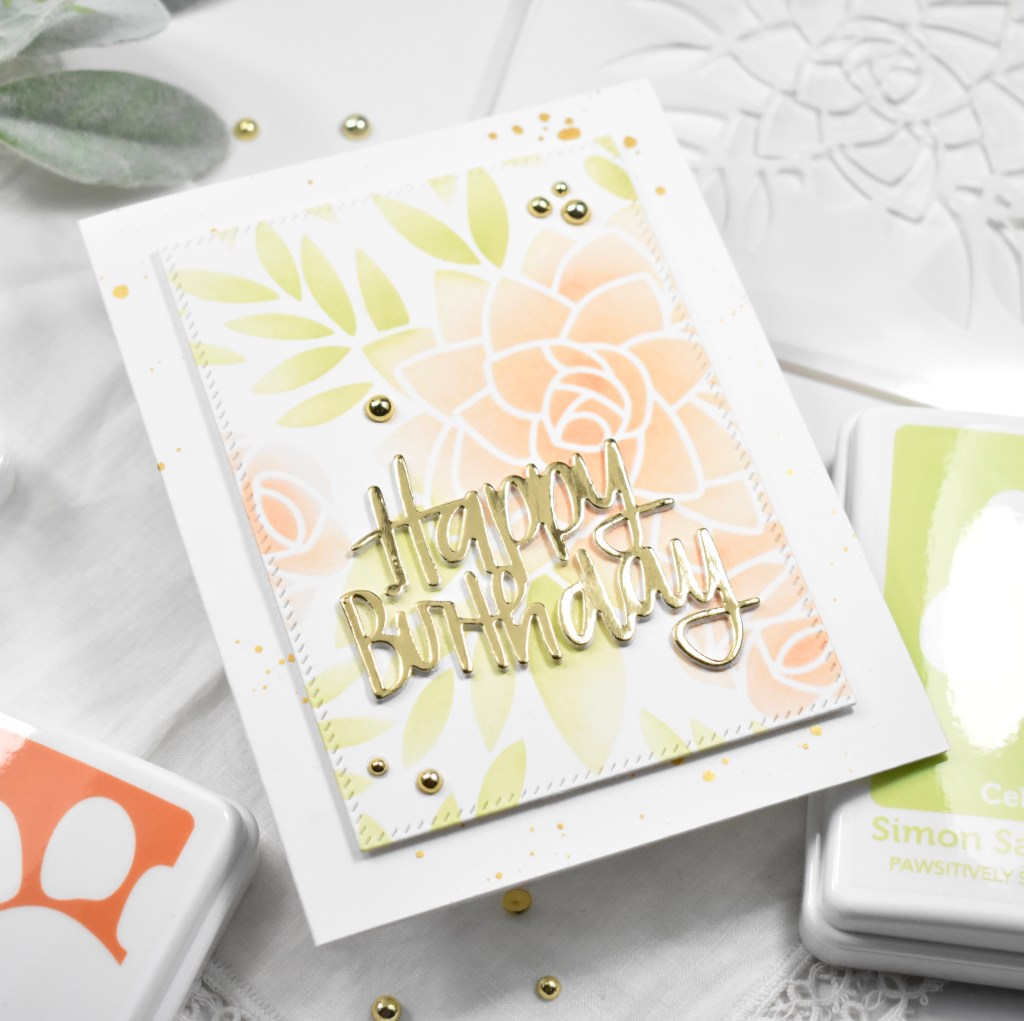
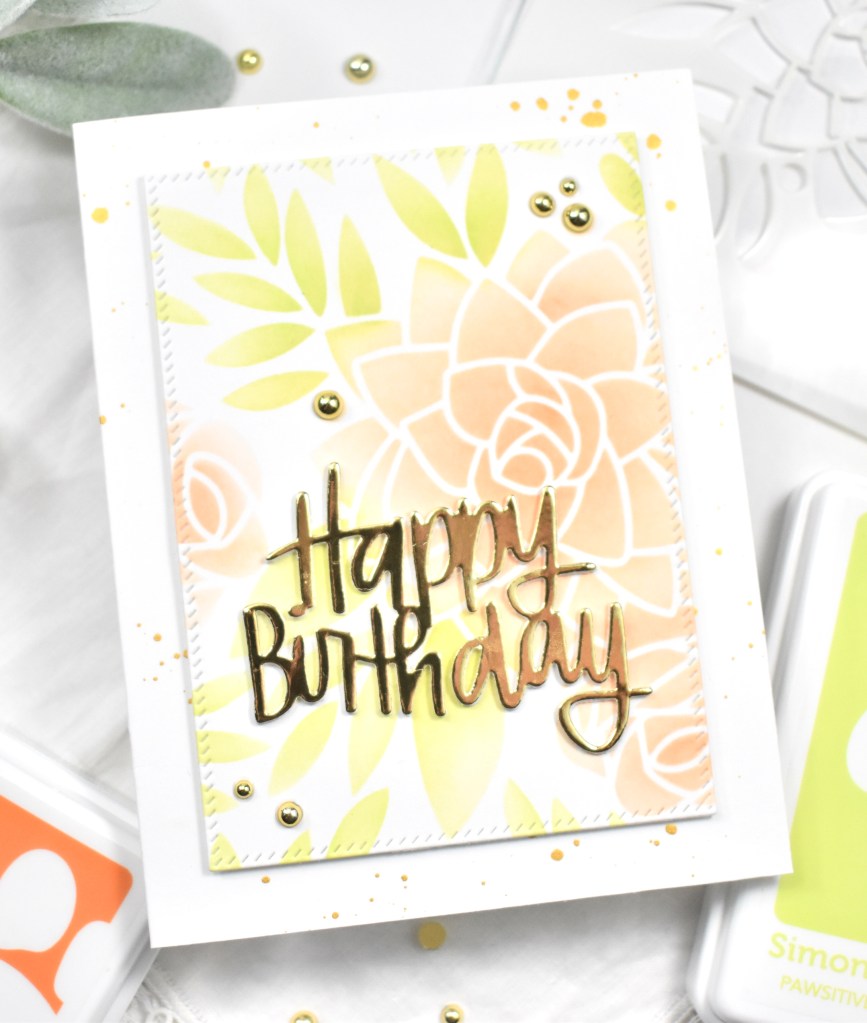
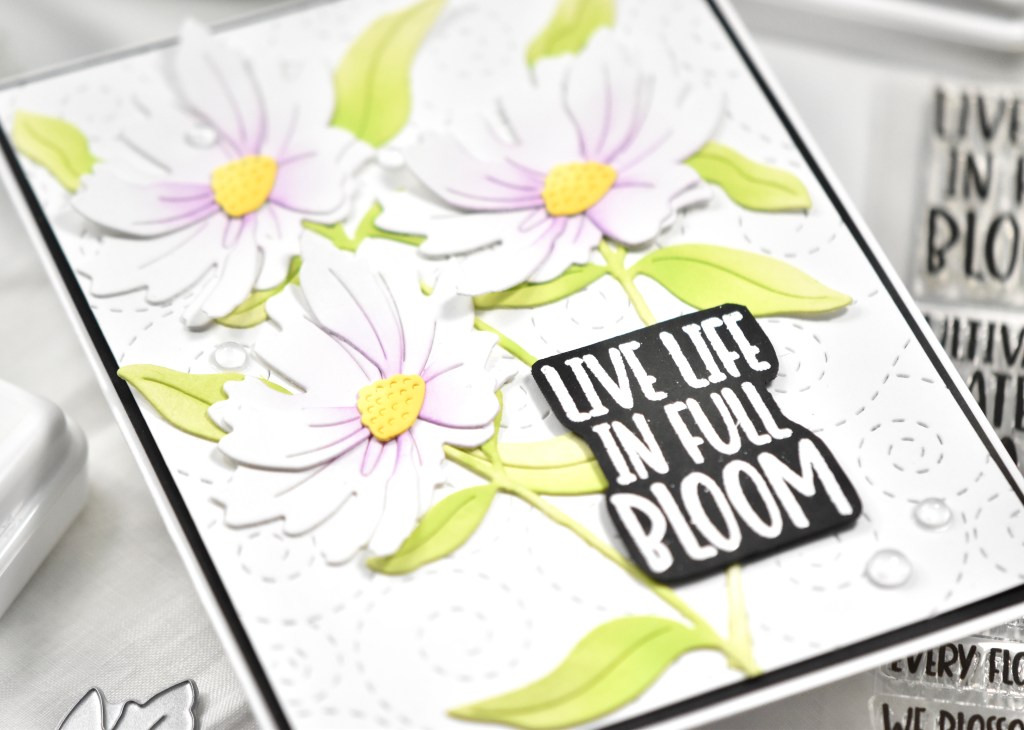
I layered some of the panels with black cardstock for a bit of a contrast, and splattered some of the card bases for additional interest. I used the SSS Etched Crocus Stems to cut several flowers in black and white and adhered those using liquid glue. I also used various sentiments that I thought would work for this design as well. I will list all of the products used below, if you’d like to reference them. All of the strip panels were adhered using foam tape for additional dimension.
I just really loved this idea for using some of the scrap papers that have accumulated in my drawer, and I’m so glad that I stumbled across Ashild’s account! If you have a moment, you should definitely go check her out! Thanks so much for stopping by today, and I hope you’ll give this project a try! If you do, please tag me on Instagram, as I would love to see your creations. I hope you have a wonderful day, and don’t forget to stay awesome!
Supply List:
- SSS Etched Crocus Stems
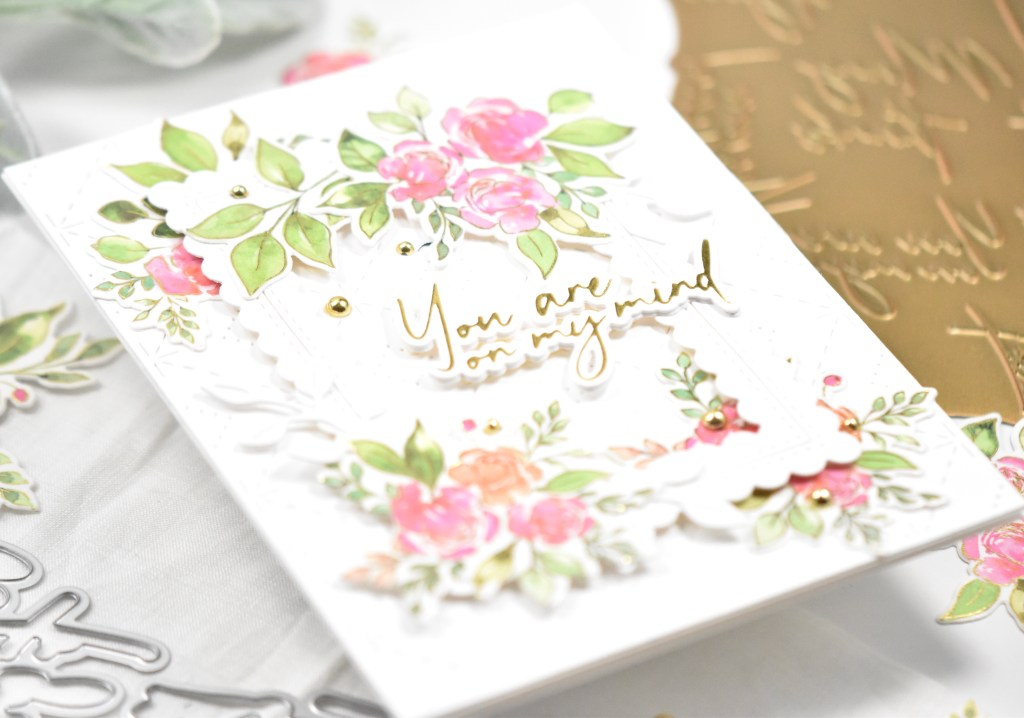
- SSS XL Love Greetings Stamp, Die, Bundle
- PFS Scripted Sentiments Hot Foil Plate, Die
- PFS Favorite Things Sentiments Press Plate, Dies
- Neenah Classic Crest Solar White 110lb Cardstock
- SSS Black Cardstock
- SSS Dot Tape Runner
- SSS Place and Score Embellishment Wand
- SSS Bone Folder
- SSS Foam Tape
- SSS Detail White Embossing Powder
- VersaMark Ink
- Bearly Art Glue
- Spellbinders Glimmer Hot Foil System
- Spellbinders BetterPress Letterpress System
- Spellbinders Gold Foil
- Spellbinders Platinum 6
- Spellbinders BetterPress A2 Card Panels
- Spellbinders BetterPress Black Ink
- Misti
- Anti-Static Powder Tool
- Wagner Heat Tool
- Scor-Buddy
* Affiliate links used at no cost to you. Thanks so much for your support!
Latest Posts
- Simon Says Stamp Grateful Heart

- Simon Says Stamp Braided Greetings

- Together By Design Color Cube Floral

- Simon Says Stamp Cute Duckling

- Simon Says Stamp Watercolor Wild Rose