Spellbinders Just A Note Daisies

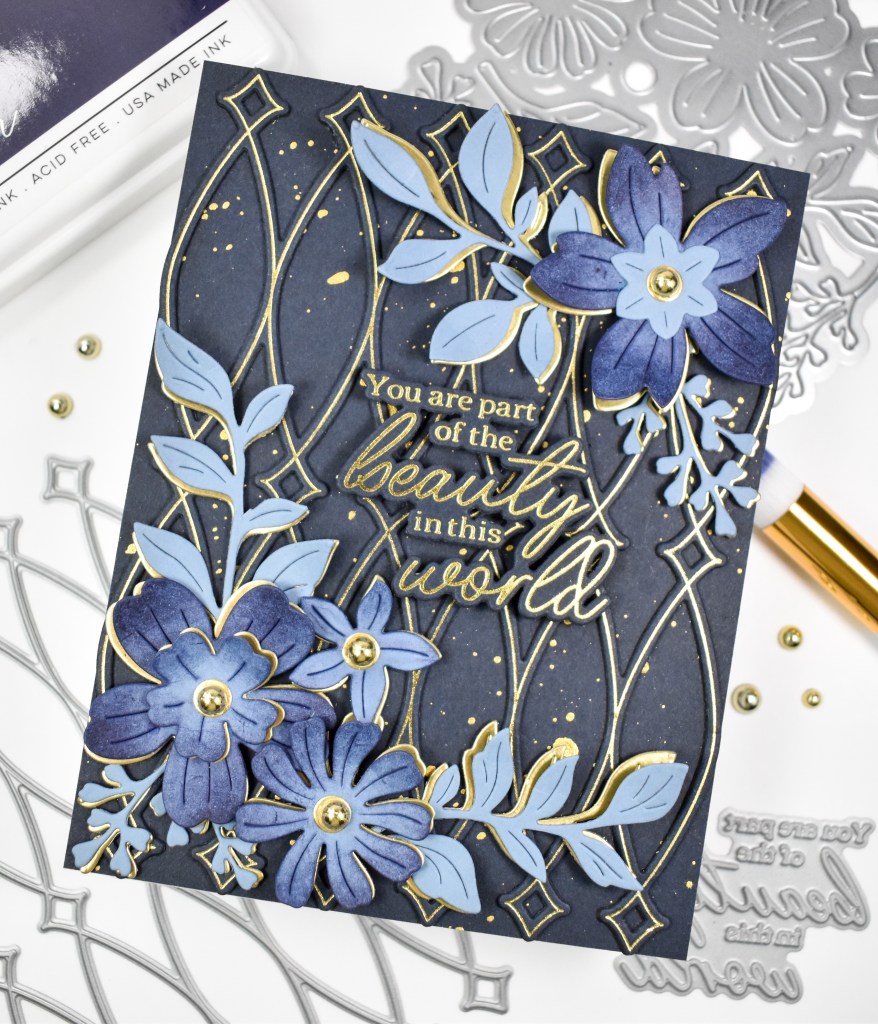
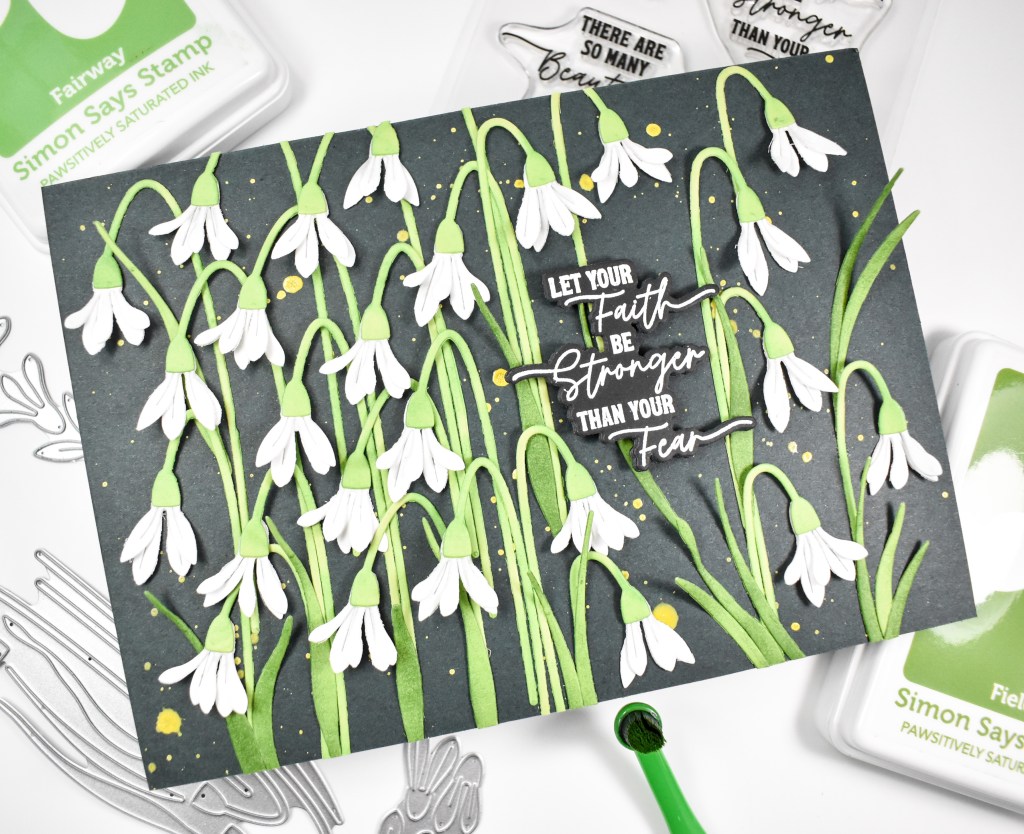
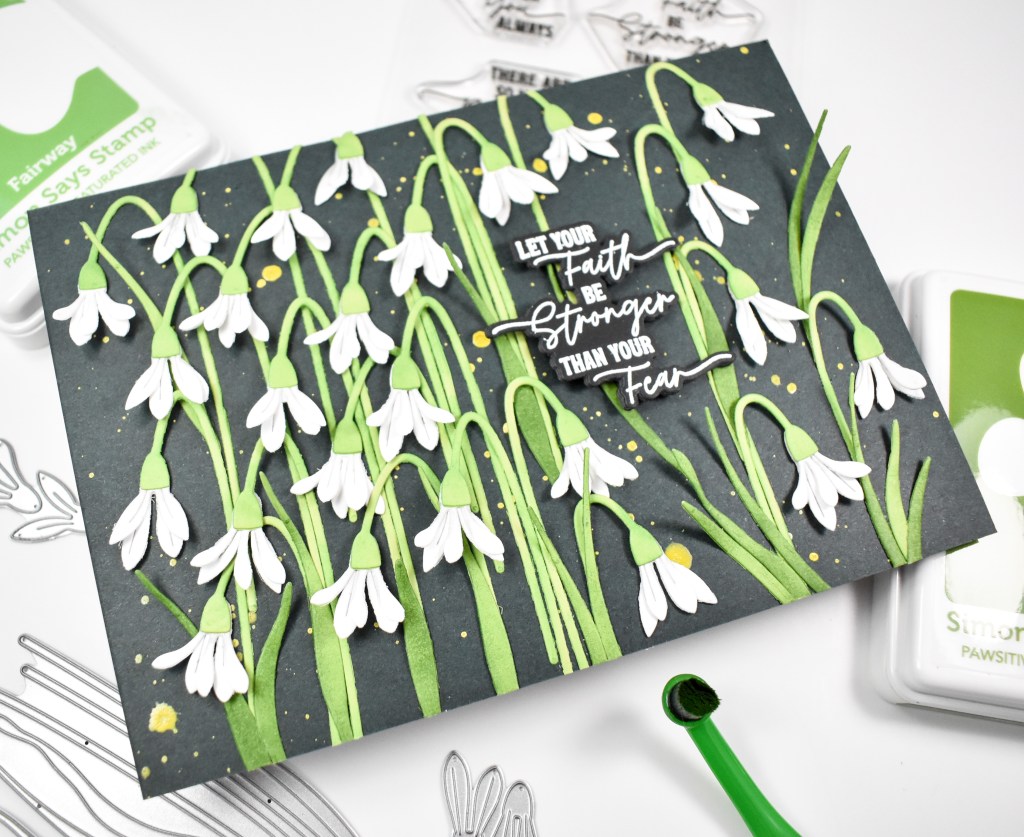
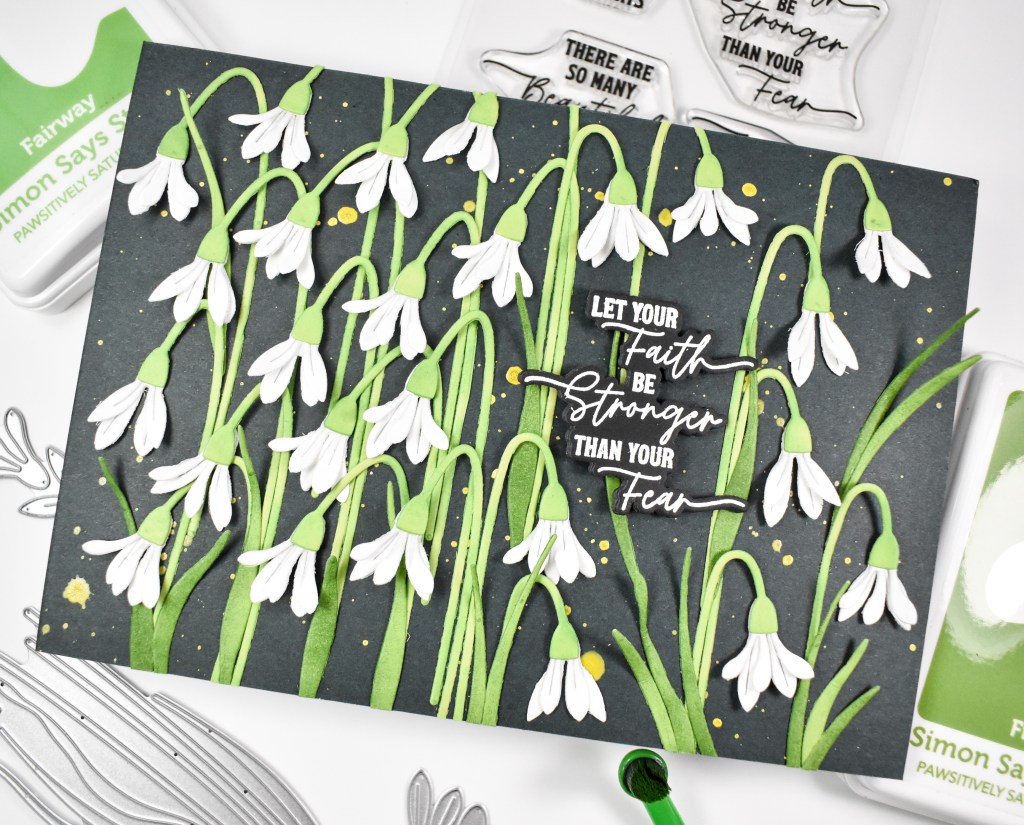
Hello Friends, and welcome back! Here’s another project featuring the Yana’s Daisies from the Spellbinders April releases. Let’s get right into the details, shall we?

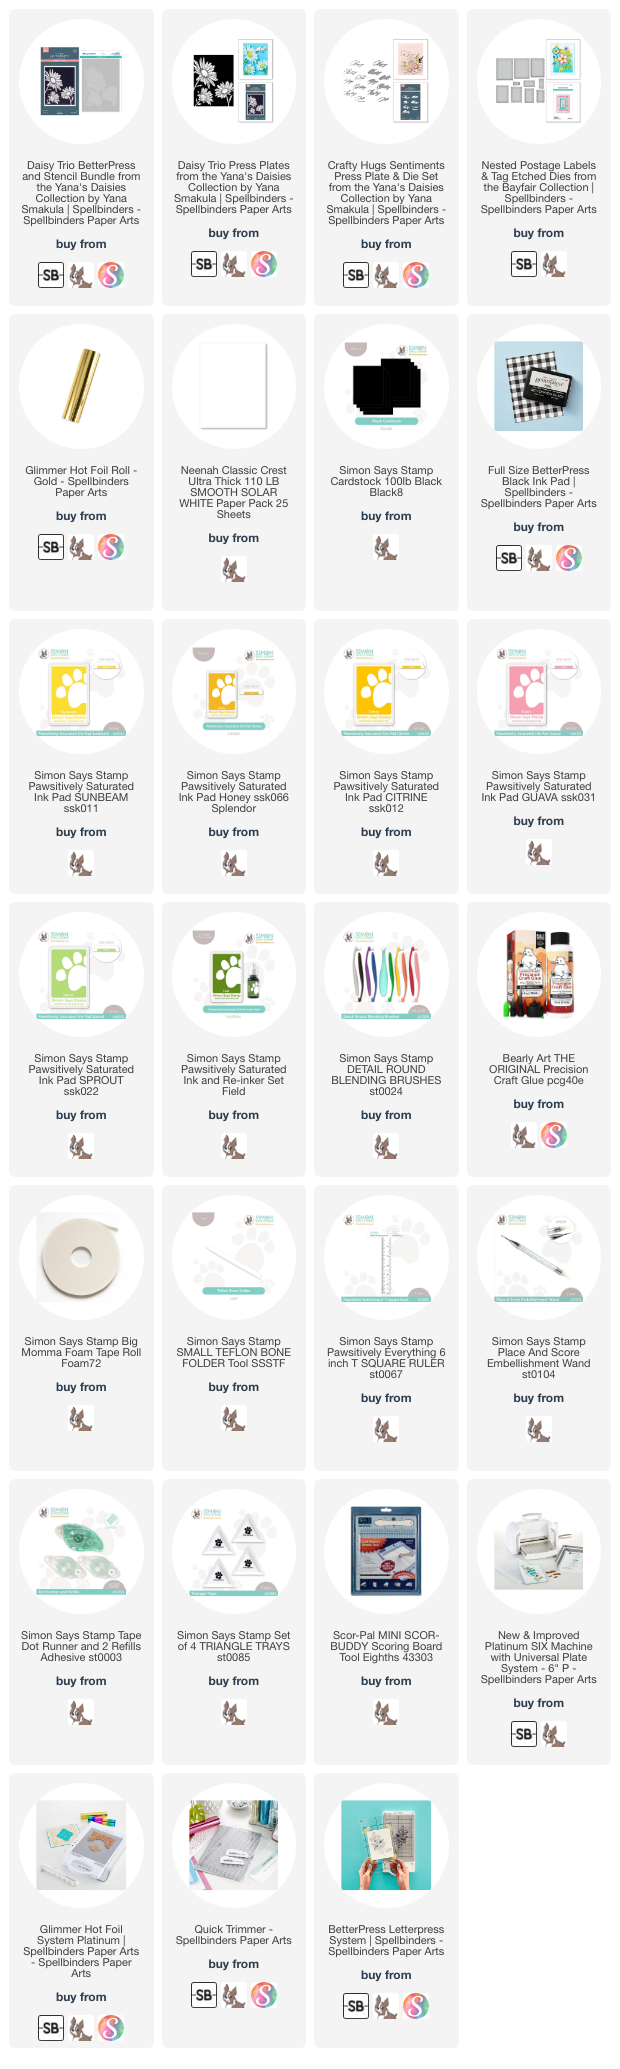
NOTE: all supplies are linked to multiple sources in the thumbnails at the end of this blog post.
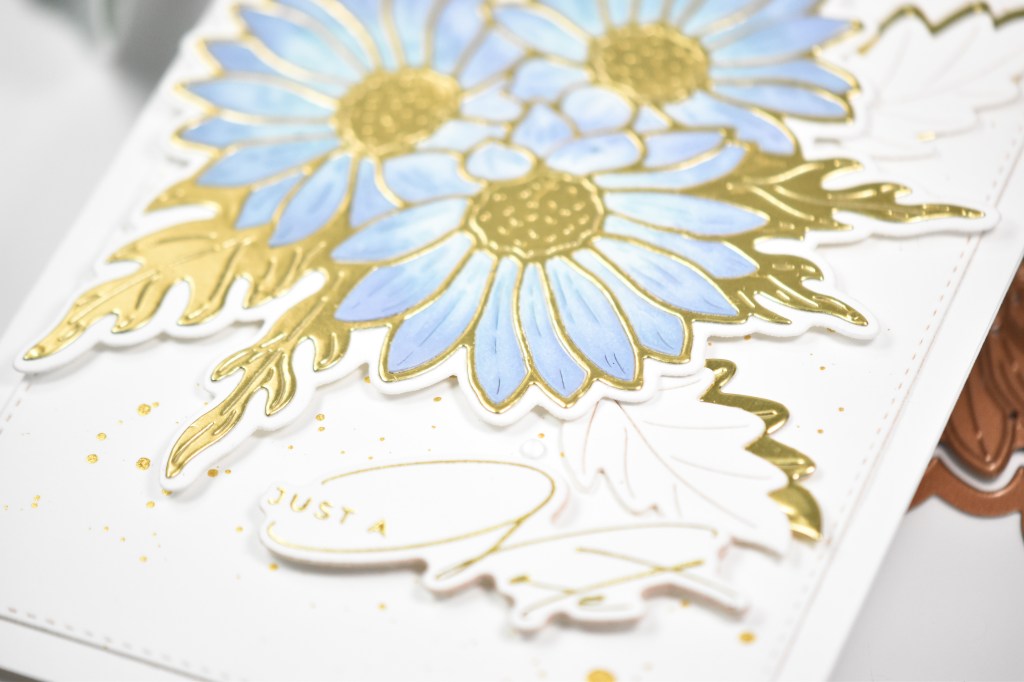
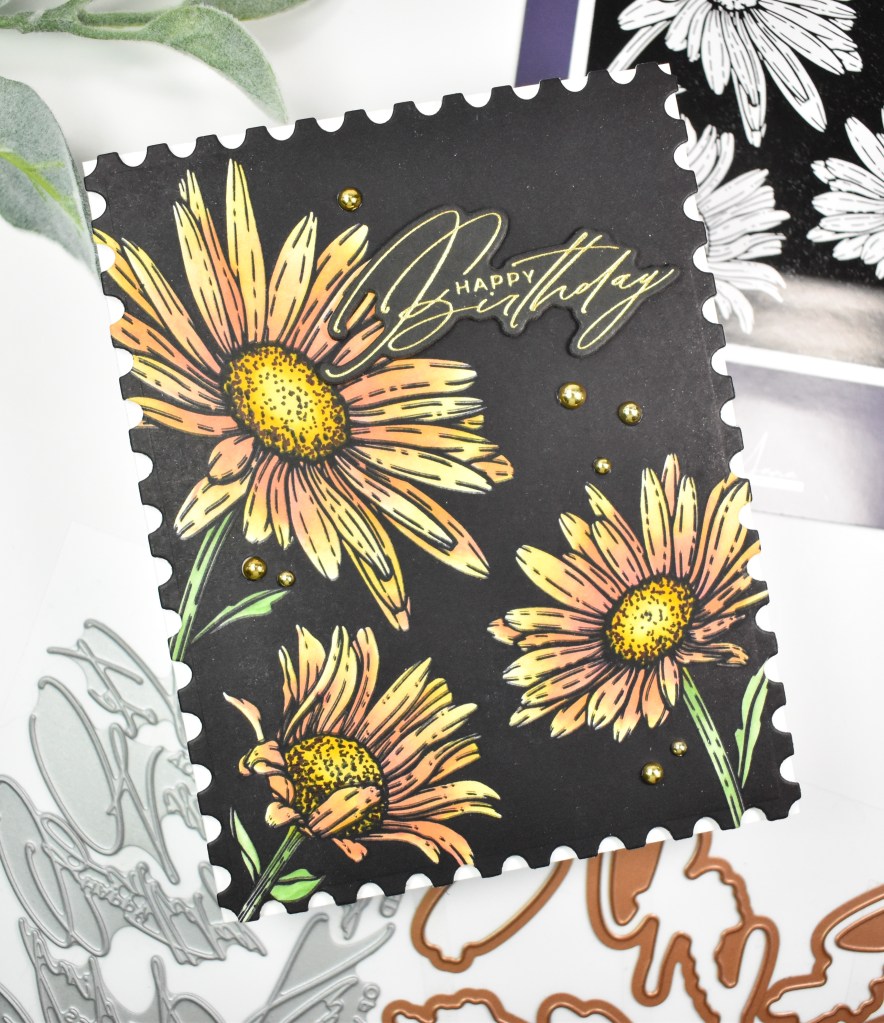
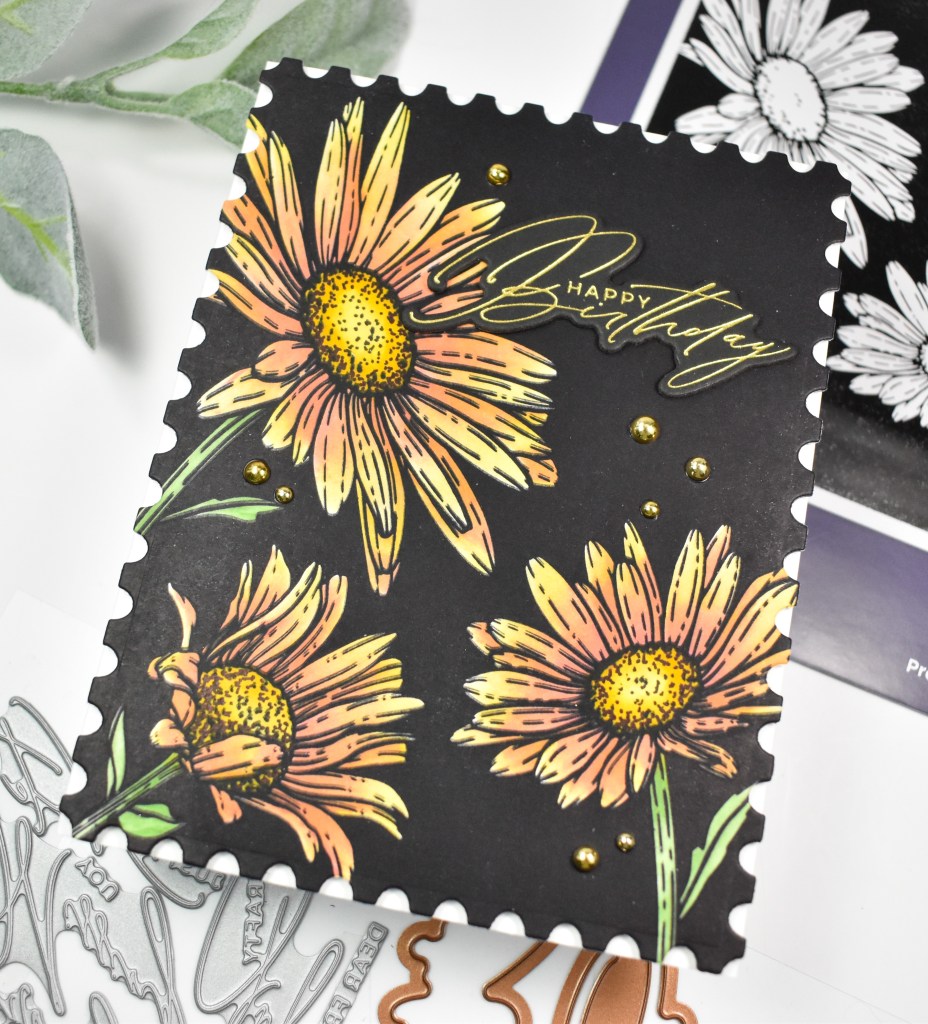
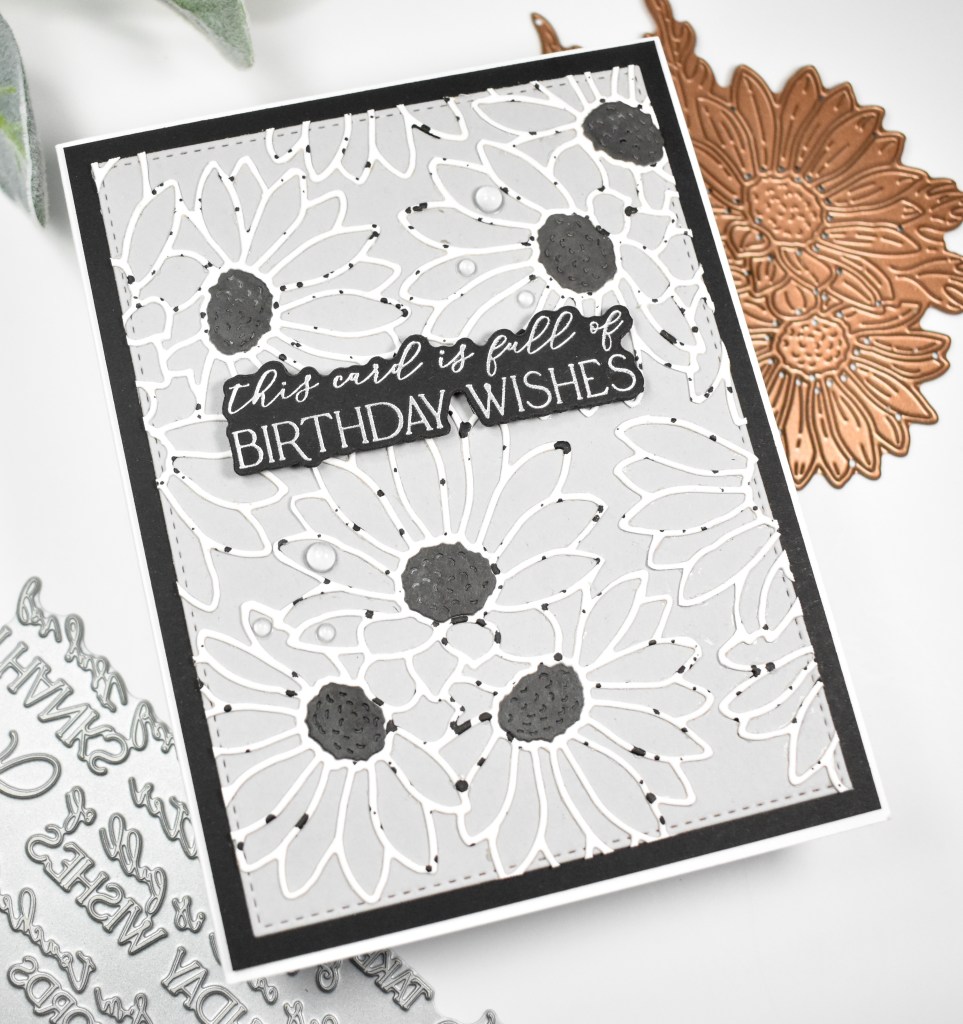
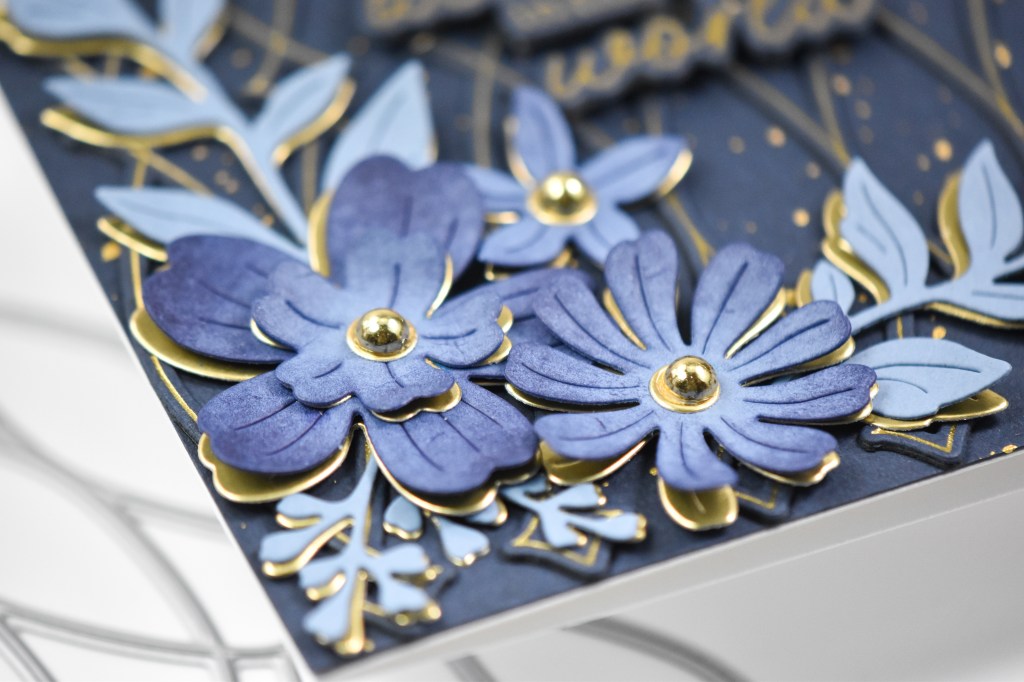
I began this project by die cutting the daisies once from Neenah 110lb cardstock and once from gold cardstock. I also cut the base layer from Neenah as well for the assembly. While the white petals were still in place, I did some ink blending on those using Morning and Heather inks.
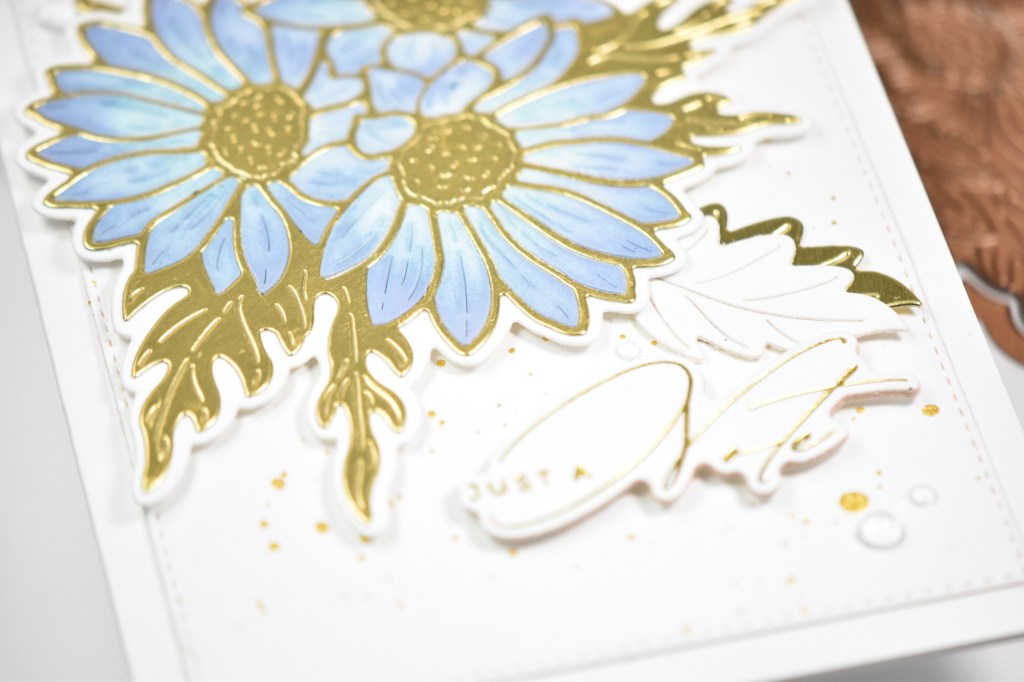
I adhered the gold outline portion to the base layer using liquid glue, and then adhered the ink blended petals in place, along with the gold centers. The sentiment, which is from the Crafty Hugs Sentiments, was gold foiled onto Neenah and trimmed out several times for a stacked sentiment look.

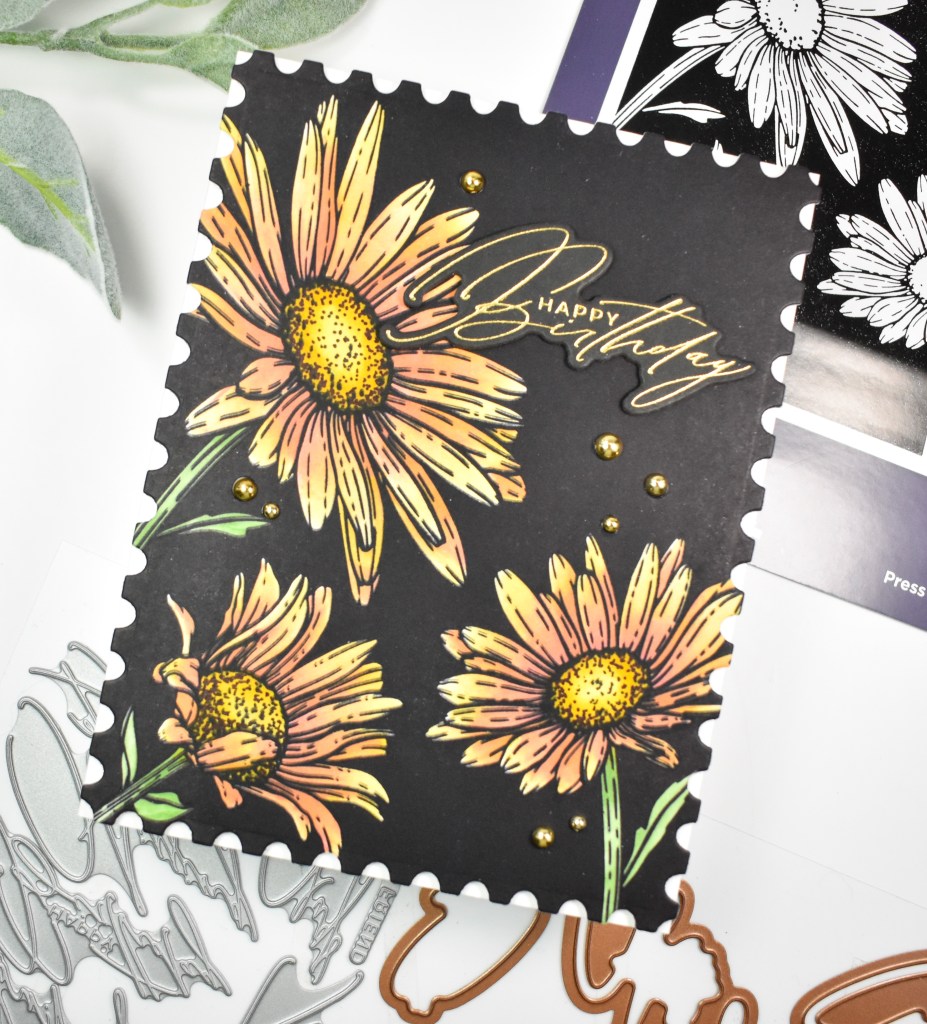
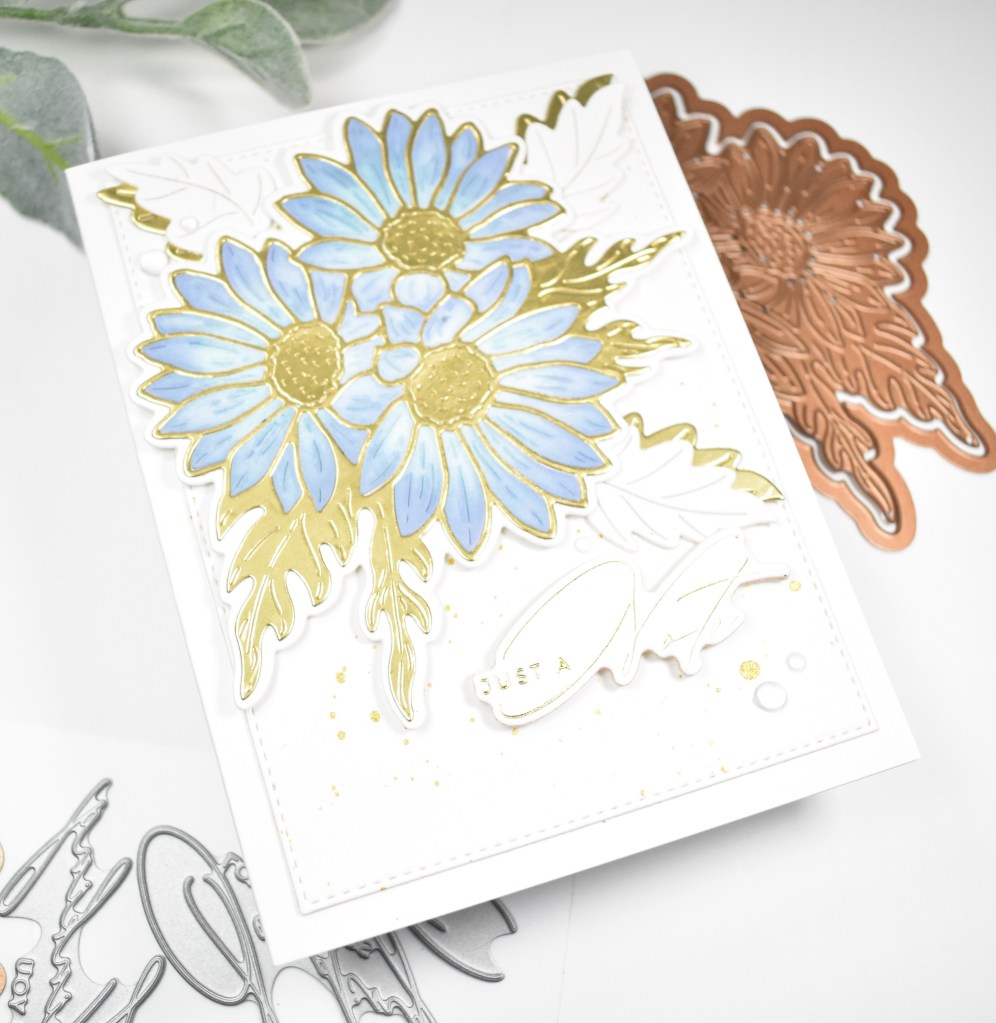
My background panel was created using the Nested Postage Labels & Tag, and then splattered with gold acrylic ink. This panel was adhered to the card base, the daisies were adhered using foam tape and the sentiment was adhered using foam strips. I decided that I needed some additional leaves and cut those from the Club Blooms set using Neenah and gold cardstock. I added some clear drops to finish up this project.
I hope you enjoyed this one! The Yana’s Daisies products are super gorgeous and if you haven’t checked them out, I do encourage you to do so! Thanks for joining me, and I hope you have a wonderful day!

Supply List
Affiliate links used at no cost to you. What does this mean? If you use the links within this post to make a purchase, I receive a small commission, which allows me to continue to post crafty content for your enjoyment. I truly appreciate your support!
Latest Posts
- Simon Says Stamp Groovy Birthday

- Simon Says Stamp Amazing Scattered Leaves

- Simon Says Stamp Beautiful Friend Floral

- Together by Design Featuring Pinkfresh Studio

- Simon Says Stamp Basket Bunny
Latest Instagram Posts