Pinkfresh Blooming Leafy Lattice

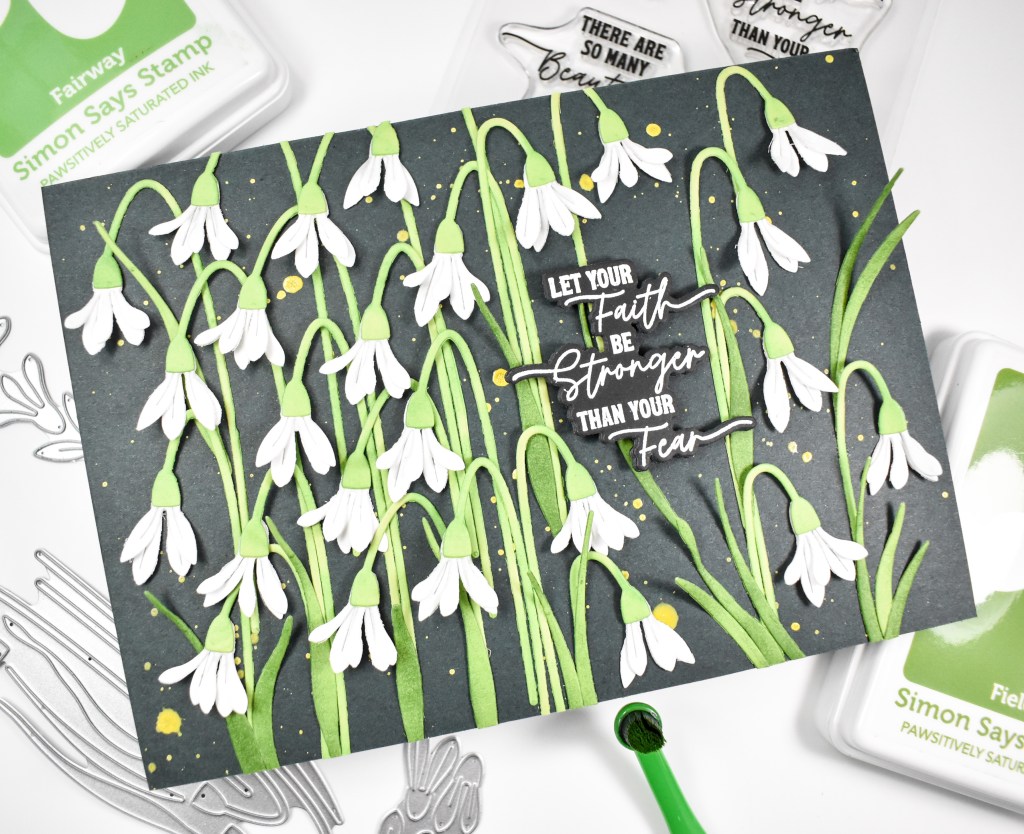
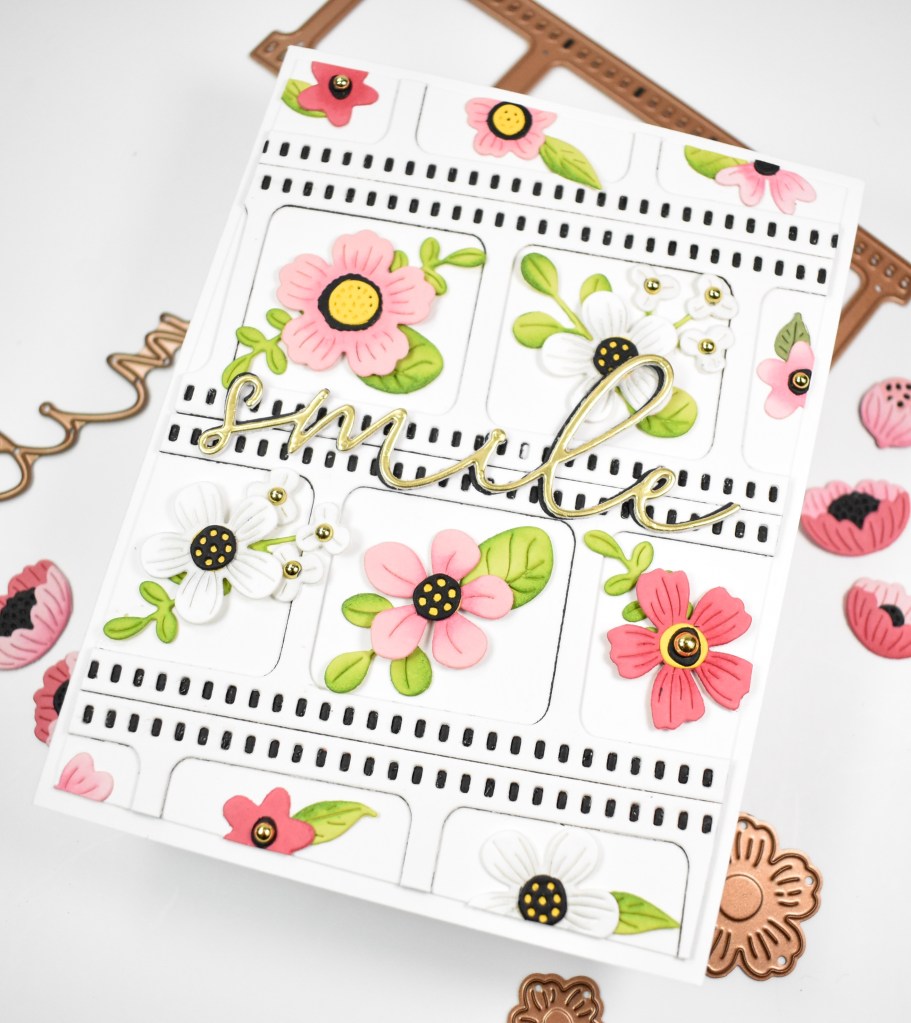
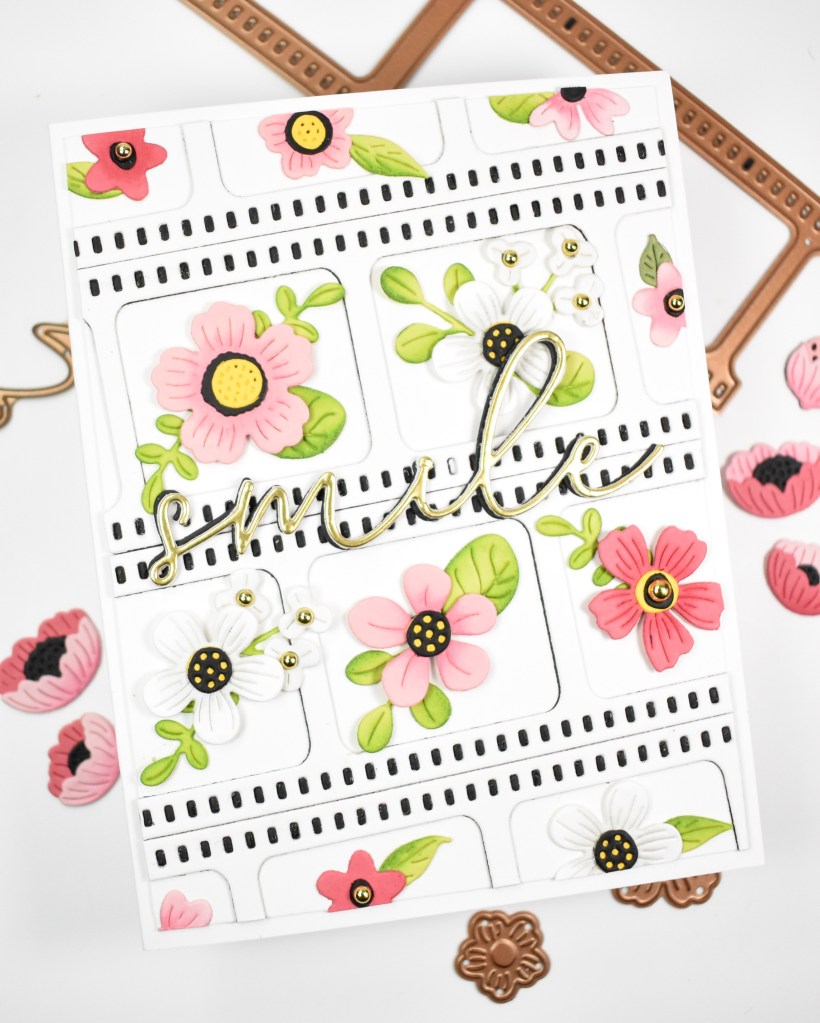
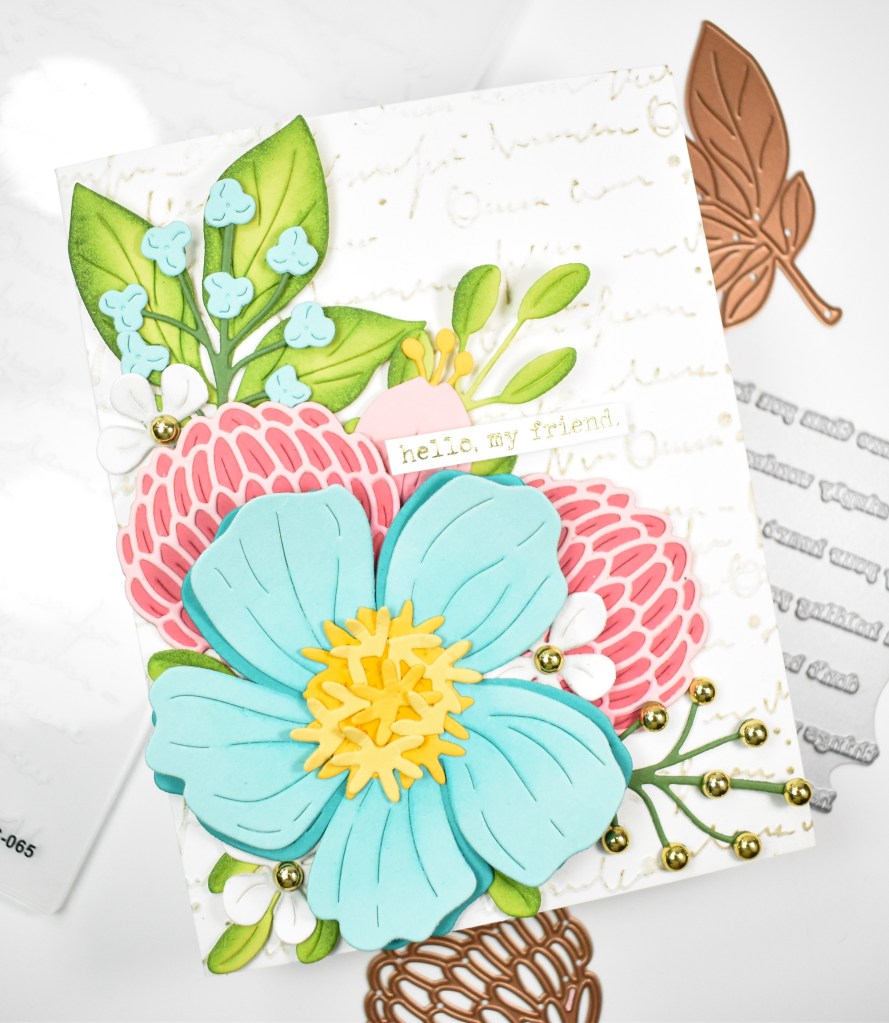
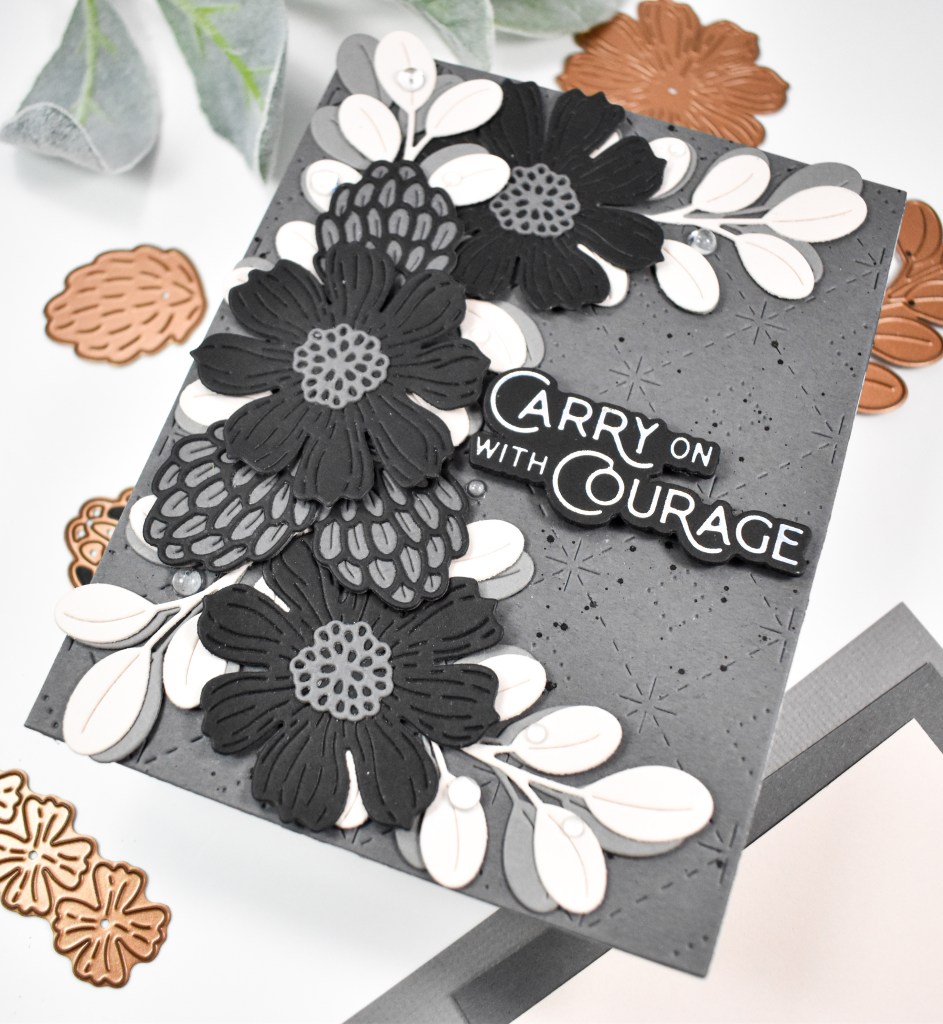
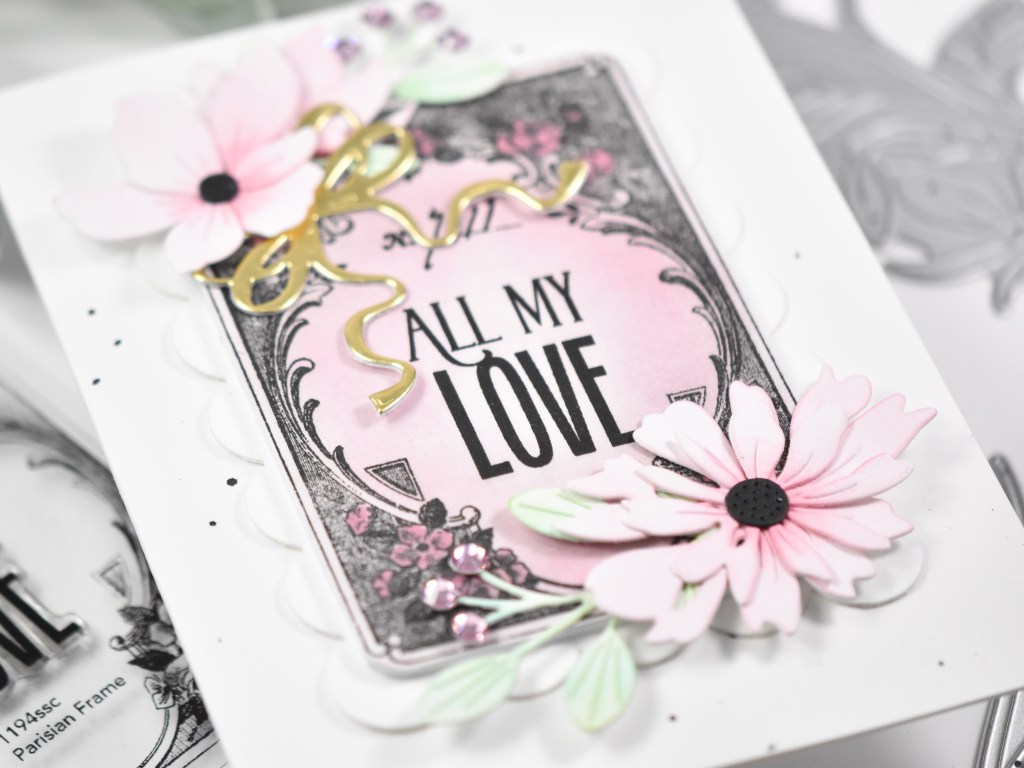
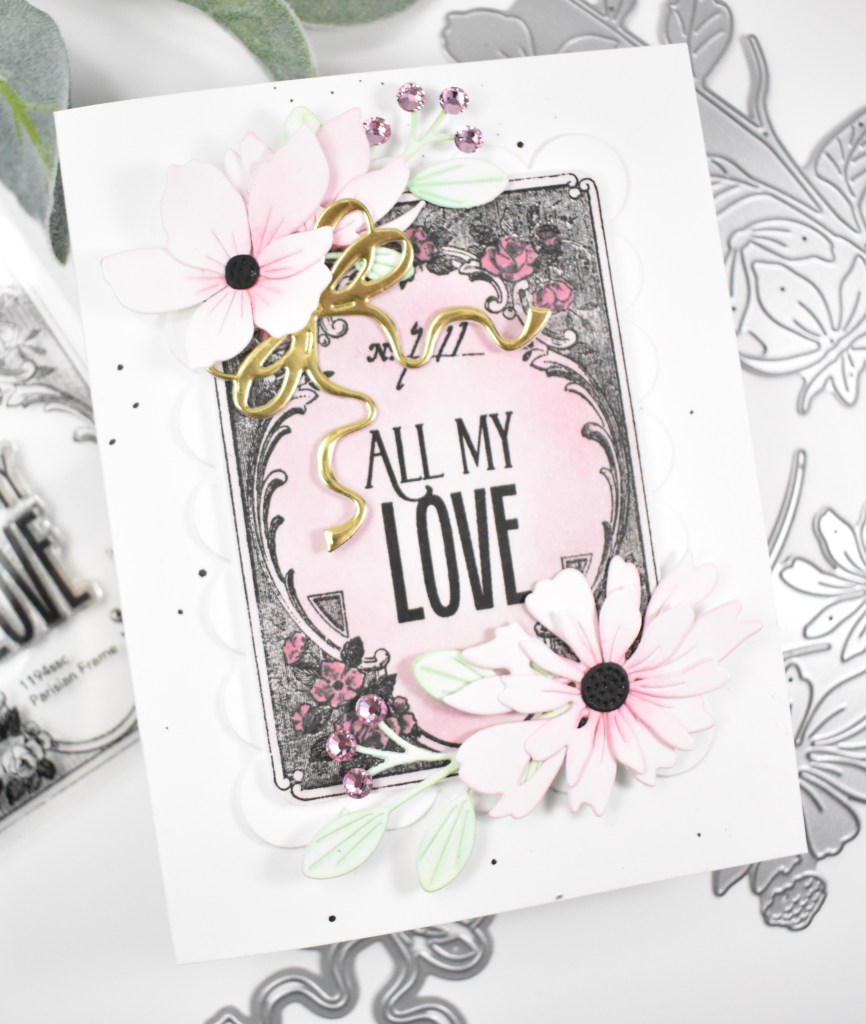
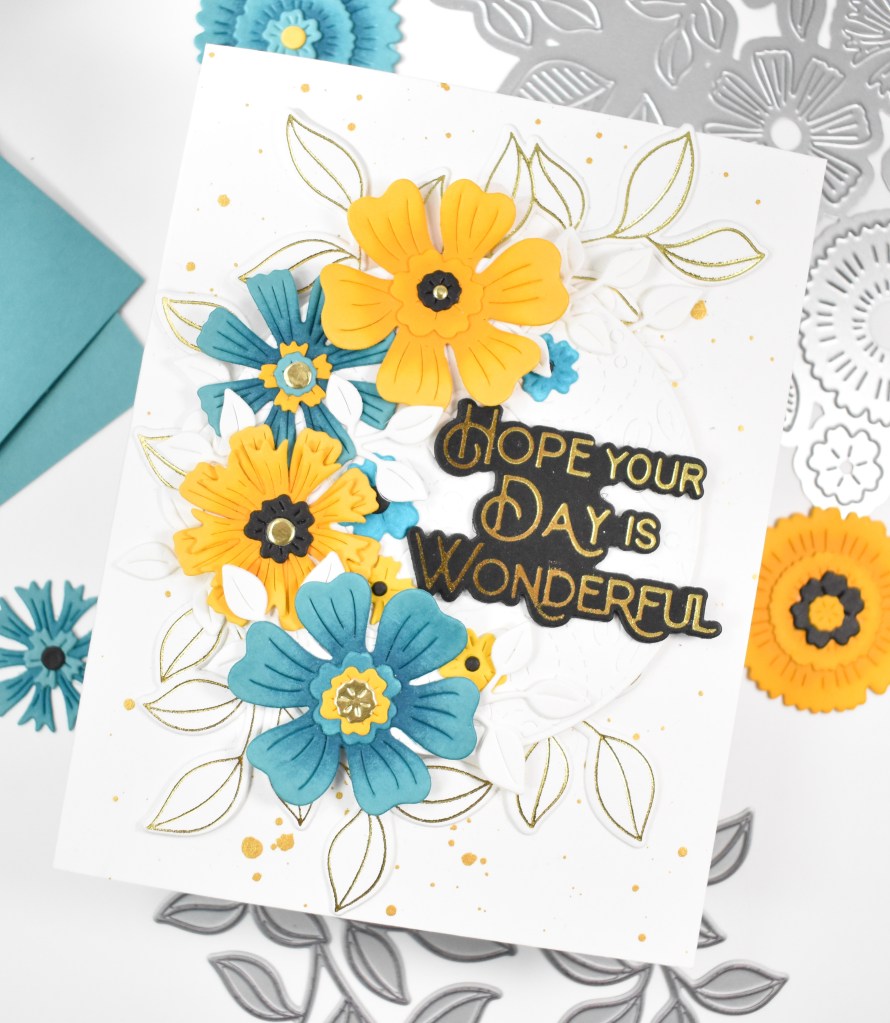
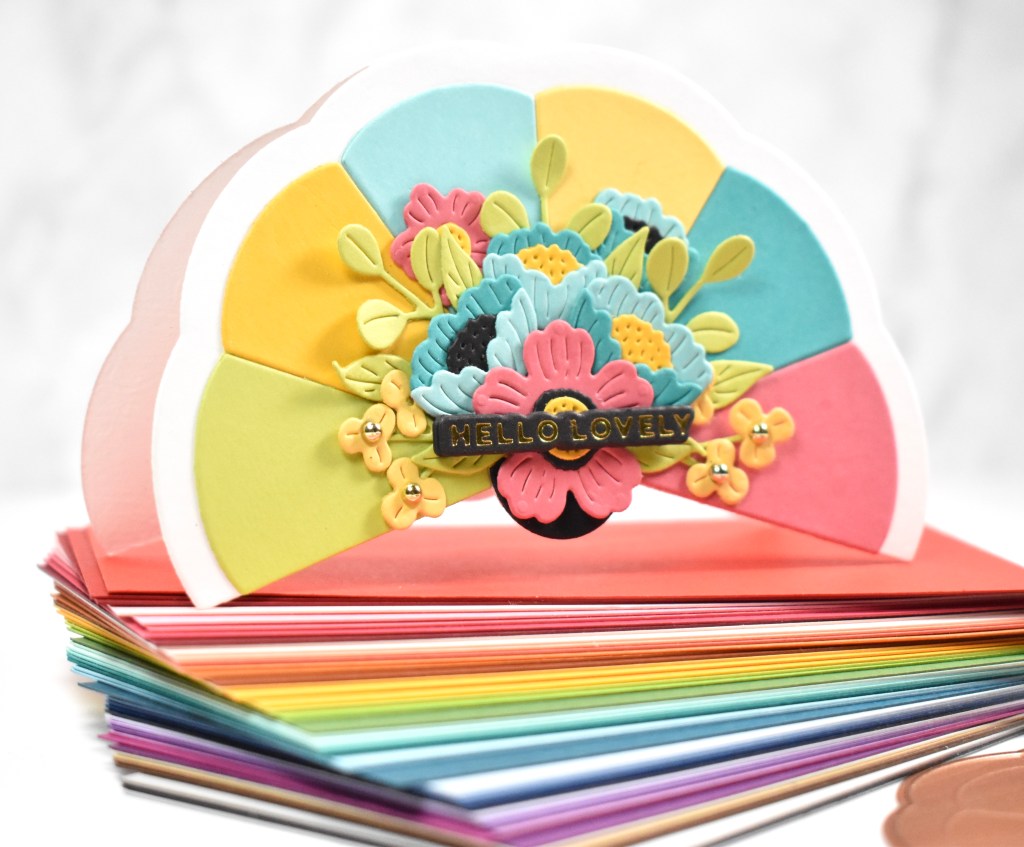
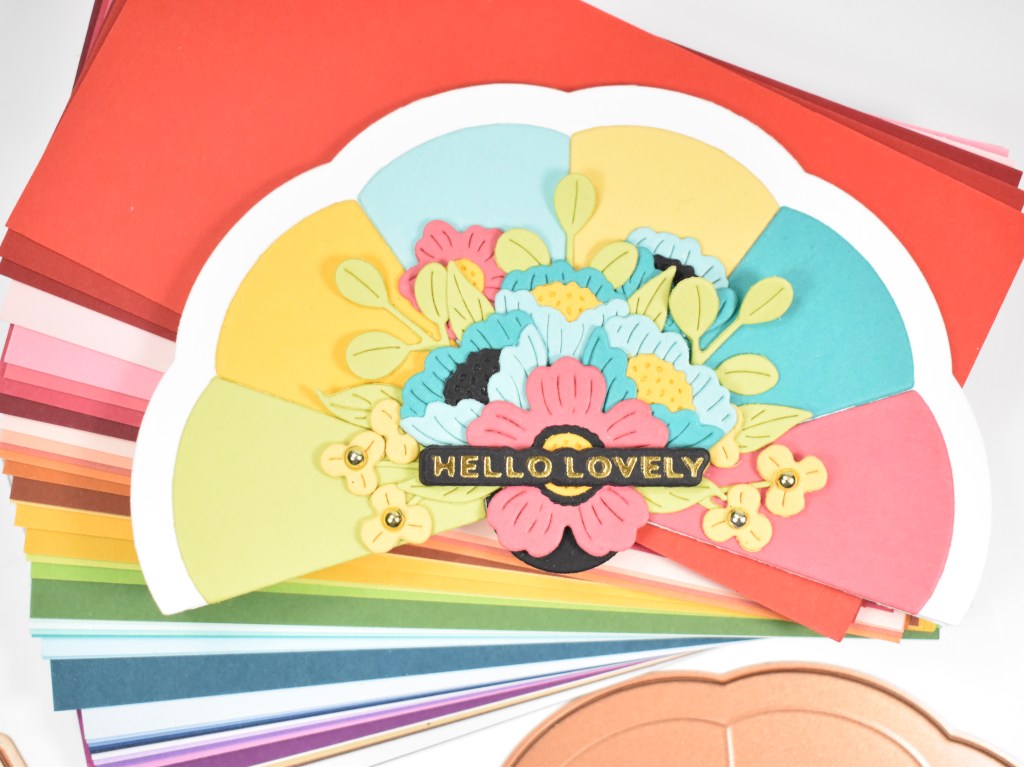
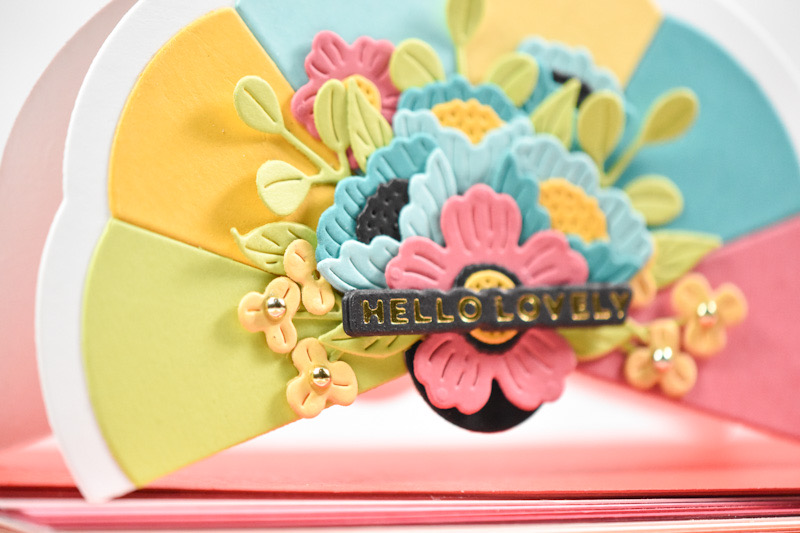
Hello Friends, and welcome back! I recently received my Pinkfresh order with goodies from the March release, and I found some time to play! This project is featuring the new Blooming Grace Washi Tape and the Leafy Lattice Press Plate. Let’s not waste time and go ahead and run through the details!

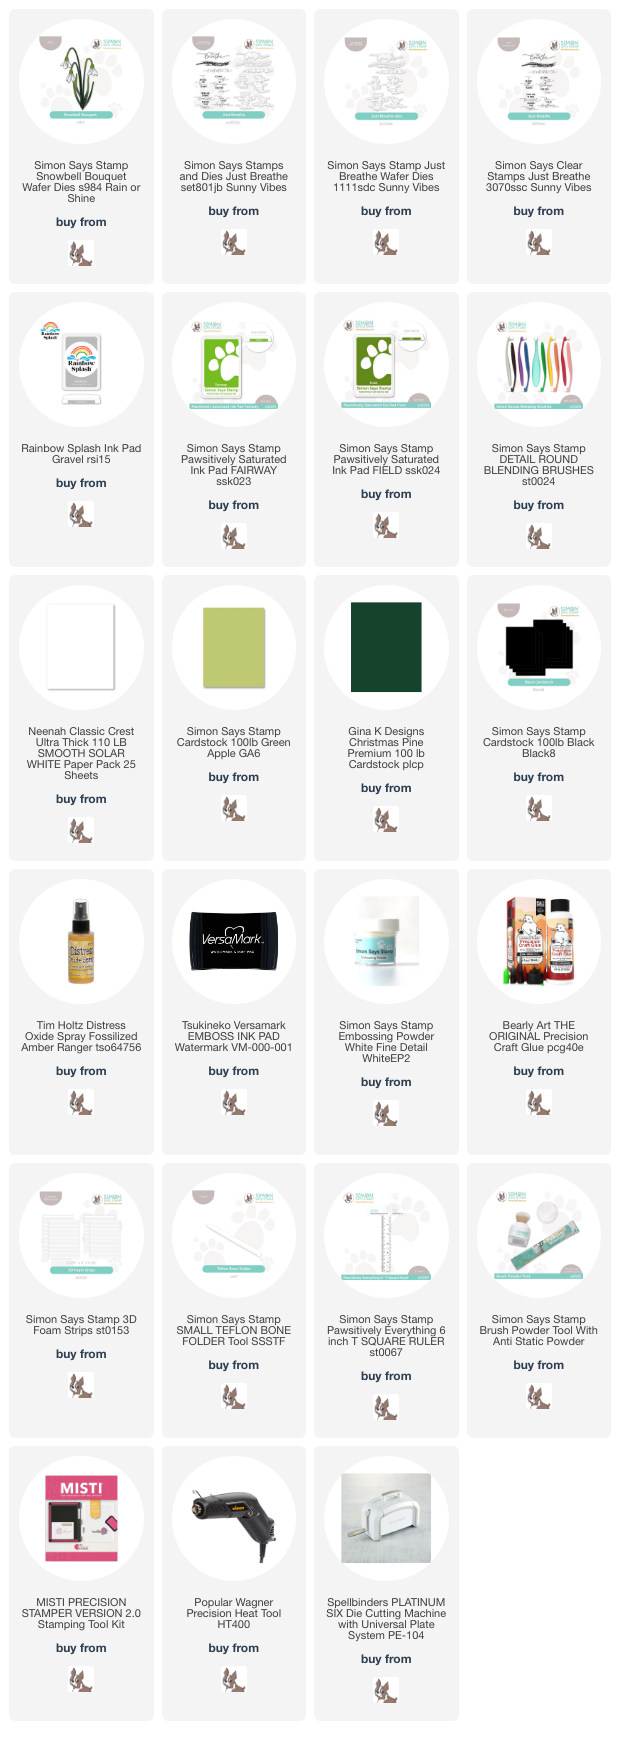
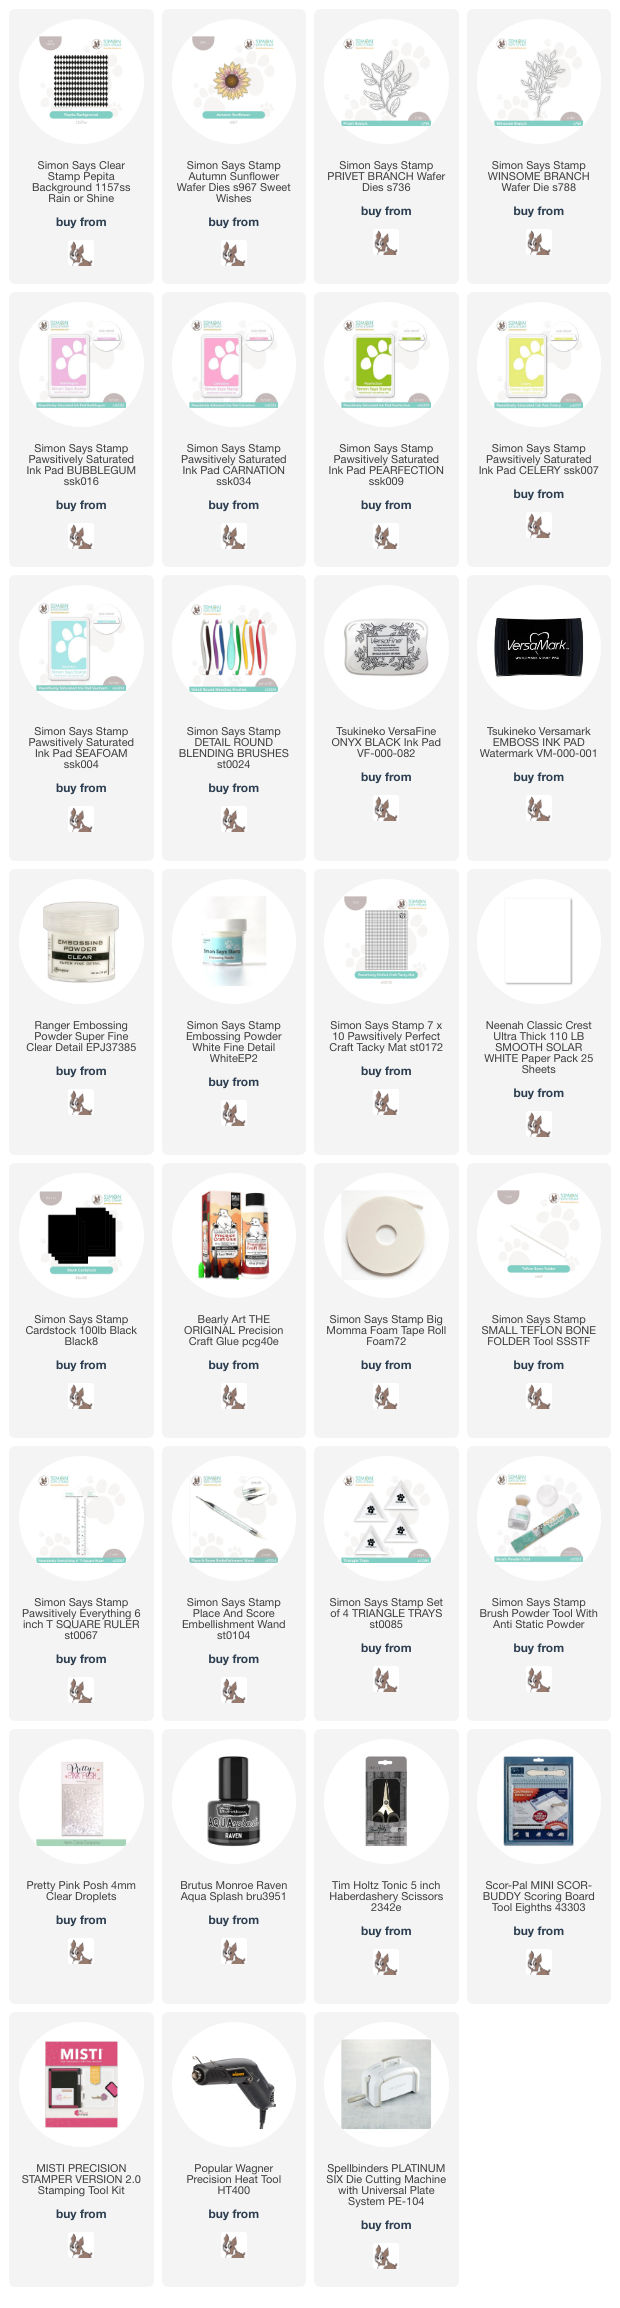
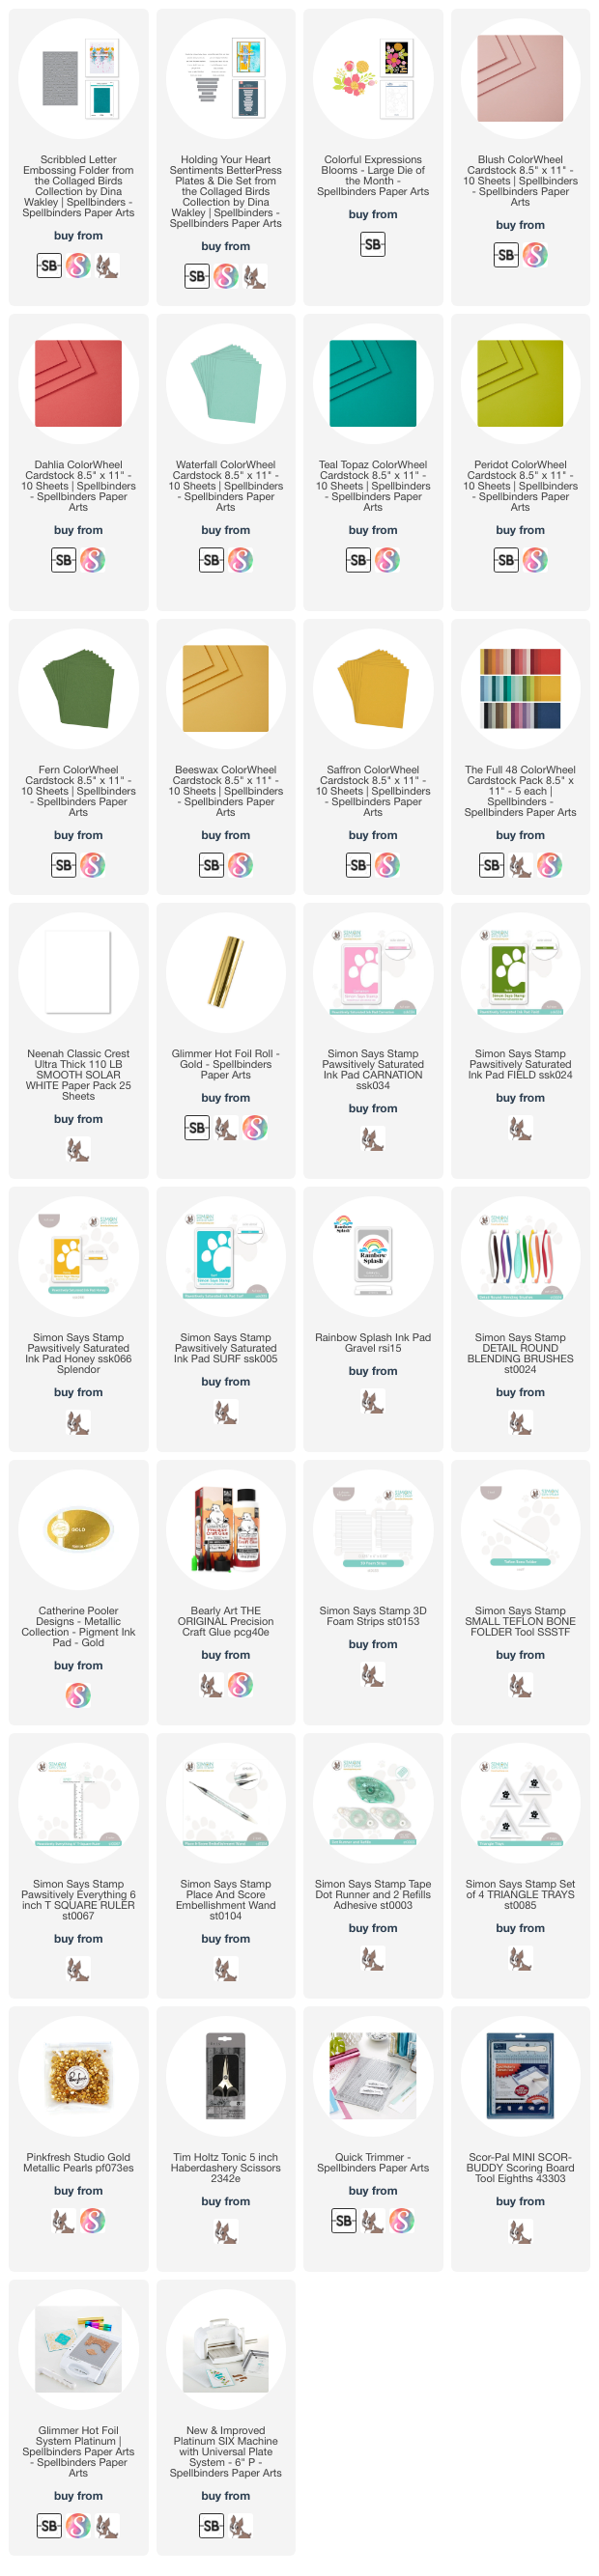
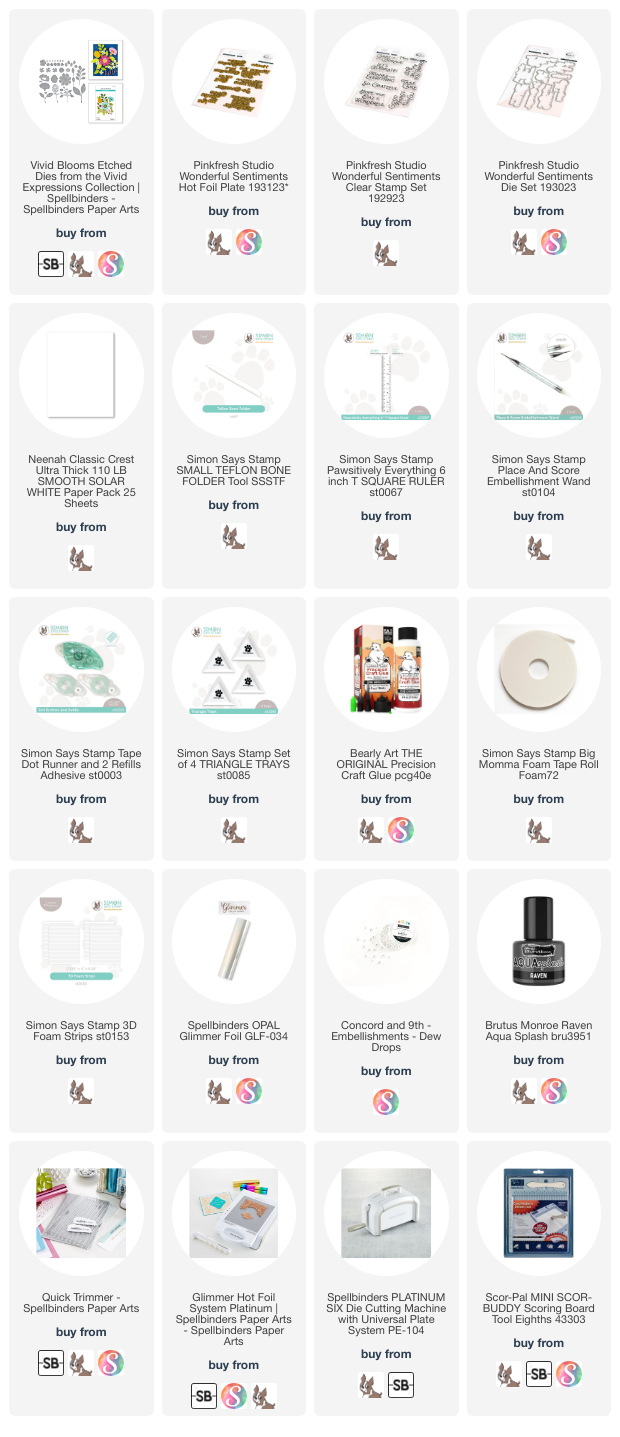
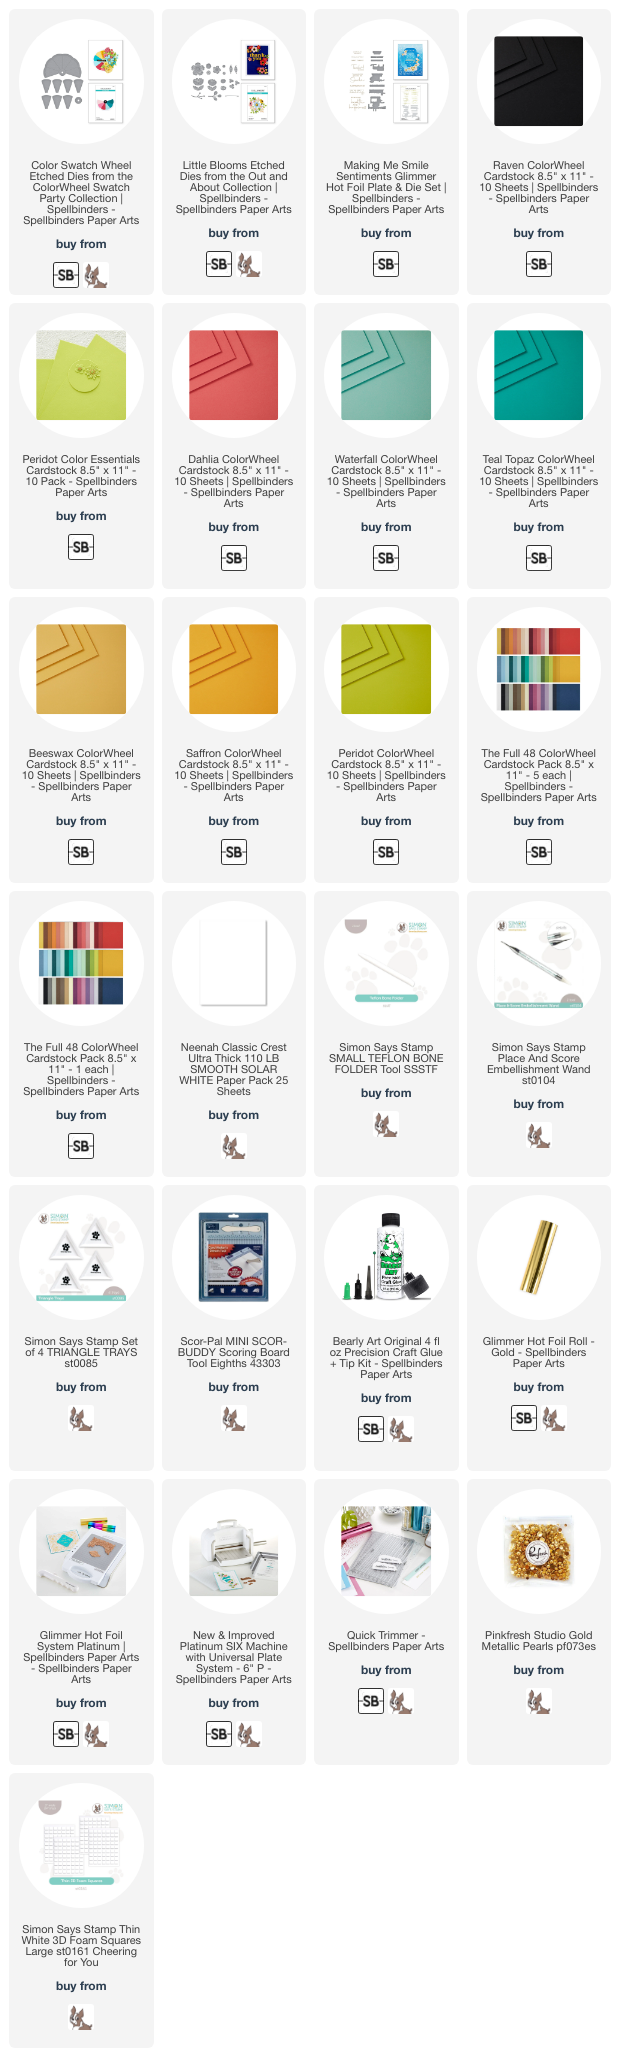
NOTE: all supplies are linked to multiple sources in the thumbnails at the end of this blog post.
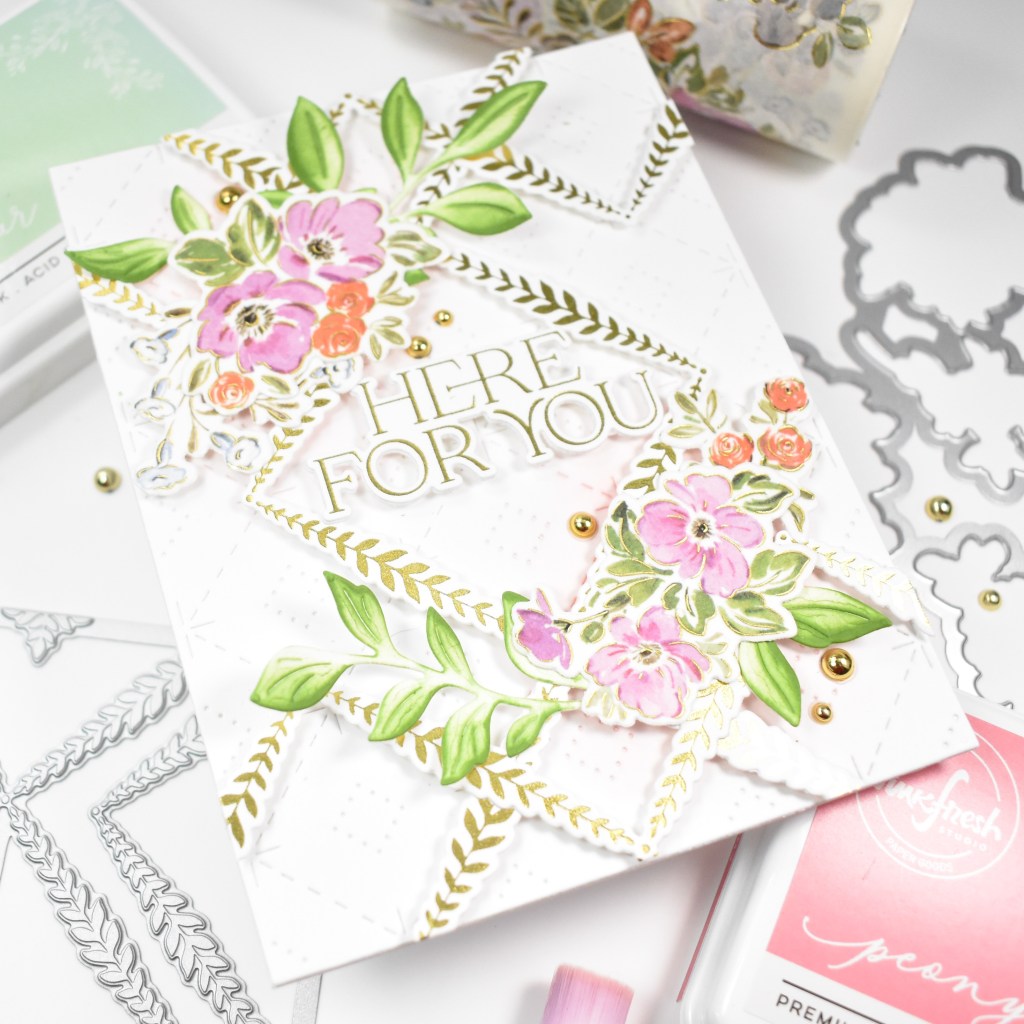
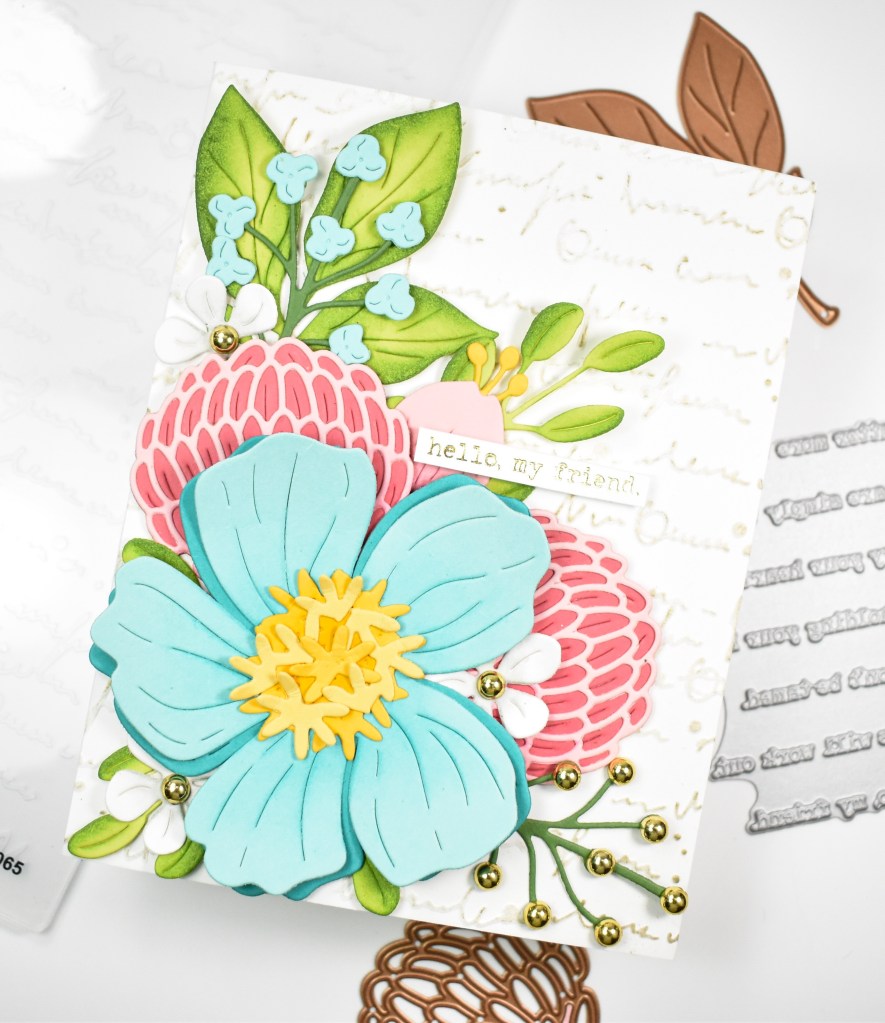
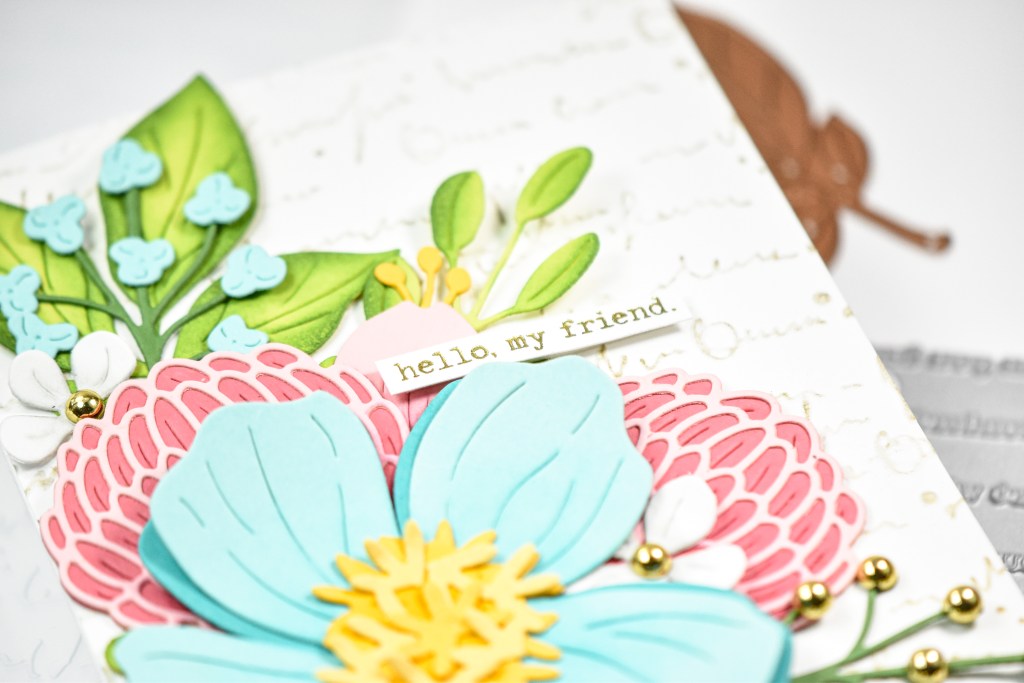
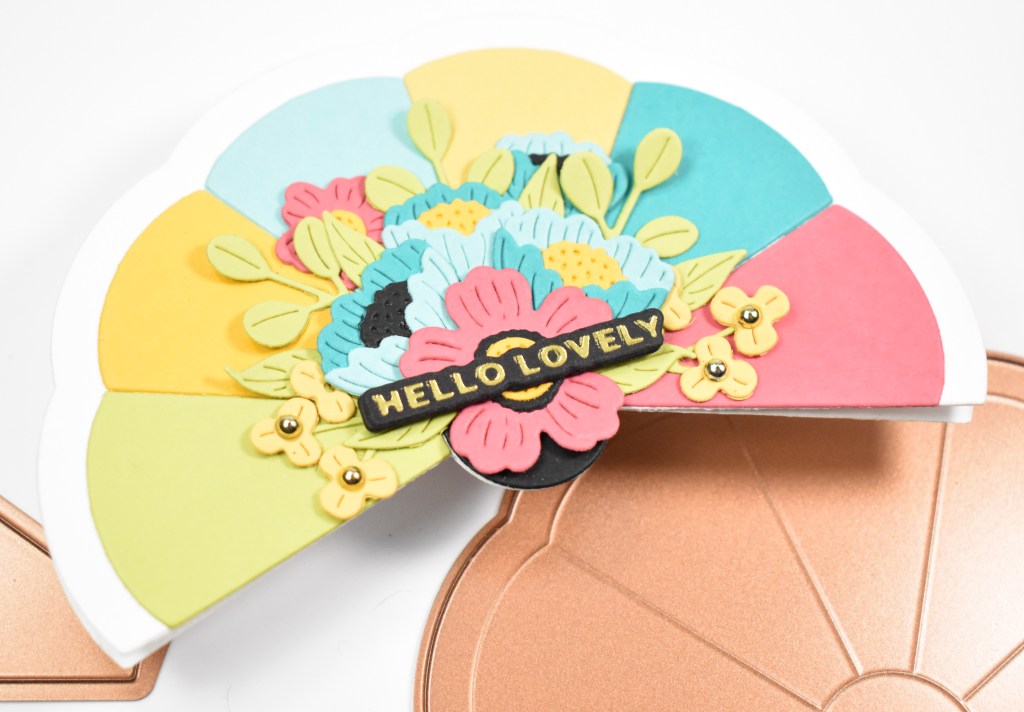
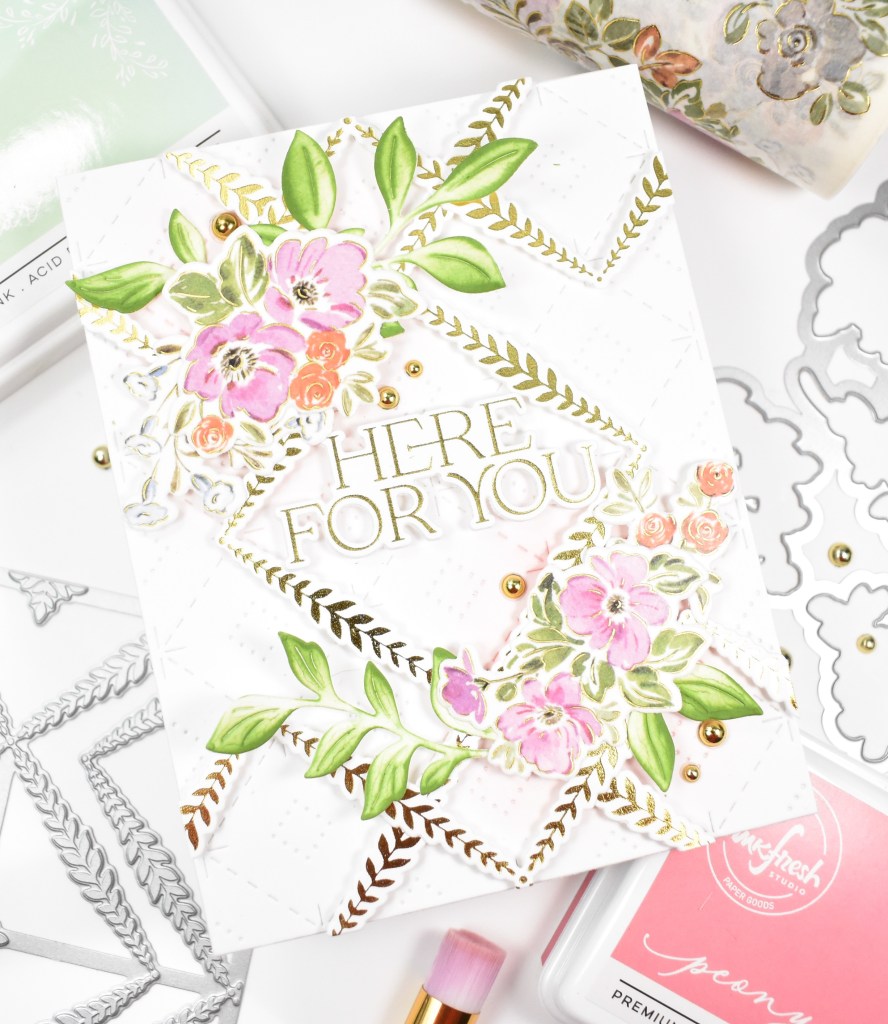
I began this project by smoothing out a panel of the washi tape onto Neenah 110lb cardstock, and using the coordinating die to trim those pieces out. I then went ahead and gold foiled the Leafy Lattice and trimmed that out with coordinating die as well. I wanted a background for all of my elements, so I used the Sparkling Diamonds die cut. I haven’t been able to locate this die cut on the Pinkfresh website, so I’m not sure if it has been discontinued. But, I thought it worked really well with the way I wanted to orient the lattice.

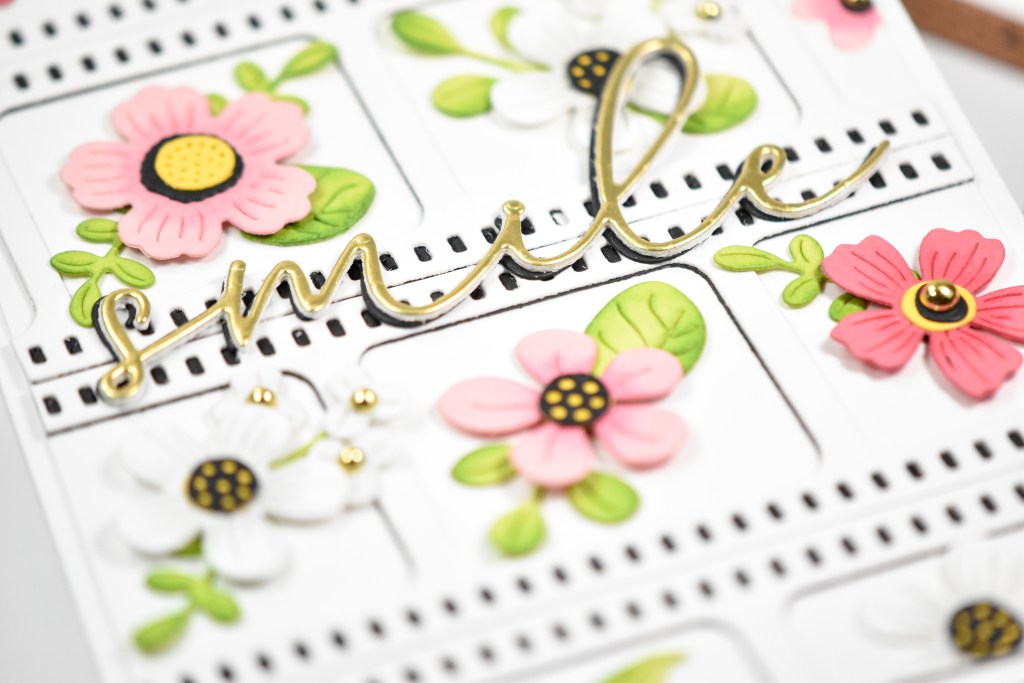
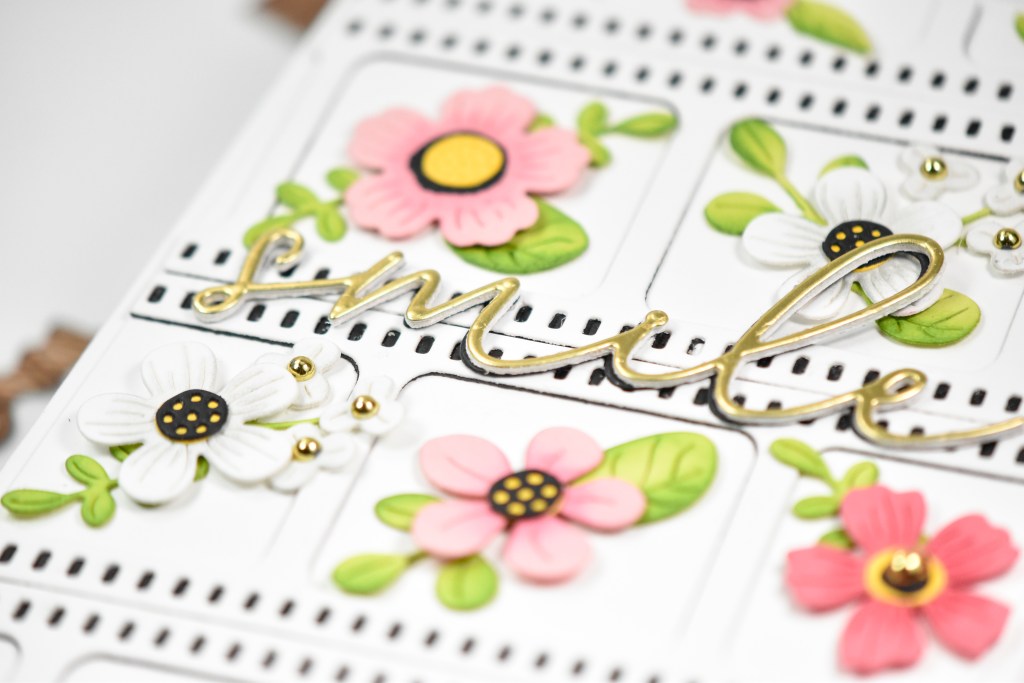
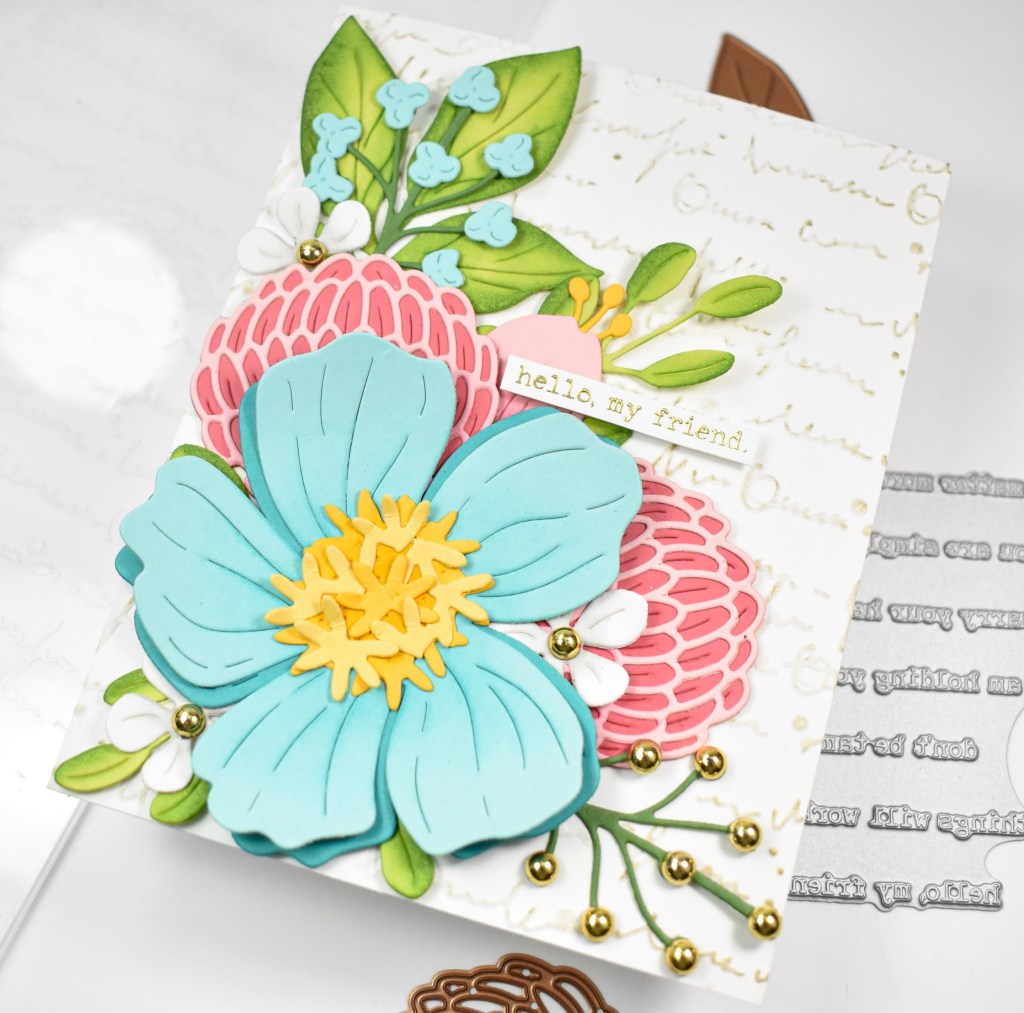
My next step was to play around with the placement of everything, and before adhering anything, I did some light ink blending on the background panel using Peony ink. I placed foam strips on the back of the lattice and adhered that to my panel first. I decided that I needed some additional green leaves, so I used the Fresh Florals die and ink blended those leaves using Fresh Pear and Olive inks.
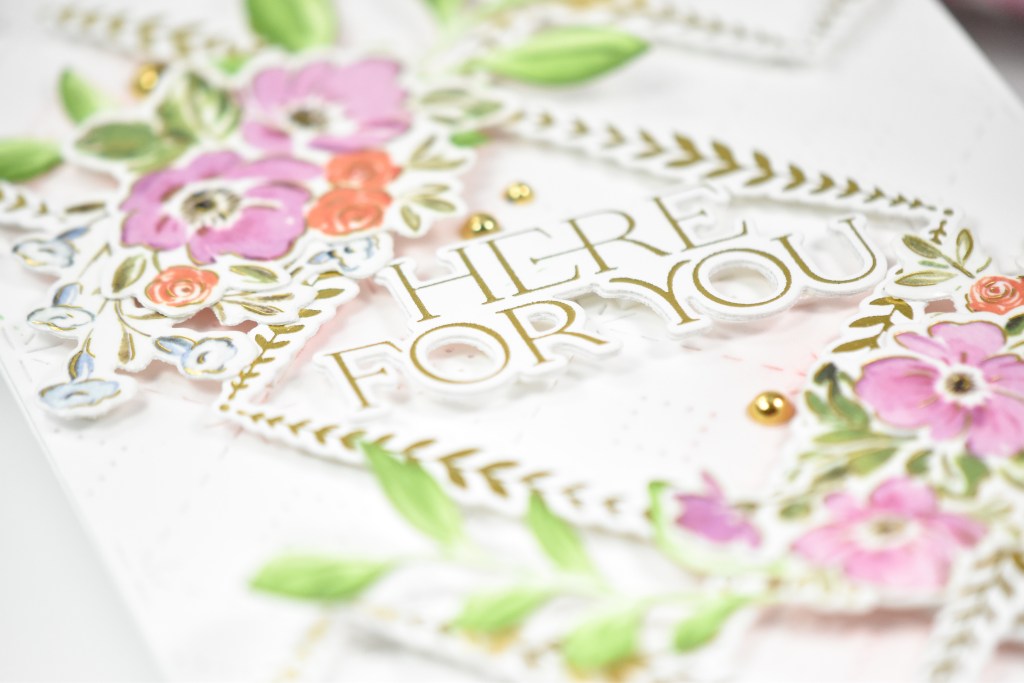
The sentiment was already in my stash, and that is from the Here For You Sentiments Press Plate, which I had gold foiled as well. I went ahead and adhered the sentiment in the center using the same foam strips, glued the green leaves in place, and then adhered the washi tape pieces, again with foam strips. To finish up, I added some Gold Metallic Pearls.

That does it for this project! I hope you enjoyed it as much as I did. If you’ve never tried the Pinkfresh washi tapes, I definitely encourage you to give it a try! They are simple to use, and yield beautiful card results! Thanks again for stopping by, and I hope you have a wonderful day!
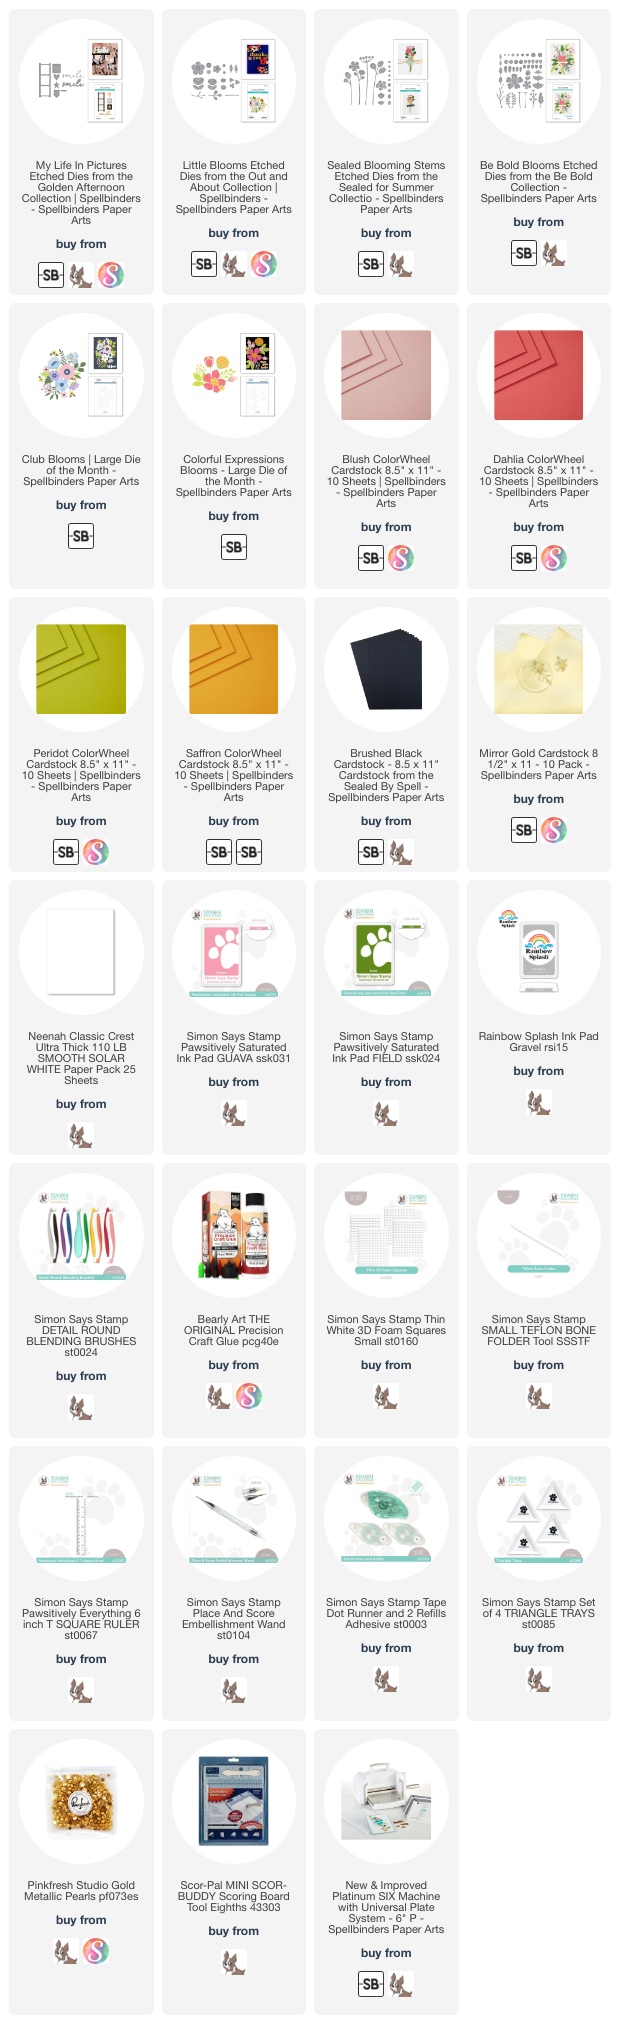
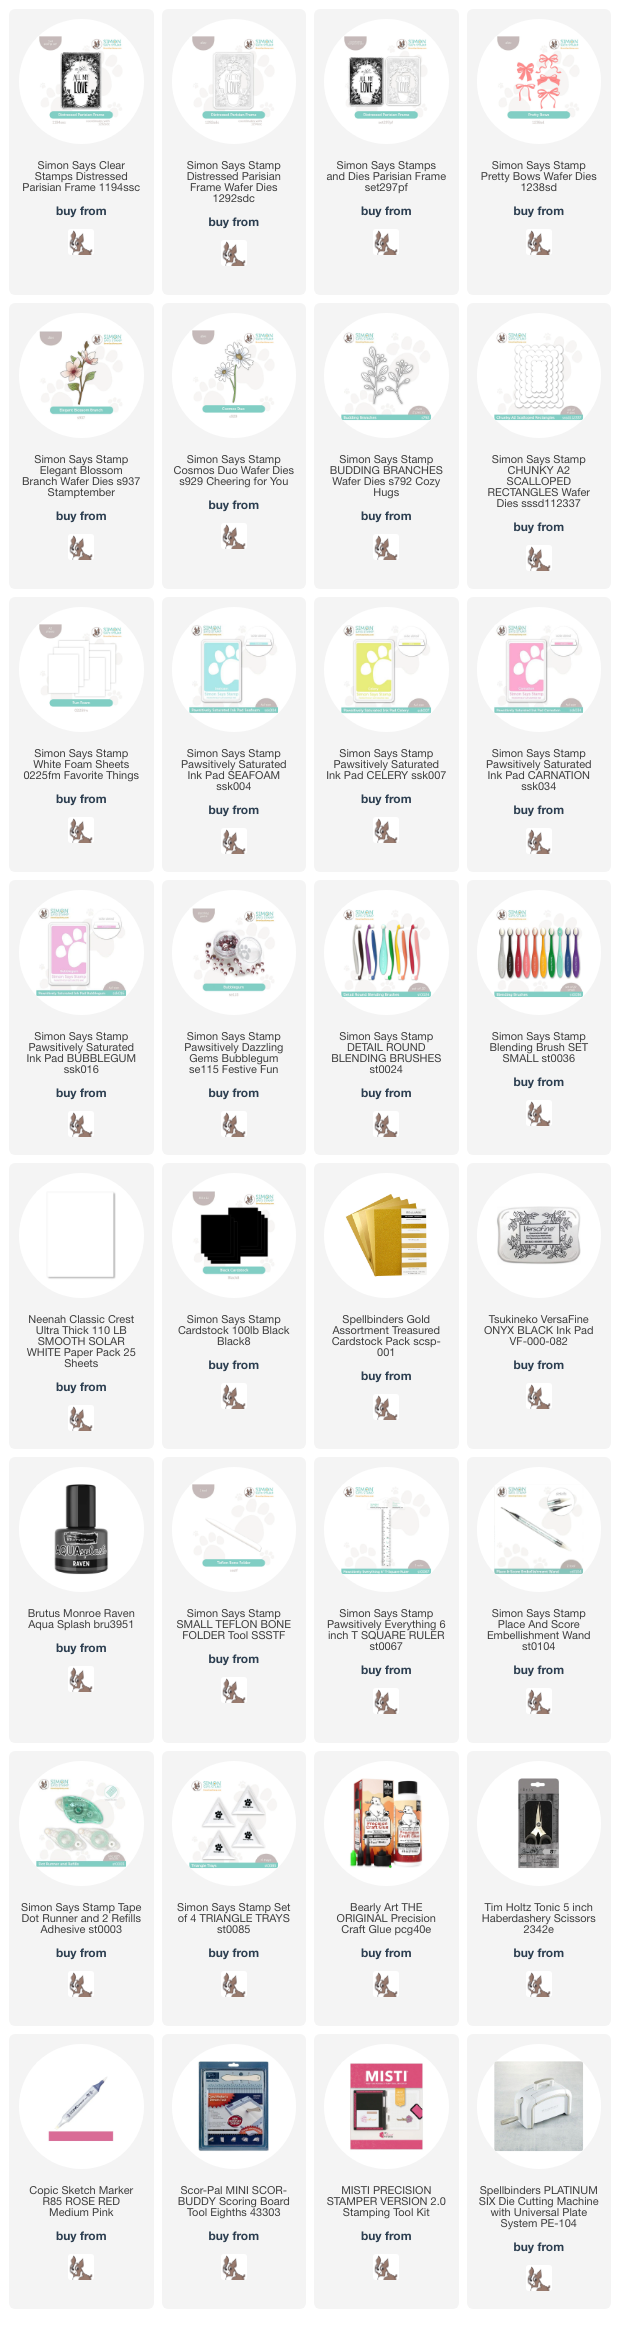
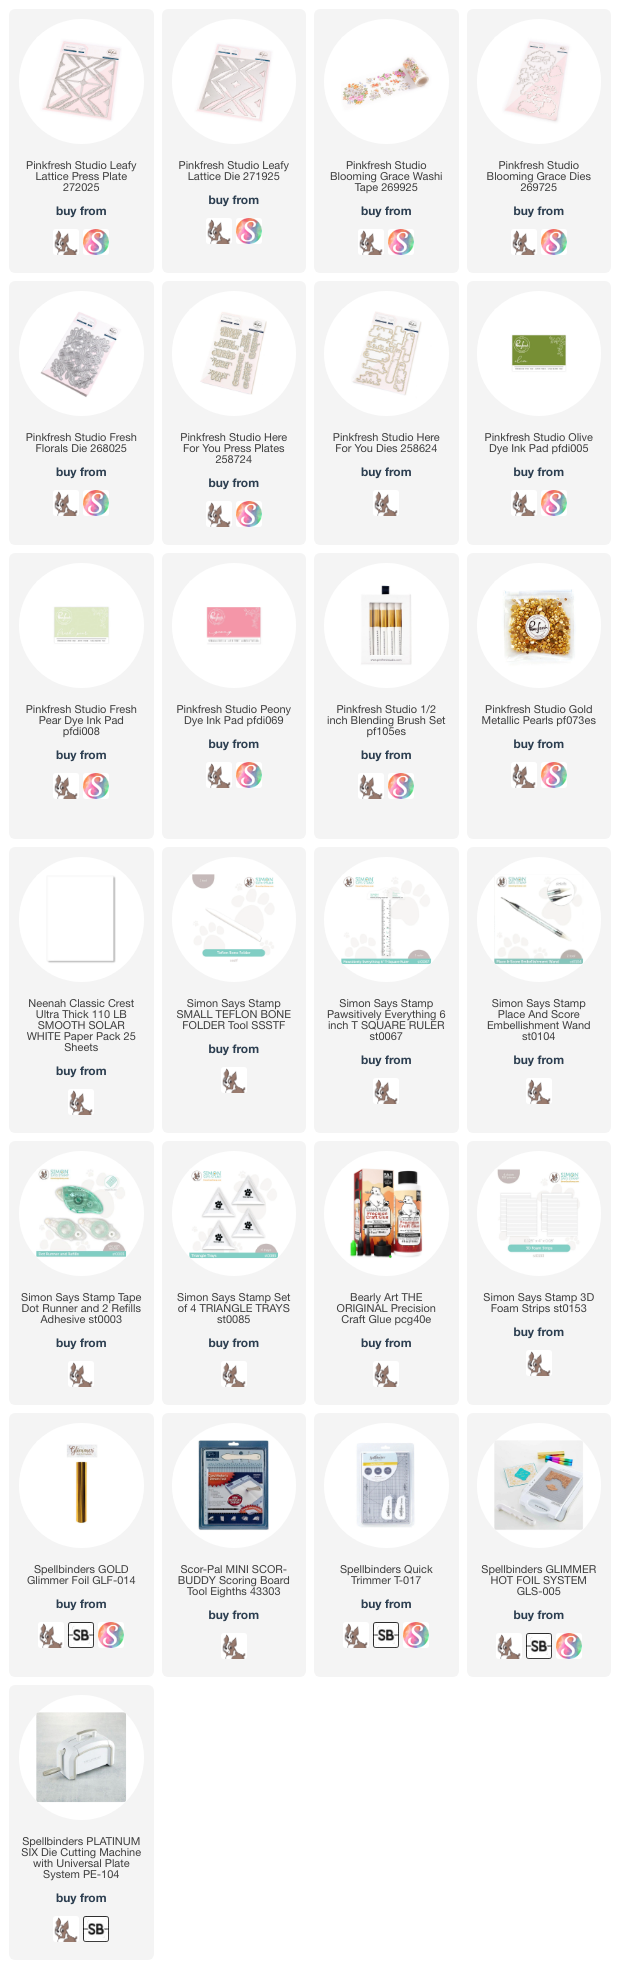
Supply List
Affiliate links used at no cost to you. What does this mean? If you use the links within this post to make a purchase, I receive a small commission, which allows me to continue to post crafty content for your enjoyment. I truly appreciate your support!
Latest Posts
- Simon Says Stamp Braided Greetings

- Together By Design Color Cube Floral

- Simon Says Stamp Cute Duckling

- Simon Says Stamp Watercolor Wild Rose

- Simon Says Stamp Striped Missing You

Latest Instagram Posts