Simon Says Stamp Floral Whirl Leaf

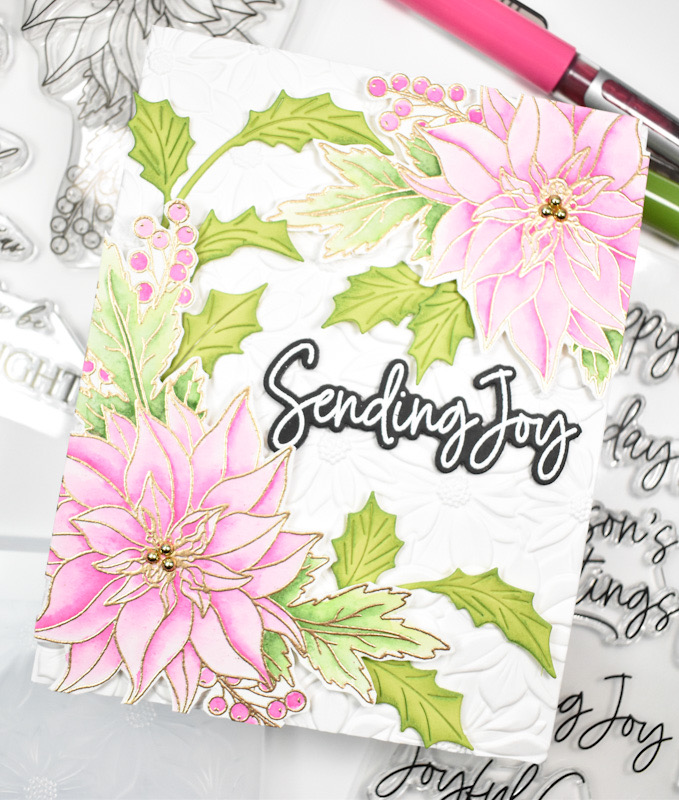
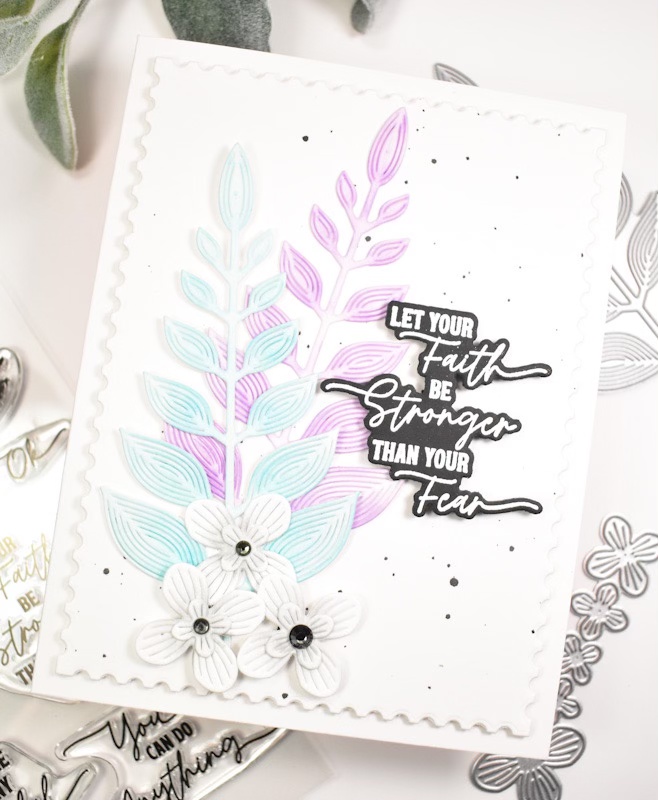
Hello and welcome back, Friends! I’m back today with another project featuring the awesome Whirl Fancy Leaf from Simon’s latest DieCember release! I had a lot of fun with this leaf, and really love today’s project, so let’s go ahead and run through the details, shall we?
NOTE: all supplies are linked in the thumbnails at the end of this blog post.

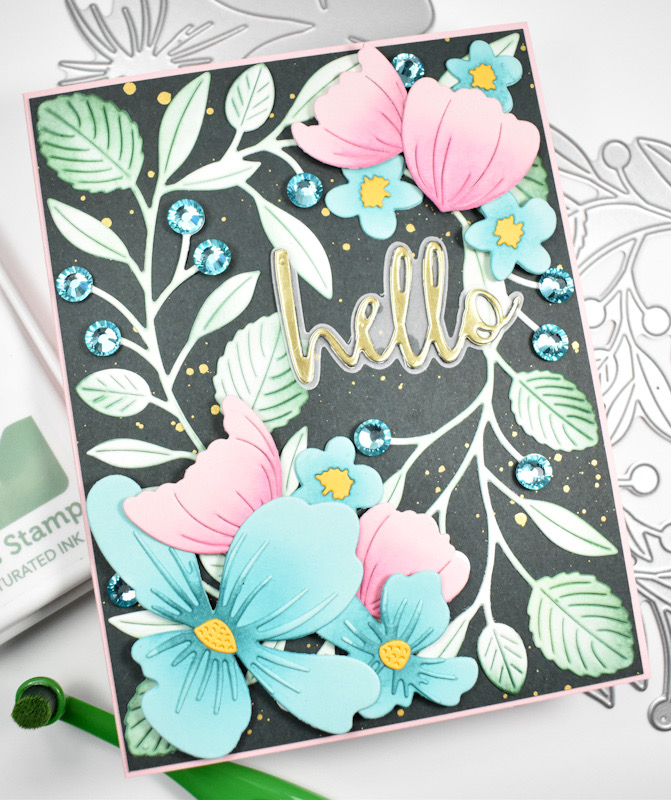
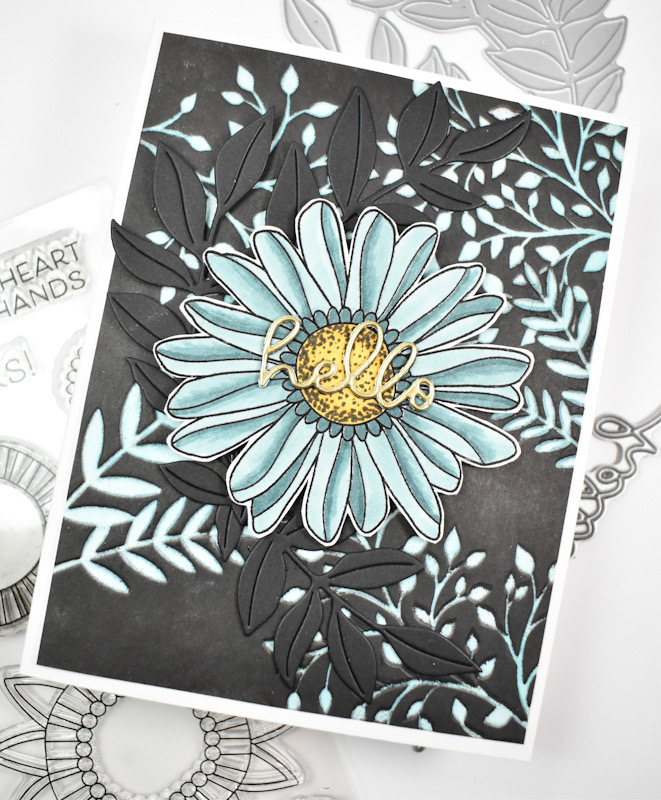
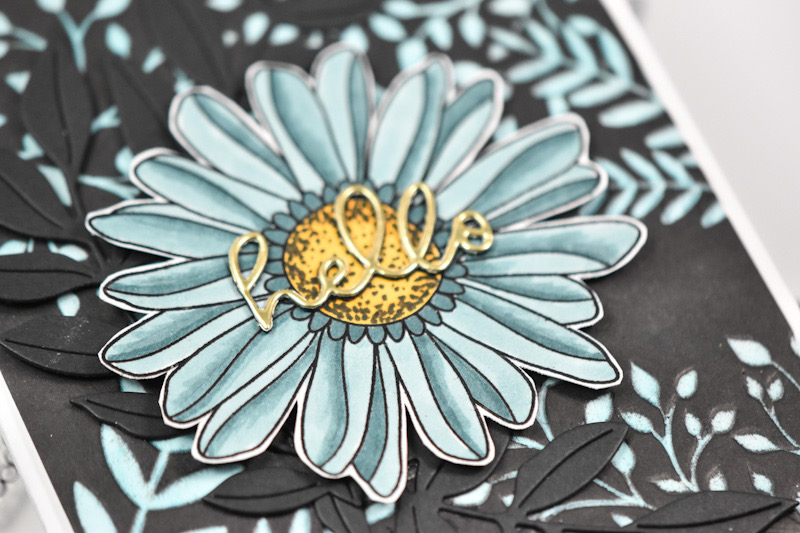
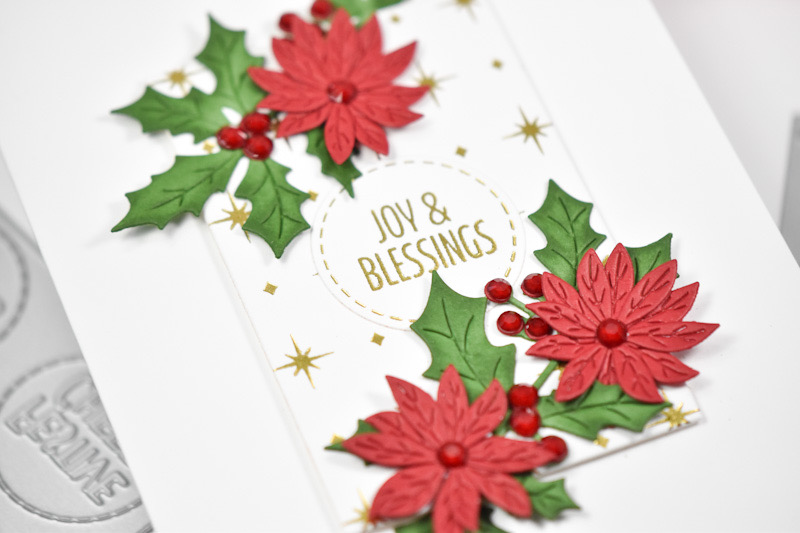
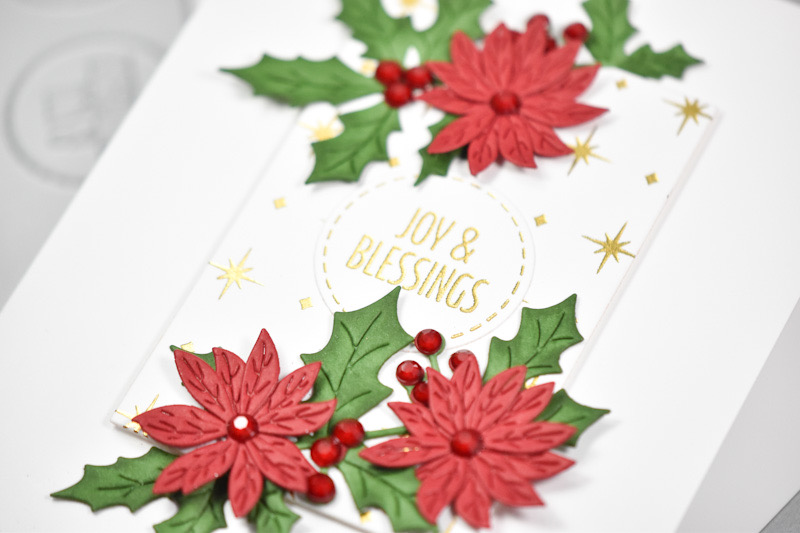
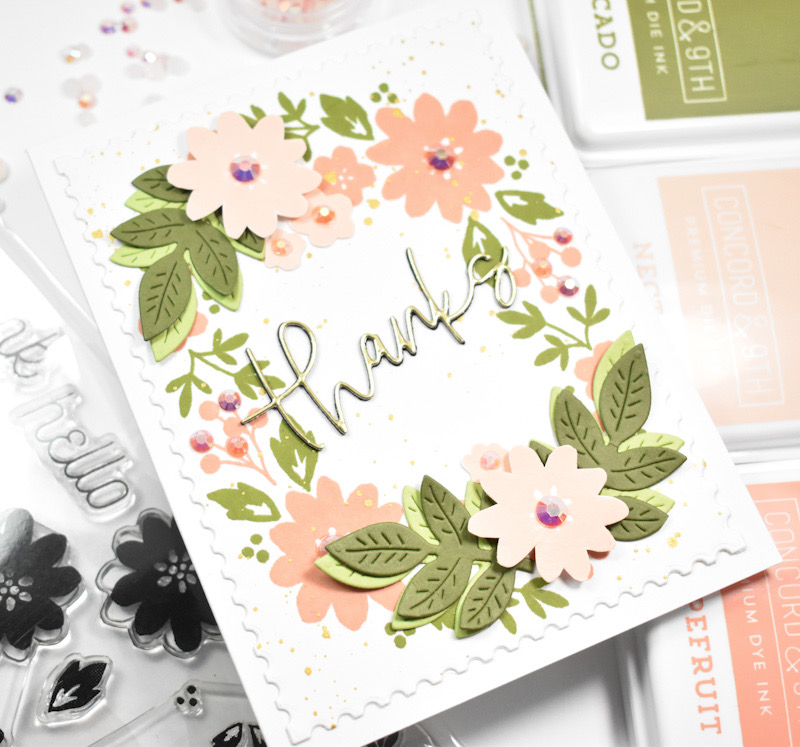
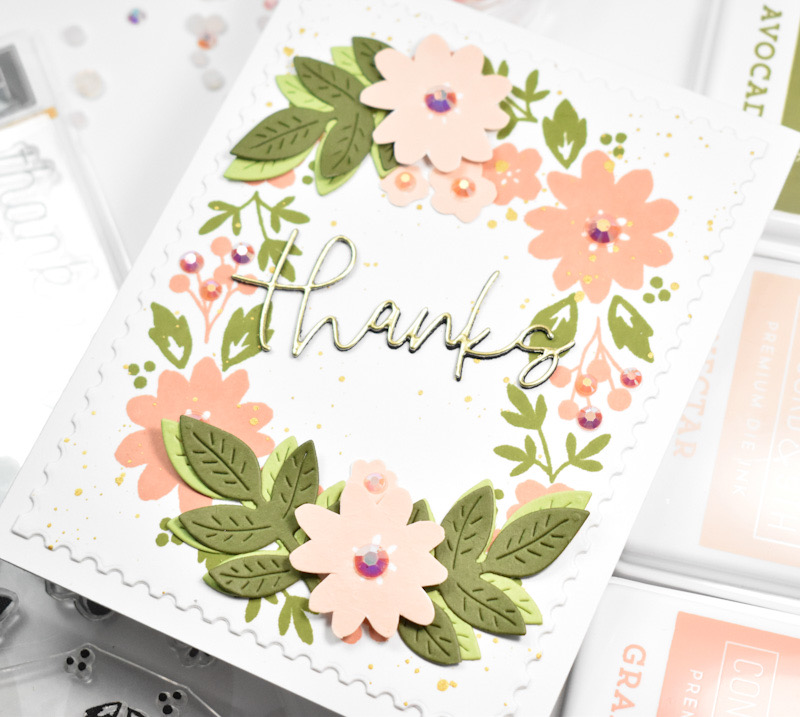
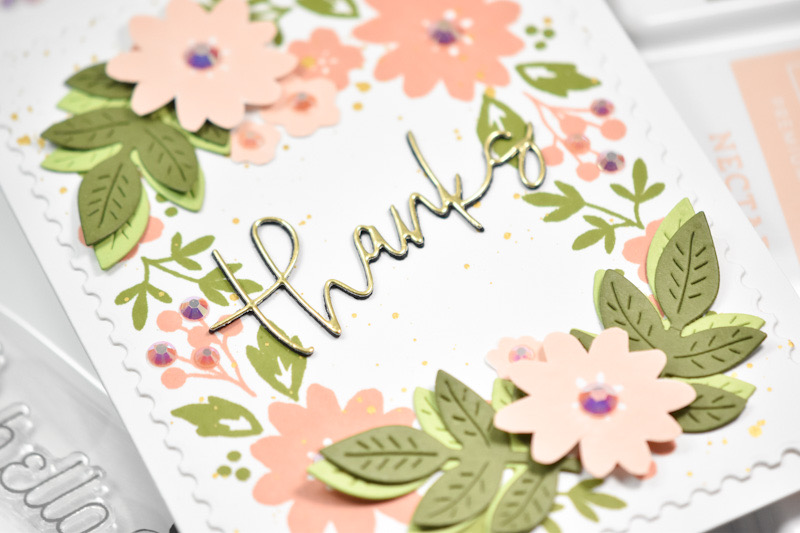
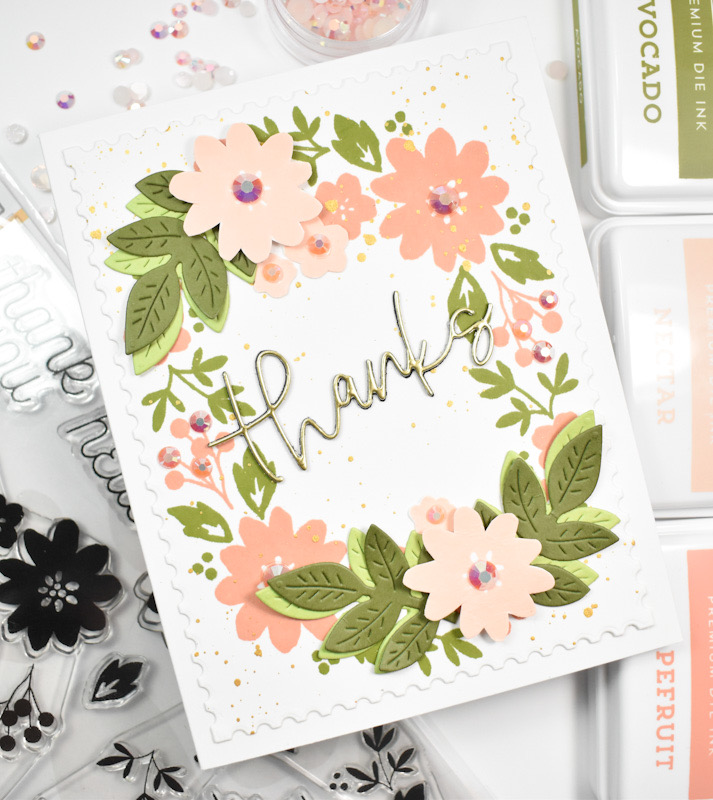
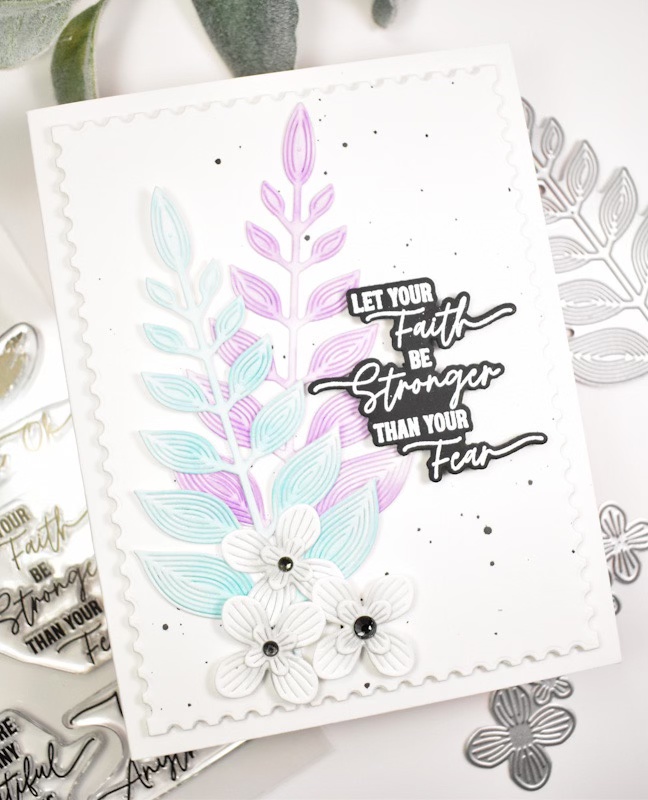
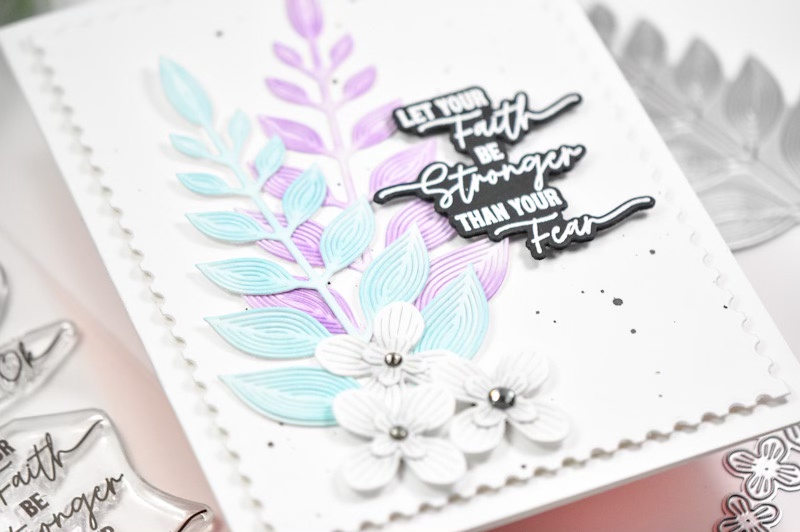
I began this project by die cutting the leaf twice from Neenah 110lb cardstock and did some light ink blending on them using Lilac, Orchid, Seafoam and Surf inks. I had a few leftover flowers from the Hanging Leaf Ring set that I decided to add to this project as well.

Those flowers have some light Gravel ink blending on them, along with some Gunmetal Dazzling Gems. I love the Just Breathe set, so I stamped one of the sentiment onto black cardstock using VersaMark ink and heat set it using SSS Detail White Embossing Powder. That was trimmed out using the coordinating die, along with two additional cuts for added strength and dimension.

I used the Postage Stamp Edge Frames to trim a panel of Neenah 110lb cardstock and splattered that with some black ink before proceeding. This panel was adhered to the card base using foam tape, the leaves were glued into place and the flowers were secured with foam tape. The sentiment was secured with foam strips to finish this project up!
I hope you enjoyed this project as much as I did! I really love the simplicity of it, as well as the colors! Thanks for stopping by to check out today’s project! I hope you have a wonderful day, and don’t forget to stay awesome!
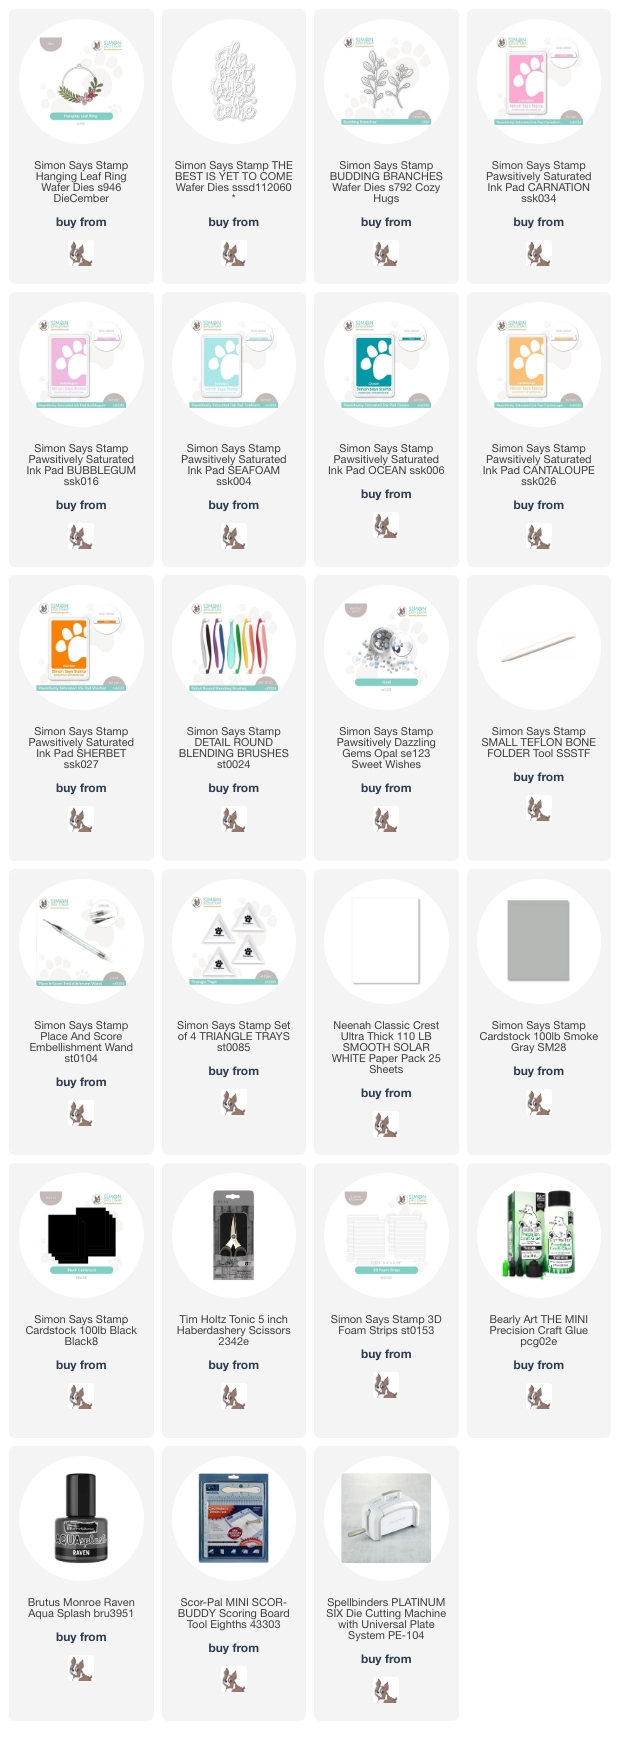
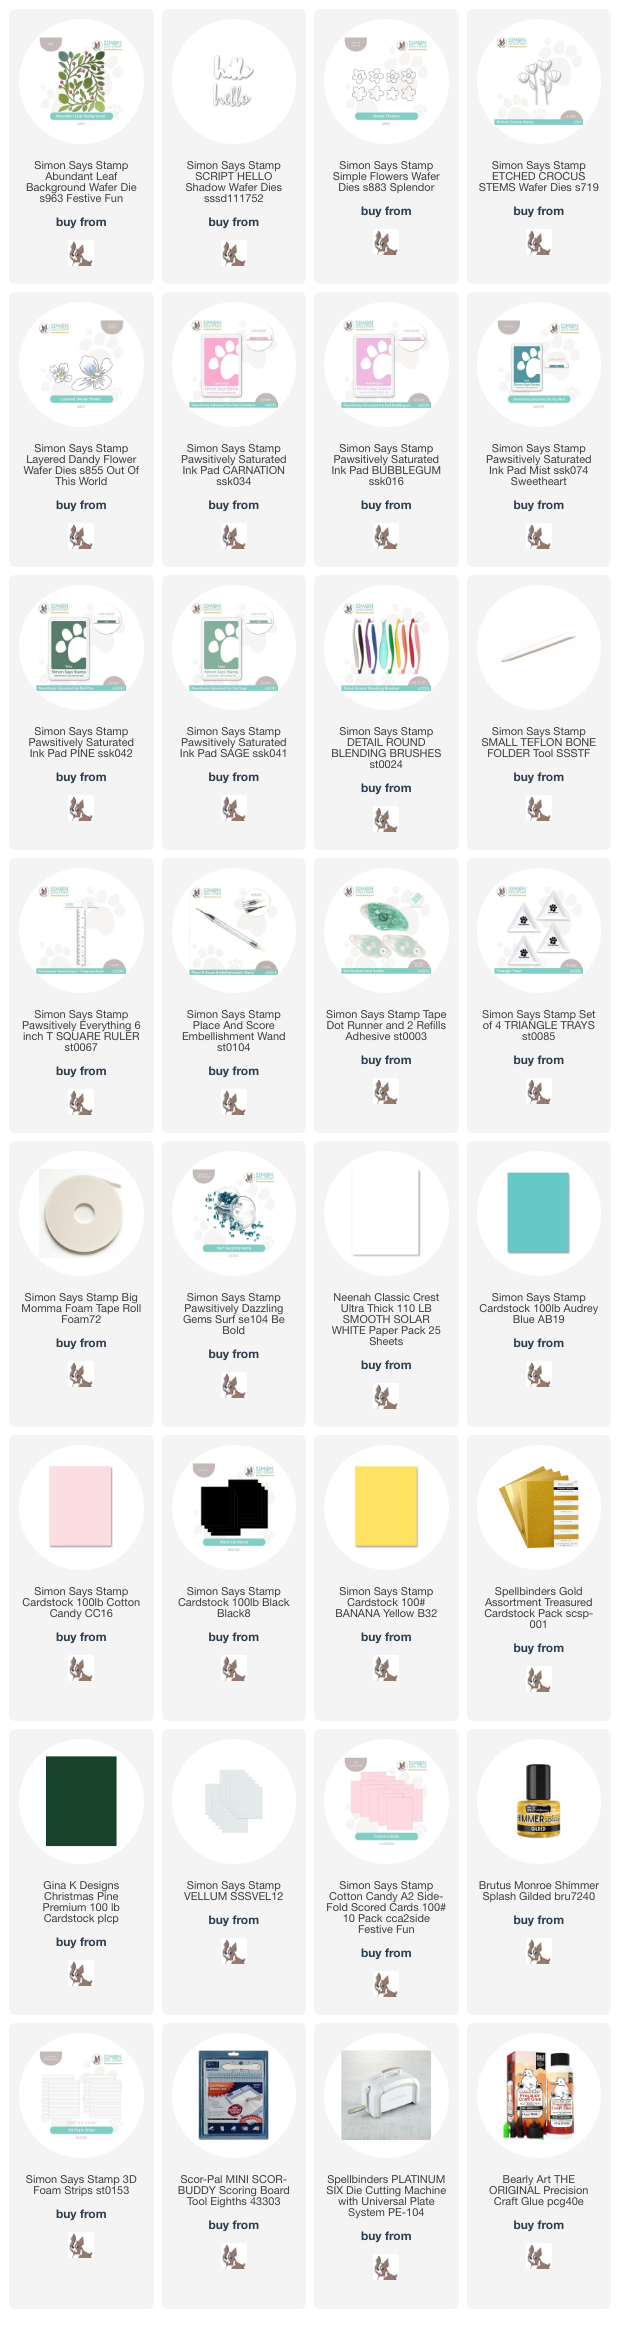
Supply List
Affiliate links used at no cost to you. What does this mean? If you use the links within this post to make a purchase, I receive a small commission, which allows me to continue to post crafty content for your enjoyment. I truly appreciate your support!
Latest Posts
- Simon Says Stamp Braided Greetings

- Together By Design Color Cube Floral

- Simon Says Stamp Cute Duckling

- Simon Says Stamp Watercolor Wild Rose

- Simon Says Stamp Striped Missing You

Latest Instagram Posts