PinkFresh Pastel Joyful Leaves

Hello Friends, and welcome back! I appreciate you stopping by to check out today’s project featuring some new-ish products from PFS! Let’s not waste time and jump right into the details.
Main Products:
- PFS Joyful Day Press Plate, Stencil, Die, Bundle
- PFS Decorative Frames Press Plate, Die, Bundle
- PFS Dotted Chevron
- PFS Modern Script Sentiment Hot Foil Plate (not an affiliate link), Die
- PFS Solid Hot Foil Plate

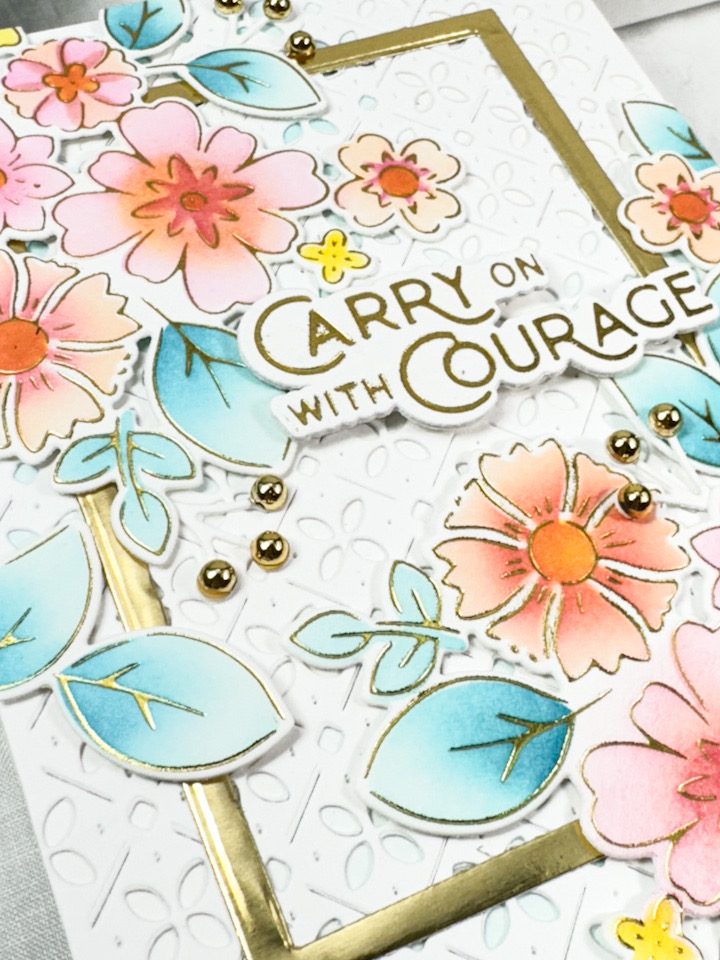
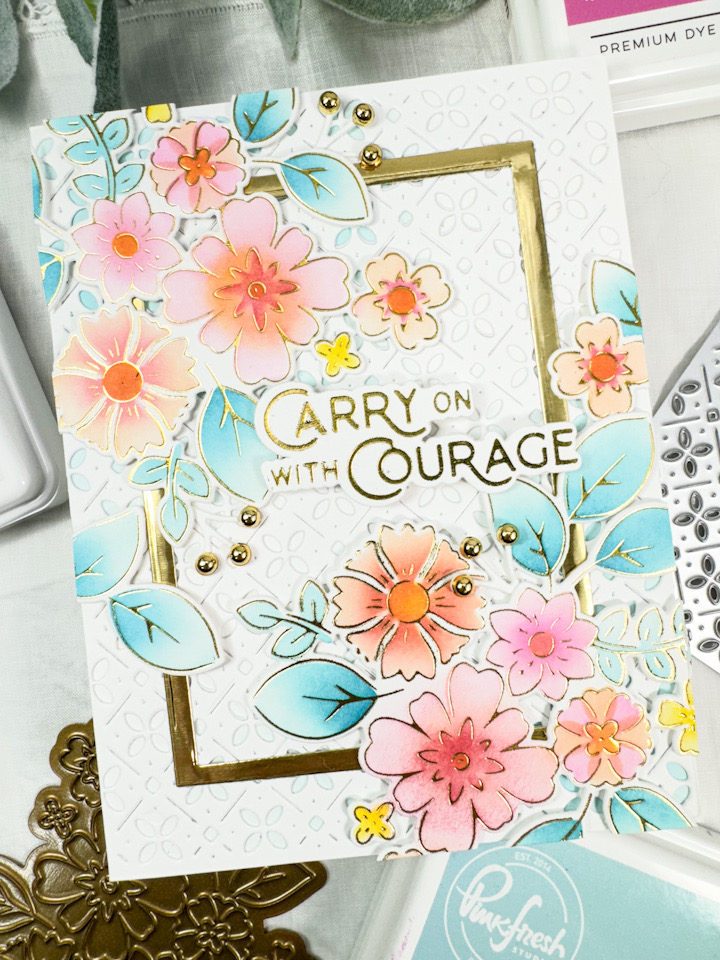
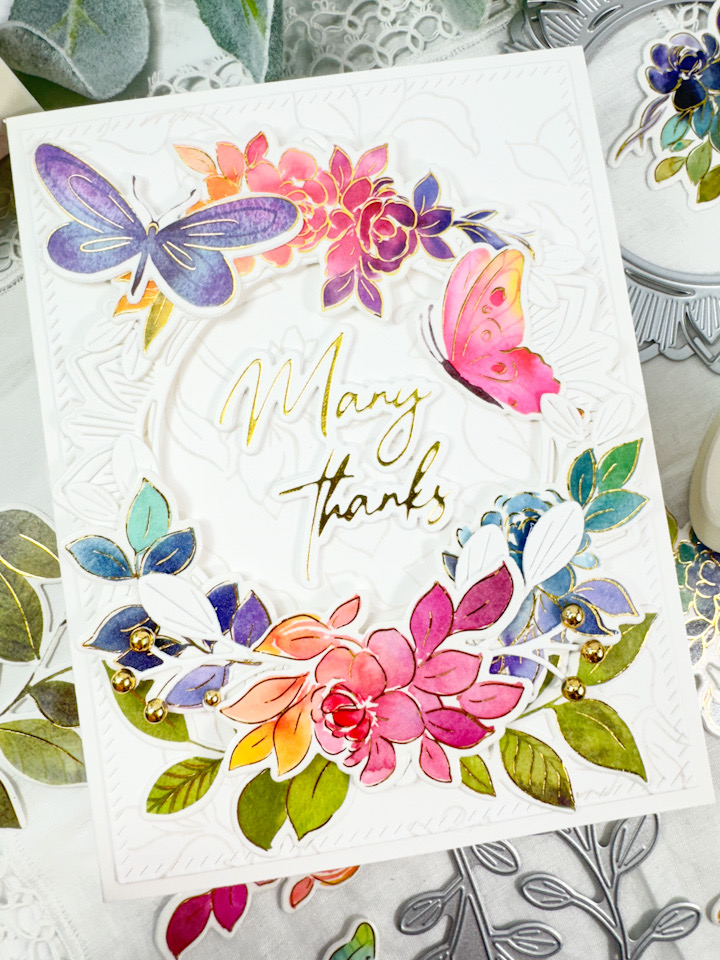
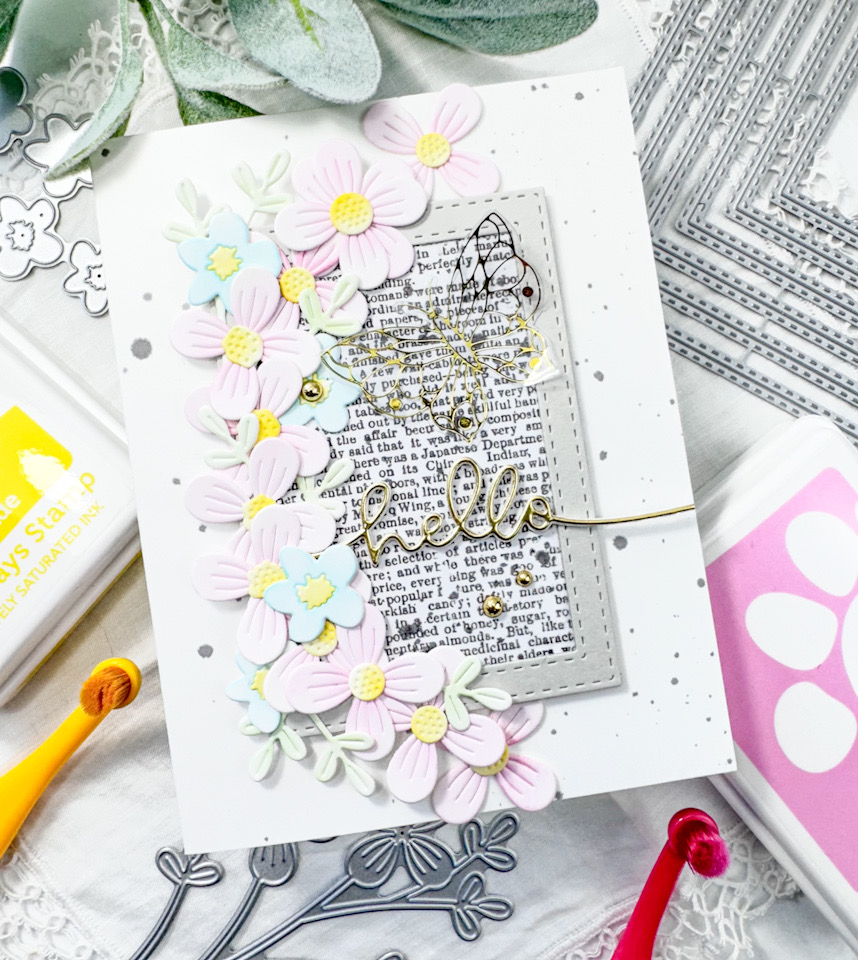
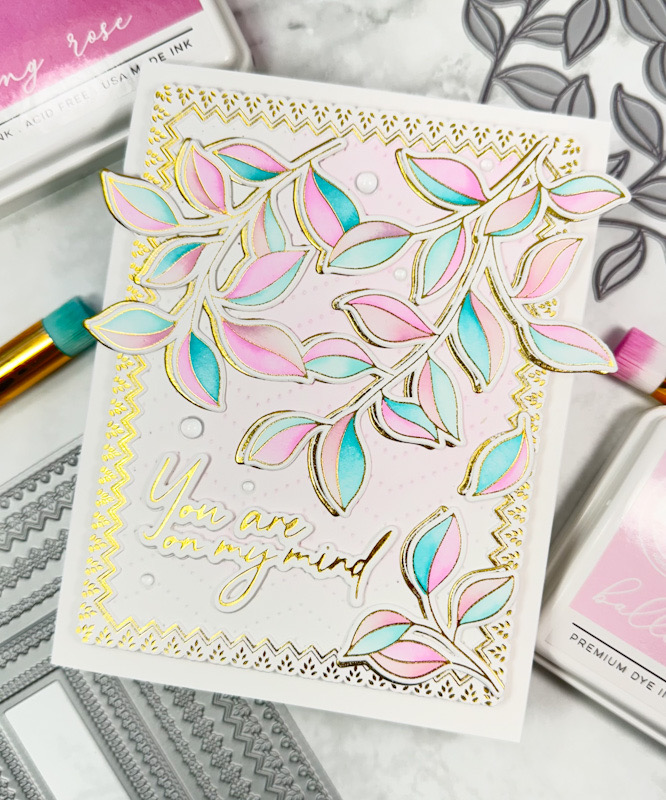
I began this project by foiling the PFS Joyful Day Press Plate using gold foil. Yes, you read that correctly! That’s the great thing about Press Plates .. They can be foiled, they can be inked and used as a press plate, and they can also be used to make an embossed impression if you so desire. No worries if you haven’t delved into the world of press plates, just use your Glimmer machine! I also foiled the PFS Decorative Frames using the same gold foil, along with the sentiment, which is from the PFS Script Sentiments Hot Foil Plate set. The frames were then cut using the coordinating die.
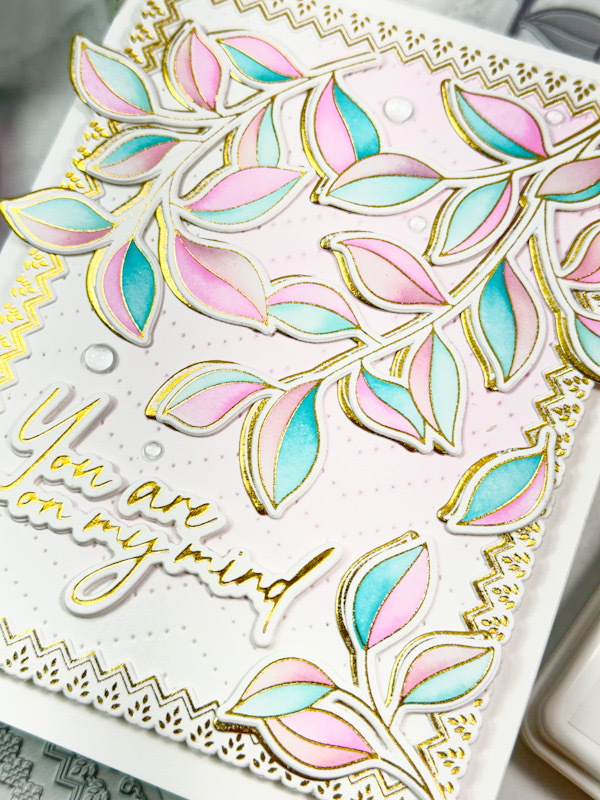
Moving on .. Since the machine was already hot, I used the PFS Solid Hot Foil Plate to go ahead and transfer the reverse image of the Joyful Day onto a panel of Neenah 110lb cardstock, because I wanted to use that as well. Before using the coordinating die to trim the leaves out, I used the coordinating stencil to do some ink blending using PFS inks in Ballet Slipper, Sparkling Rose, Ocean Breeze and Turquoise.

The sentiment was cut two additional times and glued together for a stacked sentiment, which I really enjoy! Now that I have all of the pieces for the card, I started playing around with placement, and decided that I wanted a textured background inside the frame, so I used the PFS Dotted Chevron for that. I did some very light ink blending in the upper corner using the same Sparkling Rose ink, and I just trimmed it down to fit inside the frame without any of the edges showing.
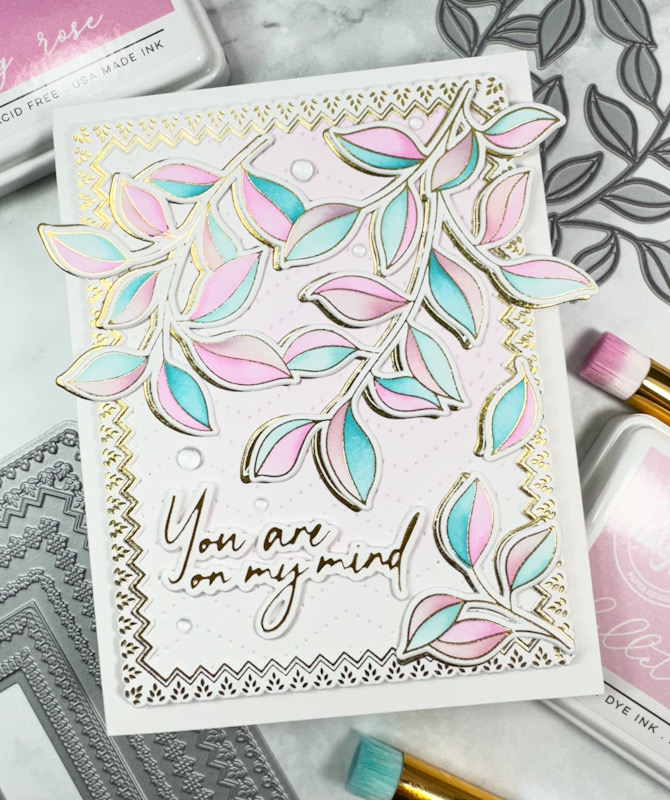
I adhered the ink blended leaves atop the gold leaves with liquid glue and also glued the chevron panel behind the frame. The leaves were then glued in place, along with the sentiment, and the panel was secured to the card base with foam tape for some added dimension. To finish up, I added a few clear drops.
That does it for this one! I hope you enjoyed it, and I hope it inspires you to get crafty in your space! Thanks again for stopping by, and don’t forget to stay awesome!
Other Products:
- PFS Ink: Ballet Slipper, Sparkling Rose, Ocean Breeze, Turquoise
- PFS Blending Brushes
- PFS Triangle Tray
- Spellbinders Gold Foil
- Spellbinders Glimmer Hot Foil System
- Spellbinders Platinum 6
- Neenah Classic Crest Solar White 110lb Cardstock
- SSS Place and Score Embellishment Wand
- SSS Bone Folder
- Bearly Art Glue
- Foam Tape
- Scor-Buddy
- Clear Drops
* Affiliate links used at no cost to you. What does this mean? If you use the links within this post to make a purchase, I receive a small commission, which allows me to continue posting crafty content for your enjoyment. I truly appreciate your support!
Latest Posts
- Simon Says Stamp Grateful Heart

- Simon Says Stamp Braided Greetings

- Together By Design Color Cube Floral

- Simon Says Stamp Cute Duckling

- Simon Says Stamp Watercolor Wild Rose