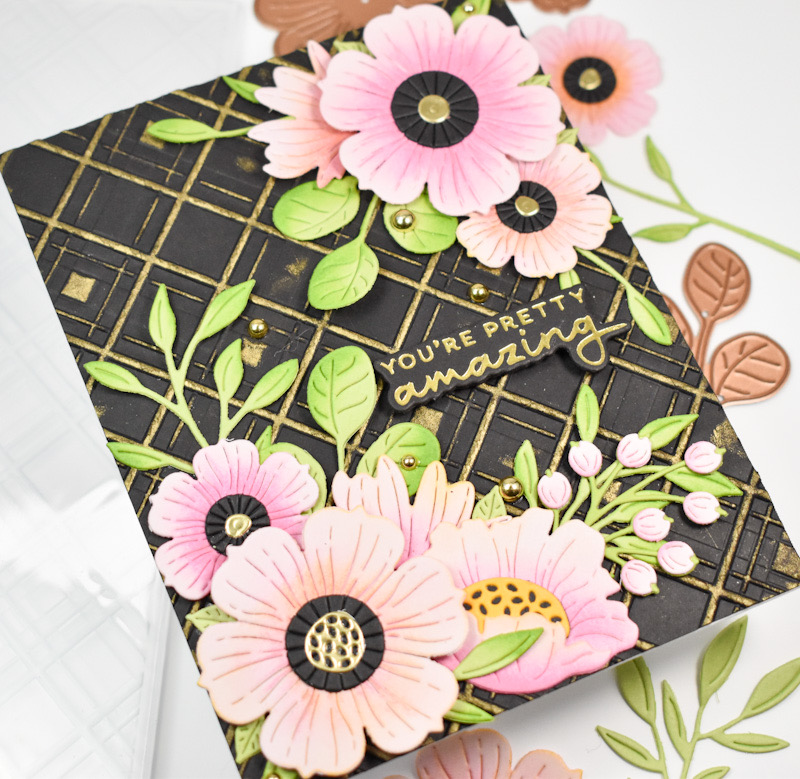
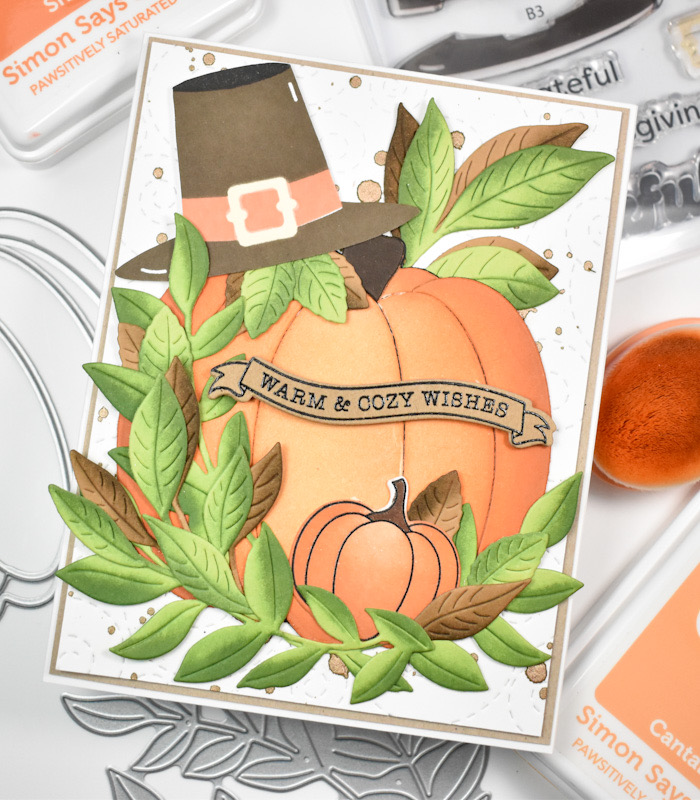
Simon Says Stamp Give Thanks Pumpkin

Hello Crafty Friends, and welcome back! Simon’s STAMPtember release has dropped, and I’m curious what your favorites are? If you know me, you know that the florals and leaves are my favorites! Today’s project is featuring the new Give Thanks & Eat Pie set that I used in a different way. Let’s run through the details, shall we?
NOTE: all supplies are linked in the thumbnails at the end of this blog post.

This stamp set really isn’t my style, but I had the idea of putting the pilgrim hat on top of a pumpkin, so that’s the direction that I went! I began this project by die cutting the SSS Layered Pumpkin from Neenah 110lb cardstock, assembling the pumpkin and ink blending it using SSS Pawsitively Saturated Ink in Cantalope, Sherbet and Nutmeg.

I also die cut some leaves from green and brown cardstock using the SSS Lush Leaves and the SSS Arching Leaf Border. Those were ink blended as well using Artichoke and Mocha ink. I stamped the pilgrim hat, which is a layered stamp set, using the Mocha ink along with Clay, Buttercream and Black. Once the stamping was done, I fussy cut the hat and set that aside. I needed another smaller pumpkin and a sentiment, so I went to the SSS Happy Fall Y’all set and stamped those elements using VersaFiny Onyx Black ink and heat set them using Ranger Clear Embossing Powder. Those were cut out using the coordinating dies and set aside as well. In trying to link to the Happy Fall Y’all set, it would appear that this set has been discontinued, unfortunately.

The background panel uses the SSS Stitched Whirl Background along with some splatter from TH Distress Mica Spray Crooked Broomstick. Now to assemble the card! I began by gluing the background leaves in place first and then the large pumpkin, and next were the other leaves. The smaller pumpkin was tucked in and glued in place, while the hat and the sentiment were adhered using foam strips. The panel was then adhered to a brown panel before being adhered to the card base to finish up.

That finishes up this project! Not all stamp sets are going to be your style, but it’s fun to think of different ways to use the elements. Don’t forget to head on over to Simon’s website to check out the entire STAMPtember release! Thanks again for stopping by, and I hope you have an awesome day!

Supply List
Affiliate links used at no cost to you. What does this mean? If you use the links within this post to make a purchase, I receive a small commission, which allows me to continue to post crafty content for your enjoyment. I truly appreciate your support!

Latest Posts
- Simon Says Stamp Thinking of You Whirl Butterflies
- Simon Says Stamp Groovy Birthday

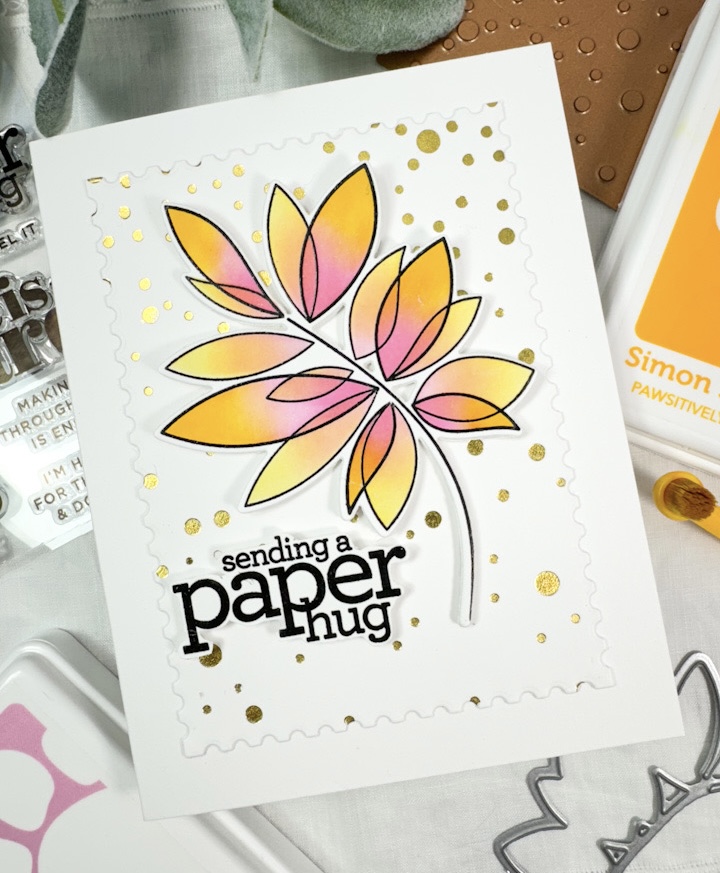
- Simon Says Stamp Amazing Scattered Leaves

- Simon Says Stamp Beautiful Friend Floral

- Together by Design Featuring Pinkfresh Studio