STAMPtember CZ Design Exclusive
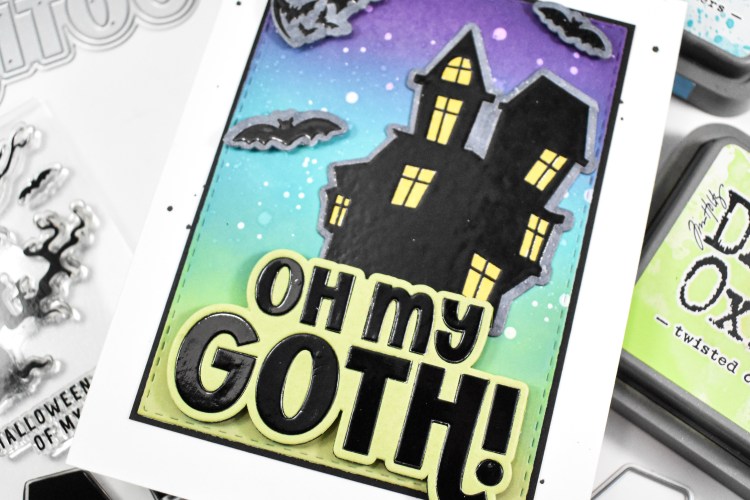
Hello Crafters, and welcome back! Are you having a wonderful STAMPtember with all of the releases, collabs and the new Tim Holtz class coming up? Oh my word, there’s so much going on! For Simon’s 17th year of STAMPtember, they are celebrating CZ Design! Several new products are being released, and I’ll be sharing more, but for today’s post, I’m focusing on the Oh My Goth products. Let’s go ahead and get into the details!
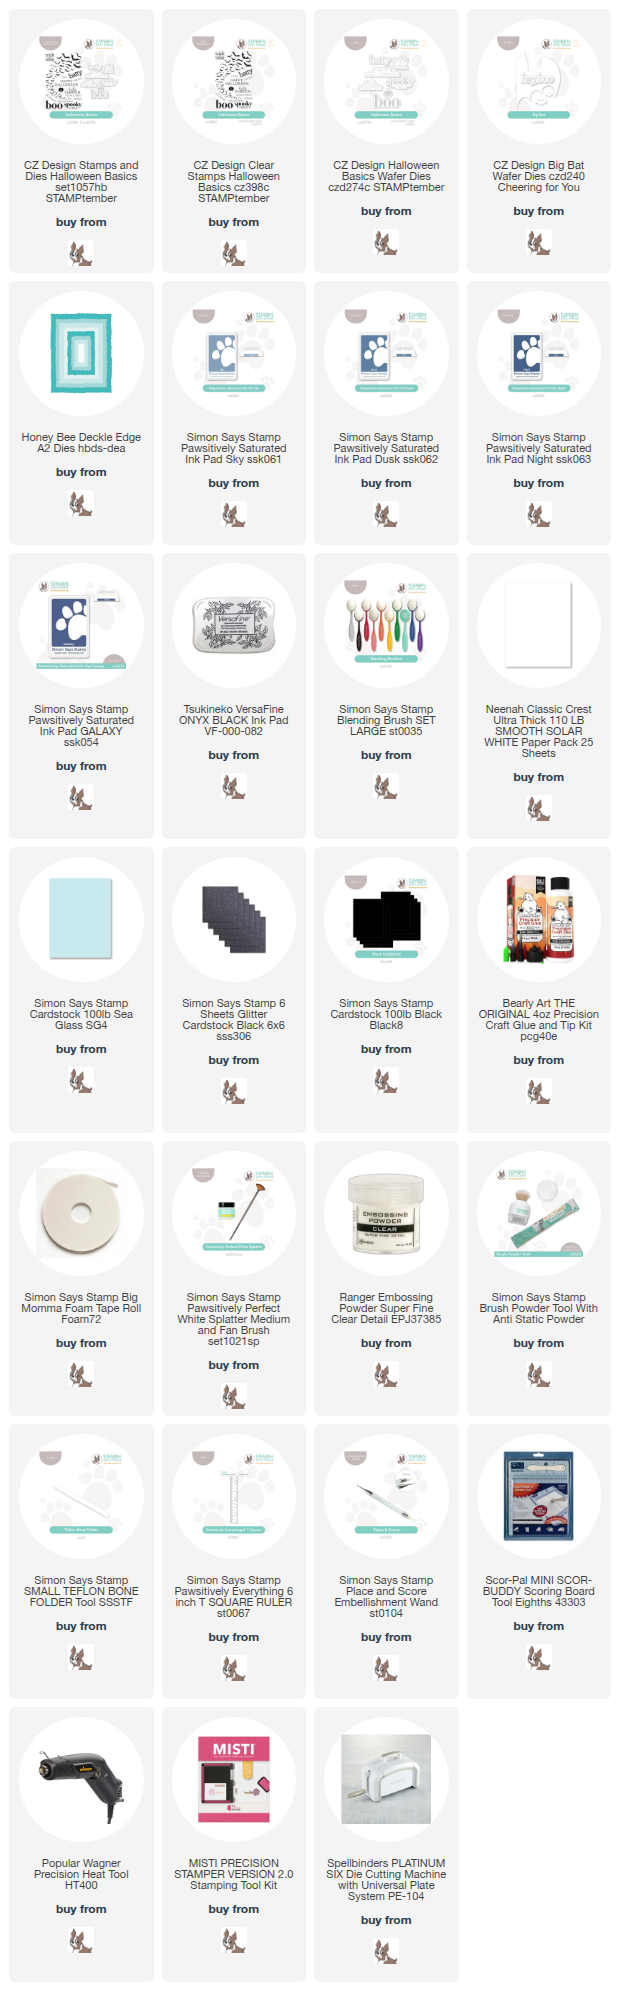
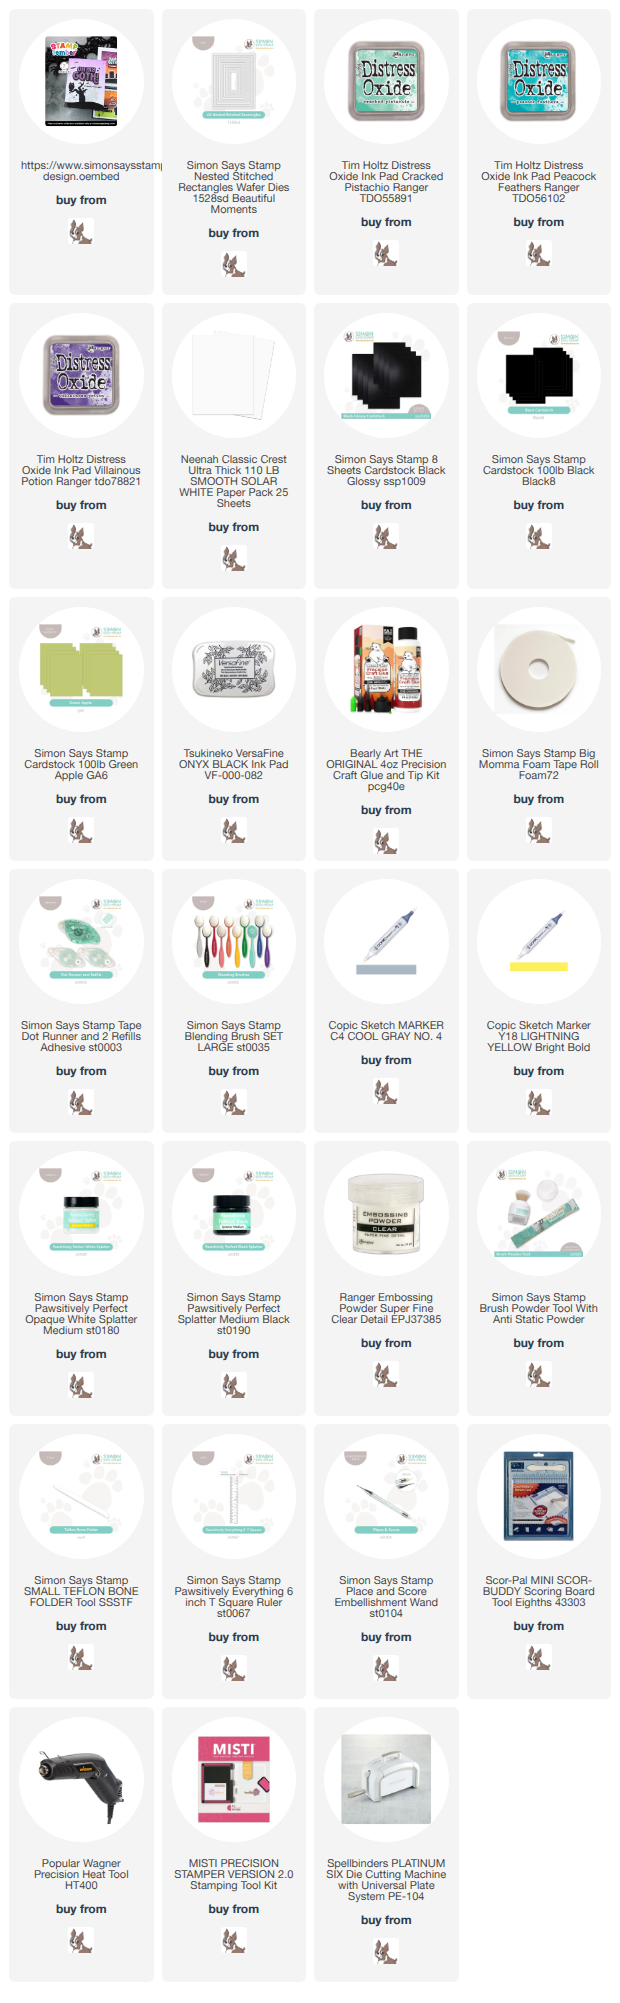
NOTE: all supplies are linked in the thumbnails at the end of this blog post.

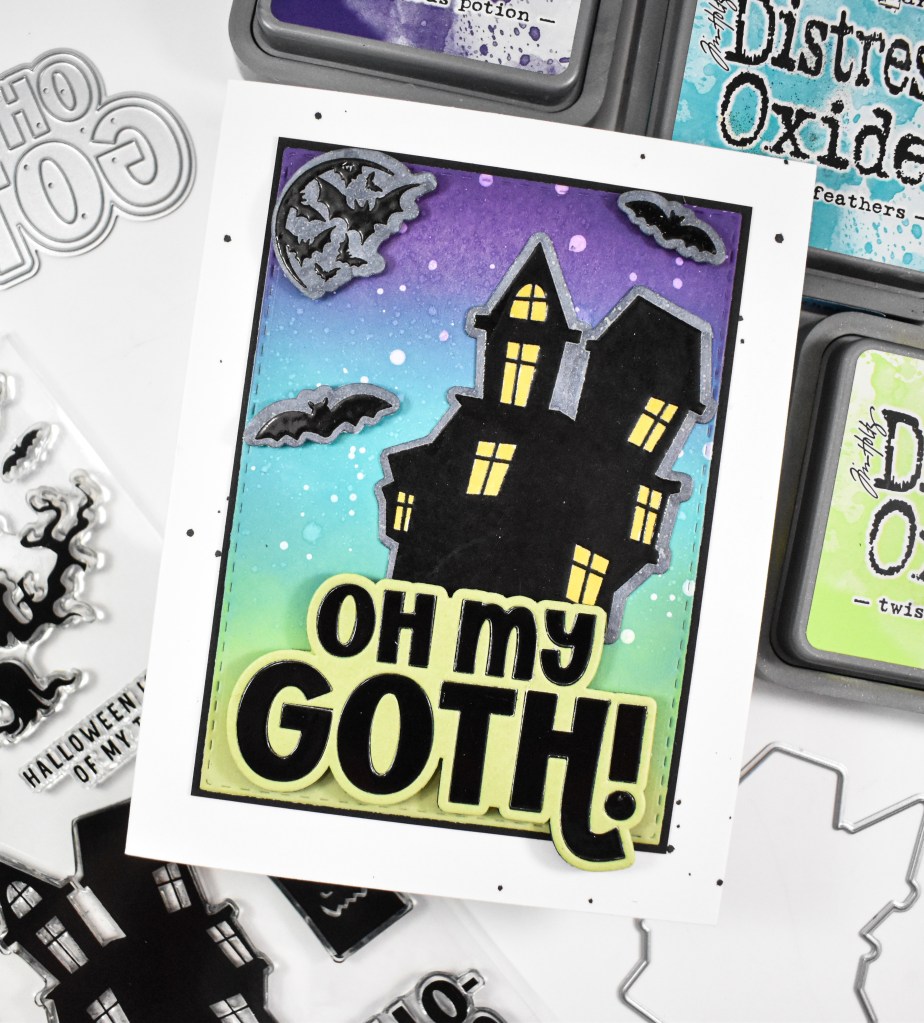
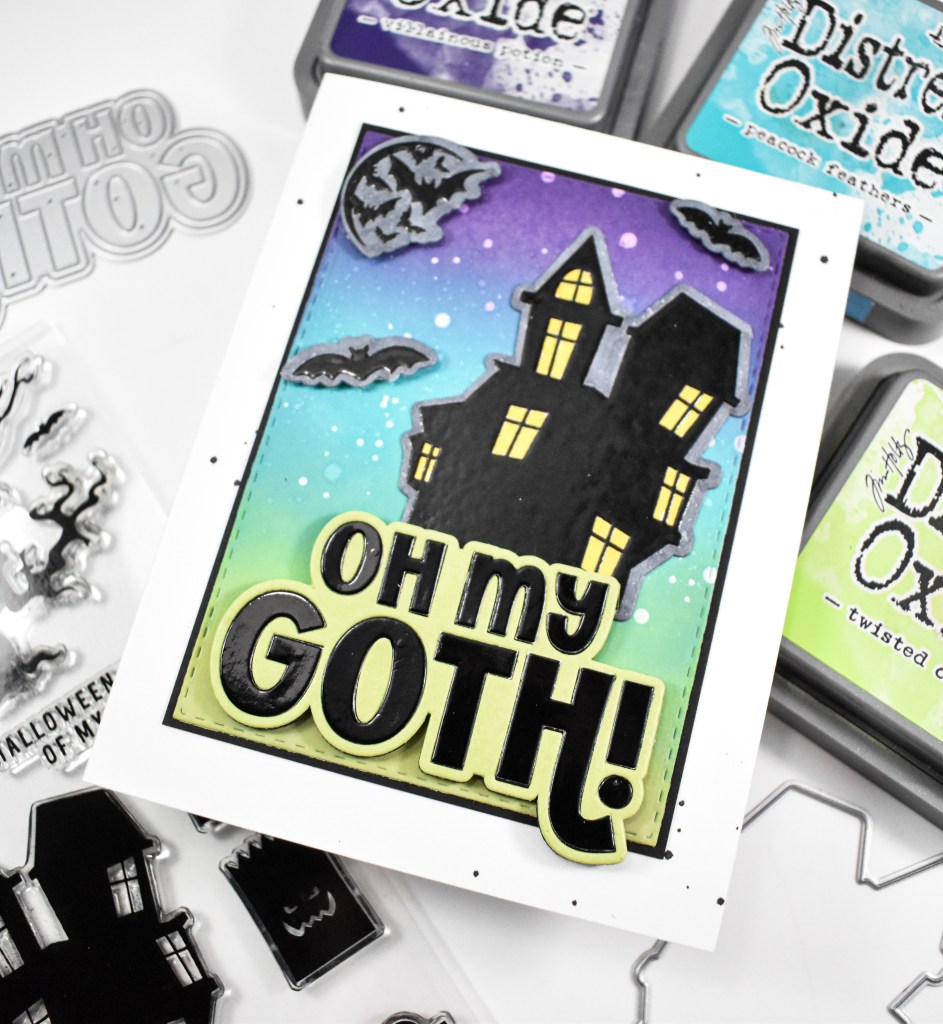
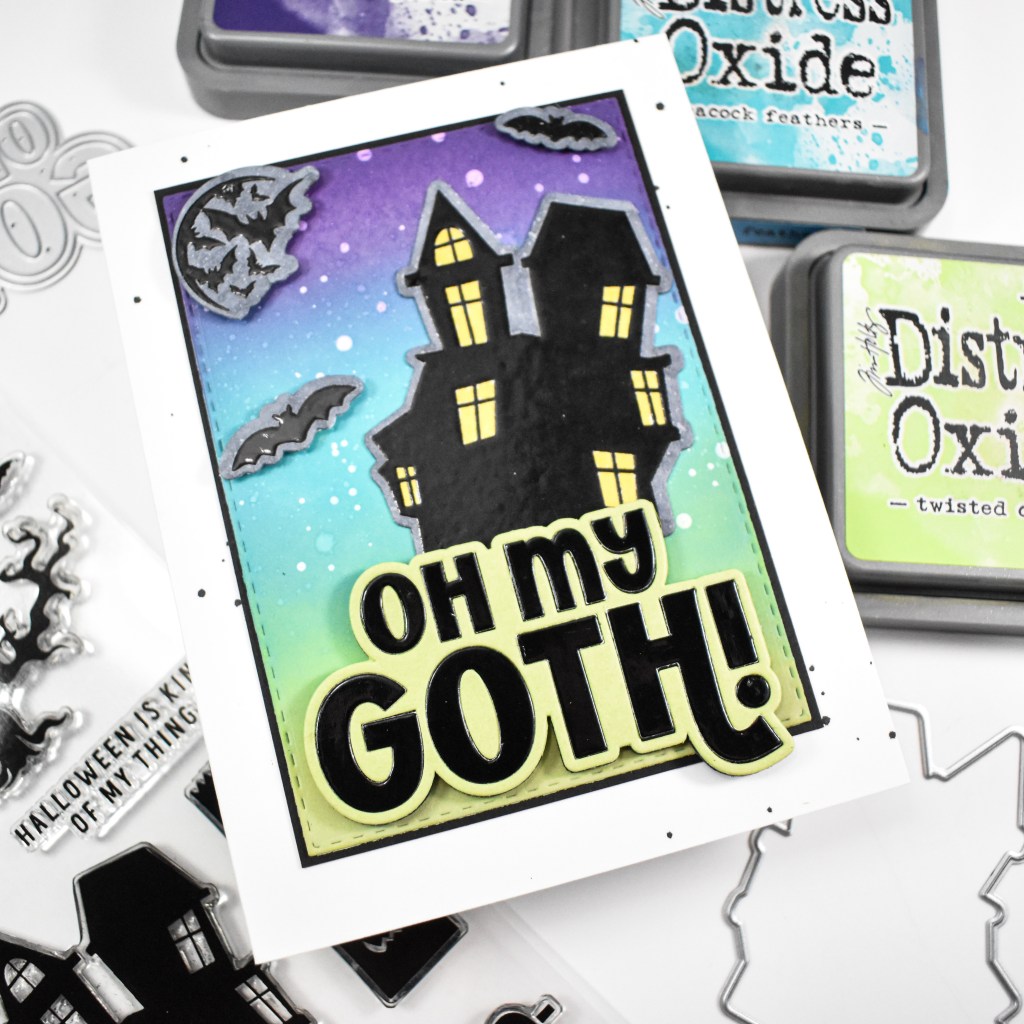
I began this project by ink blending a panel using Distress Oxides in Cracked Pistachio, Peacock Feathers and Villainous Potion. Once satisfied with the blend, I trimmed out the panel using the A2 Nested Stitched Rectangles and added some splatter. I then stamped the house, bats and moon from the Oh My Goth set using VersaFine Onyx Black ink and heat embossed them using clear embossing powder. I kept heating and adding more powder to get that thicker, shinier finish.
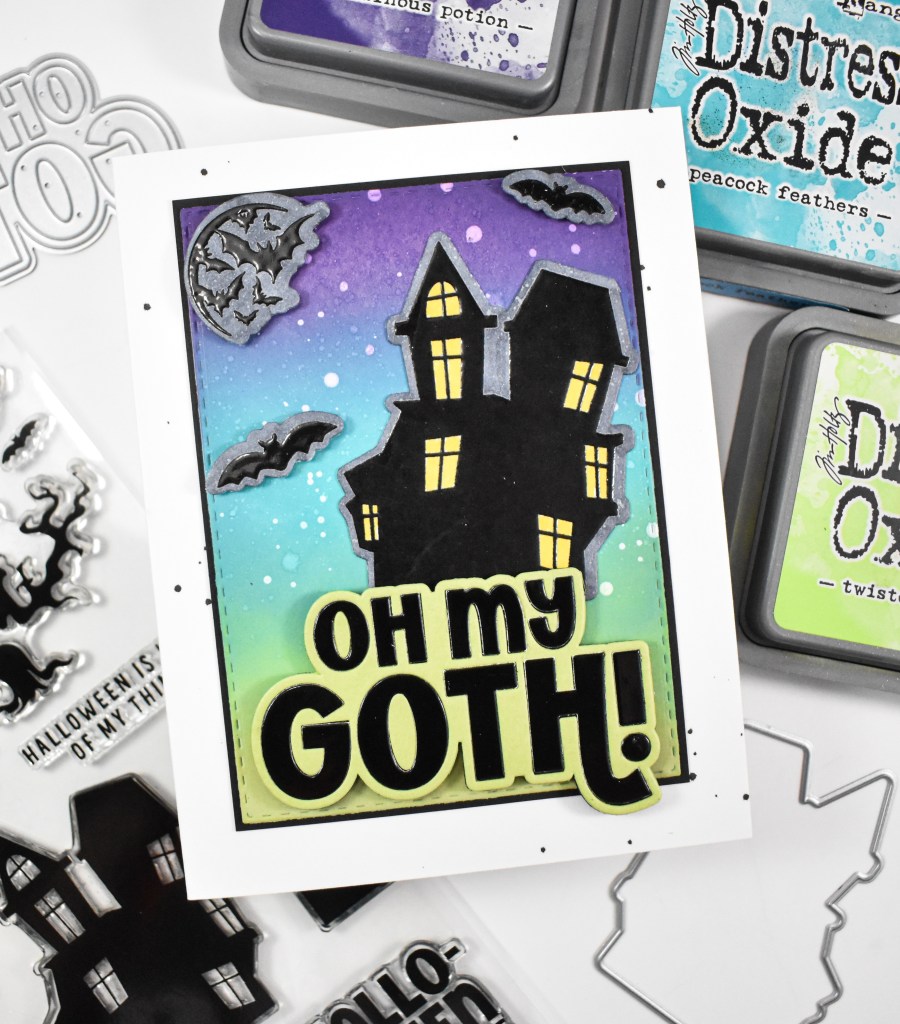
I then die cut all of those elements and used a grey copic marker to color the edges since I had stamped everything onto white cardstock. The Oh My Goth sentiment was cut from black mirror cardstock, as well as black and Green Apple cardstock. I think this would have also been cool to cut from purple mirror cardstock, but I didn’t have that! My panel was adhered to a black panel for contrast, the house was glued in place, while the bats and sentiment were adhered using foam tape. The card base got a black splatter and the windows were colored yellow to finish up.
That does it for this project! I hope you enjoyed it, and I hope I’ve inspired your spooky creations for the season! Stay tuned over on Instagram for my other CZ Design projects using other fun, new products! Have a wonderful day, and Happy STAMPtember!
Supply List

Affiliate links used at no cost to you. What does this mean? If you use the links within this post to make a purchase, I receive a small commission, which allows me to continue to post crafty content for your enjoyment. I truly appreciate your support!
Latest Posts

Latest Instagram Posts

Simon Says Stamp Halloween Bats

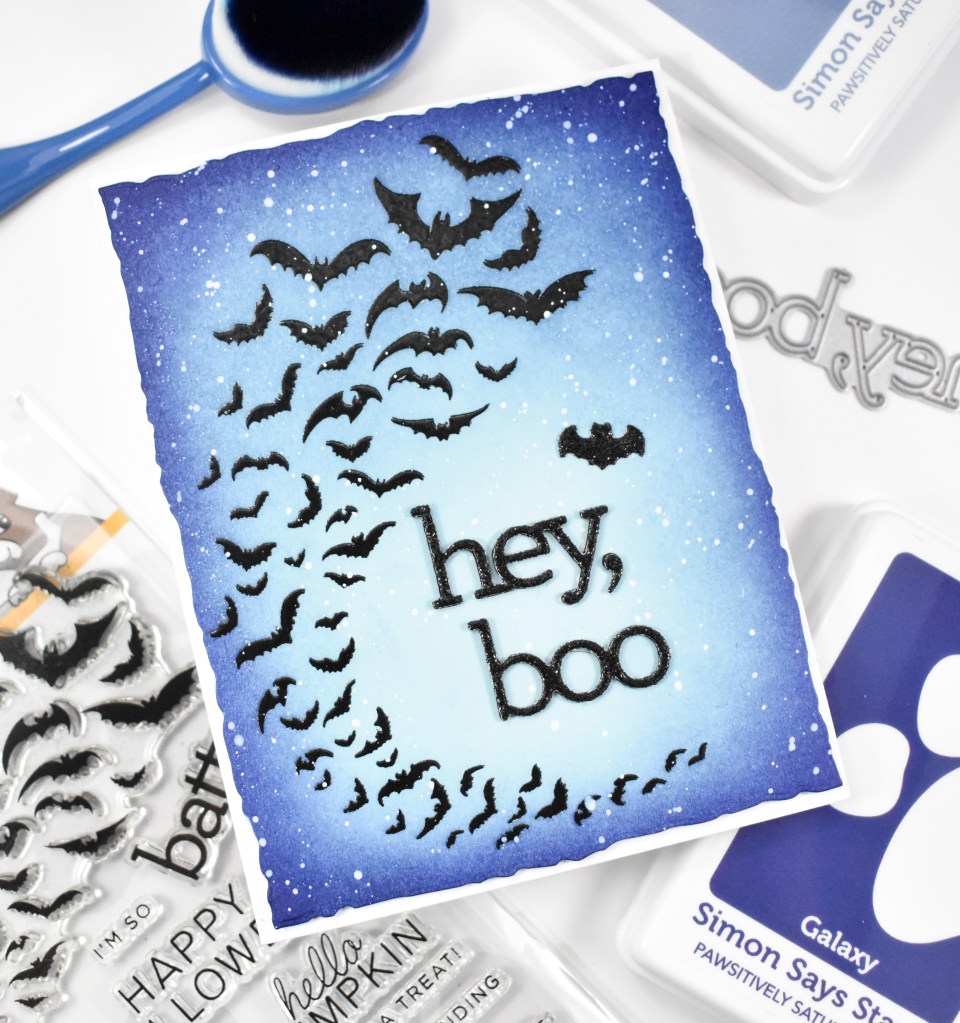
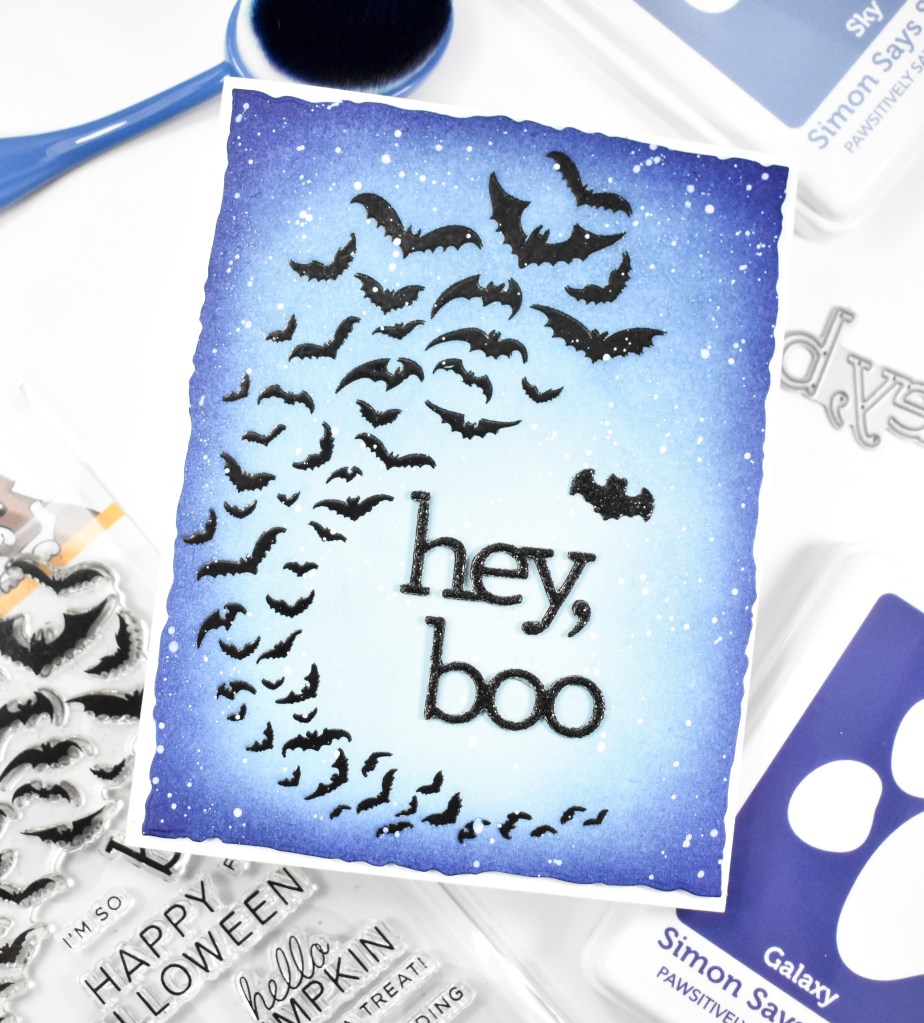
Hello Crafty Friends, and thanks for joining me! How’s your STAMPtember going? Today’s project is featuring the new Halloween Basics set along with the older Big Bat set. Let’s go ahead and run through the details!

NOTE: all supplies are linked in the thumbnails at the end of this blog post.

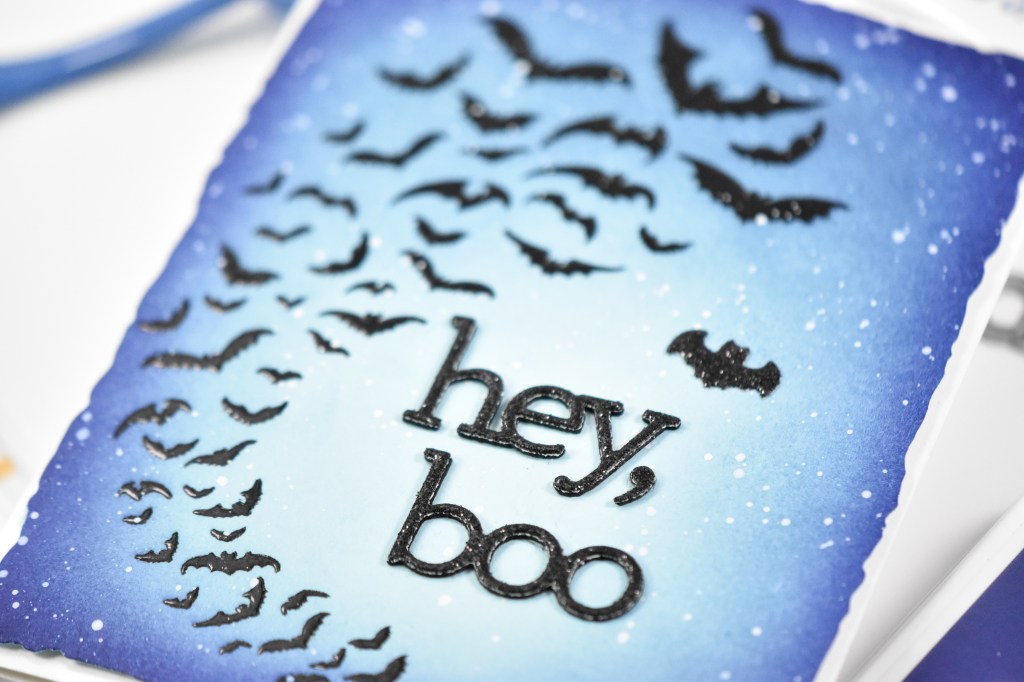
I began this project by stamping the flying bats onto a panel of light blue cardstock using VersaFine Onyx Black ink and heat setting it with clear embossing powder. I actually did that step twice to achieve a smoother finish on the bats.

I then ink blended the edges of the stamped panel using Sky, Dusk, Night and Galaxy inks. Since I started with a light blue panel, I really only needed to ink the edges. I used a deckle edge die to trim the panel down before giving it a good dose of white splatter.

The sentiment, which is from the Big Bat set, was die cut once from black glitter cardstock and twice from regular black cardstock. I also cut a small bat from the glitter cardstock as well. The panel was adhered to the card base with foam tape, and the sentiment and bat were glued directly to the panel to finish up.

A pretty simple card for today! I don’t normally make Halloween cards, but I enjoyed the blue ink blending to create a somewhat night time scene. Don’t forget to check out the entire STAMPtember release! Thanks again for joining me, and I hope you have an awesome day!

Supply List

Affiliate links used at no cost to you. What does this mean? If you use the links within this post to make a purchase, I receive a small commission, which allows me to continue to post crafty content for your enjoyment. I truly appreciate your support!

Latest Posts

Latest Instagram Posts
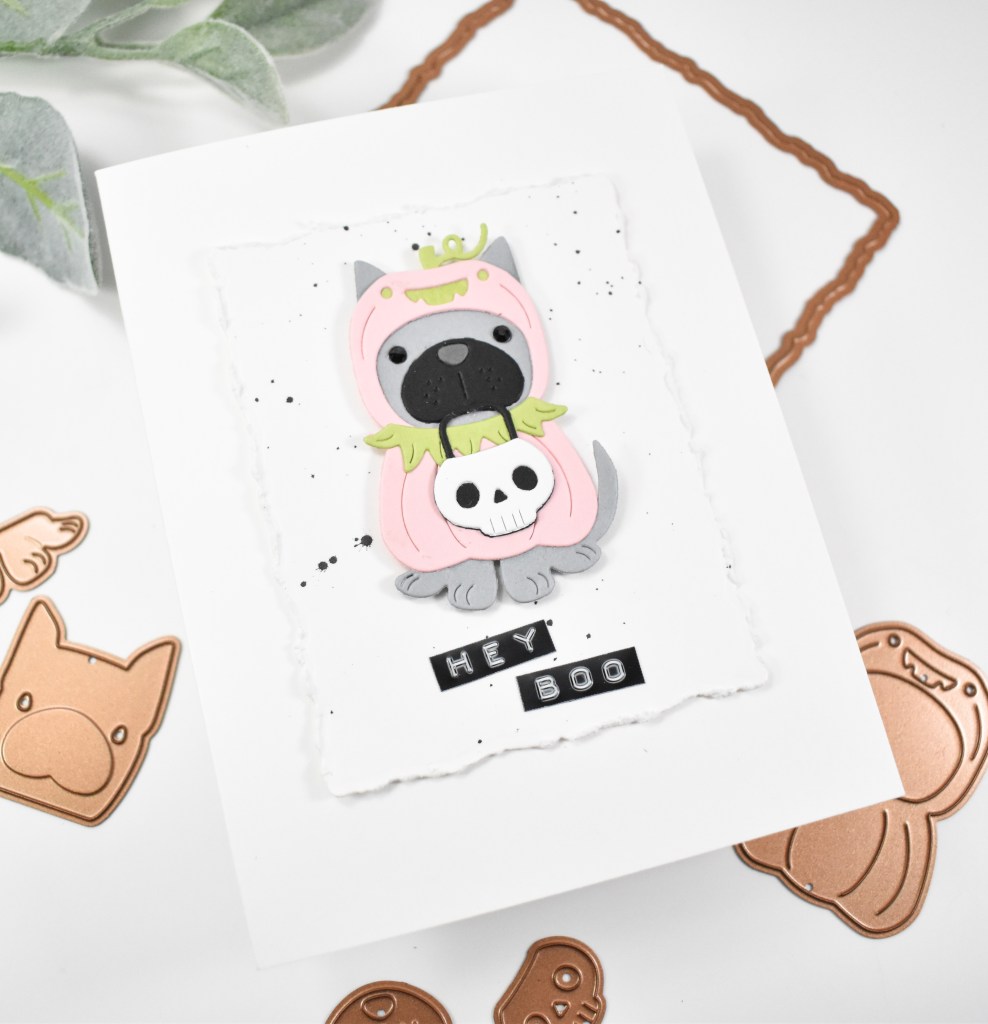
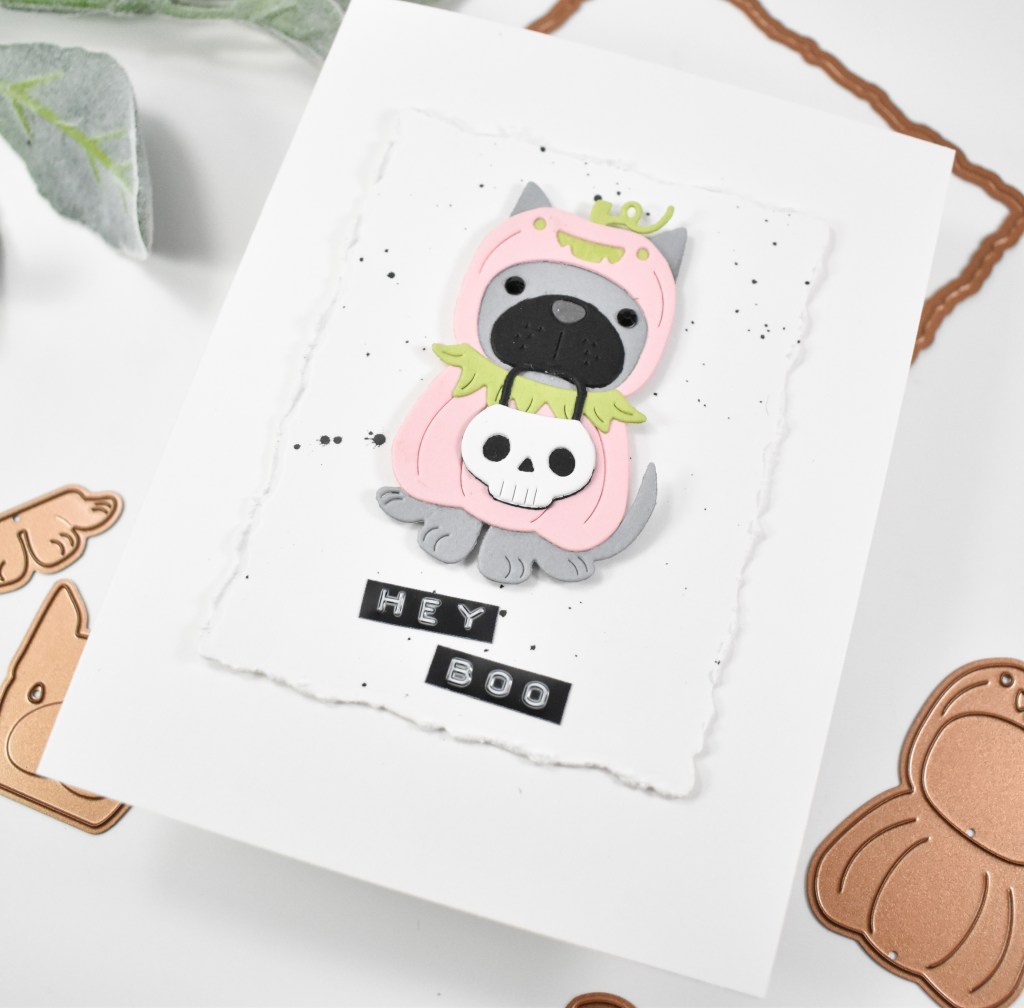
Spellbinders Hey Pupkin

Hello Crafty Friends, and thanks for joining me! I’m back today with a cutie card featuring the new Pupkin from the Spellbinders August releases. Let’s jump right into the details!

NOTE: all supplies are linked to multiple sources in the thumbnails at the end of this blog post.

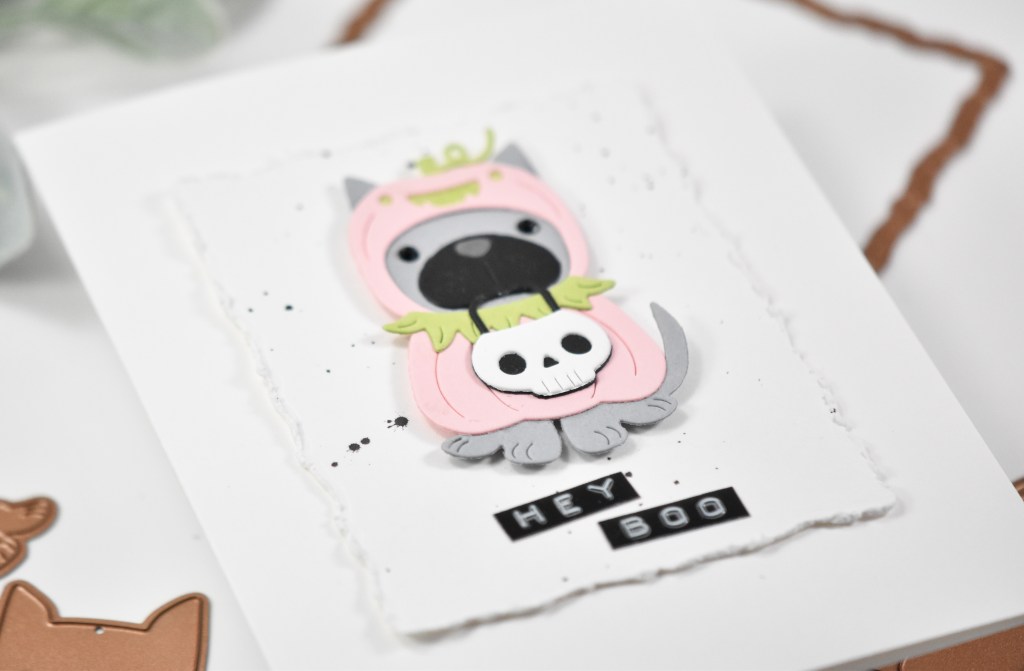
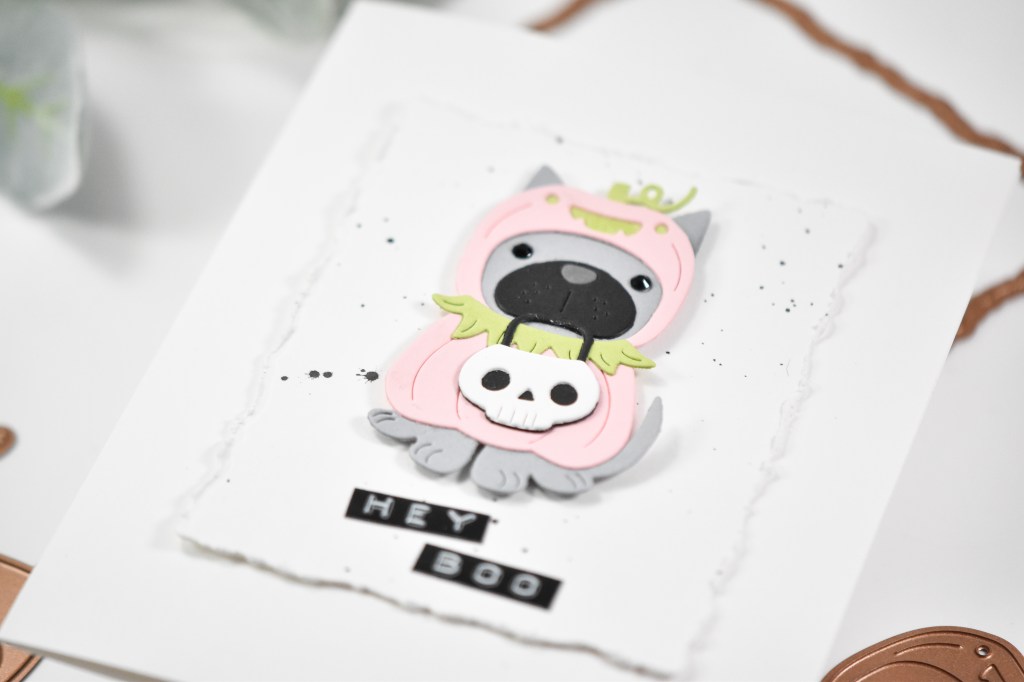
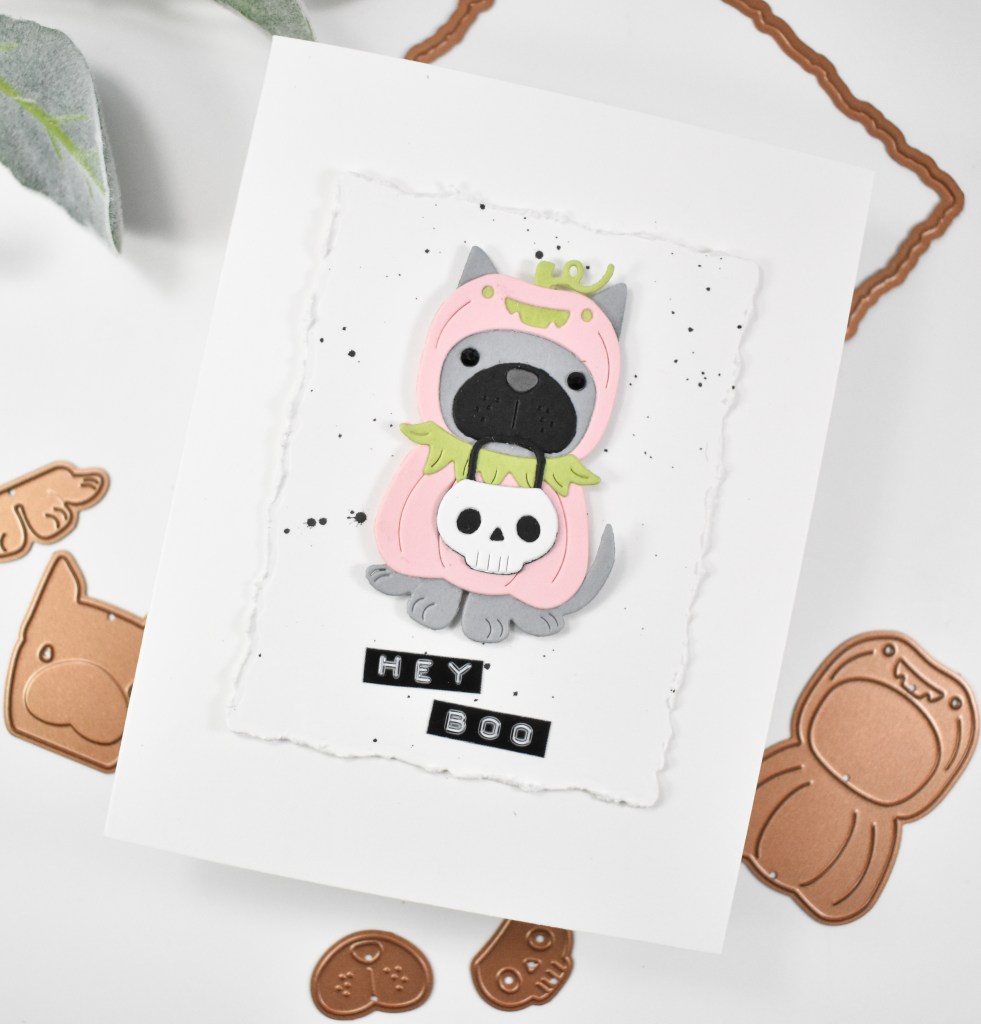
I began this project by die cutting all of the pieces from various cardstock scraps. Once all of the cutting was done, I began assembling the pup. I should have done some light ink blending, but to be honest, I forgot and it was too late at the point that I remembered. Have you ever done that? I was too lazy to cut all of the pieces again.

The background panel was created using the Deckled Rectangles and the Tim Holtz Paper Distresser tool thingy. Once I was satisfied with the distressing of the edges, I took it over to my splat box and added some black splatter. The panel was adhered to the card base and the pup was adhered atop that with foam tape.

Now for the interesting part .. I don’t make Halloween cards, so I didn’t have a sentiment to use on this project. I also didn’t request one when the Pupkin was being sent to me. A little snafu on my part! With all of that being said, I had to whip out the label maker for the sentiment.

A pretty simple card, but I actually like how it turned out, even though cutesy cards are not in my wheelhouse. Don’t forget to swing by the Spellbinders site to check out all of the new August releases! Thanks again for joining me, and I hope you have a fabulous day!

Supply List

Affiliate links used at no cost to you. What does this mean? If you use the links within this post to make a purchase, I receive a small commission, which allows me to continue to post crafty content for your enjoyment. I truly appreciate your support!

Latest Posts

Latest Instagram Posts