Reverse Confetti Hello Sunshine

Hello! Hello! How’s it going? Thanks so much for stopping by! Here’s another card that I created for day one of the Reverse Confetti Countdown to Confetti! This awesome release will go live on July 8th! So, please note that the new product links will not be active until the release day and time. Hop around and check out what my teammates have created! Leave comments along the way for your chance to win a $15 gift certificate! Details below! There are tons of fun things in this release! You certainly don’t want to miss it! Today, I’m featuring the Lovely Day Sentiments and the Stitched Pinwheel Cover Panel Confetti Cuts. So, let’s jump right in!
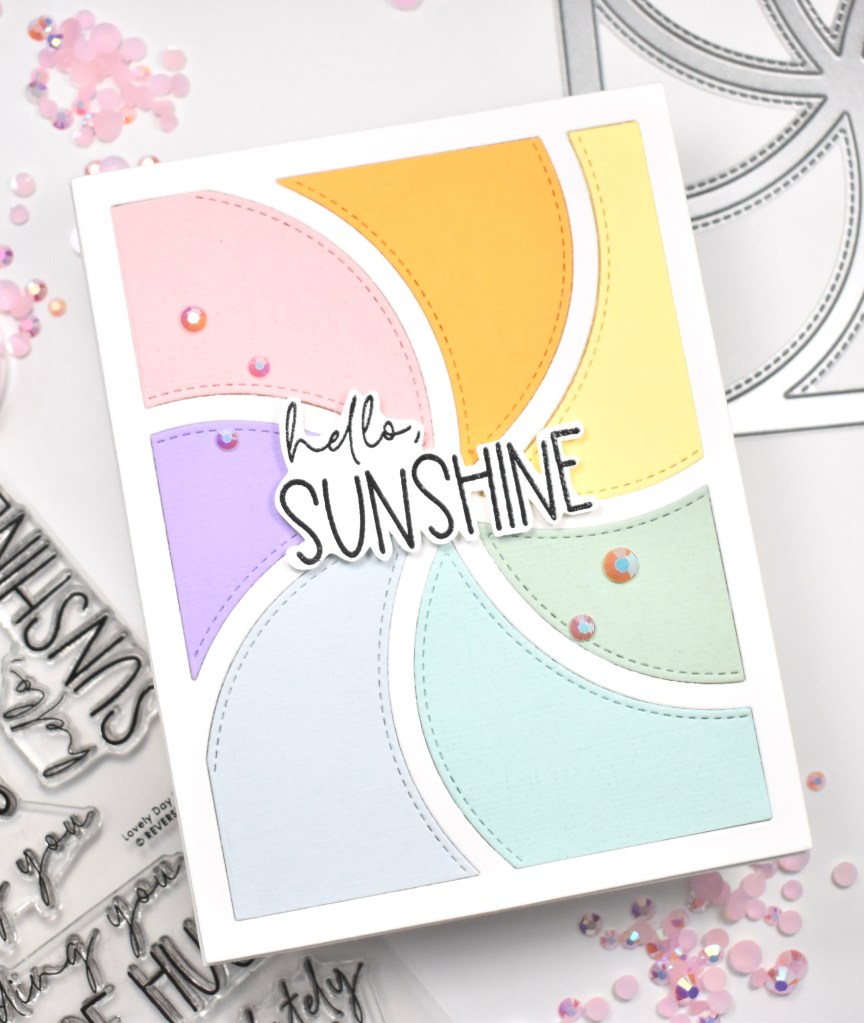
To begin this project, I pulled out seven different colors of Sizzix cardstock, and cut all of those using the Stitched Pinwheel Cover Panel, as well as, cutting it once from Neenah Classic Crest 110lb cardstock. I adhered the white frame portion to my card base, which is also Neenah 110, using foam tape.
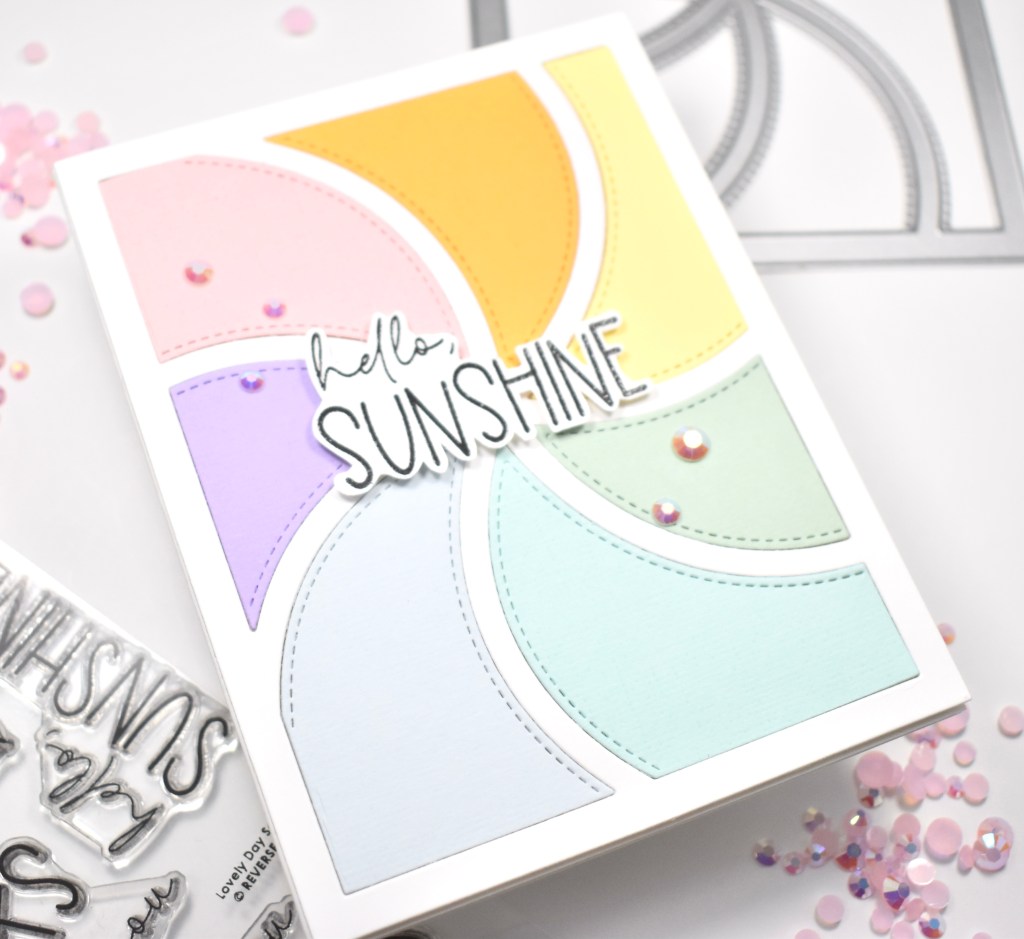
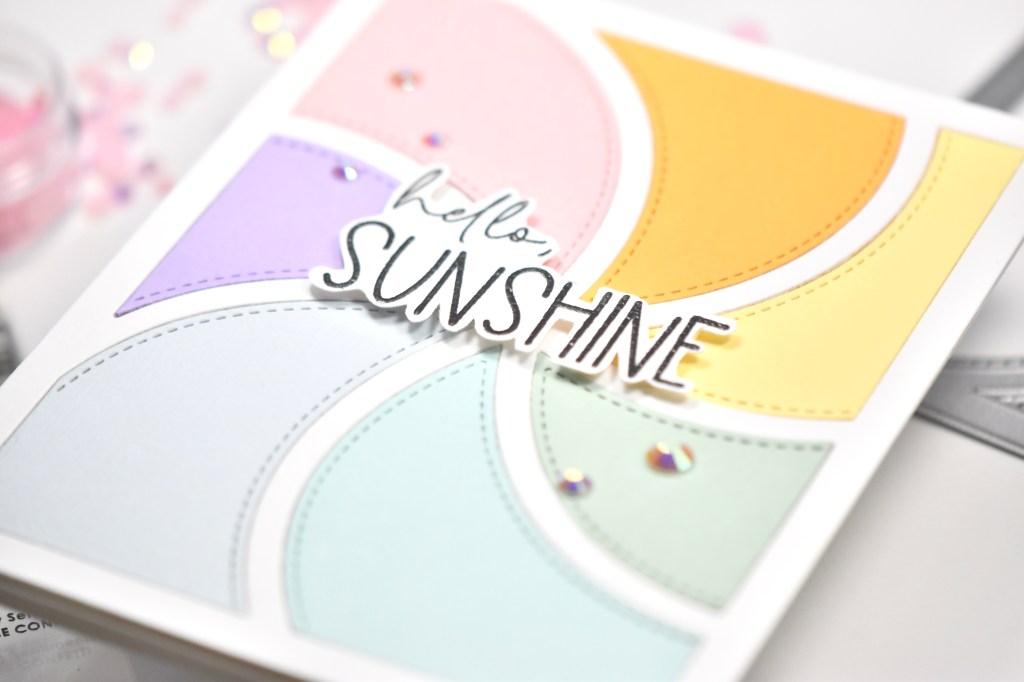
I then inlayed the colored cardstock portions into the frame using foam tape as well. I stamped the Hello Sunshine sentiment from the Lovely Day Sentiments set using VersaFine Onyx Black ink and heat embossed it using Ranger Clear Embossing Powder. I fussy cut the sentiment and used foam tape again to pop it up in the center of my card.
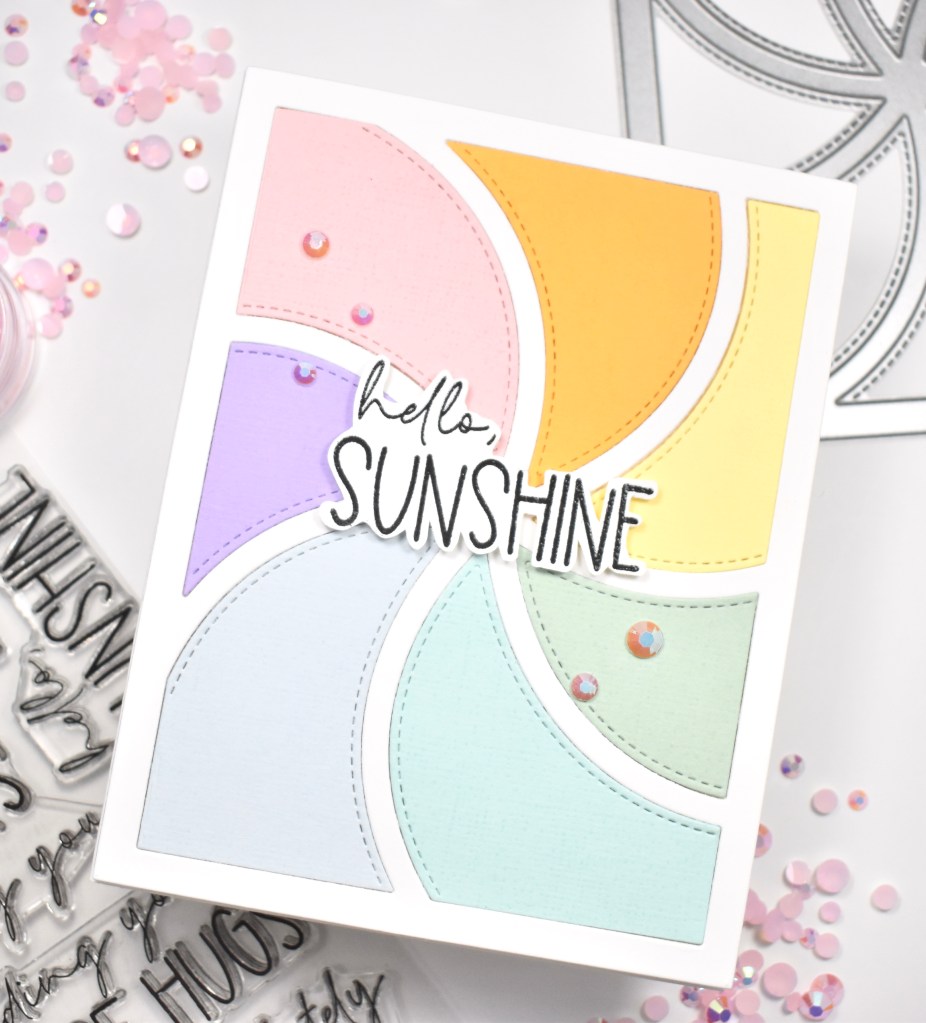
To wrap up this project, I added some PinkFresh Studio Jewels for some added interest and bling. Every card needs bling in my opinion! Super simple card, but I love how it came out! The pastel colors are beautiful, but I’m also wanting to do another one in brighter rainbow colors! I hope you’ll stop by and check out the new July release from Reverse Confetti! Remember, the new product links won’t be active until the release day and time!

As I mentioned earlier, you can comment on the Countdown posts for a chance to win a $15 gift certificate! You can head to the Reverse Confetti blog for all of the details! And, you can also comment on their Facebook page for another chance to win! Here’s the full list of participants.

Reverse Confetti Blog

Amy Kolling

Tricia Barber

Lisa Henke

Deanne Kuntz

Tracy Ware

Ali Farmer

Dilay Nacar

Jeanne Jachna

Kelly Griglione

Audrey Tokach

Olga Moss

Candice Fisher

Olga Matyushevskaya

Amy Tsuruta

Joe Sysavath

Supply List:

*Affiliate links used at no cost to you. Thank you so much for your support!

Latest Instagram Posts

Spellbinders Truly Yours Collection

Hello Crafters and welcome back to my blog! I was super excited when I was asked to create a few projects using the Spellbinders Truly Yours Collection! This is such an awesome collection because it features Glimmer plates, dies and even a great sentiment stamp set! So let’s get into today’s four projects!

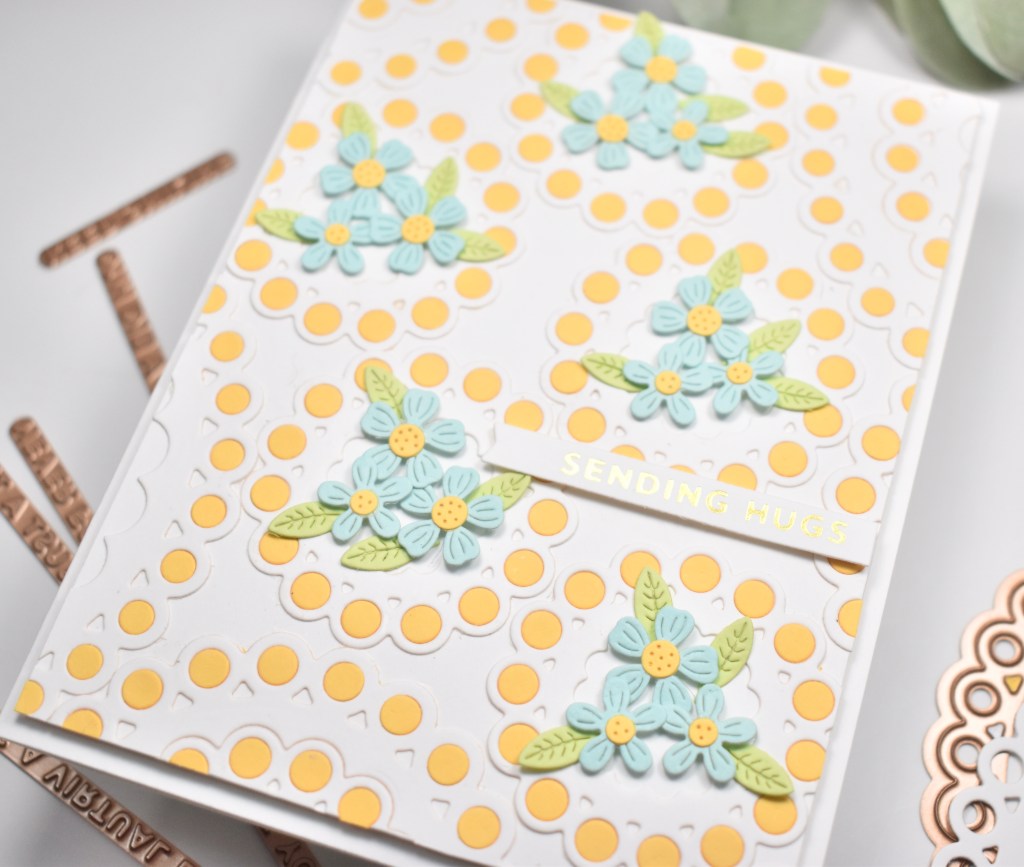
For my first project, Sending Hugs Floral, I’m featuring the Rings Around the Circle Die set, a sentiment from the Mini Sincere Sentiments Glimmer Hot Foil Plate and Die set, as well as some flowers from the Heart Swans Die set. To begin my project, I die cut the Rings Around the Circle dies from Neenah Classic Crest 110lb cardstock and some yellow cardstock.

I adhered the white circles to my card panel in a random pattern, and inlaid the small yellow circles into the big circles using glue. I then die cut the flowers and leaves from the Heart Swans Die set using blue, green and yellow cardstock, and adhered the centers of the flowers. The flowers were then adhered to the middle of the circles using a combination of glue and 3M Foam Tape.

Using gold foil, I hot foiled the Sending Hugs sentiment from the Mini Sincere Sentiments Glimmer Hot Foil Plate and Die set and adhered that to my panel using foam tape. My panel was then adhered to my card base, which is also 110lb cardstock.

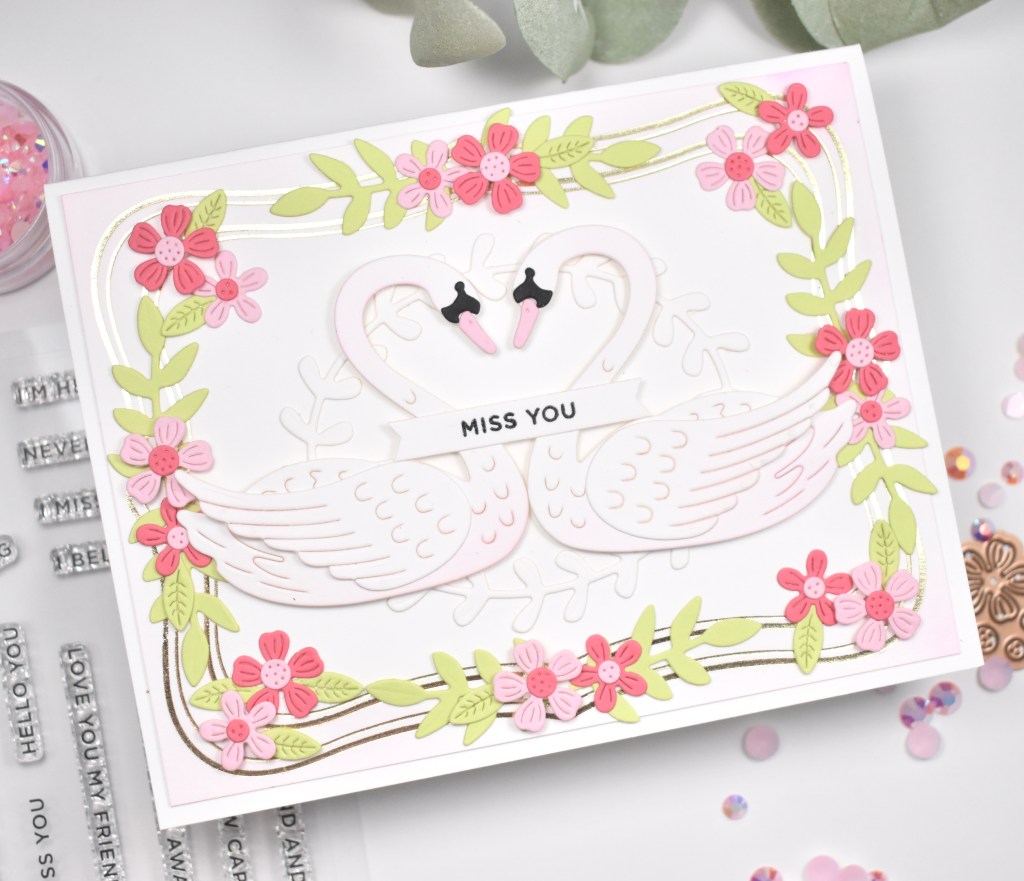
On my next project, Miss You Heart Swans, using gold foil, I doubled foiled the two largest plates from the Essential Glimmer Label Glimmer Hot Foil Plates on a panel of Neenah Classic Crest 110lb cardstock. I then die cut the wreath from the Cameo Etched Dies set from the same cardstock and adhered it to my foiled panel using glue. I die cut the swans from the Heart Swans Die set and lightly ink blended some PinkFresh Studio Sparkling Rose around the edges, and adhered those over the wreath using foam tape.

I die cut the flowers from the swan set using pinks and green cardstock and adhered the centers of the flowers. I then adhered the flowers around the the gold foil using glue and foam tape for dimension. I stamped the Miss You sentiment from the I’m Here for You Stamp and Die set using VersaFine Onyx Black Ink and heat embossed it using Ranger Clear Embossing Powder. I glued the sentiment directly to the swans in the center. My panel was then adhered to my card base.

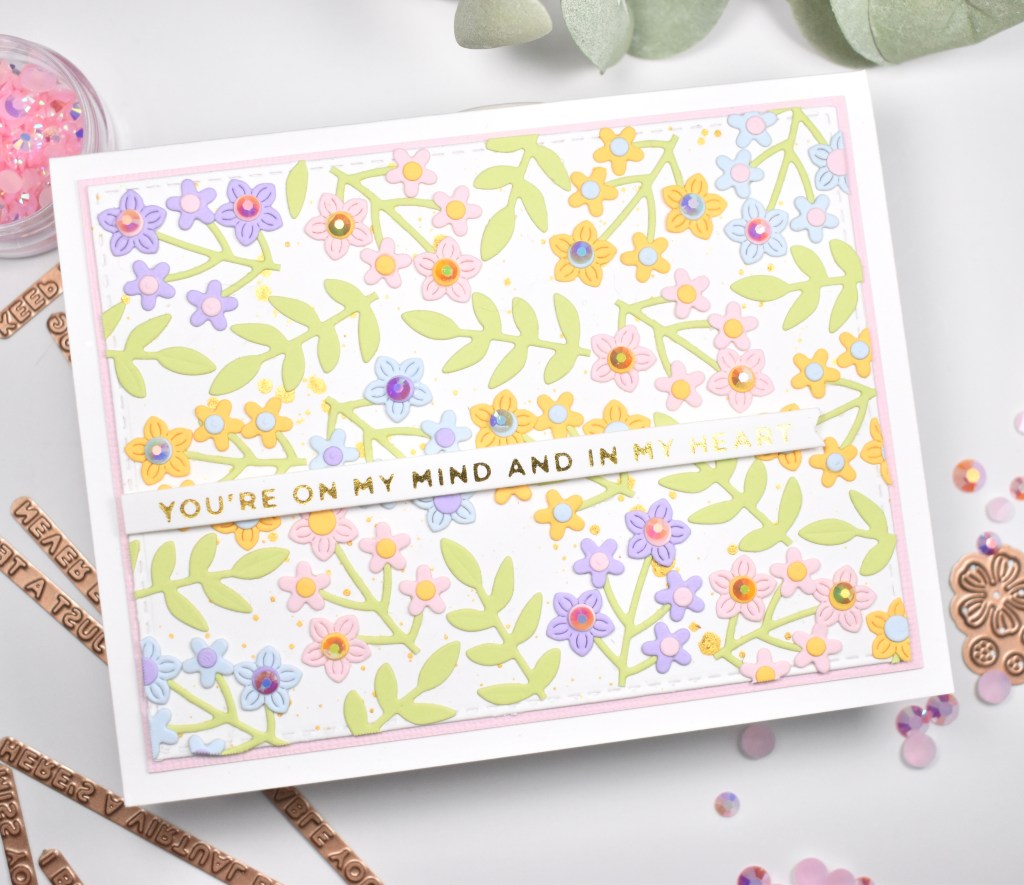
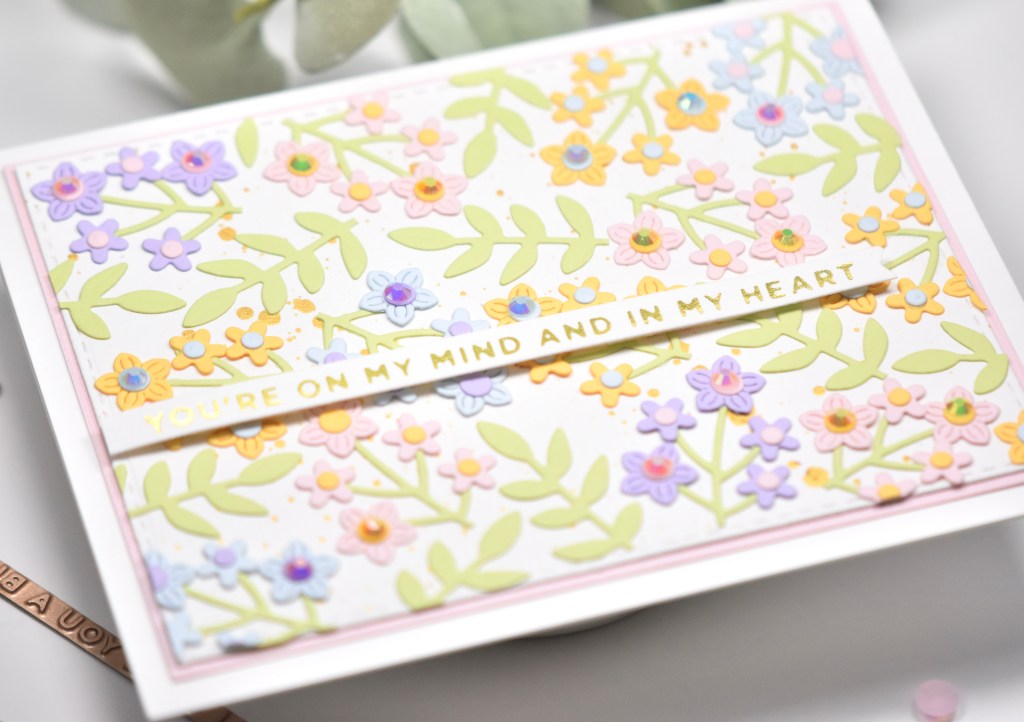
My third project, You’re on My Mind Floral, ended up being my favorite project of them all! I loved these little flowers so much that I decided to make my own background using them. For this one, I die cut a bunch of flowers and leaves from the Bouquet of Flowers Die set using blue, pink, purple, yellow and green cardstock and adhered the stems and flower centers using glue. I then arranged and glued them atop a gold splattered panel, trimming off the excess as needed.

I then adhered my panel to a pink panel, and then to my card base, which is 110lb cardstock. Using gold foil, I foiled the sentiment from the Mini Sincere Sentiments Glimmer Hot Foil Plate and Die set, trimmed it out, and adhered it to my card using foam tape for dimension. To finish up, I added some PinkFresh Studio Jewels Mix to the larger flowers, because I thought some bling was in order!

For my last project, I die cut the two largest Elliptical Ovals Dies from black and white cardstock and glued those together, and then glued those to a black splattered panel. I then die cut the dress portions of the Paper Coutour Dress Dies from black cardstock, and the bow and hanger portions using glitter cardstock, and adhered those together. I again used the flowers and leaves from the Heart Swans Die set to cut those out of white cardstock.

I adhered the dress to the ovals using foam tape, and adhered the white flowers around the ovals using a combination of glue and foam tape. I then attached my panel to a panel of black cardstock to pull all of the black elements together, and then to a card base. Using silver foil, I hot foiled the sentiment from the Mini Sincere Sentiments Glimmer Hot Foil Plate and Die set, trimmed it down and glued it to the bow of the dress. To finish this card, I added some silver embellishments to the flowers for some added bling.

That does it for my projects featuring the Truly Yours Collection from Spellbinders! I hope you enjoyed them, and I hope they inspire you to get crafty!

Supply List:

*Affiliate links used at no cost to you. Thank you for your support!

Latest Instagram Posts

Simon Says Stamp Floral Garden Spotlight

All the Feels Release

Hey there Crafty Friends! I’m dying over the new Simon Says Stamp release, All The Feels! So many gorgeous things! Did you order anything? I’d love to know what your favorites are!

For today’s card, I’m doing a little spotlight action using the new Floral Garden stamp set. I began by prepping my cardstock with an Anti-Static Powder Tool and stamping the image on Neenah Classic Crest 110lb cardstock using VersaFine Onyx Black ink and then embossing the image with Ranger Clear Embossing Powder. I repeated this process a second time on another piece of Neenah 110lb. The second will be used for the “spotlight.”

I then colored the one flower on one of my images using Copic markers RV00, RV10, RV52, RV55, YG13 and YG17. Once the coloring was done, I carefully fussy cut that one flower. Let me just say, that was rough! I was so worried that I was going to mess it up by cutting wrong or bending that delicate little stem some wonky way! Thank goodness I was able to get it done! Woohoo!

I had not fully decided on a sentiment when I started this card, but as things progressed, I thought a little striped sentiment would be fun! It would give this card some oomph, which it was going to need! I began cutting my stripes with pink cardstock from my stash using the Pretty Pink Posh Simple Strips. I adhered those to a thin sheet of white paper using Craft Tacky Glue.

Time for some die cutting! I cut the Hello sentiment from my striped panel once, and twice from Neenah Classic Crest 110lb. I then cut the Hello shadow three times from Neenah 110lb. Why so many times you might ask? Because dimension is life! I then adhered all of these pieces together using Craft Tacky Glue.

I trimmed my black and white stamped panel down to 4″ x 5.25″ and adhered my single flower on top of the same flower using 3M Foam Tape. I then adhered the Hello sentiment using glue to the bottom left. I mounted this panel onto black cardstock, because I like the contrast that it gives. Everything was then adhered to my card base, which is Neenah Classic Crest 110lb cardstock.

No card is complete without some embellishments, so I added some Studio Katia Arctic Breeze Pearls here and there. Pink gems or even clear drops would be amazing, so use what you have!

I hope you enjoyed this project today! It was super fun to make! You can check out the entire Simon Says Stamp release, All The Feels HERE. Thanks so much for stopping by!

Stay awesome my beautiful friend!

Supply List:

*Affiliate links used at no cost to you. Thank you for your support!

Latest Instagram Posts