Simon Says Stamp Floral Warm Wishes

Welcome back, friends! I’m so glad that you stopped by to check out today’s post featuring the new Warm Wishes Medley Script and the Nested Stitched Ovals from Simon’s DieCember release. Let’s go ahead and go through the details!

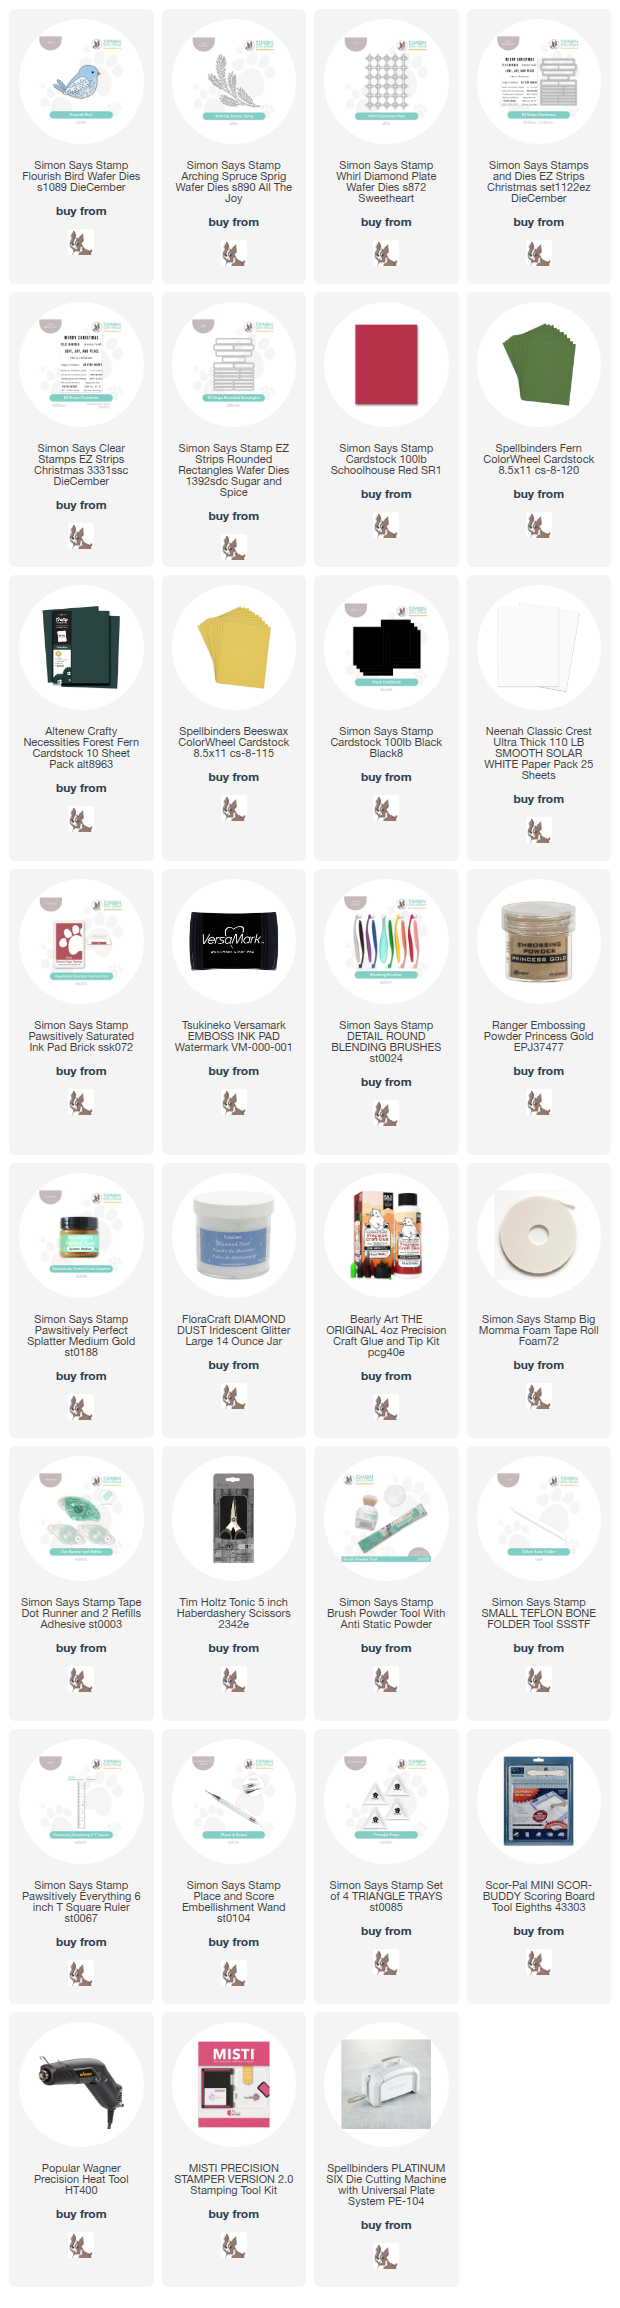
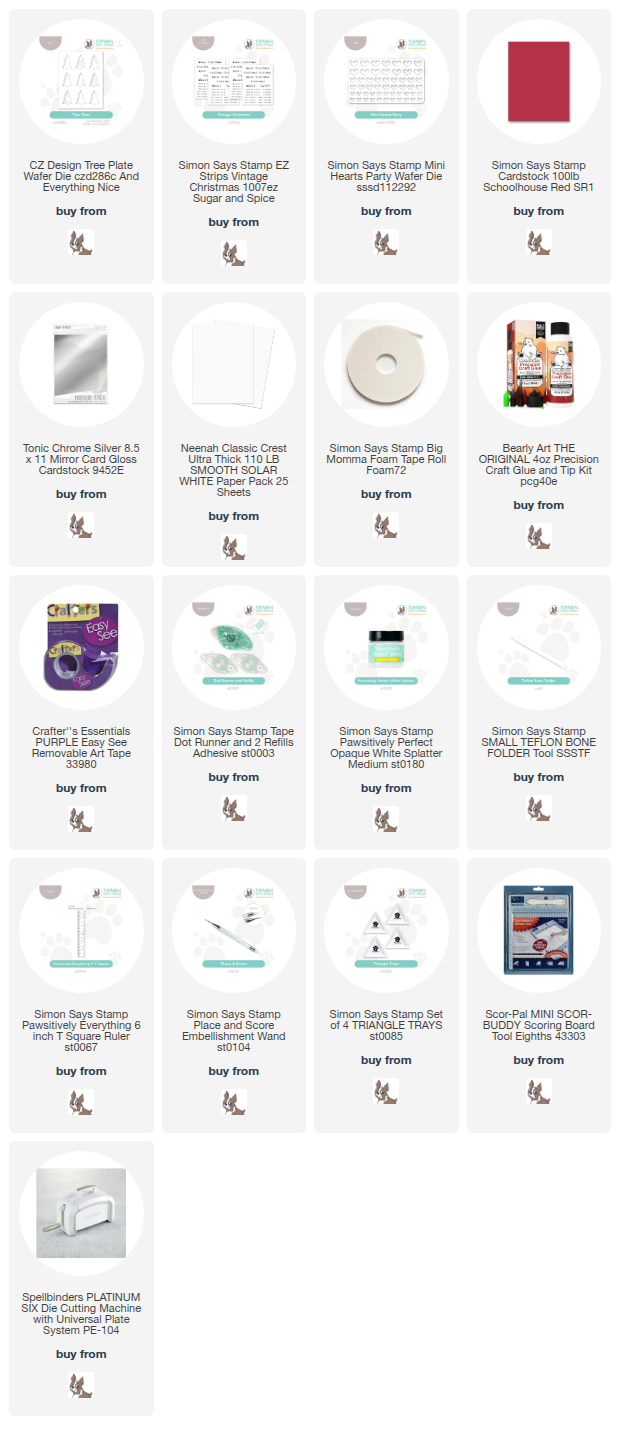
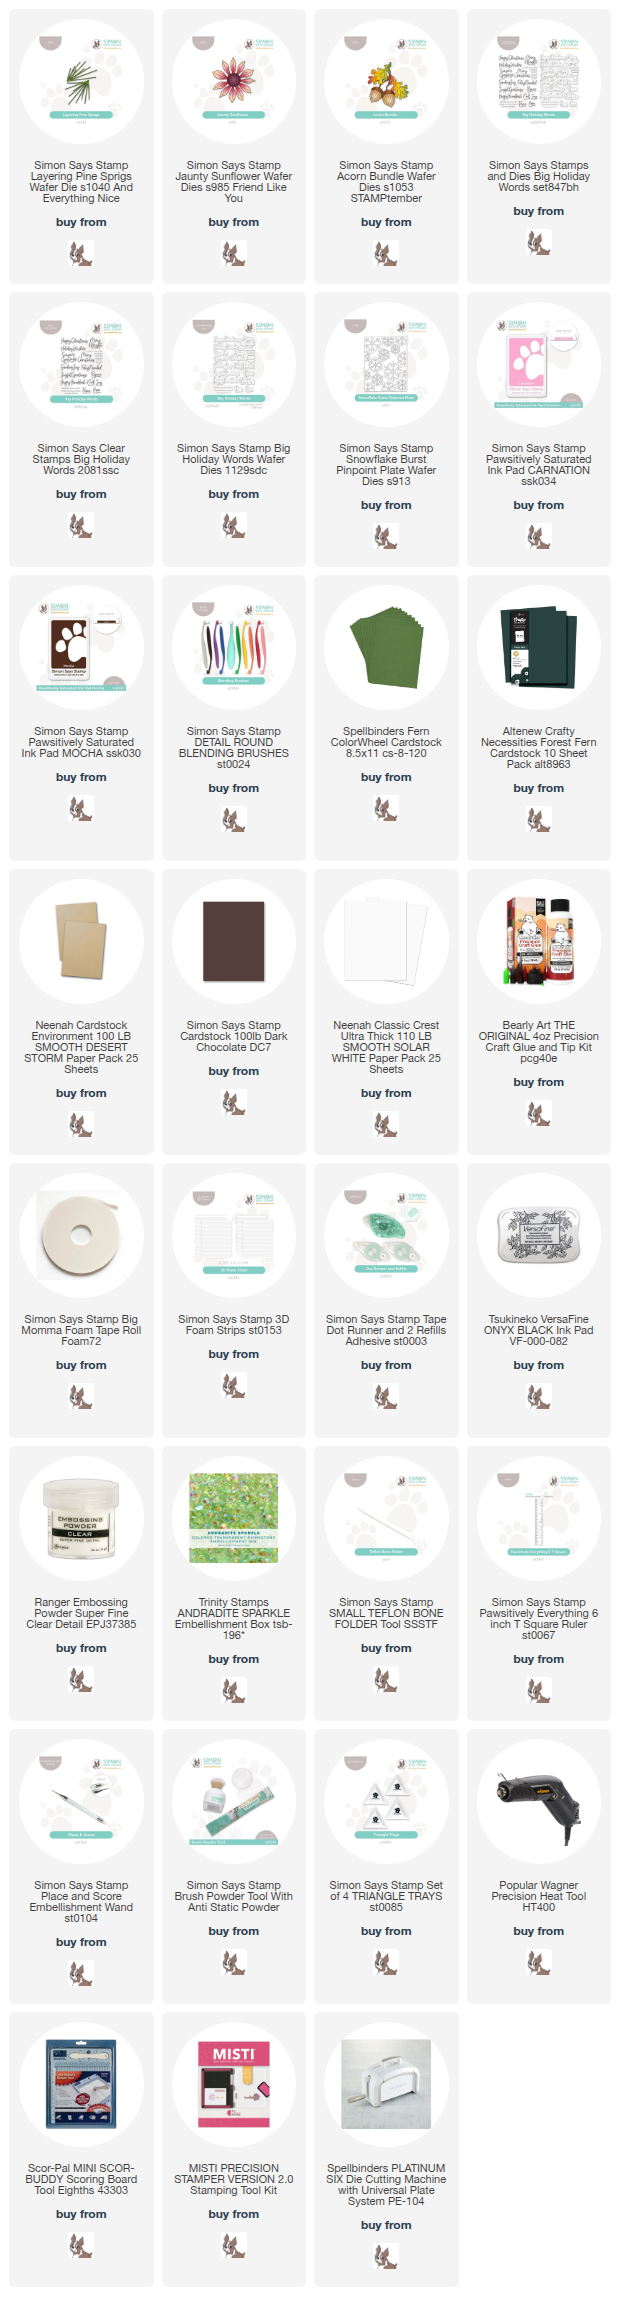
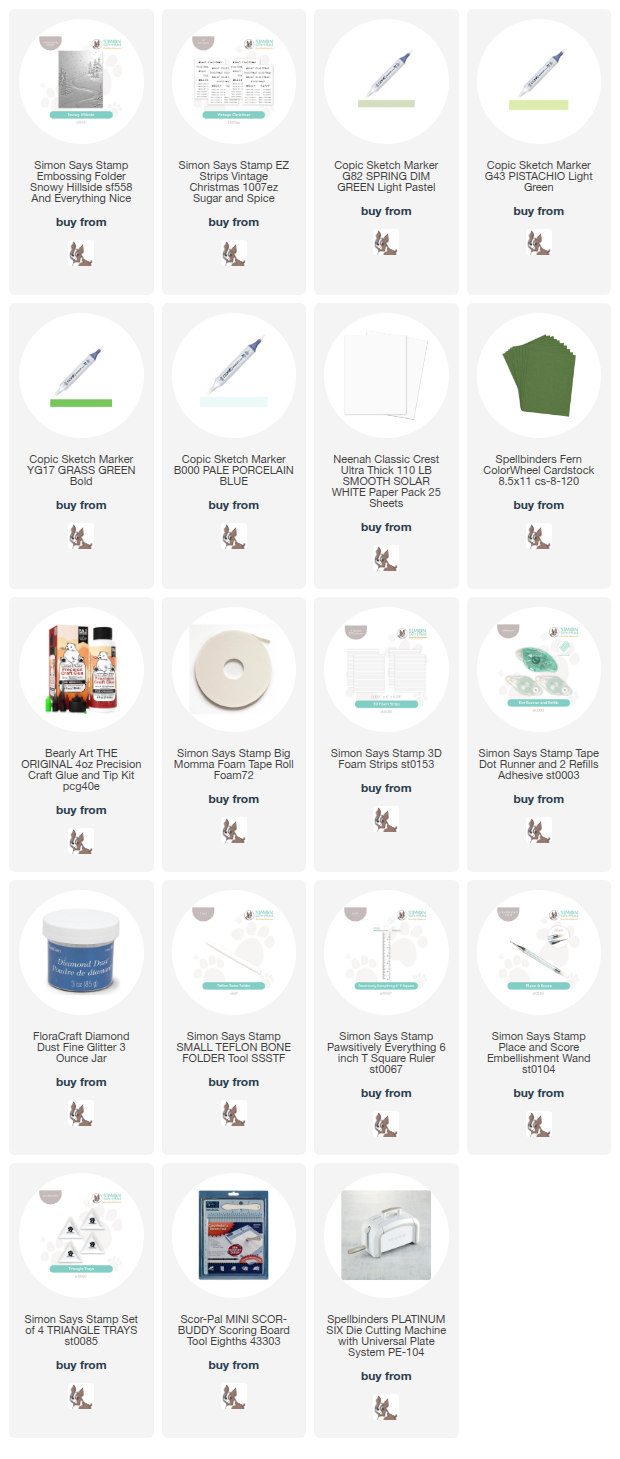
NOTE: all supplies are linked in the thumbnails at the end of this blog post.
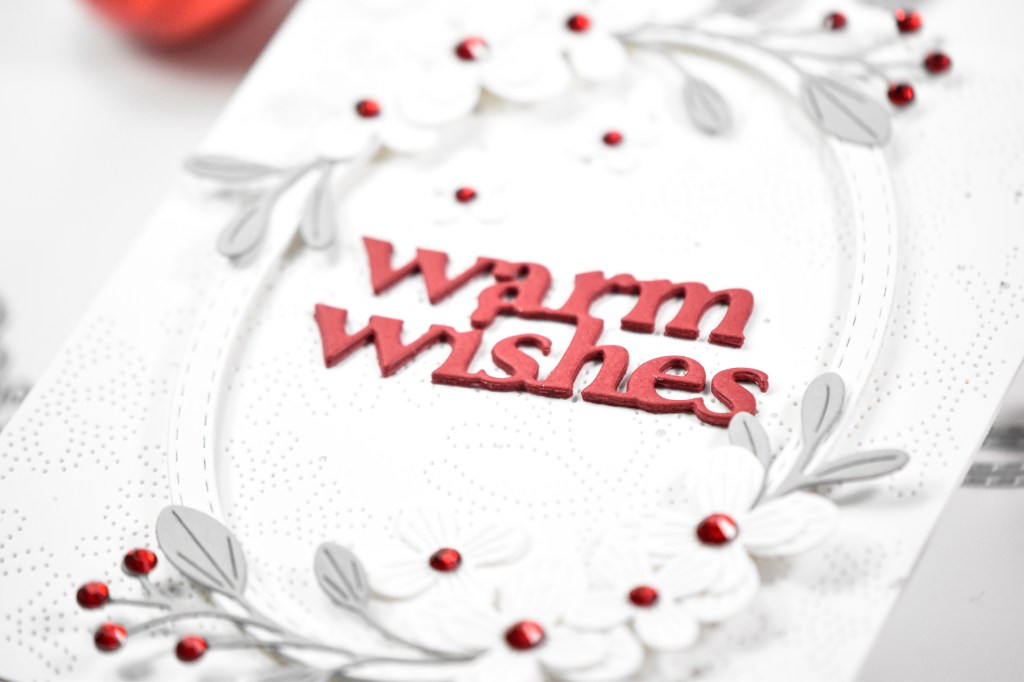

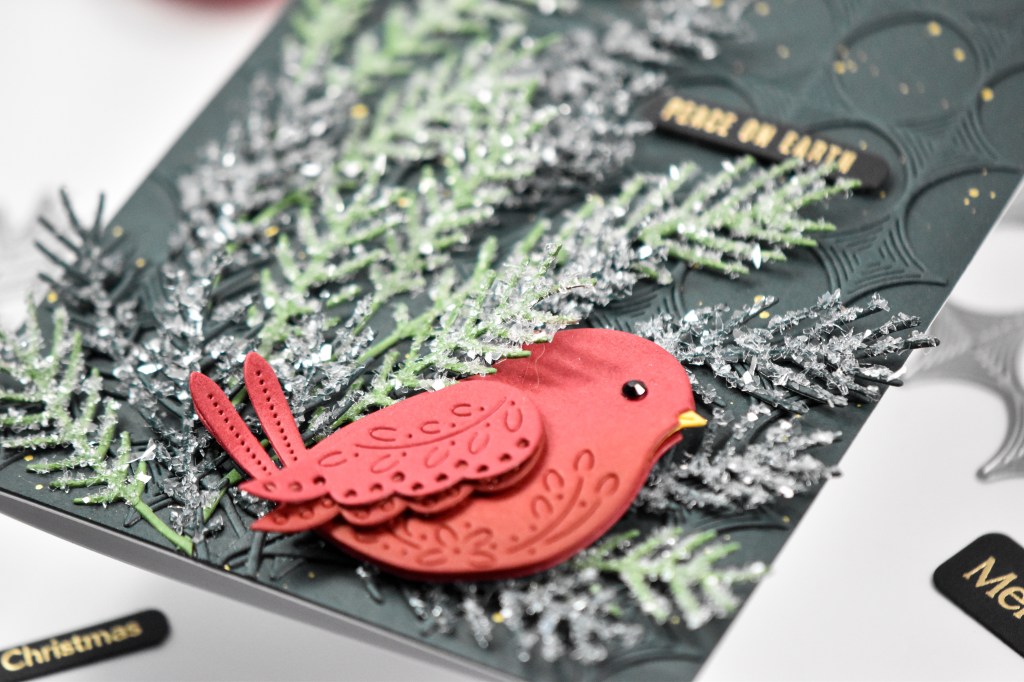
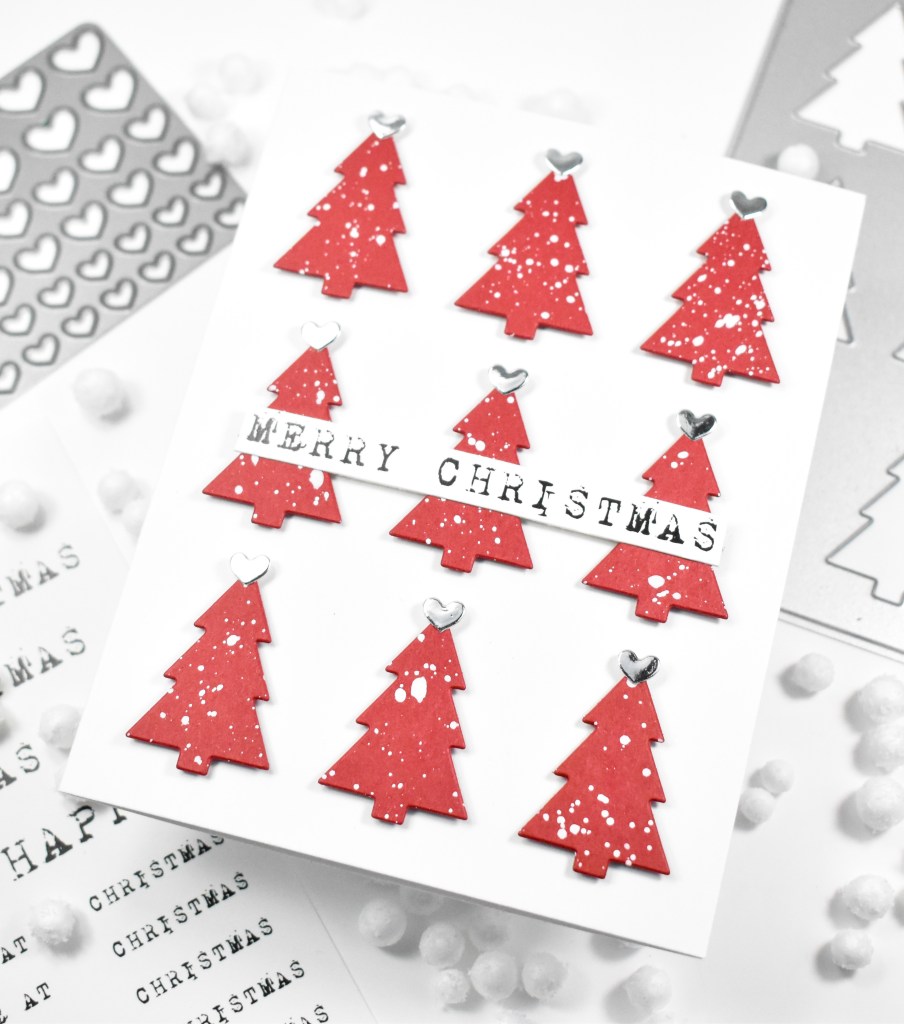
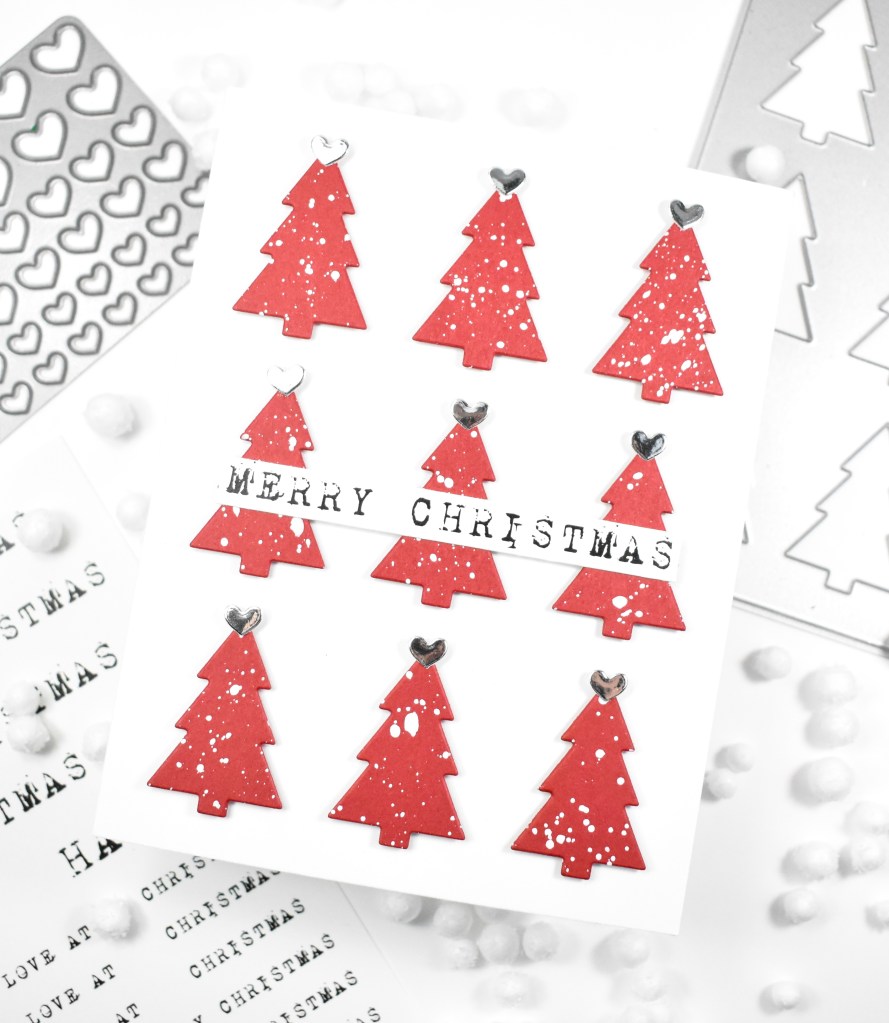
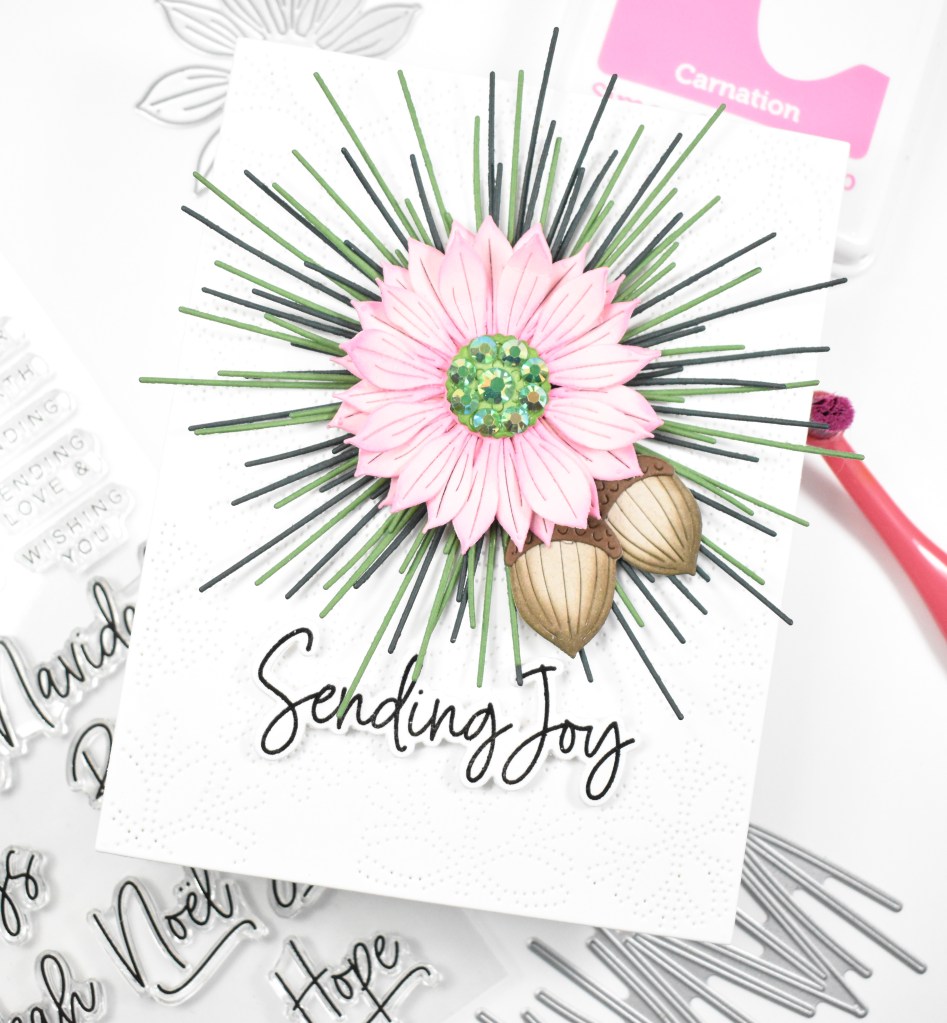
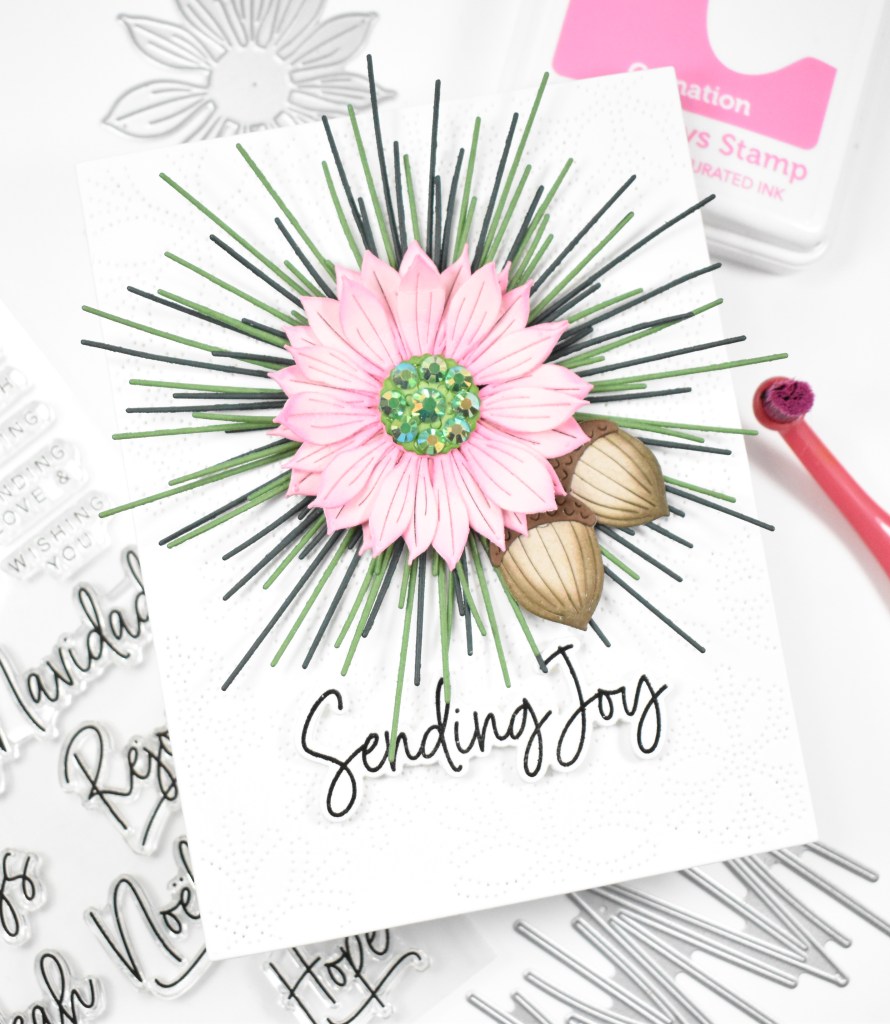
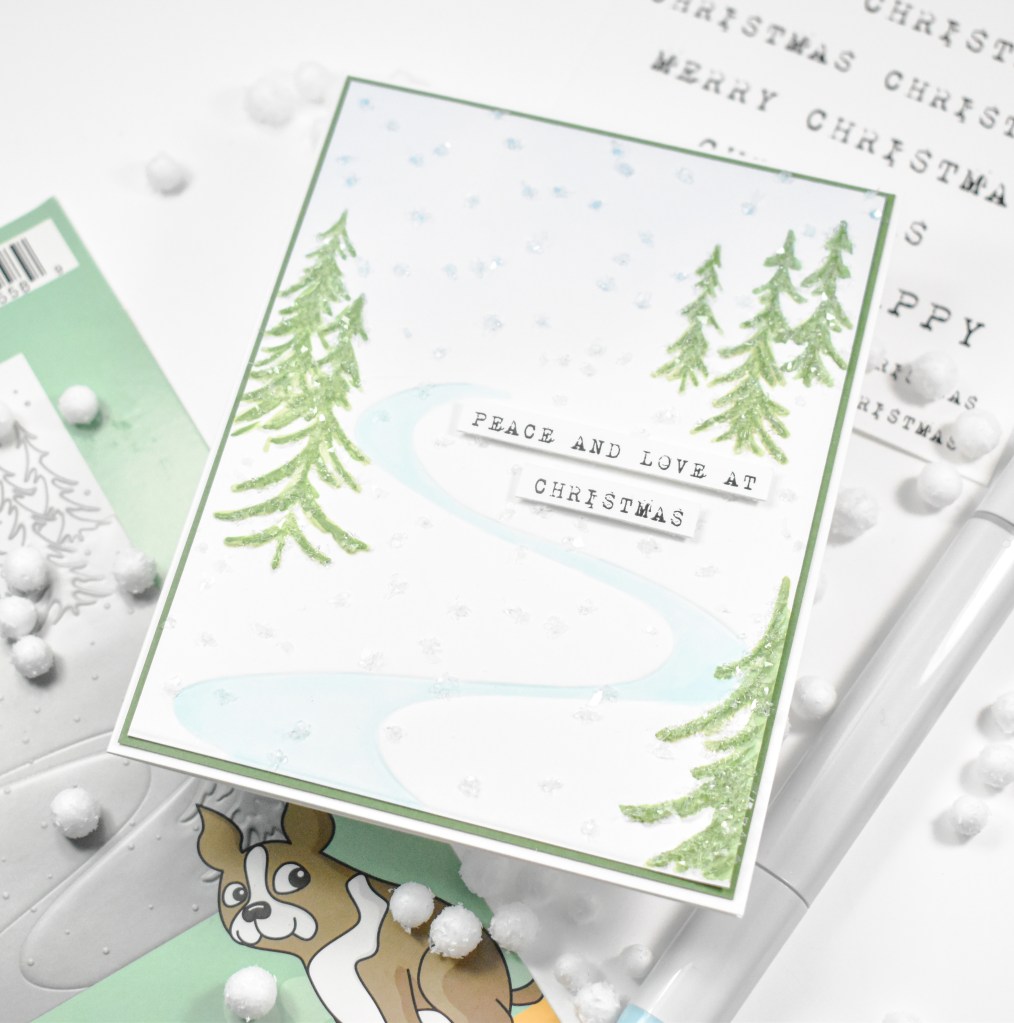
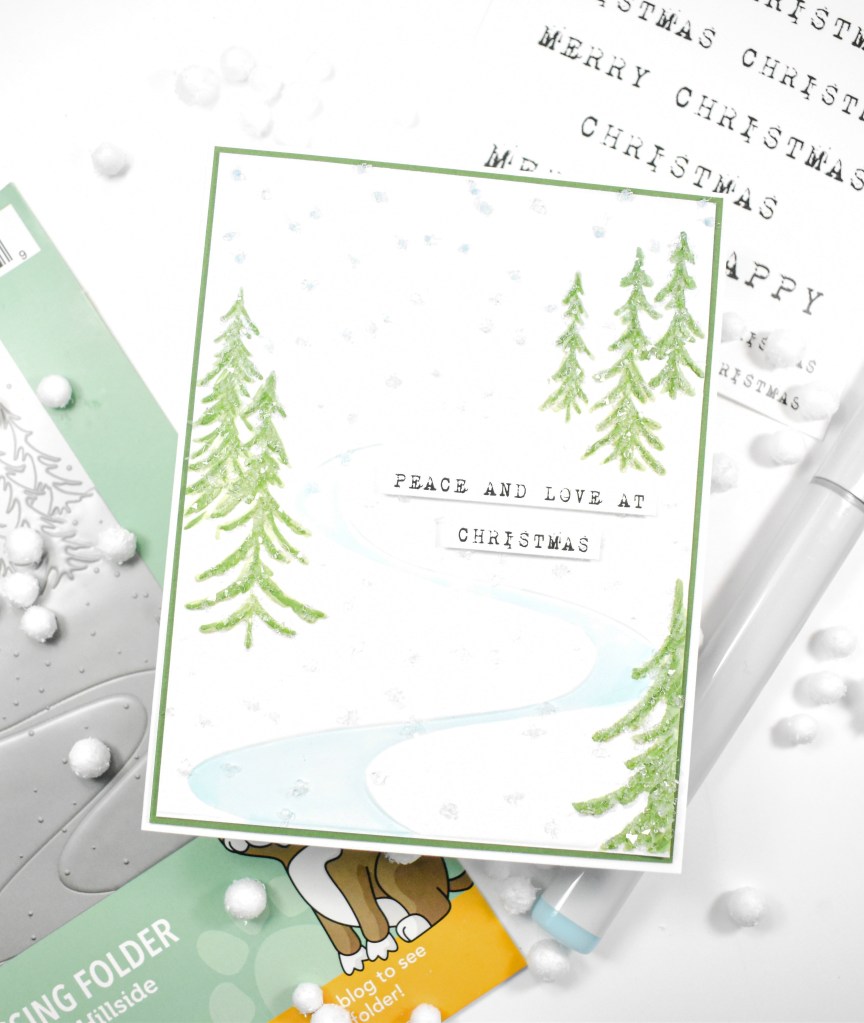
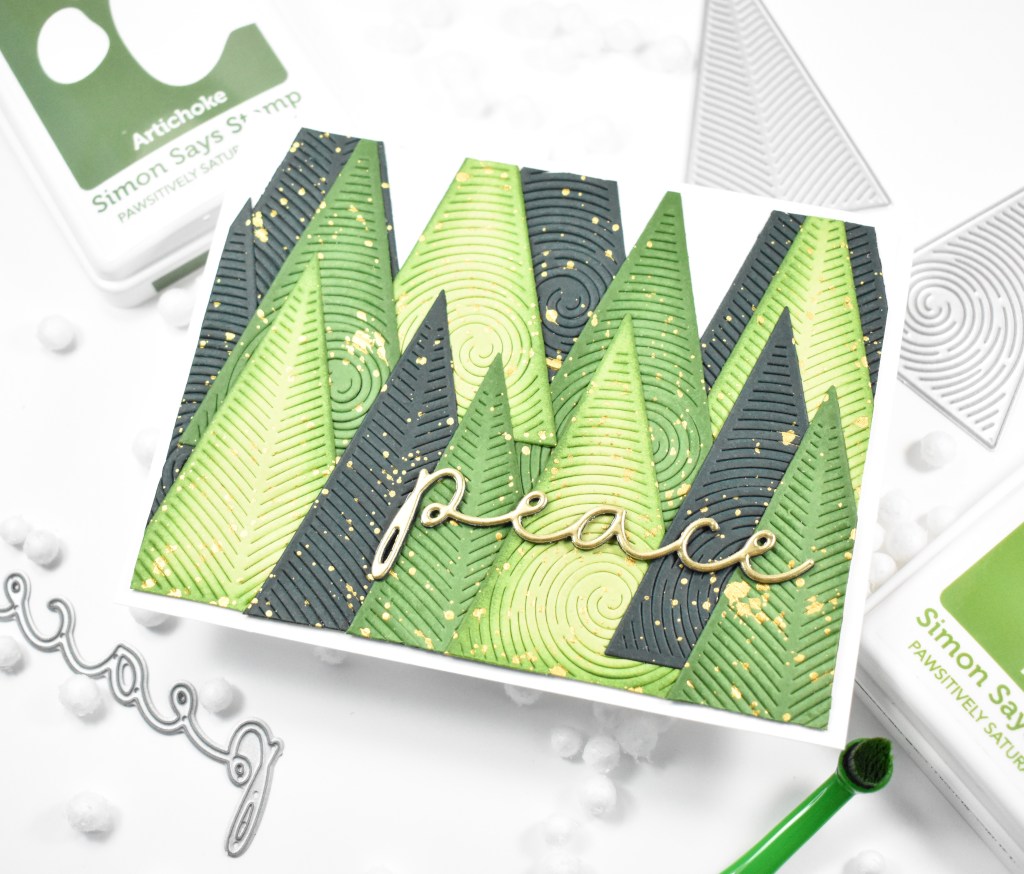
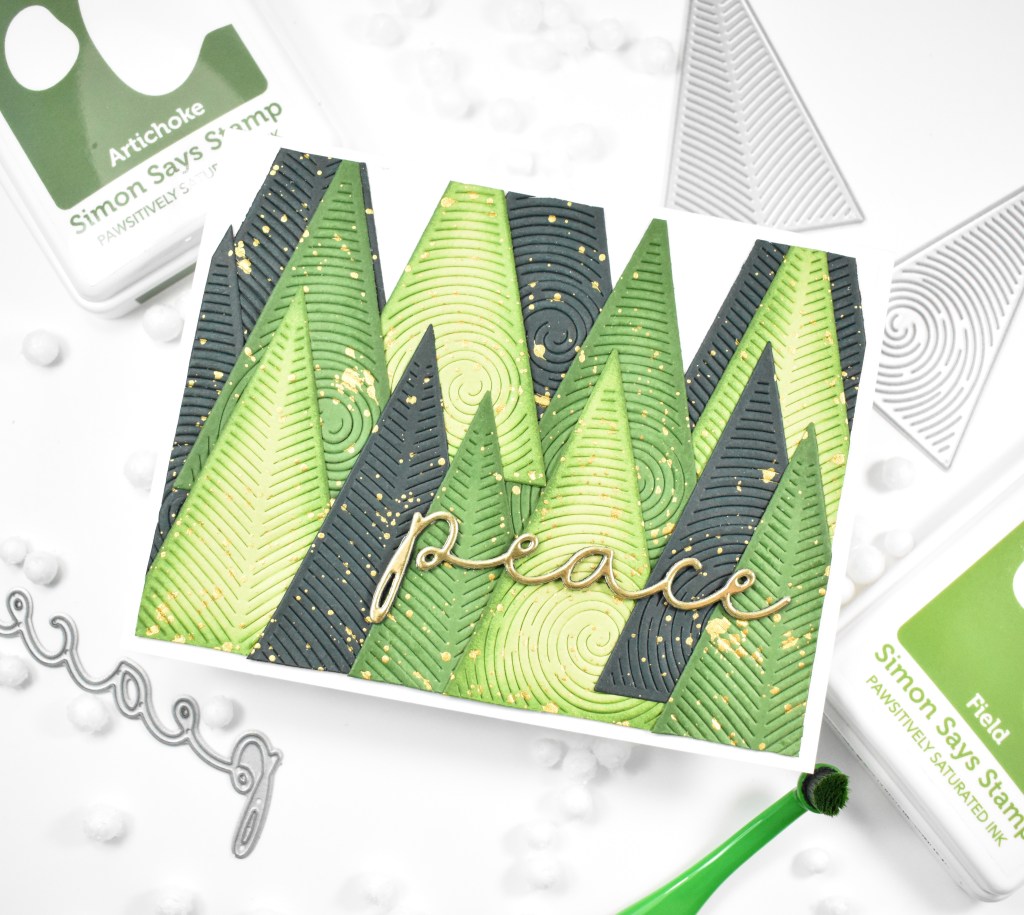
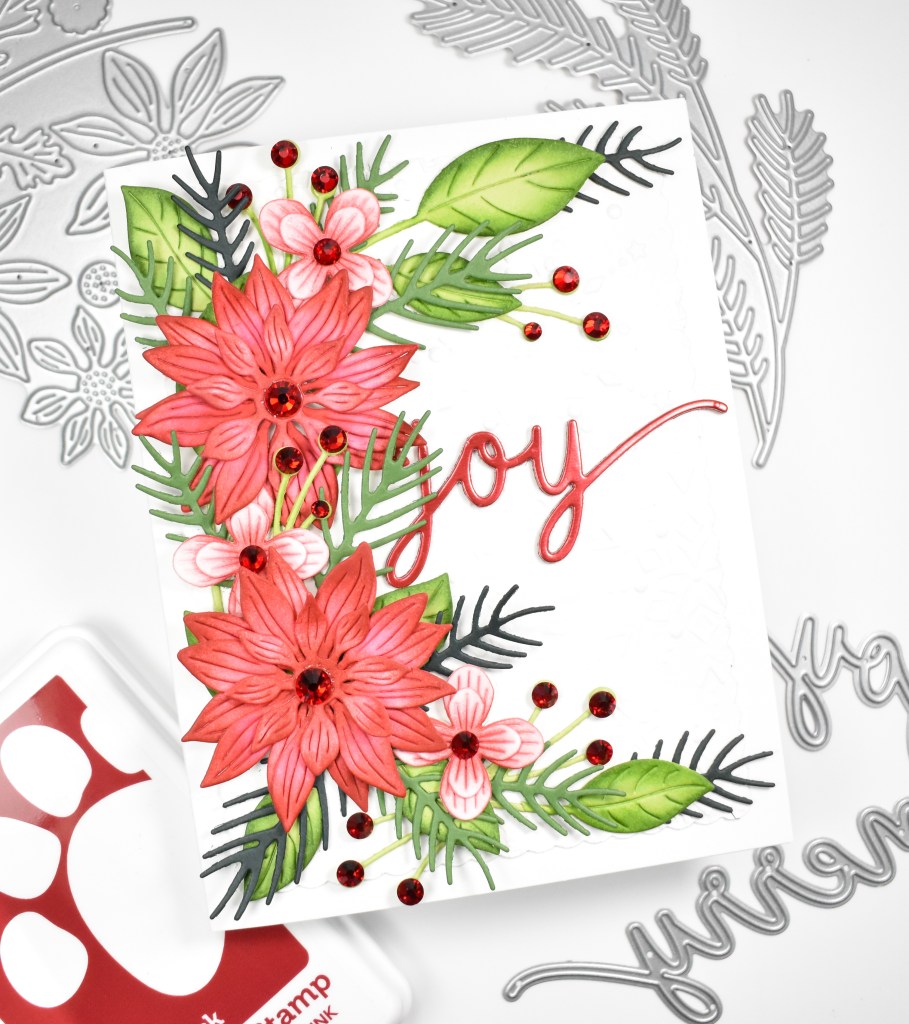
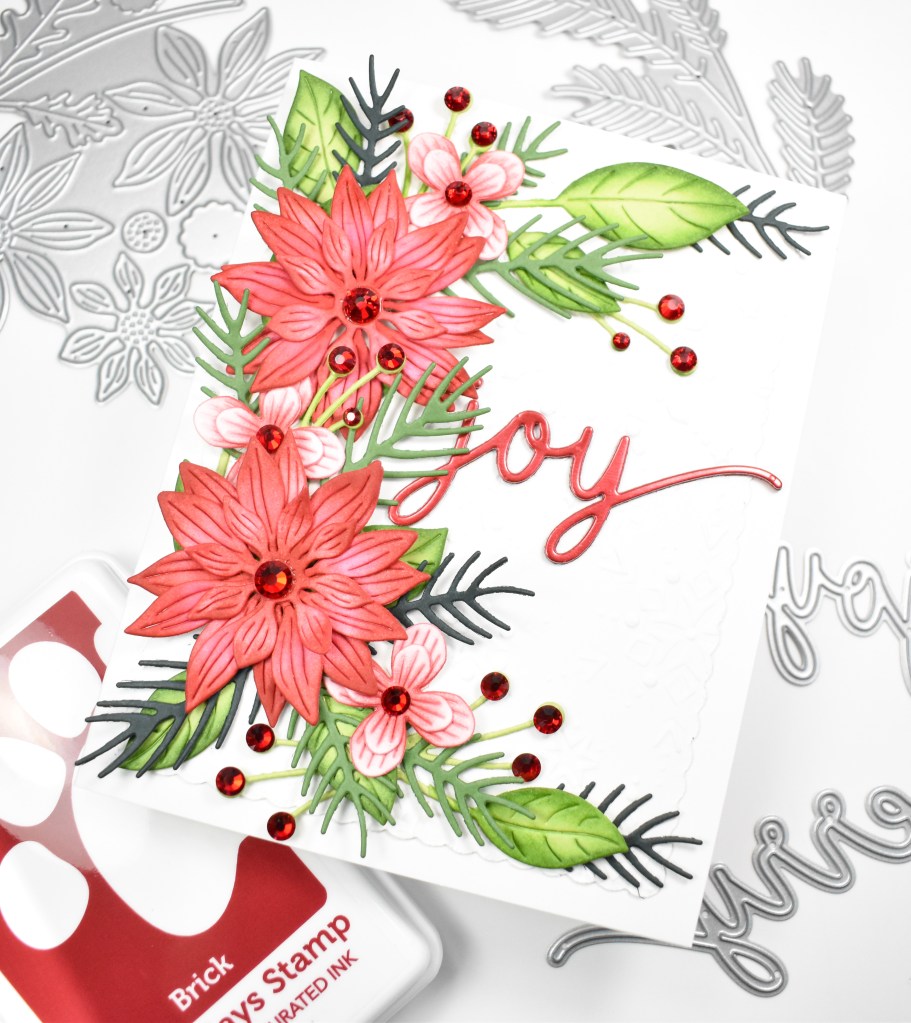
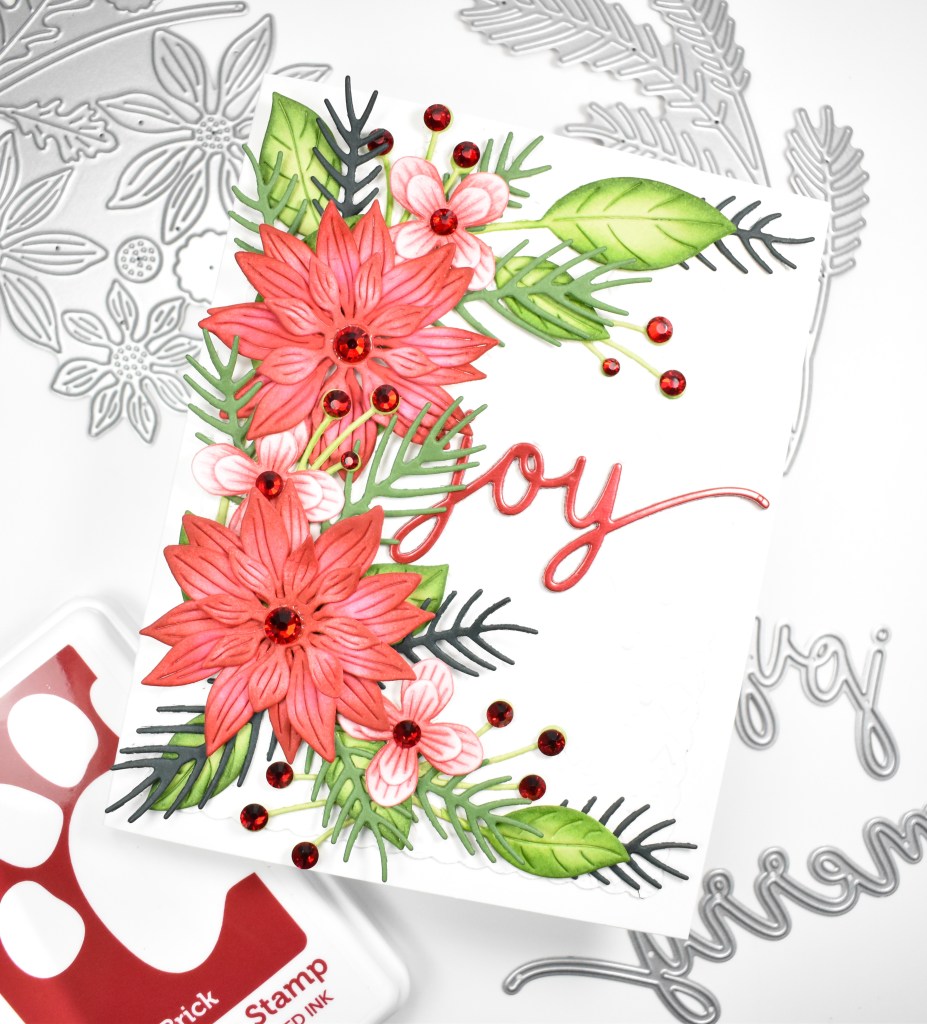
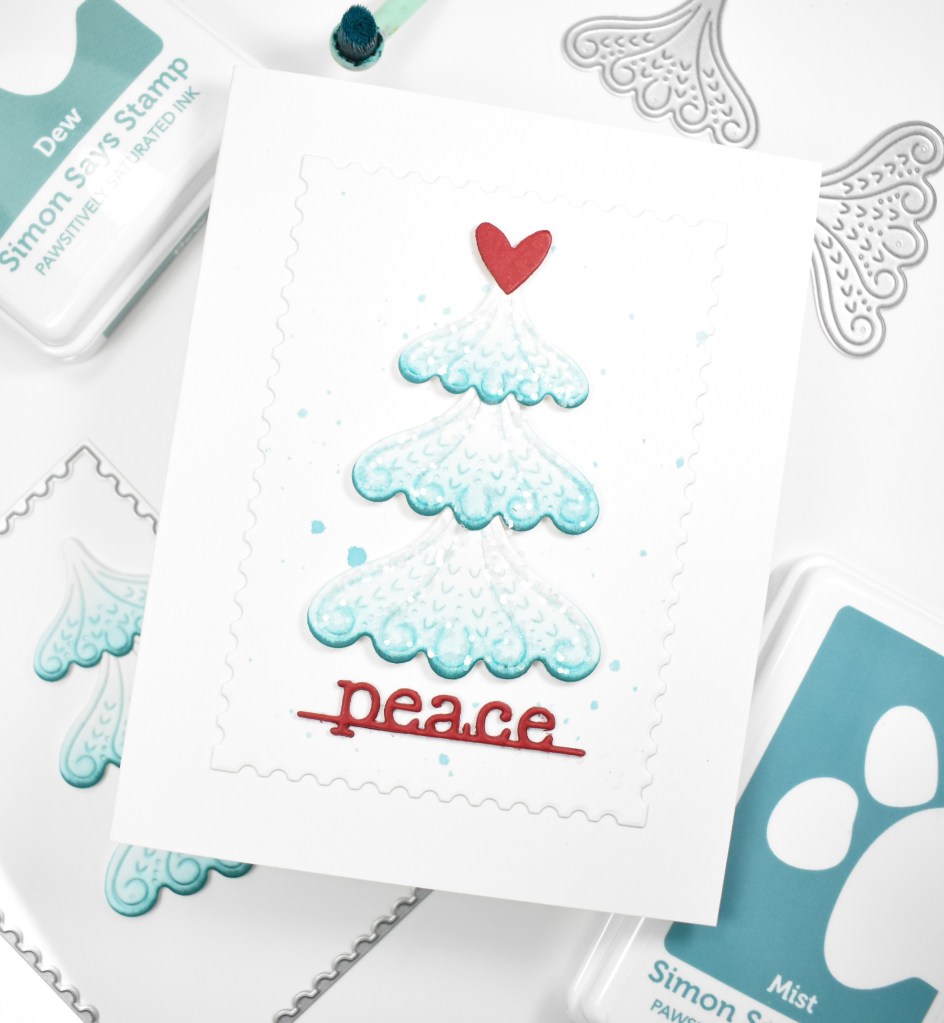
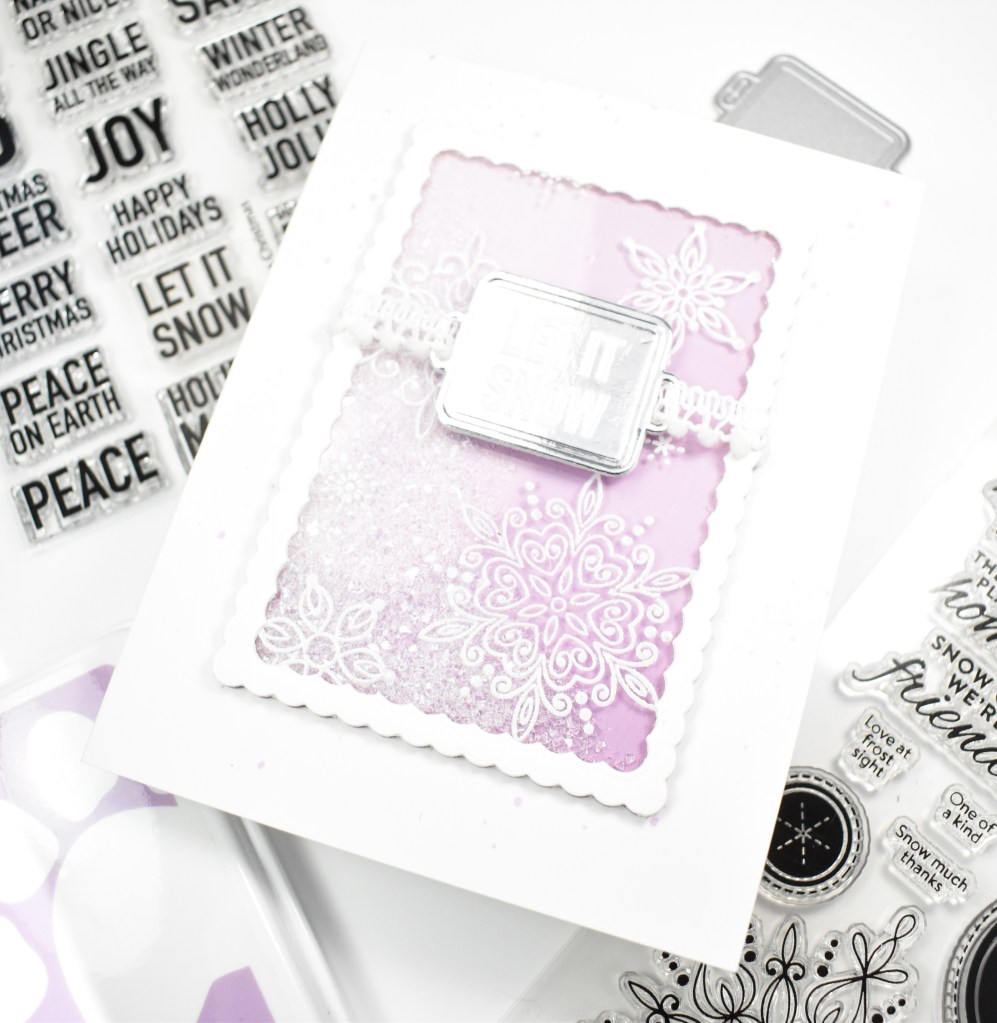
I began this project by die cutting the sentiment three times from red cardstock and creating the frame from white cardstock. To be honest, the flowers and leaves were already cut from a previous project from several months ago, and they were cut from white and fog cardstock.

My background was created using the Snowflake Burst Pinpoint plate and splattering that with some silver acrylic ink. I adhered the frame to the panel with foam tape and secured the leaves and flowers to the frame with liquid glue.

The sentiment was added with glue, as well as the red gems for a touch of sparkly! That does it for this project. Don’t forget to head on over to Simon’s website to check out the entire DieCember release. Thanks for stopping by, and I hope you have a wonderful day!

Supply List
Affiliate links used at no cost to you. What does this mean? If you use the links within this post to make a purchase, I receive a small commission, which allows me to continue to post crafty content for your enjoyment. I truly appreciate your support!