Spellbinders Rainy Birthday Wishes

Hello Crafty Friends, and welcome back to my blog! I appreciate you joining me for today’s project featuring the new Spellbinders Autumn Rain BetterPress Plate. How fun is this plate?!?!? I mean for real! Let’s not waste any time and get into the details!

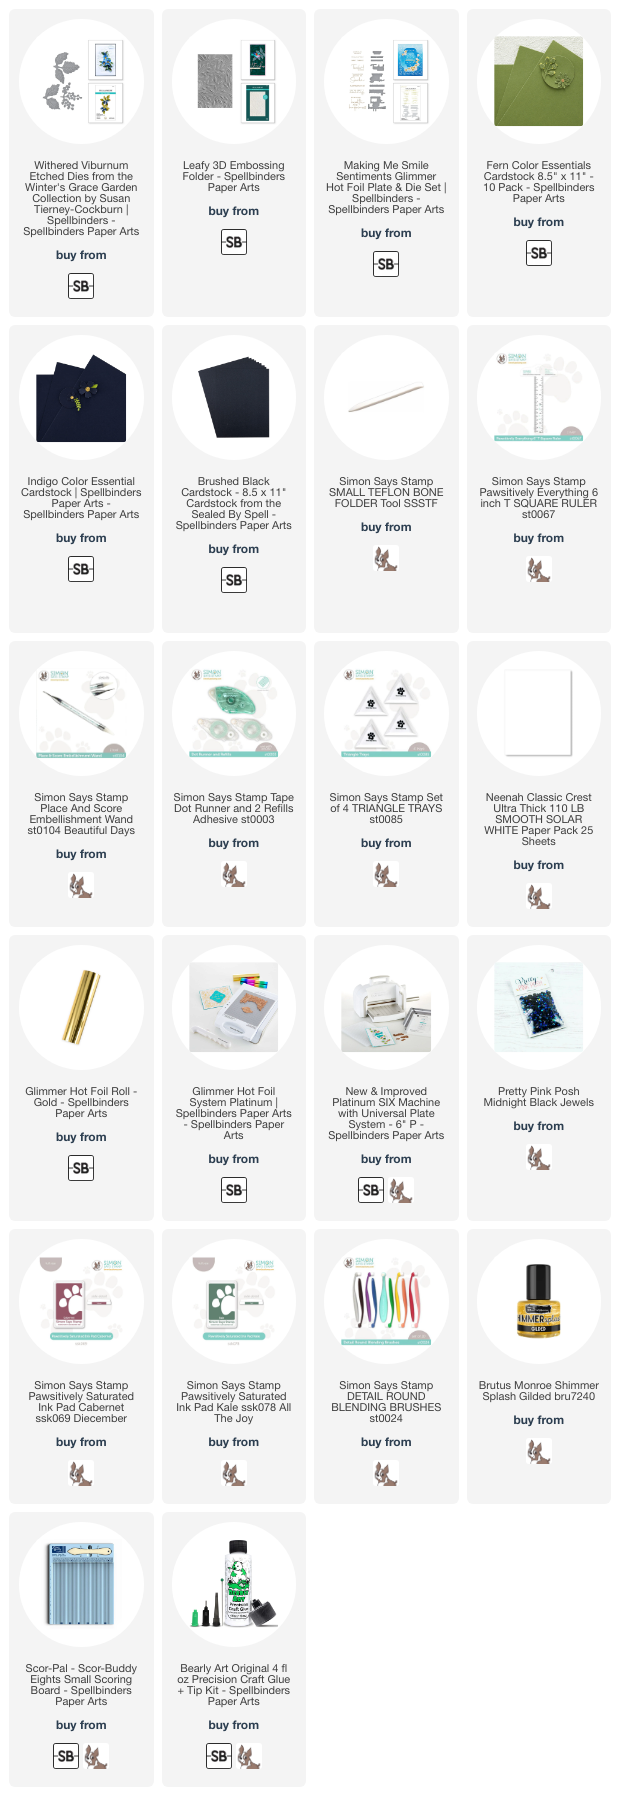
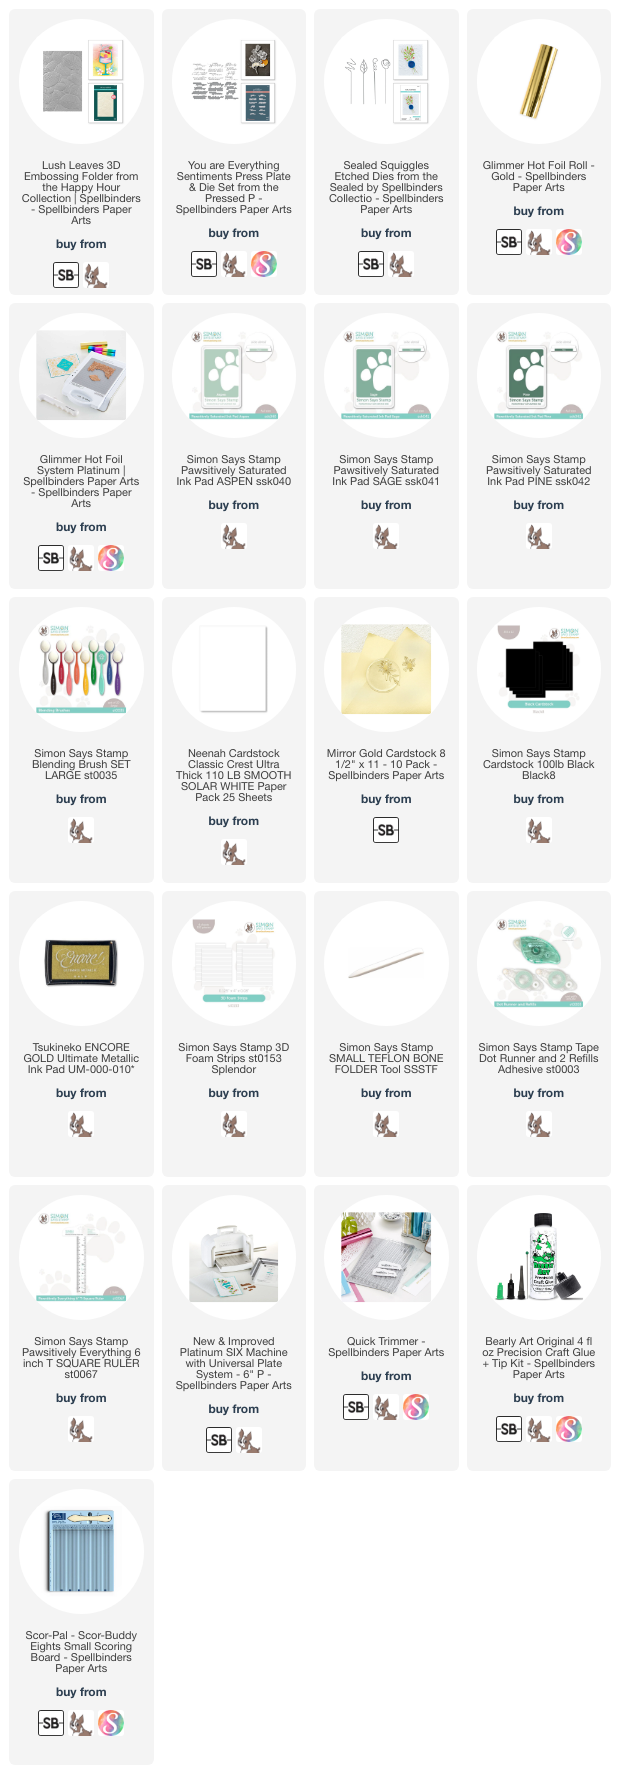
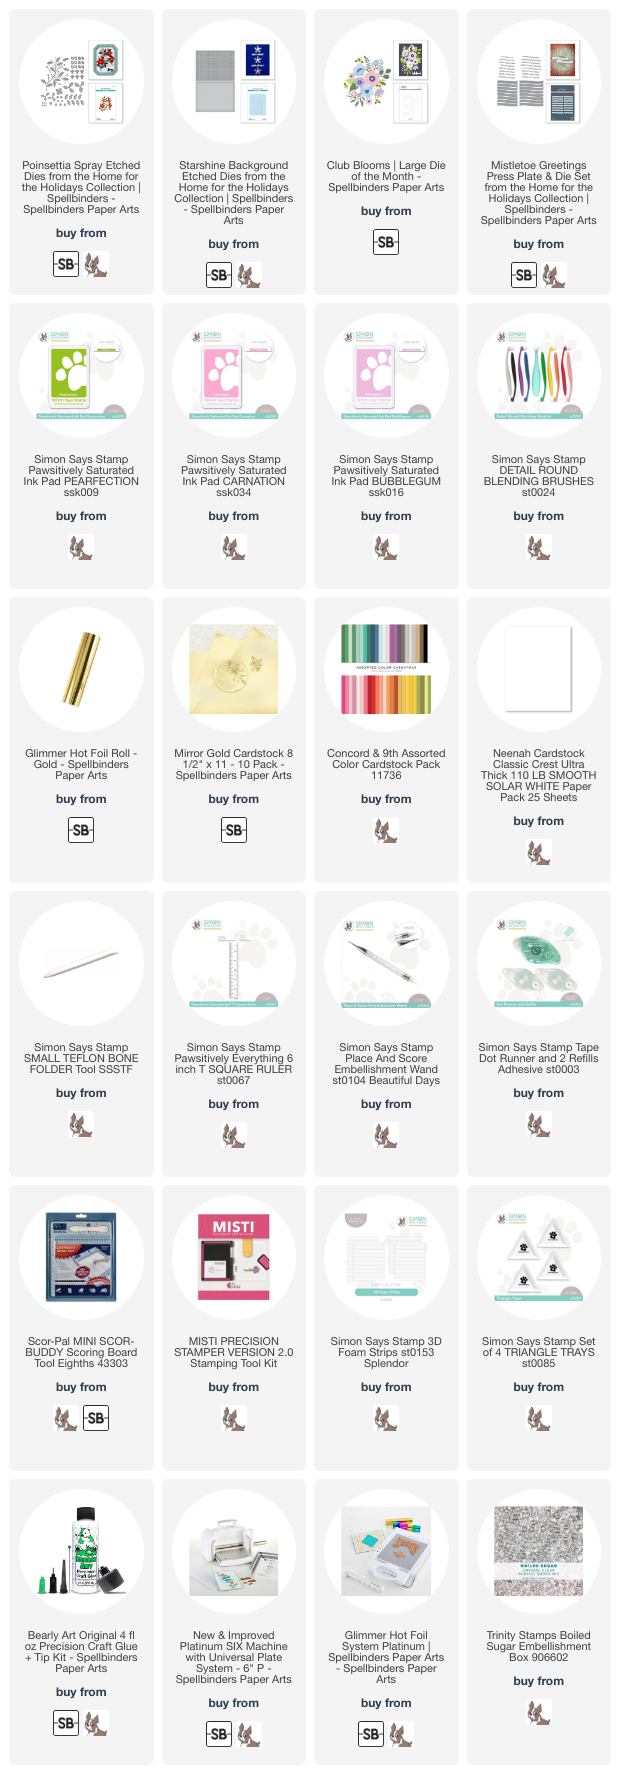
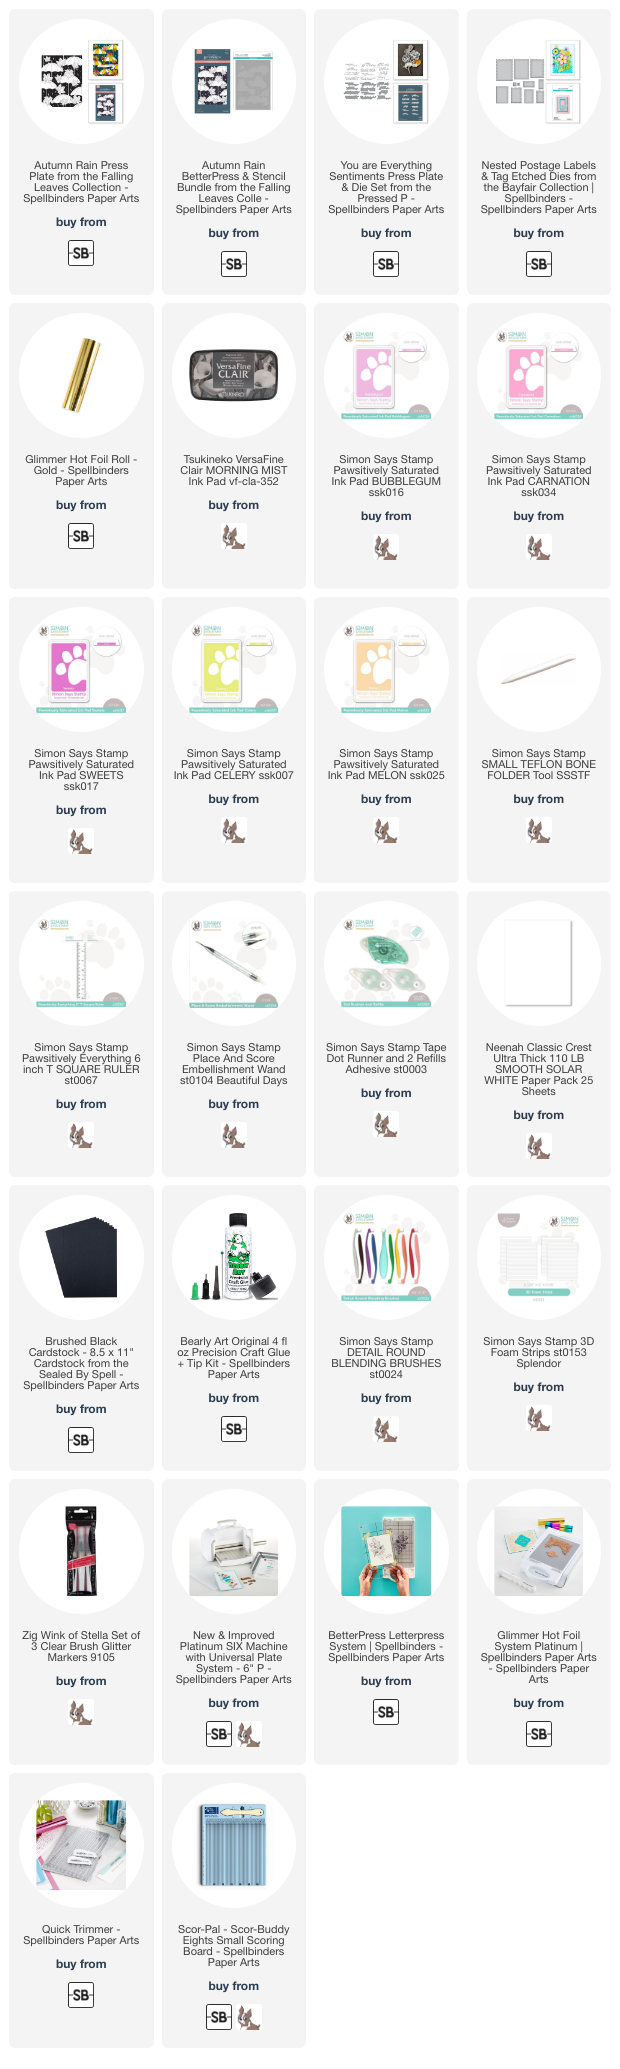
NOTE: all supplies are linked to multiple sources in the thumbnails at the end of this blog post.

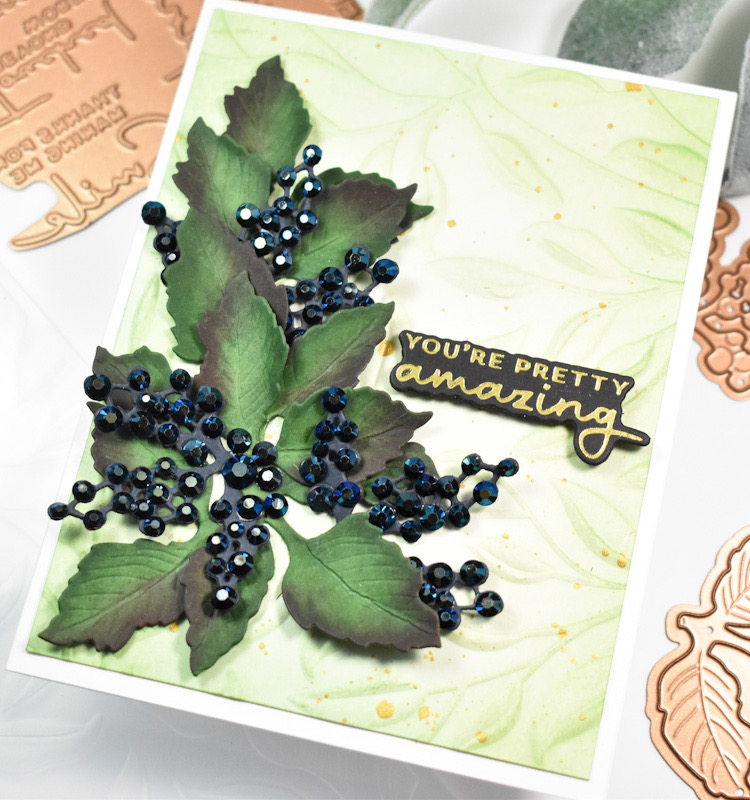
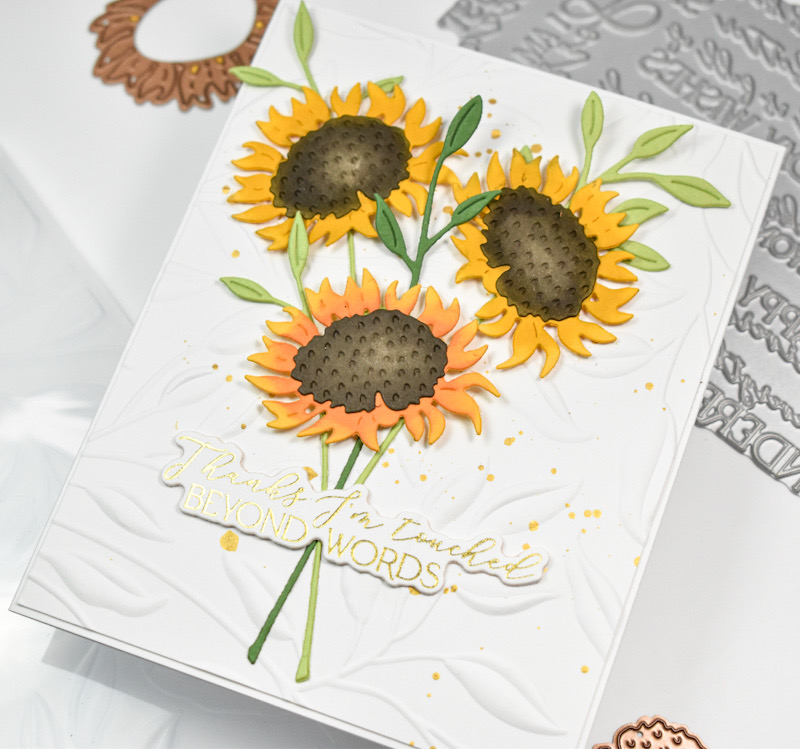
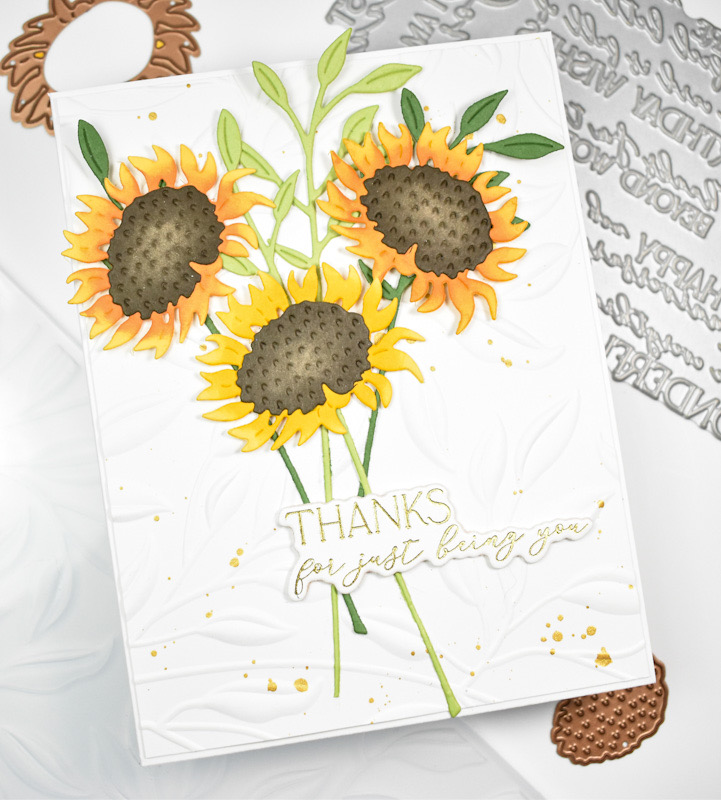
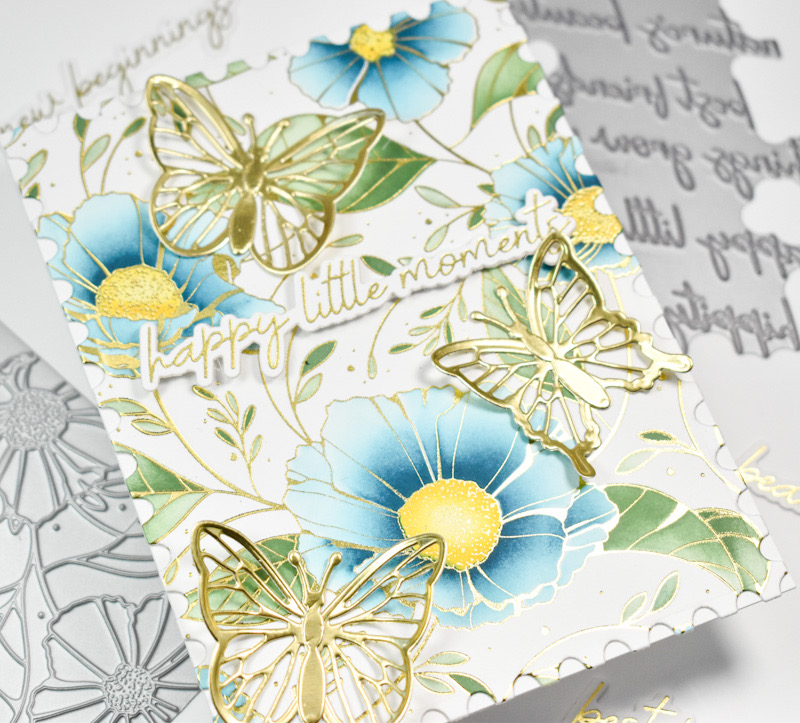
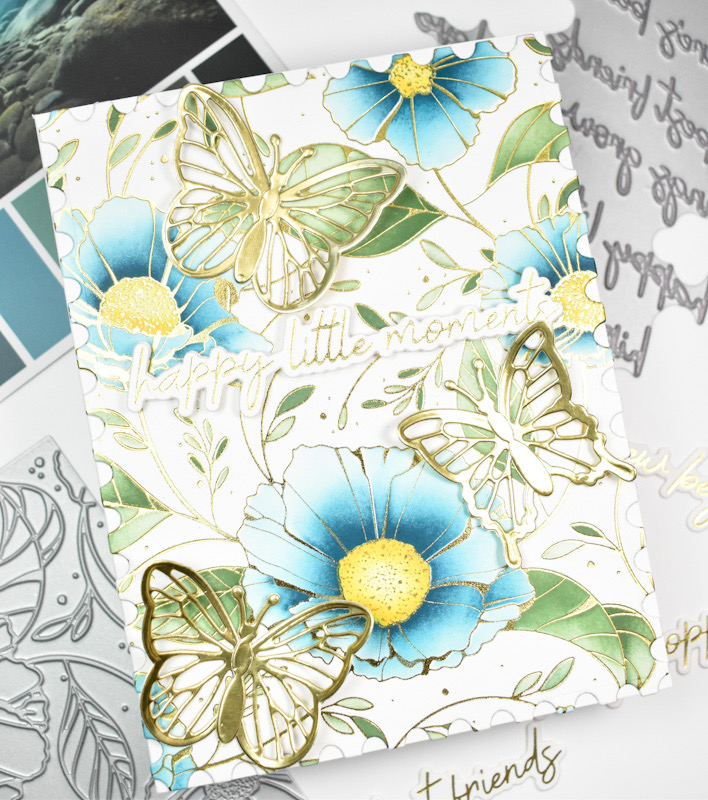
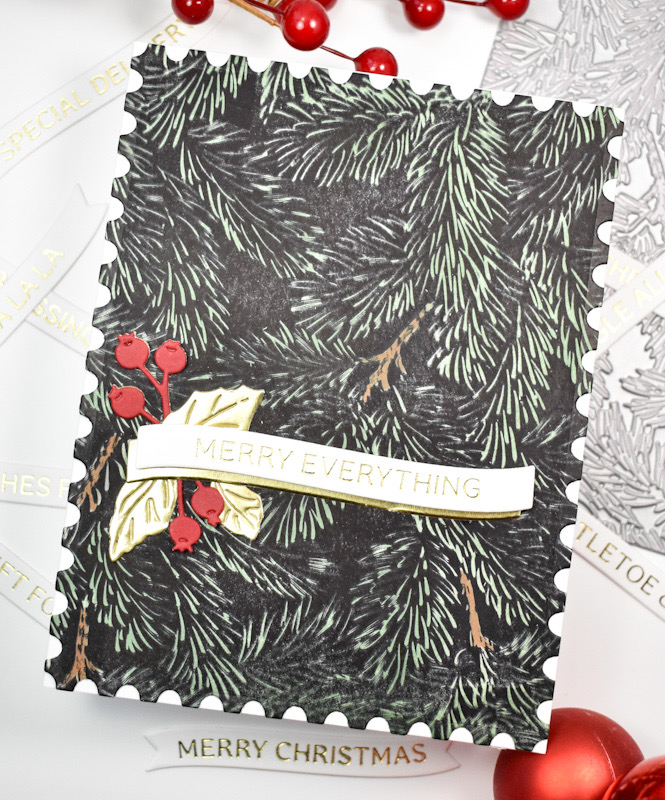
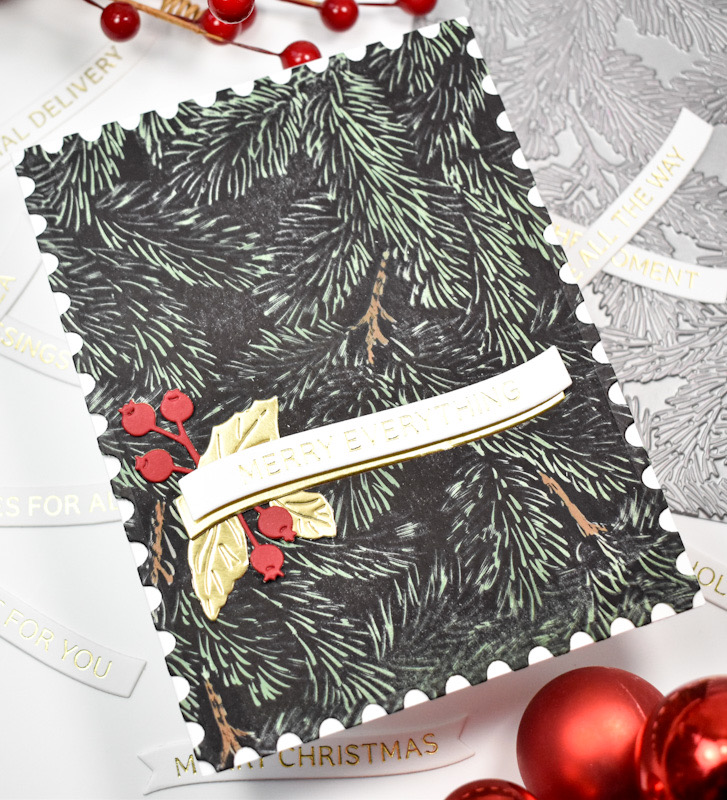
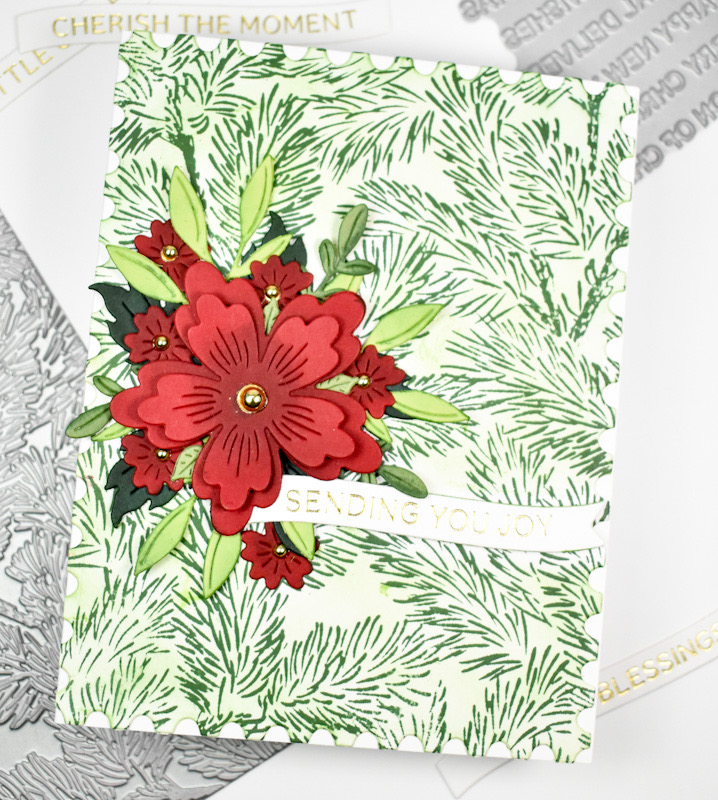
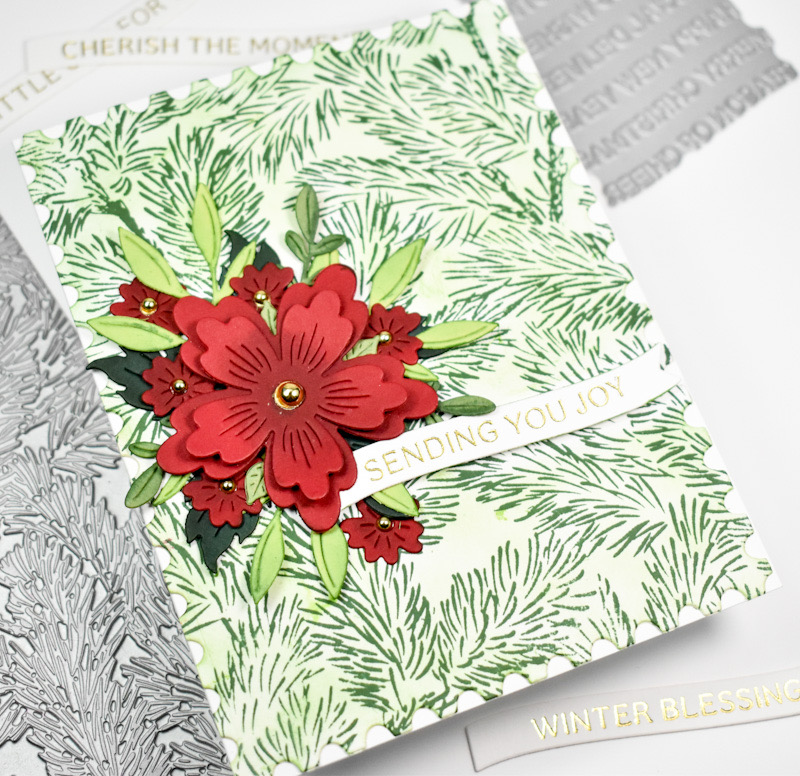
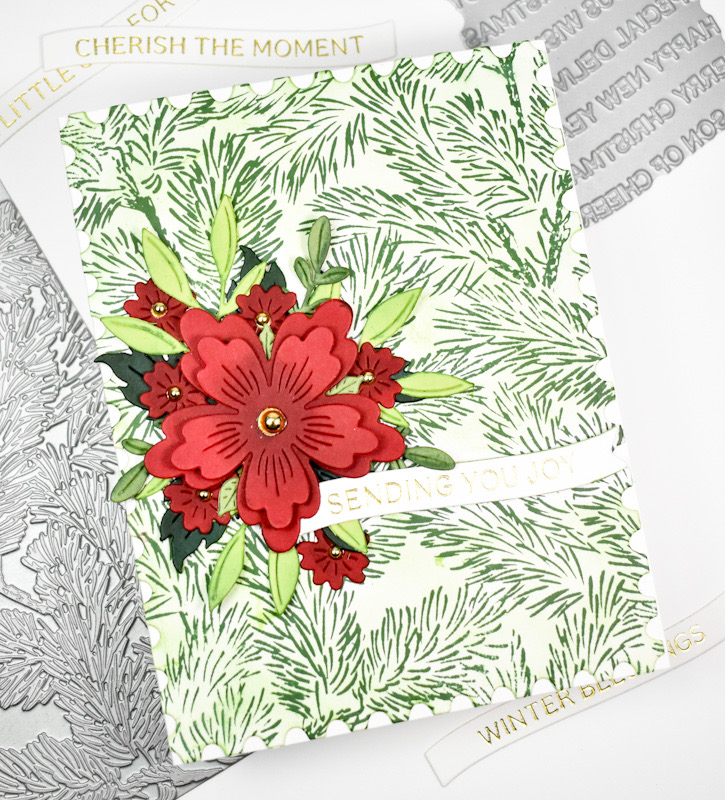
For this project, I wanted a dreary grey background with brighter umbrellas, so I inked the Autumn Rain plate with VersaFine Clair Morning Mist ink. If you’re looking for a great grey ink, then you should definitely check this one out! I did ink the plate a couple times and run it through the machine for better coverage.

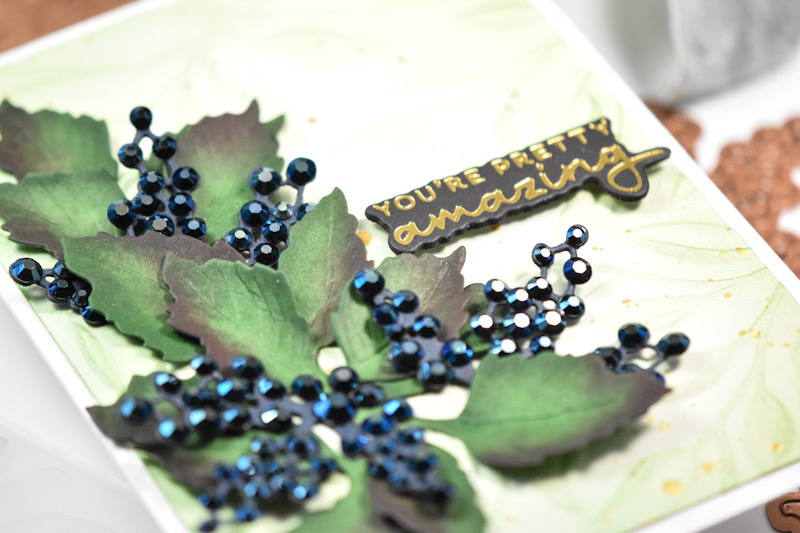
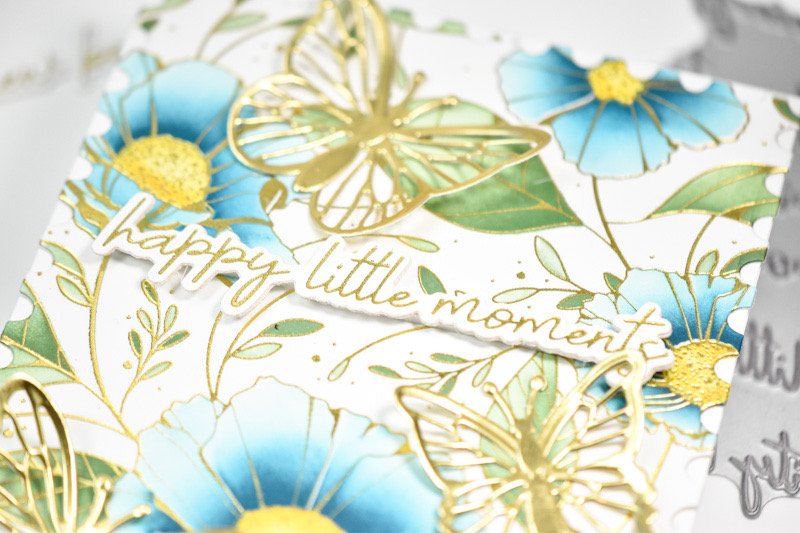
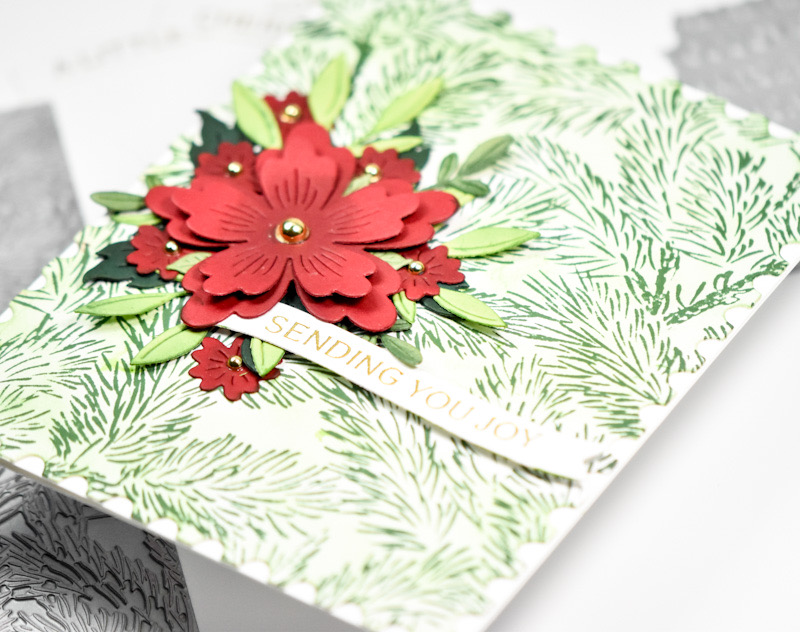
Once the background was complete, I used the Autumn Rain stencils to add color to the leaves and umbrellas. The ink that i used was SSS Pawsitively Saturated Inks in Bubblegum, Carnation, Sweets, Celery and Melon. I also used a Zig Wink of Stella pen to add a touch of shimmer to the raindrops, although it’s hard to see that in the pictures.
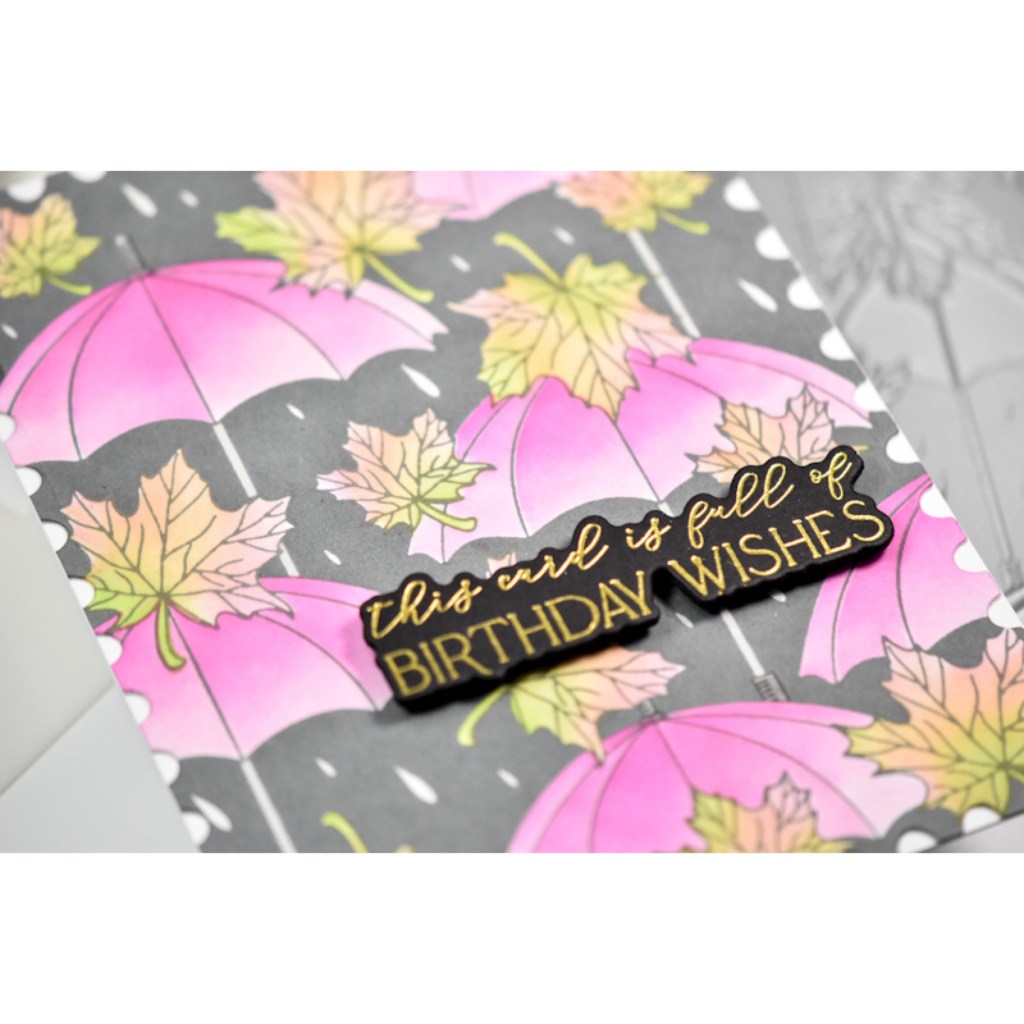
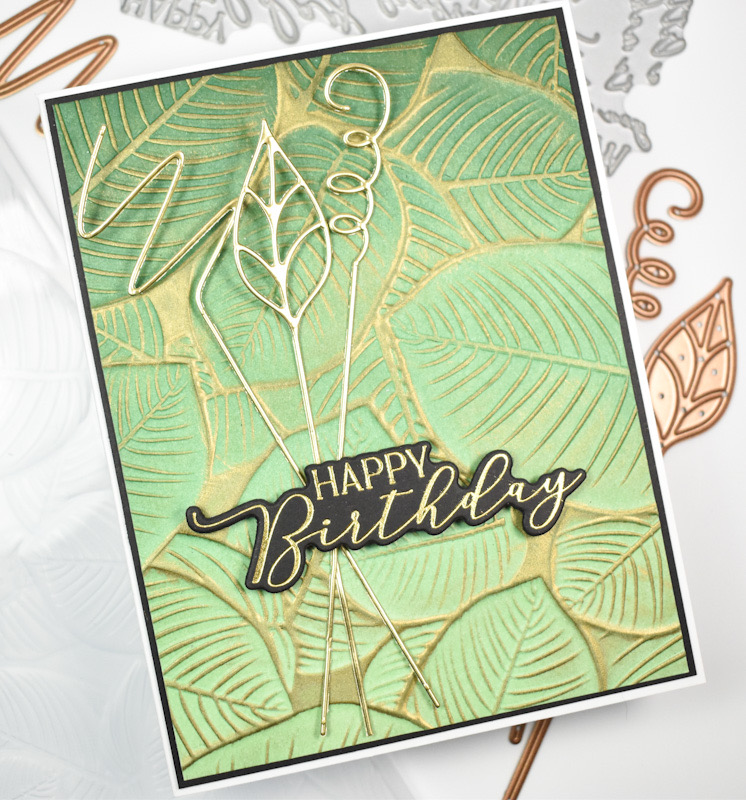
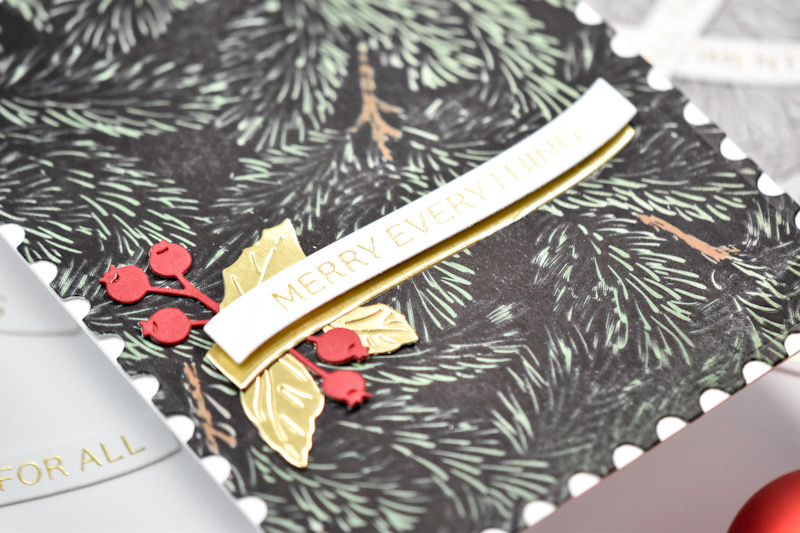
The panel was then trimmed down using the Nested Postage Labels & Tag set and then adhered to the card base. I gold foiled the sentiment, which is from the You Are Everything Sentiments BetterPress Plate set, onto black cardstock and trimmed it with the coordinating die. I did cut it three times for a stacked look and adhered the sentiment to the panel using foam strips to finish up.

That does it for this project! I hope you enjoyed it as much as I did! Head on over to the Spellbinders website to check out all of the new September releases. There’s so much awesome stuff in this release! Thanks again for joining me, and have a wonderful day!

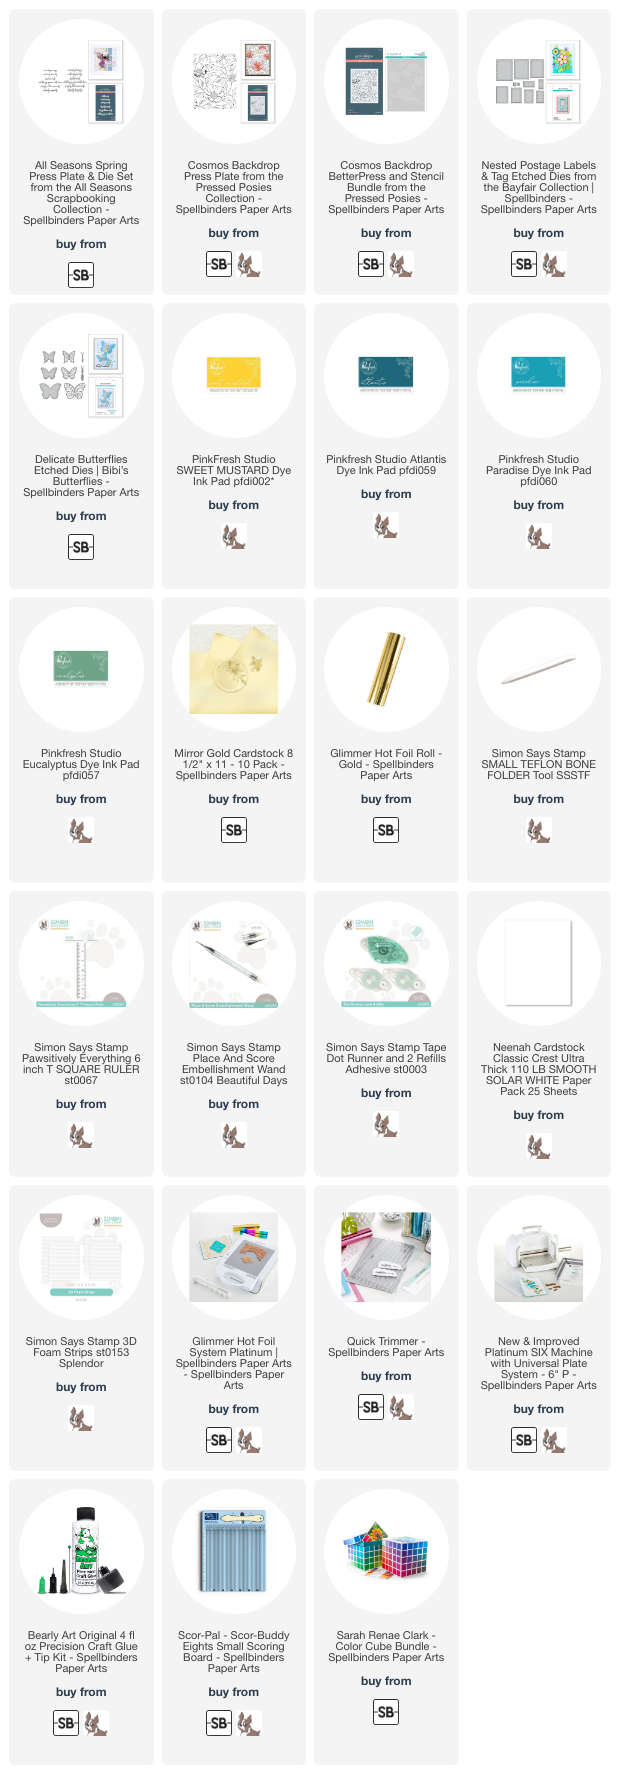
Supply List
Affiliate links used at no cost to you. What does this mean? If you use the links within this post to make a purchase, I receive a small commission, which allows me to continue to post crafty content for your enjoyment. I truly appreciate your support!
Latest Posts
- Simon Says Stamp Braided Greetings

- Together By Design Color Cube Floral

- Simon Says Stamp Cute Duckling

- Simon Says Stamp Watercolor Wild Rose

- Simon Says Stamp Striped Missing You