Simon Says Stamp Watercolor Wild Rose

Hello! Hello! Thanks so much for swinging by to check out today’s project featuring the new Wild Rose stamp set from Simon’s latest In My Heart release! Let’s get into it!
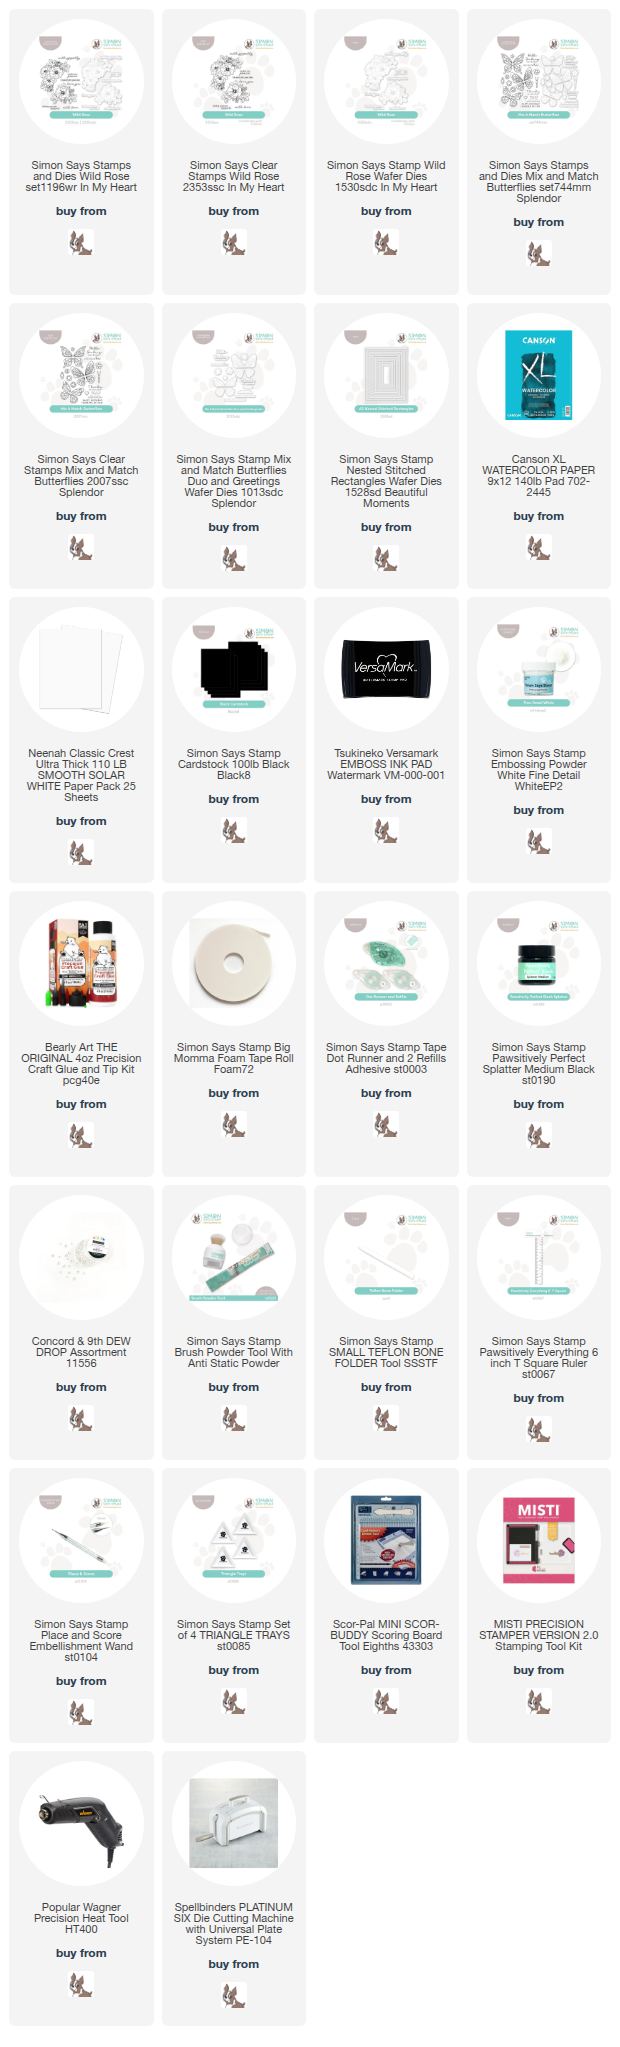
NOTE: all supplies are linked in the thumbnails at the end of this blog post.
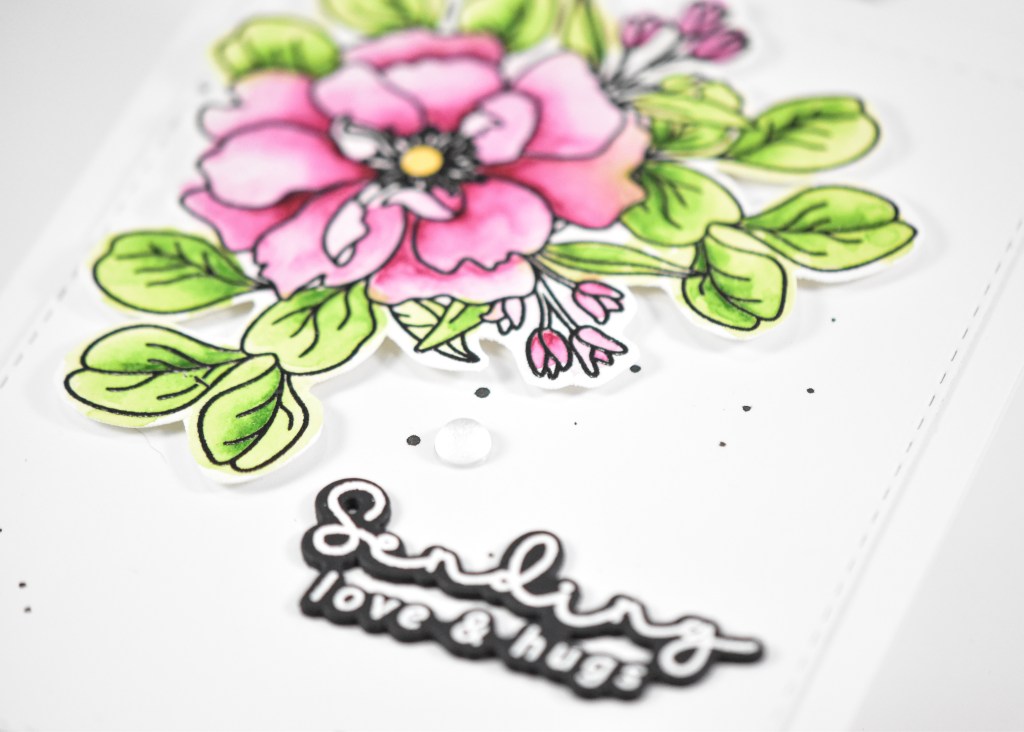
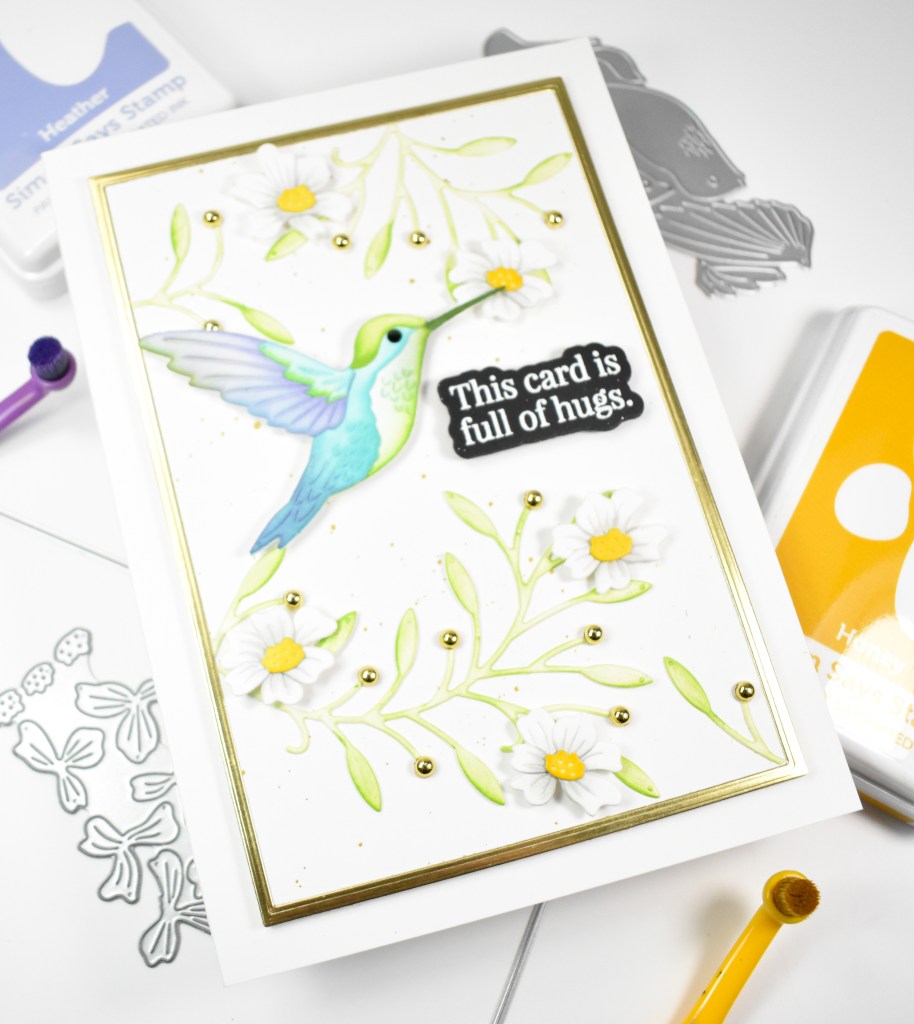
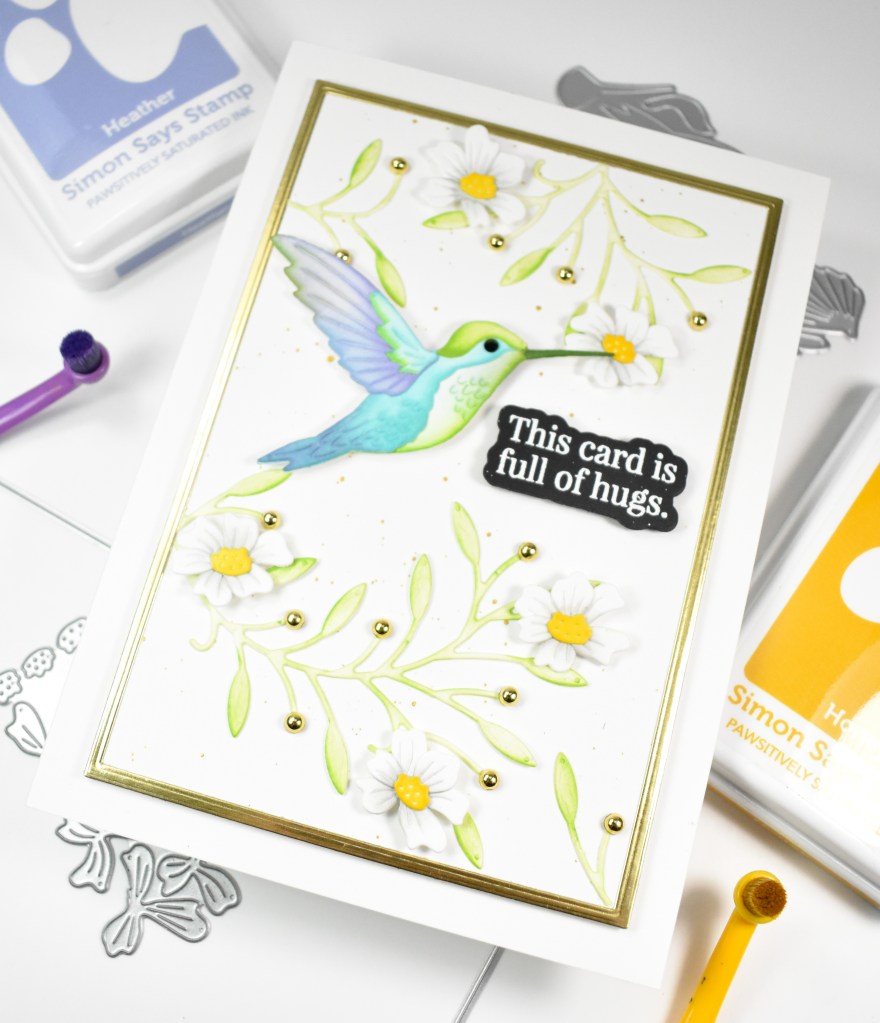
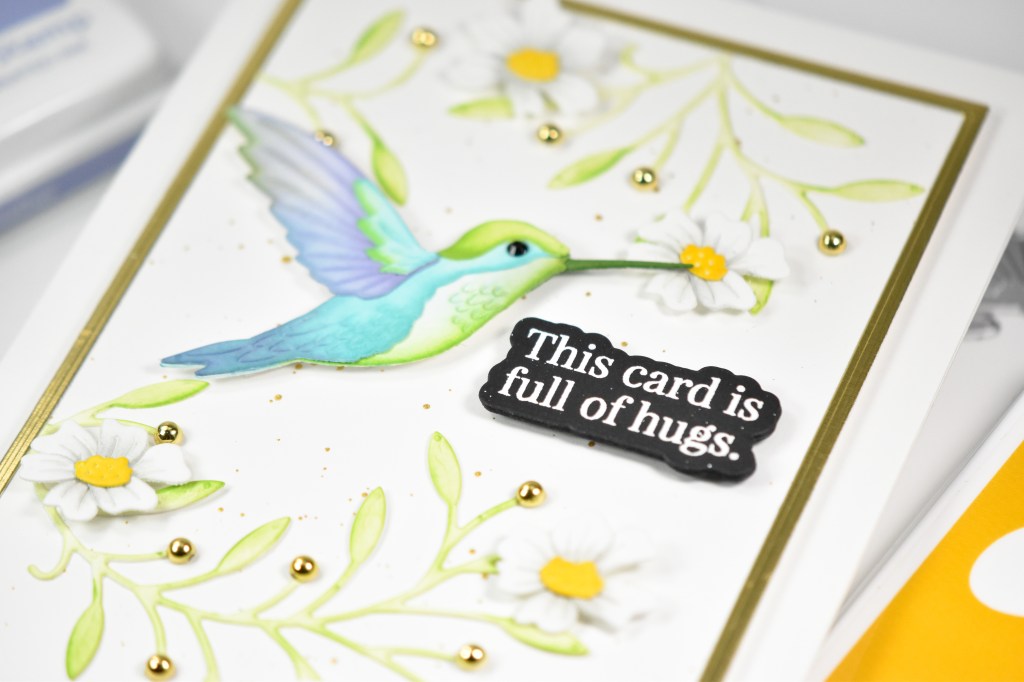
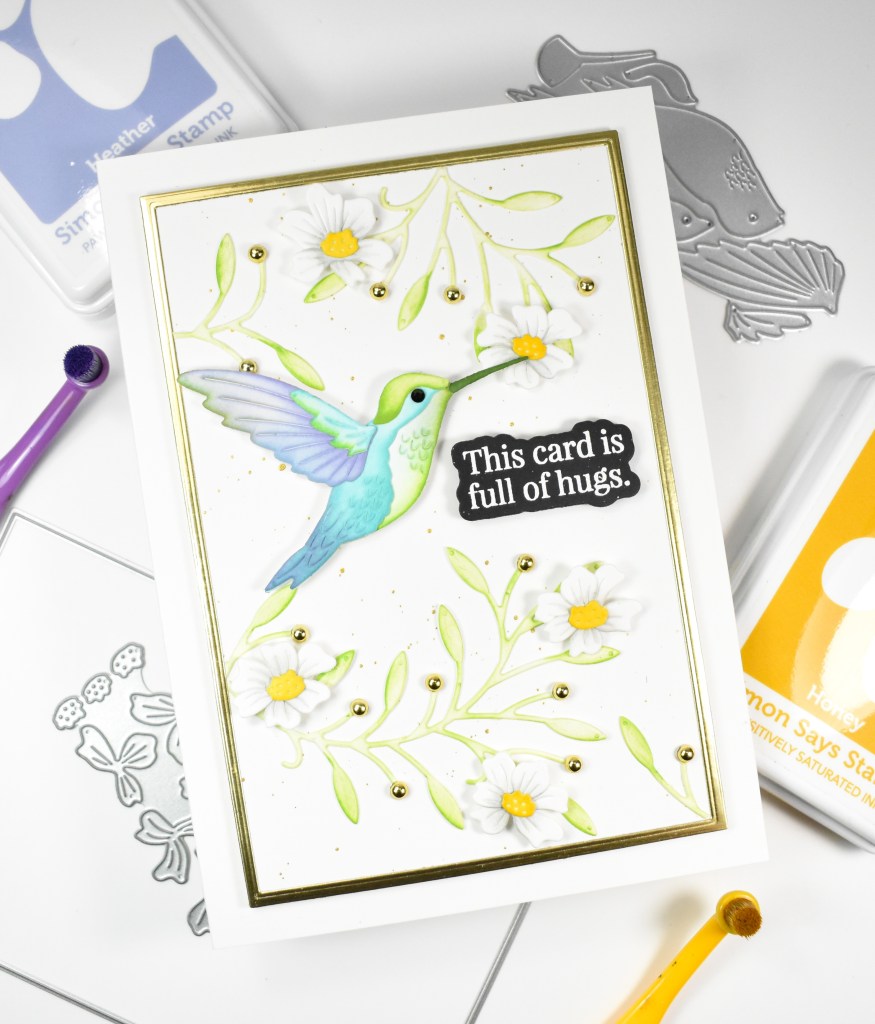
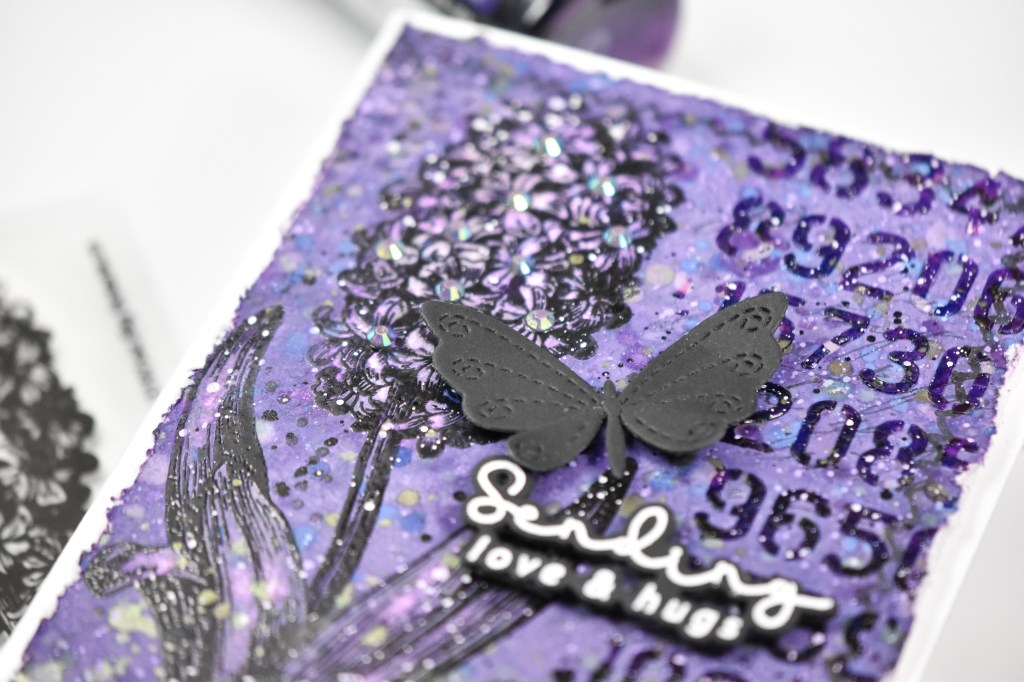
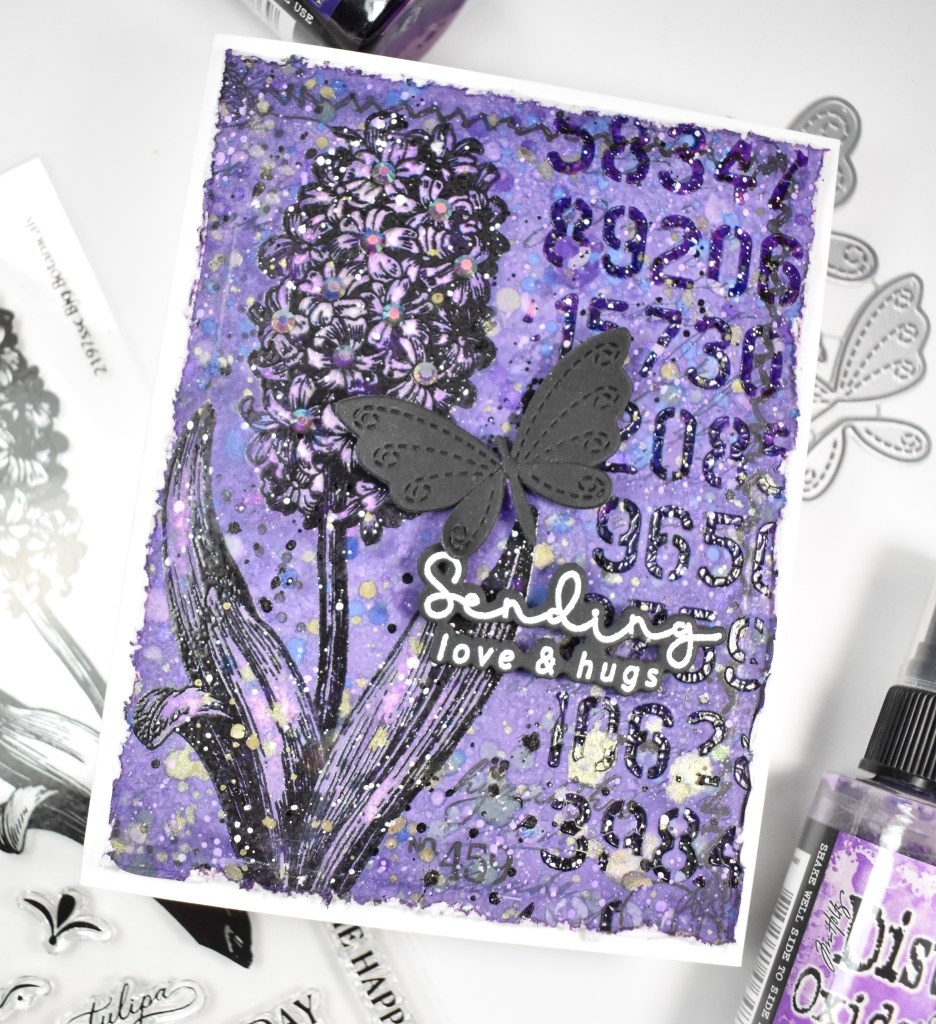
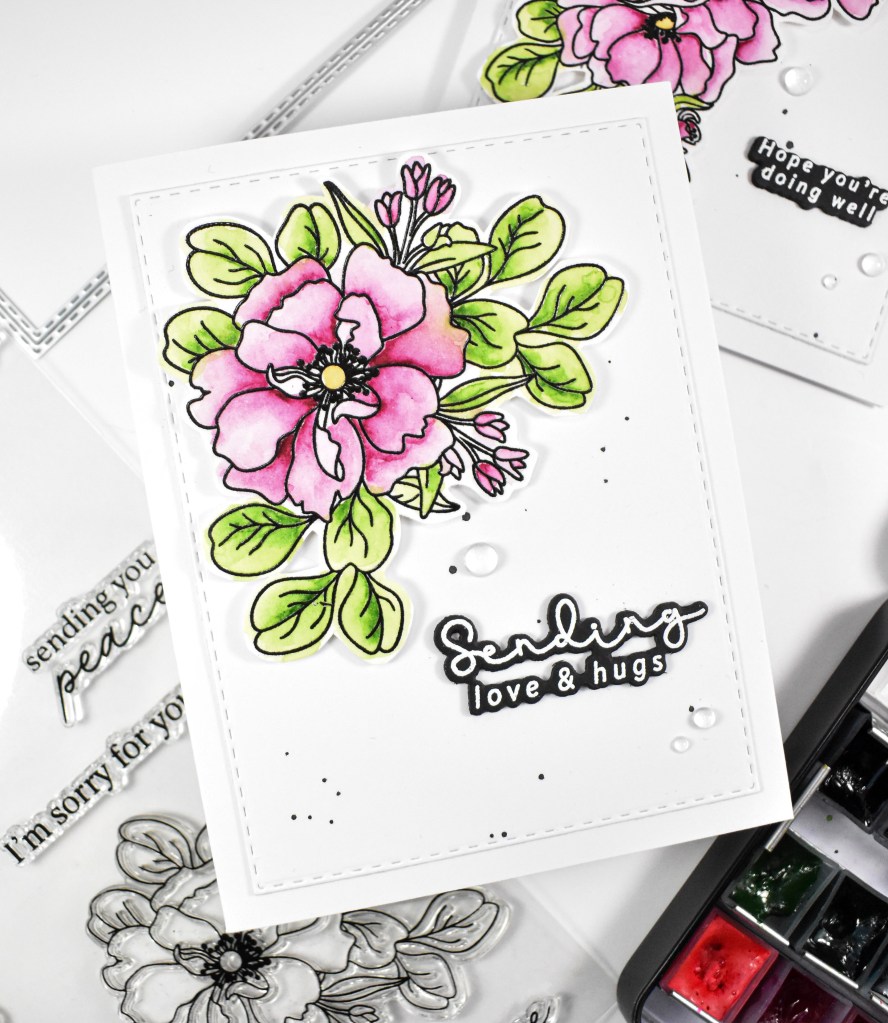
I began this project by stamping both of the florals onto a large panel using VersaFine Onyx Black ink and heat setting them with clear embossing powder. I then did a very loos watercolor wash over both and went back in with darker details and shadowing. Once everything was dry, I fussy cut both images, as I did not have the coordinating dies.
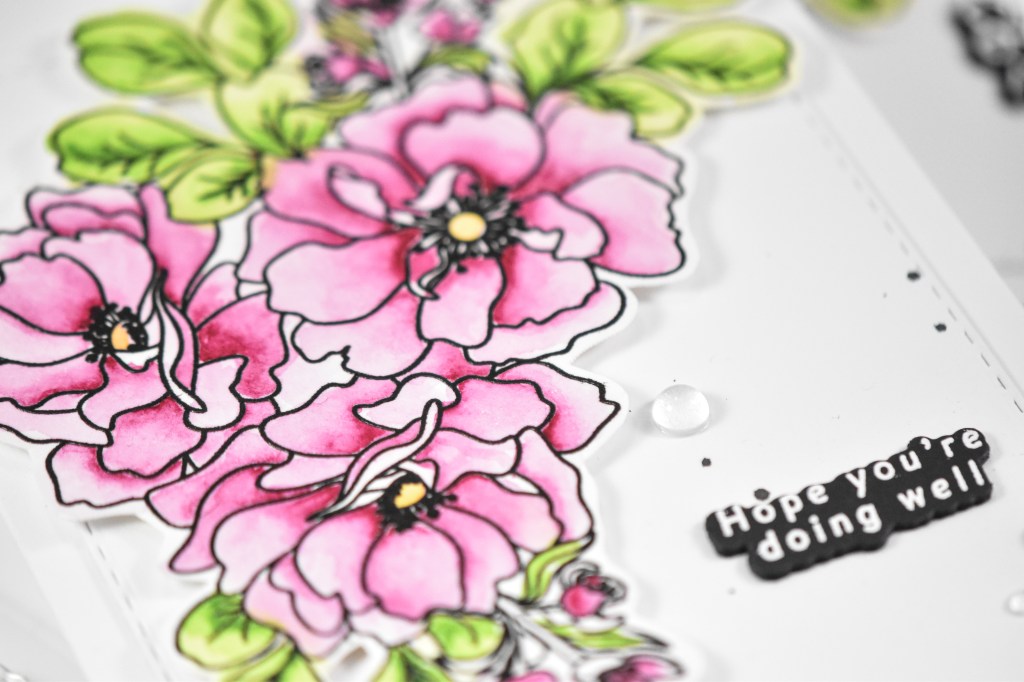
The background panels were created with black splatter and the Nested Stitched Rectangles. Both sentiments were stamped with VersaMark Ink, heat set using Detail White Embossing Powder and cut multiple times with the coordinating dies.
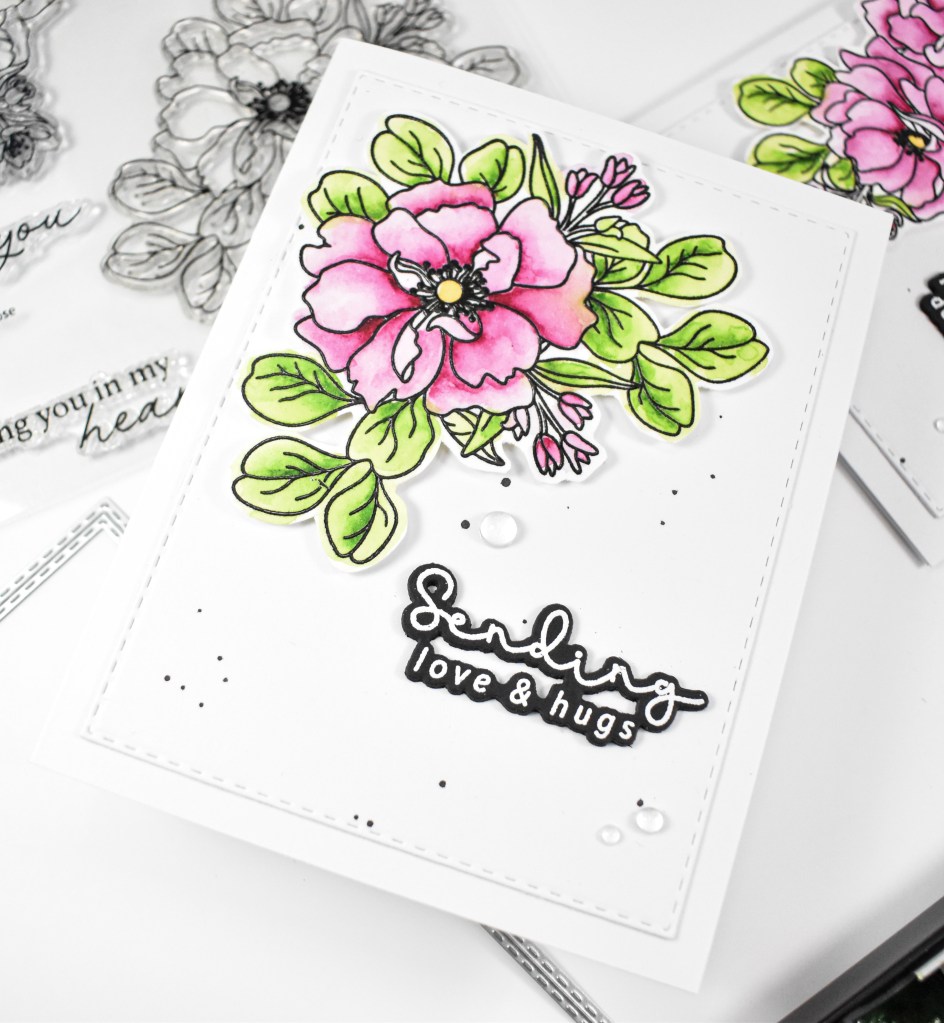
The florals were adhered using foam tape, while the sentiments were secured with liquid glue. I thought some clear drops were a nice finishing touch.
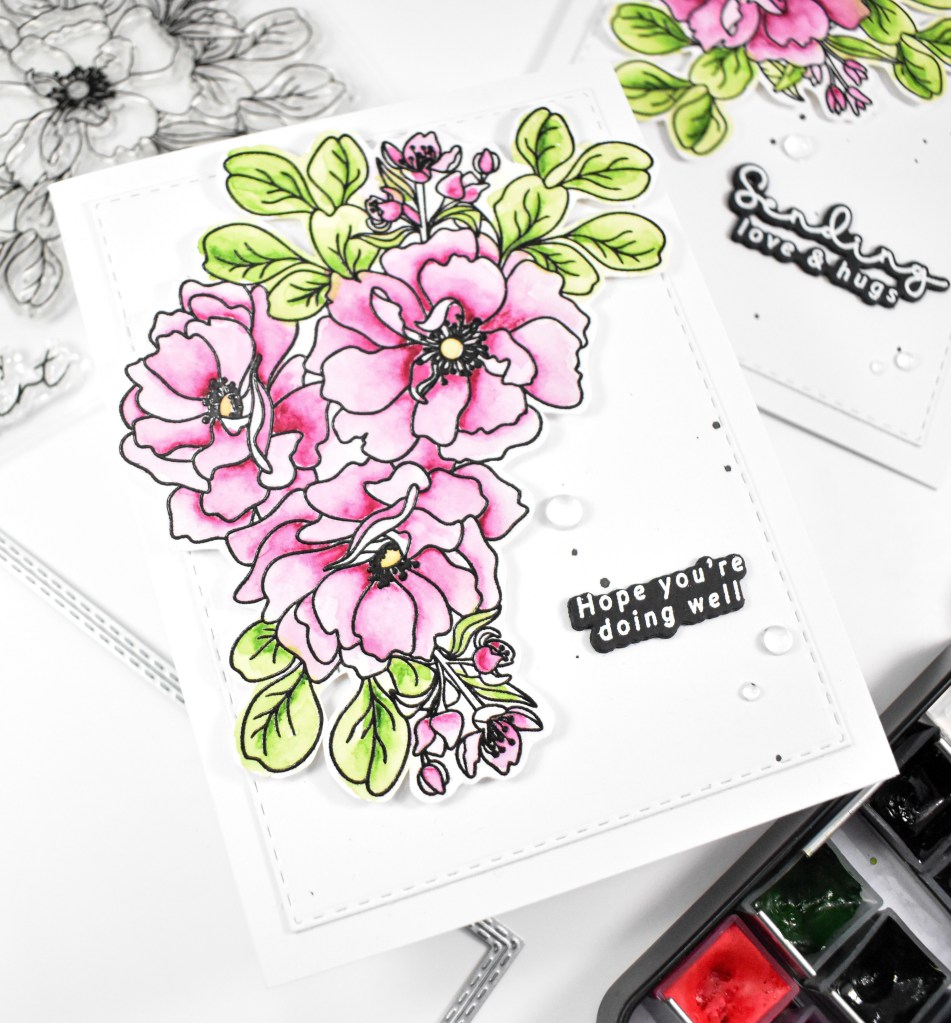
That does it for this one! I’m not very good at watercolor, but I enjoy it when I do give it a try. Don’t forget to check out the entire In My Heart release, and I hope you have a fabulous day!

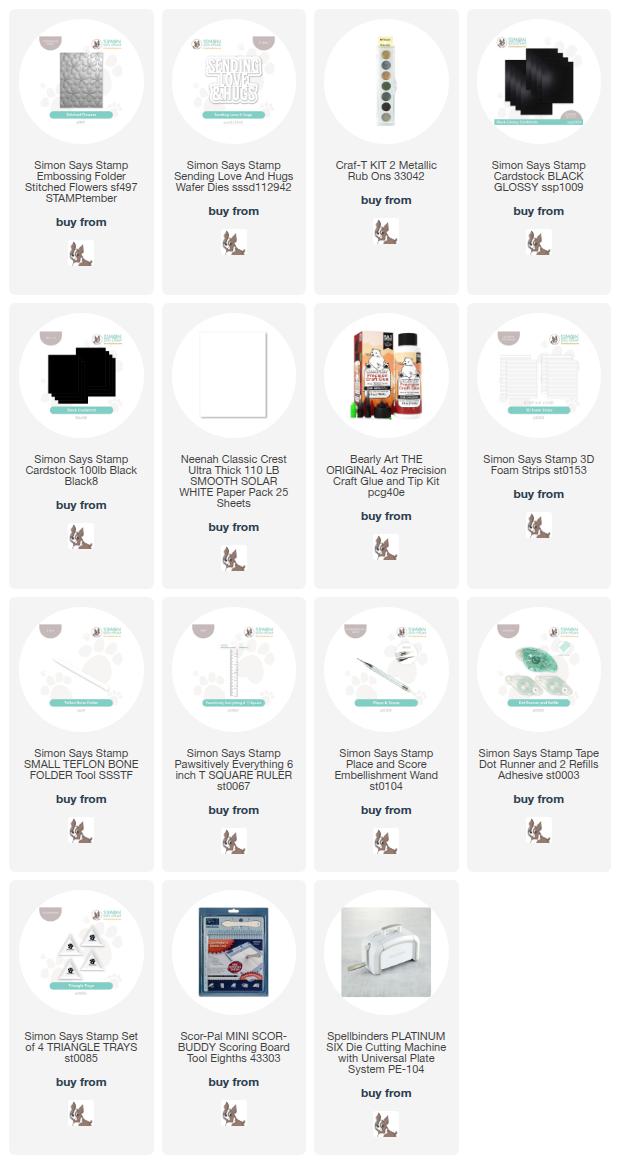
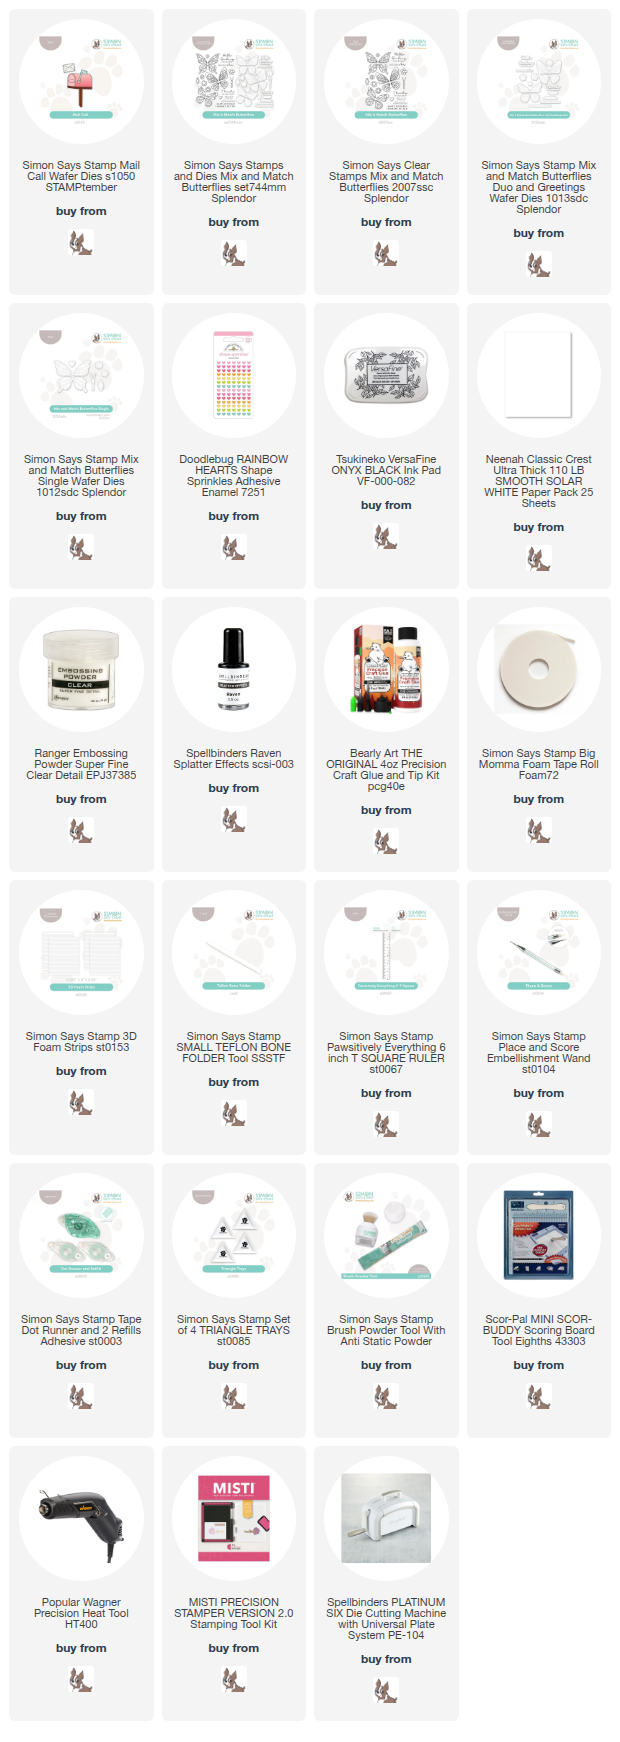
Supply List
Affiliate links used at no cost to you. What does this mean? If you use the links within this post to make a purchase, I receive a small commission, which allows me to continue to post crafty content for your enjoyment. I truly appreciate your support!
Latest Posts
- Simon Says Stamp Braided Greetings

- Together By Design Color Cube Floral

- Simon Says Stamp Cute Duckling

- Simon Says Stamp Watercolor Wild Rose

- Simon Says Stamp Striped Missing You