Simon Says Stamp Tattered Florals

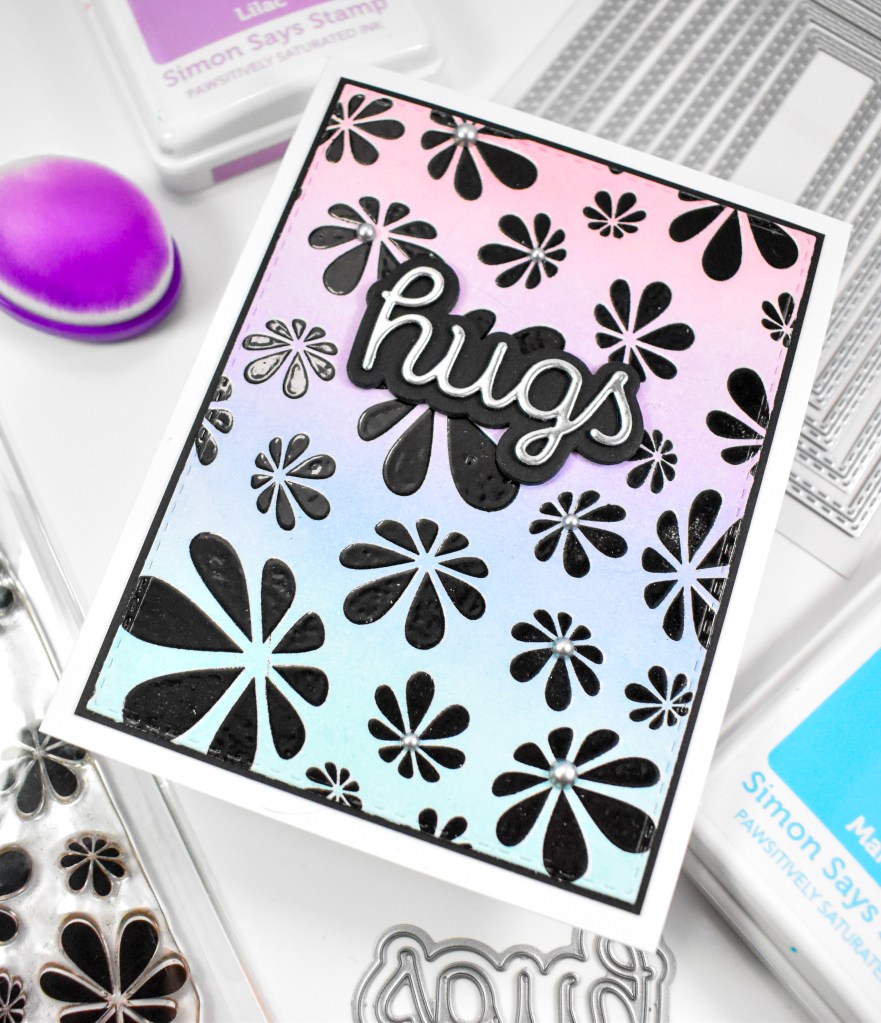
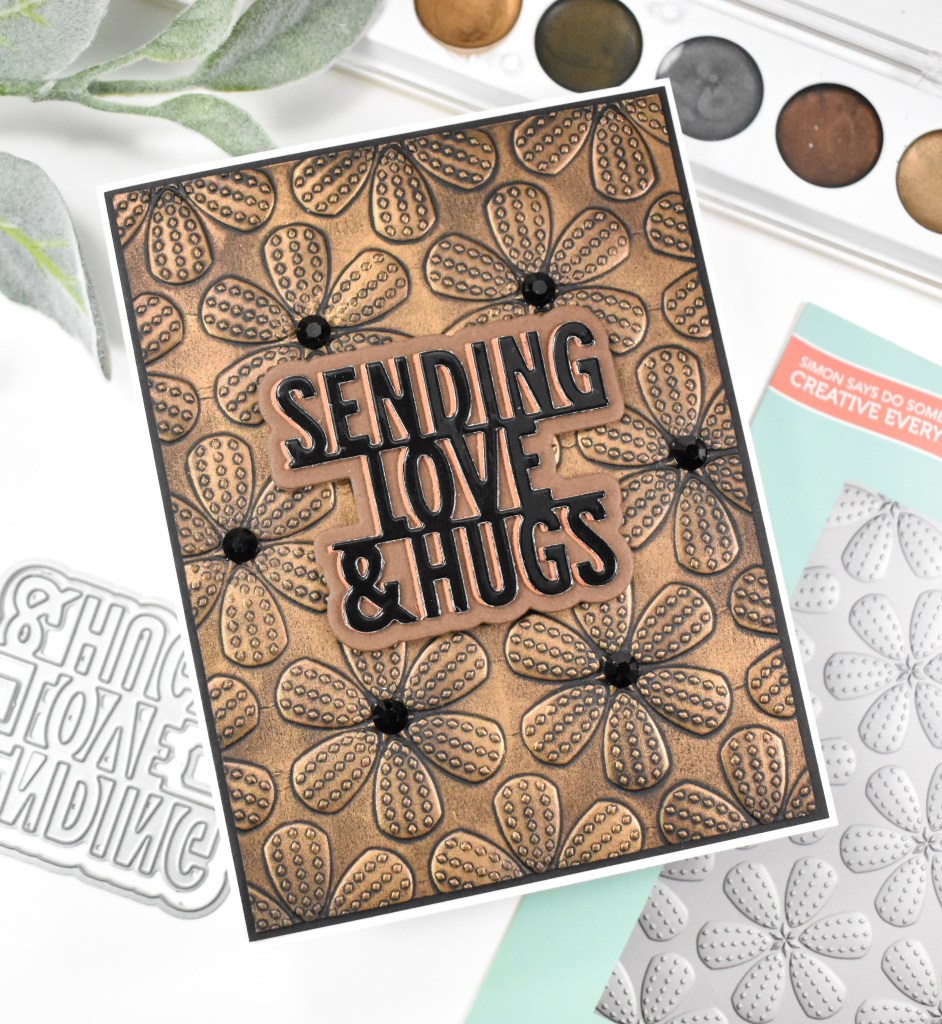
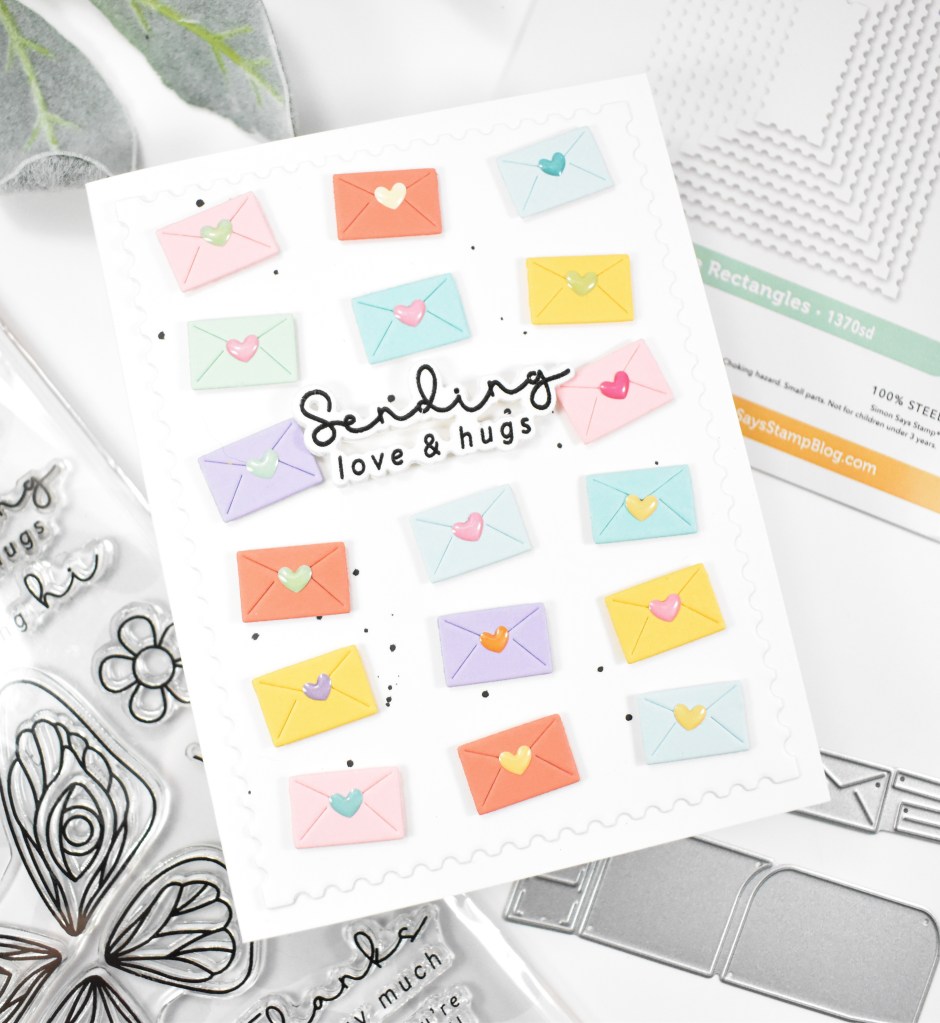
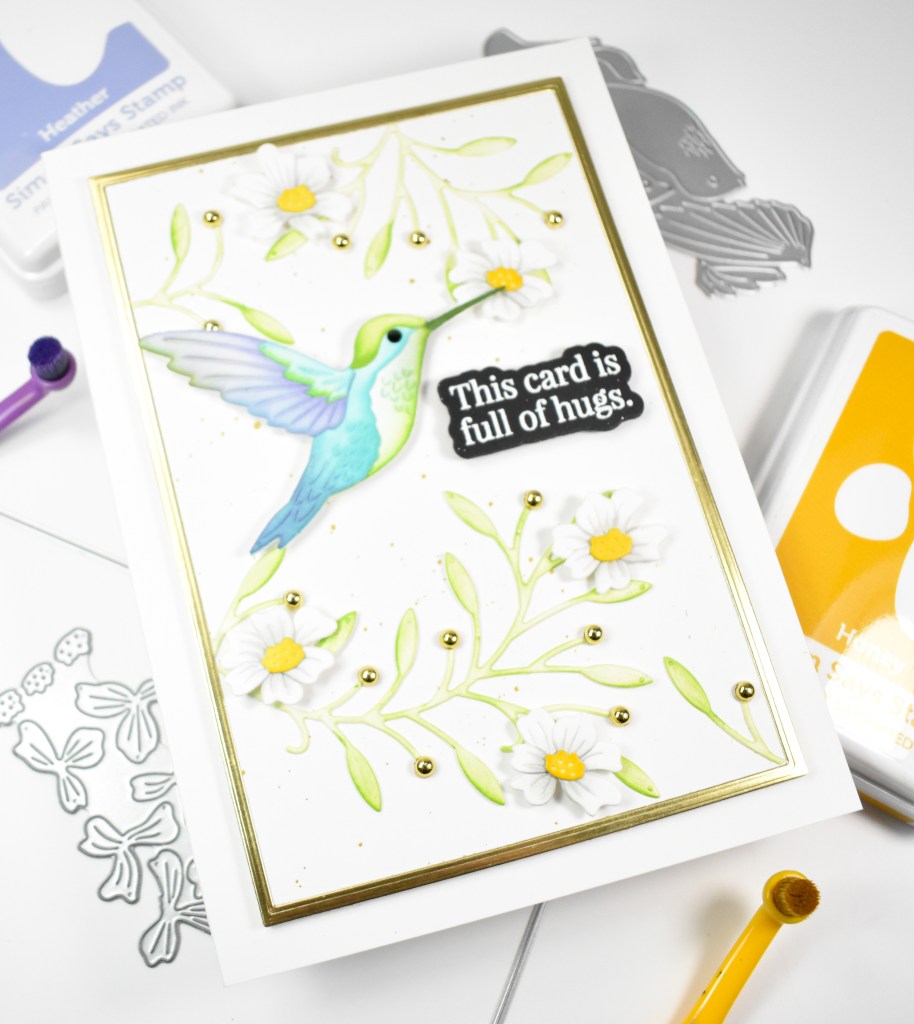
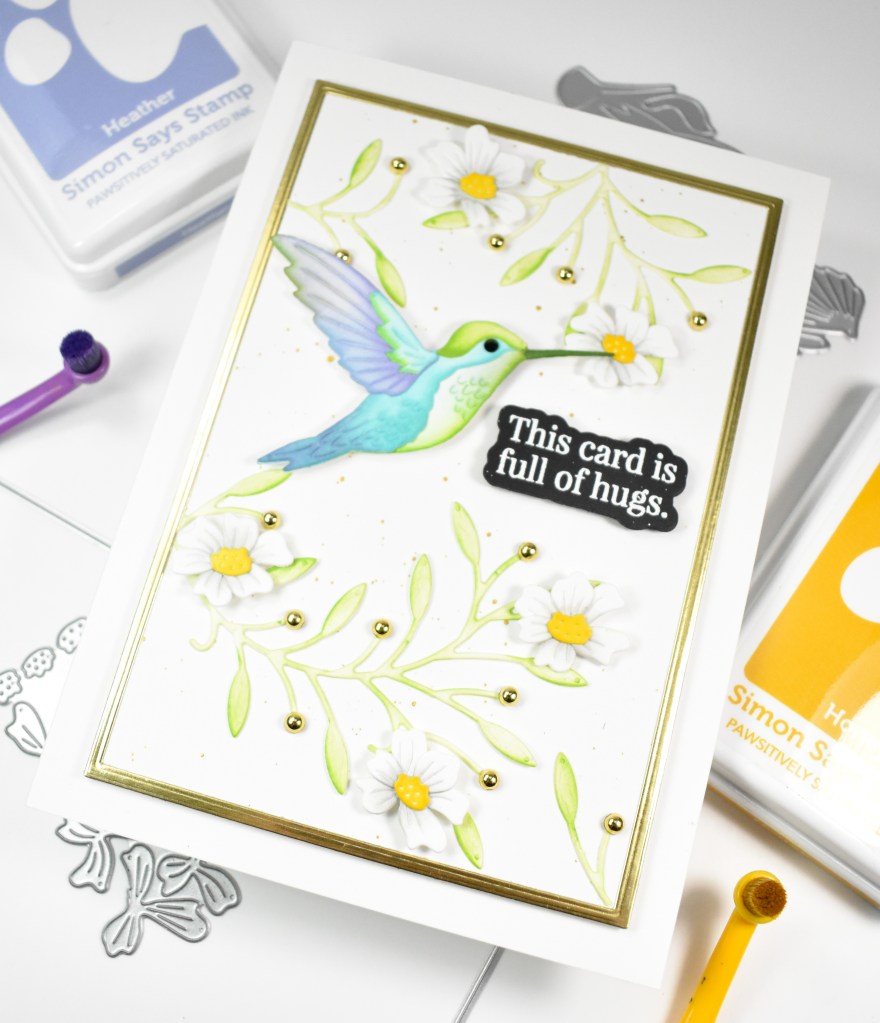
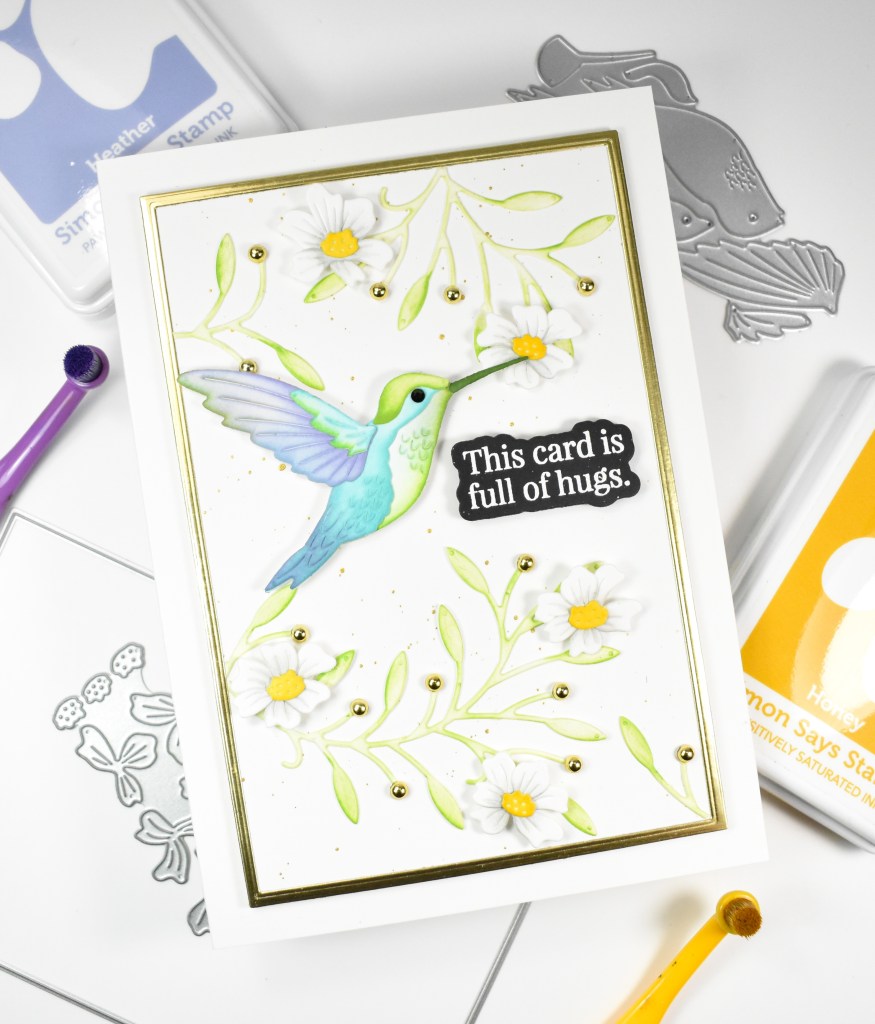
Hello Crafty Friends, and welcome back! I’m back today with a project featuring and older floral die set from Simon. This set has several pieces to it, which includes a detail die cut, the solid petal die cut and the center die cut. For this project, I only used the solid petal die cut. Let’s go through the deets!

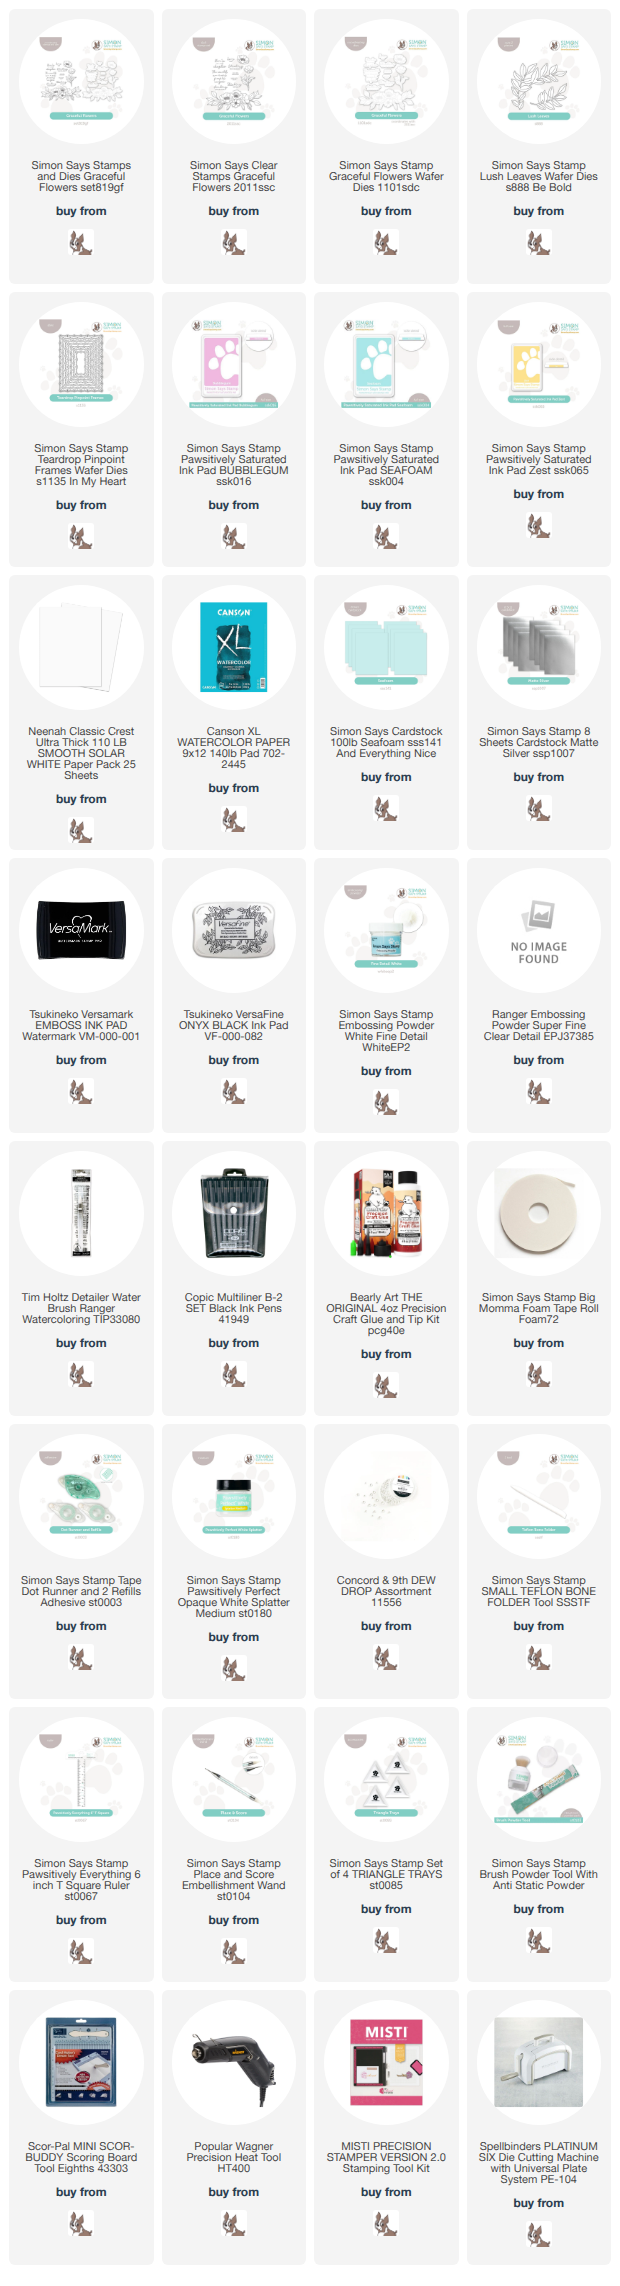
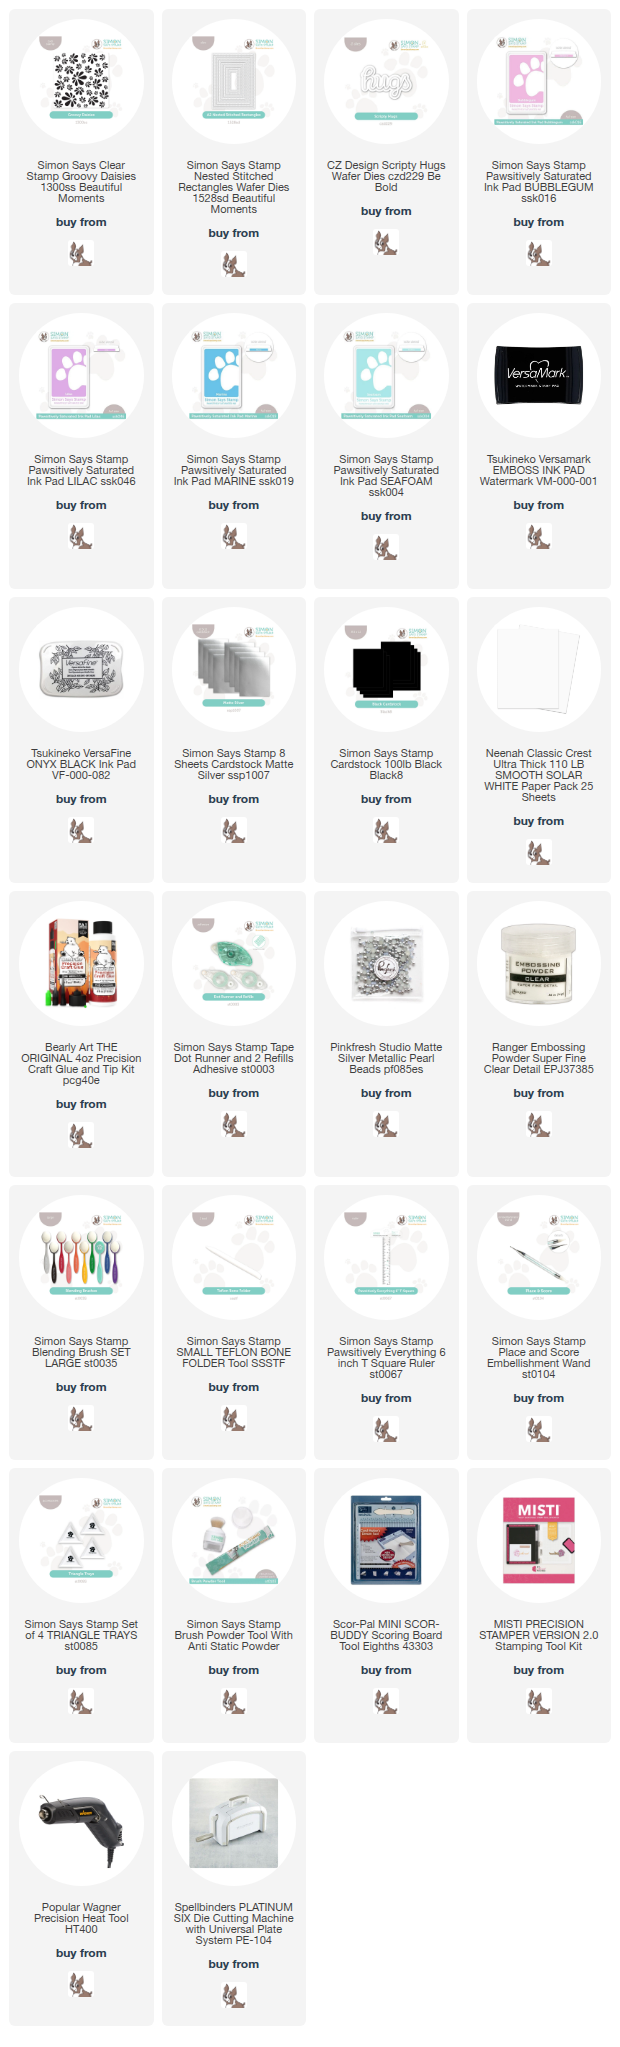
NOTE: all supplies are linked in the thumbnails at the end of this blog post.
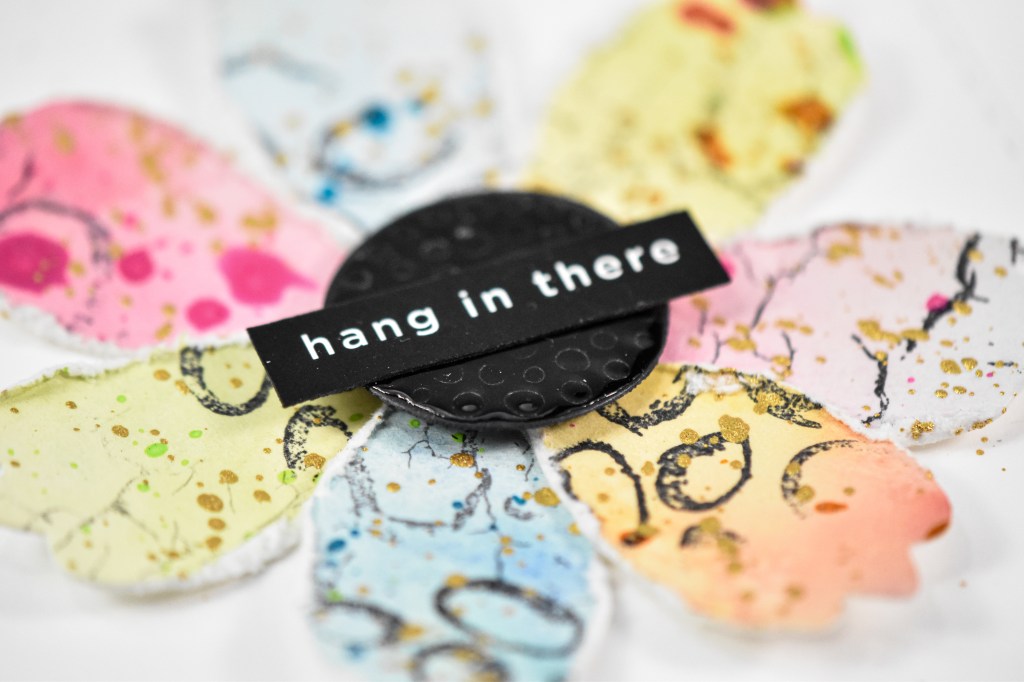
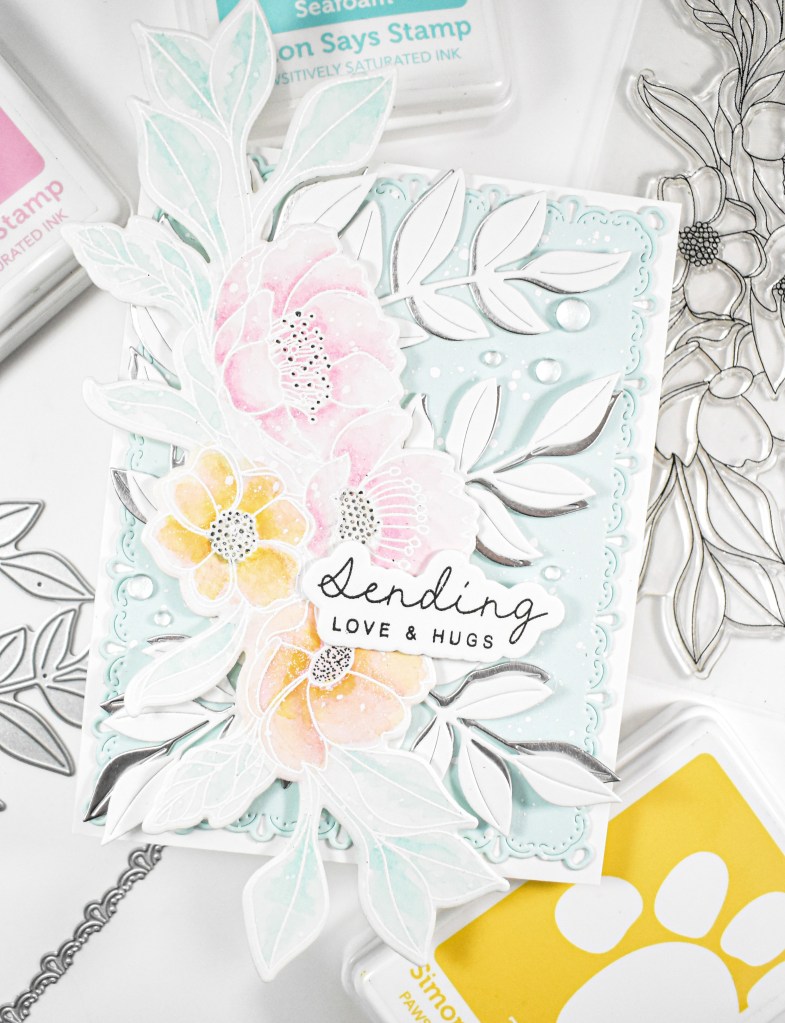
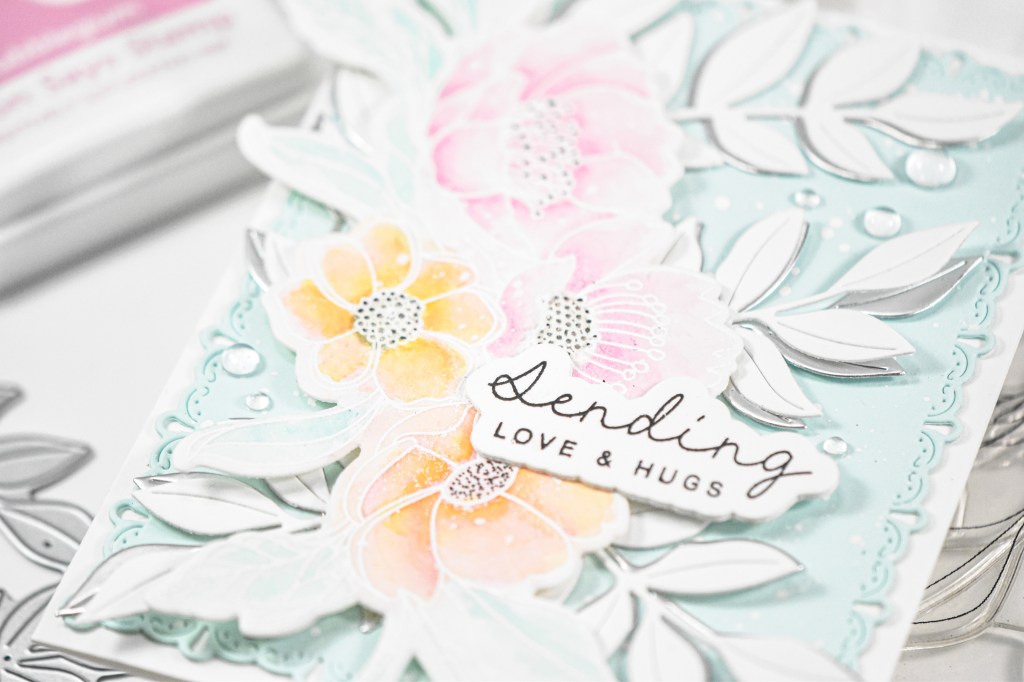
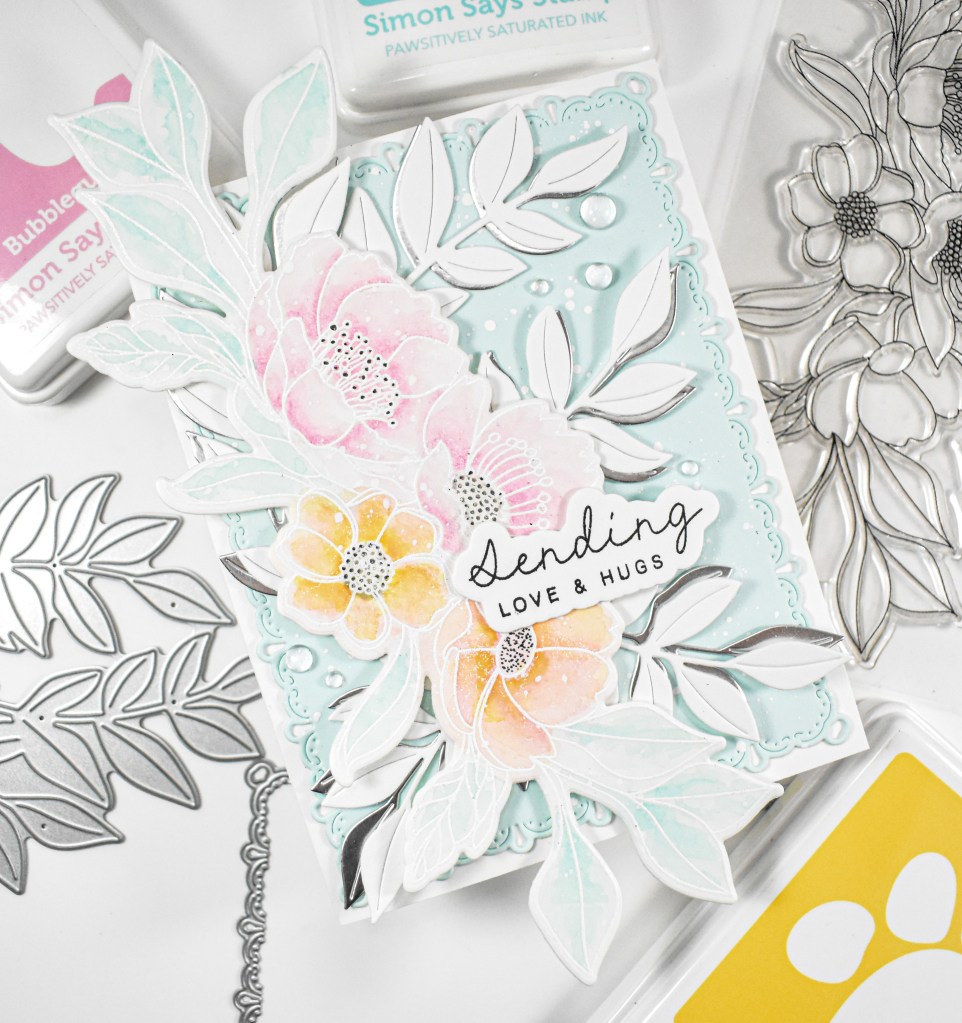
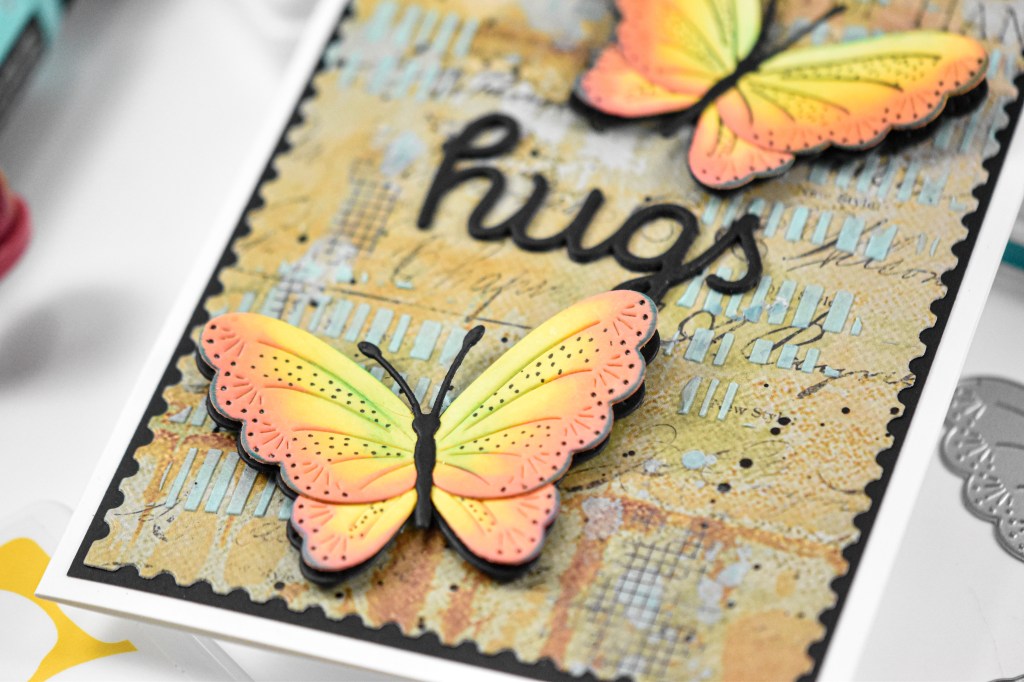
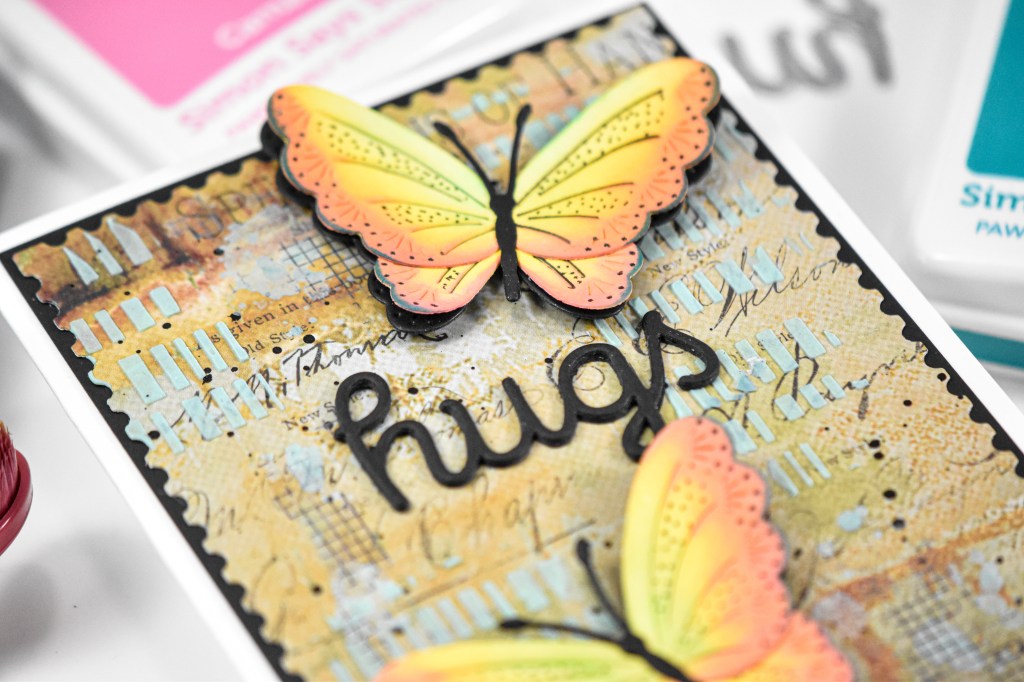
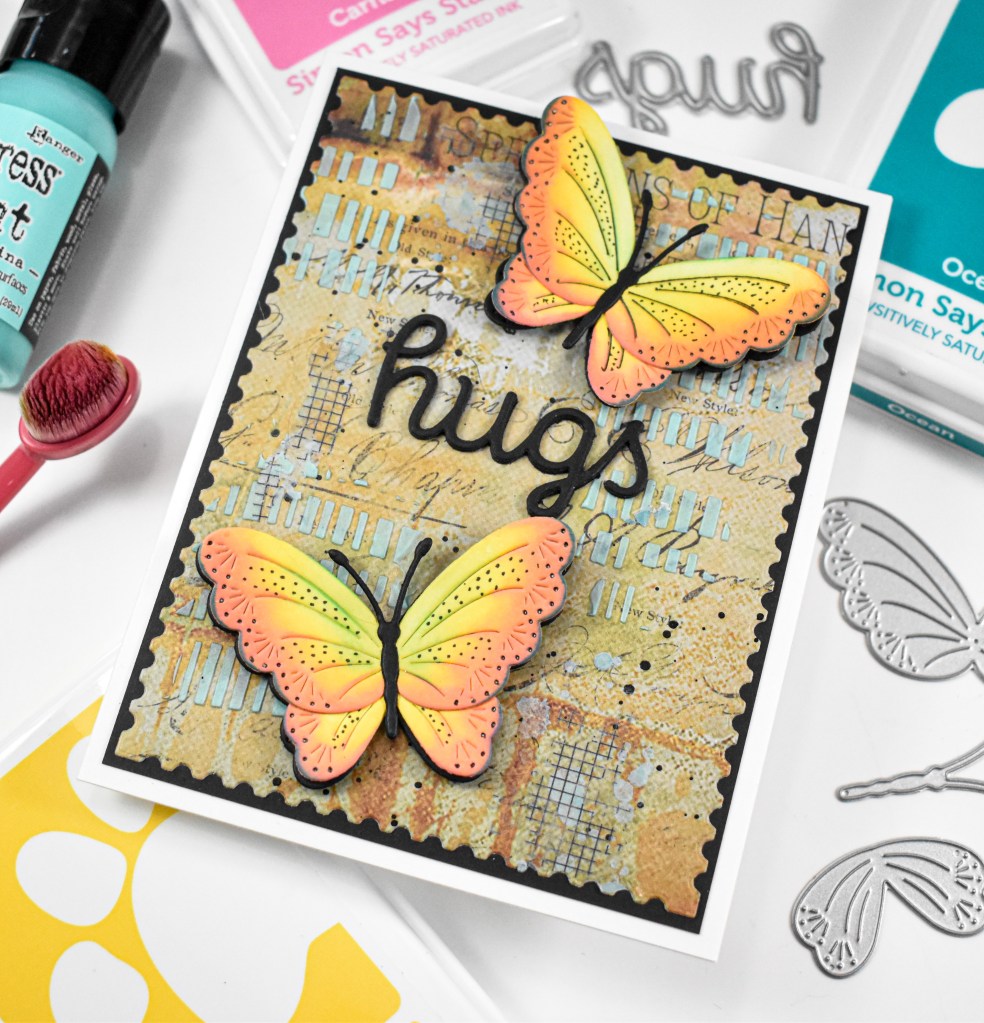
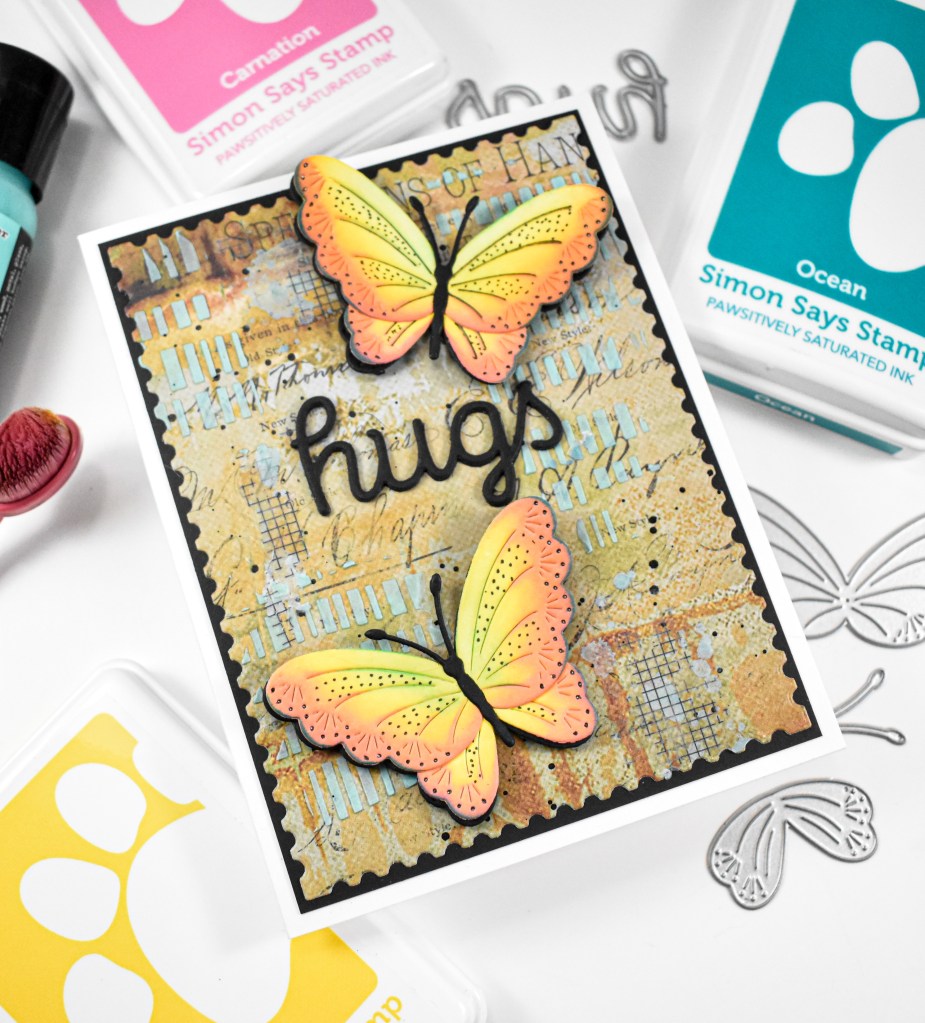
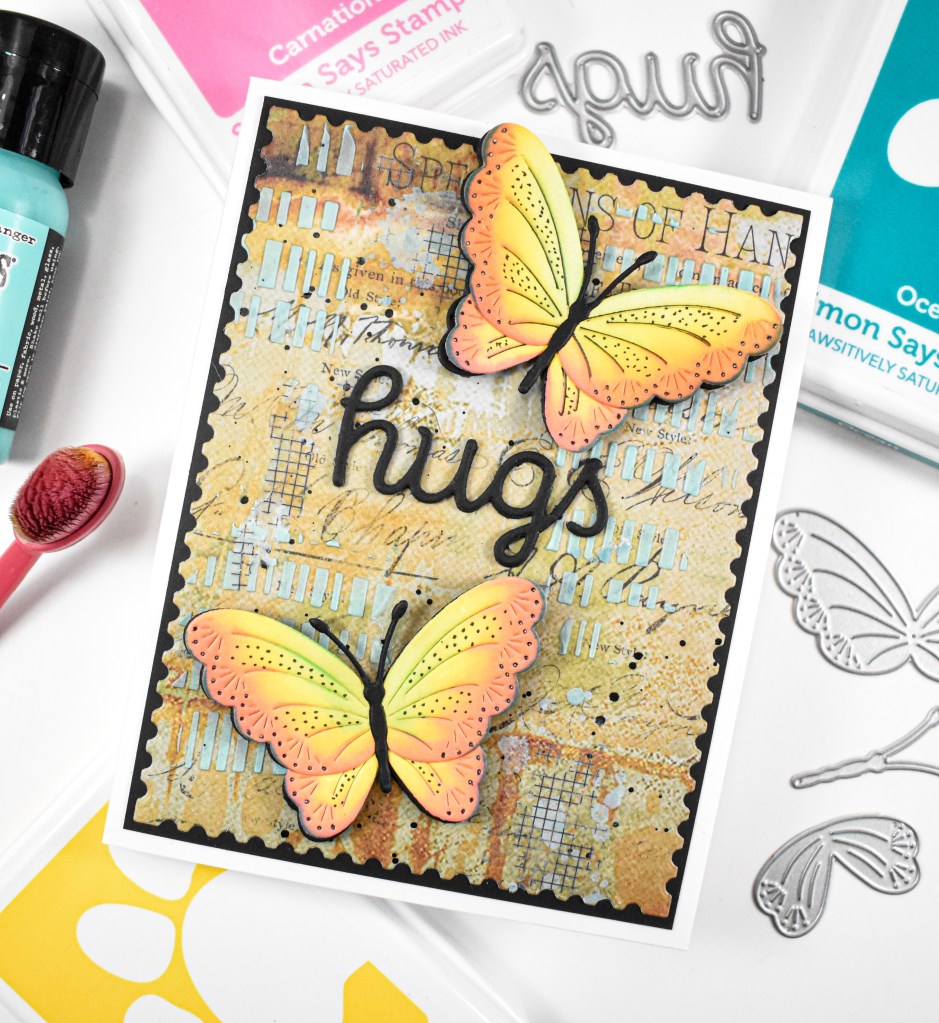
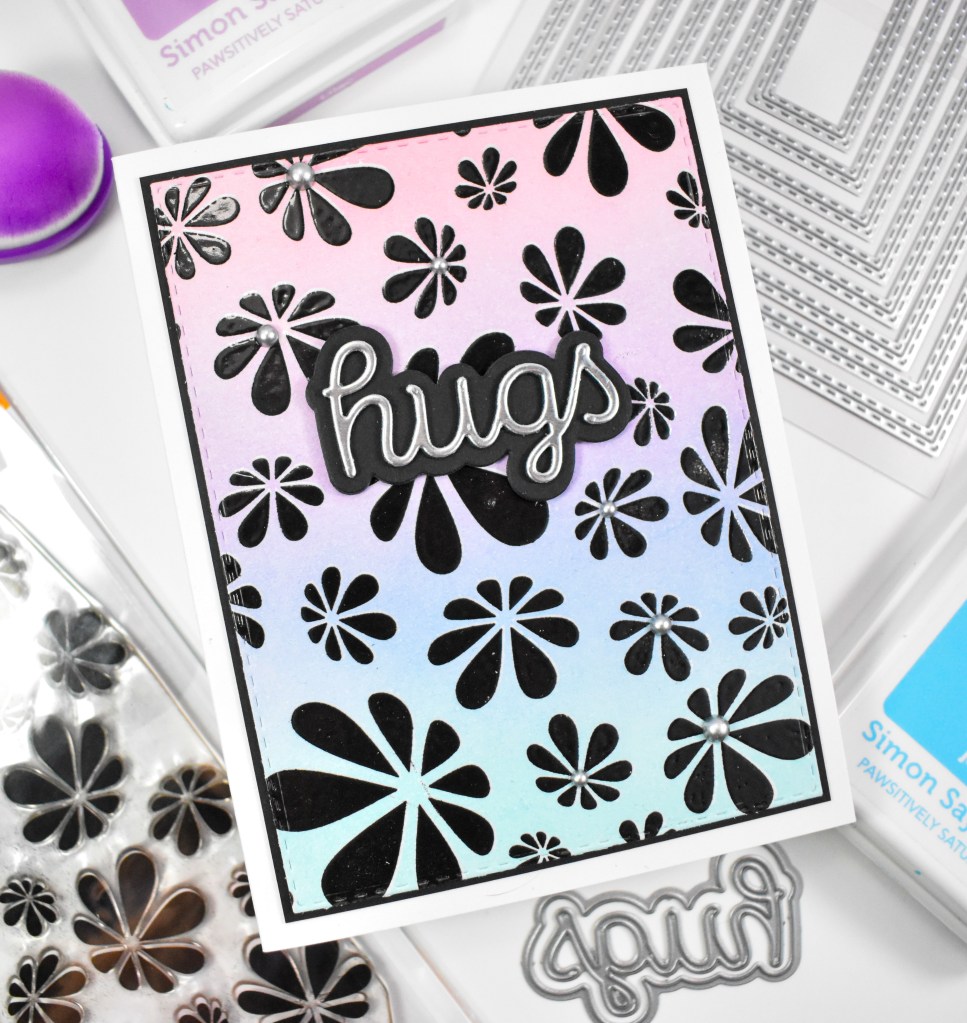
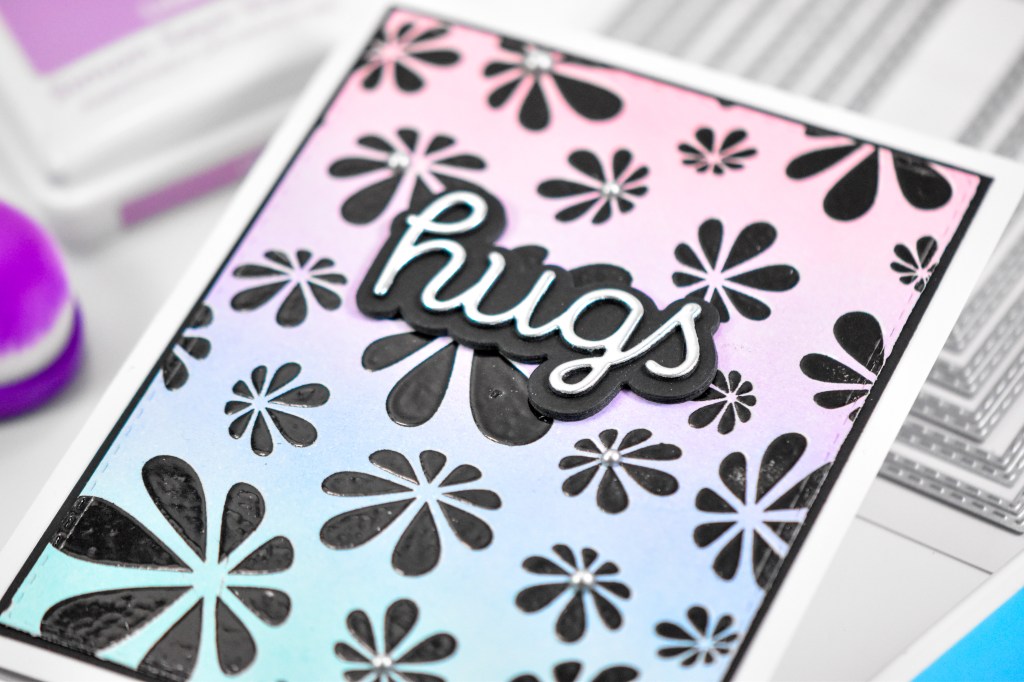
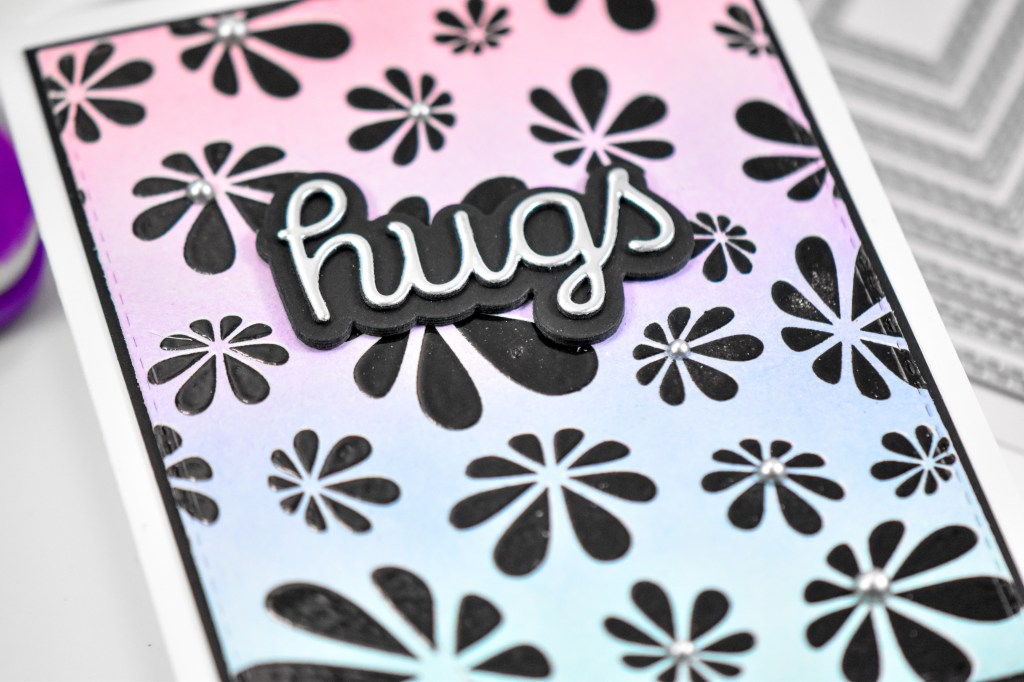
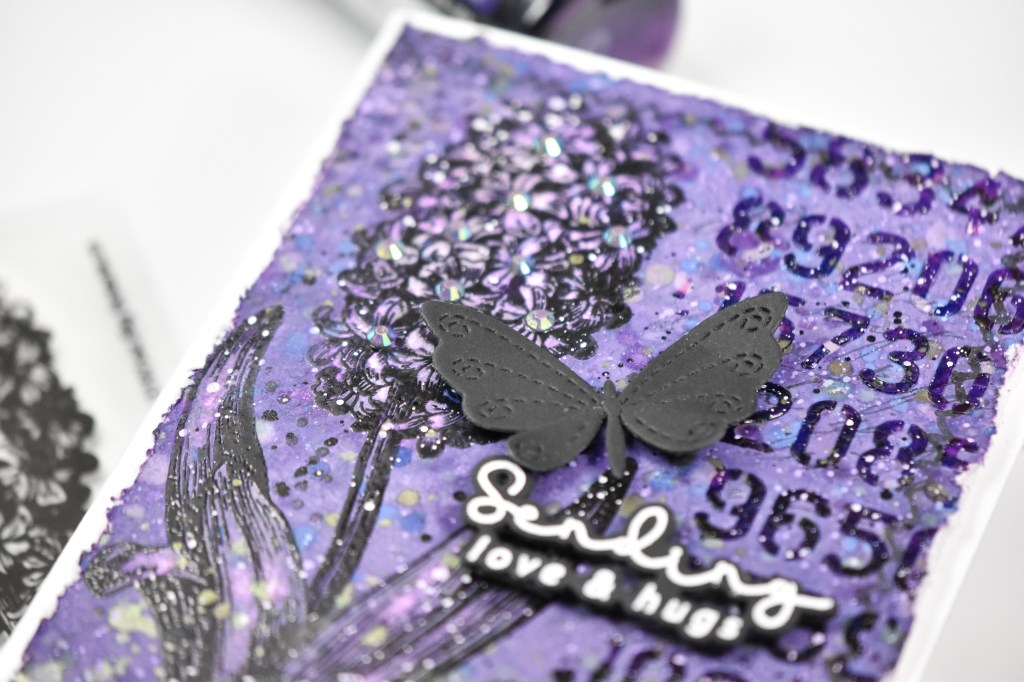
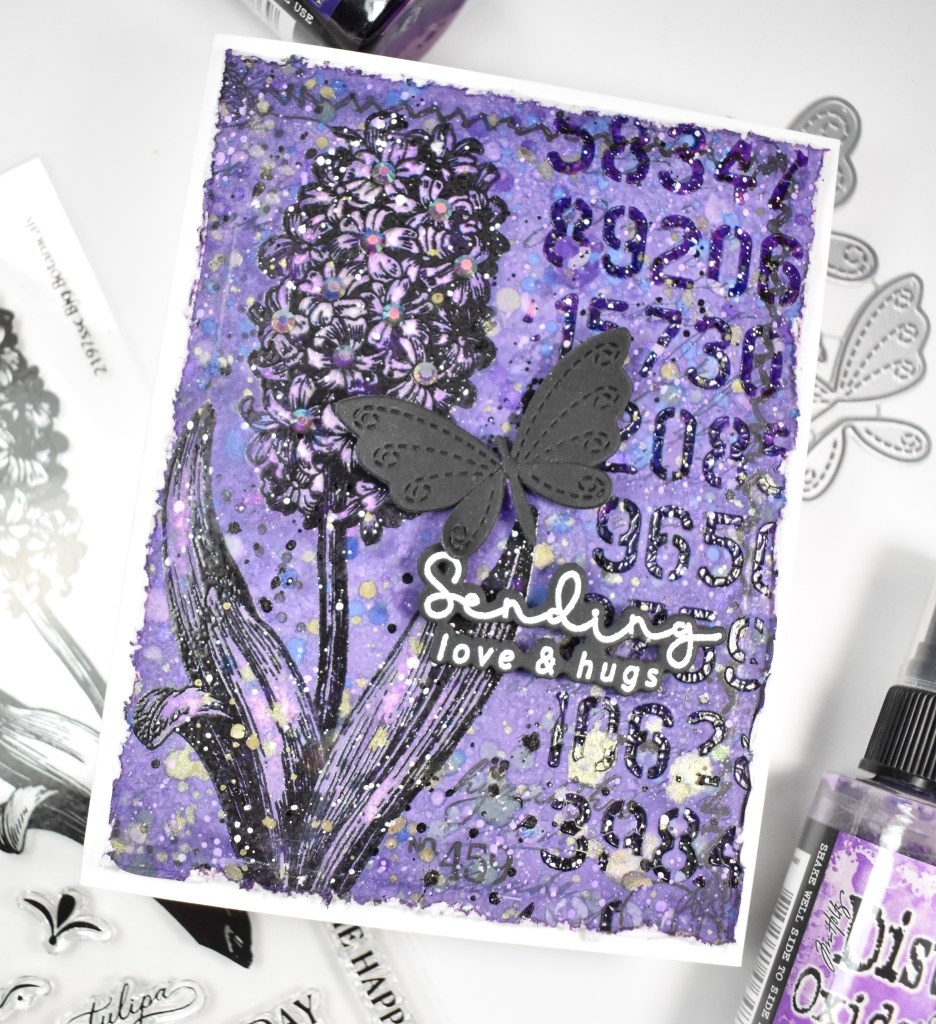
I pulled a panel of watercolor paper and added some very soft rainbow colors and let those mix to create the oranges and purples. Once that was dry, I did some splatter using Dina Wakely Gloss Sprays, which I guess have been discontinued on Simon’s website, as well as lots of gold splatter. I did some stamping on the panel using the Crackle Background along with a Tim Holtz set.

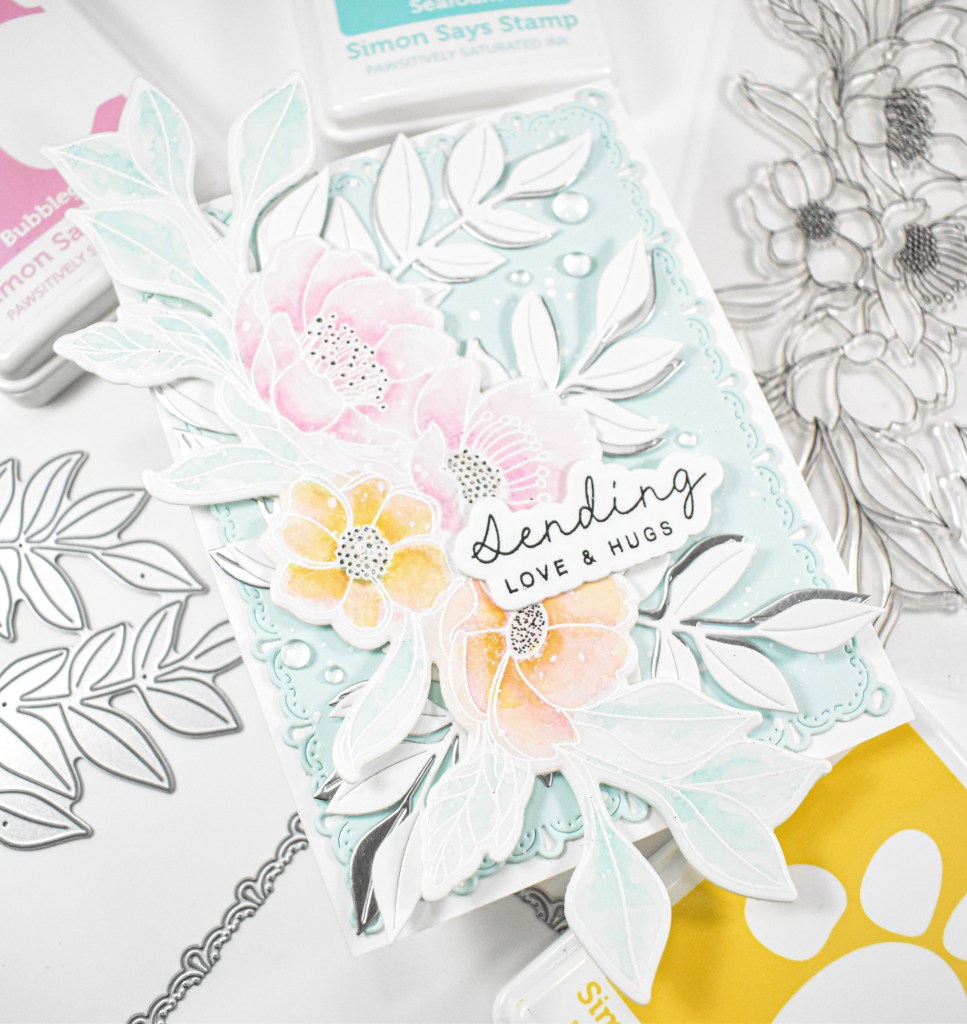
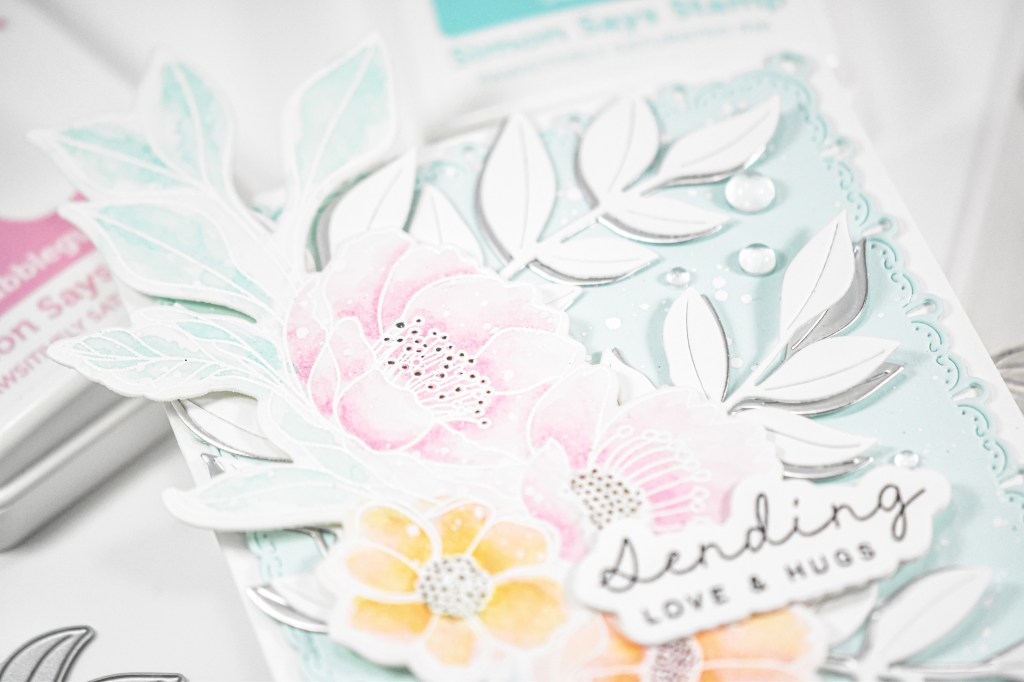
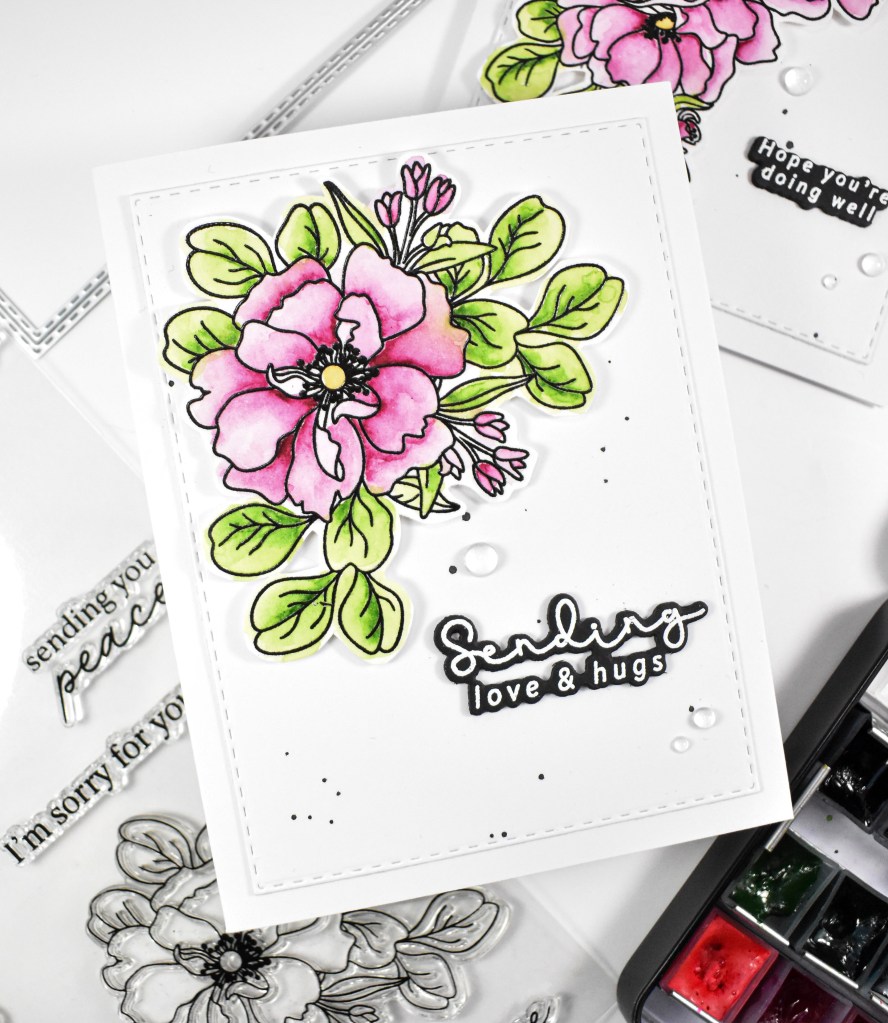
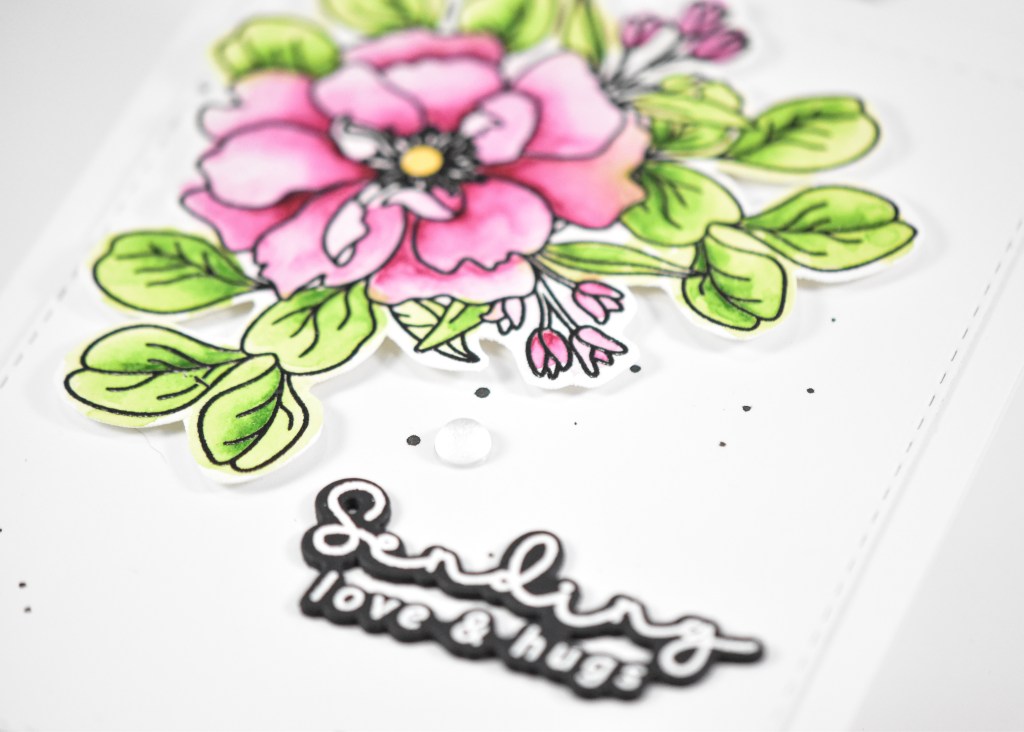
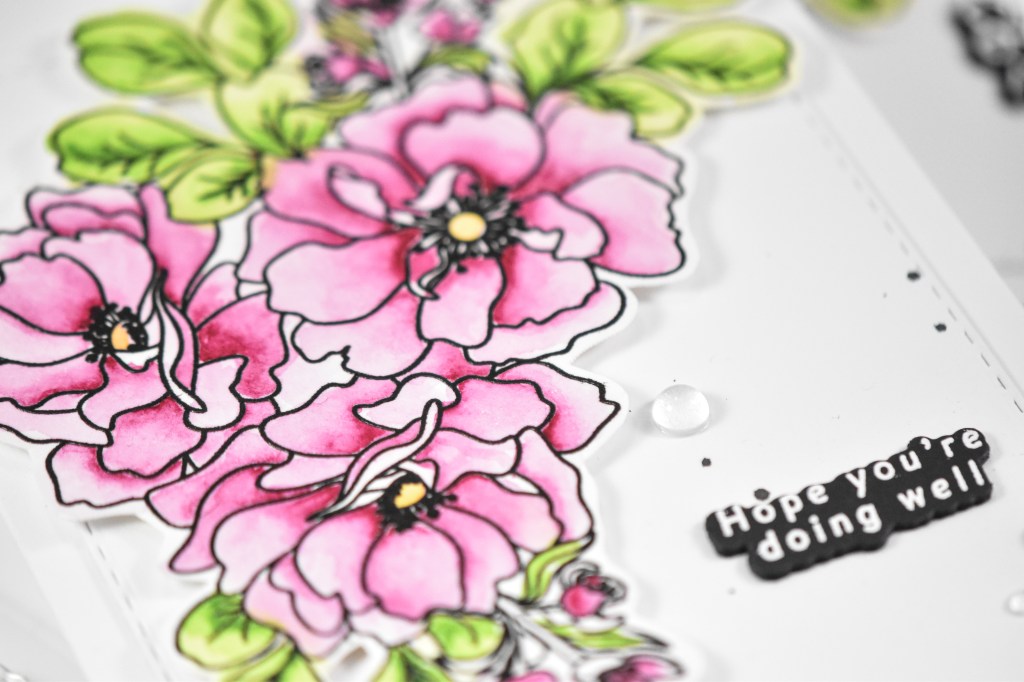
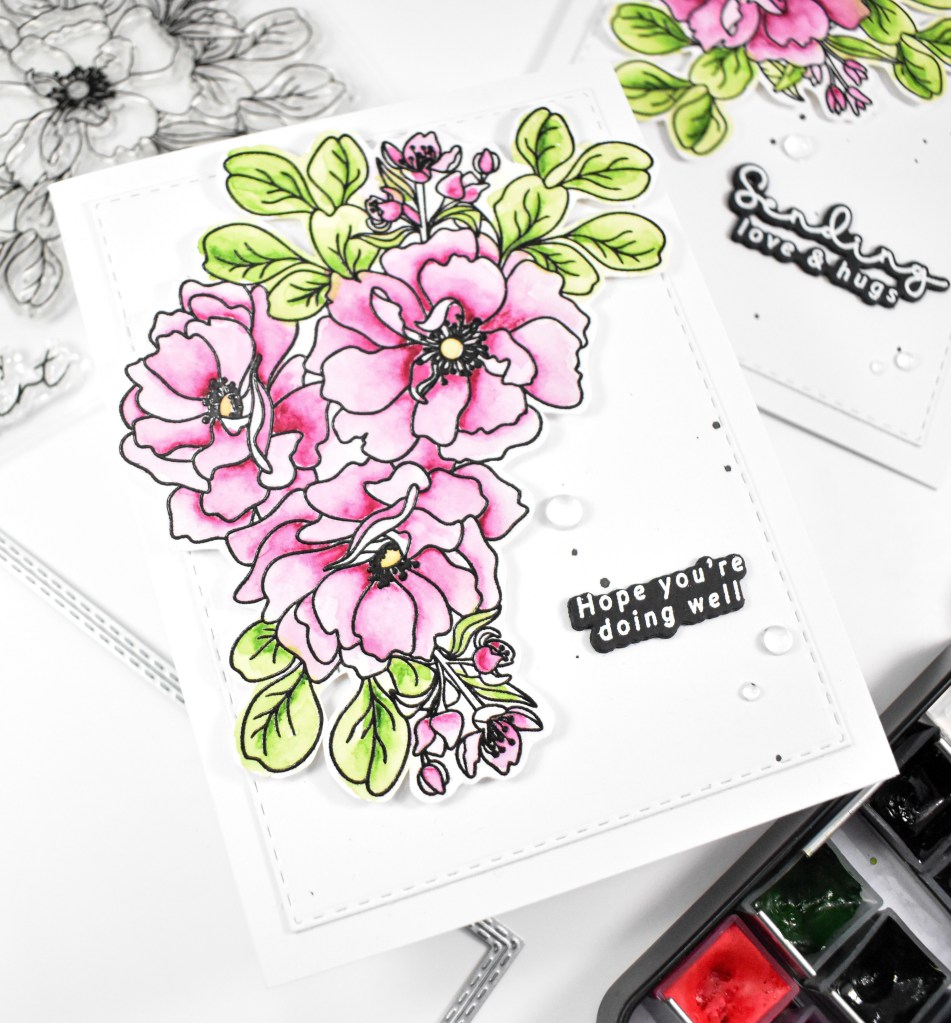
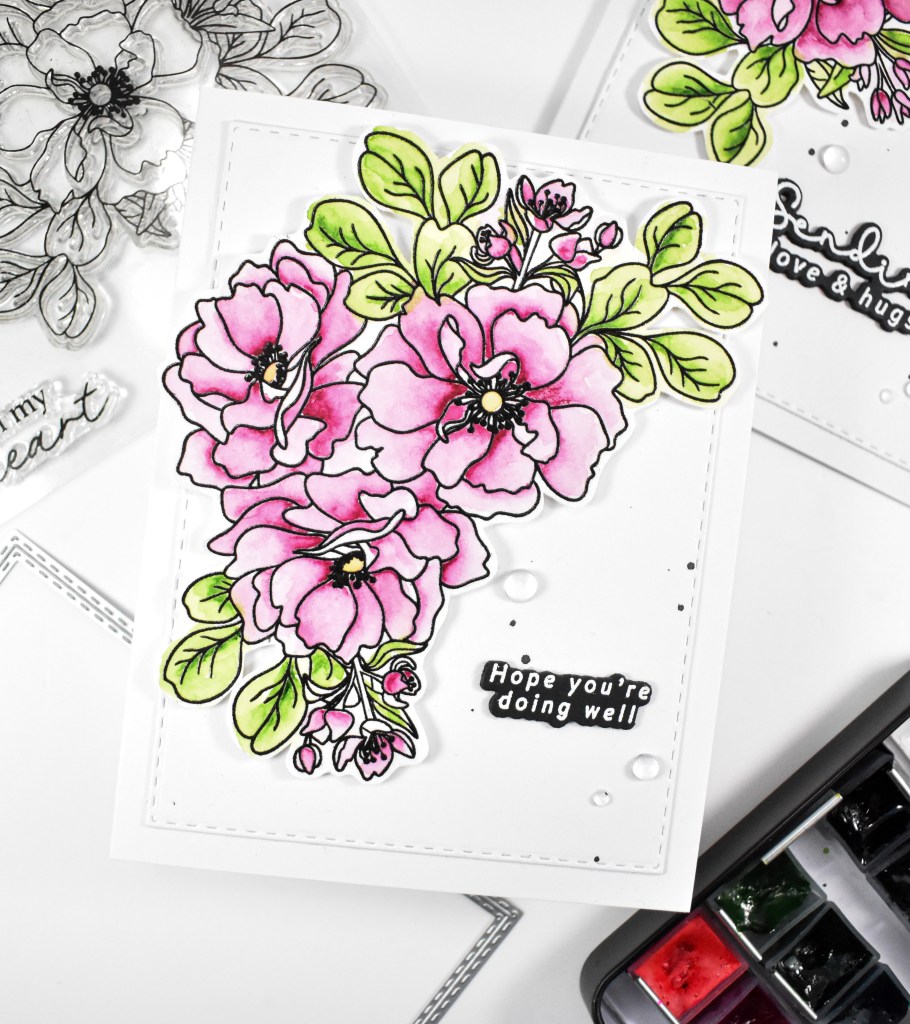
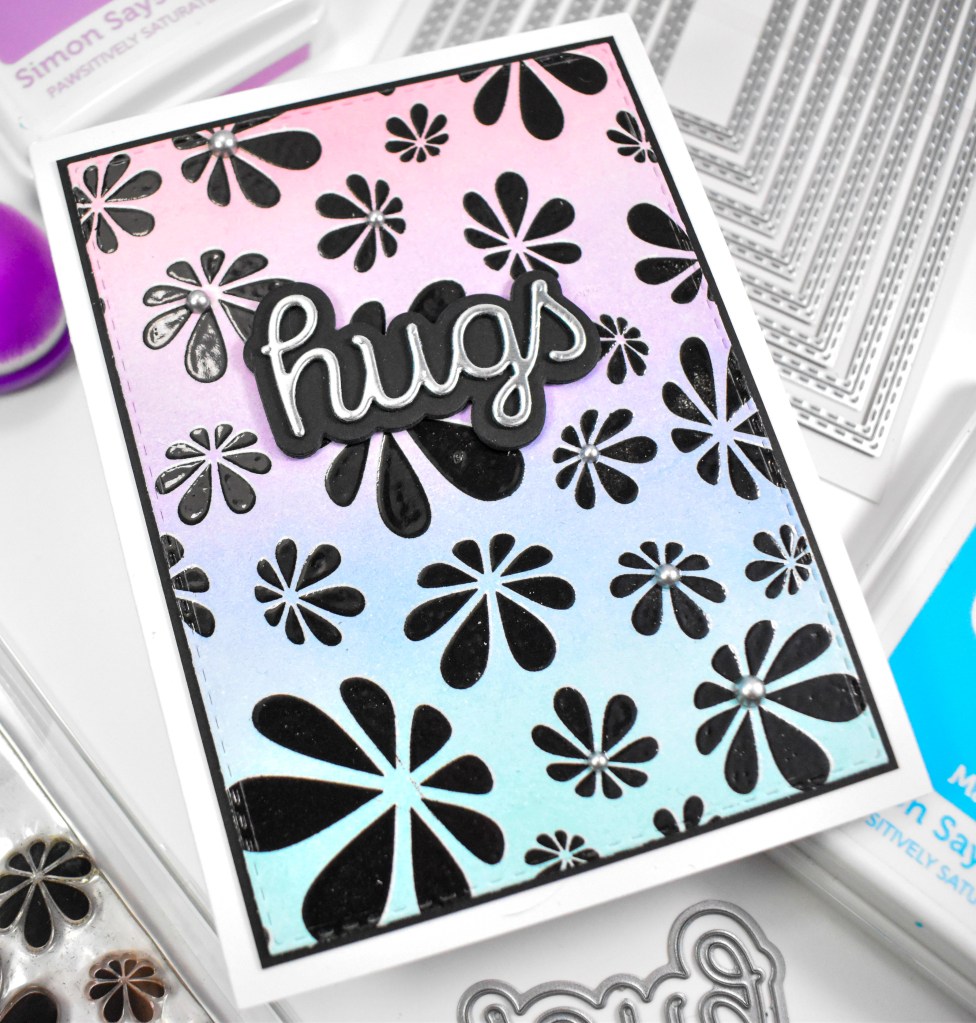
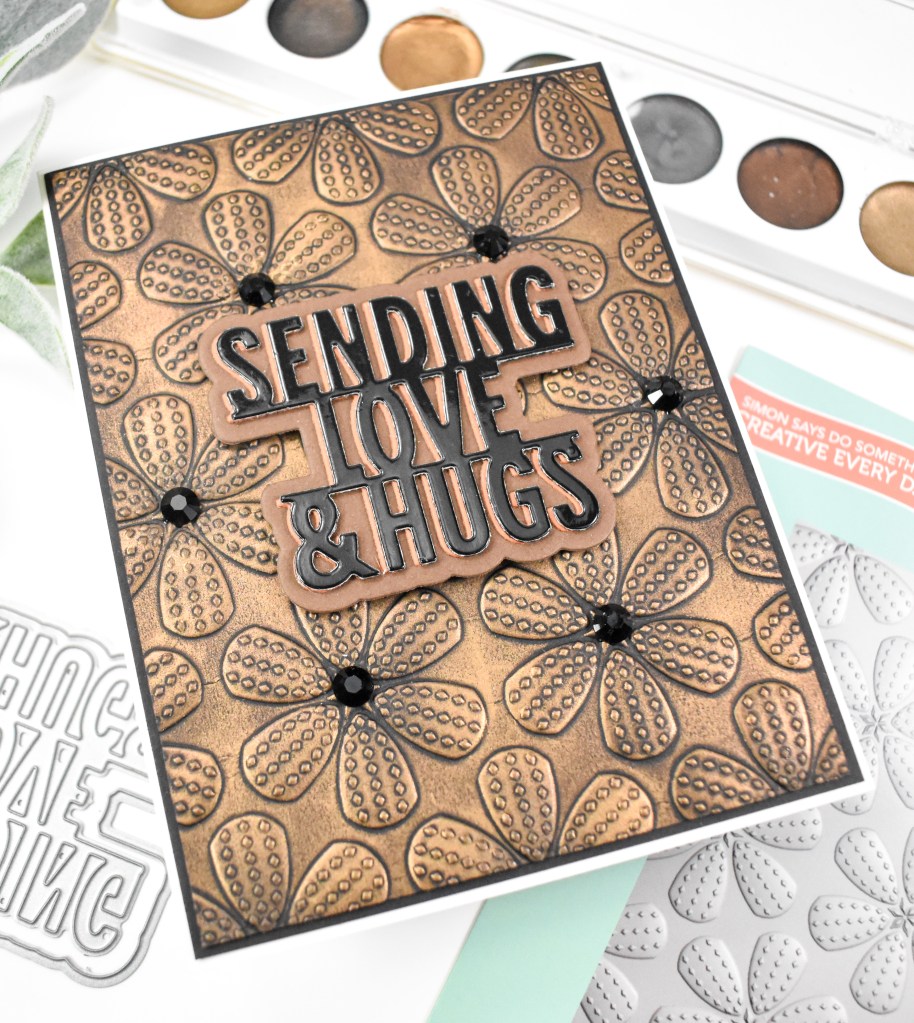
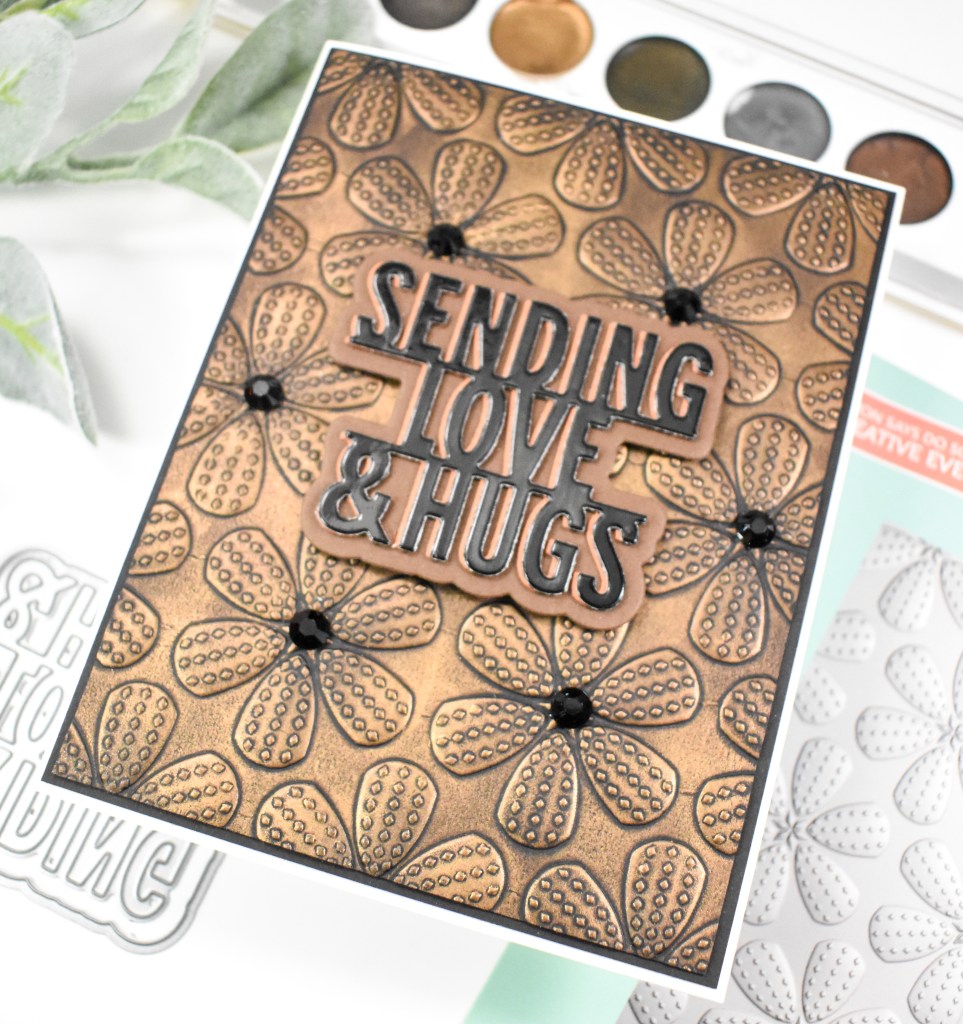
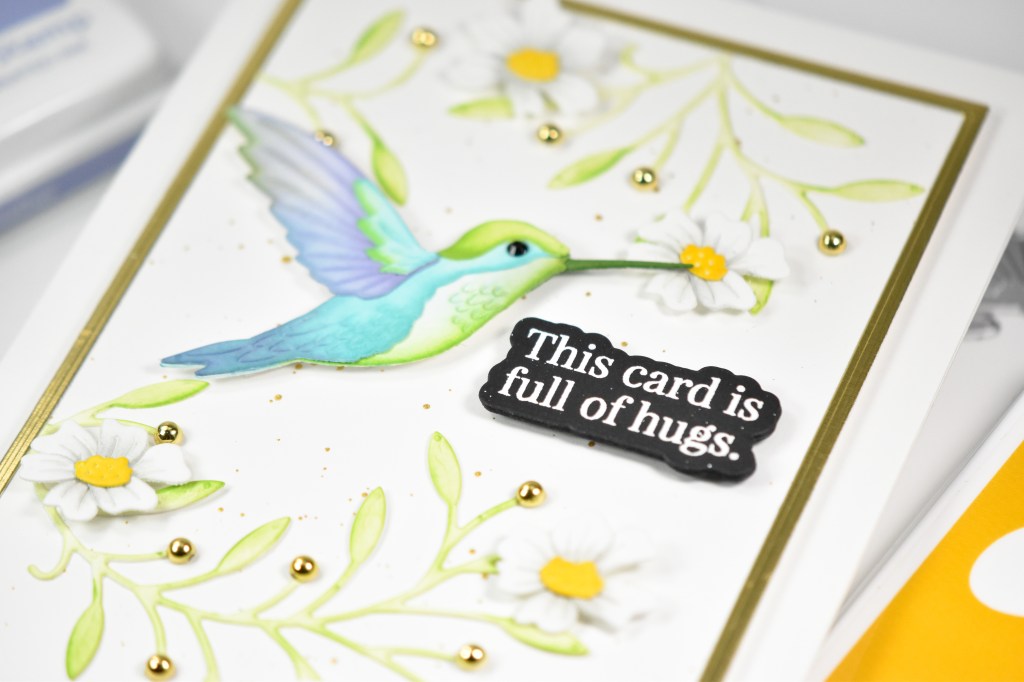
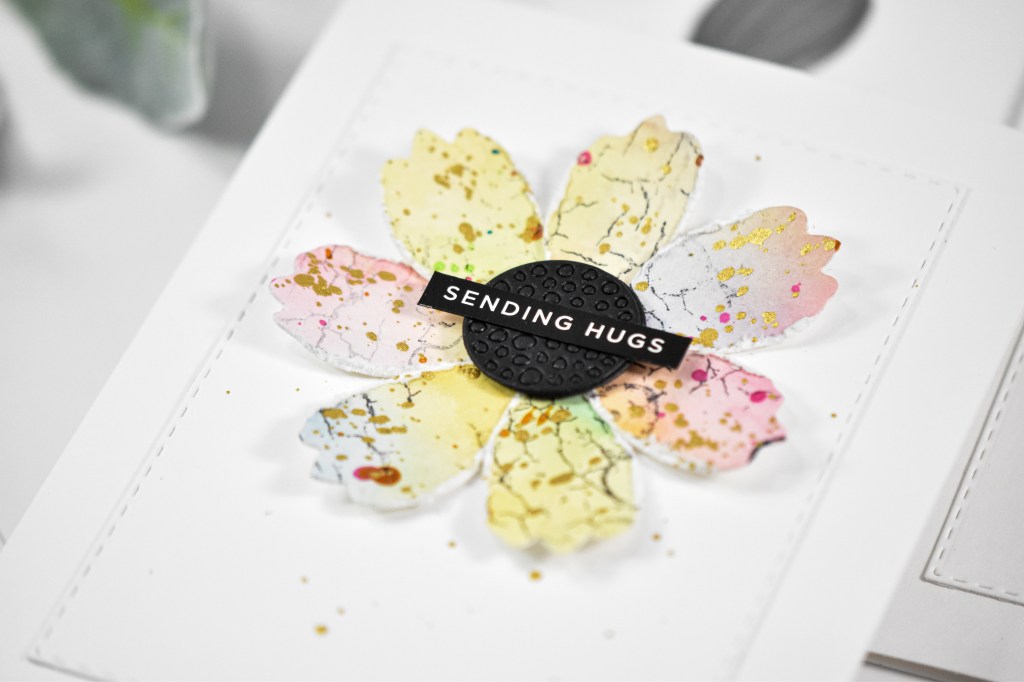
Once all of that was complete, I die cut bunches of petals from the Cosmo Flower Petals set, which has been discontinued, and distressed the edges with the Tim Holtz Paper Distresser tool. My apologies for using a set that has been discontinued, I was not aware that it was no longer available. I’ll try to find another flower that can be used in the same way. The centers of the flowers were cut using black cardstock and the petals were secured in place using liquid glue. I did opt to add Glossy Accents to a couple of the flower centers for some added interest.
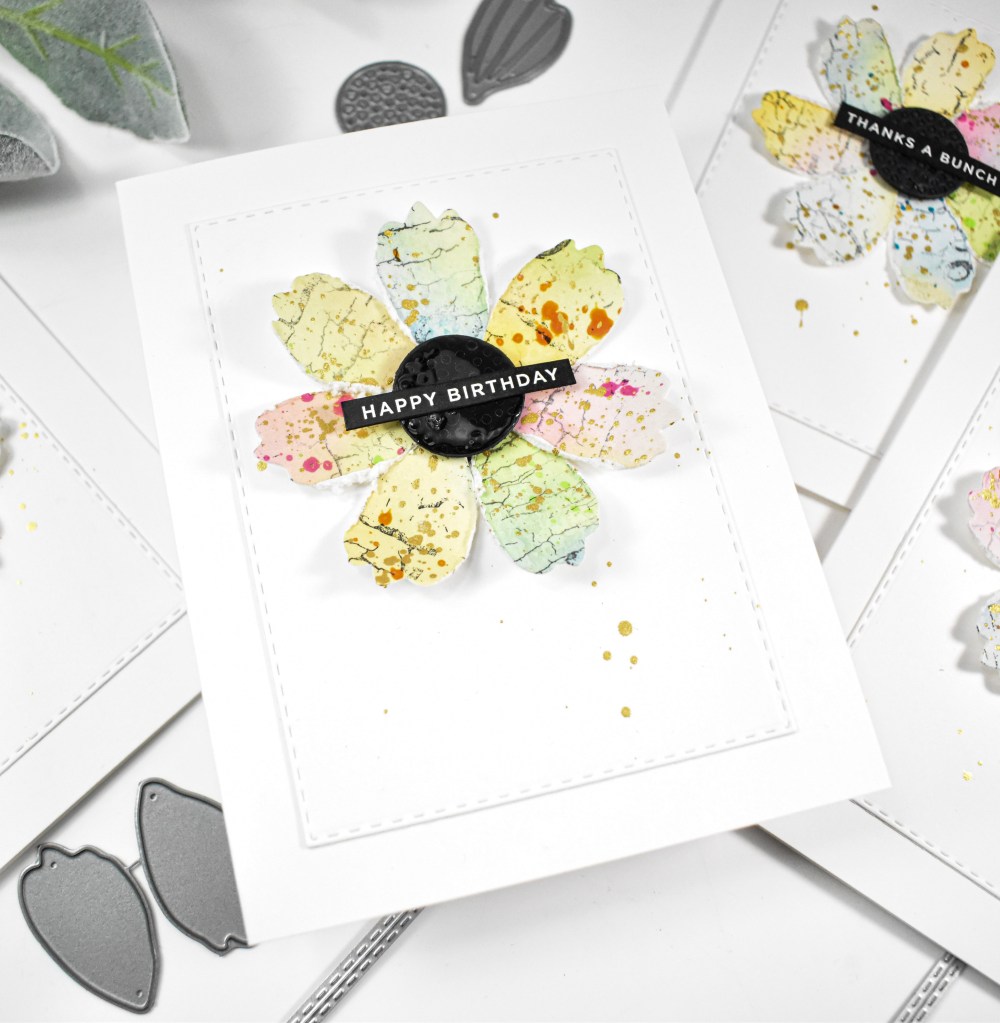
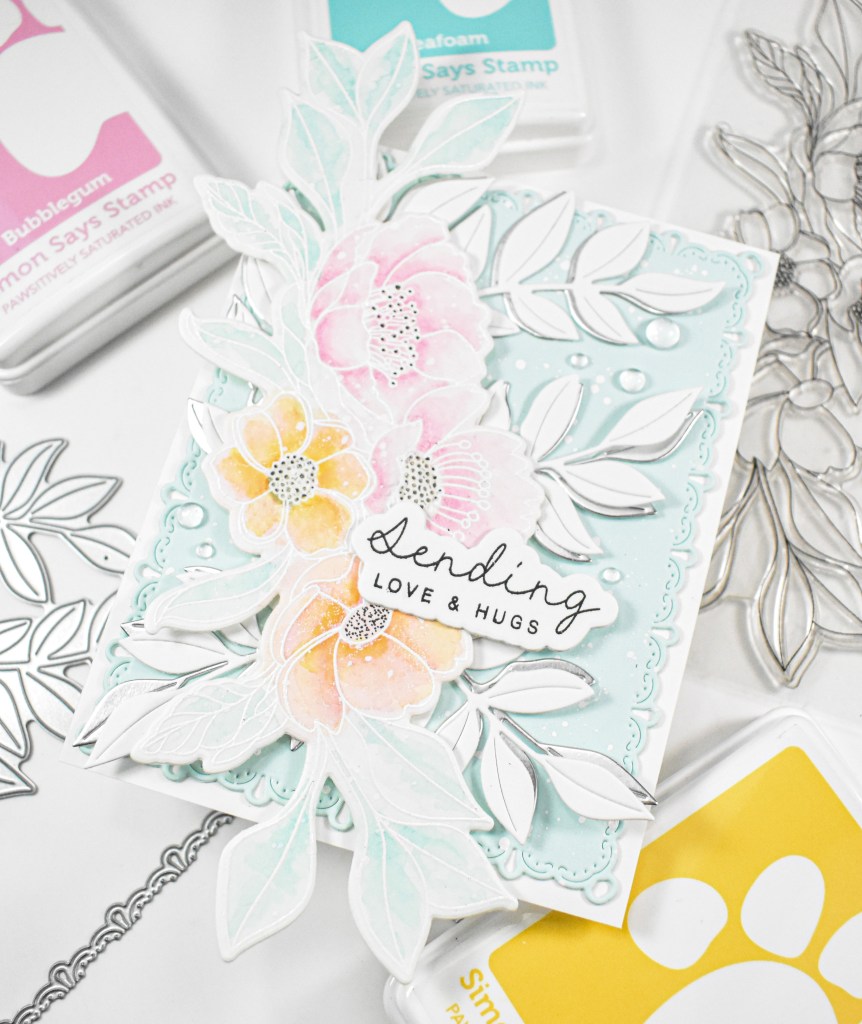
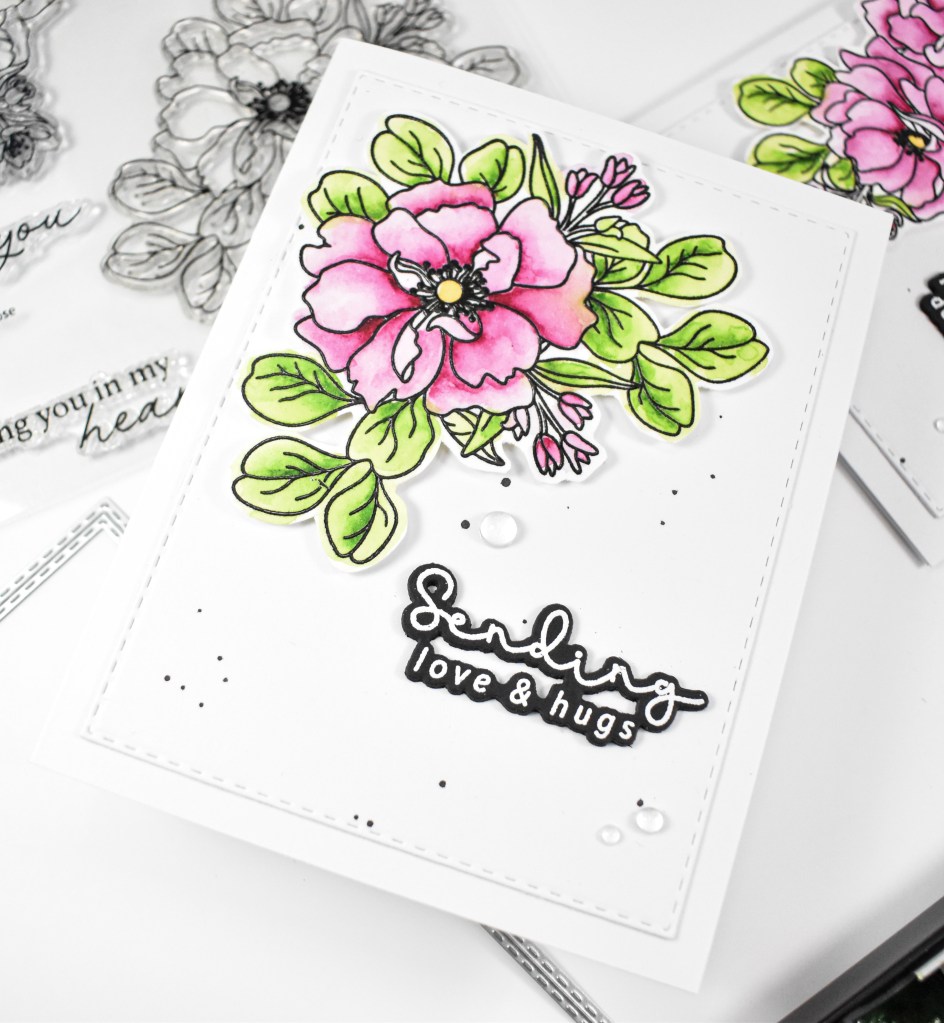
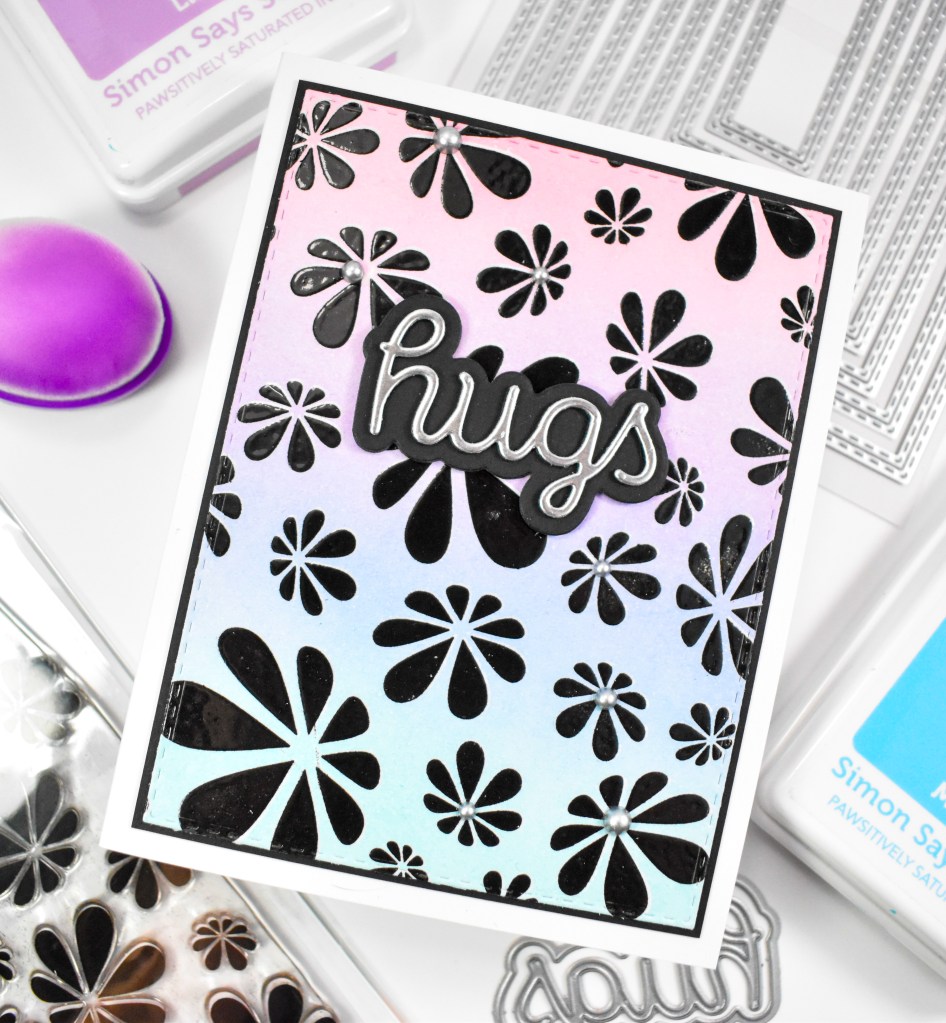
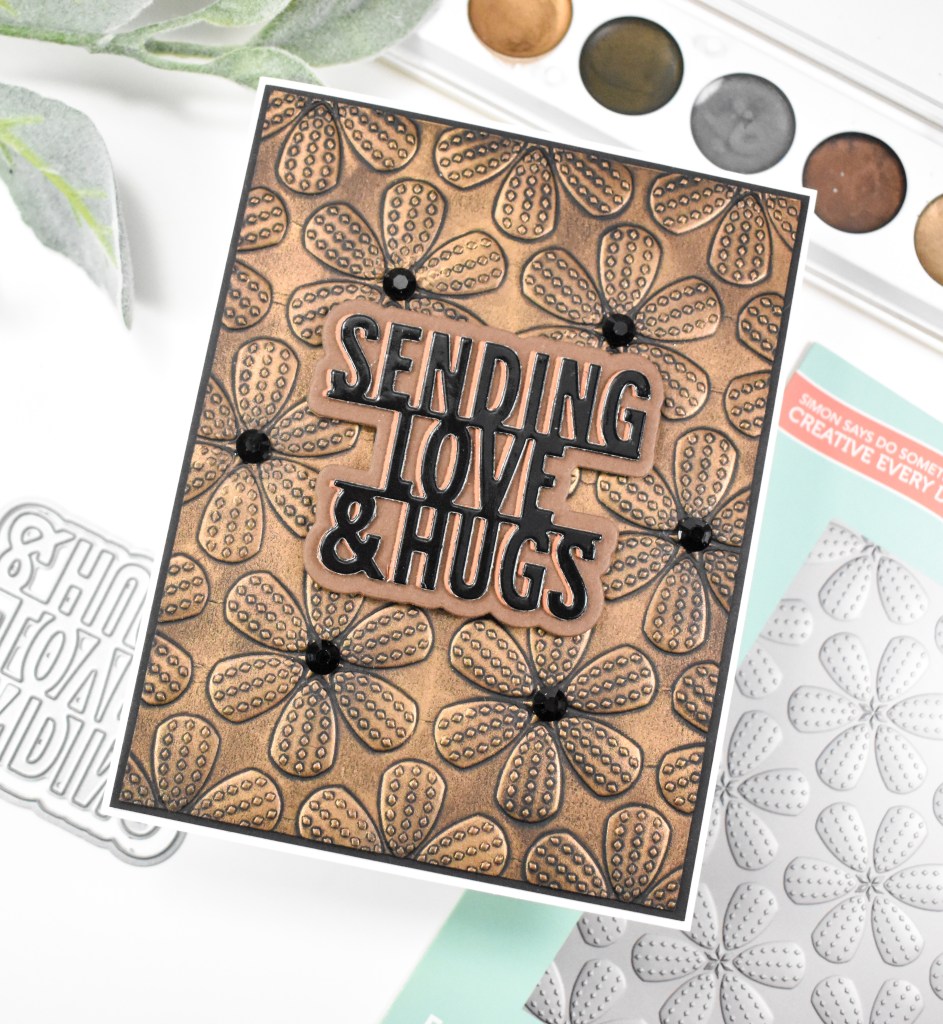
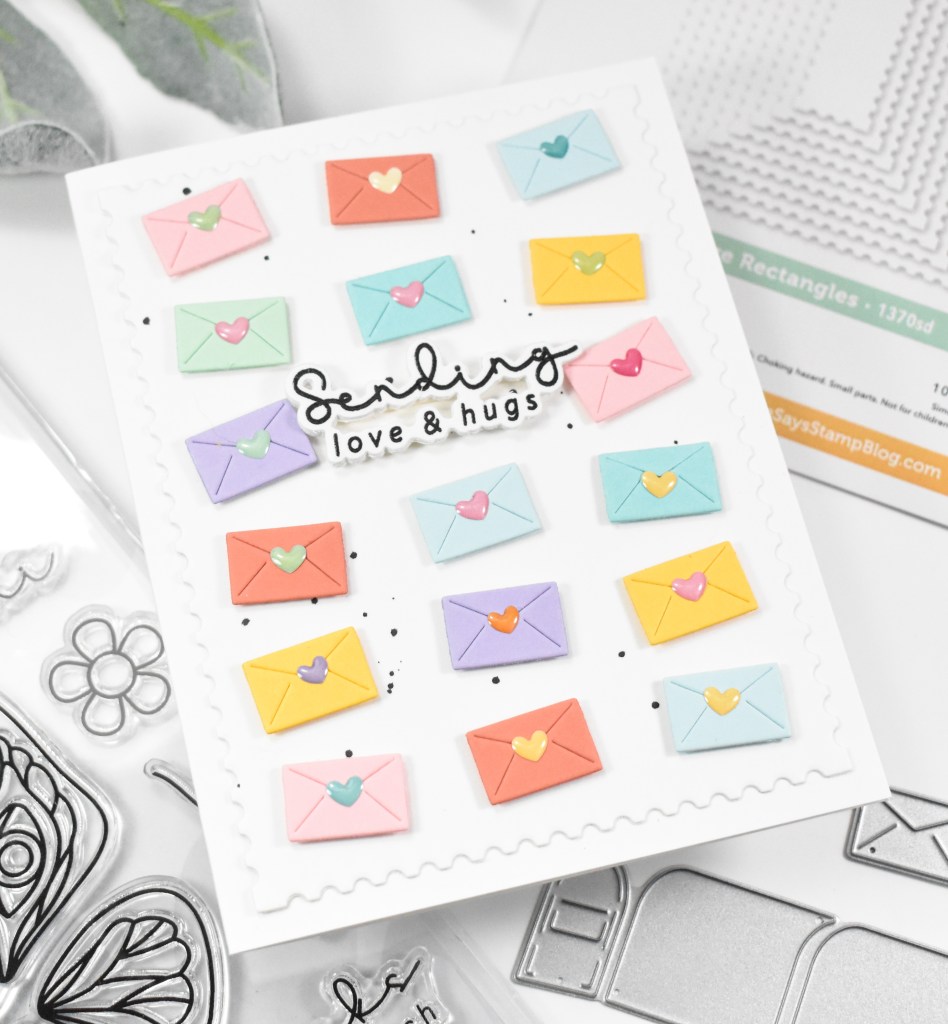
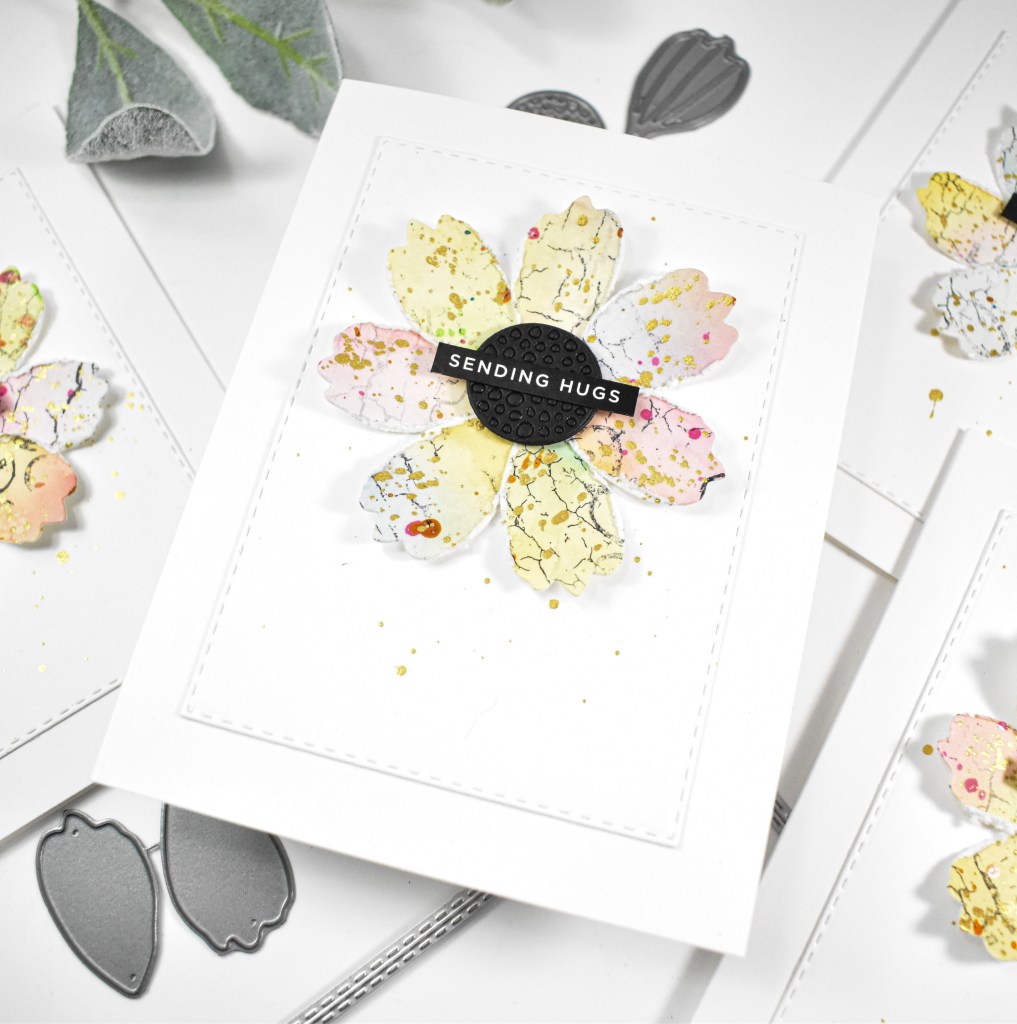
The background panels were cut using the Stitched Rectangles along with some gold splatter on those as well. They were secured to the card base, the flowers were added and some sentiment strips were added to finish up.
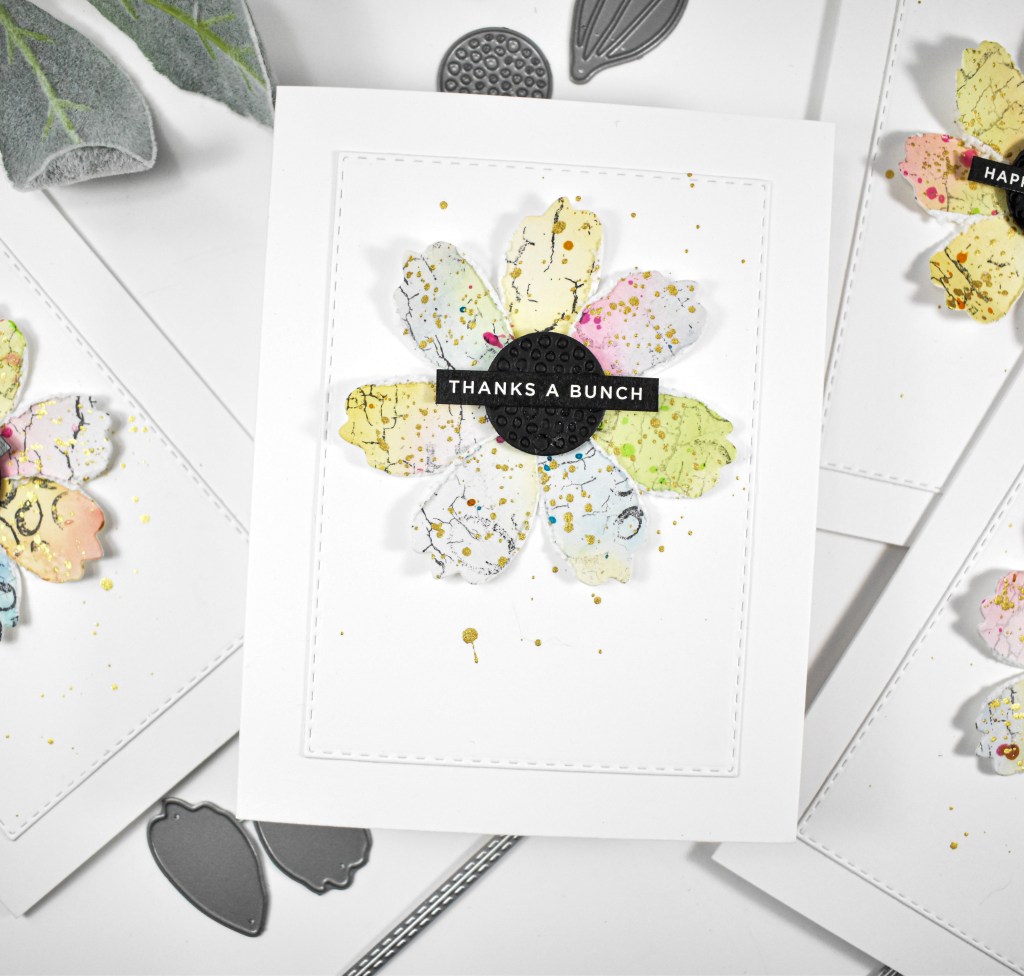
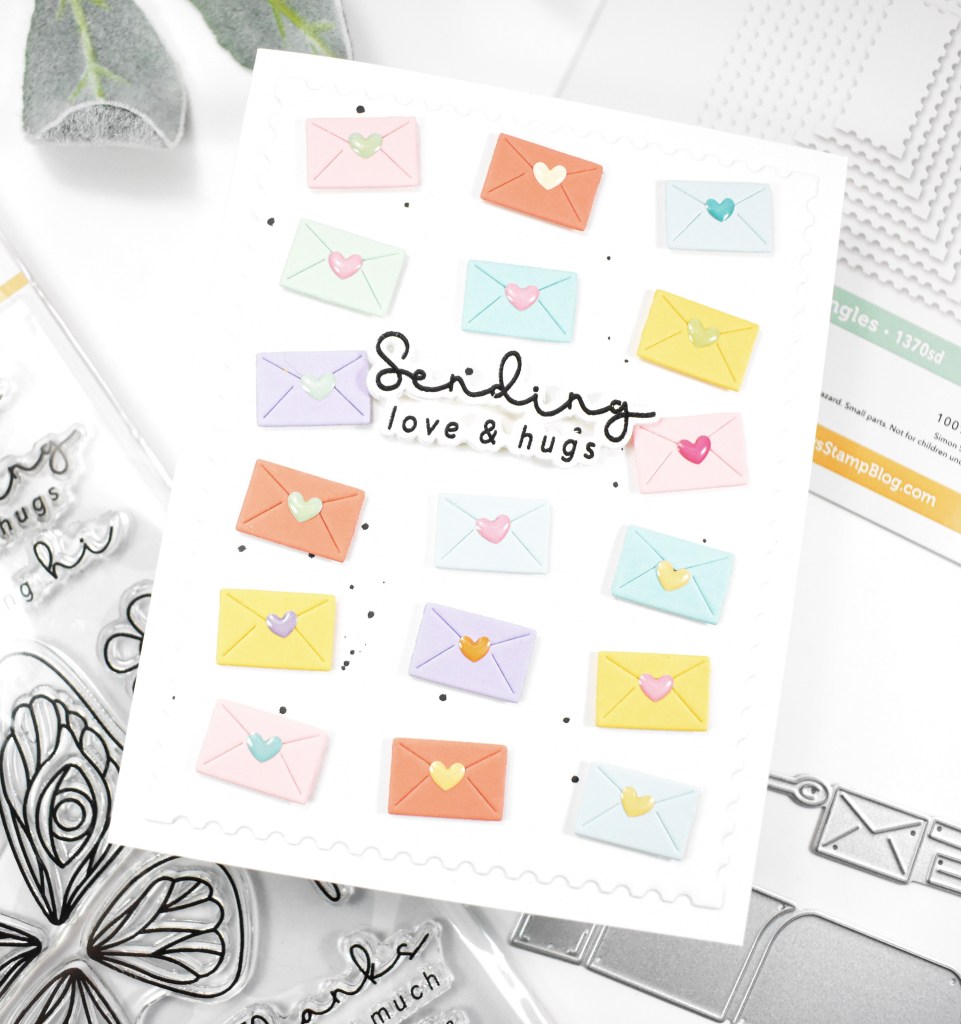
That does it for this project. I really love the tattered edges of these flowers paired with the soft pastel colors. I hope you do as well! Thanks so much for stopping by, and I hope you have an amazing day!
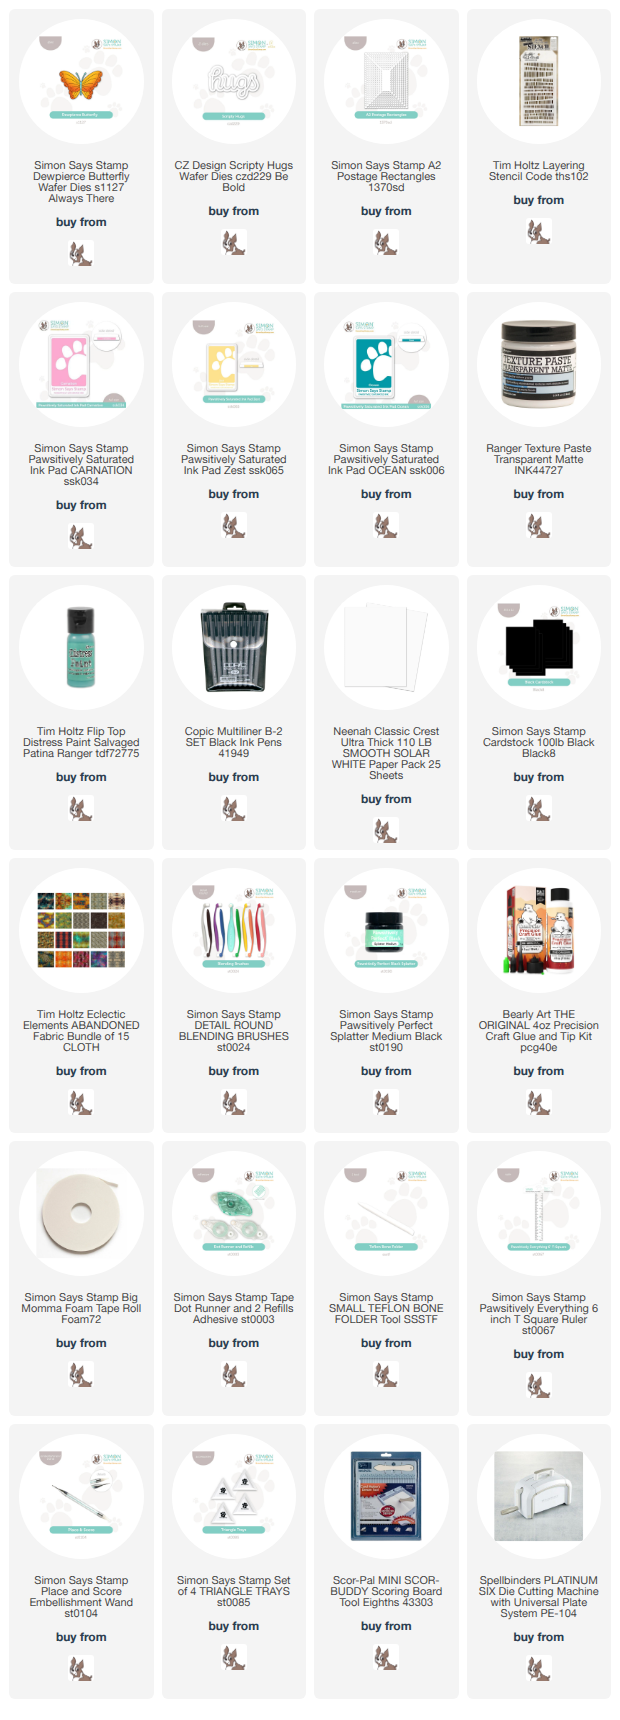
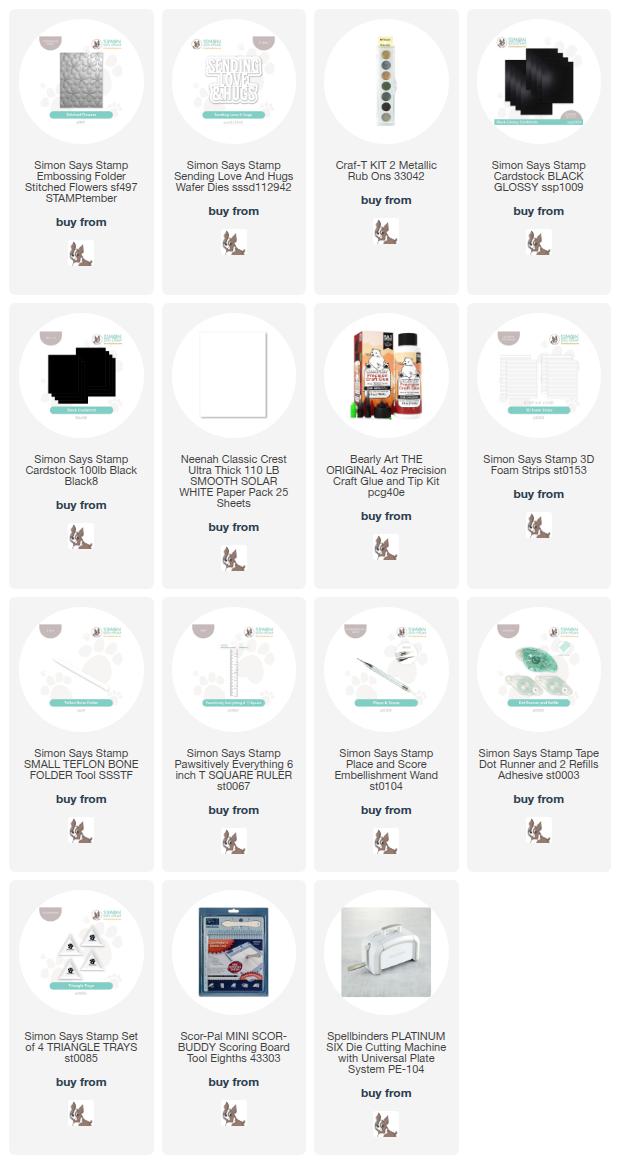
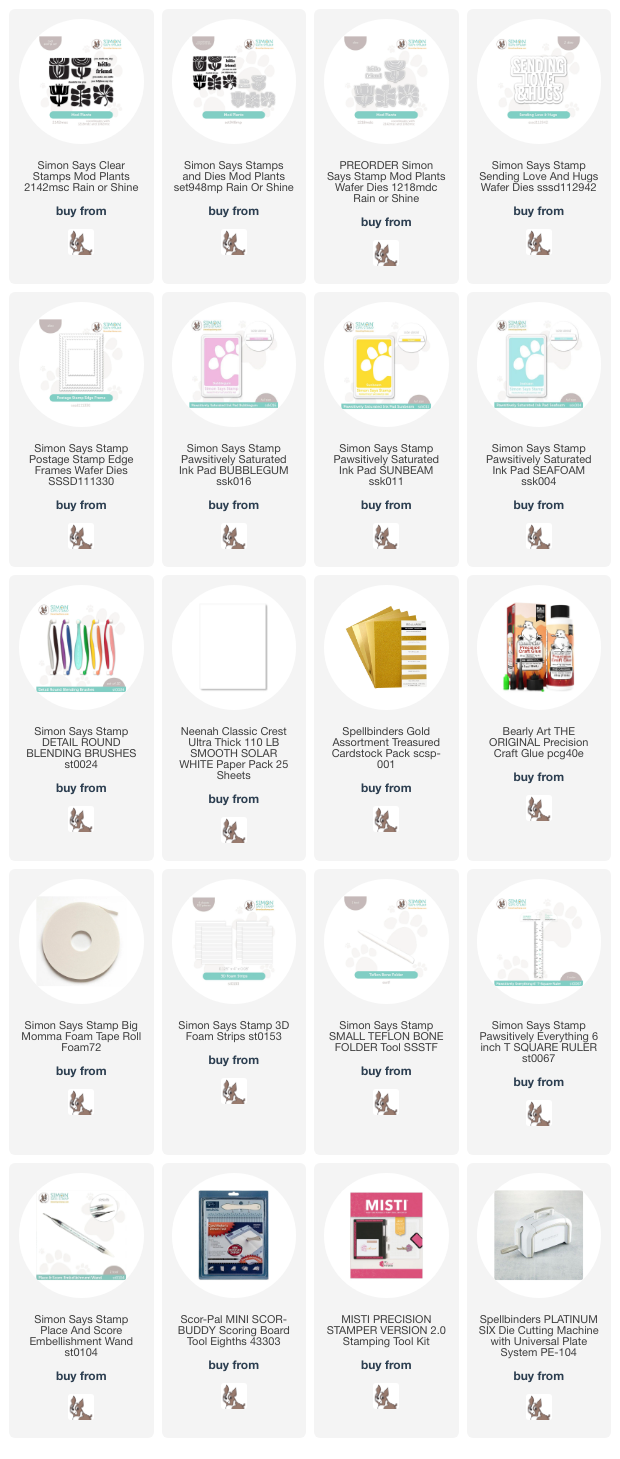
Supply List
Affiliate links used at no cost to you. What does this mean? If you use the links within this post to make a purchase, I receive a small commission, which allows me to continue to post crafty content for your enjoyment. I truly appreciate your support!
Latest Posts
- Simon Says Stamp Happy Mail

- Simon Says Stamp Tattered Florals

- Simon Says Stamp Amazing Floral

- Simon Says Stamp Friendly Butterflies

- Simon Says Stamp Graceful Hugs

Latest Instagram Posts