Spellbinders Merry Floral

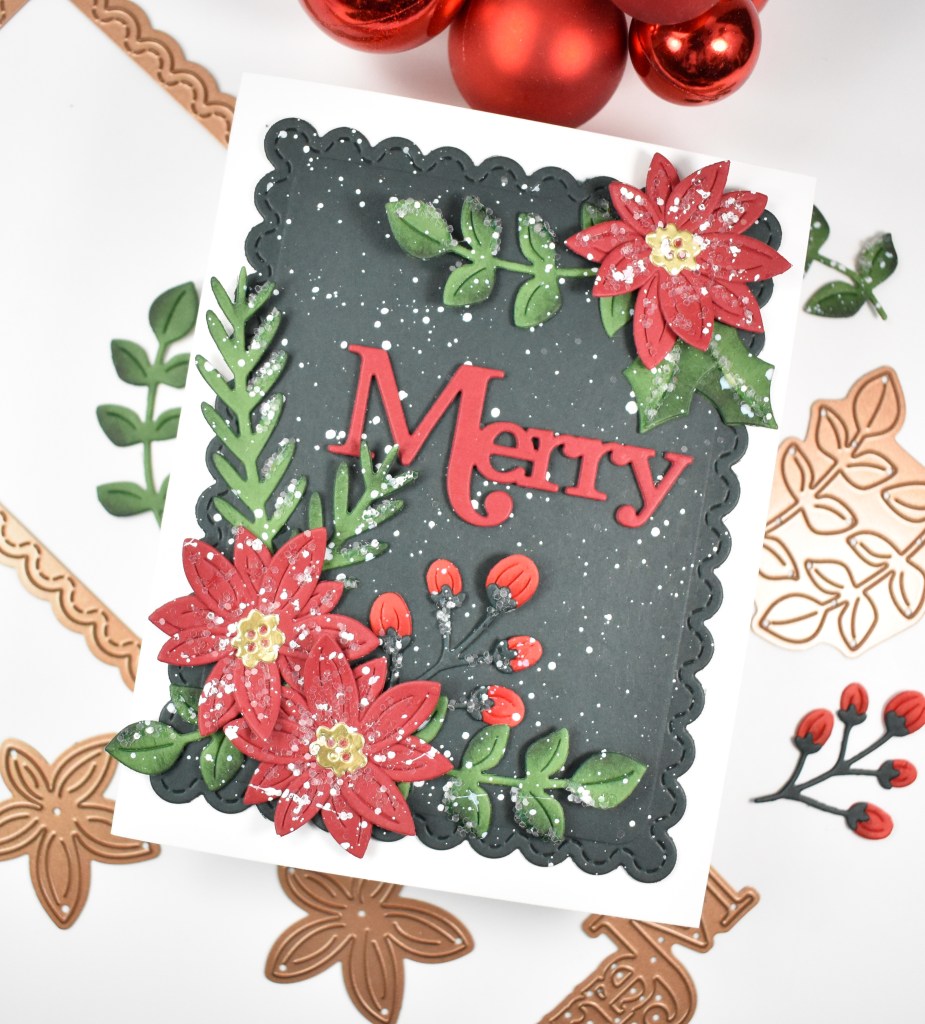
Hello Crafty Friends, and welcome back! Today’s project is featuring several new products from the Spellbinders August releases. It’s hard for me to think about holiday cards in August, but I really enjoyed making this card, especially with all of the glitter and splatter. Let’s run through the details, shall we?

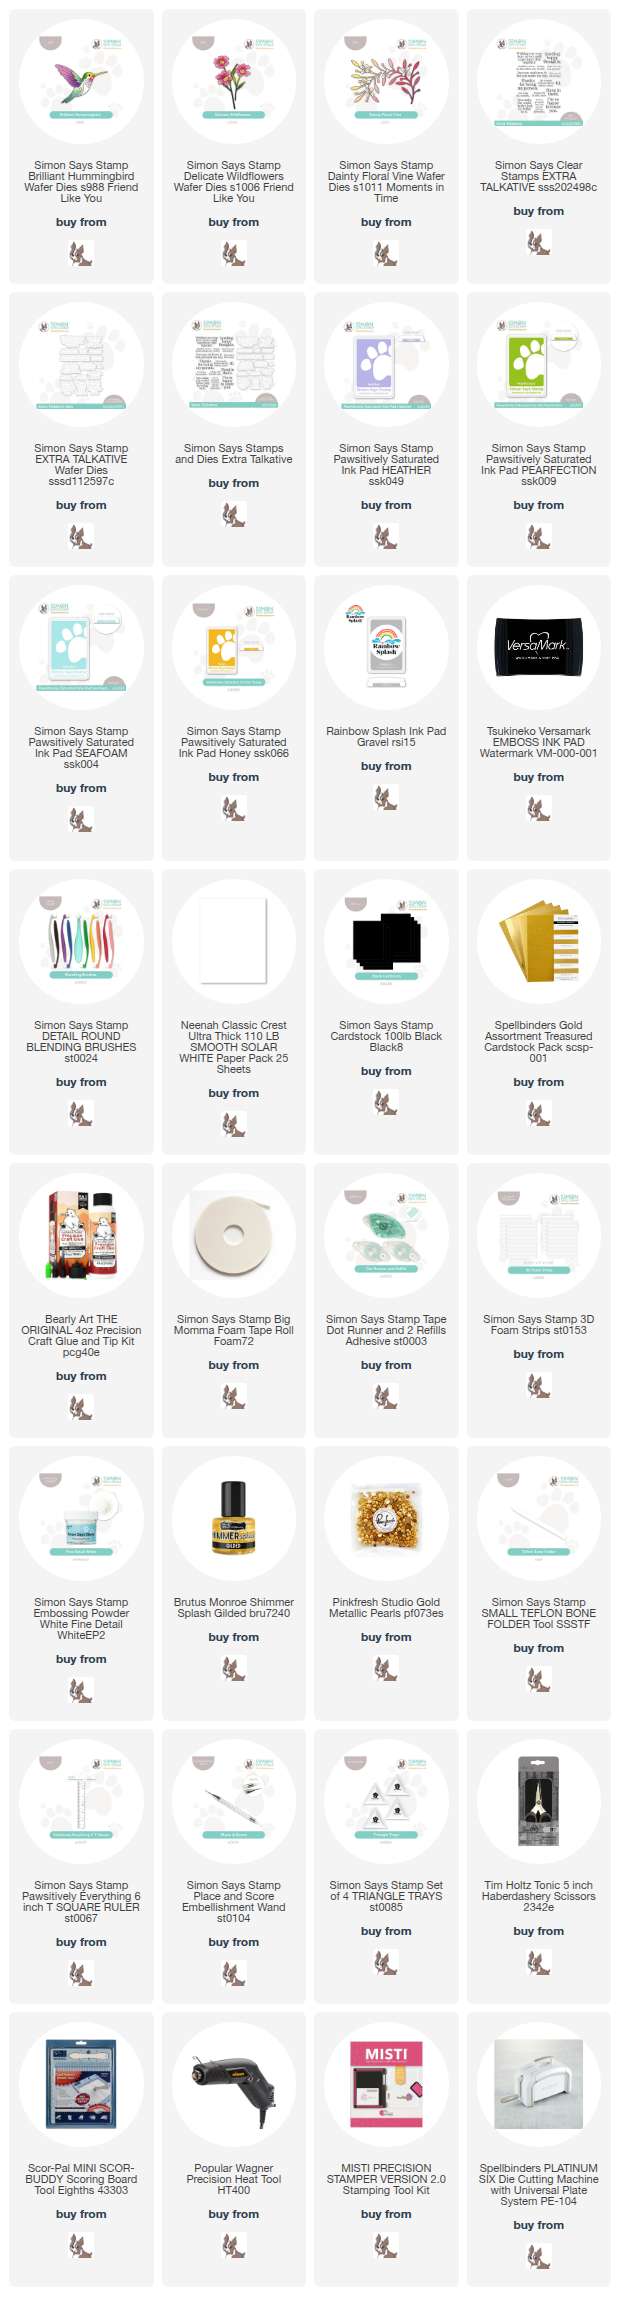
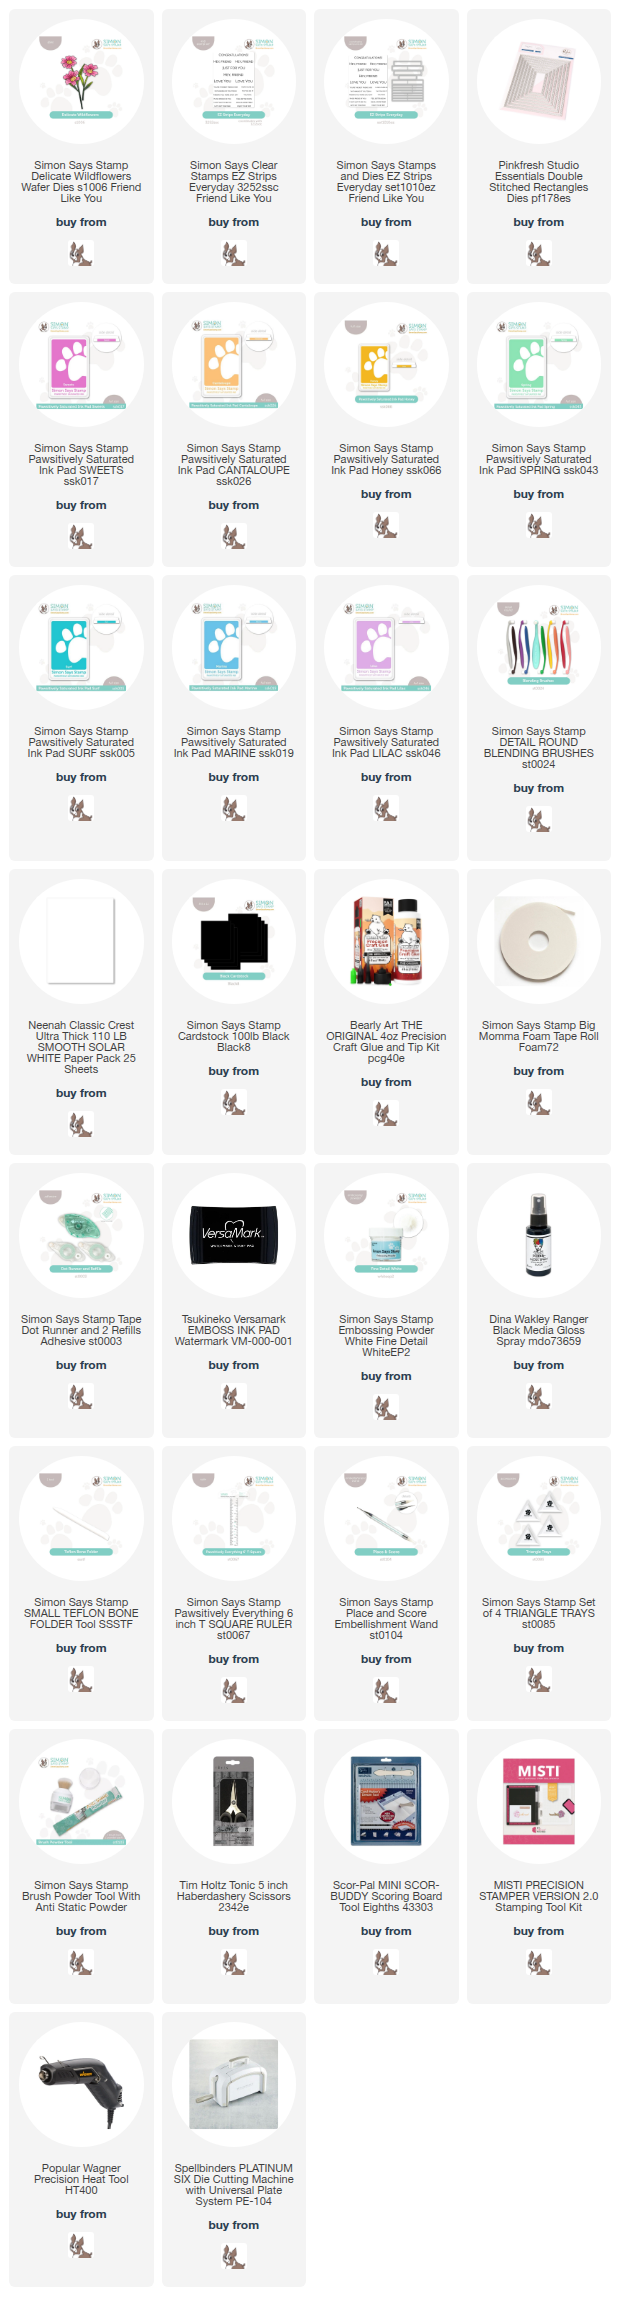
NOTE: all supplies are linked to multiple sources in the thumbnails at the end of this blog post.

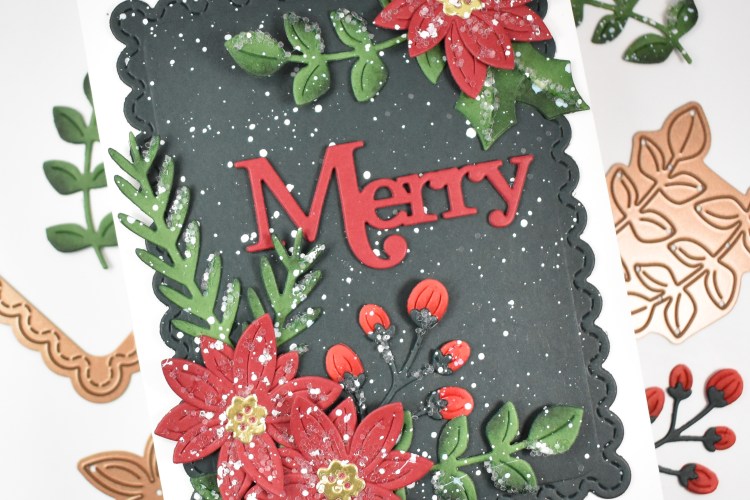
I began this project by die cutting the Christmas Foliage from Crimson, Poppy, Fern, Forest and gold cardstock. I did some ink blending on the flowers using Brick ink, and used Lush Forest ink on the greenery. Once I was done with the ink blending, I assembled the flowers, splattered white acrylic ink on all of the pieces and then added sparkly glitter using some glue that dries clear. I thought all of the pieces came out really pretty with the “icy” look.

I die cut the Bow & Bell Scallop Frame from Forest cardstock and white splattered that as well. I wondered if I had too much splatter, but then just decided to go with it! I also cut the Merry sentiment from Crimson three times and adhered all of those together for a stacked sentiment.

I secured the panel to the card base and then began adhering the leaves first, followed by the flowers. The sentiment was the last addition to finish up this project.

That does it for this project. I hope you enjoyed it as much as I did! Don’t forget to head over to the Spellbinders website to check out all of the August releases! Thanks again for stopping by, and have a wonderful day!

Supply List

Affiliate links used at no cost to you. What does this mean? If you use the links within this post to make a purchase, I receive a small commission, which allows me to continue to post crafty content for your enjoyment. I truly appreciate your support!

Latest Posts

Latest Instagram Posts
Simon Says Stamp Nesting Bird

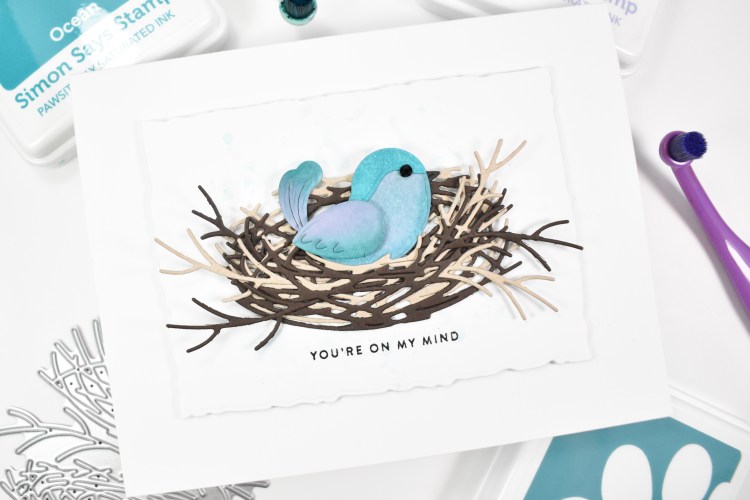
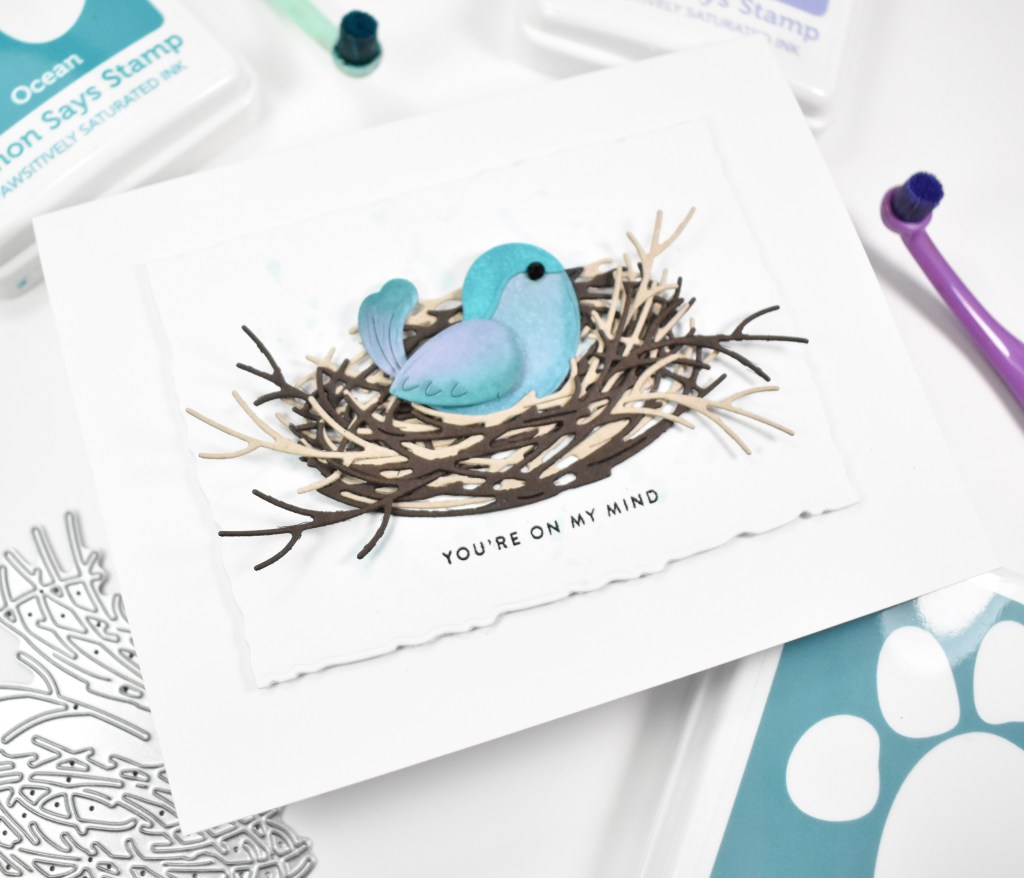
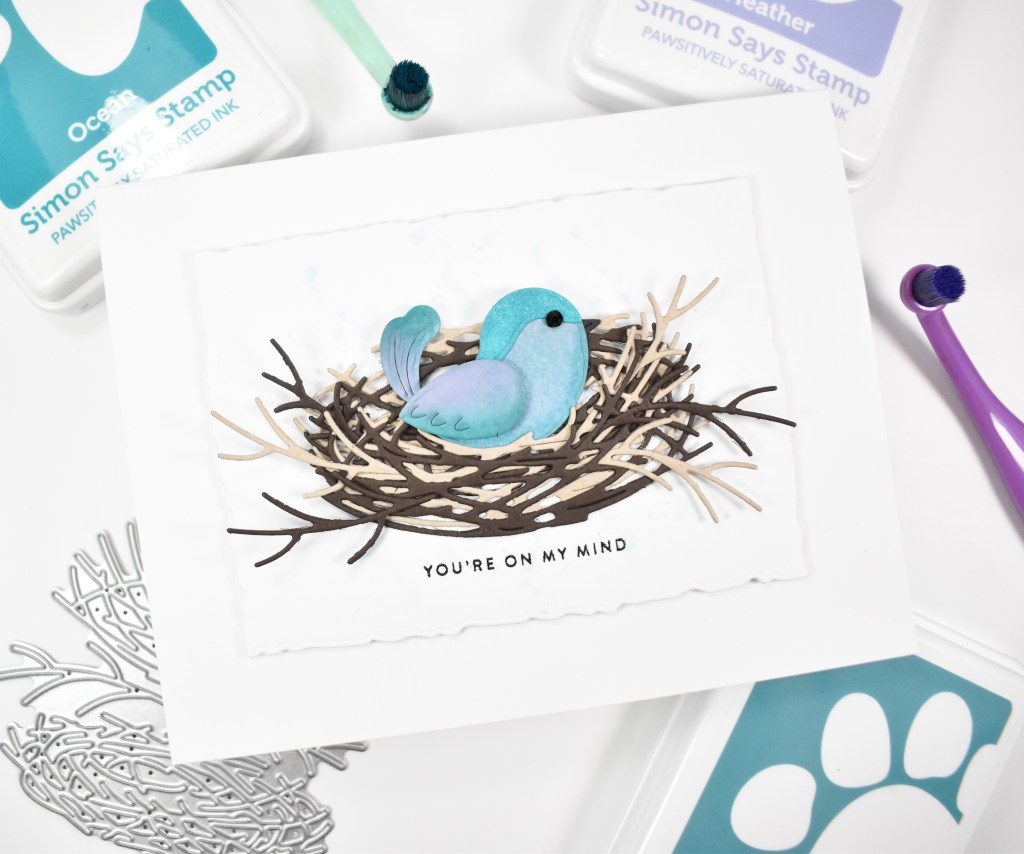
Hello Friends, and thanks for joining me! I’m back today with a project featuring the new Fun Birdie from Simon’s latest release, Happy Camper. Let’s get right into the details!

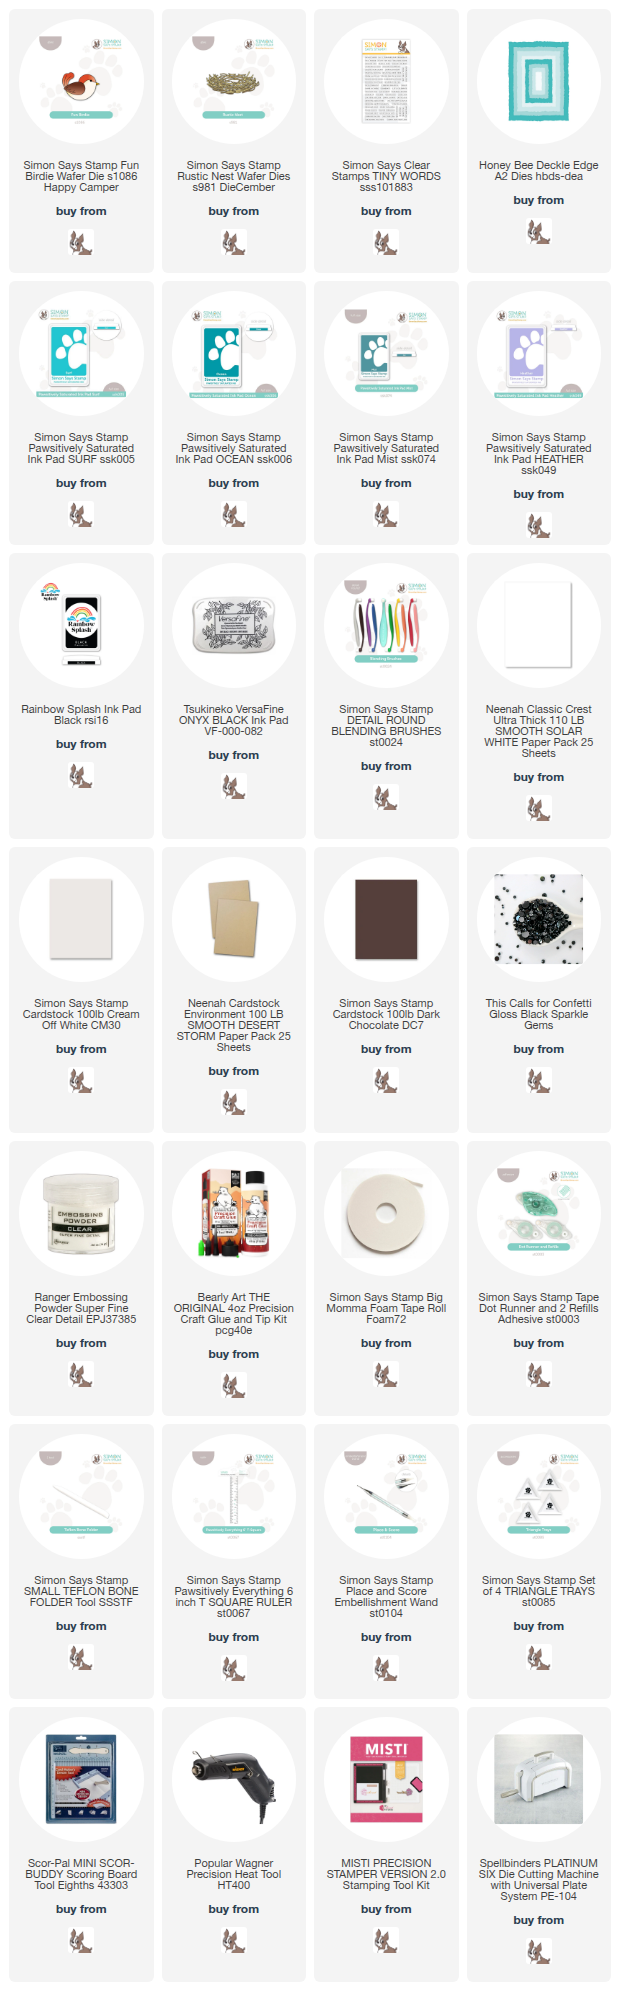
NOTE: all supplies are linked in the thumbnails at the end of this blog post.

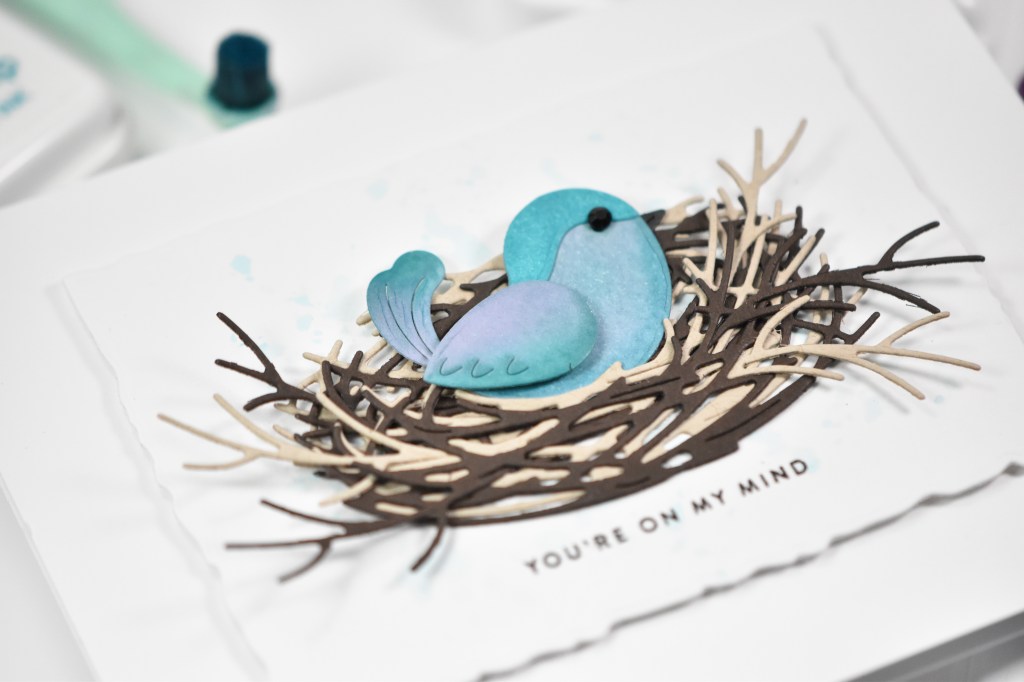
I began this project by die cutting the bird pieces from Neenah 110lb cardstock and did some ink blending using Surf, Ocean, Mist, Heather and Black inks. Once done with the ink blending, I assembled the bird using liquid glue, adding a black gem for the eye.

Next, I cut the Rustic Nest from dark brown and Desert Storm cardstock, adhering the pieces together, tucking in the twigs on the side. The background panel was created by cutting it with a deckle edge die, smooshing some Seafoam ink onto my glass mat and using a paper towel inside a ziplock bag to tap the color onto the panel. This is a technique that Cathy Zielske uses, and it works really well!

I decided on the nest placement and stamped the sentiment directly on the panel using VersaFine Onyx Ink and heat set that using clear embossing powder. The nest was glued to the panel and the bird was glued inside the nest. The panel was adhered to the card base using foam tape to finish up.

That does it for this one! Head on over to Simon’s website to check out the entire Happy Camper release. Thanks again for joining me, and don’t forget to stay awesome, friend!

Supply List

Affiliate links used at no cost to you. What does this mean? If you use the links within this post to make a purchase, I receive a small commission, which allows me to continue to post crafty content for your enjoyment. I truly appreciate your support!

Latest Posts

Latest Instagram Posts
Simon Says Stamp Clean and Simple Wildflower

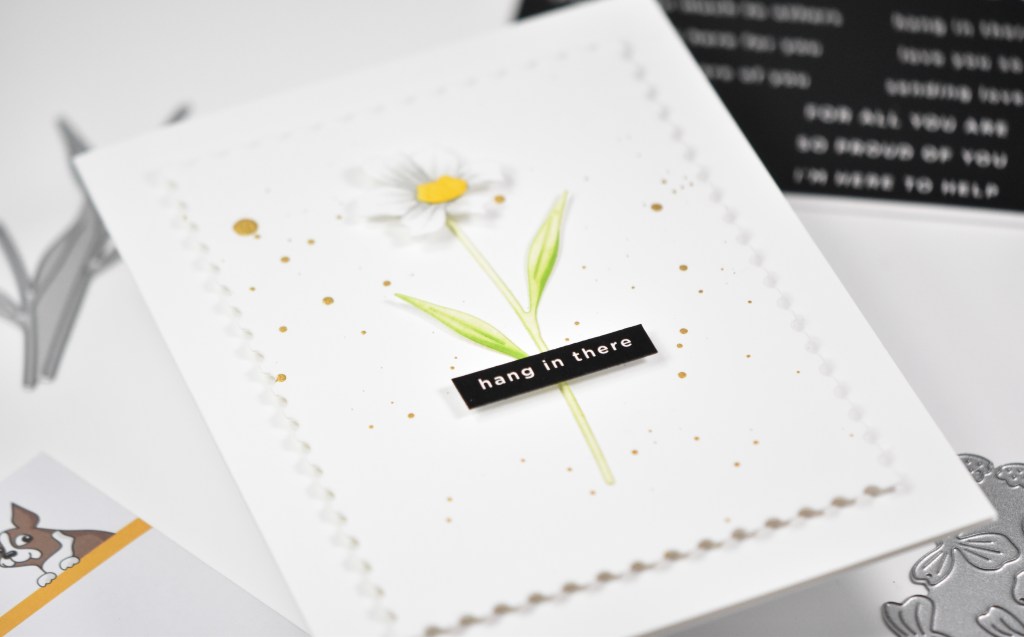
Welcome back, Friends! Today’s post is a clean and simple design, which is hard for me sometimes. It’s once again featuring the Delicate Wildflowers from Simon’s latest release, Friend Like You. Let’s go into the details.

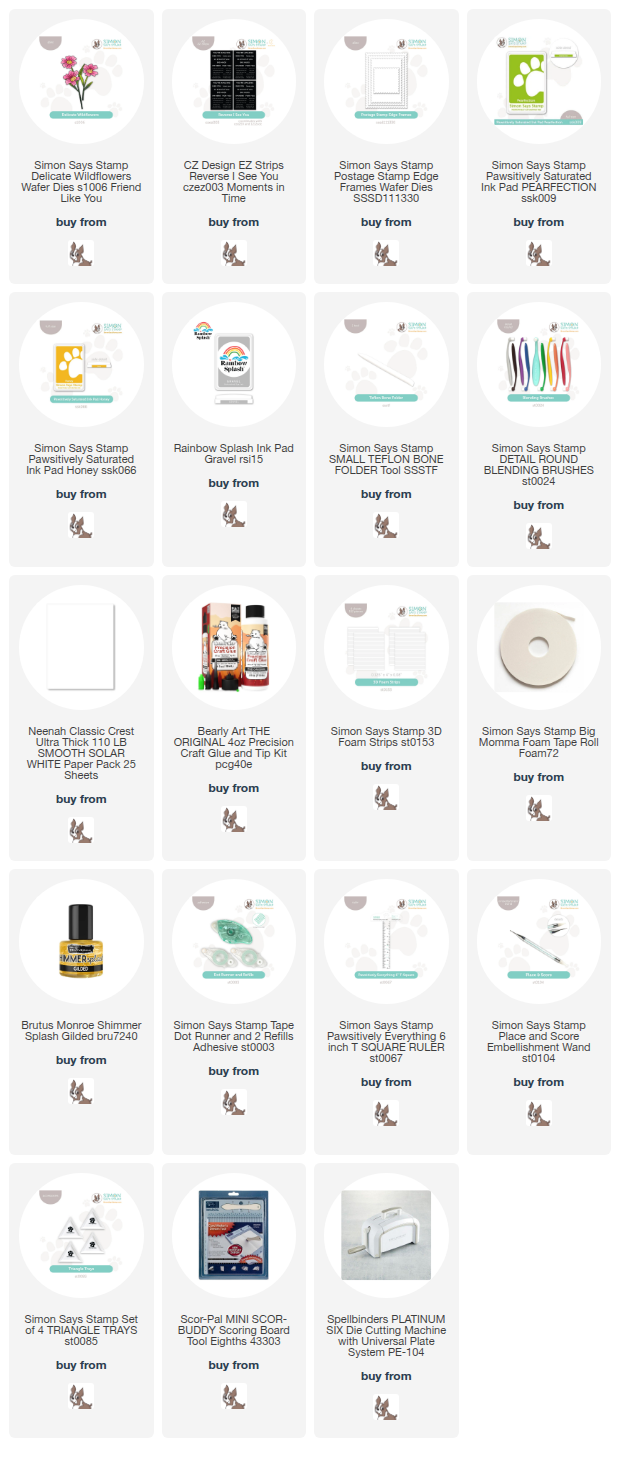
NOTE: all supplies are linked in the thumbnails at the end of this blog post.

I began by die cutting the wildflowers from Neenah 110lb cardstock and did some light ink blending using Honey, Pearfection and Gravel inks. Once done with that, I assembled the pieces of the flower.

My background was created using the Postage Stamp Edge Frames and gold splattered before gluing the stem in place. The flower and sentiment, which is from the Reverse I See You EZ Strips, were adhered with foam strips. The panel was then adhered to the card base using foam tape to finish up.

Like I said, a super simple card for today. Thanks again for stopping by, and don’t forget to check out the entire Friend Like You release. Have yourself a wonderful day!

Supply List

Affiliate links used at no cost to you. What does this mean? If you use the links within this post to make a purchase, I receive a small commission, which allows me to continue to post crafty content for your enjoyment. I truly appreciate your support!

Latest Posts

Latest Instagram Posts

Simon Says Stamp Hummingbird Hugs

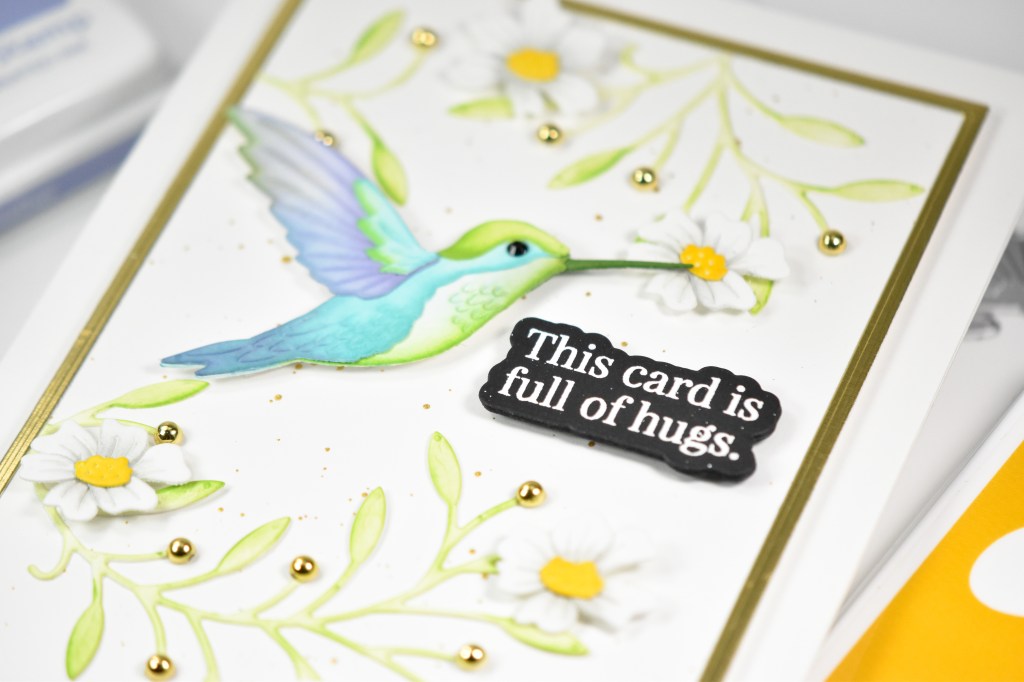
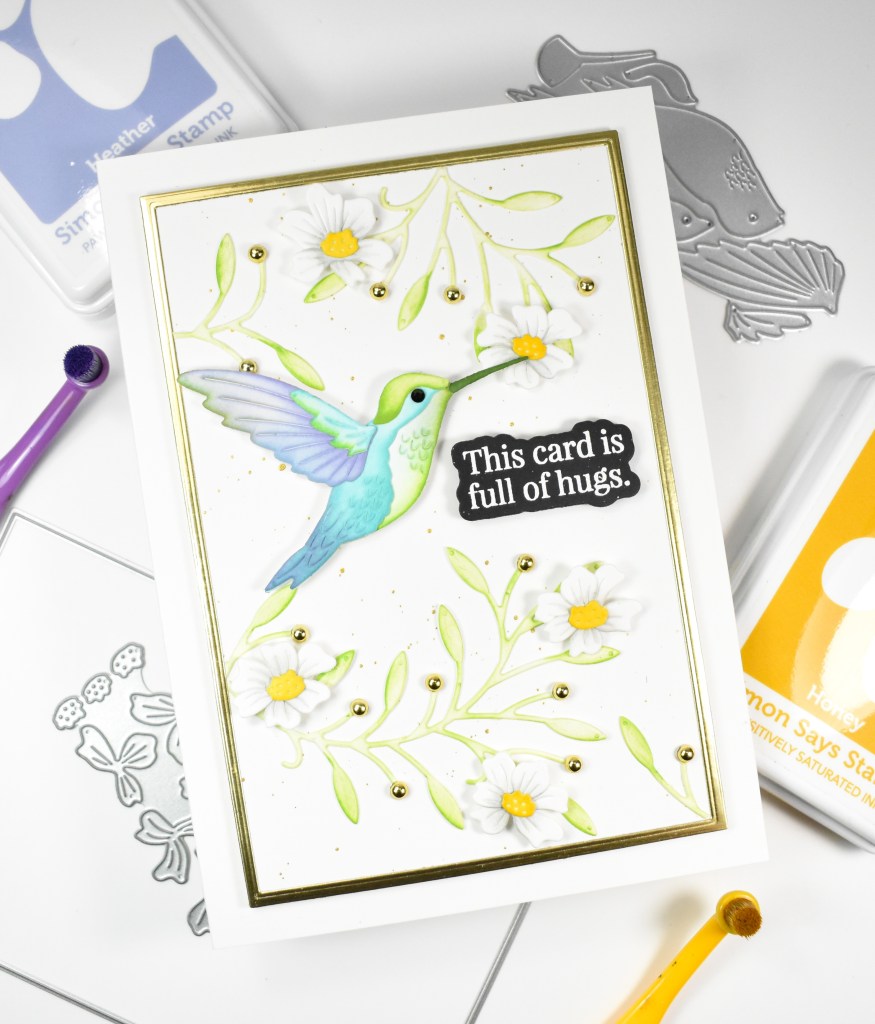
Hello Crafty Friends, and welcome back! I’m back today with a project featuring the new Brilliant Hummingbird from Simon’s latest release, Friend Like You. Let’s run through the details!

NOTE: all supplies are linked in the thumbnails at the end of this blog post.

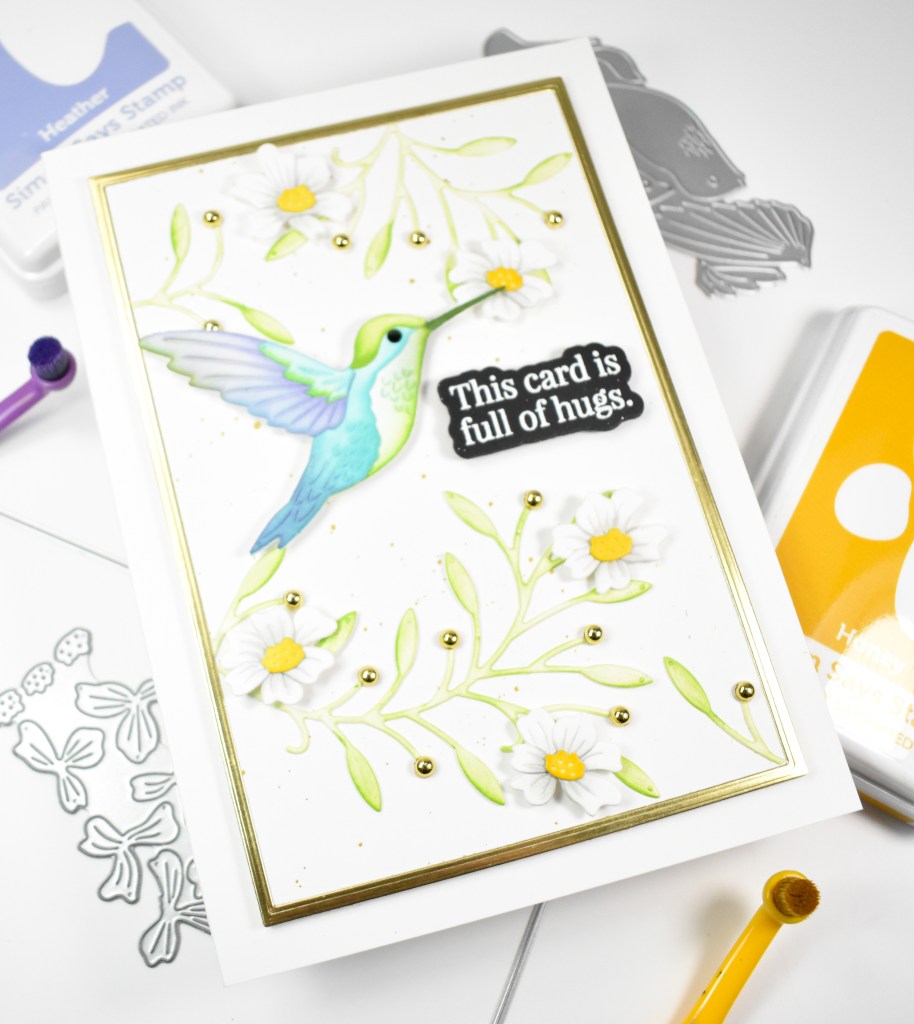
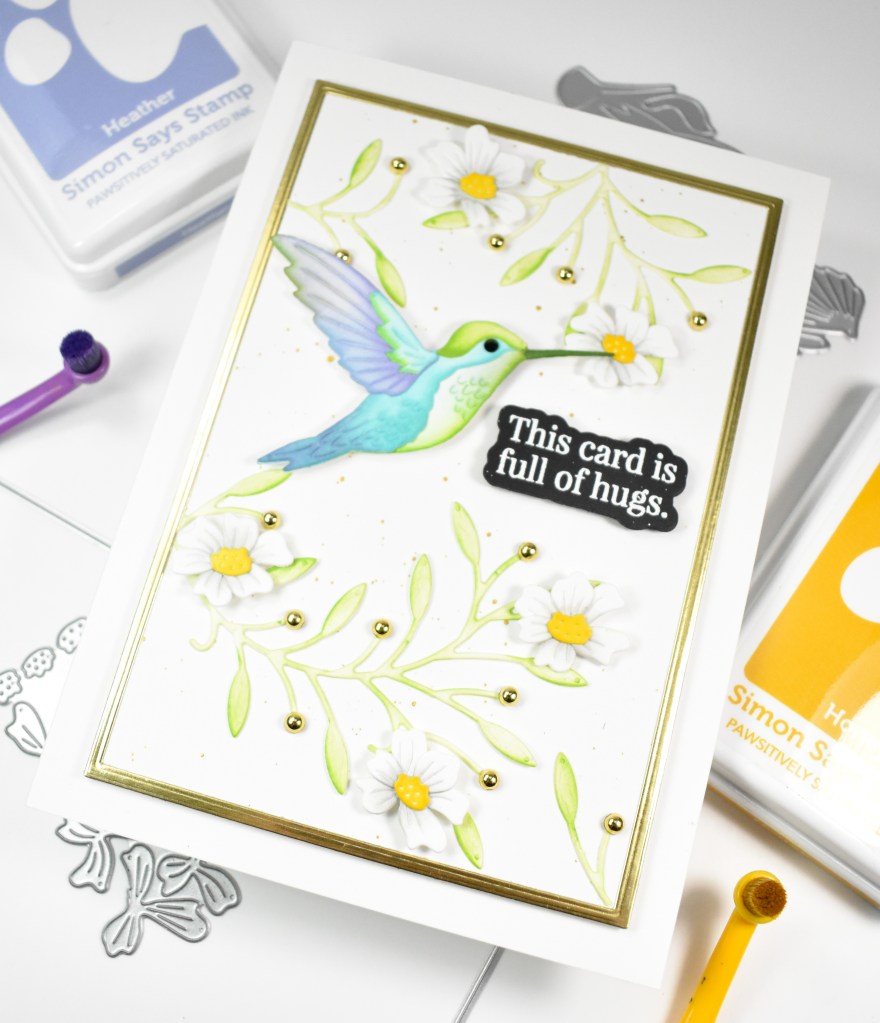
I began this project by die cutting the Brilliant Hummingbird, the Delicate Wildflowers and the Dainty Floral Vine all from Neenah 110lb cardstock. I went ahead and pulled Heather, Honey, Pearfection, Seafoam and Gravel inks to do all of the ink blending on these elements. Once I was done, I assembled the hummingbird and flowers and set those aside while I worked on the rest of the card.

I used the new A7 Rectangles and cut a panel of Neenah that got gold splattered. I also used two of the rectangles to cut a gold frame that would go around the outside of splattered panel that I just cut. I glued the gold frame in place and then began gluing the leaves in place.

The sentiment was stamped with VersaMark Ink and heat embossed using Detail White Embossing Powder. I trimmed that out three times for a stacked sentiment. The sentiment, flowers and hummingbird were adhered using foam strips for some added dimension and some gold pearls were added for some shine to finish up.

That does it for this project! I don’t often enjoy making A7 cards, but sometimes the extra space is nice. I hope you have an awesome day, and don’t forget to check out the entire Friend Like You release.

Supply List

Affiliate links used at no cost to you. What does this mean? If you use the links within this post to make a purchase, I receive a small commission, which allows me to continue to post crafty content for your enjoyment. I truly appreciate your support!

Latest Posts

Latest Instagram Posts

Simon Says Stamp Here For You

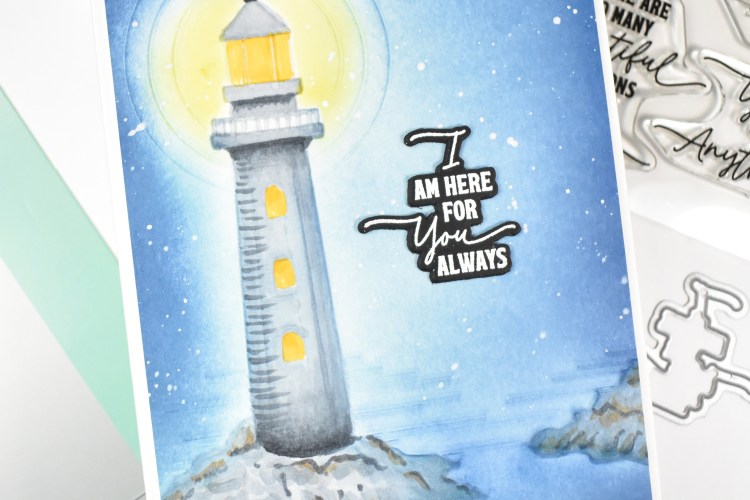
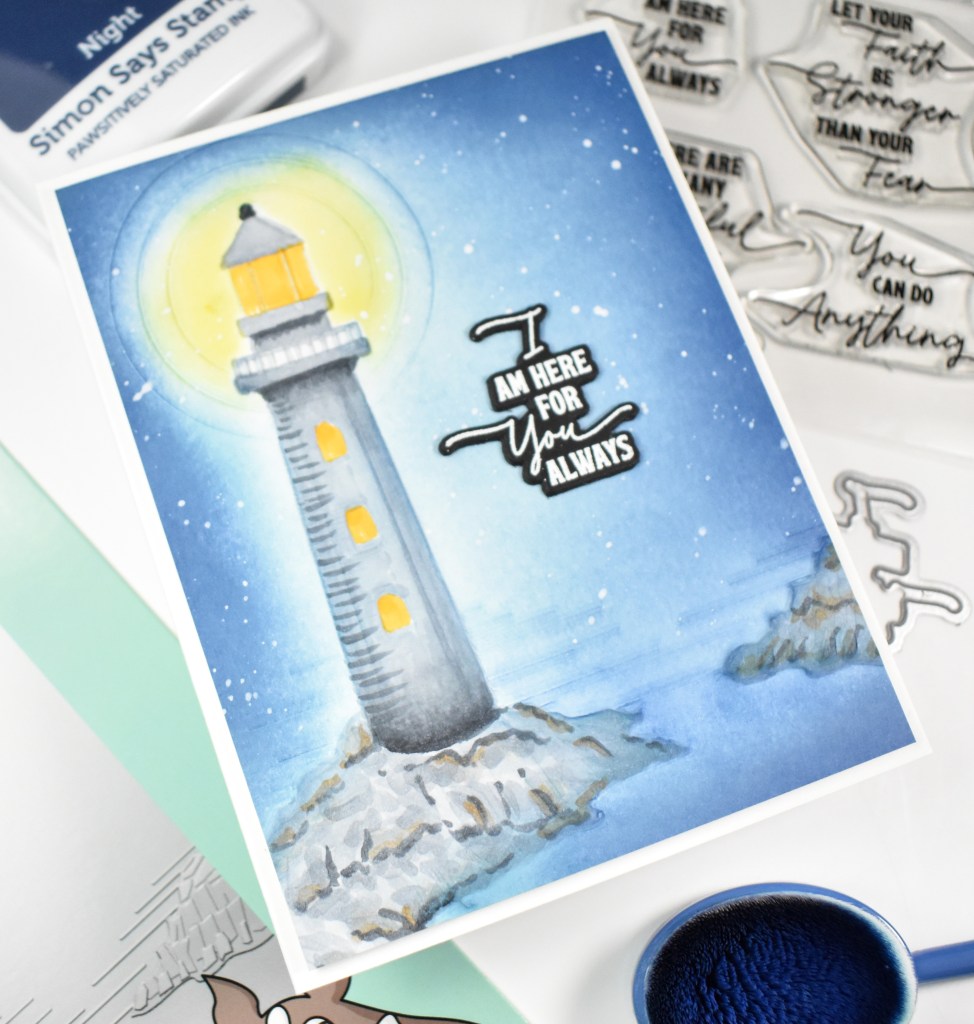
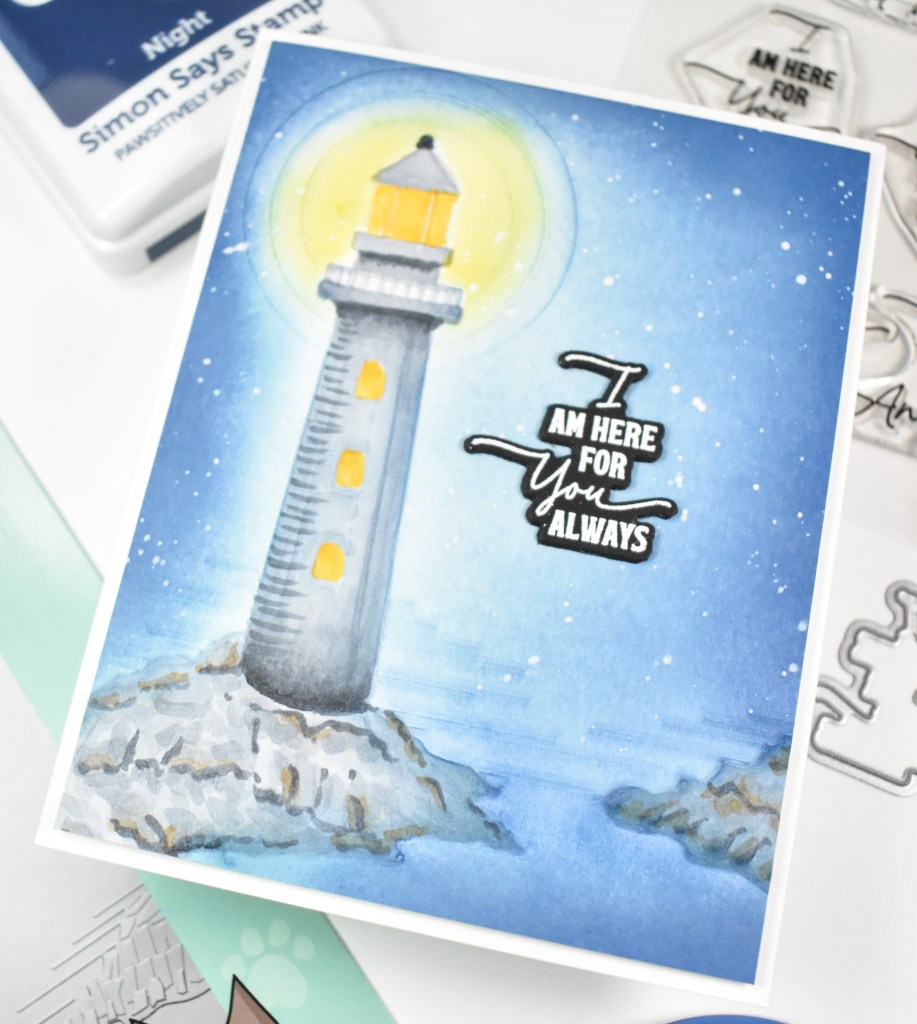
Hello Friends and thanks for stopping by! I’m back today with a project featuring the new Contemporary Lighthouse Embossing Folder from Simon’s latest release, Friend Like You. Let’s go ahead and run through the details for this one.

NOTE: all supplies are linked in the thumbnails at the end of this blog post.

I began by embossing the folder onto a panel of Neenah 110lb cardstock. I then began coloring the image using Copic Markers C1, C3, C4, C6, C7, E23 and Y17. When I was satisfied with the coloring, I did some ink blending using Sunbeam, Sky and Night inks, being very careful not to mix the yellow and blue because I didn’t want to end up with green.

Before working on the sentiment, I splattered the panel with some white acrylic ink to mimic stars. The sentiment was stamped onto black cardstock using VersaMark Ink and heat set using Detail White Embossing Powder. That was trimmed out three times for a stacked sentiment.

I adhered the panel to the card base using foam tape and glued the sentiment in place to finish up.

That does it for this one. I’m not very good at coloring embossing folders, but I gave it a try anyway. Is it perfect? No. But, I’m happy with the outcome. Thanks again for stopping by. I do truly appreciate it, and I hope you have an awesome day!

Supply List

Affiliate links used at no cost to you. What does this mean? If you use the links within this post to make a purchase, I receive a small commission, which allows me to continue to post crafty content for your enjoyment. I truly appreciate your support!

Latest Posts

Latest Instagram Posts

Simon Says Stamp Friend Like You Blog Hop Day 2

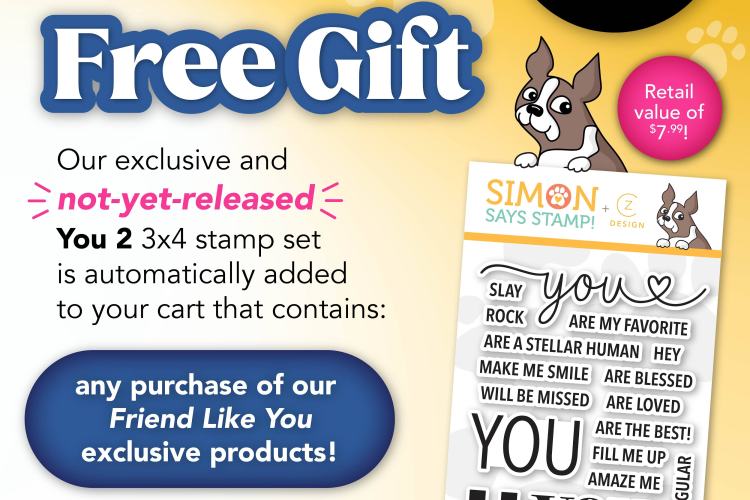
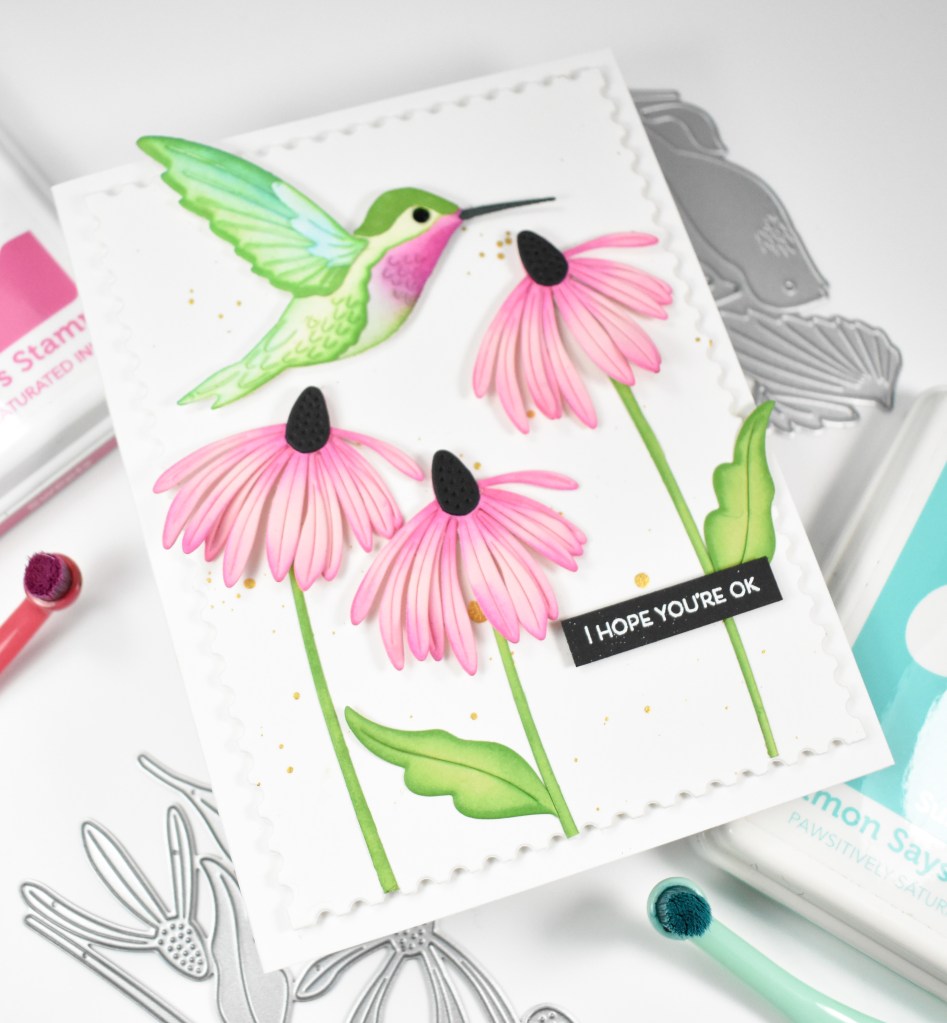
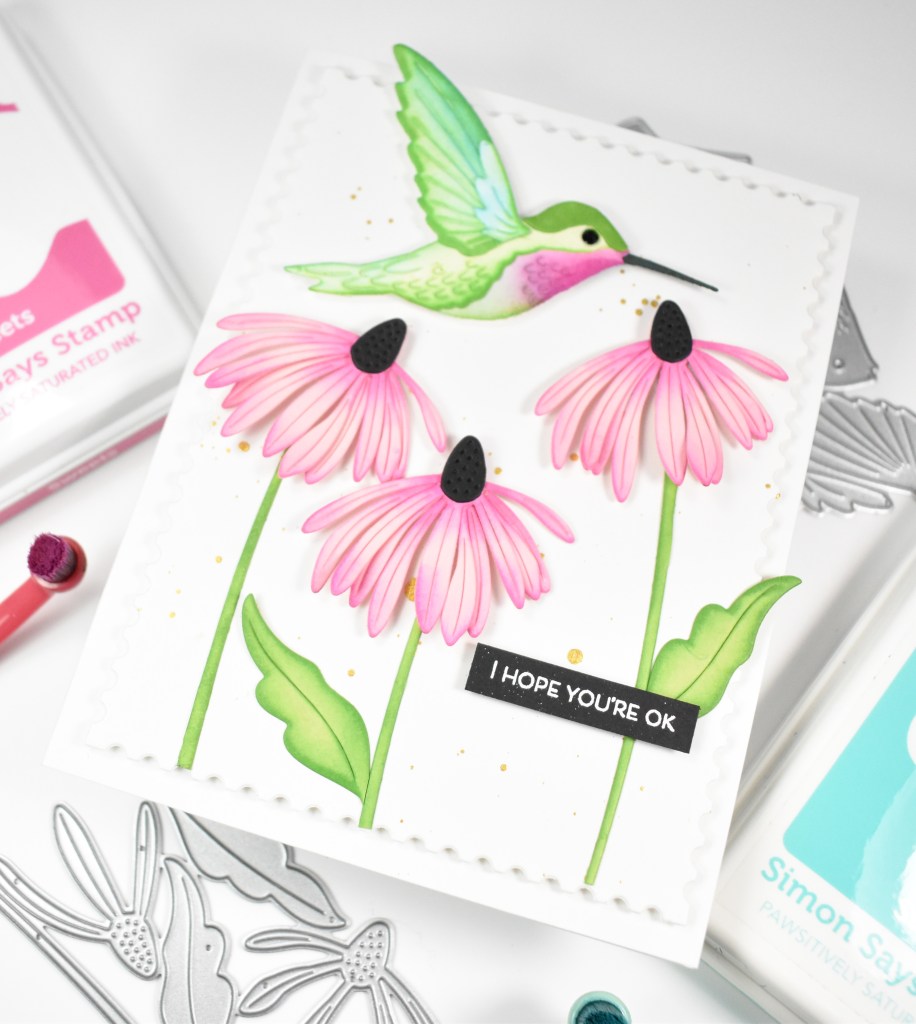
Hello Crafty Friends, and welcome back to my blog! It’s Day 2 of the Simon Says Stamp Blog Hop to celebrate the Friend Like You release! Simon is giving away a $25 coupon to one lucky commenter at every stop along the hop, so you’ll want join in for your chance to win. I’ll list the blog hop order at the bottom of this post for your convenience. Plus, there’s a free gift with any purchase from the Friend Like You release! See the graphic below. Also, don’t forget to check out Day 1 for more chances to win! My post for today is featuring the new Brilliant Hummingbird, and of course I had to pair it with some florals, so let’s go ahead and go through the details!

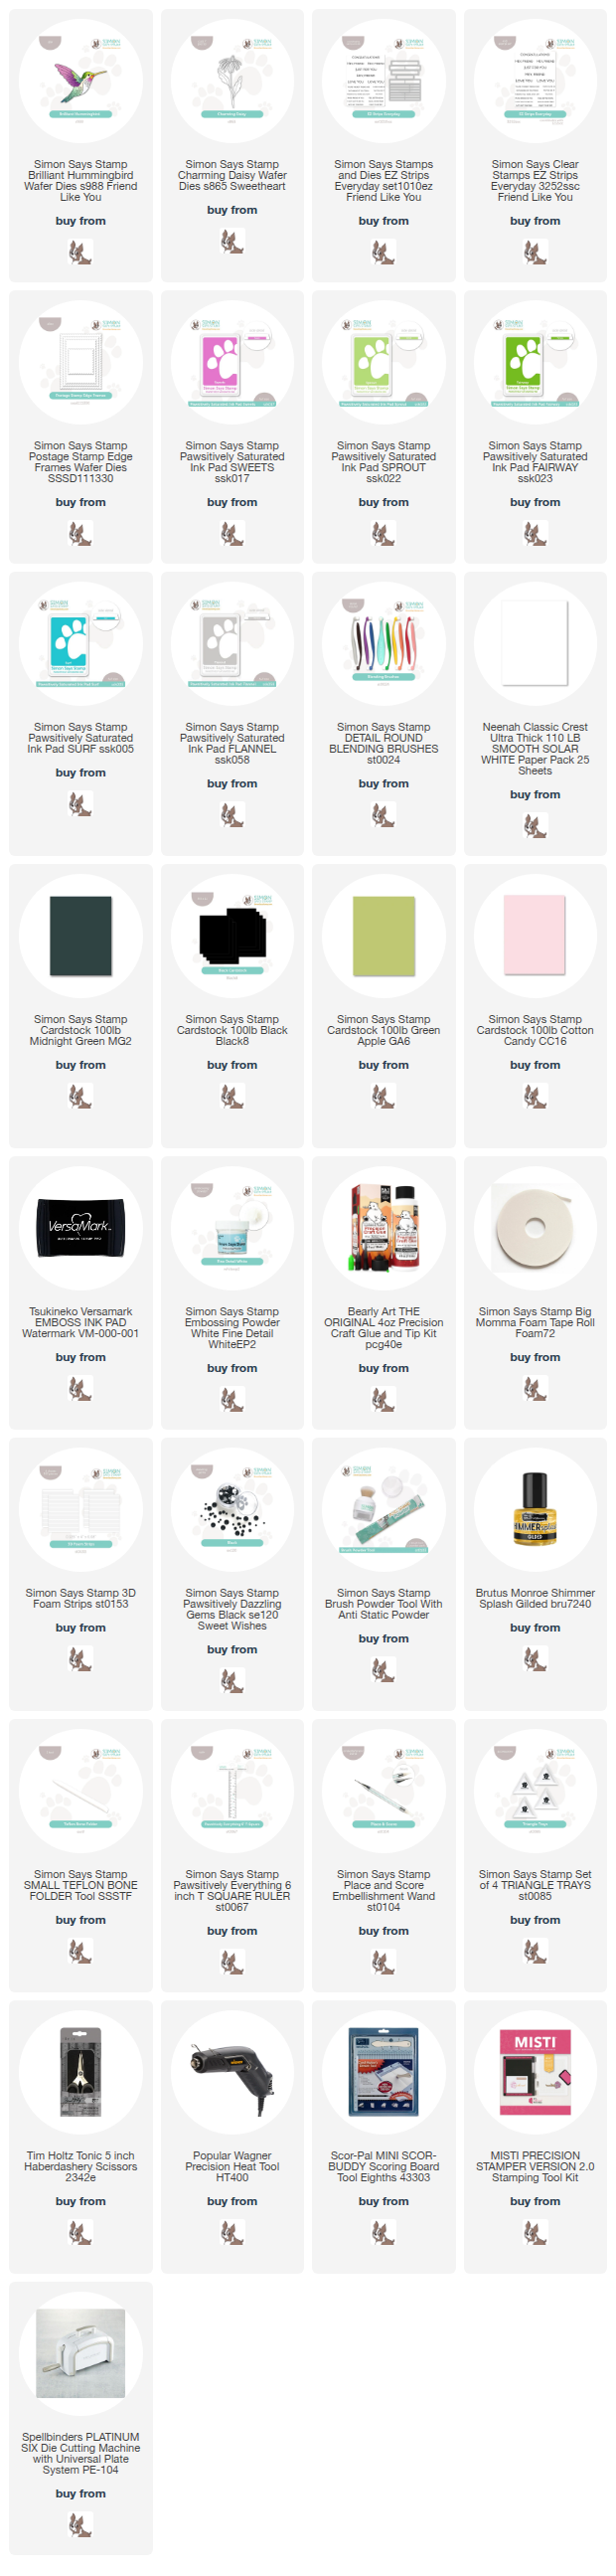
NOTE: all supplies are linked in the thumbnails at the end of this blog post.

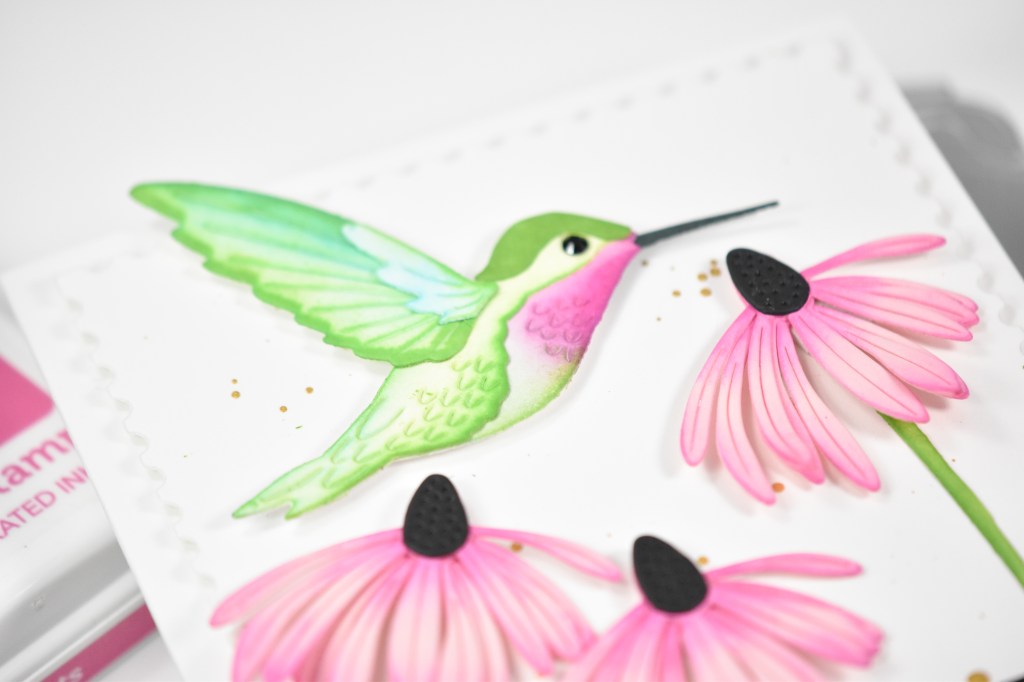
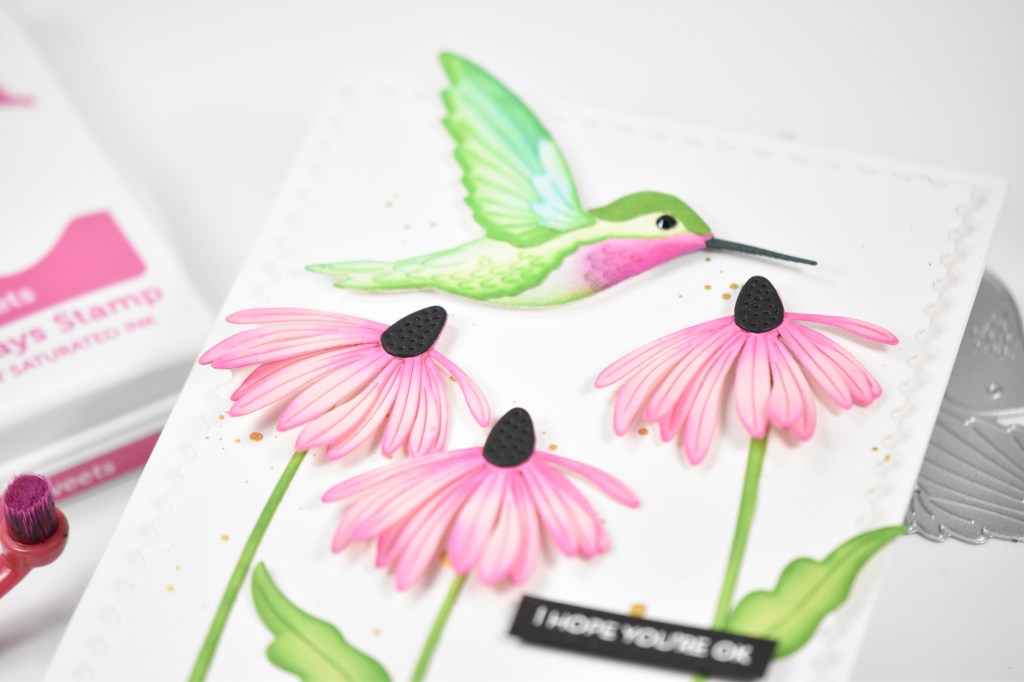
I began by die cutting the hummingbird pieces from Neenah 110lb cardstock and ink blending those using Sweets, Sprout, Fairway, Surf and a tiny bit of Flannel. I went ahead and assembled the hummingbird and decided that I wanted the beak dark, so I cut that from some Forest cardstock, and added a tiny black gem for the eye.

The flowers and stems were die cut from Cotton Candy, Green Apple and black cardstock. I used the same inks for the ink blending on these pieces as well. I assembled the flowers and placed foam strips on those before stamping the sentiment onto black cardstock and heat setting that using Detail White Embossing Powder.

The background panel was cut using the Postage Stamp Edge Frames and gold splattered before adhering the stems with liquid glue and adding the flowers. The hummingbird was added with foam strips as was the sentiment. The panel was then adhered to the card base with foam tape to finish up.

That does it for this project! I hope you like it! Thanks again for joining me and I hope you have an awesome day!

Blog Hop Details

Simon Says Stamp Blog 
Nina-Marie Trapani
Laura Bassen
Cathy Zielske
Barbara Tarayao
Heather Hoffman
Keisha Charles
Mindy Eggen
Heather Ruwe
Yana Smakula
Caryn Davies
Maura Hibbitts
Allison Frazier
Tracy Ware
Revati Panickar
Michelle Langley

Supply List

Affiliate links used at no cost to you. What does this mean? If you use the links within this post to make a purchase, I receive a small commission, which allows me to continue to post crafty content for your enjoyment. I truly appreciate your support!

Latest Posts

Latest Instagram Posts

Simon Says Stamp Hey Friend

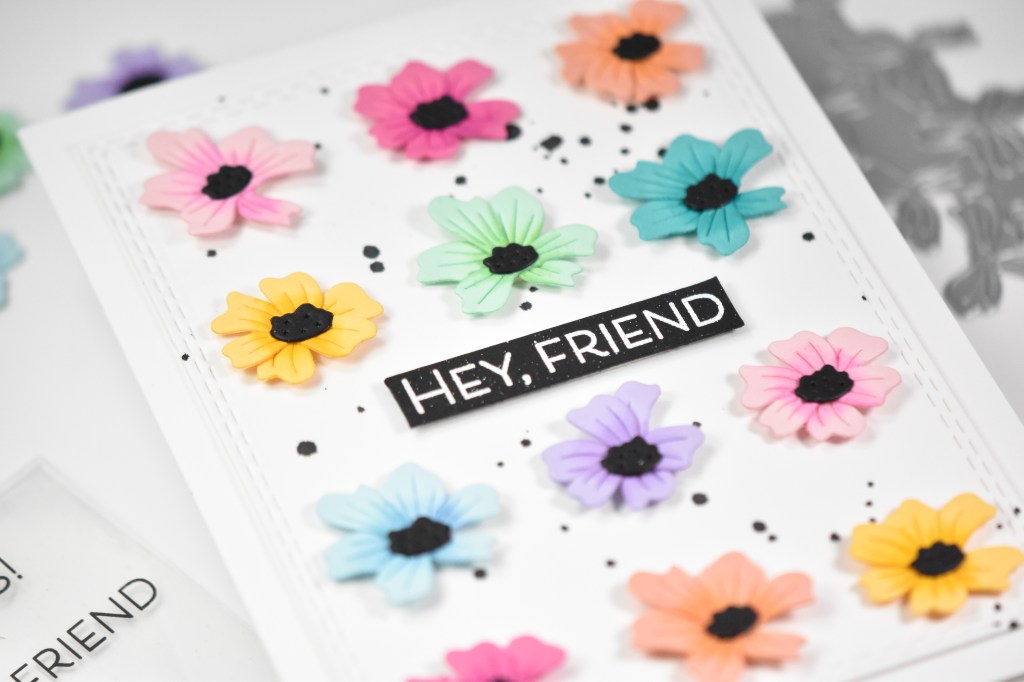
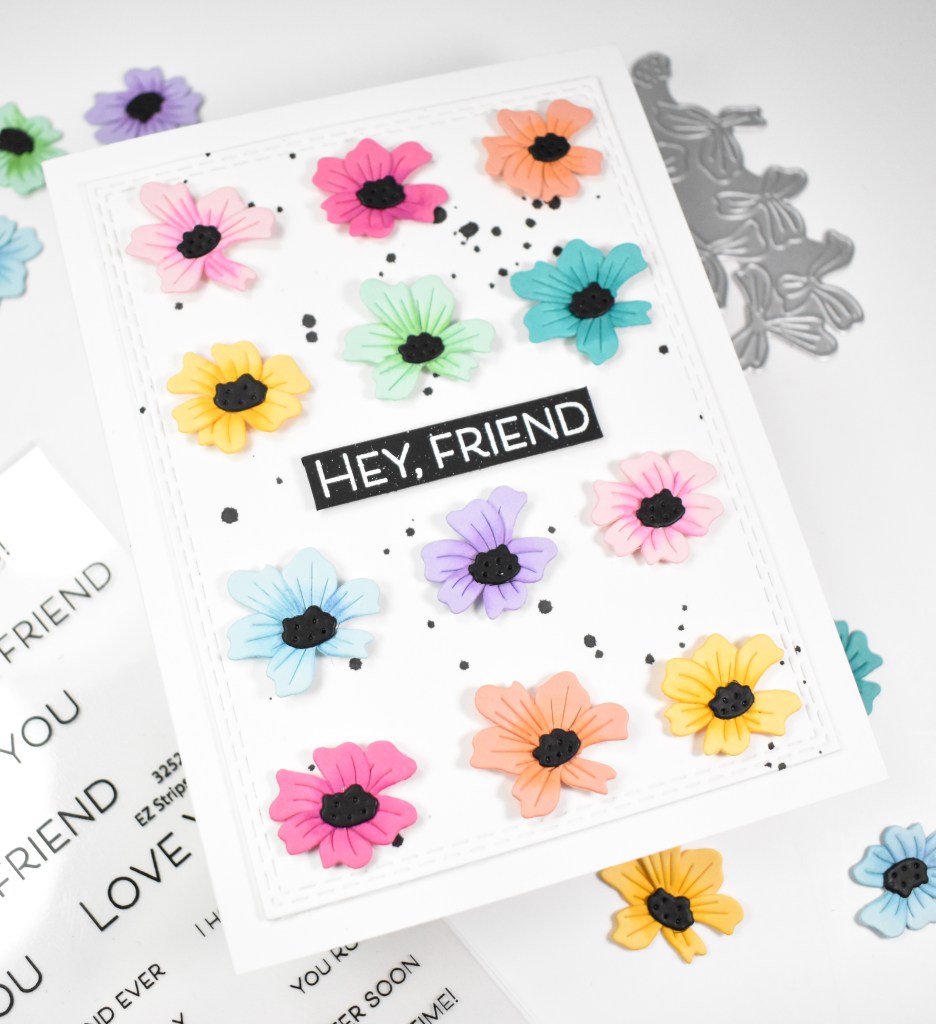
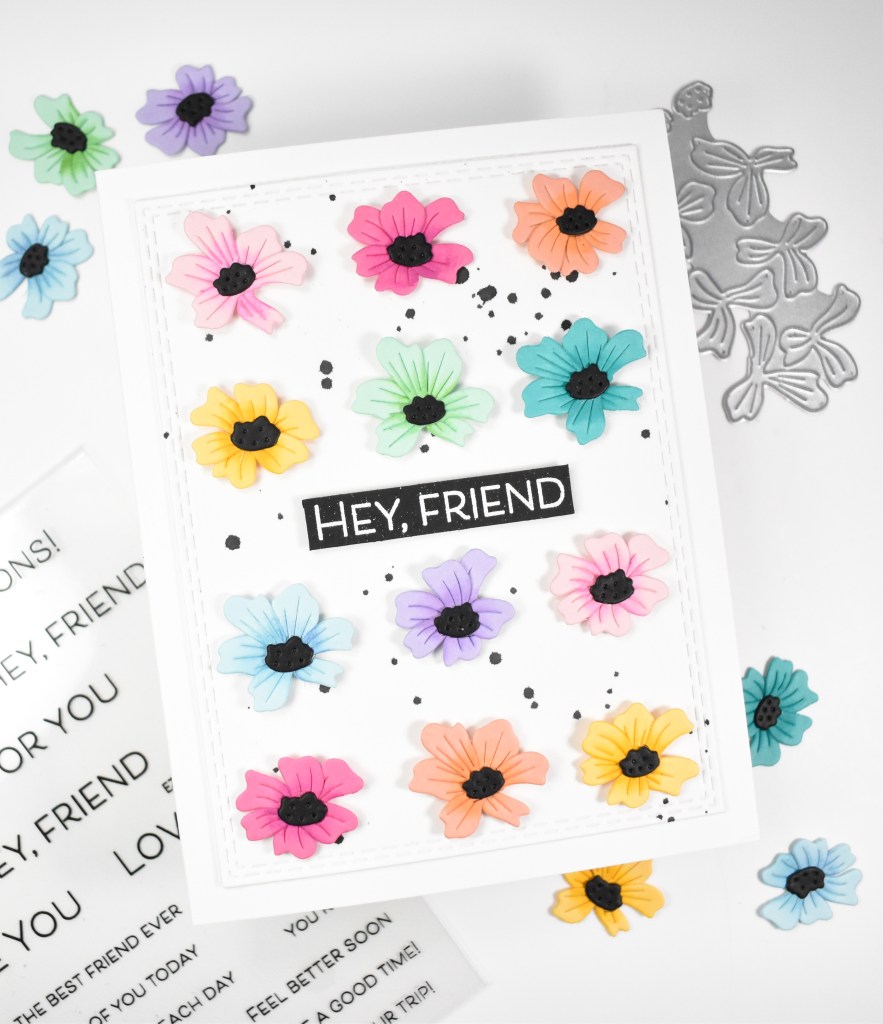
Hello Friends, and welcome back! I’m so glad that you stopped by to check out today’s project featuring the new Delicate Wildflowers from Simon’s latest release, Friend Like You. This project also features the new EZ Strips Everyday stamp, so let’s go ahead and go through the details!

NOTE: all supplies are linked in the thumbnails at the end of this blog post.

I began this project by pulling out a bunch of colored scraps and die cutting the wildflowers from those, while cutting the centers from black cardstock. Once all of the cutting was complete, I did some ink blending on the flower pieces using Sweets, Cantaloupe, Honey, Spring, Marine, Surf and Lilac. The flowers were then assembled using liquid glue.

My background was created using two of the Pinkfresh Double Stitched Rectangles, and I splattered that for some added interest. I arranged the flowers in rainbow order and adhered them using foam tape, leaving space in the middle for the sentiment.

The sentiment uses the new EZ Strips Everyday, and was stamped onto black cardstock and heat set using Detail White Embossing Powder. That was trimmed down and adhered to the panel using foam strips as well, to finish up.

That does it for this project! I hope you enjoyed it! I like giving small die cuts a little love now and again too. You’ll see later on another project that uses a small die cut to create a full panel. Thanks again for joining me, and don’t forget to check out the entire Friend Like You release. Have an awesome day, friend!

Supply List

Affiliate links used at no cost to you. What does this mean? If you use the links within this post to make a purchase, I receive a small commission, which allows me to continue to post crafty content for your enjoyment. I truly appreciate your support!

Latest Posts

Latest Instagram Posts

Spellbinders Thank You Botanical

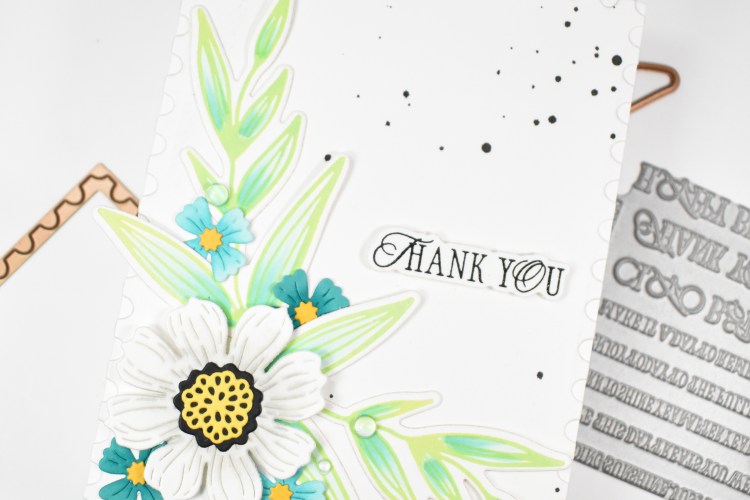
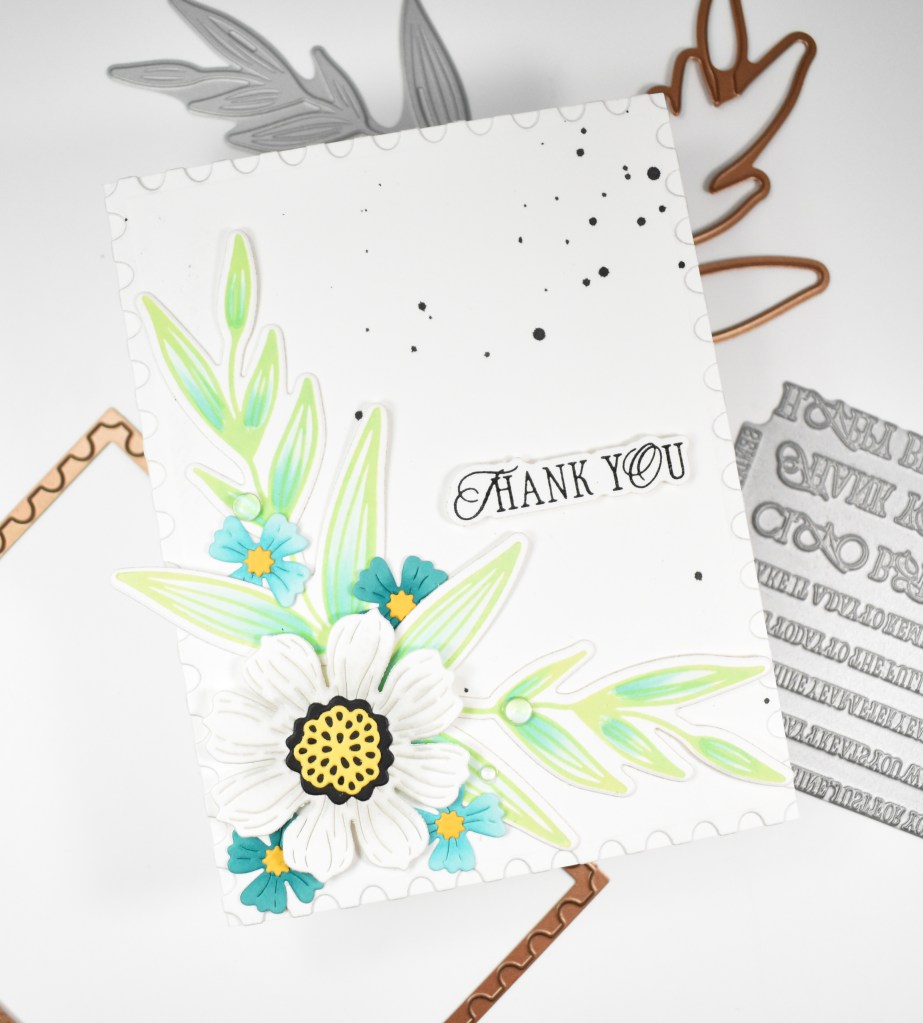
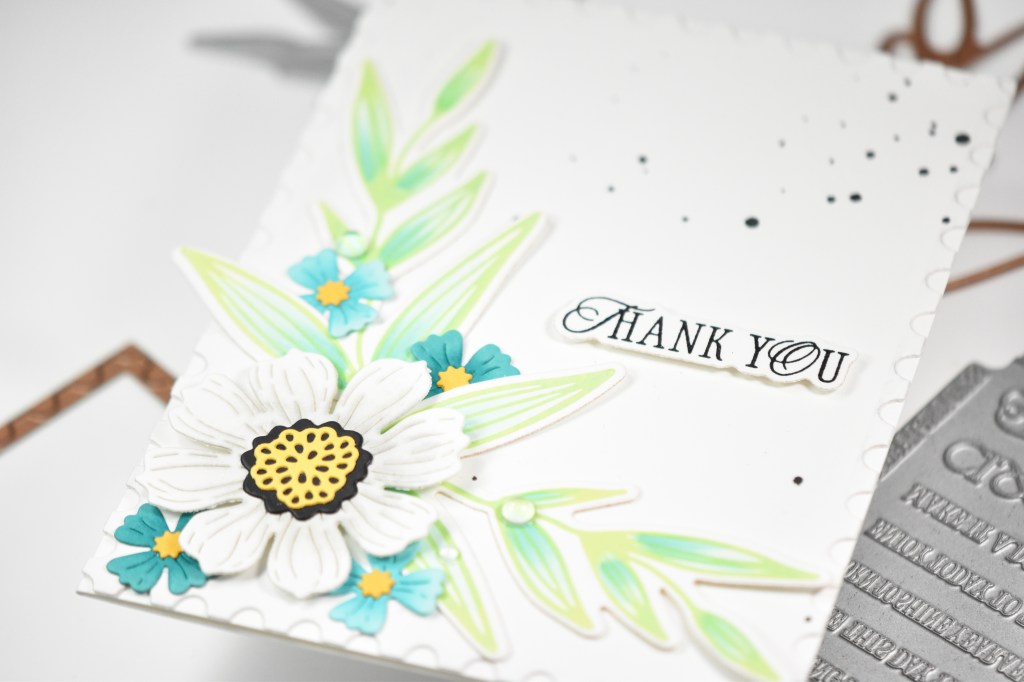
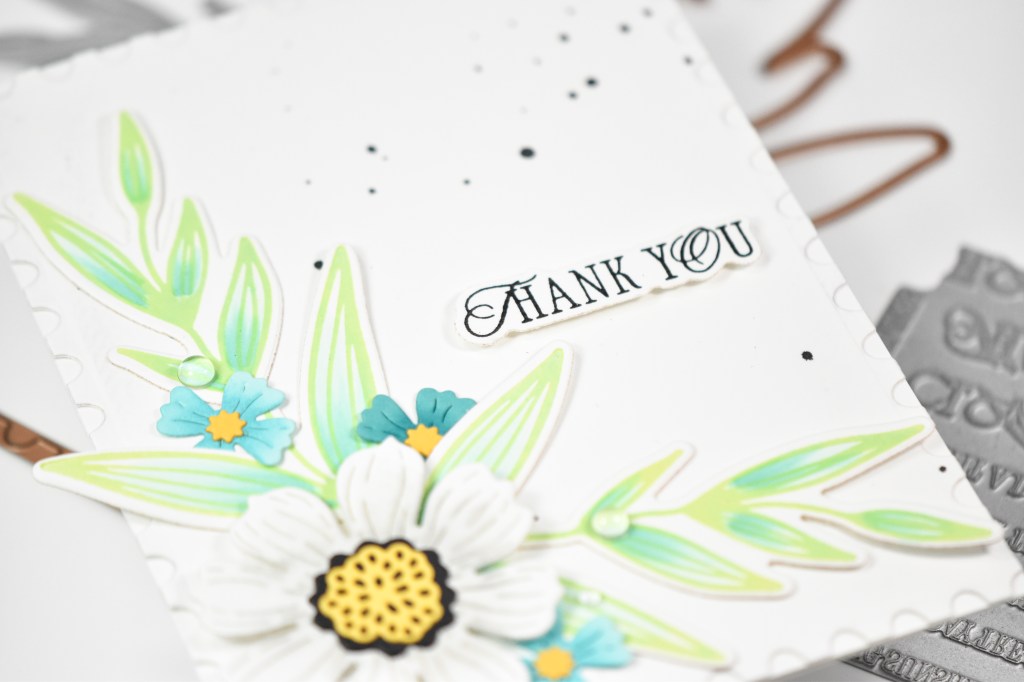
Hello Friends, and thanks for joining me! Today’s project is featuring the Modern Botanicals from Spellbinders and Dina Wakely. This set includes several elements, but I opted to just use the leaf for my project. Let’s go ahead and go through the details.

NOTE: all supplies are linked to multiple sources in the thumbnails at the end of this blog post.

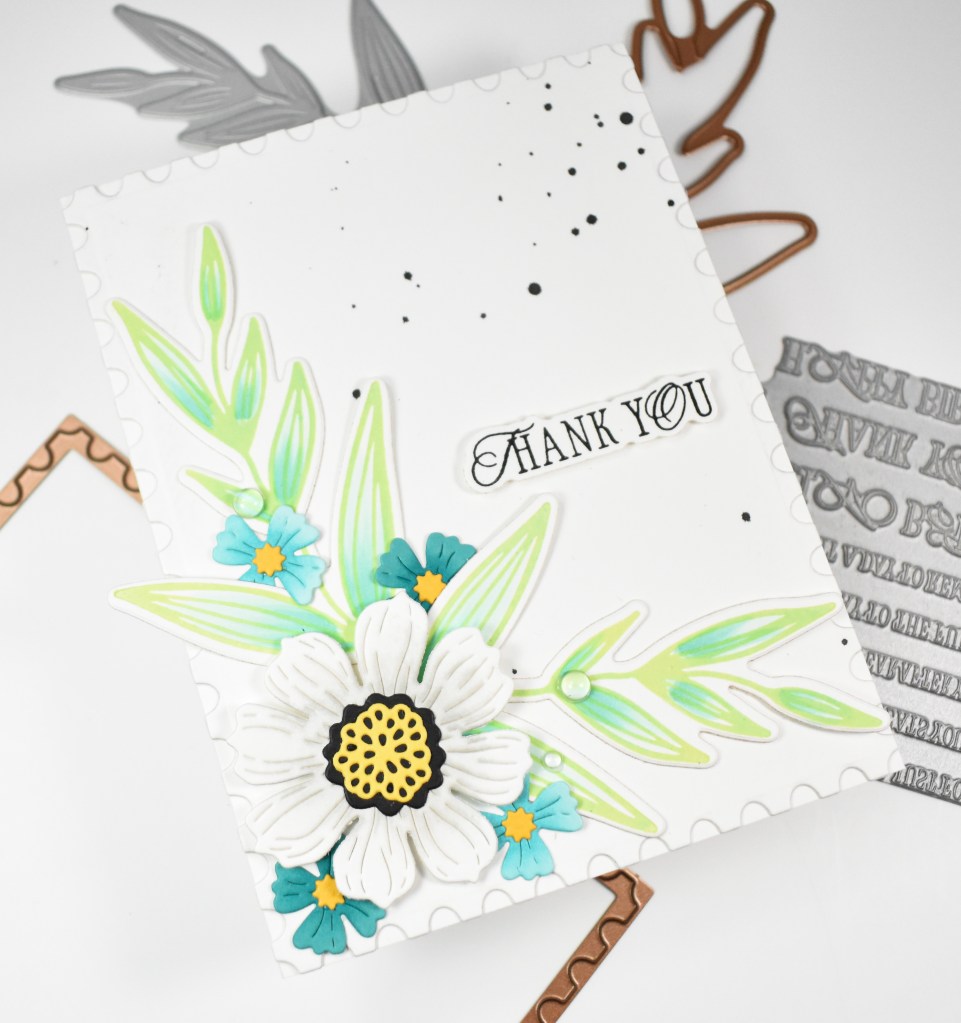
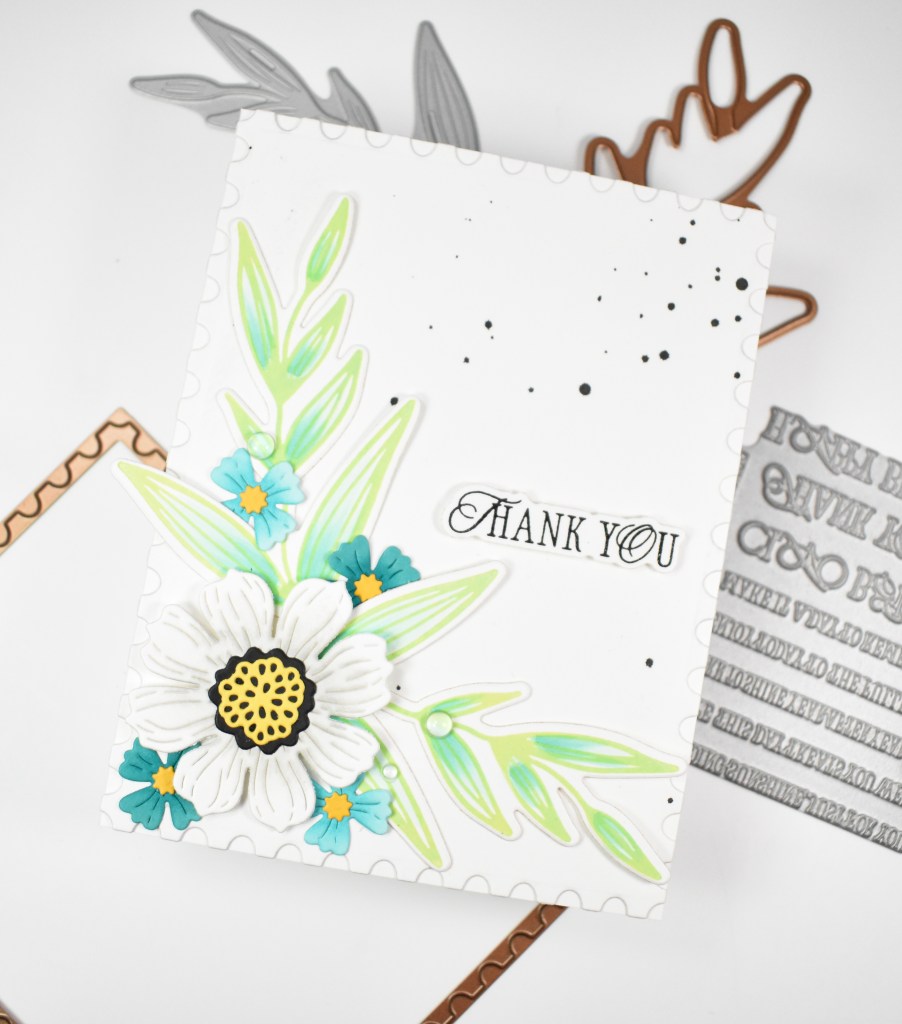
I began this project by inking up the leaf on the BetterPress system using Celery and Seafoam inks. I did this twice and then used the coordinating die to trim those out. While I was inking, I went ahead and inked up the La Dolce Vita Sentiments using VersaFine Onyx Black ink. I used clear embossing powder to heat set it. I wasn’t sure that this technique would work, but I went with it anyway. I used the coordinating die to trim that out as well. Before moving on, I added some color to the leaves using Copic Markers BG11 and BG32.

I then did some die cutting using the Vivid Blooms set from Neenah 110lb cardstock, as well as Waterfall, Teal Topaz, Beeswax and black. I did some light ink blending on the flowers before assembling them using the same Seafoam ink along with PFS Misty Coast ink. Before the assembly of the card, I cut a panel using the Nested Postage Labels & Tag and black splattered that.

The panel was secured to the card base, the leaves were glued in place, as was the smaller flowers, while the larger flower and the sentiment were adhered using foam tape. A few clear drops were added to finish up.

That does it for this project! I hope you enjoyed it, and I appreciate you stopping by. Have a wonderful day, and stay awesome, friend!

Supply List

Affiliate links used at no cost to you. What does this mean? If you use the links within this post to make a purchase, I receive a small commission, which allows me to continue to post crafty content for your enjoyment. I truly appreciate your support!

Latest Posts

Latest Instagram Posts

Pinkfresh Best Tulips

Hello Crafty Friends, and welcome back! I recently purchased some new Pinkfresh products and needed to play with the Timeless Tulips product suite! It’s so very pretty, and I just couldn’t wait any longer! Let’s go ahead and go through the details, shall we?

NOTE: all supplies are linked to multiple sources in the thumbnails at the end of this blog post.

I began this project by gold foiling the tulips onto a panel of Neenah 110lb cardstock. I then used the coordinating stencils to ink blend using Berrylicious, Sweet Mustard, Eucalyptus and Evergreen. I tried to concentrate color at the base of the flowers and leaves to give some added depth. Once satisfied, I used the coordinating die to trim it out.

The background is a very dark green that I dry embossed the Lush Vines Foil Plate onto. I then gold splattered that before adhering the frame, which was created using two of the Double Stitched Rectangles. I left most of the bottom of the frame open so that I could tuck the tulips down into it. The sentiment was gold foiled onto that same dark green cardstock and trimmed out three times for a stacked sentiment. That was glued directly to the panel and the panel was adhered to the card base using foam tape to finish up.

A pretty easy yet beautiful project! The product suites from Pinkfresh make it super easy to create gorgeous projects, so you should definitely check them out, if you haven’t already! Thanks so much for stopping by, and I hope you have a fabulous week!

Supply List

Affiliate links used at no cost to you. What does this mean? If you use the links within this post to make a purchase, I receive a small commission, which allows me to continue to post crafty content for your enjoyment. I truly appreciate your support!

Latest Posts

Latest Instagram Posts
Simon Says Stamp Bird Branches

Hello Friends! I’m so glad that you stopped by to check out today’s project featuring the new Bold Bird Branches Embossing Folder from Simon’s latest release Moments In Time. Let’s go ahead and get into the details.

NOTE: all supplies are linked in the thumbnails at the end of this blog post.

I began this project by embossing the folder onto a panel of Fern cardstock and rubbing Kale ink over the raised portions of the panel. That left the leaves, flowers and birds the original color. I then took a scrap of Neenah 110lb cardstock and used the included die cut to cut the birds, and then run them through with the folder to get the texture.

The birds were ink blended using Seafoam, Surf and Heather inks. I decided that the flowers on the panel needed some color, so I colored those using Salvaged Patina Distress Paint and a paintbrush. I adhered a black jewel for the eyes on the birds and secured them to the panel using foam strips.

The sentiment is from the new I See You EZ Strips set that I gold foiled and trimmed down. This was adhered with foam strips as well and I added some gold gems to the centers of the flowers to finish up.

Another simple project for today. I really like the look of this technique of adding color to the raised portions of an embossed panel. Have you tried it yet? Don’t forget to stop by and check out the entire Moments In Time release. Thanks again for stopping in, and I hope you have a fabulous day!

Supply List

Affiliate links used at no cost to you. What does this mean? If you use the links within this post to make a purchase, I receive a small commission, which allows me to continue to post crafty content for your enjoyment. I truly appreciate your support!

Latest Posts

Latest Instagram Posts