Simon Says Stamp Rain or Shine Blog Hop – Day 1


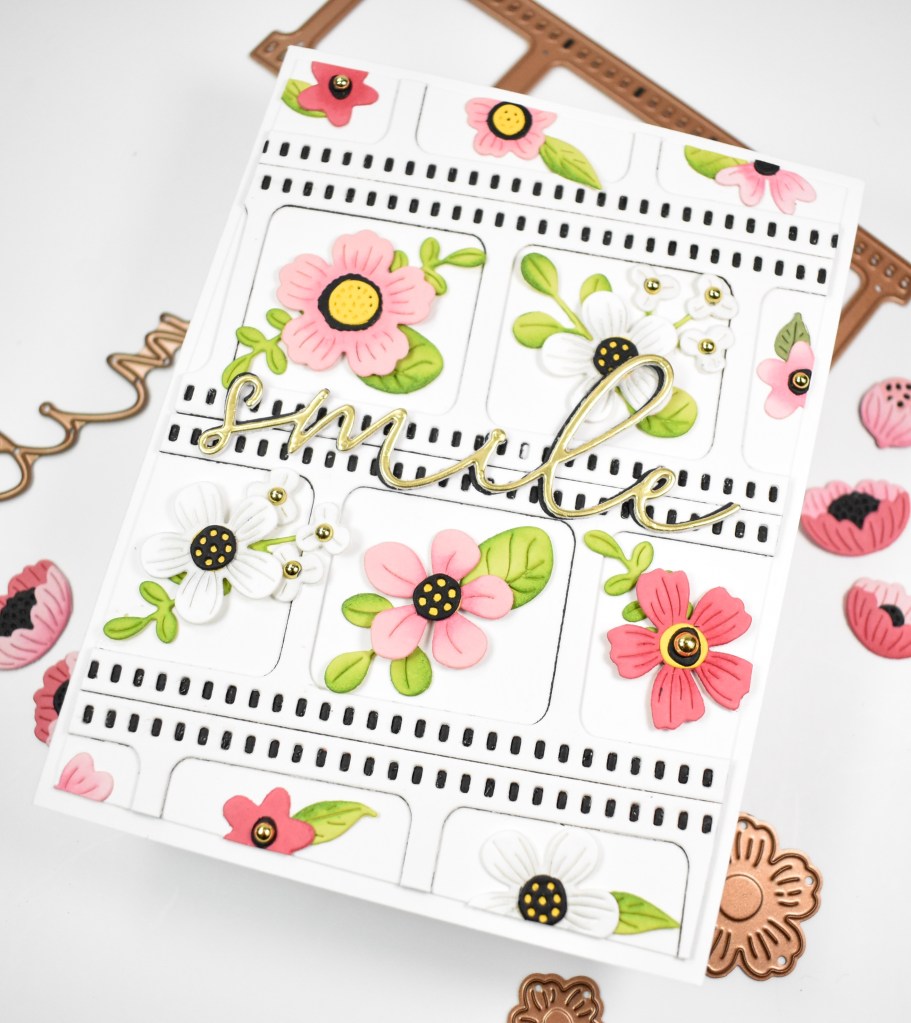
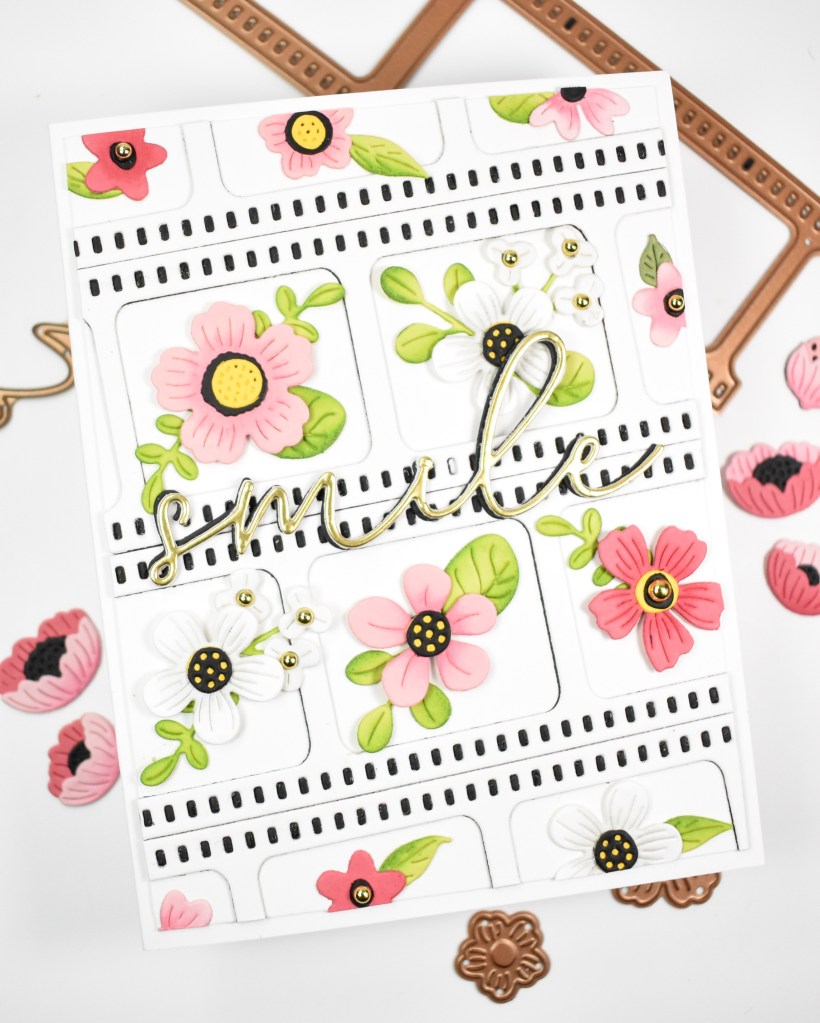
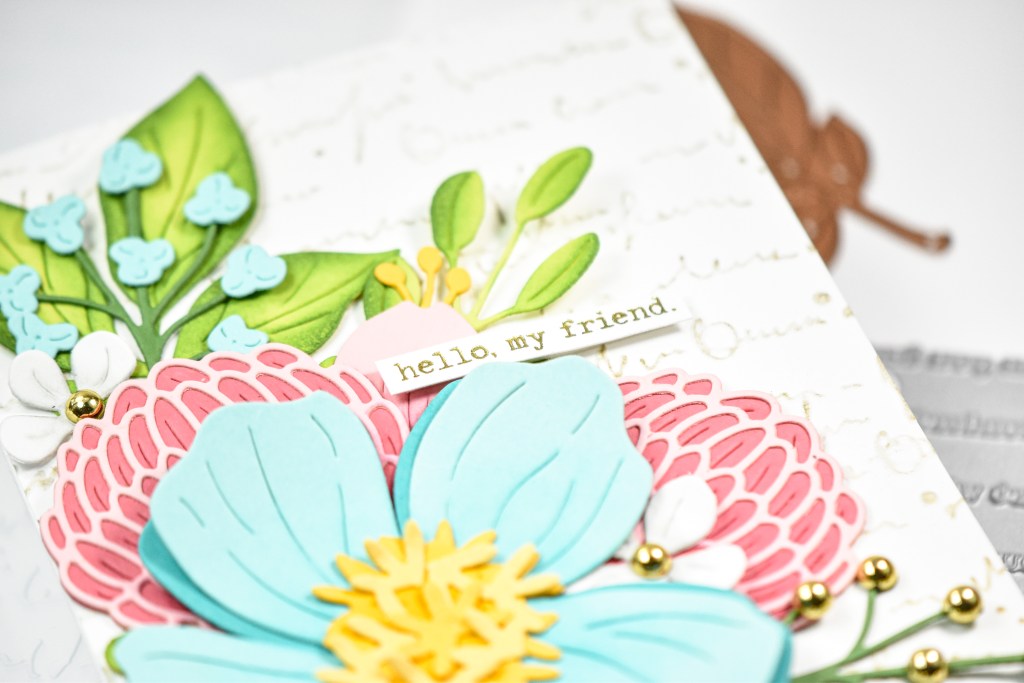
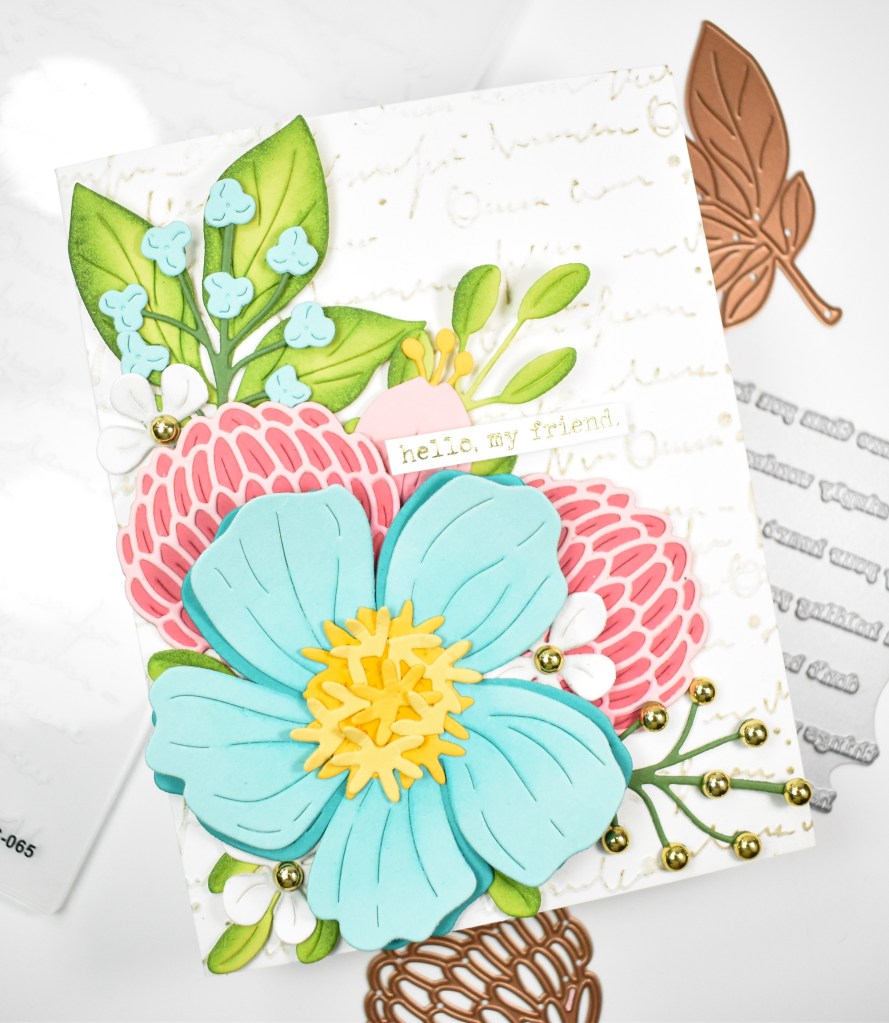
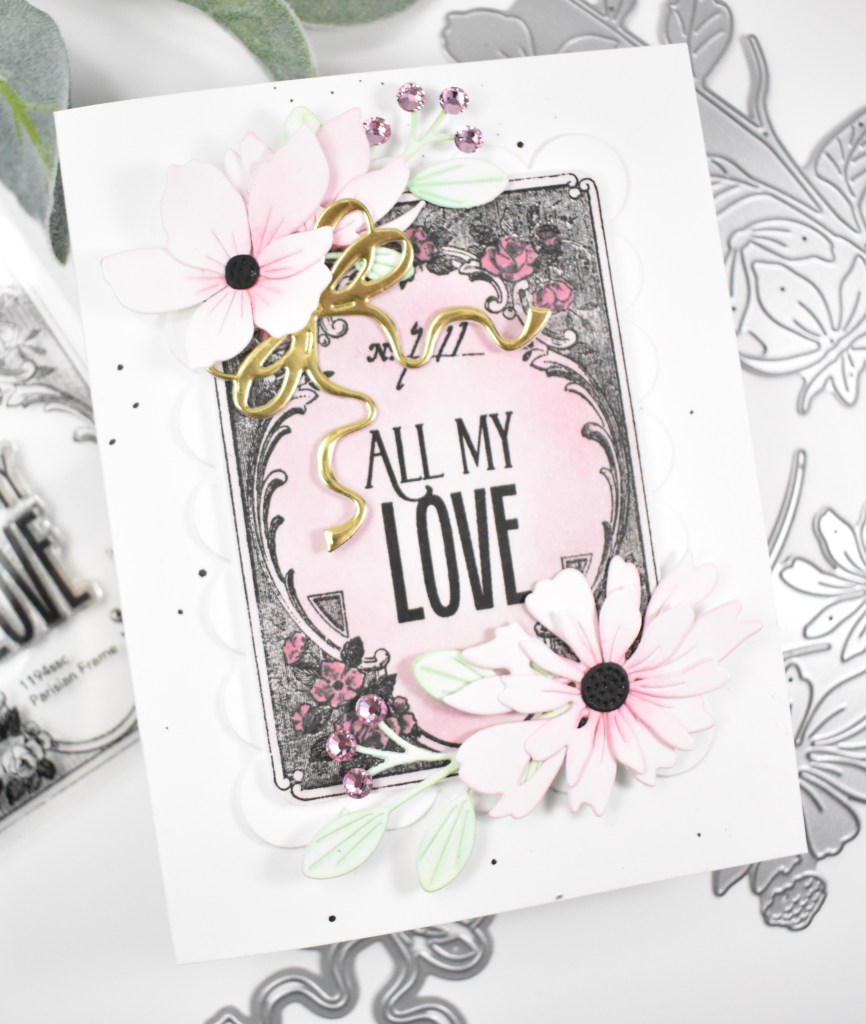
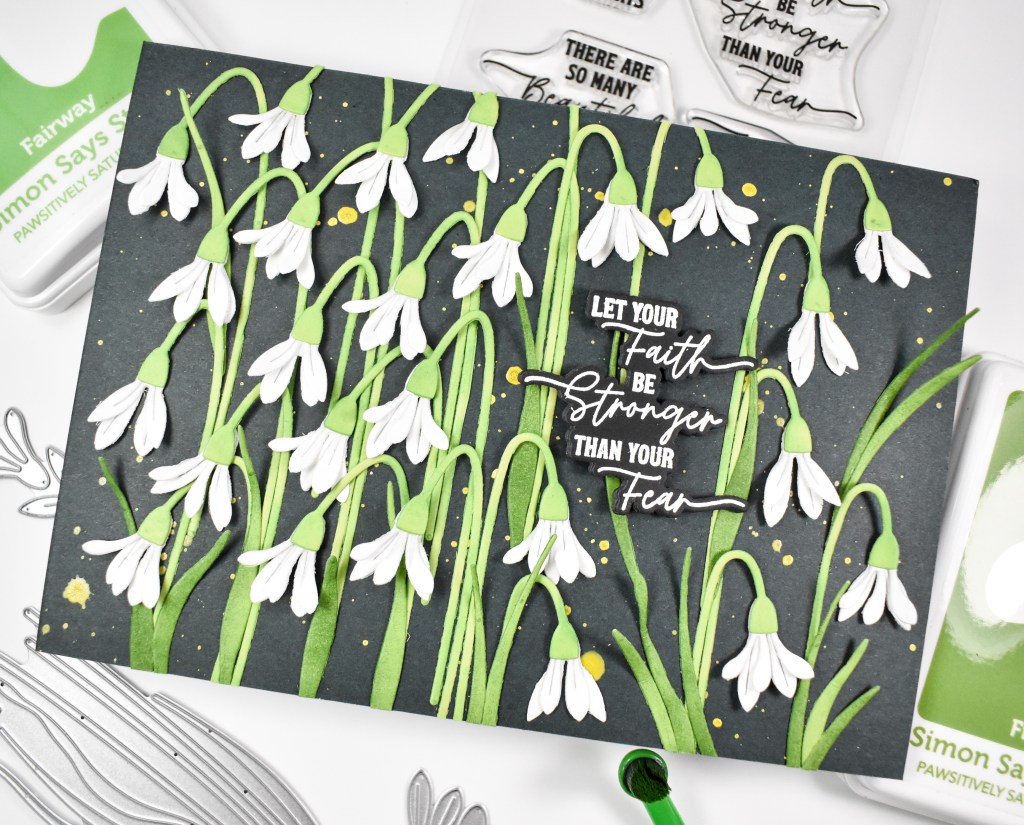
Hello Crafty Friends, and welcome back! Today I’m super excited to be participating in the SSS Blog Hop to celebrate their latest release, Rain or Shine! Hop along with us and comment on each post for your chance to win a $25 gift certificate to the Simon store! Simon will be giving away a gift certificate to one lucky commenter from each stop along the way! I’ll list the participants of the Hop at the bottom of my post for your convenience. And, stay tuned for the Blog Hop Day 2 tomorrow for more inspiration and chances to win! My project for today is featuring the new Snowbell Bouquet in a shadow frame. I really enjoy creating shadow frames as a little decorative element for your home or your craft room or anywhere, really. Let’s go ahead and run through the details.

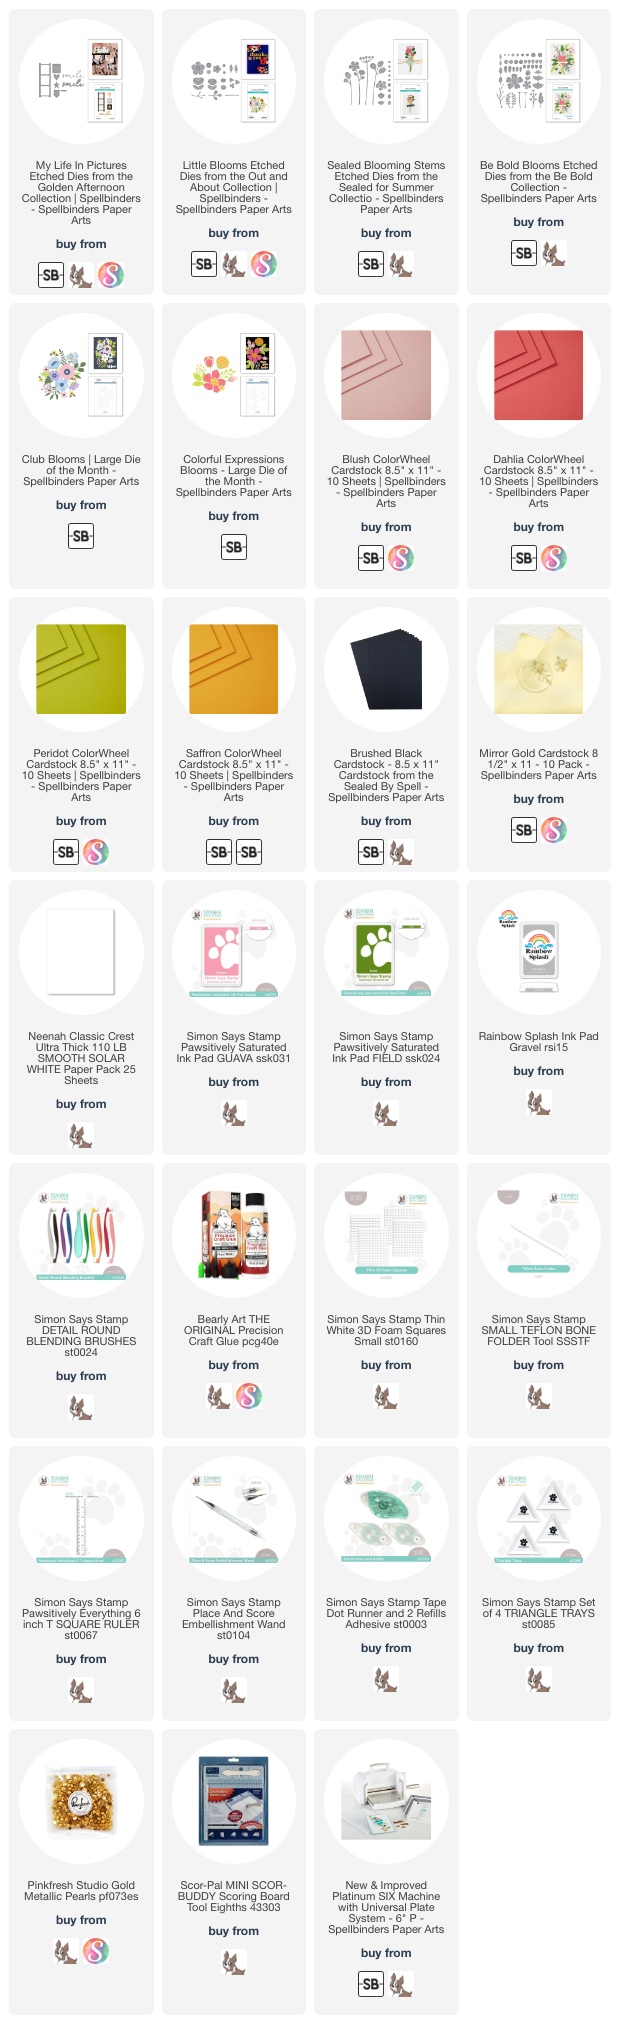
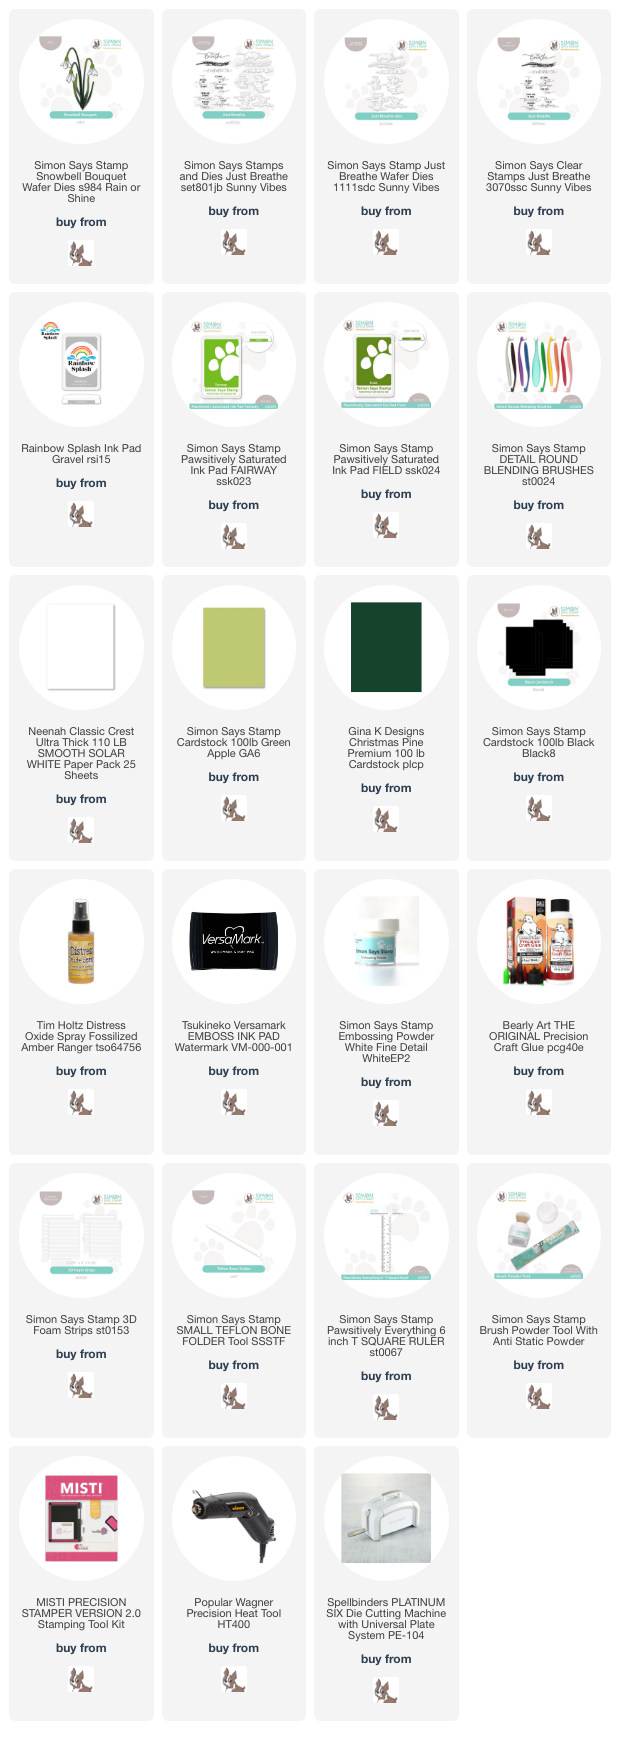
NOTE: all supplies are linked in the thumbnails at the end of this blog post.
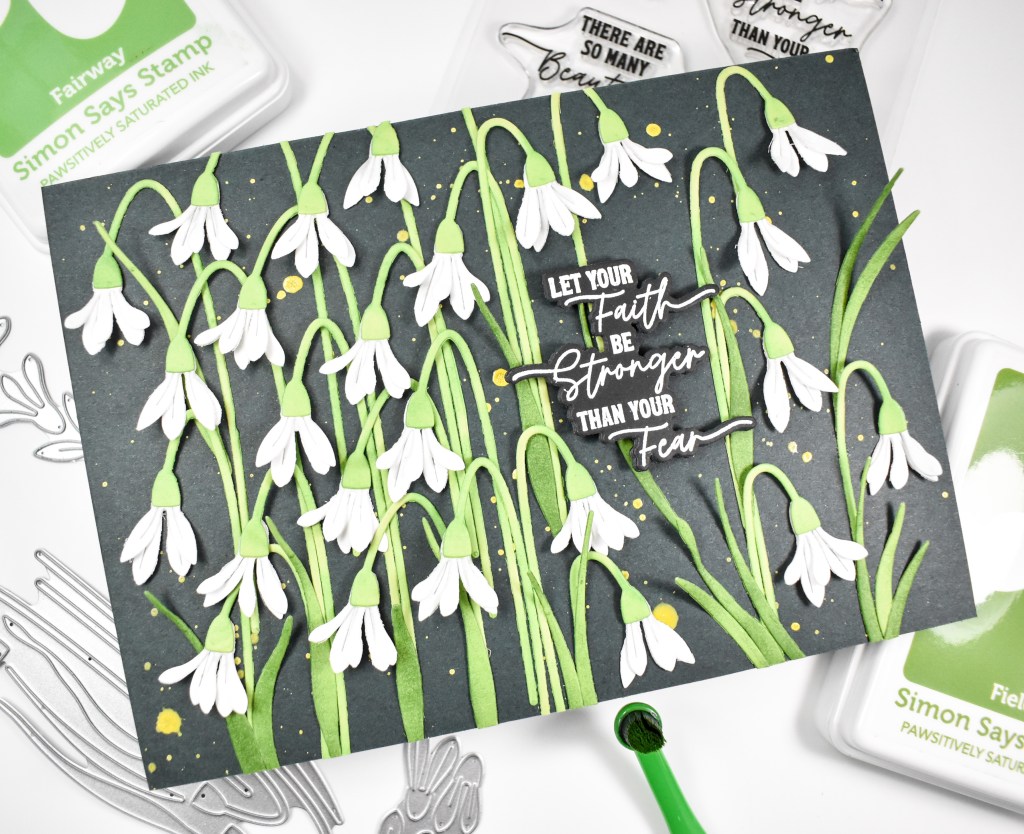
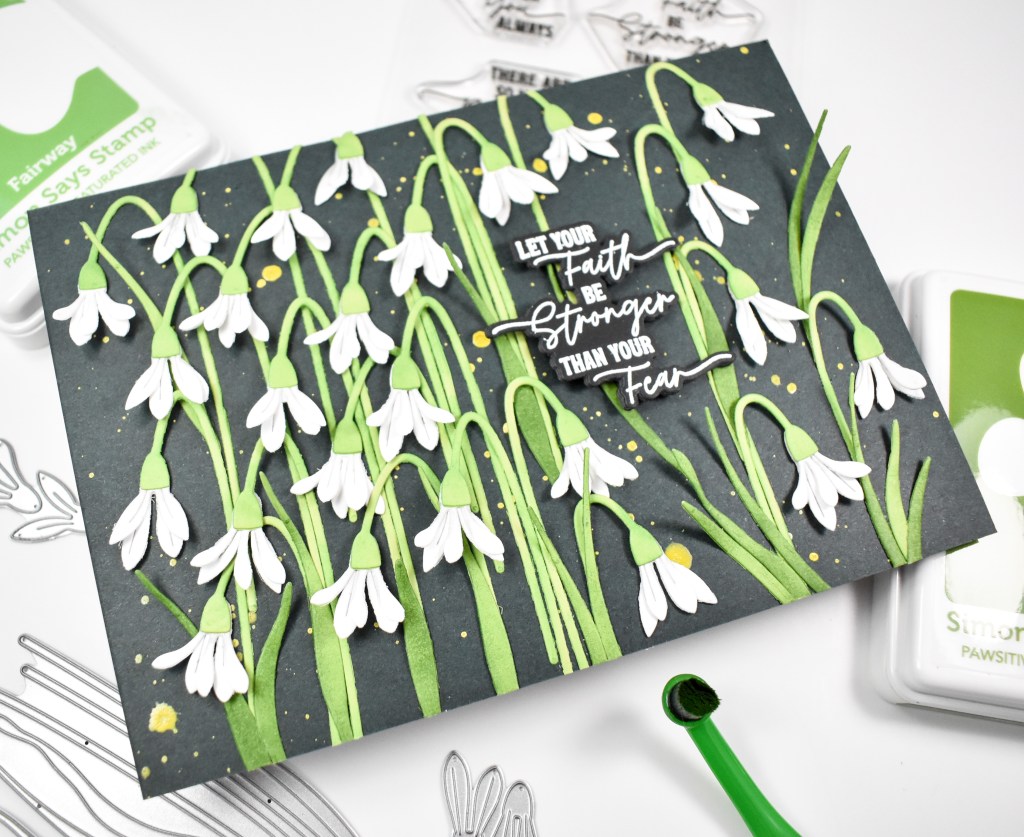
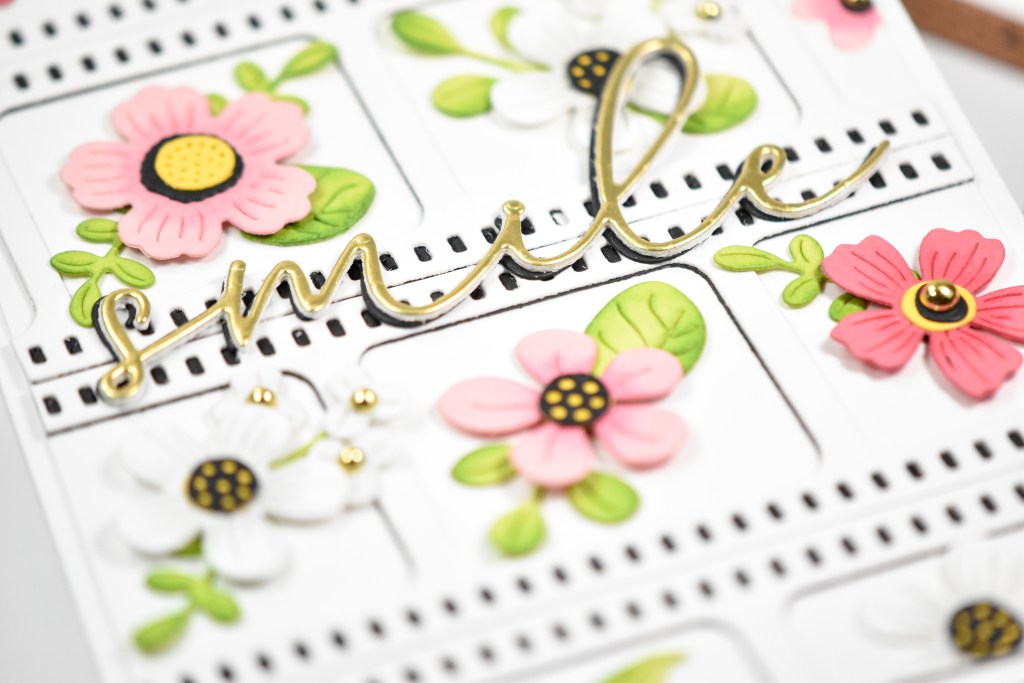
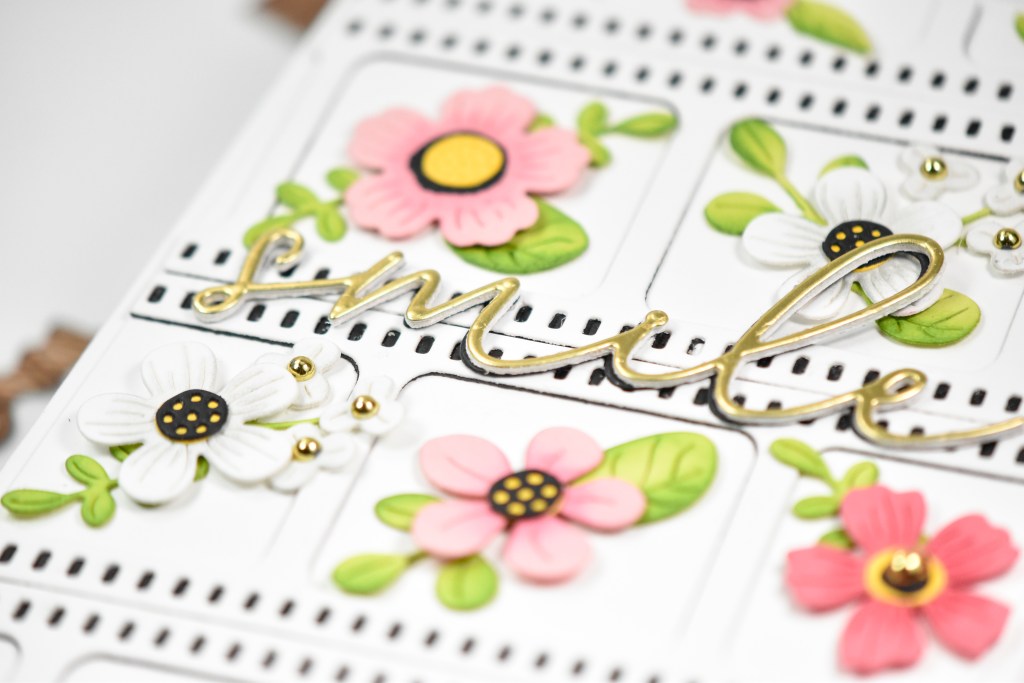
I began this project by die cutting the Snowbells LOTS of times from Neenah 110lb cardstock and Green Apple cardstock. Once everything was cut, I did some light ink blending on the flowers using Gravel ink and on the stems and leaves using Fairway and Field ink.


I assembled the flowers and adhered them to the stems and cut a background panel that would fit inside the frame from dark green cardstock. I wanted a little more interest, so I splattered it with yellow spray. I chose that one because I knew that it would show up on dark cardstock.

The sentiment was created using the Just Breathe set. I stamped it onto black cardstock using VersaMark ink and heat set it using Detail White Embossing Powder. I trimmed it out with the coordinating die four times to achieve that stacked look.

When the panel dried, I arranged the flowers and sentiment in a way that I was satisfied with and then began adhering them with liquid glue. The sentiment was added with foam tape for added dimension. Once the flowers and sentiment were in their places, I went back and added the leaves here and there to fill in.

That does it for this project! I hope you enjoyed it as much as I did! Have you tried making a shadow frame? I always end up making mine to send to Simon headquarters, and I really need to make one for myself one of these days! Don’t forget to join the Blog Hop and comment along the way for your chance to win a gift certificate! Thanks for joining me, and I hope you have a great day!
HOP ORDER:
Simon Says Stamp Blog
Caly Person
Nichol Spohr
Suzy Plantamura
Jennifer McGuire
Debby Hughes
Emily Midgett
Lisa Addesa
Tina Smith
Anna-Karin Evaldsson
Karin Åkesdotter
Sandi MacIver
Tracy Ware
Barb Engler
Michelle Short
Charlene Madrid
Supply List
Affiliate links used at no cost to you. What does this mean? If you use the links within this post to make a purchase, I receive a small commission, which allows me to continue to post crafty content for your enjoyment. I truly appreciate your support!
Latest Posts
- Spellbinders Dear Santa Floral Letter
- Simon Says Stamp Grungy Dewdrop Daisy

- Simon Says Stamp Pastel Birthday Wishes

- Simon Says Stamp Best Fish

- Simon Says Stamp Circle Thanks

Latest Instagram Posts