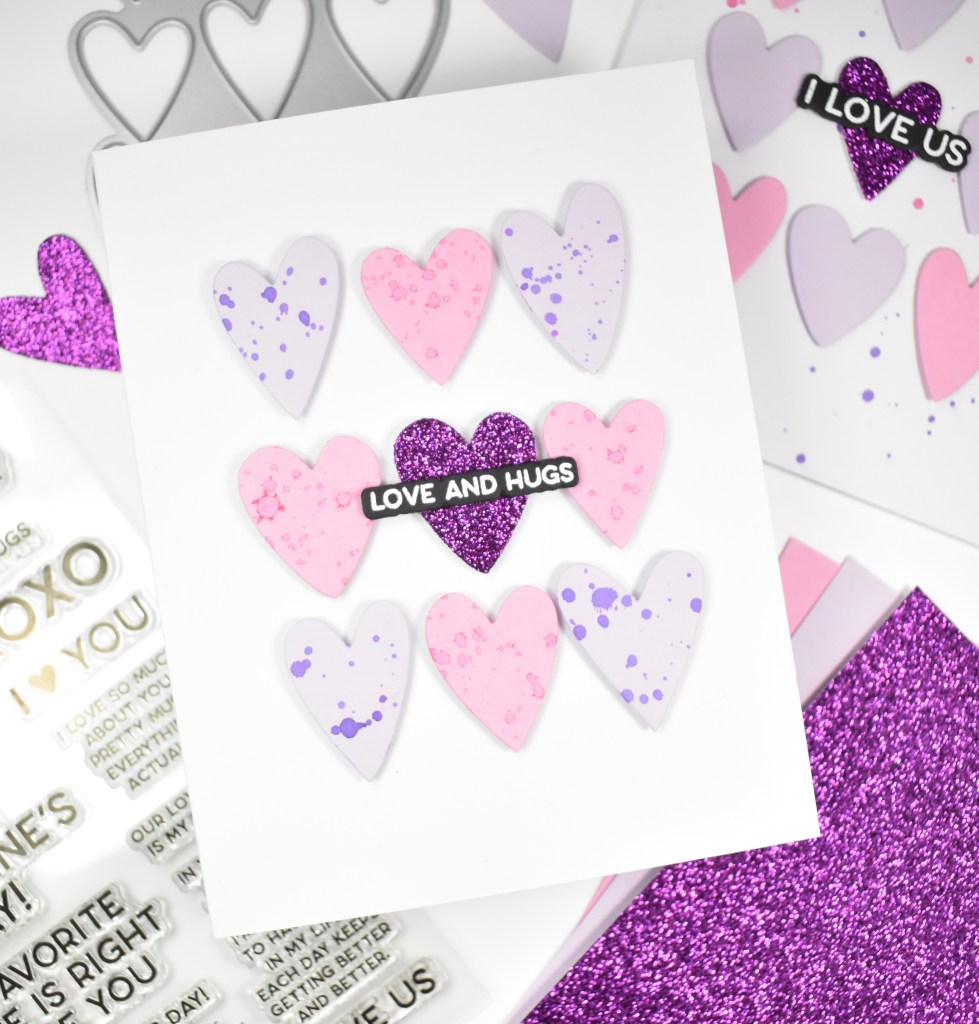
Simon Says Stamp Love You Watercolor Hearts

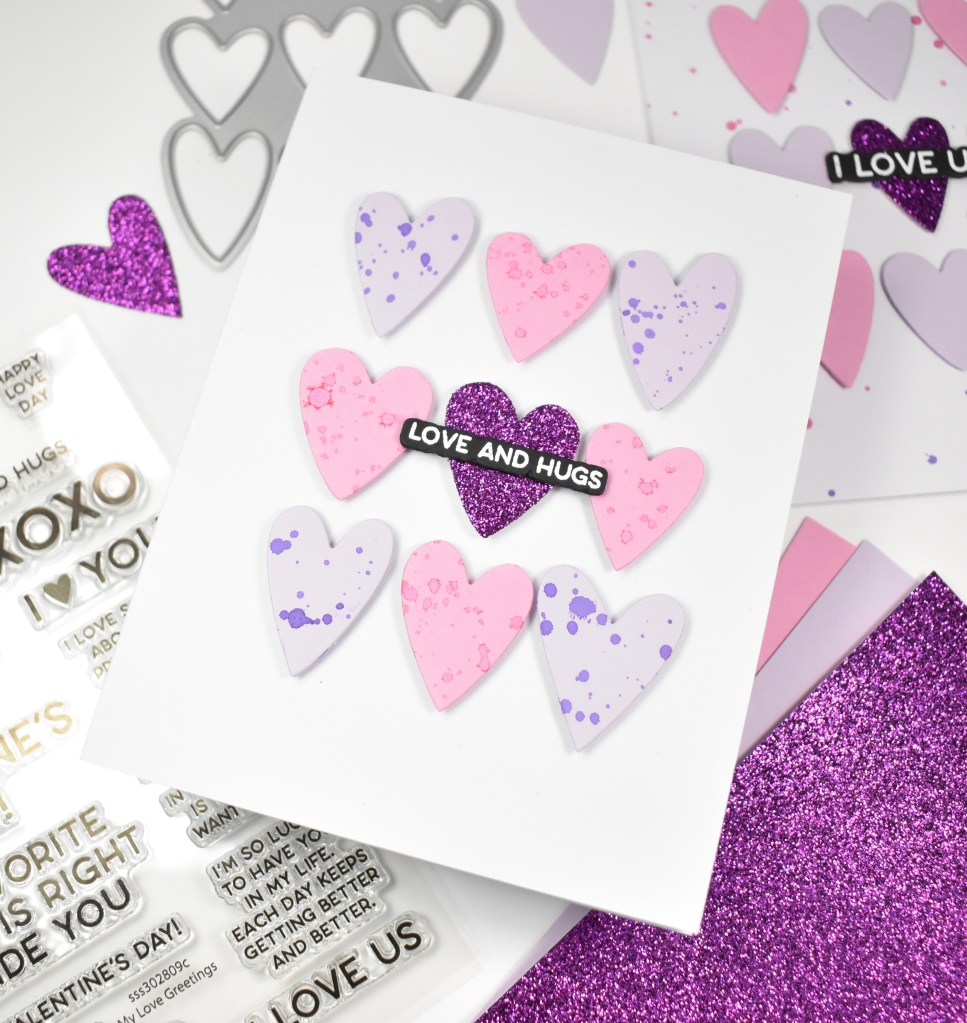
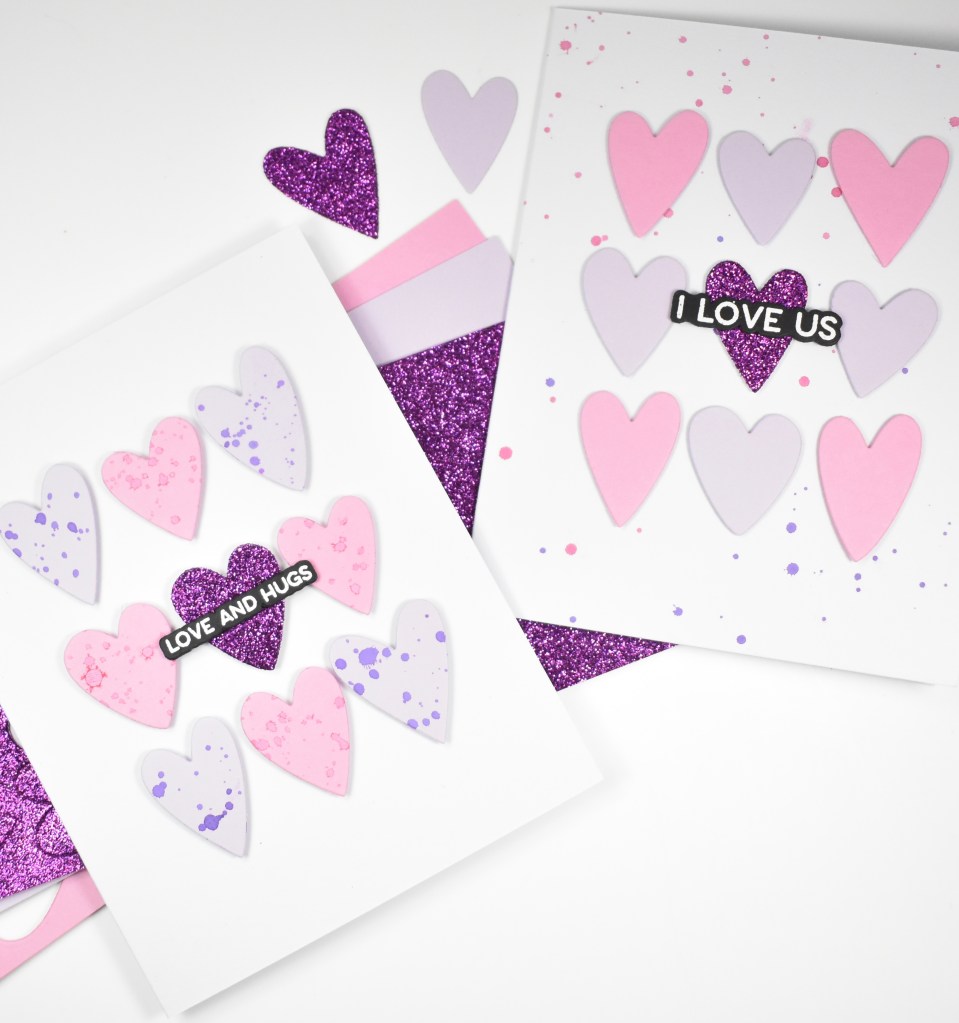
Hello Crafty Friends, and welcome back! Happy Valentine’s Day to you as well! I made several cards for today’s post using some watercolor hearts that I made using various Simon products. Let’s run through the details!

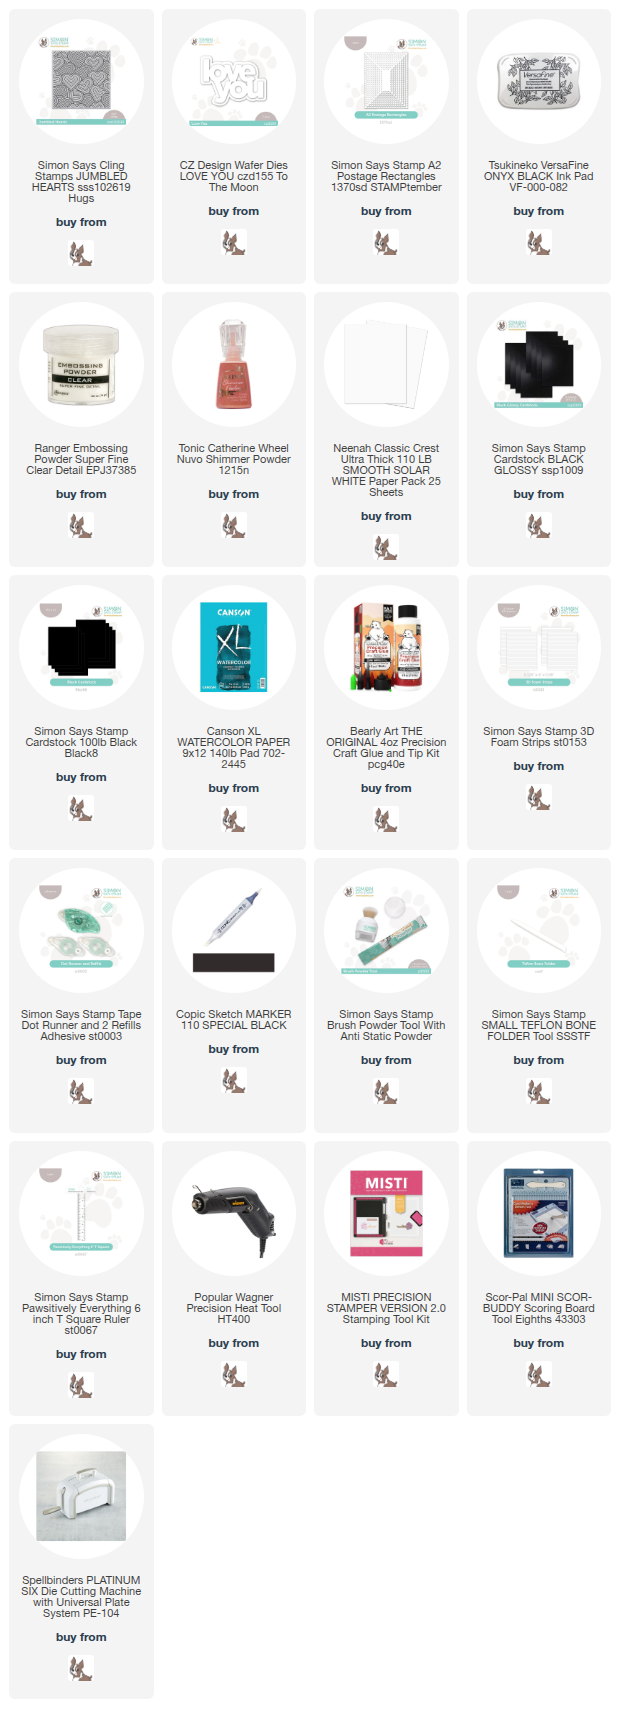
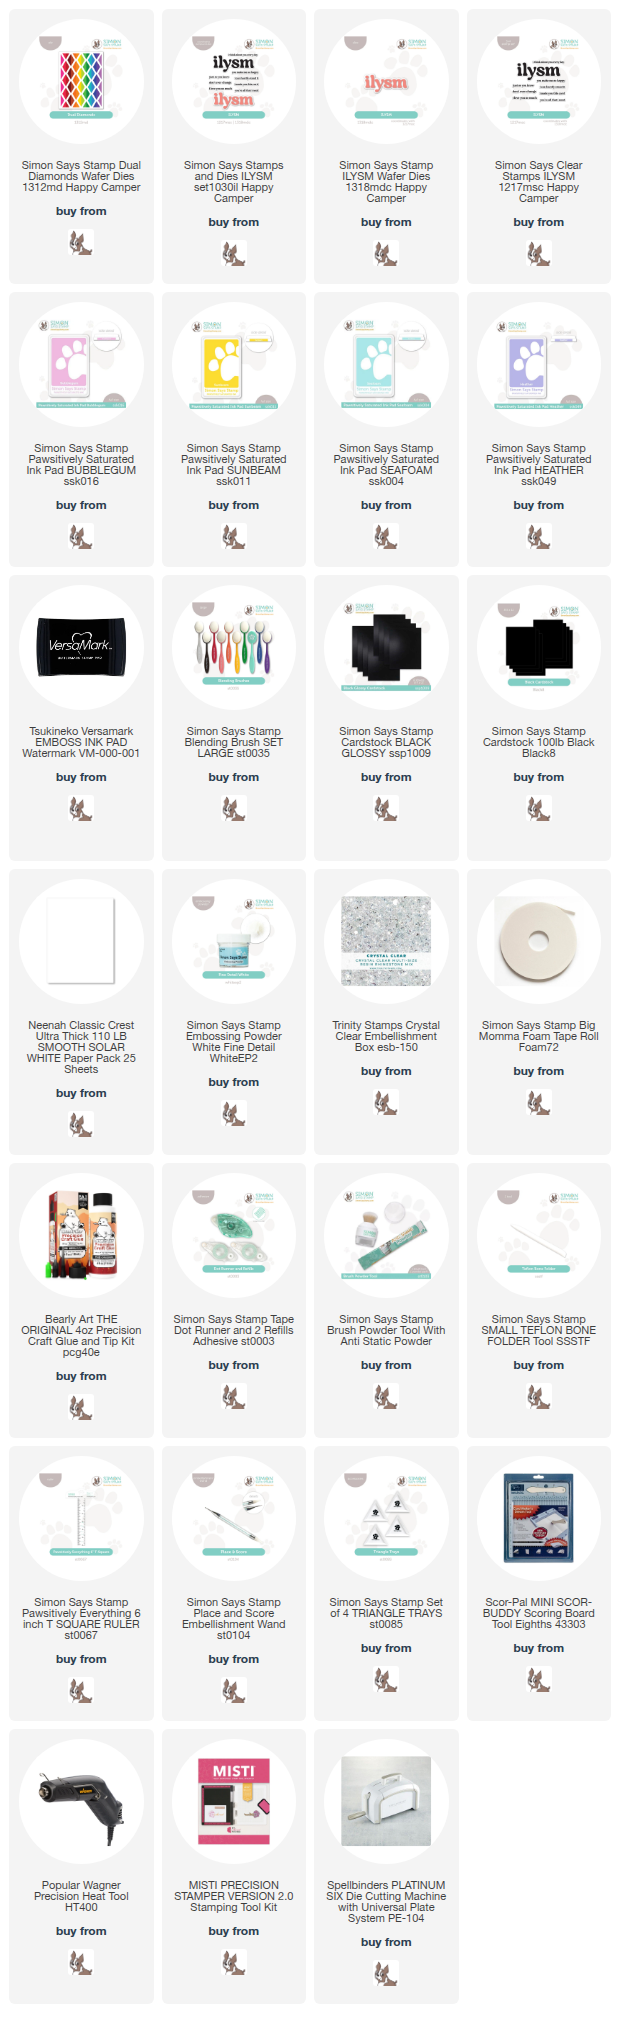
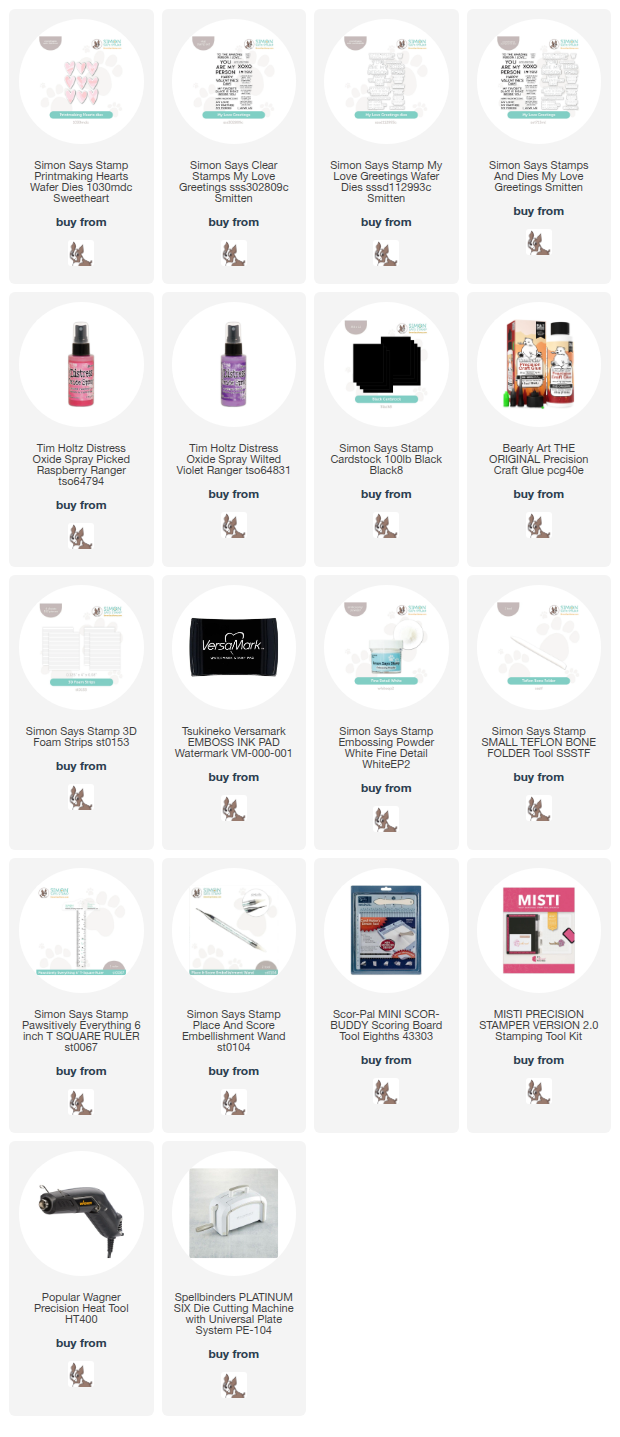
NOTE: all supplies are linked in the thumbnails at the end of this blog post.
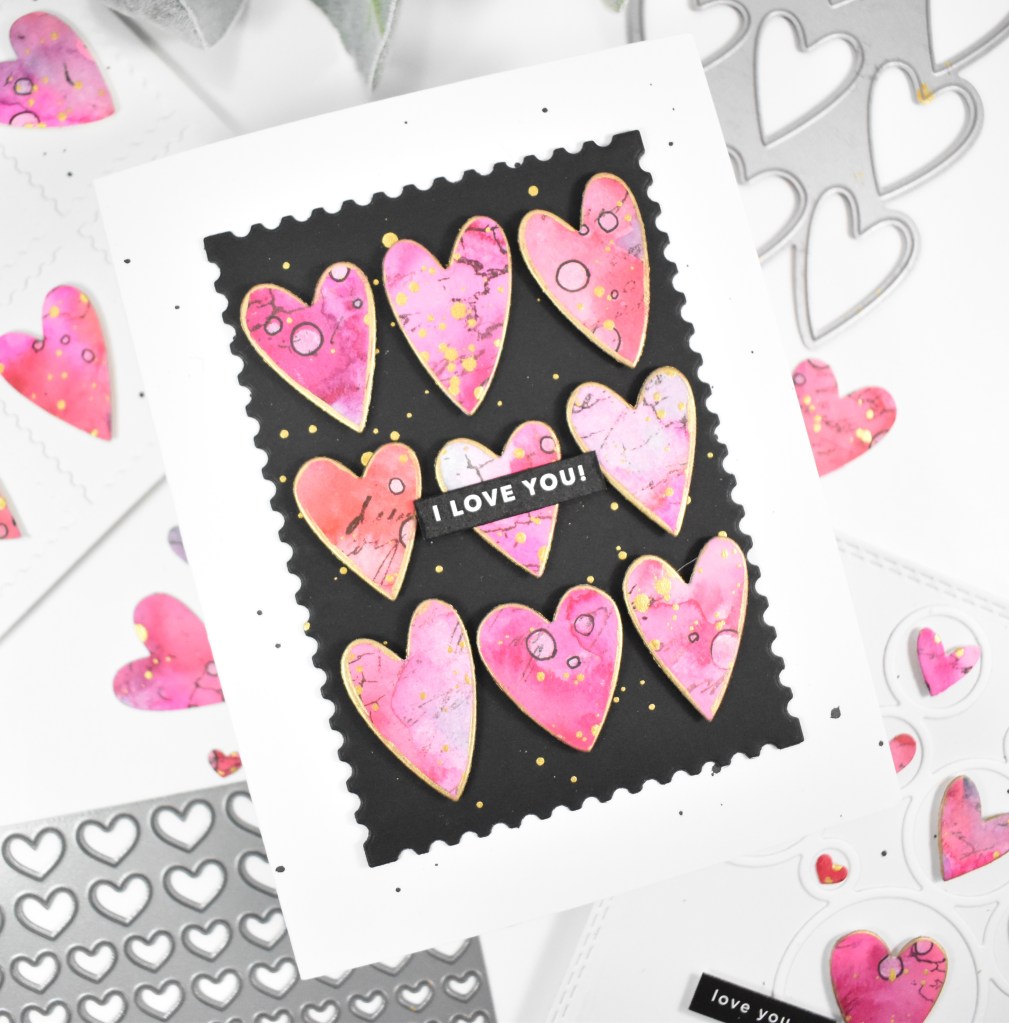
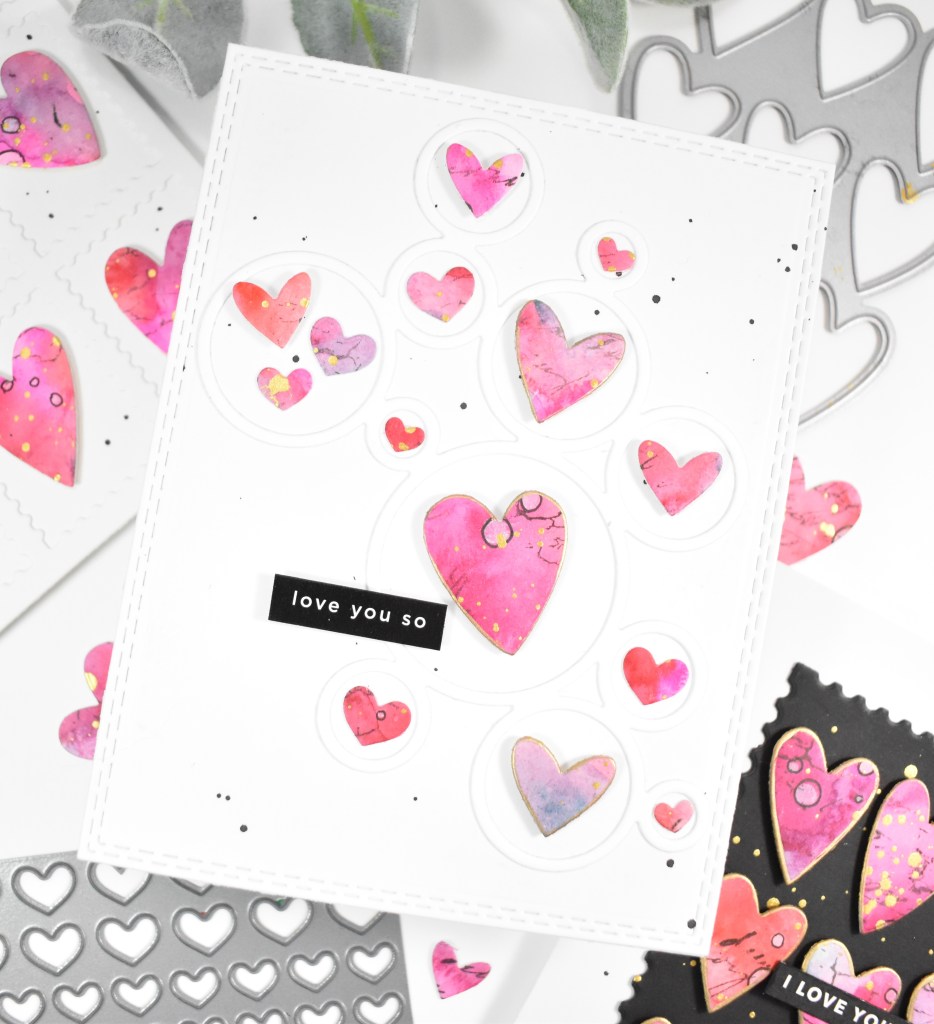
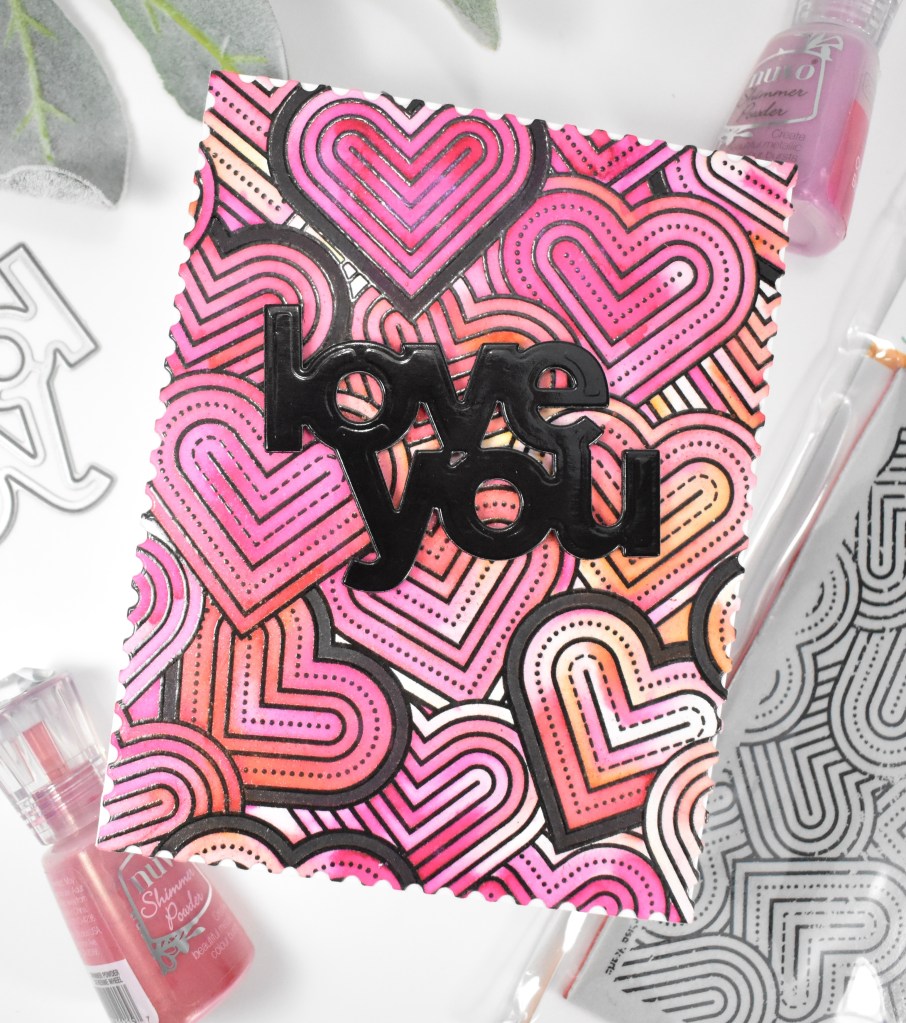
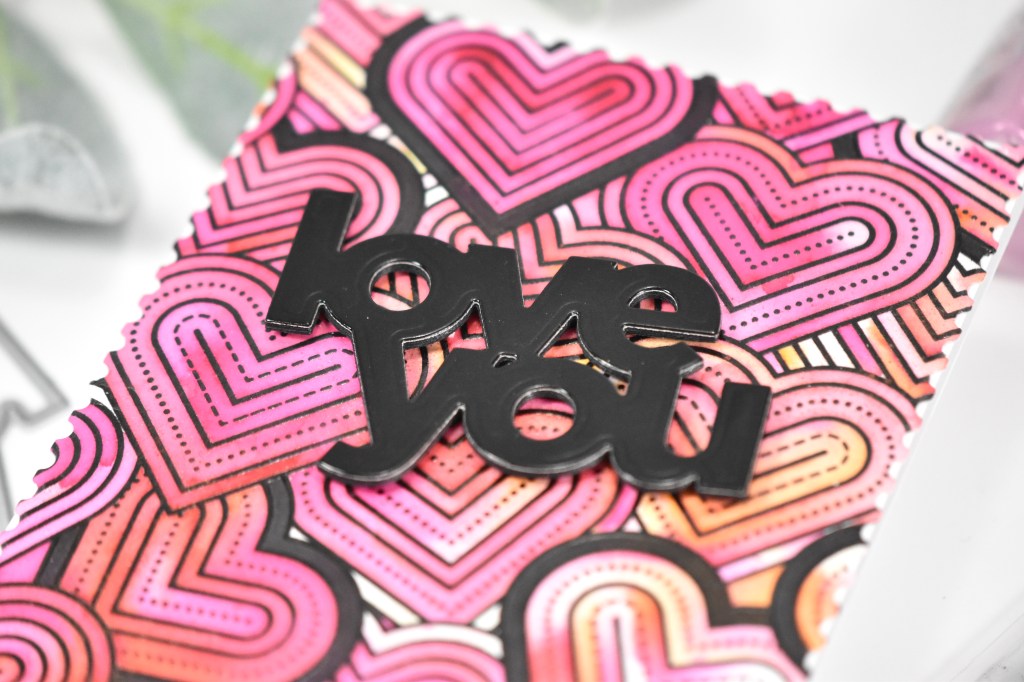
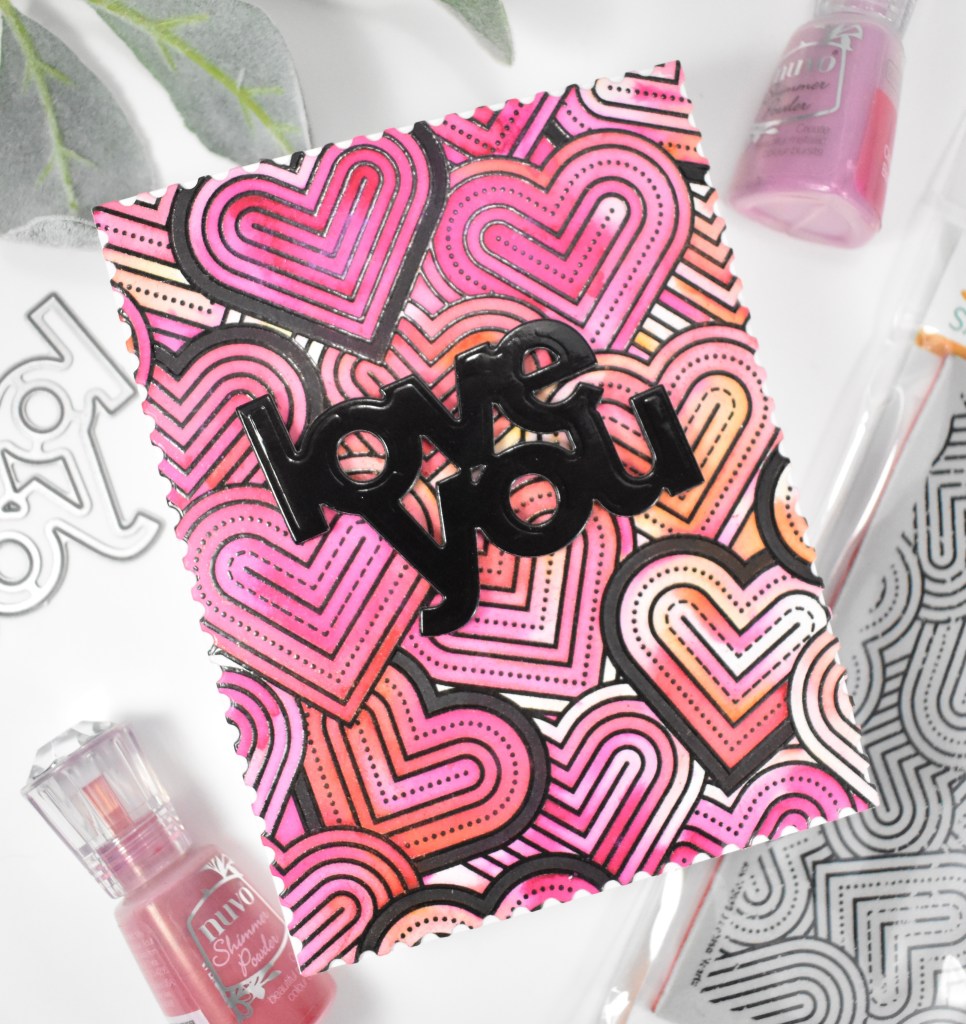
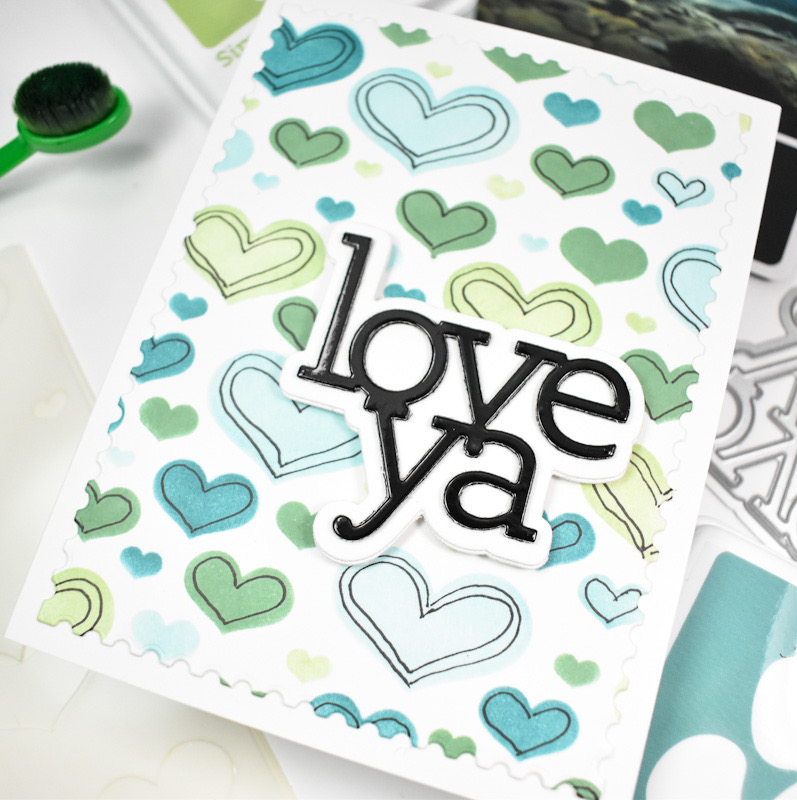
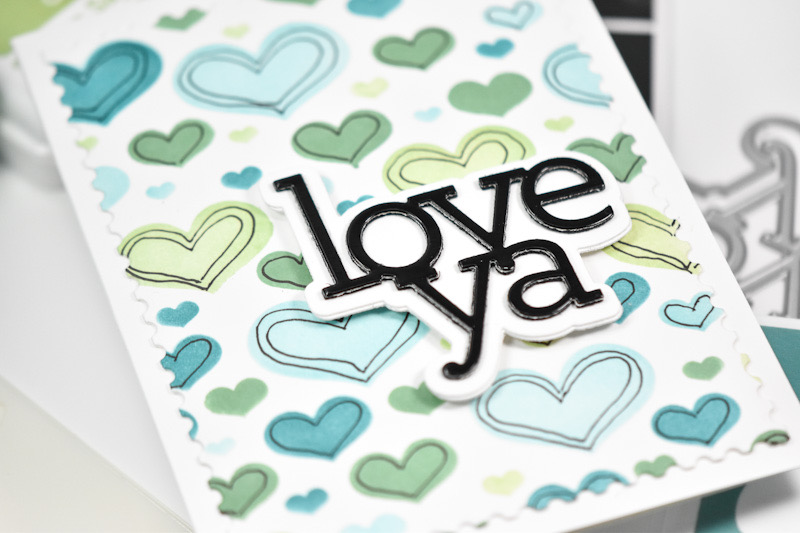
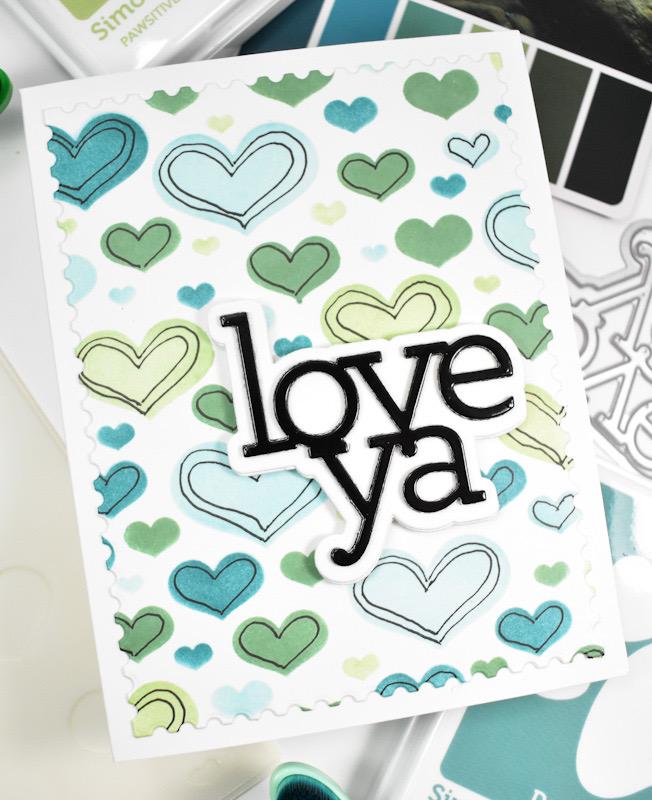
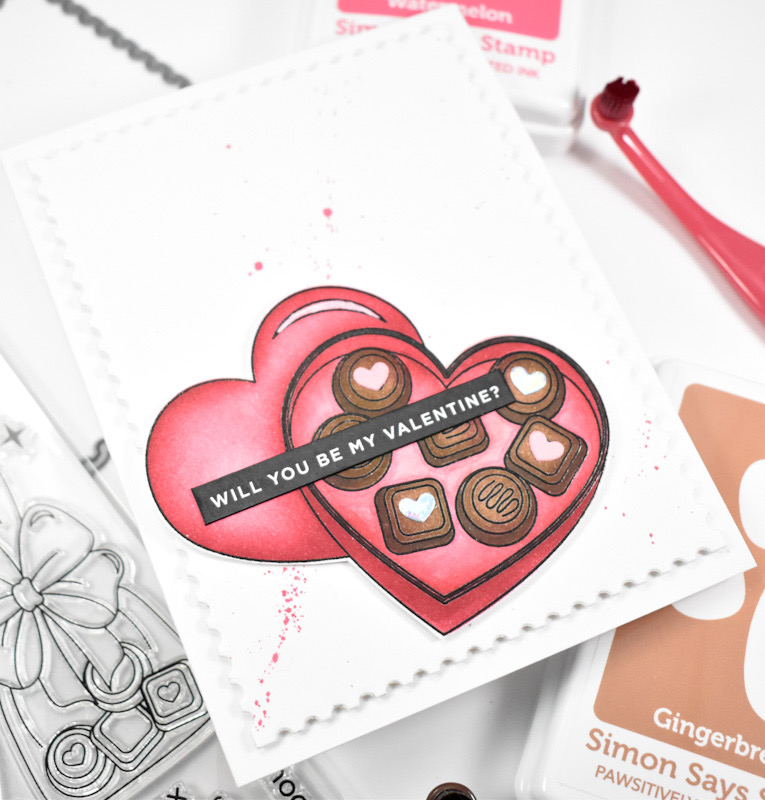
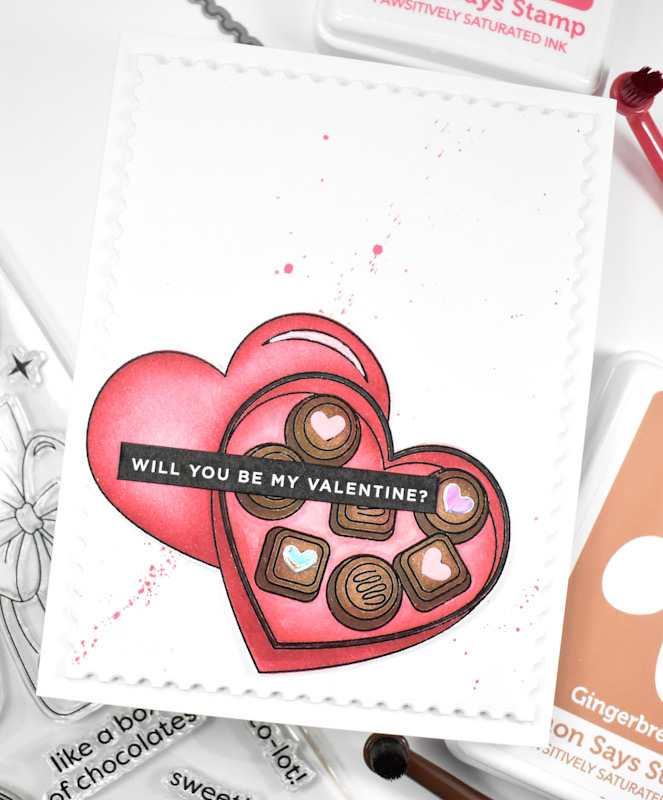
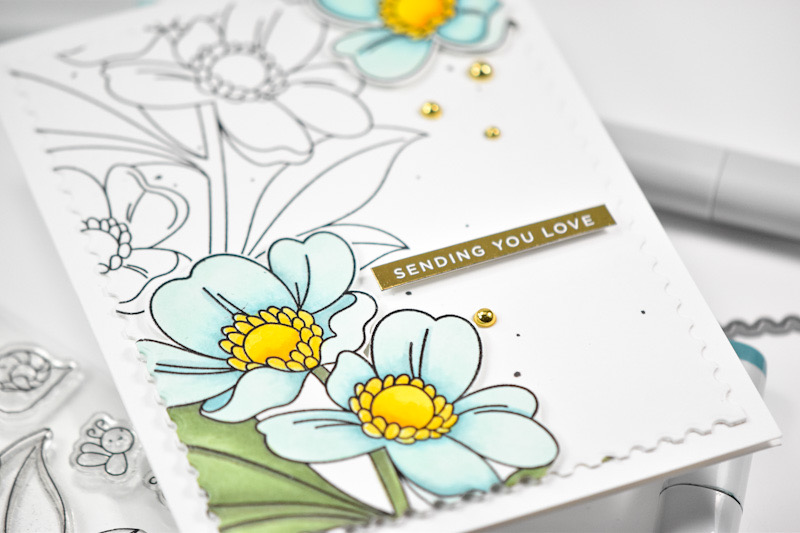
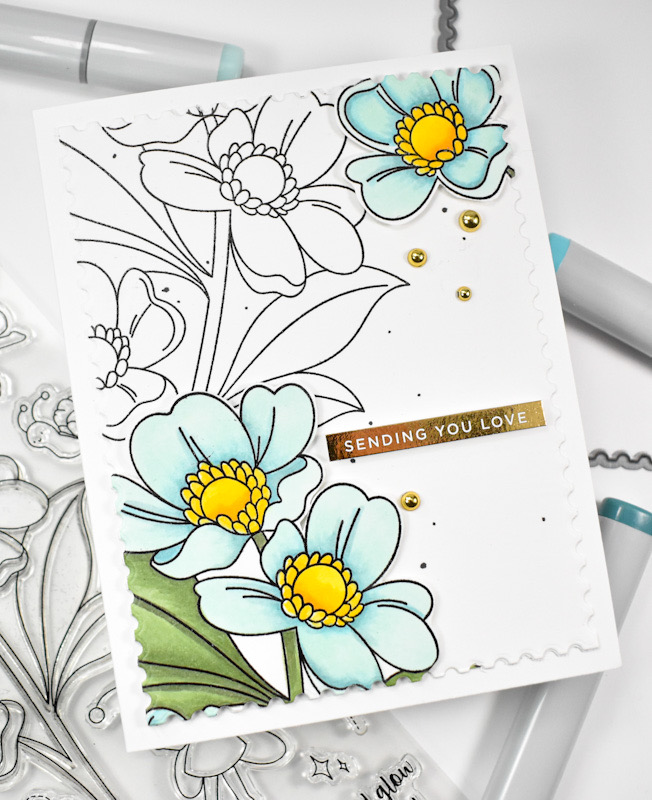
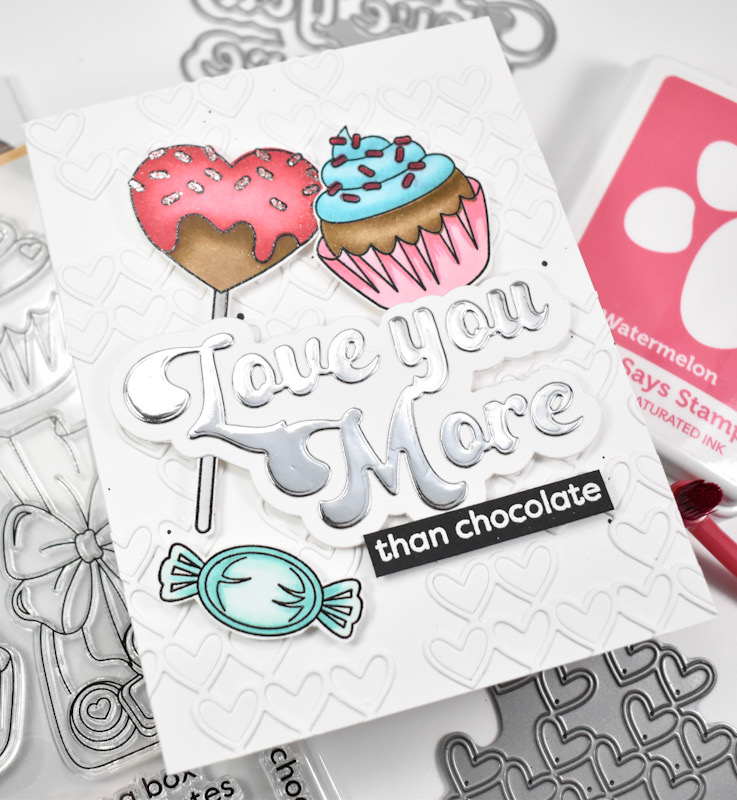
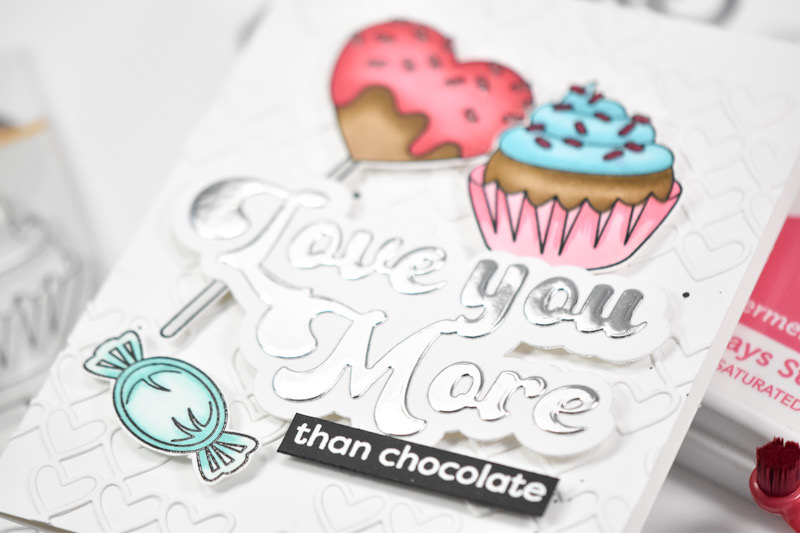
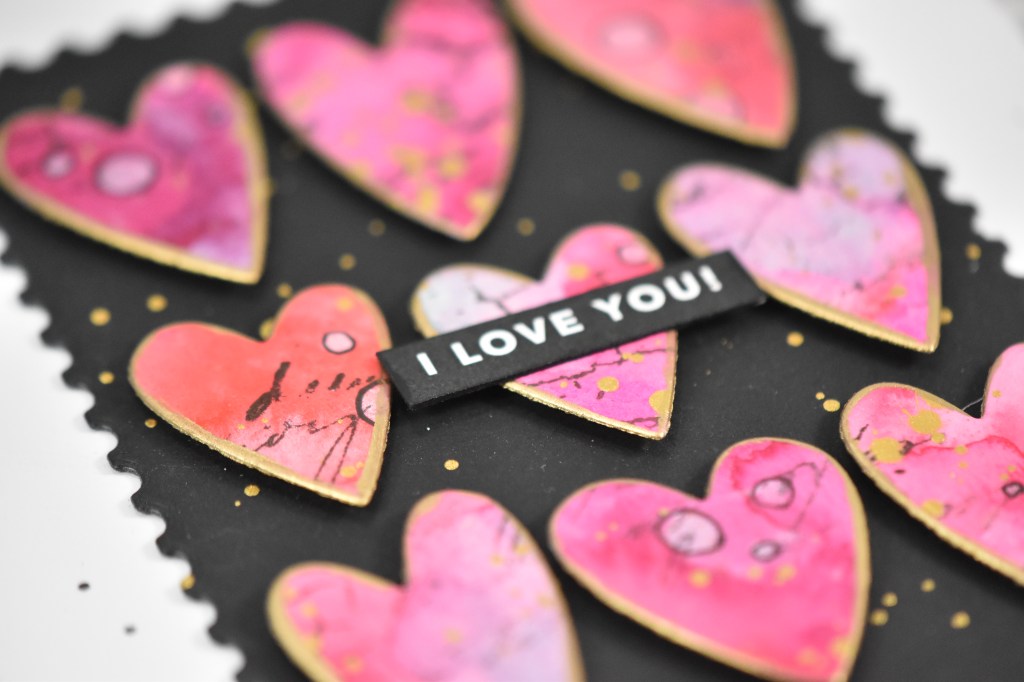
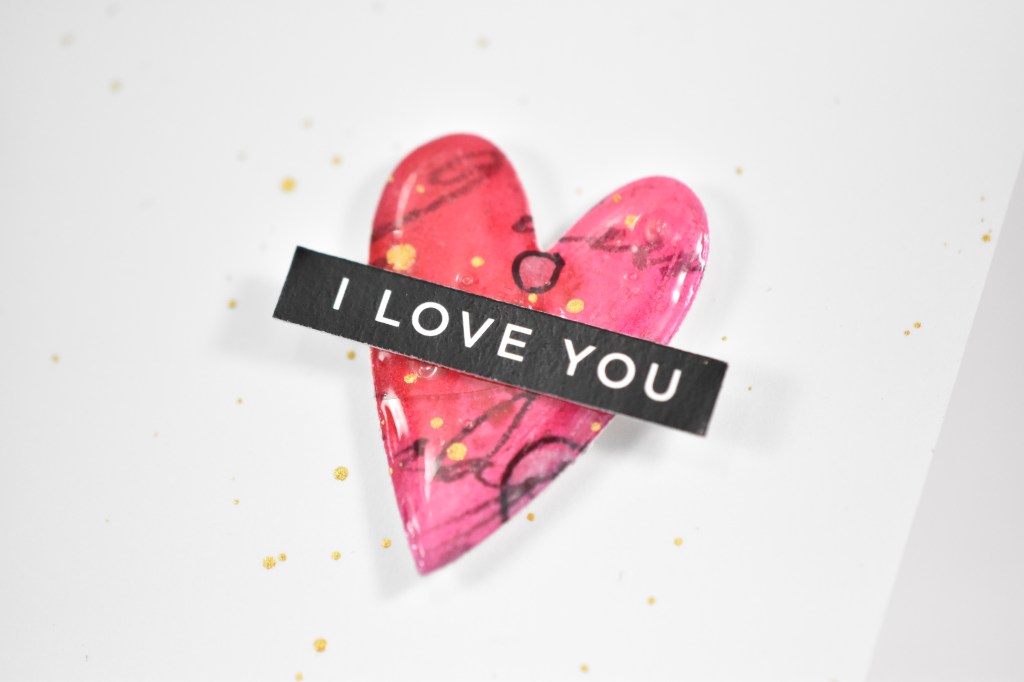
I began this project by taping down a large panel of watercolor paper, adding different shades of reds, pinks and an aqua color, which ended up making the purple color. I let the panel dry and used a stencil with various circles to add some white ink. Once those were dry, I outlined them with a Copic Multiliner and did some stamping using a couple of background stamps and VersaFine Onyx Black ink. I was unable to locate one of the stamps that I used, but any text stamp would work just fine. Once I was satisfied with the stamping, I did some gold splatter for added interest.
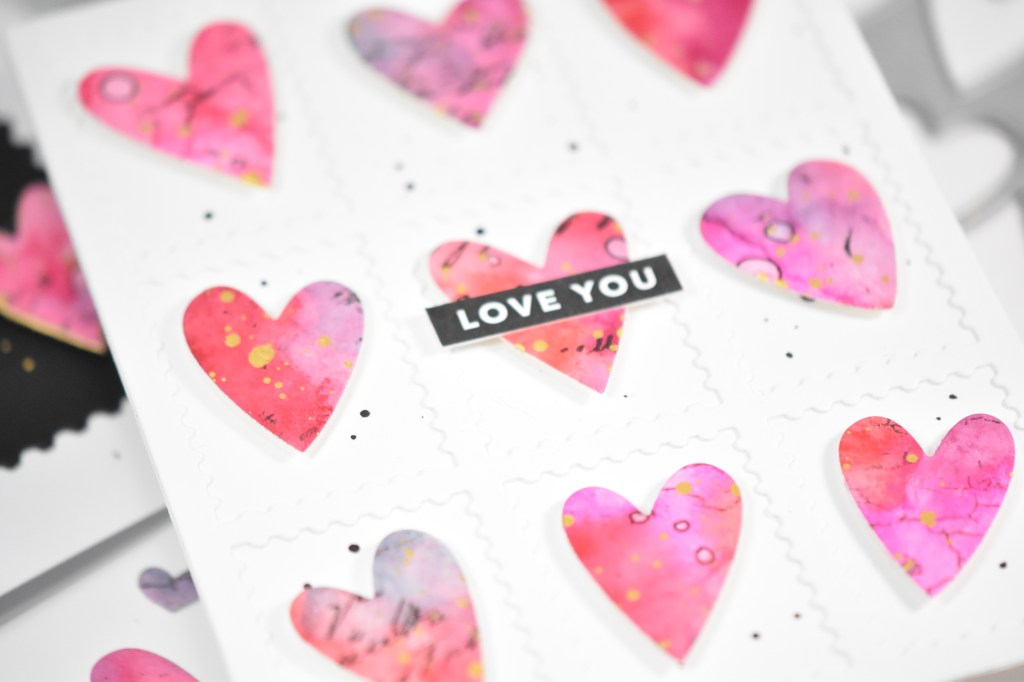
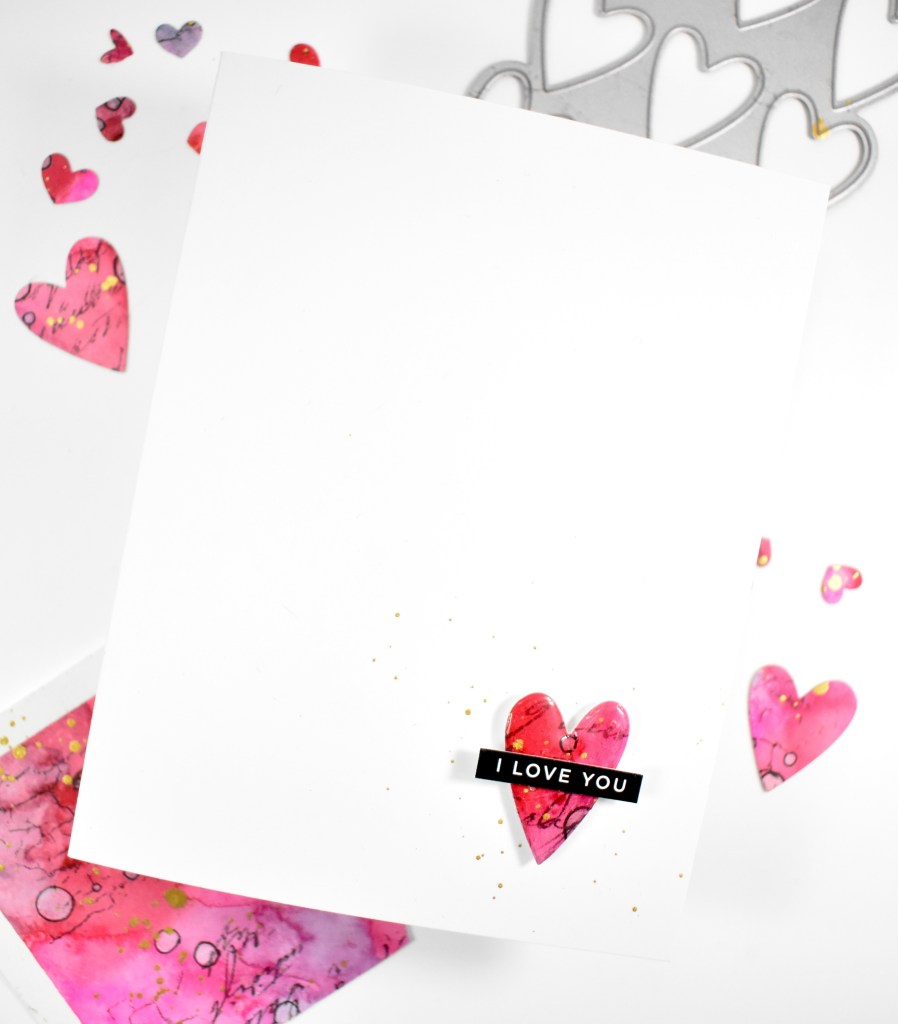
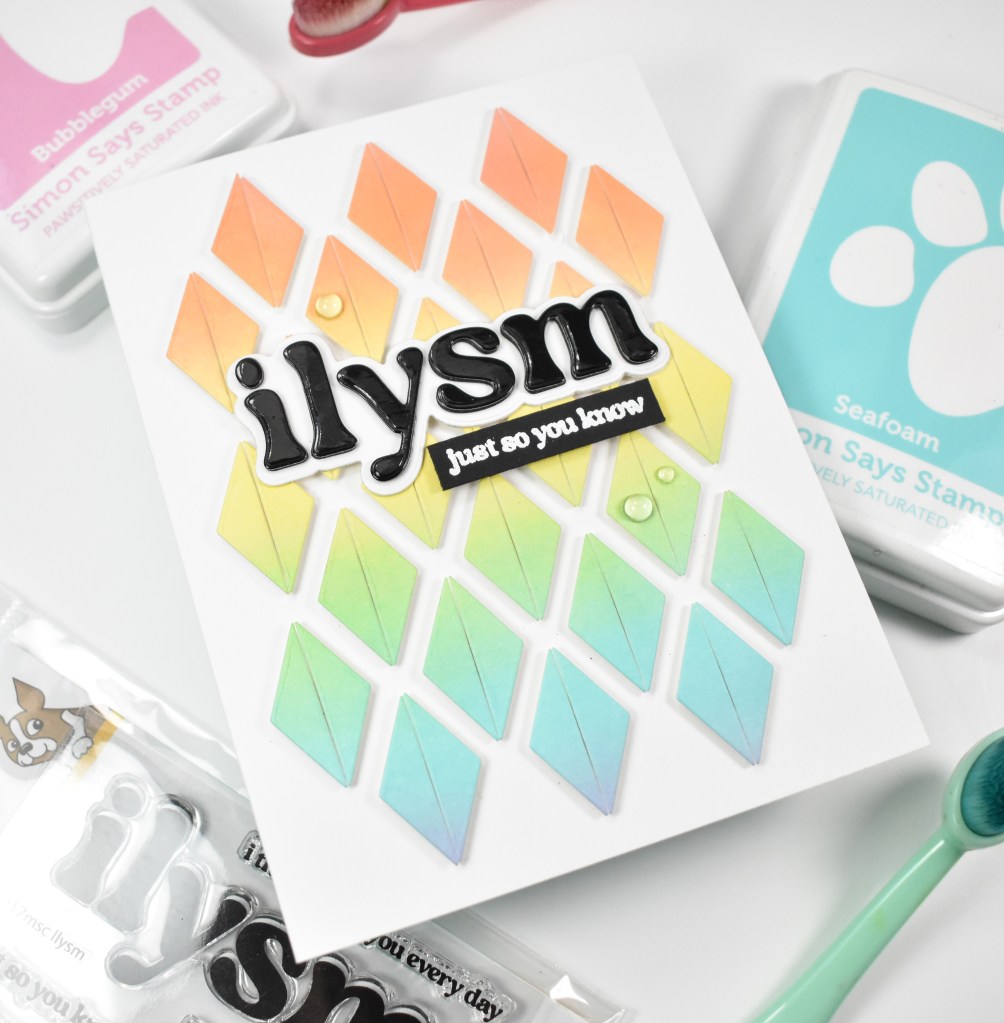
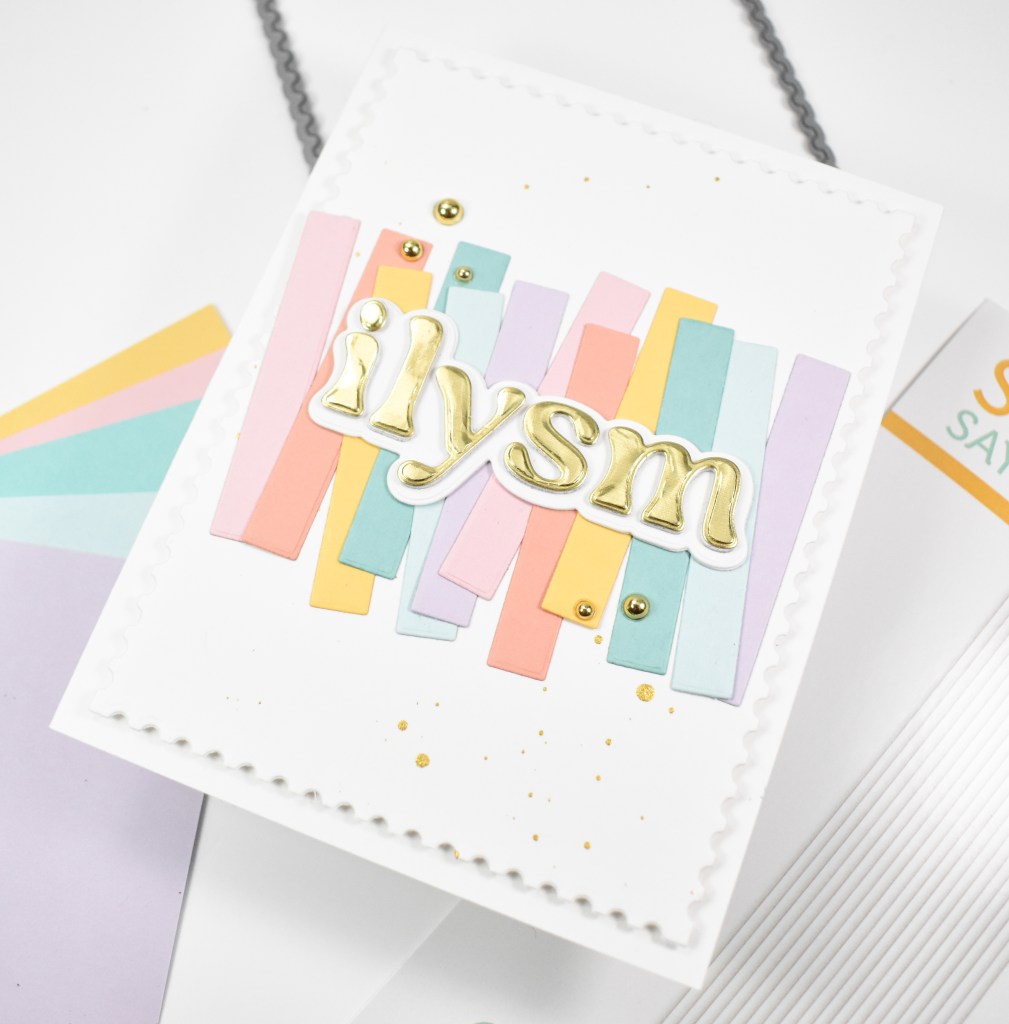
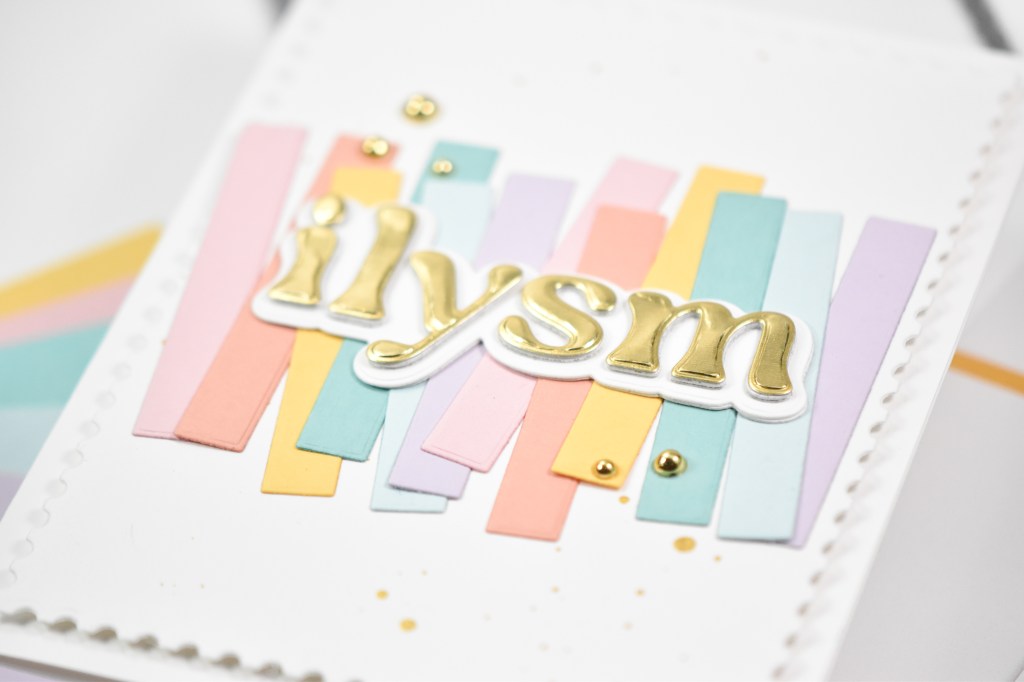
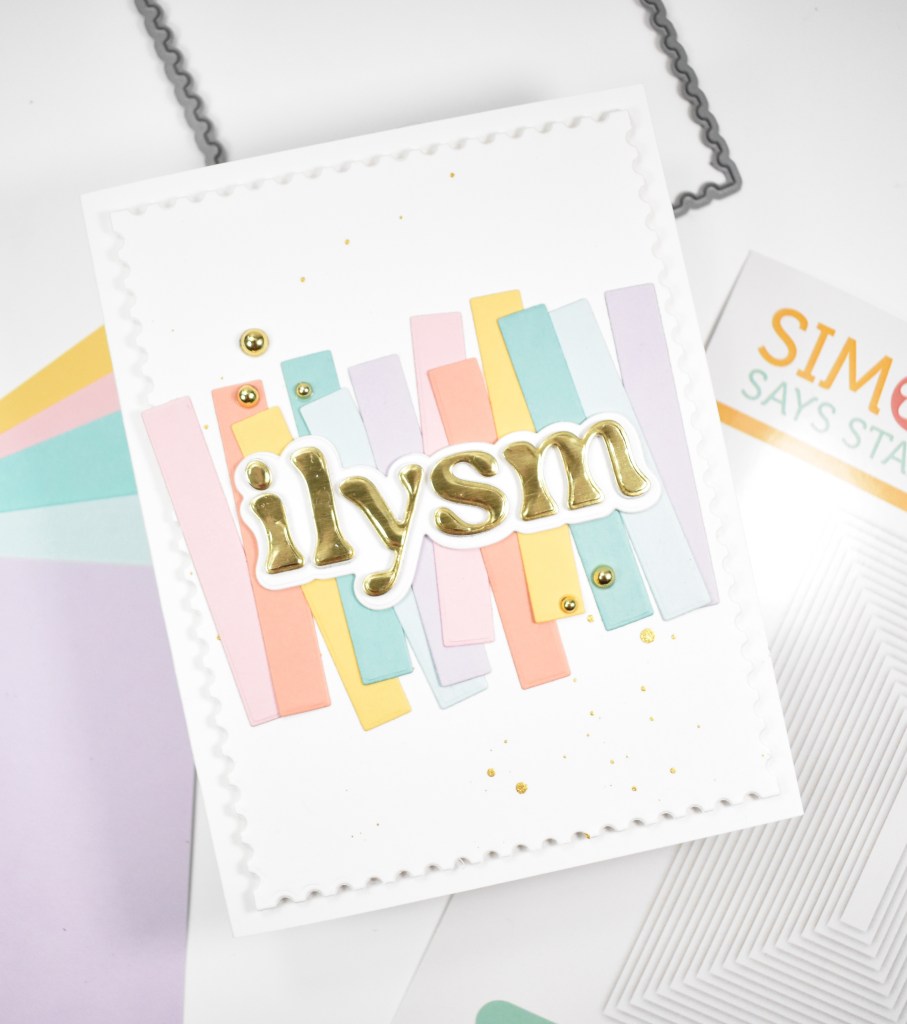
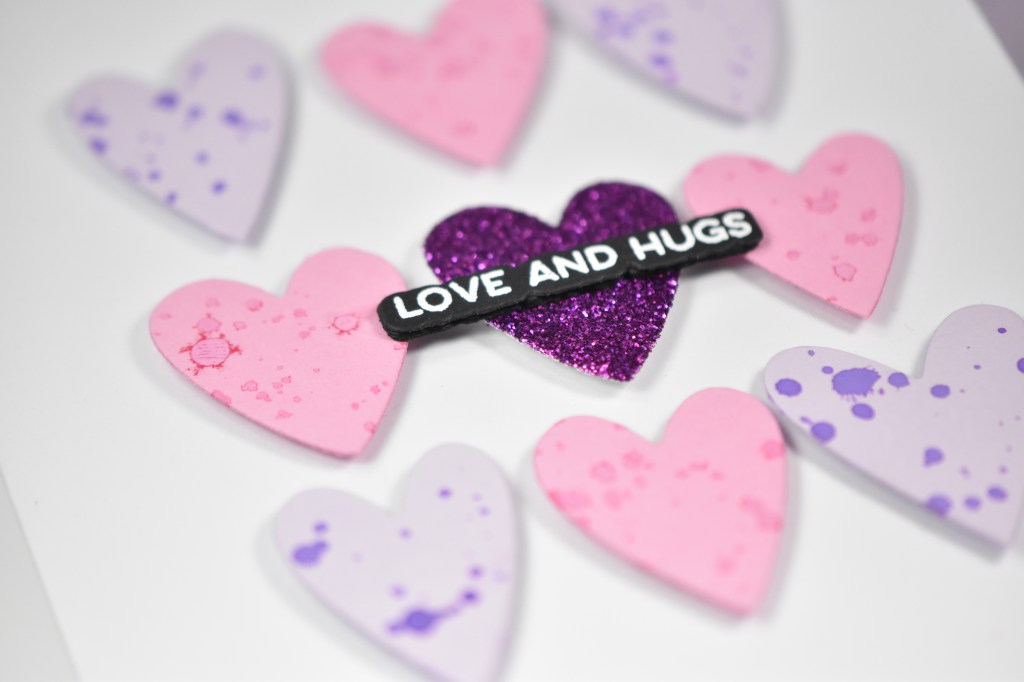
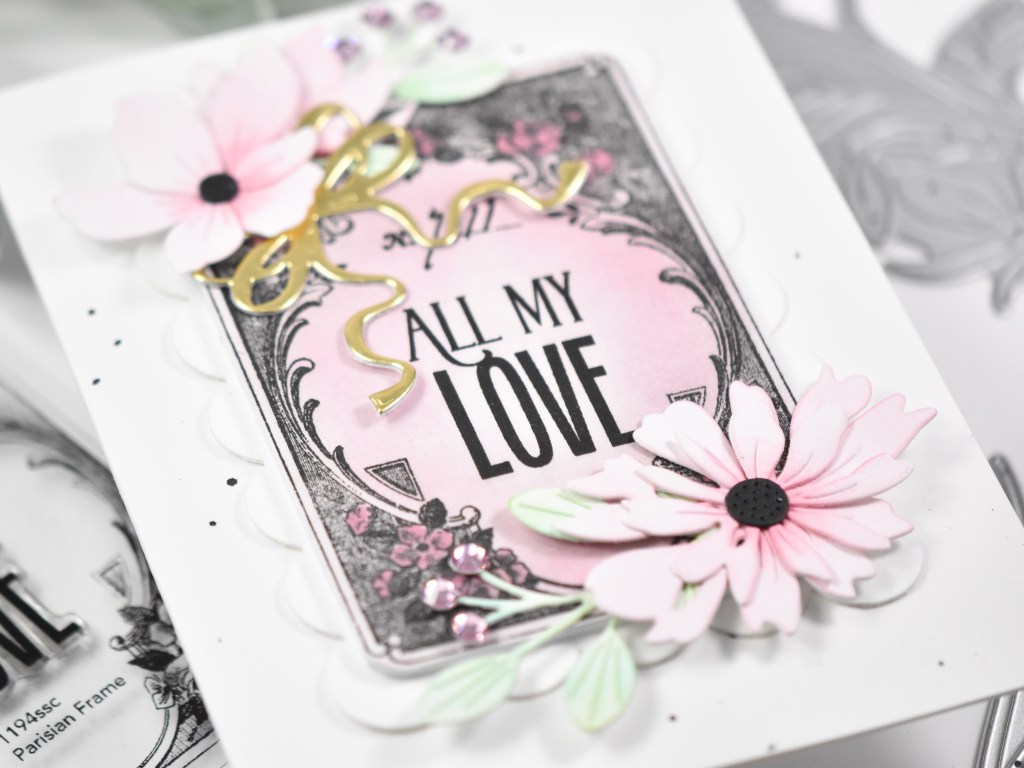
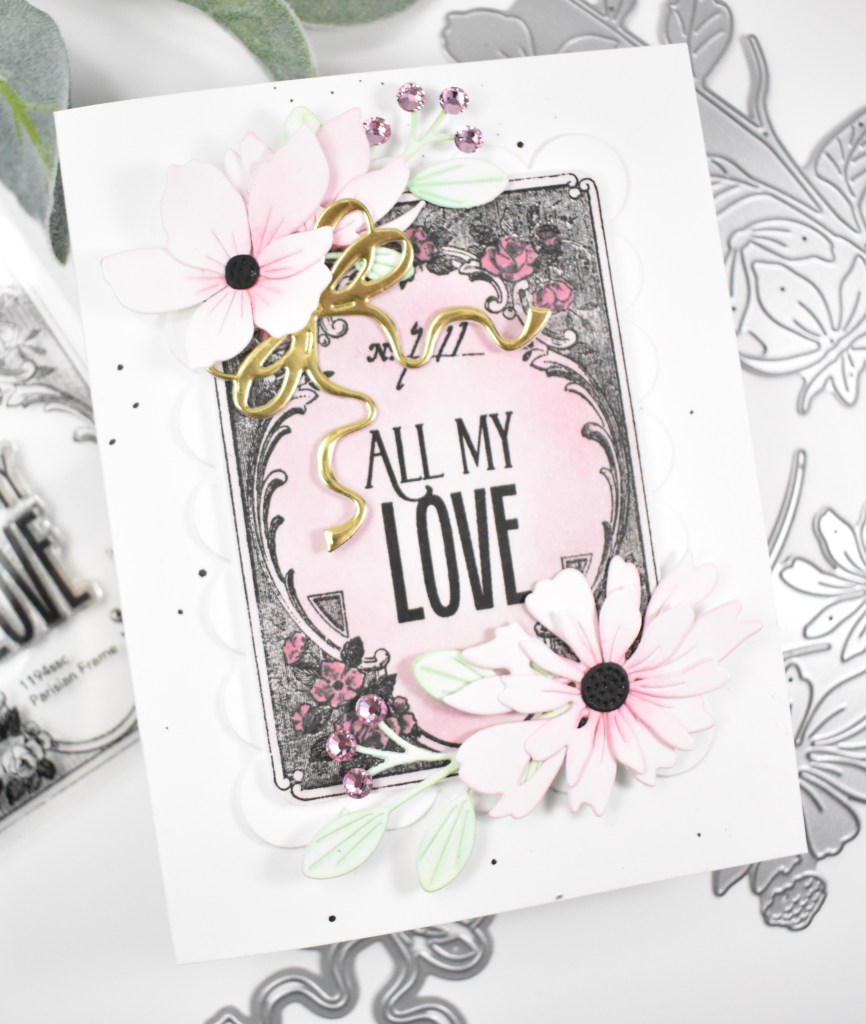
I pulled several heart die cuts, along with several other design die cuts and cut those. I was unable to find some of the die cuts that I used as well, and I apologize for that, but just use what’s already in your stash. I did edge some of the hearts with a gold leaf pen for some added interest and splattered my card bases and panel with black and gold acrylic inks. Some of the hearts were adhered using foam strips, while some were just glued directly to the panel or card base. The sentiments were cut from several different strip sets and adhered with glue or foam tape.
That does it for this post! I hope you like all of the cards as much as I do. I really had a lot of fun creating all of these projects, and am itching to create another watercolor panel to play with. I’ll list all of the products that I used below, just in case you’re interested. Thanks again for stopping by, and I hope you have an awesome day!
Supply List
Affiliate links used at no cost to you. What does this mean? If you use the links within this post to make a purchase, I receive a small commission, which allows me to continue to post crafty content for your enjoyment. I truly appreciate your support!
Latest Posts
- Simon Says Stamp Braided Greetings

- Together By Design Color Cube Floral

- Simon Says Stamp Cute Duckling

- Simon Says Stamp Watercolor Wild Rose

- Simon Says Stamp Striped Missing You

Latest Instagram Posts