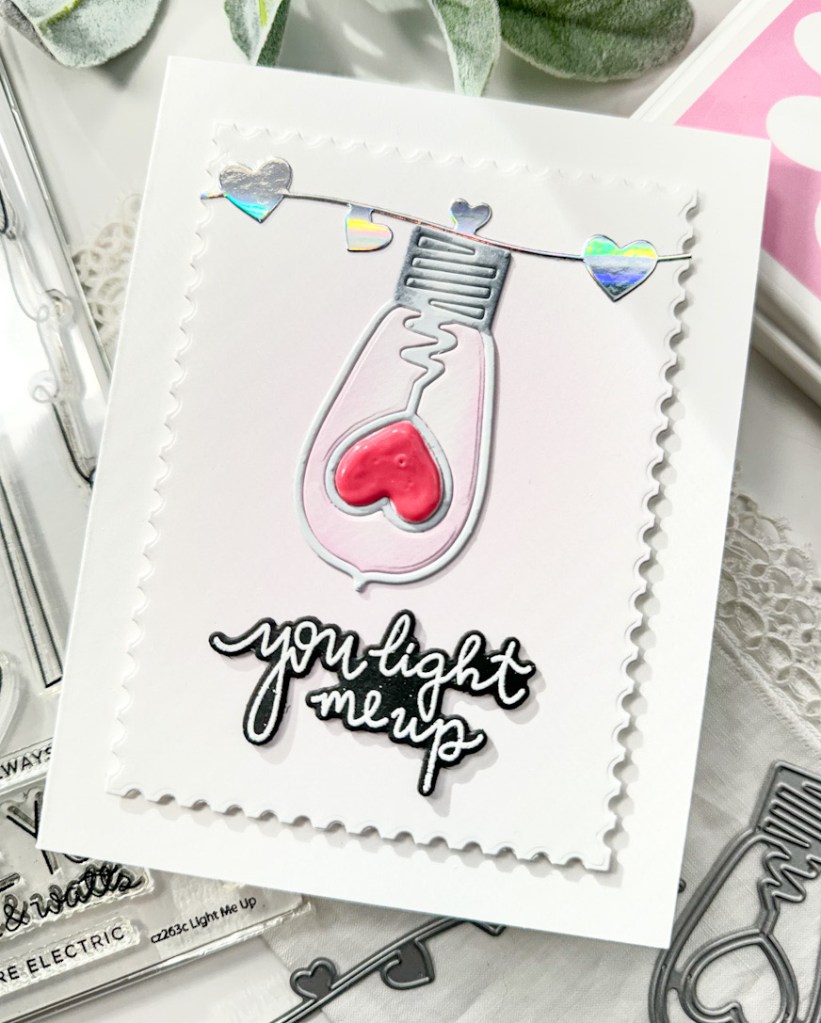
Simon Says Stamp Simple Love You

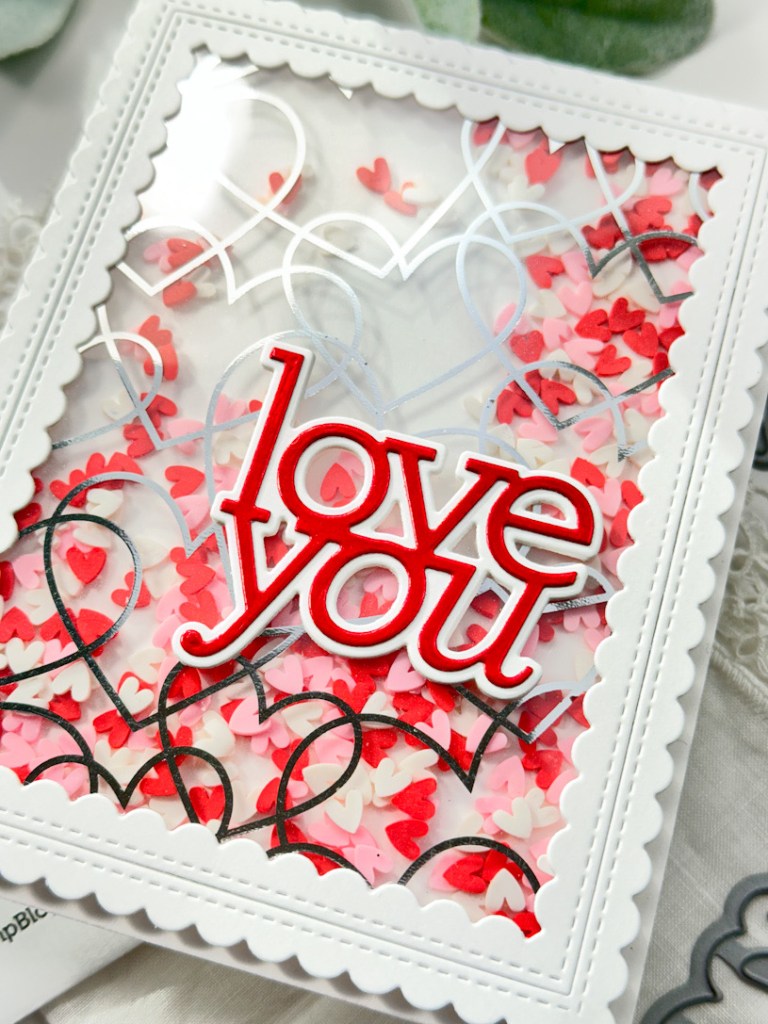
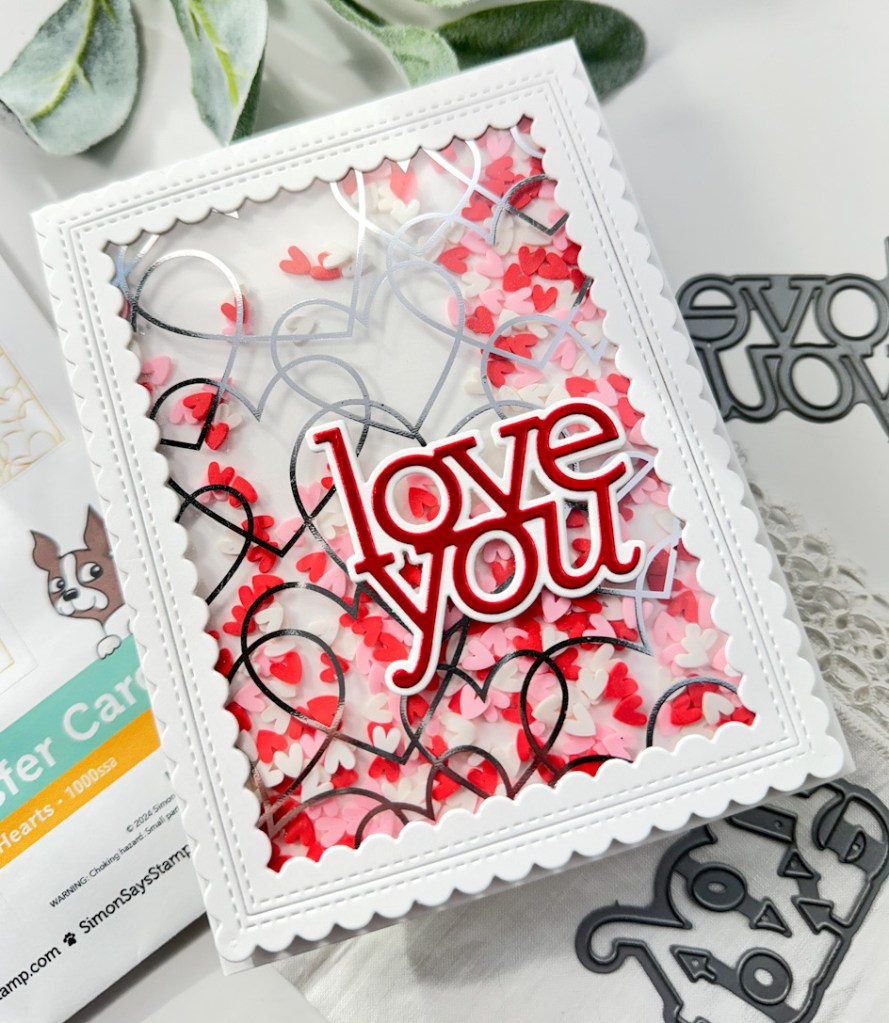
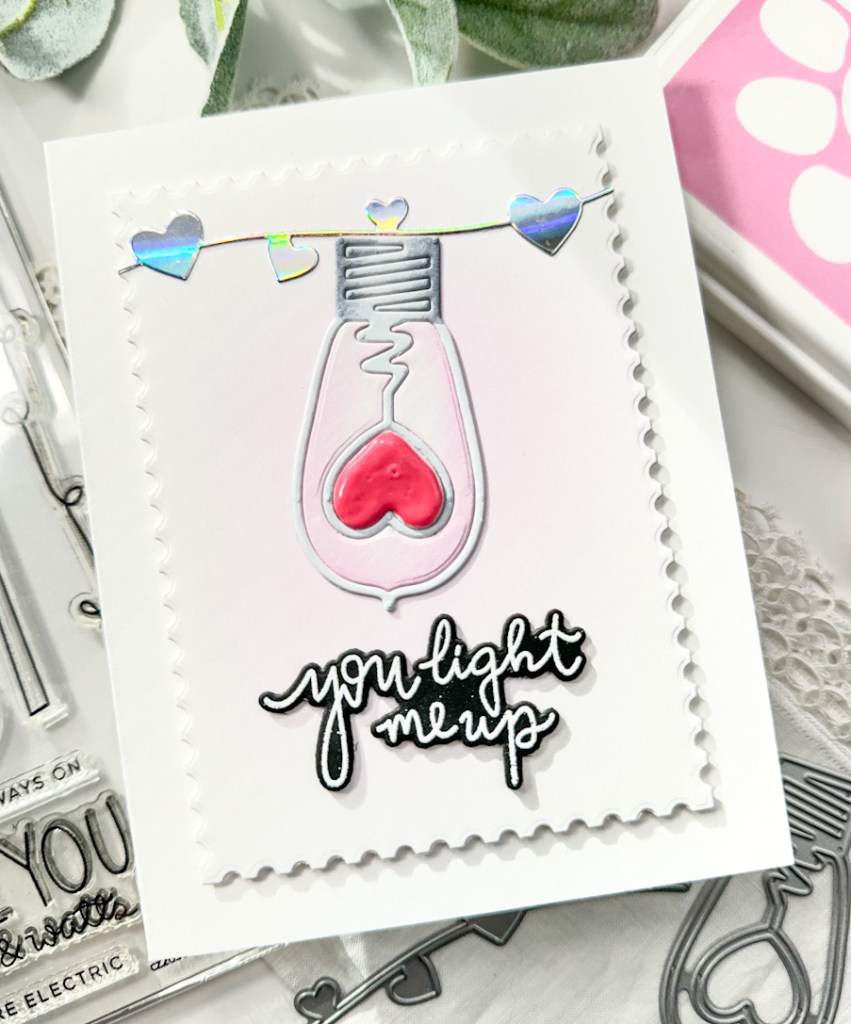
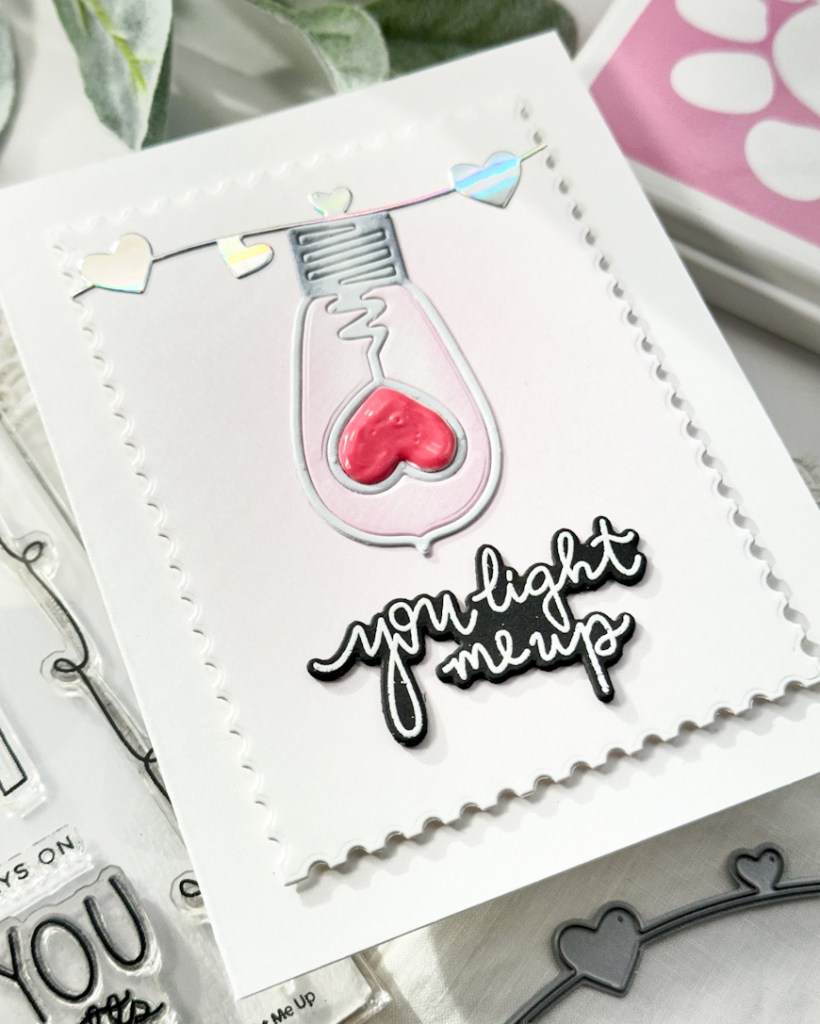
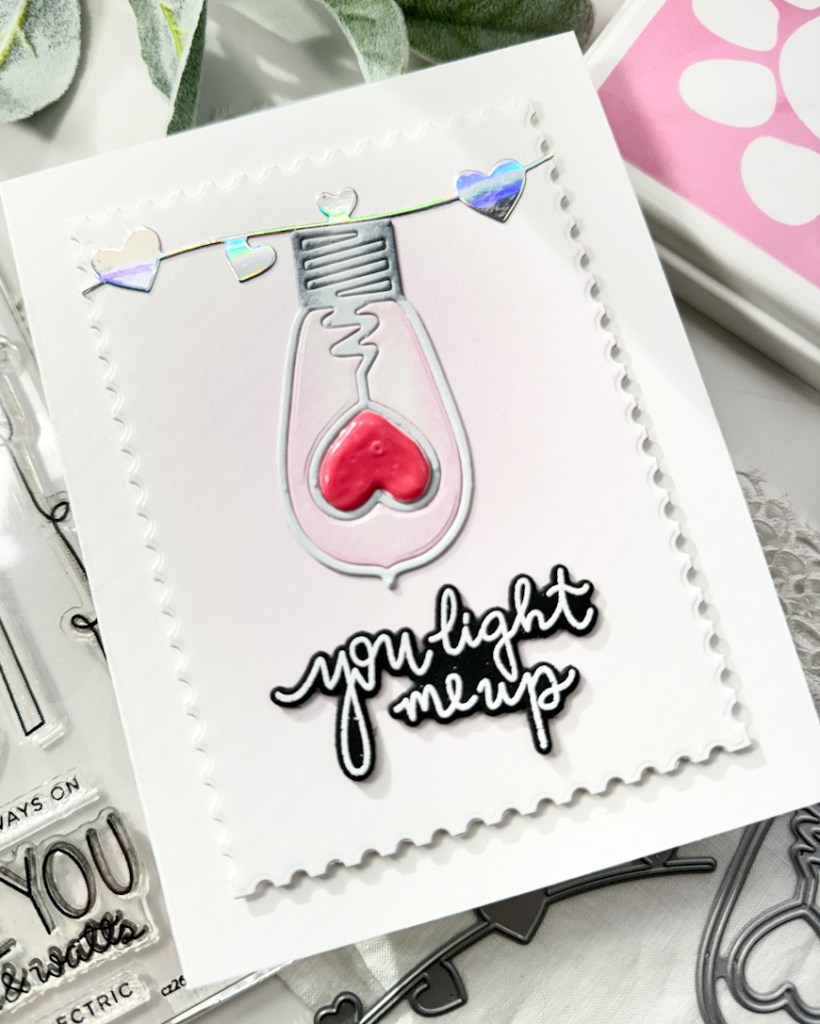
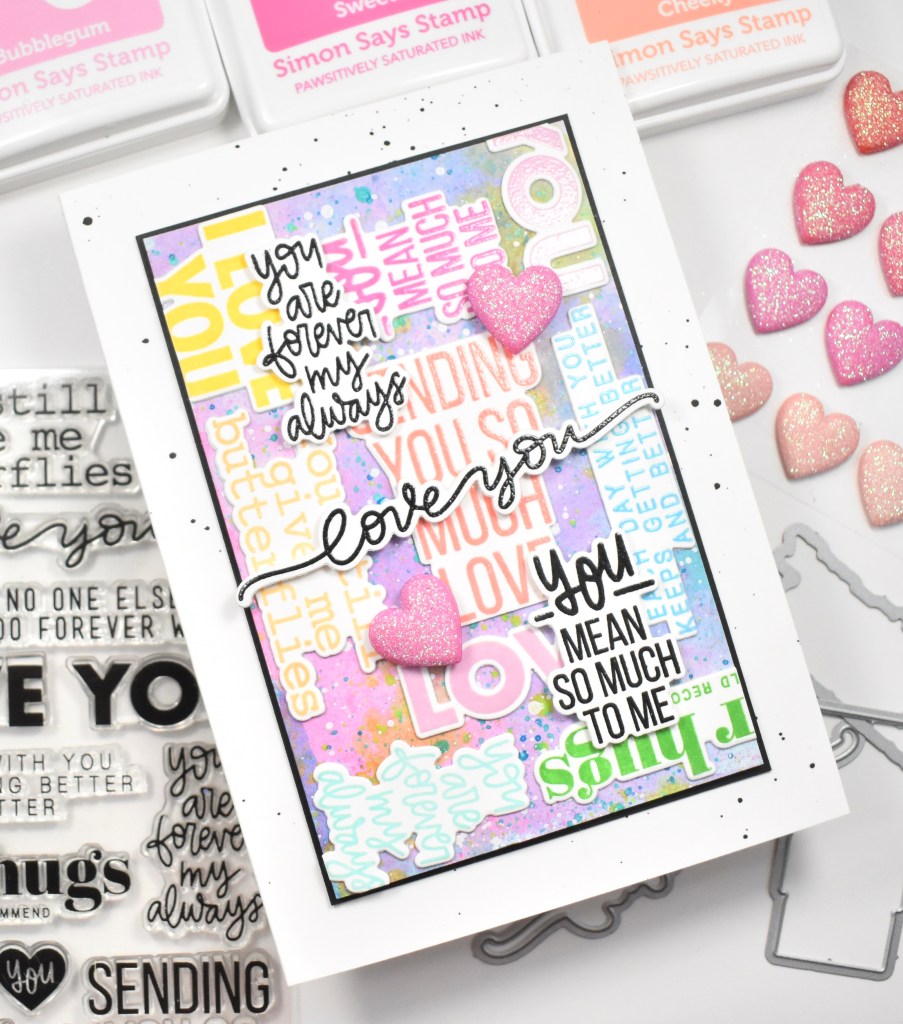
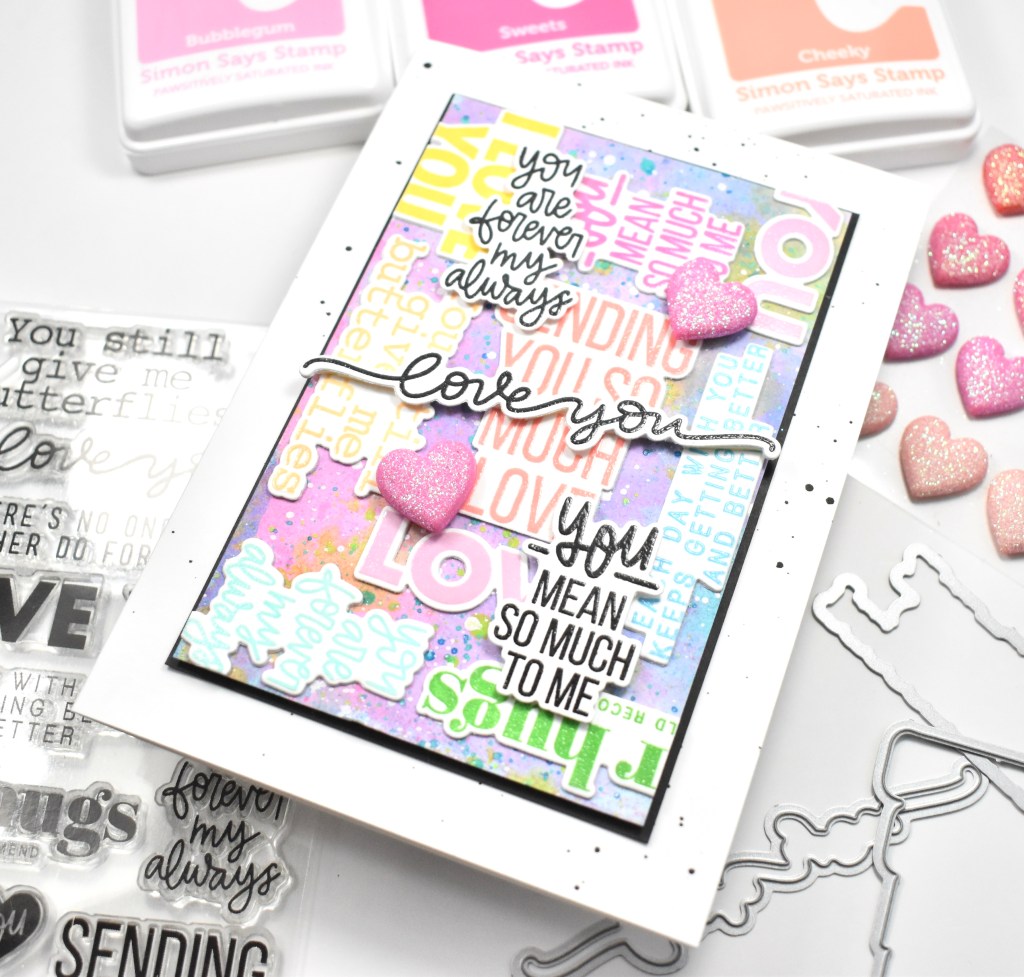
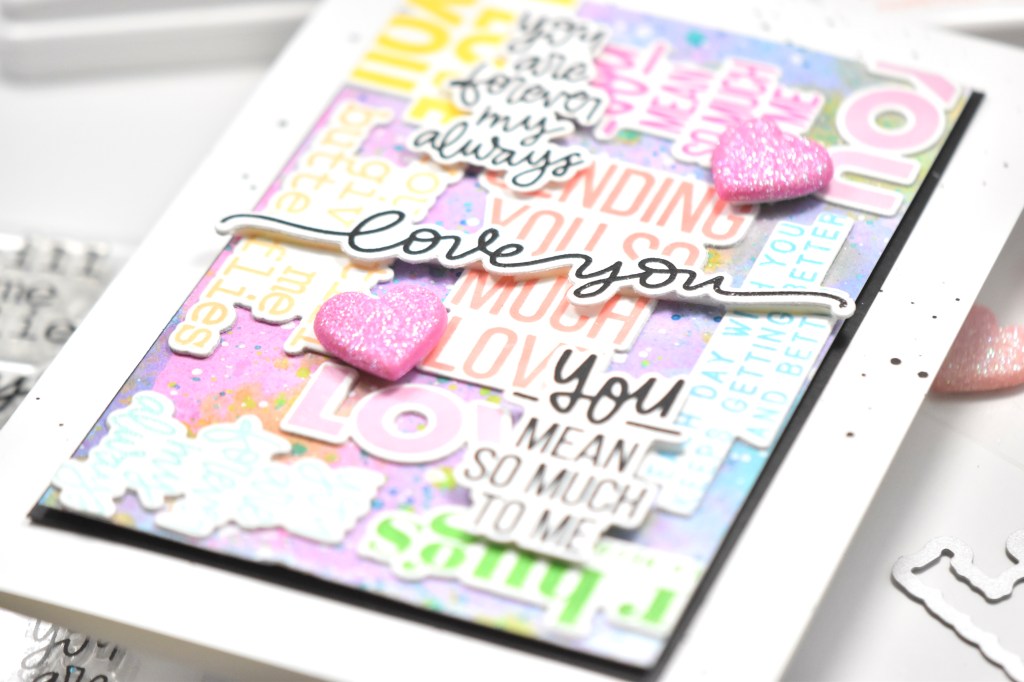
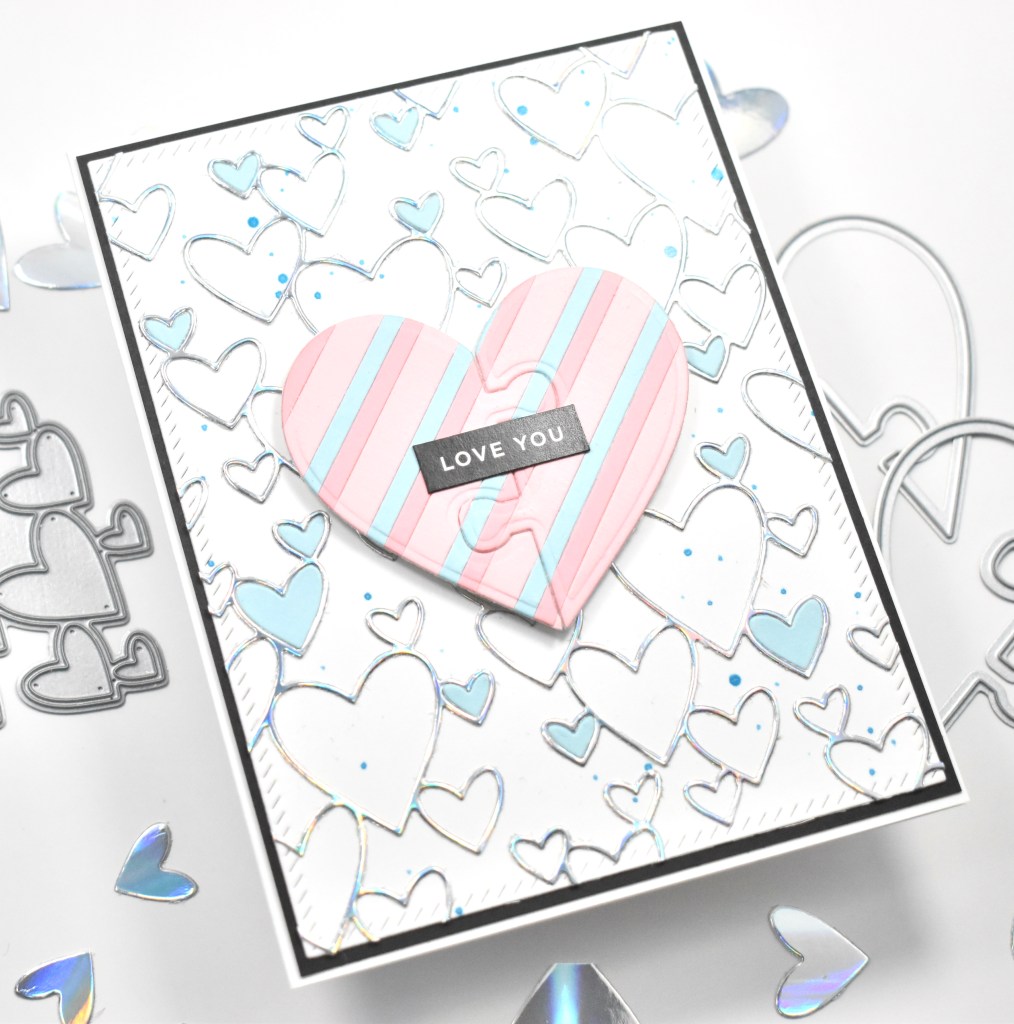
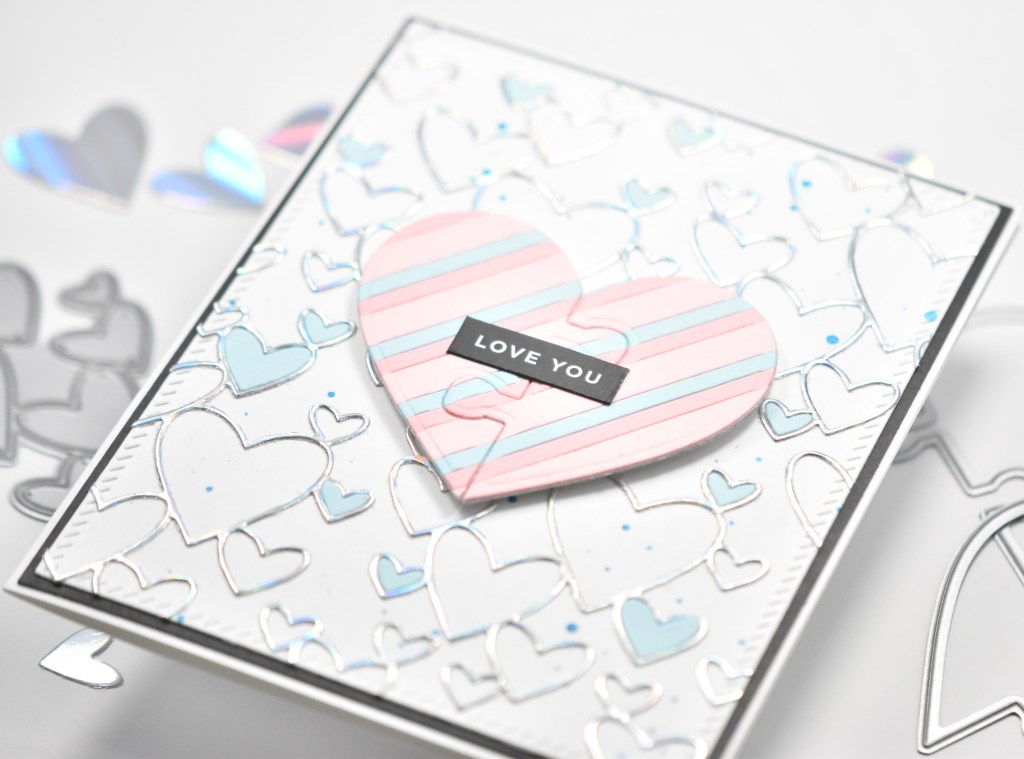
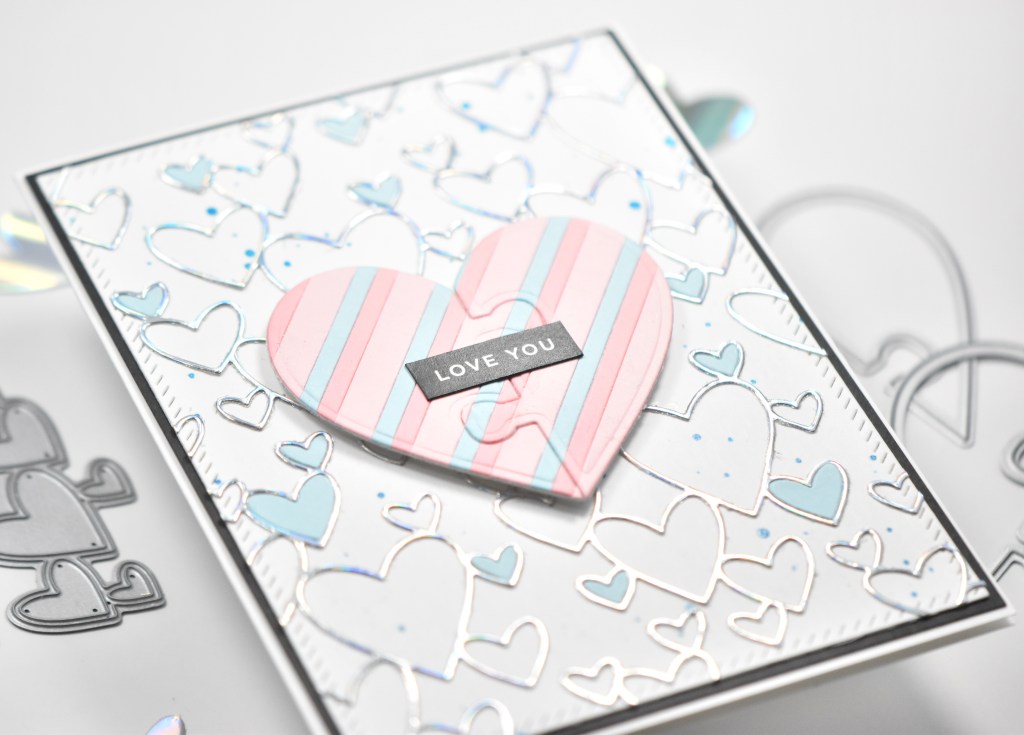
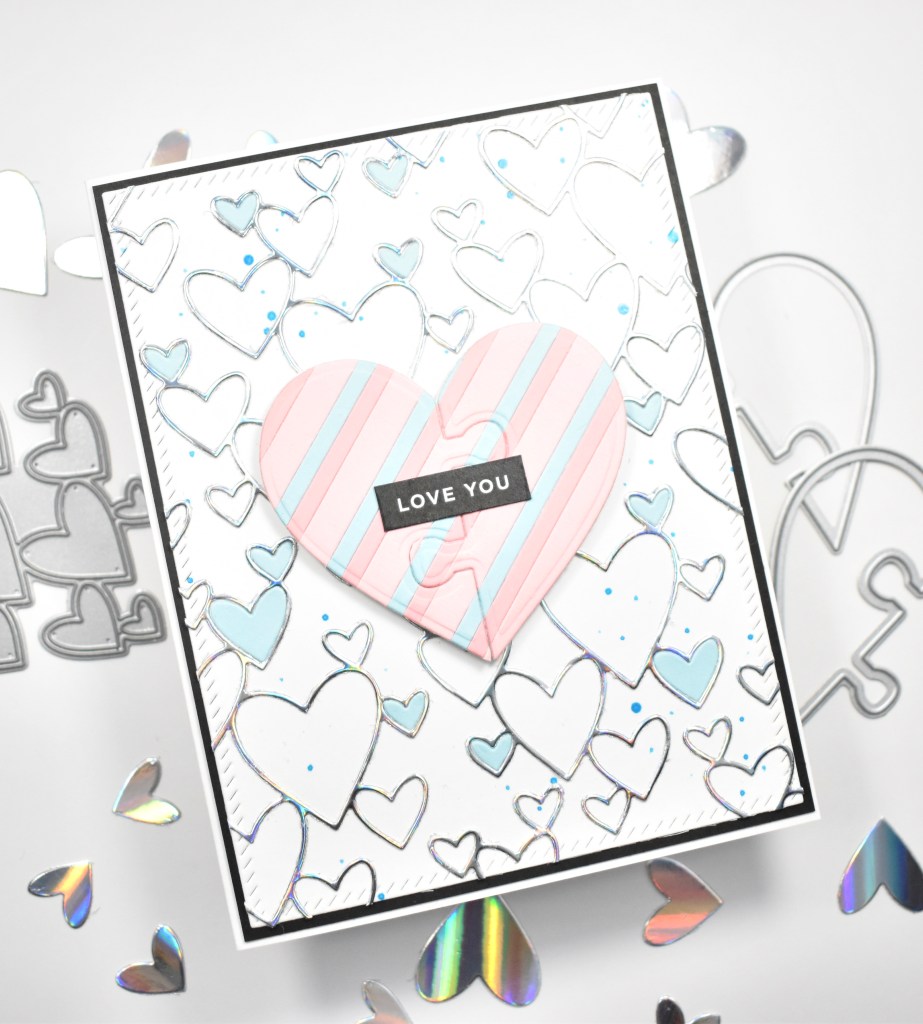
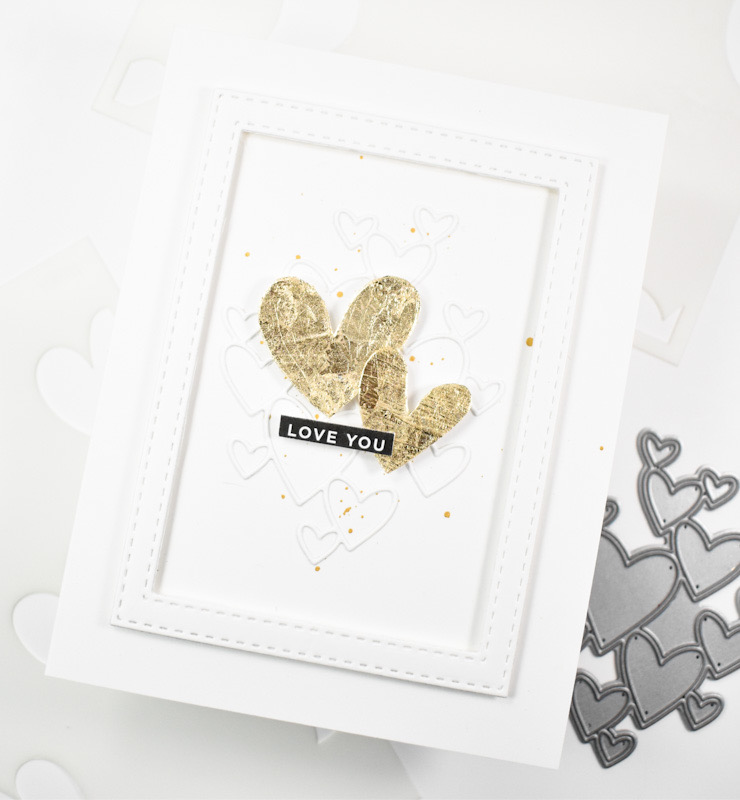
Hello and welcome back! Simon’s brand new release, To Be Loved, is live today and I’m back with a project featuring the new Funky Hearts Stencil. It may not look like I used the stencil on this card, but I assure you that I did! It’s just a little reminder that there are many ways to use a stencil! Let’s go into it, shall we?
NOTE: all supplies are linked in the thumbnails at the end of this blog post.

I began this card by placing the stencil onto a scrap panel of Neenah 110lb cardstock and applying a layer of Tacky When Dry paste. I actually did this twice, because I wasn’t sure if I wanted to use one heart or two. I set that aside to dry while I worked on the rest of the card.

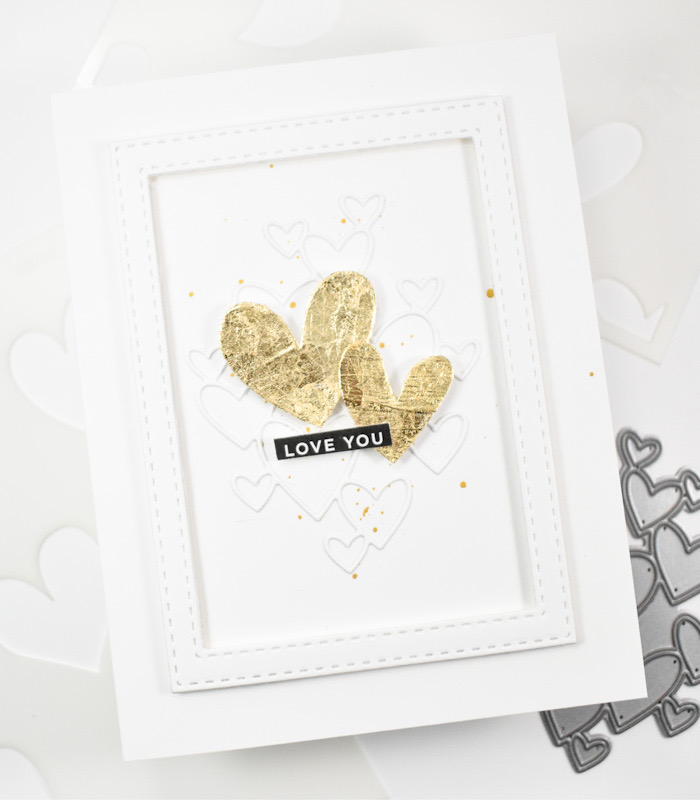
I wanted this to be a more clean and simple design, so I went ahead and splattered my card base with gold acrylic ink and put that over with the hearts to dry. I used the Clipping Heart and die cut that once from Neenah, and I went ahead and cut a frame using the Stitched Rectangles. Once the hearts were dry, I applied some gold gilding flakes and rubbed those in to make sure that I have good coverage. Those were then fussy cut for their use on the card.

The frame was adhered to the card base using foam strips, and the white hearts were adhered inside the frame using liquid glue. The gold hearts were adhered in the middle using the same foam strips, as well as the tiny sentiment, which is from the Reverse Love Sentiment Strips.

That does it for this one! It’s a super simple card, but I quite like how it turned out! Thanks again for stopping by, and don’t forget to check out the entire To Be Loved release over on Simon’s website. Have yourself a wonderful day!
Supply List
Affiliate links used at no cost to you. What does this mean? If you use the links within this post to make a purchase, I receive a small commission, which allows me to continue to post crafty content for your enjoyment. I truly appreciate your support!
Latest Posts
- Simon Says Stamp Braided Greetings

- Together By Design Color Cube Floral

- Simon Says Stamp Cute Duckling

- Simon Says Stamp Watercolor Wild Rose

- Simon Says Stamp Striped Missing You

Latest Instagram Posts