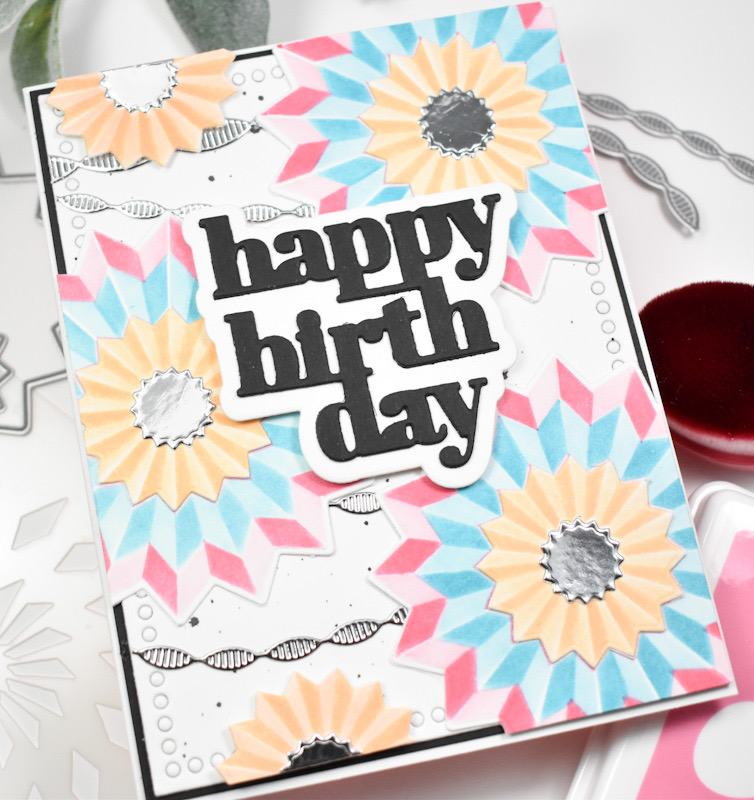
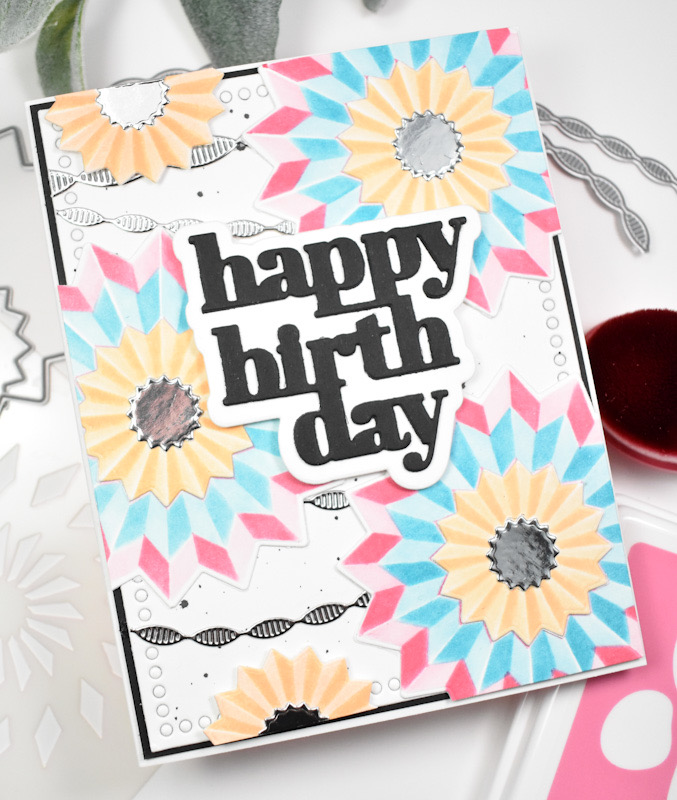
Simon Says Stamp Festive Fun Release Blog Hop – Day 2

Hello Friends, and welcome to day 2 of the Festive Fun Blog Hop! You’ll want to be sure to begin the Hop at Simon’s website, which will be linked below, and don’t forget to check out the Festive Fun Gallery where you can check out tons of inspiration from lots of designers! Be sure to comment along the Hop, as Simon is giving away a $25 coupon to a random commenter at each stop! You can also check out Day 1 of the Hop for more inspiration and more chances to win! To continue the celebration, Simon is offering the Cozy Together stamp and die set free with a $100 purchase! No code necessary, it will automatically be added to your cart. My project for today is featuring the new Poinsettia Swag. This is a really pretty stamp, and I enjoyed giving it a soft feel with watercoloring. Let’s dive into the details, shall we?

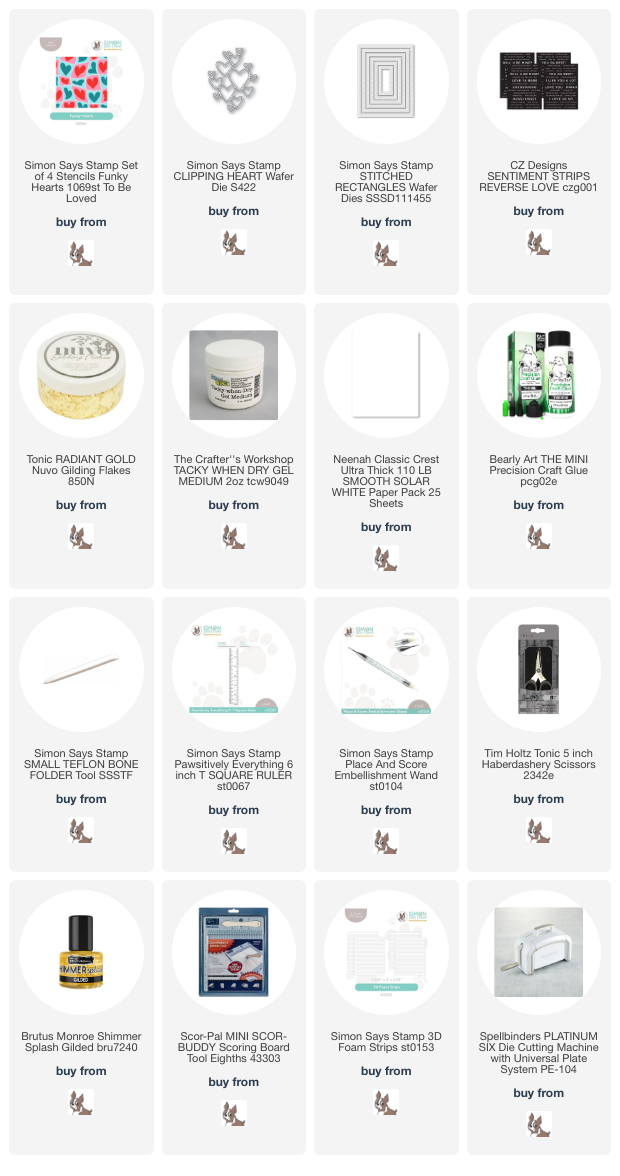
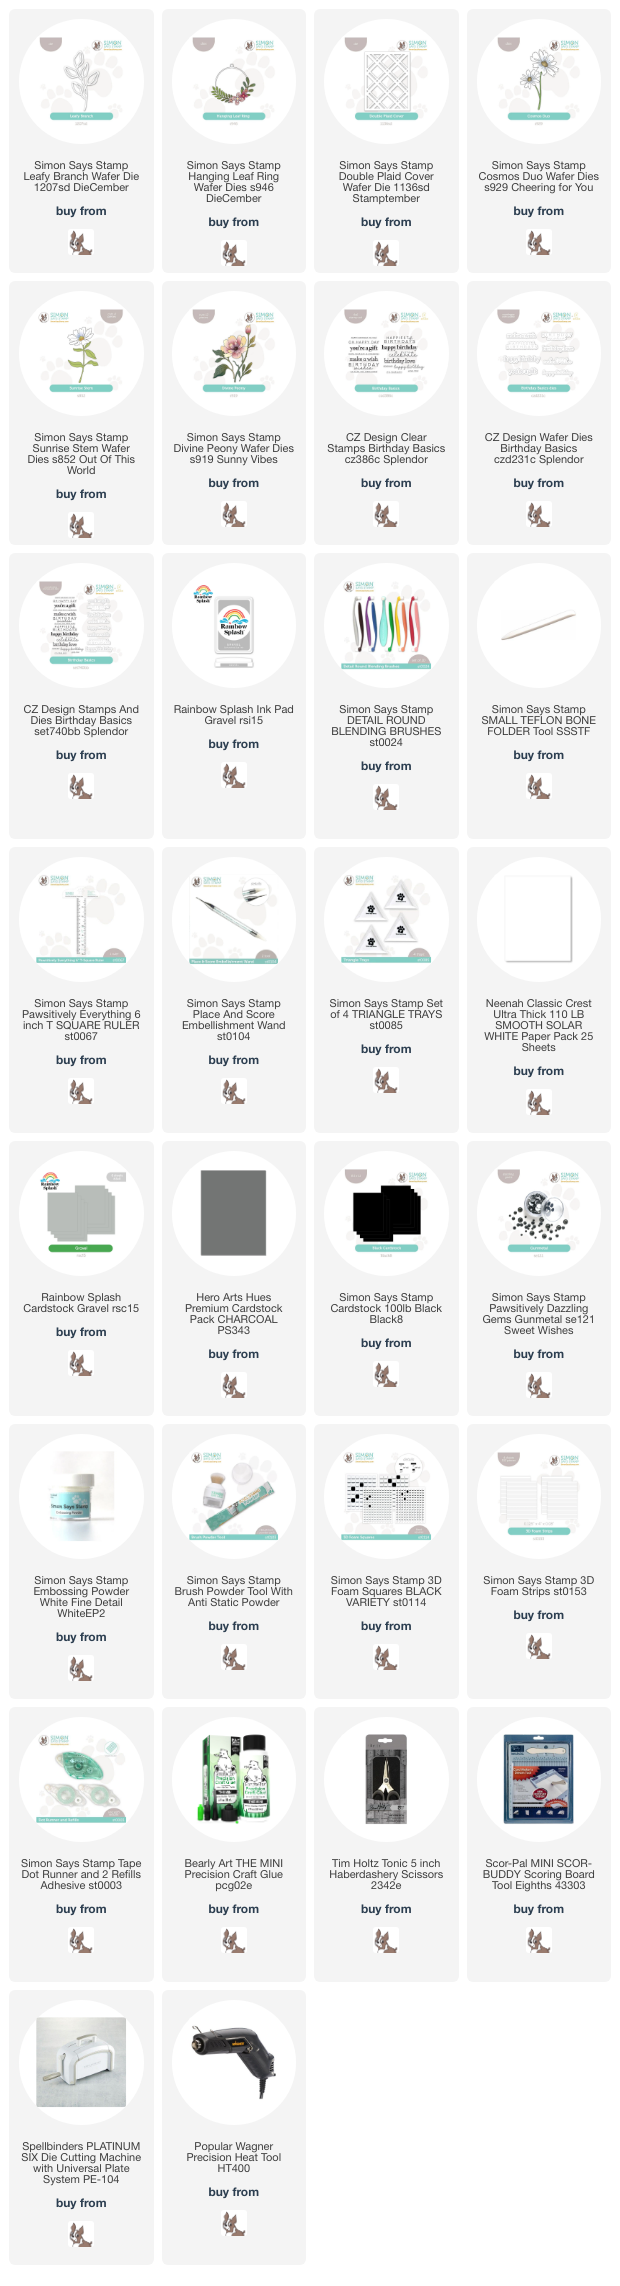
NOTE: all supplies are linked in the thumbnails at the end of this blog post.
I began this project by stamping and gold embossing the floral twice onto a panel of watercolor paper. My style of watercoloring is very simple, mainly because I don’t really know any other way. I used Karin Brushmarkers and scribbled the color onto my glass mat and used a water brush to add the color to the image. Where I wanted more color, I just added more concentrated ink. Nothing fancy at all.

Once the watercoloring was complete, I fussy cut the images and set those aside while I worked on the other elements of the card. My background texture was created using the Poinsettia Field Embossing Folder. As always, I needed more leaves so I used the Holly Sprigs and cut those from green cardstock. I did end up using Artichoke ink to add some shading to the additional leaves.

This sentiment, which is from the Big Holiday Words set, was stamped using VersaMark ink and heat set using Detail White Embossing Powder. I trimmed it out using the coordinating die, along with two additional cuts for a stacked sentiment. The green leaves were adhered to the panel using liquid glue, while the florals were adhered using foam tape. The sentiment was glued to the panel and I added a few gold metallic pearls to finish up.

That does it for this project. I hope you enjoyed it, and I hope it inspires you to get crafty in your space! Don’t forget to check out the entire Festive Fun release over on Simon’s website. Thanks again for hanging out with me, and I hope you have an awesome day!

Blog Hop Order

Simon Says Stamp Blog 

Nina-Marie Trapani

Laura Bassen

Cathy Zielske

Barbara Tarayao

Mindy Eggen

Heather Ruwe

Keisha Charles

Yana Smakula

Alberto Gava

Lorraine Aquilina

Tracy Ware

Barb Engler

Jessica Vasher

Daniel West

Supply List

Affiliate links used at no cost to you. What does this mean? If you use the links within this post to make a purchase, I receive a small commission, which allows me to continue to post crafty content for your enjoyment. I truly appreciate your support!

Latest Posts

Latest Instagram Posts

Simon Says Stamps Golden Snowflakes

Hello Friends, and welcome back to my blog! Thanks so much for stopping by to check out today’s project featuring the new Falling Snowflakes Acetate Foil Transfer Sheets from Simon’s latest release, Festive Fun. Let’s jump right into the details!

NOTE: all supplies are linked in the thumbnails at the end of this blog post.

I began this project by gold foiling one of the Falling Snowflakes acetate sheets. These sheets are A2 sized, but I trimmed mine down, because I wanted to make a snowy shaker card. I cut a black panel, adhered 1/8″ Scor Tape to the edges of the acetate panel, and closed it up on three sides around the black panel. At this point, I added a bunch of glitter, maybe too much glitter, but oh well! Once all of the glitter was added, I sealed up the last side to keep it all contained.

The Joy sentiment was die cut once from gold cardstock and twice from black cardstock, and the shadow portion was cut twice. The pieces were all adhered together using liquid glue, and the sentiment was adhered to the acetate using foam strips. The shaker panel was then adhered to the card base to finish up.

That does it for this one! A super, simple one for today, but I love how it turned out! I really wasn’t sure about the black, white and gold at first, but it definitely grew on me. Have you checked out the Festive Fun release yet? I’d love to know your favorites in the comments below. Thanks again for stopping by, and I hope you have a fabulous day!

Supply List

Affiliate links used at no cost to you. What does this mean? If you use the links within this post to make a purchase, I receive a small commission, which allows me to continue to post crafty content for your enjoyment. I truly appreciate your support!

Latest Posts

Latest Instagram Posts

Simon Says Stamp Artsy Hello

Hello Crafty Friends! Thanks for stopping by to check out today’s project featuring the Artsy Florals from Simon’s latest release, Sweet Wishes. Let’s go ahead and get into the details!

NOTE: all supplies are linked in the thumbnails at the end of this blog post.

I began this project by stamping the main flower from the Artsy Florals set using VersaFine Onyx Black ink and heat setting that with Ranger Clear Embossing Powder. I used Copic Markers BG72, BG75, BG78 and Y17 to color the image before cutting it out. I also used a Copic Multiliner to add some black dot detail to the center of the flower as well.

My next step was to create a background using the Wistful Leaves Embossing Folder. I did some light ink blending on the leaves using PFS Tidal Pond ink, and then used the Rainbow Splash Black ink pad to create the “black out” effect on the panel. I trimmed the panel down and adhered it to the card base.

I used the Lush Leaves and cut some of those from black cardstock, and went ahead and cut the sentiment, as well. I cut the hello, which is from the Handlettered Greetings set, once from gold cardstock and twice from black cardstock and adhered all of the pieces together for that stacked sentiment look that I love.

The black leaves were glued in place, while the central flower was adhered using foam tape. To finish up, the gold sentiment was glued directly to the center of the flower.

That does it for this project. I hope you enjoyed it! I really love this color combination with the aqua and the black. Thanks so much for joining me for today’s project, and I hope you have a wonderful rest of your day!

Supply List

Affiliate links used at no cost to you. What does this mean? If you use the links within this post to make a purchase, I receive a small commission, which allows me to continue to post crafty content for your enjoyment. I truly appreciate your support!

Latest Posts

Latest Instagram Posts

Simon Says Stamp Floral Sparkle Strands

Hello Friends, and welcome back! I’m so glad that you stopped by to check out today’s project featuring the new Sparkle Strands stamp from Simon’s latest release, Sweet Wishes. This is a really fun stamp, and I can see using it in many different ways! Let’s go ahead and go through the details.

NOTE: all supplies are linked in the thumbnails at the end of this blog post.

I began this project by stamping the Sparkle Strands onto a panel of Neenah 110lb cardstock using PFS Misty Coast ink. I then trimmed it down using the SSS Postage Stamp Edge Frames, and went to work on the other elements of the card.

I used the Divine Peony and cut that three times from Neenah 110lb and cut the leaves and centers from black cardstock. I did some ink blending on the layers of the flowers using Bubblegum and Sunbeam and then assembled those layers using liquid glue. The sentiment, which is from the Friendship Leafy Cluster set, was stamped with VersaMark ink and heat set using Detail White Embossing Powder. That was trimmed out with the coordinating die, along with two additional cuts for a stacked sentiment look.

Time for assembly! The panel was adhered to the card base, and the leaves were glued in place, while the flowers were adhered using foam tape for a bit of dimension. The sentiment was glued in place, and white pearls were added to the strands to finish up.

That does it for this project! I hope you enjoyed it, and I hope it inspires you to get creative in your space! Thanks again for joining me, and have a fabulous day!

Supply List

Affiliate links used at no cost to you. What does this mean? If you use the links within this post to make a purchase, I receive a small commission, which allows me to continue to post crafty content for your enjoyment. I truly appreciate your support!

Latest Posts

Latest Instagram Posts

Simon Says Stamp Artsy Birthday Instagram Hop

Hello Friends, and welcome back! The newest release from Simon, Sweet Wishes, is live and I’m back today with a birthday card featuring the new Artsy Florals set. There’s also a super, fun Instagram Hop happening today, so you’ll want to check that out as well! Be sure to comment along the hop for your chance to win a $25 gift certificate! Let’s not waste any more time, and get to the details!

NOTE: all supplies are linked in the thumbnails at the end of this blog post.

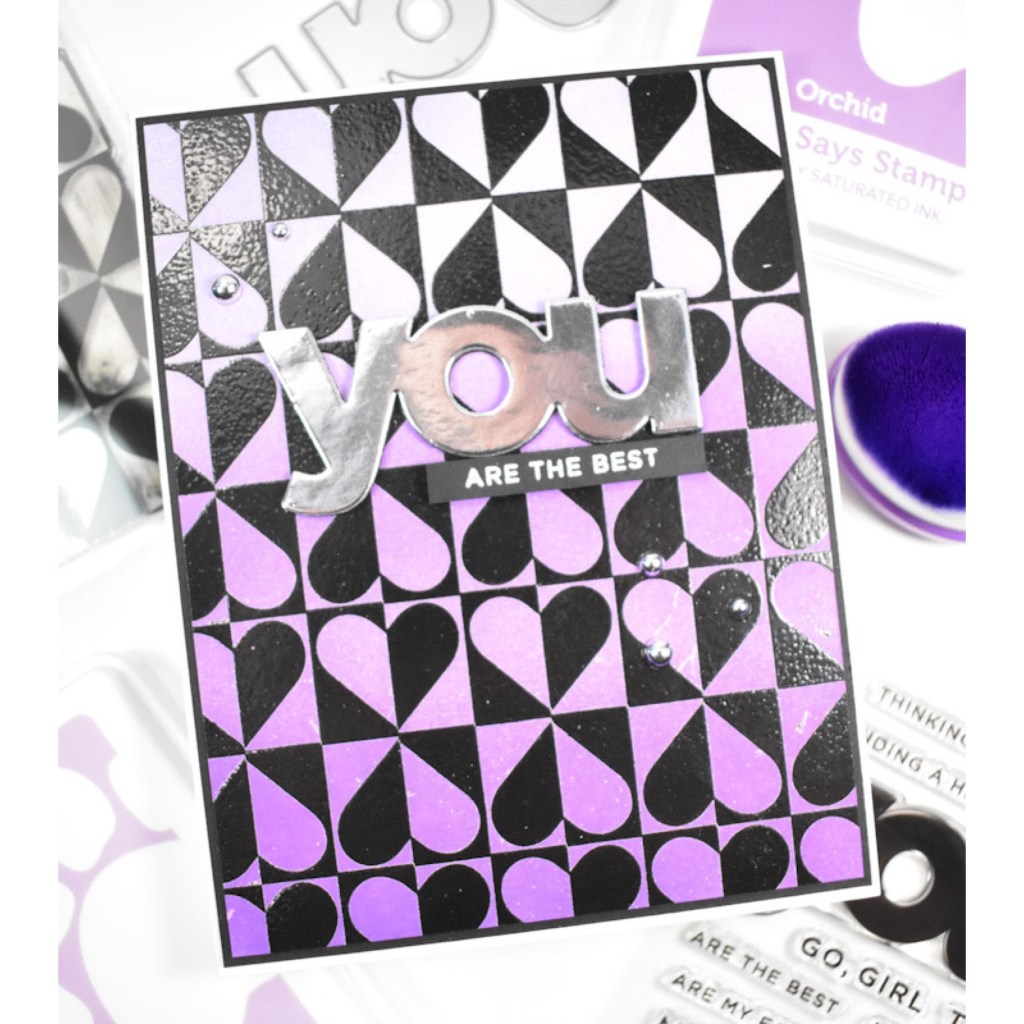
I began this project by stamping one of the circle elements from the set a bunch of times using VersaFine Onyx Black ink and heat setting them using Ranger Clear Embossing Powder. I also stamped another circle detail and dots within the centers for some added interest.

Once everything was stamped, I colored the artsy circles using Copic Markers in RV55, Y38 and BG01. I decided on these colors after pulling an inspiration card from my Color Cubes, because I get stuck on colors sometimes. I die cut the You once from black glossy cardstock and twice from regular black cardstock and adhered all of those together using liquid glue. The sub-sentiment is from the You stamp set, and that was stamped using VersaMark Ink and heat set using SSS Detail White Embossing Powder.

My background uses the SSS A2 Marquee die and some black splatter. I adhered a few of the arty circles with glue and some with foam tape, and both of the sentiments were adhered using foam strips for that added dimension that I love.

That does it for this one! I’m so glad that you stopped by to check it out! Don’t forget to head over to Simon’s website to check out the entire Sweet Wishes release, and head on over to Instagram to join the hop over there! I hope you have yourself a wonderful day!

Supply List

Affiliate links used at no cost to you. What does this mean? If you use the links within this post to make a purchase, I receive a small commission, which allows me to continue to post crafty content for your enjoyment. I truly appreciate your support!

Latest Posts

Latest Instagram Posts

Simon Says Stamp Joyeux Noel Shadow Frame

Hello Friends, and welcome back! I’m back today with a non-card project featuring the new Joyeux Noel die from the latest Sweet Wishes release. Let’s go ahead and get into the details!

NOTE: all supplies are linked in the thumbnails at the end of this blog post.

I have been wanting to do a shadow box frame project for a while now, and when I received this die, I thought that I could make a holiday type home decor project. I went to a big box craft store and purchased two shadow frames, one black and one white, because I wasn’t sure which color that I would want to use. Plus, they were 50% off, so I was basically getting two for the price of one, and who doesn’t love a good deal, right?!

My first step in this project was cutting the sentiment once from silver cardstock and three times from black cardstock. I also went ahead and cut the shadow portion twice and adhered all of those pieces together using liquid glue.

Next, I cut the Rustic Layering Flower from red cardstock, and cut the centers of the flowers from yellow cardstock. While I was cutting, I went ahead and cut the Budding Branches several times from green cardstock. I did some ink blending on all of these pieces using Cabernet, Honey and Kale inks. Once the ink blending was complete, I assembled the pieces of the flowers and set those aside.

If you know me, you know that I like to add gems in the place of berries, so I added red gems on all of my branches. So, normally you attach things in a shadow frame using pins, but that wasn’t going to work for me, so I cut a black panel the size of the opening and splattered that using silver acrylic ink.

Once that was dry, I began adhering the elements of the frame. The sentiment was adhered in the center using foam strips, the branches were glued in place and the flowers were adhered with foam squares.

That does it for this project. Please note that I did have to remove the glass for some of the photos, because there was too much glare. I hope you enjoyed this project as much as I did! I had been wanting to make a shadow frame for quite some time, and I’m so glad that I finally got around to doing it! I’m ready to make another one! Don’t forget to check out the entire Sweet Wishes release! Thanks for joining me, and I hope you have a fabulous day!

Supply List

Affiliate links used at no cost to you. What does this mean? If you use the links within this post to make a purchase, I receive a small commission, which allows me to continue to post crafty content for your enjoyment. I truly appreciate your support!

Latest Posts

Latest Instagram Posts

Simon Says Stamp Positive Birthday Wishes

Hello Friends, and welcome back to my blog! Thanks so much for stopping by to check out today’s project featuring the new Positivity Stencil from Simon’s latest release, Sweet Wishes. Let’s go ahead and get right into the details!

NOTE: all supplies are linked in the thumbnails at the end of this blog post.

This was a simple card to pull together, but I love the how it came out! I began by taping the stencil to a panel of Neenah 110lb cardstock and did some ink blending using Sprout, Surf and Cadette inks. Once the ink blending was complete, I trimmed the panel down using the SSS Postage Stamp Edge Frames.

At this point, the panel was missing something, so I decided to use a Copic Multiliner and draw lines within the white spaces. I wasn’t being careful or perfect with my lines, as I’m sure you can tell, but I felt like this simple addition of black made all the difference.

I stamped the sentiment, which is from the Clean Line Stacks set, onto a panel of black cardstock using VersaMark Ink, and heat set that using Detail White Embossing Powder. I used the coordinating die to trim it out, along with two additional cuts and adhered all of those together using liquid glue. The sentiment was then glued to the panel, and everything was then adhered to the card base to finish up.

That does it for this one! Like I said, a super, simple card, but I love the finished project! Don’t forget to check out the entire Sweet Wishes release, and let me know your favorites! Thanks again for joining me, and I hope you have a fabulous day!

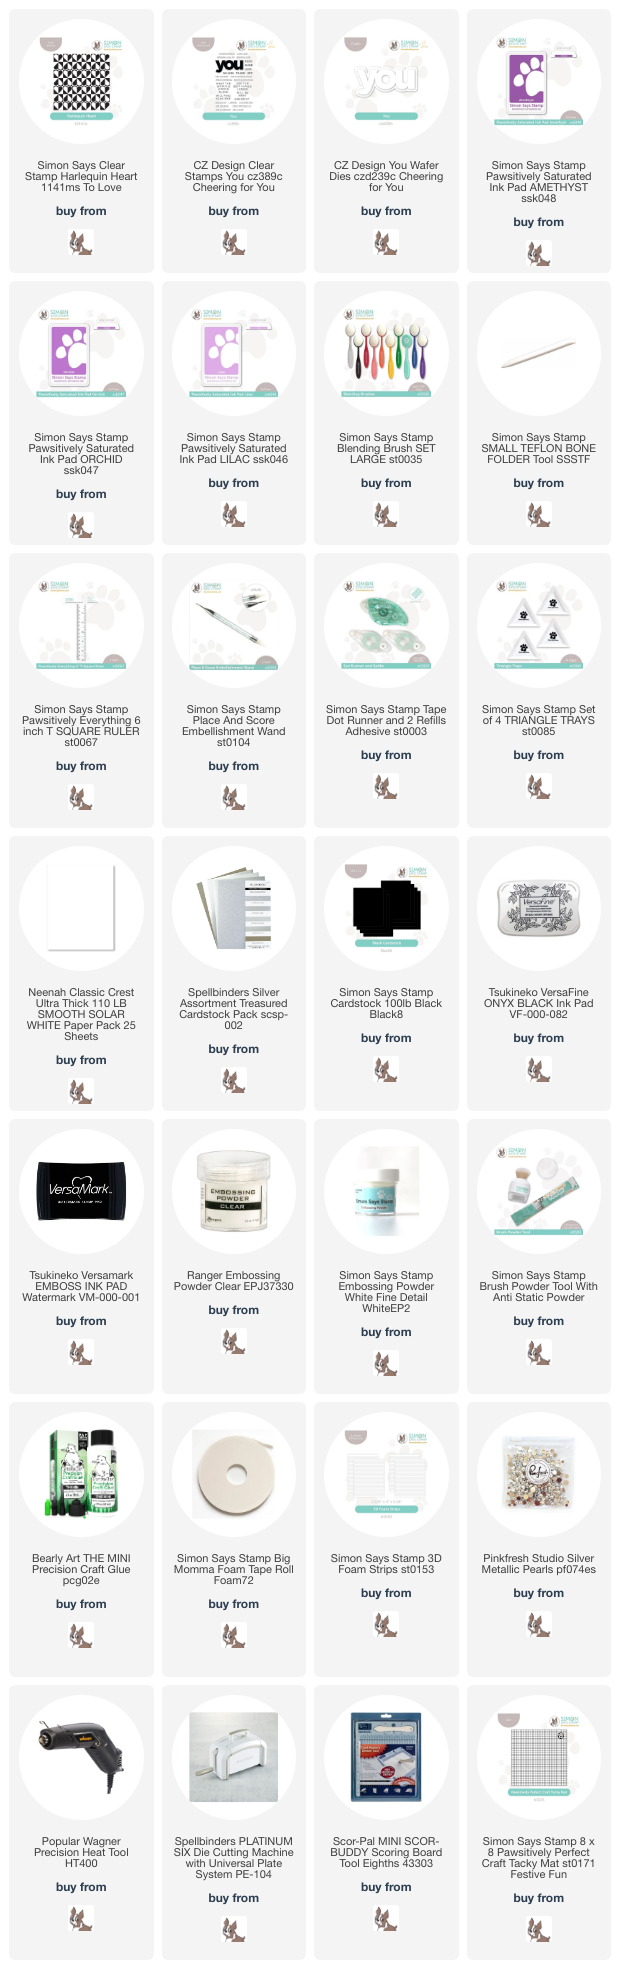
Supply List

Affiliate links used at no cost to you. What does this mean? If you use the links within this post to make a purchase, I receive a small commission, which allows me to continue to post crafty content for your enjoyment. I truly appreciate your support!
Latest Posts

Latest Instagram Posts

Simon Says Stamp Merry Everything Stylized Tree

Hello Crafty Friends, and welcome back! The latest release from Simon, Sweet Wishes, is live, and it has some amazing things in it! My project for today is featuring a couple of new items, so let’s go ahead and get into the details!

NOTE: all supplies are linked in the thumbnails at the end of this blog post.

The new products that I’m using for this project are the Merry Everything stamp, the Stylized Tree die and the Schoolhouse Red Pre-Scored Cards. I began this project by putting one of the cards in the Misti and repeatedly stamping the Merry Everything stamp using VersaMark Ink. I love creating background with words, whether it’s a stamp or a die!

While the background was drying, I cut the Stylized Tree once from green cardstock and twice from black cardstock and adhered all of those together with liquid glue. I also cut the baubles from gold cardstock and adhered those as well. I added a bunch of glue to the branches of the tree and added glitter atop that. The glitter wasn’t giving quite the definition that I was looking for, so I repeated the process a second time, but I added Mica Flakes for that go around.

To finish up, the snow laden tree was glued directly to the card base. This was a relatively quick and simple card, but I love how it turned out! Don’t forget to head on over to Simon’s website to check out the entire Sweet Wishes release! Thanks again for joining me, and I hope you have a wonderful day!

Supply List

Affiliate links used at no cost to you. What does this mean? If you use the links within this post to make a purchase, I receive a small commission, which allows me to continue to post crafty content for your enjoyment. I truly appreciate your support!

Latest Posts

Latest Instagram Posts
Simon Says Stamp Everything is Okayer Now

Hello! Hello! Thanks so much for stopping by! I’m back today with a project featuring the new Coffee Time set. Are you a coffee drinker? If so, this set is definitely for you! I’m loving all of the fun sentiments in this set! Let’s go ahead and go through the details!

NOTE: all supplies are linked in the thumbnails at the end of this blog post.

For the background on this one, I used the SSS Brush Strokes stencil along with SSS Pawsitively Saturated Ink in Latte, Cappuccino and Mocha. Once the ink blending was complete, I used the SSS Postage Stamp Edge Frames to trim it down. I stamped the coffee mug and the sentiments from the SSS Coffee Time set using VersaFine Onyx Black ink and heat set those using Ranger Clear Embossing Powder. I used the coordinating dies to trim those out, cutting the sentiments two more times for that stacked look.

I decided that I wanted some other coffee cups, and the only one that I could find is from the SSS Happy Fall Y’all set. So, I stamped that one twice and did the same heat setting, and colored it in using Copics E31, E37, C1, C2, C3, G21 and G24.

Before assembling the card, I did splatter the base using TH Distress Mica Spray in Crooked Broomstick. The striped panel was adhered, and all of the elements on the front of the card were adhered using foam strips to finish up.

A super simple card for today! I hope you enjoyed it, and I hope it inspires you to get crafty in your space! Head on over to Simon’s website to check out the entire STAMPtember release! Thanks again for joining me, and I hope you have a fabulous day!

Supply List

Affiliate links used at no cost to you. What does this mean? If you use the links within this post to make a purchase, I receive a small commission, which allows me to continue to post crafty content for your enjoyment. I truly appreciate your support!

Latest Posts

Latest Instagram Posts

Simon Says Stamp STAMPtember Collaboration with Alex Syberia Designs

Hello Crafty Friends, and welcome back to my blog! Are you enjoying STAMPtember?!? What are your favorite products from the release? Which collab sets have been your favorites? I’d love to know in the comments! Today’s collab set is featuring the awesome Alex Syberia Designs! Alex has some beautiful floral designs, and this set absolutely does not disappoint! Let’s run through the details for how I created this one!

NOTE: all supplies are linked in the thumbnails at the end of this blog post.

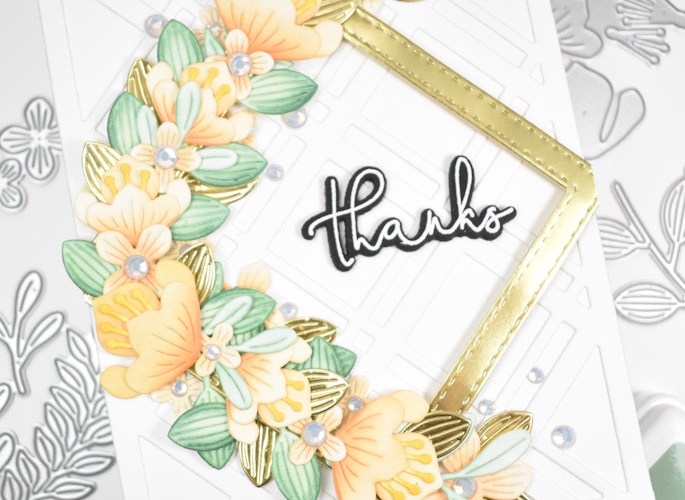
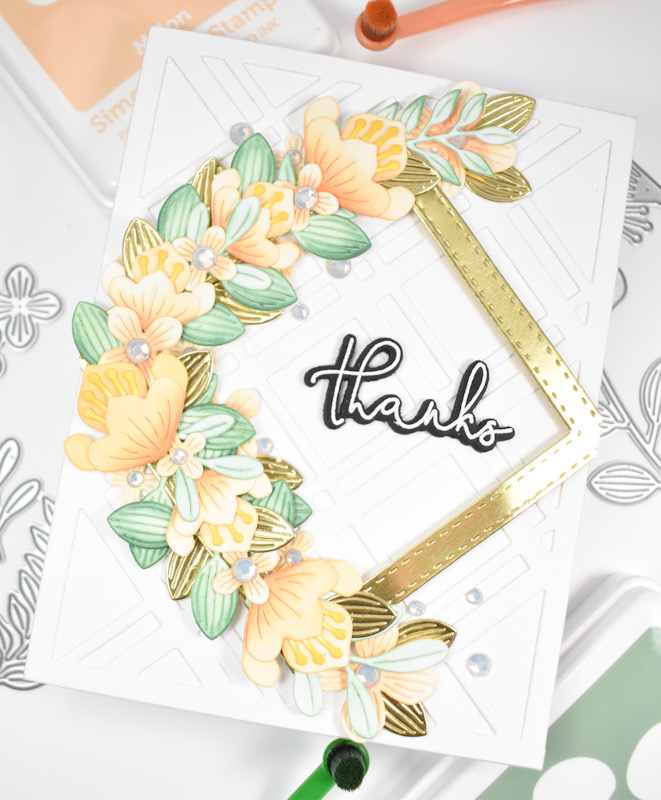
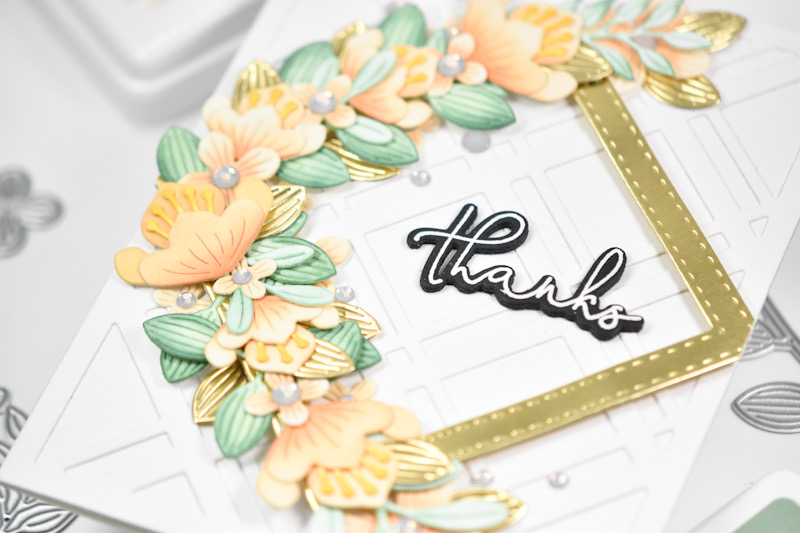
I began by stamping the floral image onto a panel of watercolor paper twice using VersaMark Ink and heat set it using SSS Detail White Embossing Powder. I then used Karin Markers and a water brush to color the images. Once the images were dry, I did the tedious fussy cutting! For the background, I used the SSS Postage Stamp Edge Frames and cut a panel of Neenah 110lb cardstock and splattered it using gold acrylic ink.

The splattered panel was adhered to the card base, and I began deciding on the layout for the card. As I always say, I needed more leaves, so I cut some gold leaves using Alex Syberia Designs Classic Foliage set. I glued the leaves in place and adhered the florals with foam tape for added dimension. I worked my way from the top of the card to the bottom, tucking in the leaves along the way.

The sentiment is from my stash, and it was created using the PinkFresh Studio Wonderful Sentiments set and some gold foil. When foiling sentiments, I usually create a bunch at once and then just put them in a storage container until I’m ready to use them. It’s just a little time saver that I find to be quite helpful. To finish up, the sentiment was adhered to the card using liquid glue.

That does it for this one! I hope you enjoyed it as much as I did! I rarely color or watercolor very often anymore, so this was a nice change for me! Don’t forget to head on over to Simon’s website to snatch up your collab set from Alex, because once they’re gone, they’re gone! Thanks again for stopping by, and I hope you have a fabulous day!

Supply List

Affiliate links used at no cost to you. What does this mean? If you use the links within this post to make a purchase, I receive a small commission, which allows me to continue to post crafty content for your enjoyment. I truly appreciate your support!

Latest Posts

Latest Instagram Posts