Spellbinders Holly Holiday Background

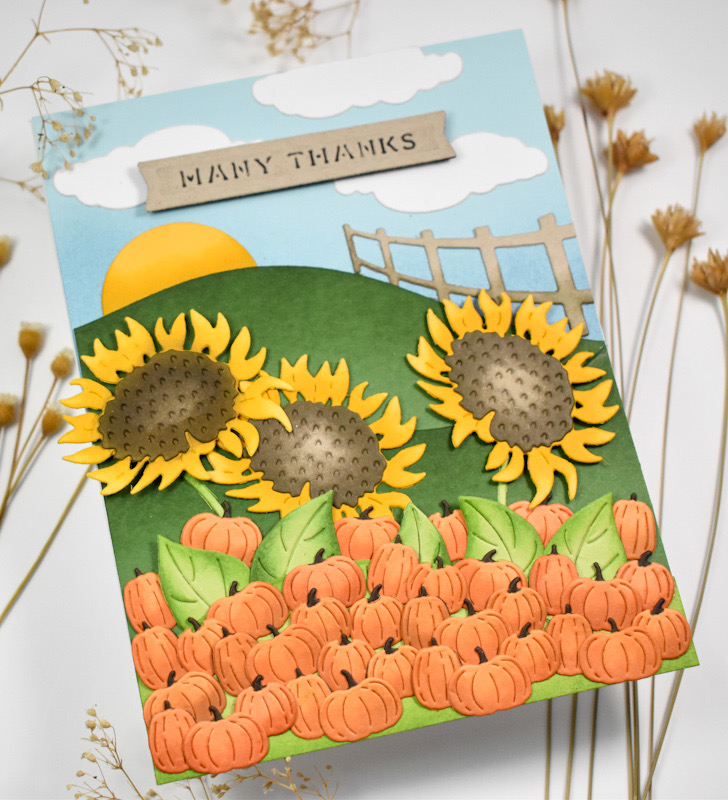
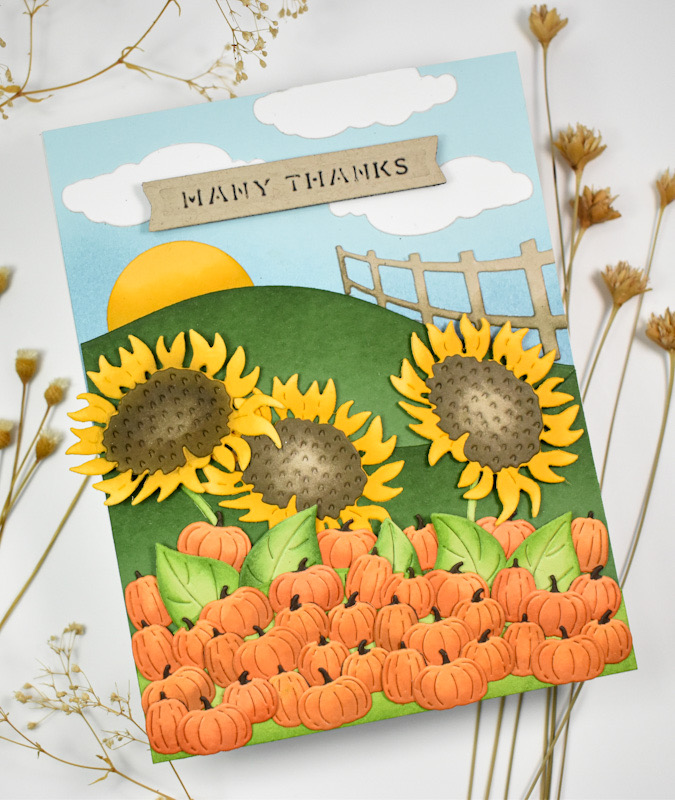
Hello Friends and thanks for joining me! Today’s project is featuring the new Holiday Background Panel, as well as the Festive Circle Sentiments from the Spellbinders September release! Let’s go ahead and go through the details, shall we?

NOTE: all supplies are linked to multiple sources in the thumbnails at the end of this blog post.

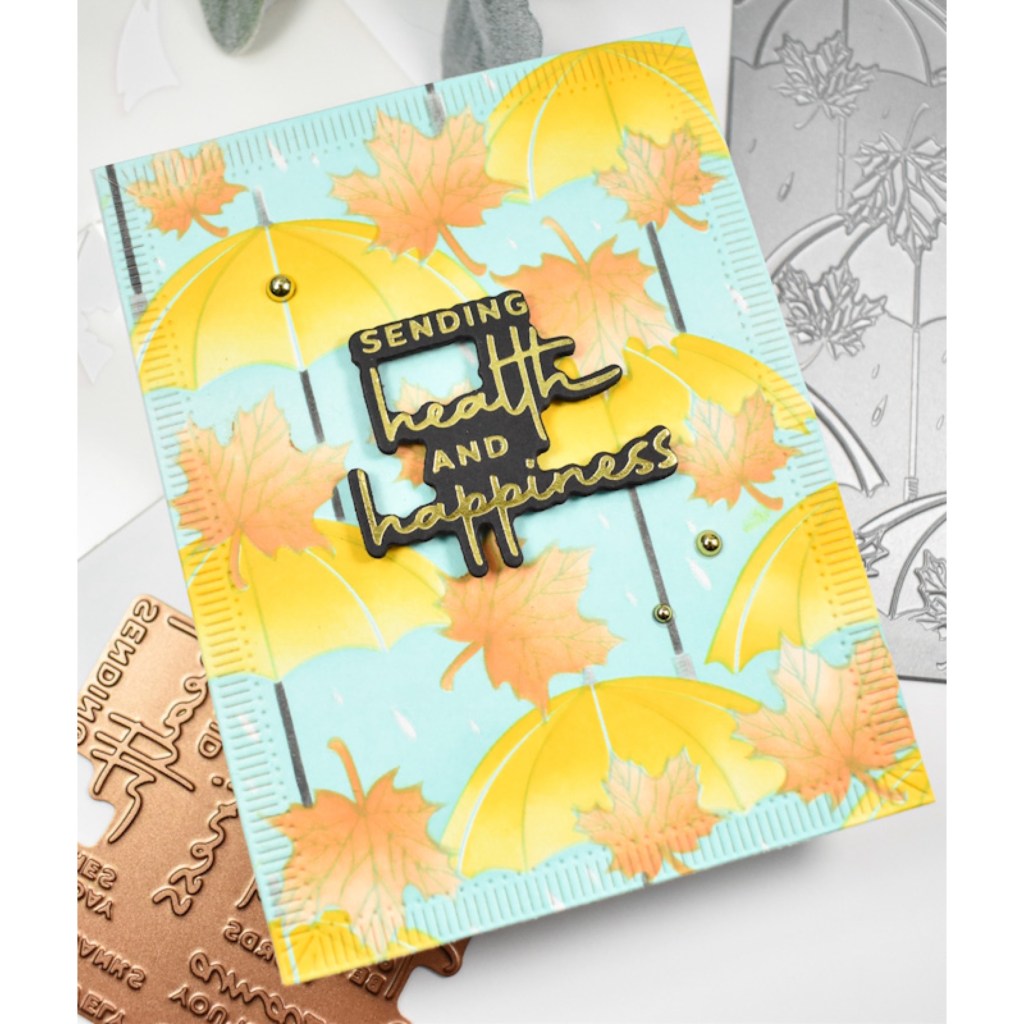
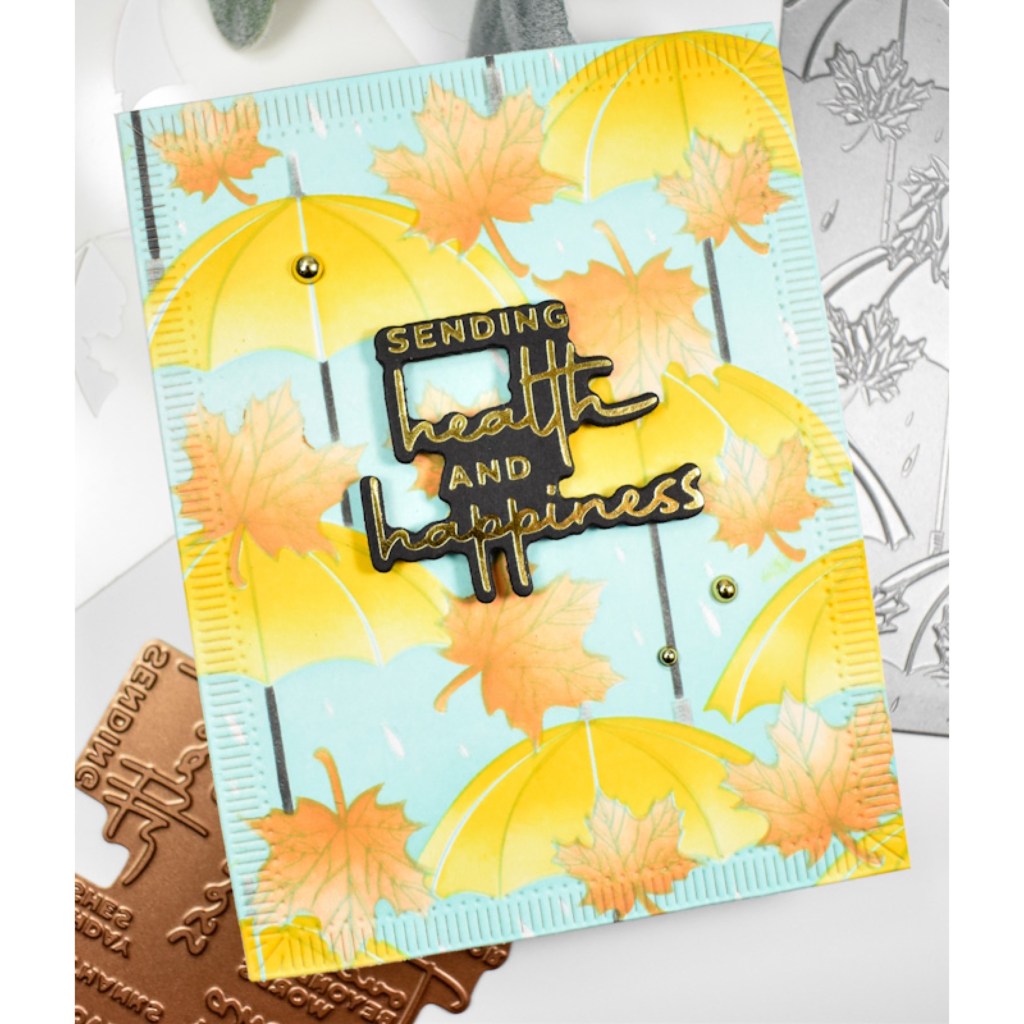
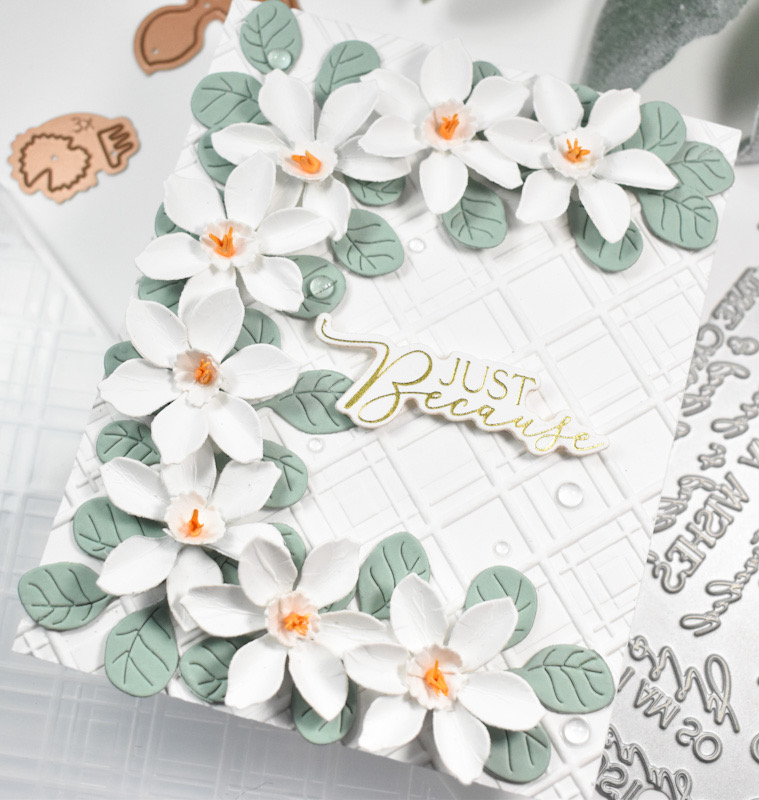
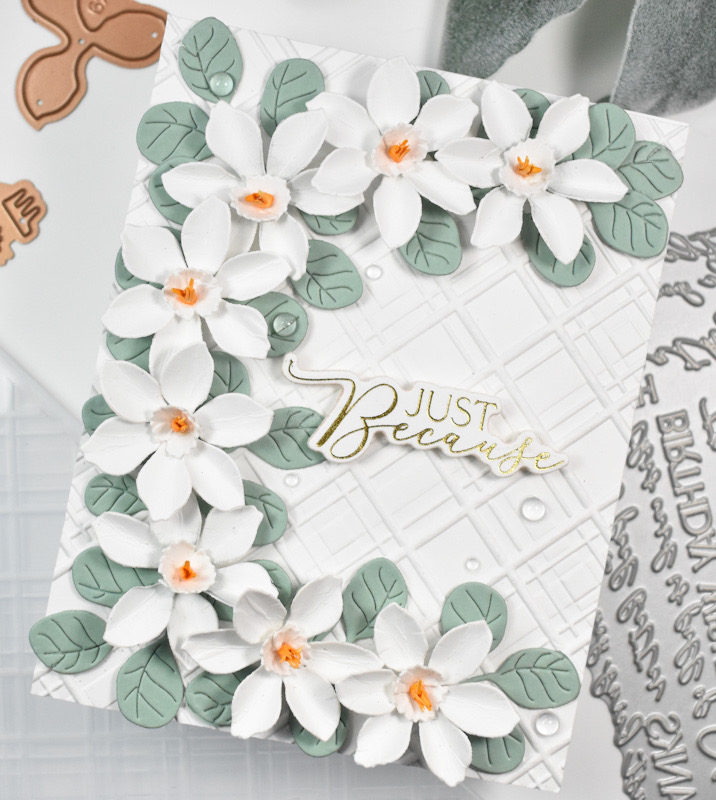
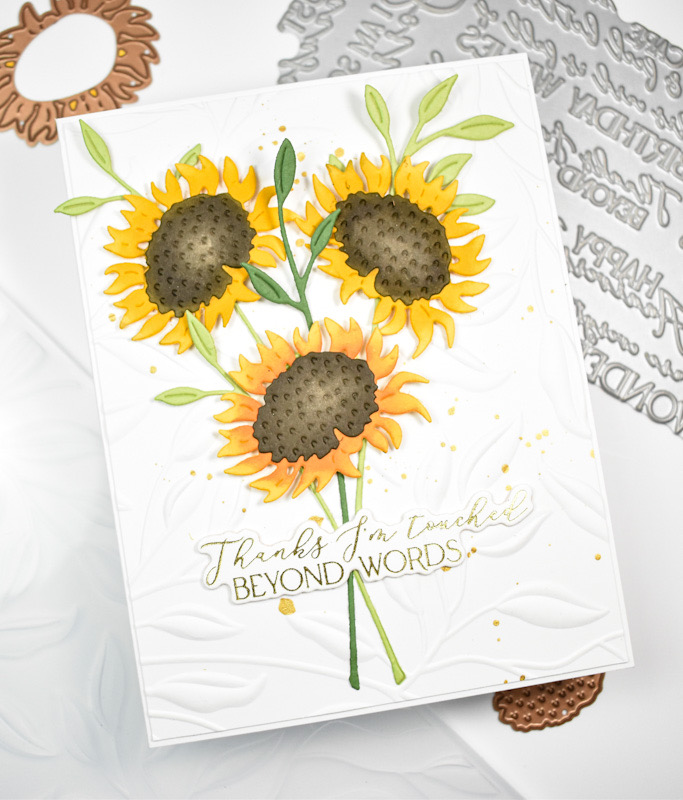
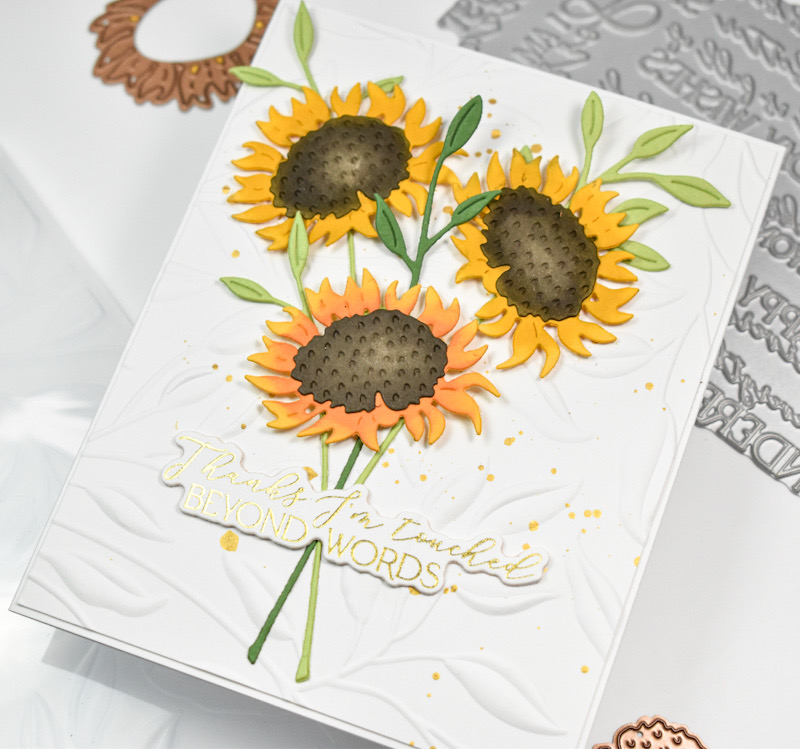
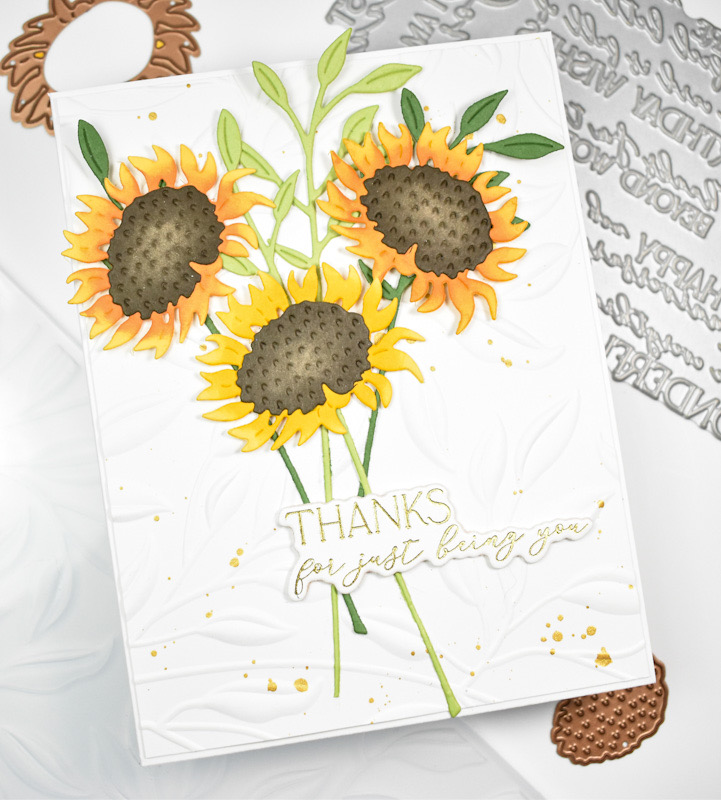
I began this project by gold foiling one of the panels from the Holiday Background Panels BetterPress set. There are four panels in this set, so you have lots of options for creating beautiful backgrounds. While I was foiling, I went ahead and gold foiled the Festive Circle Sentiments as well and used the coordinating die to trim those out.

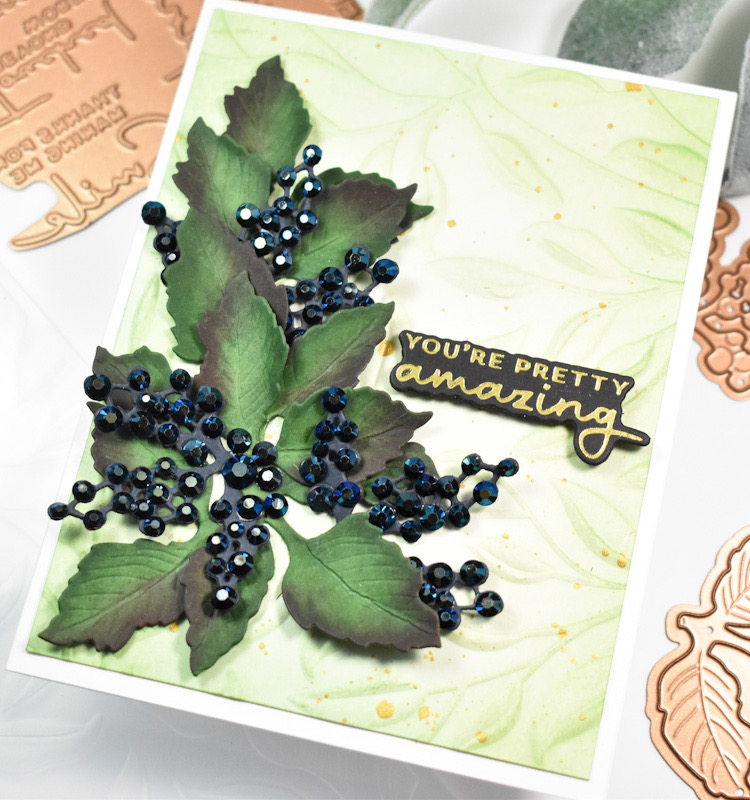
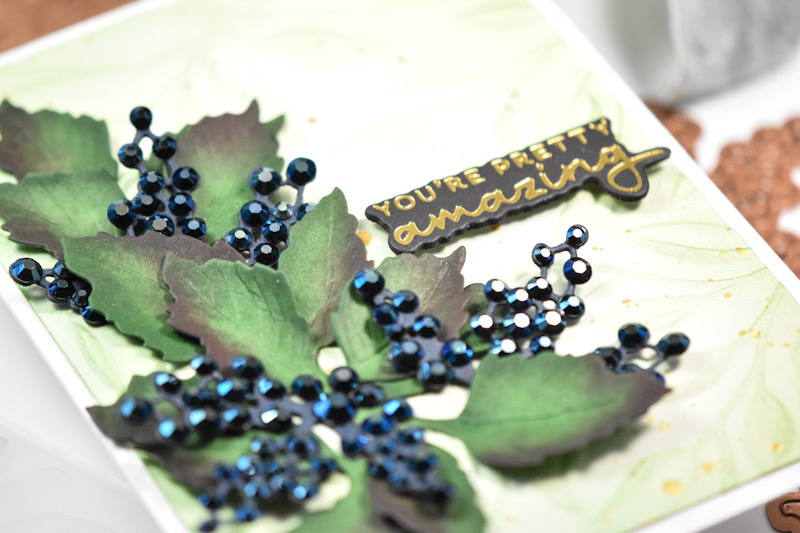
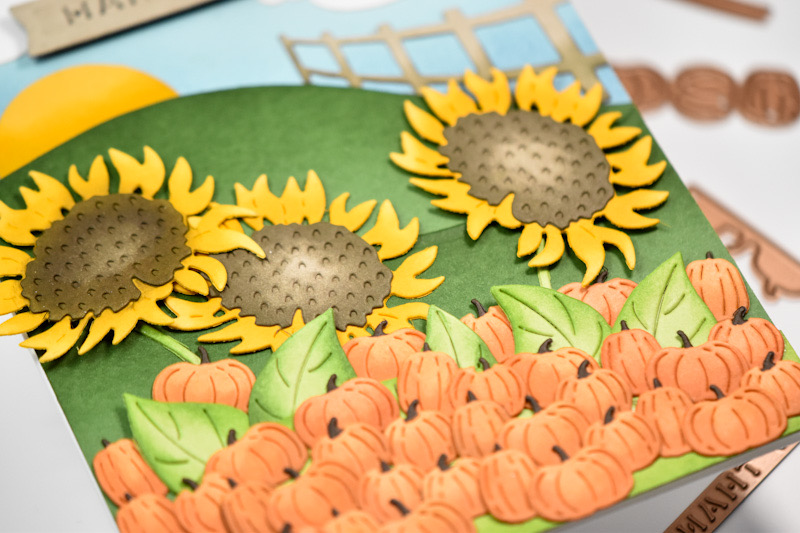
I knew that I wanted some florals and some holly, so I used the Sealed Holly Sprigs and Petite Blooms and Sentiments for that and cut those from red and green cardstock. To add some depth to the leaves, I used Field ink and did some ink blending on the edges of those. The foiled panel was adhered to the card base using foam tape, and the sentiment was glued in the center of that.

The leaves and flowers were adhered with liquid glue as well, and I added some red jewels to add a bit more interest and shine for berries.

That does it for this project! It’s nice to be adding some holiday cards to my stash this early! When do you typically start on your holiday cards? I usually begin my personal Christmas cards in October, which is quickly approaching! Thanks again for joining me, and I hope you have a fabulous day!

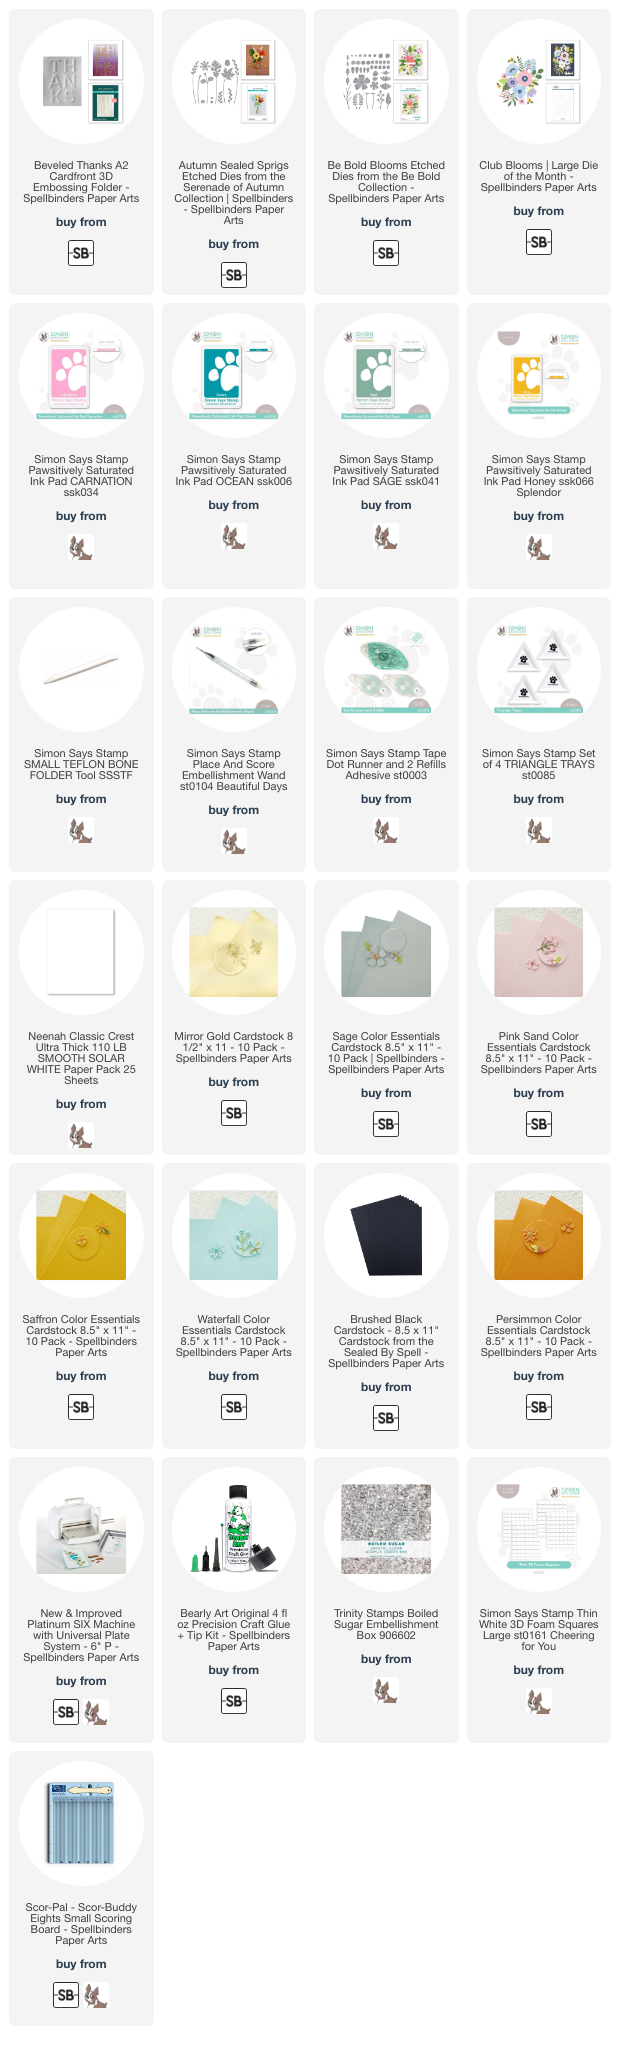
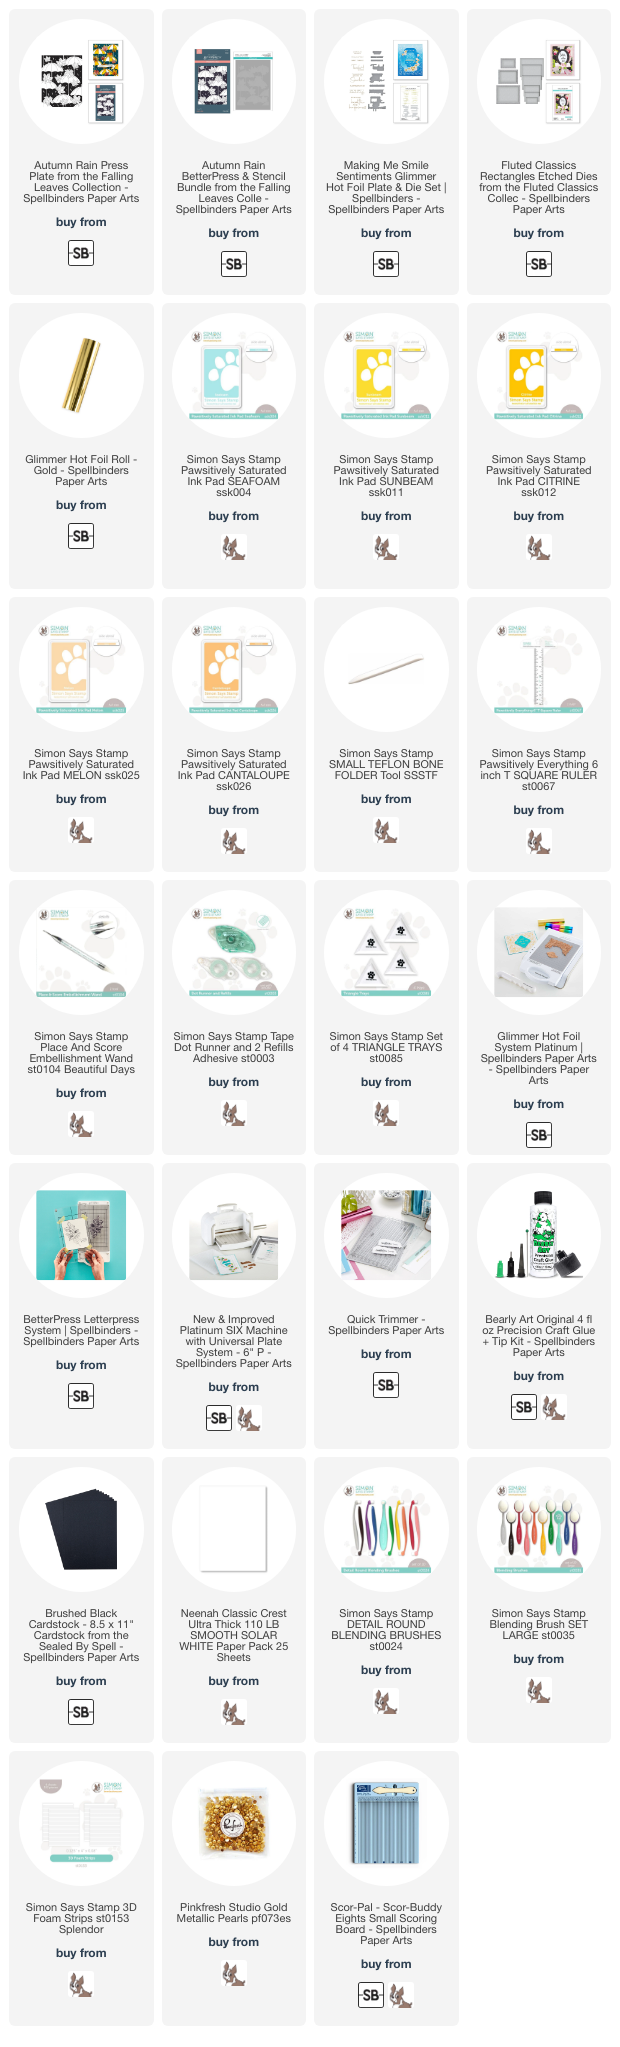
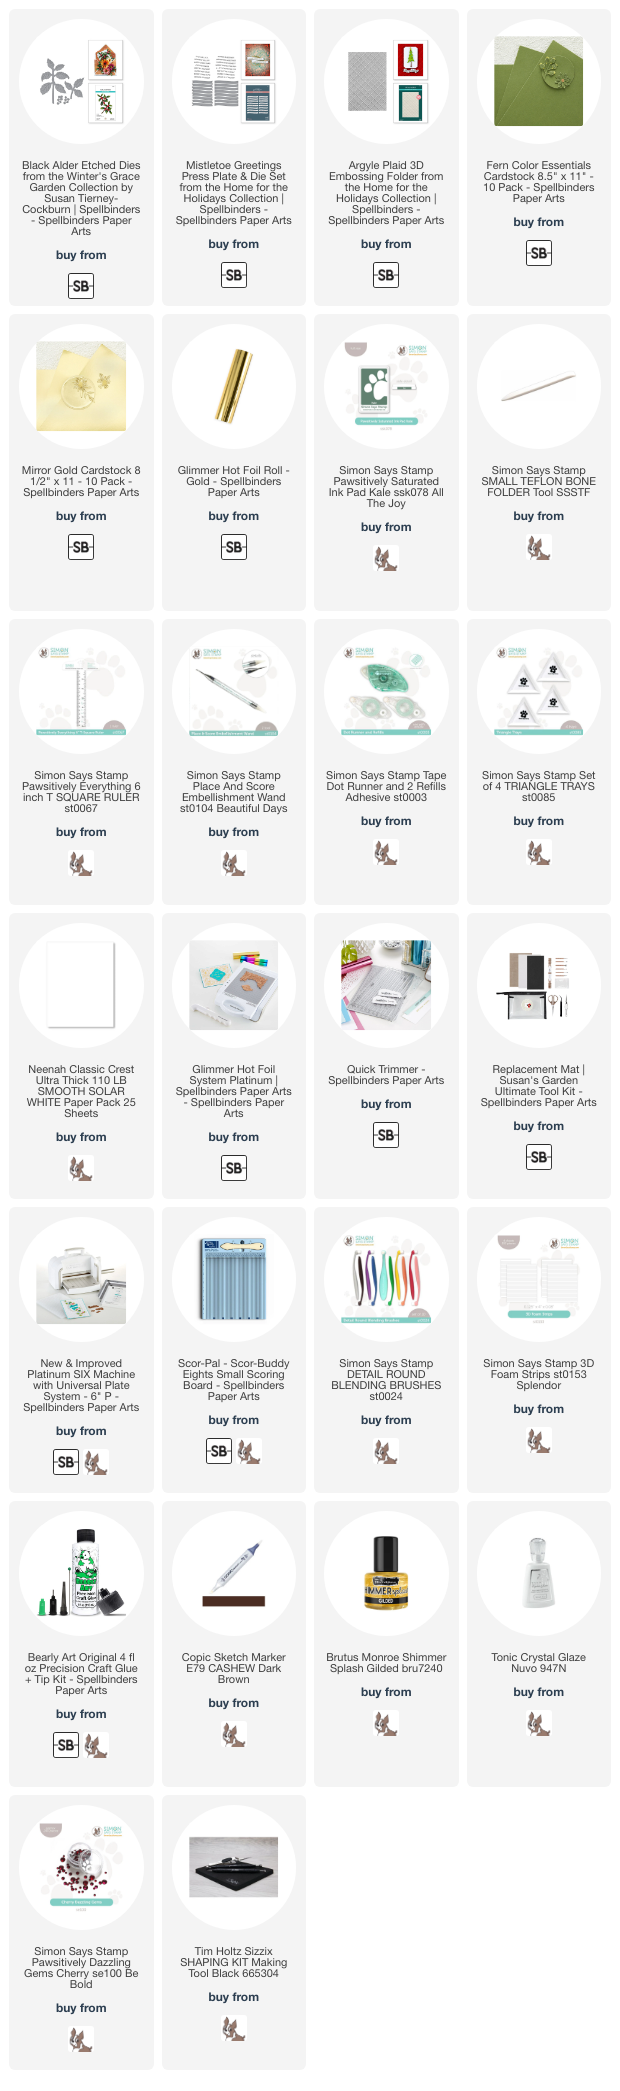
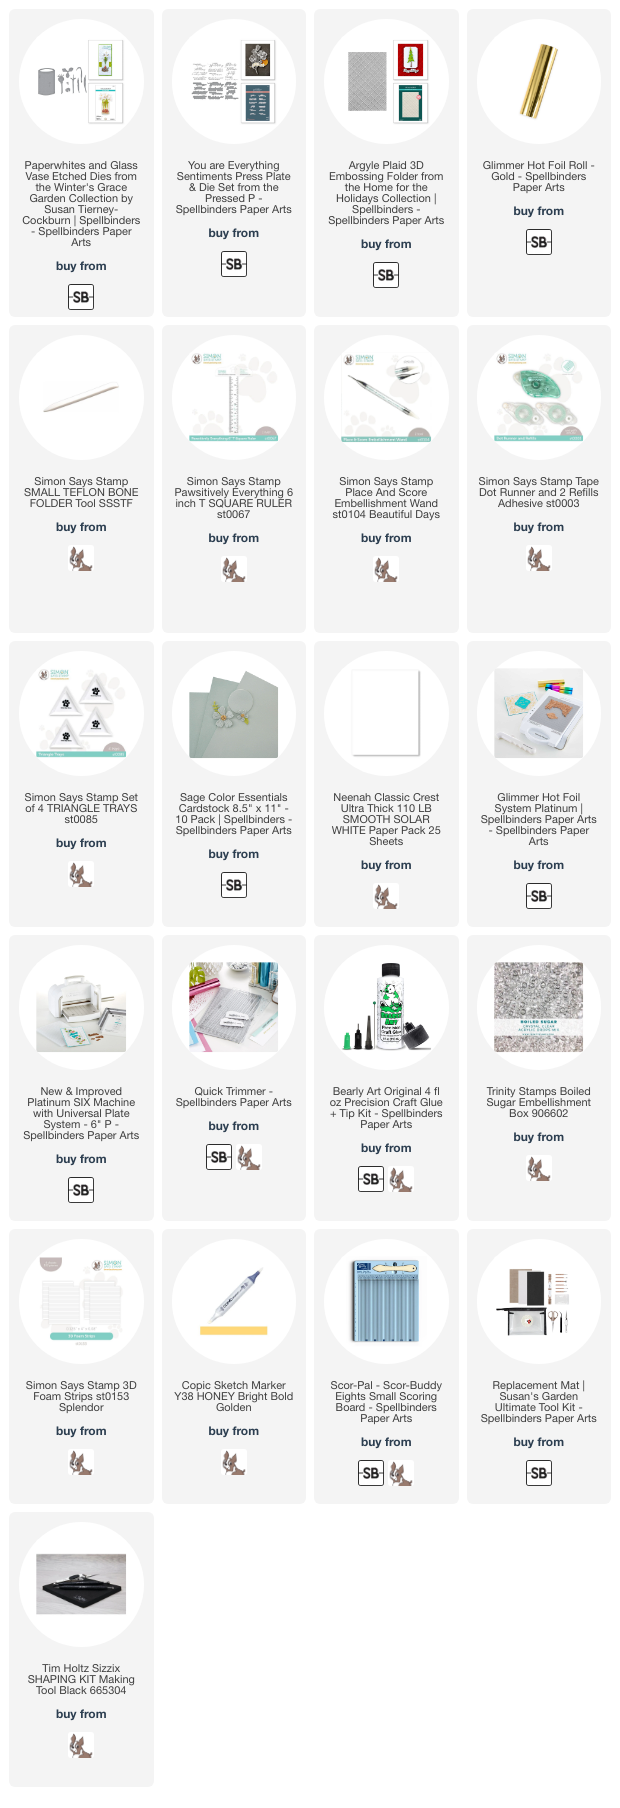
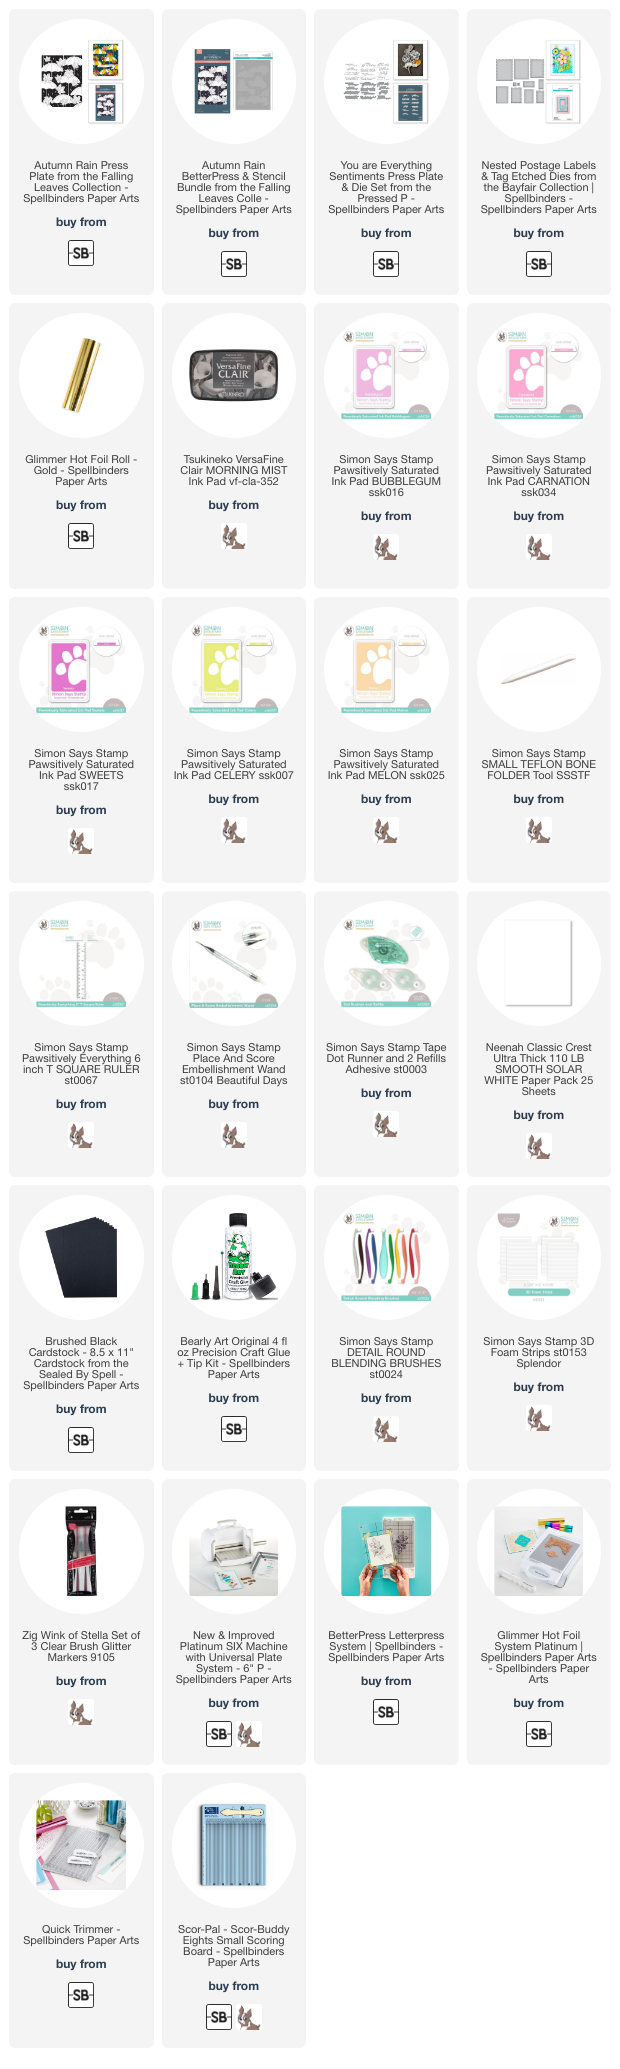
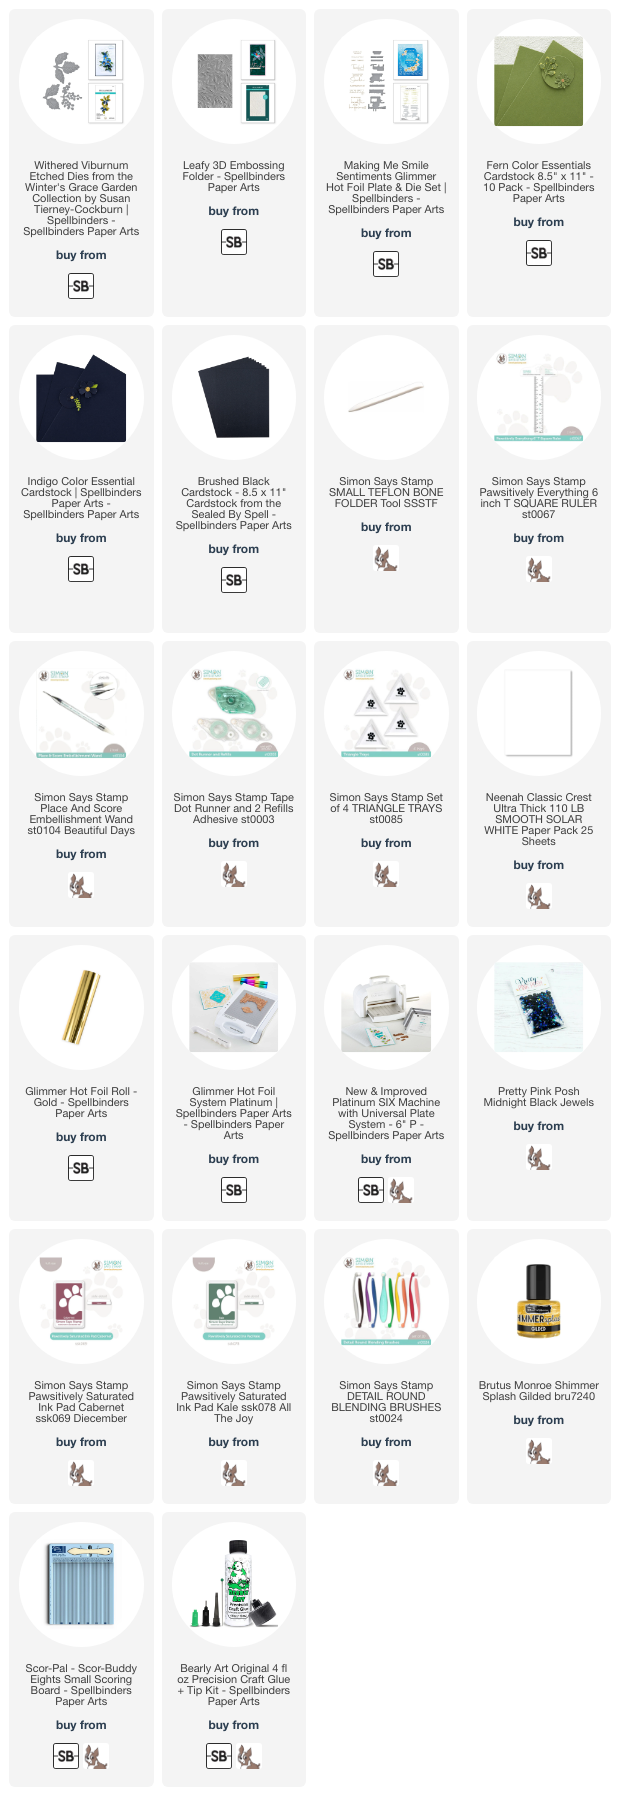
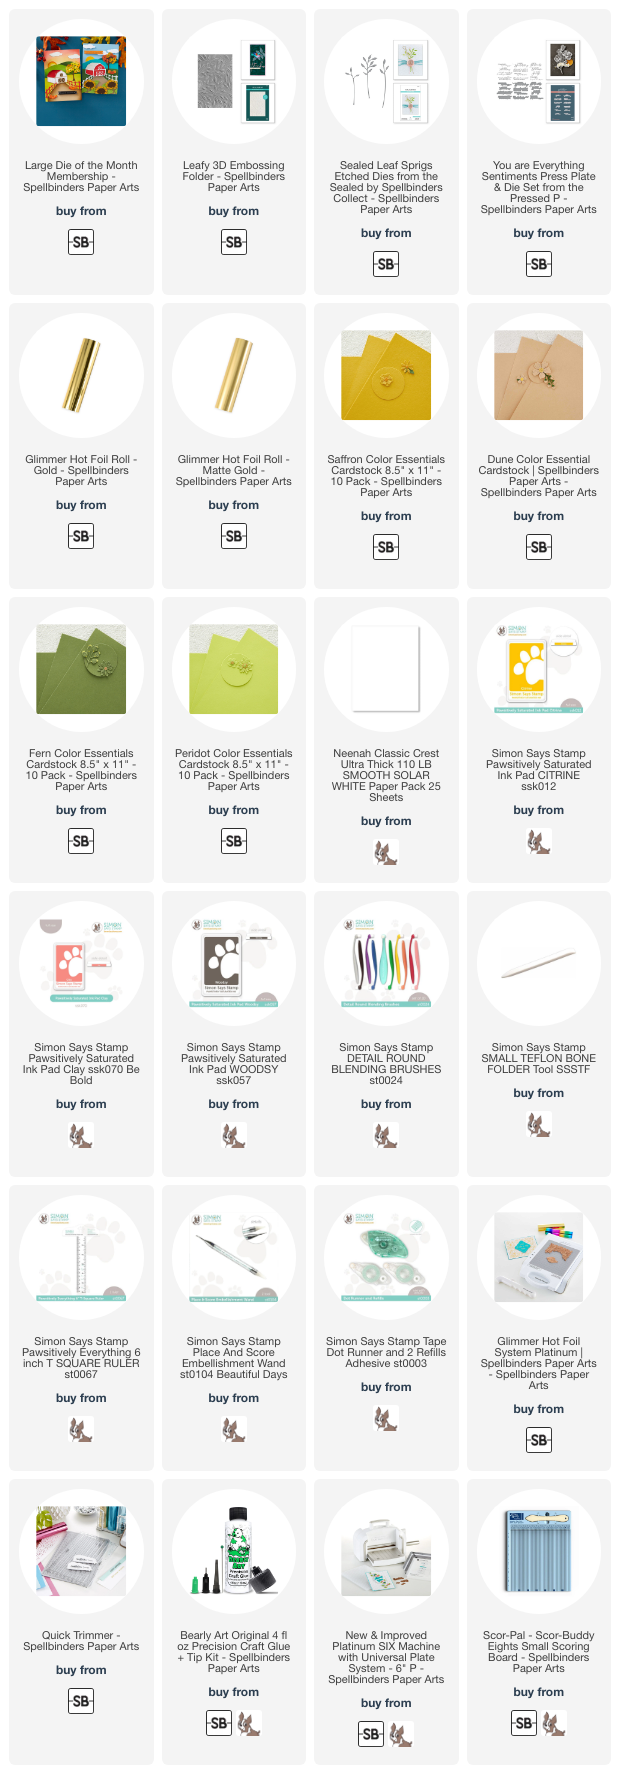
Supply List
Affiliate links used at no cost to you. What does this mean? If you use the links within this post to make a purchase, I receive a small commission, which allows me to continue to post crafty content for your enjoyment. I truly appreciate your support!
Latest Posts
- Simon Says Stamp Braided Greetings

- Together By Design Color Cube Floral

- Simon Says Stamp Cute Duckling

- Simon Says Stamp Watercolor Wild Rose

- Simon Says Stamp Striped Missing You