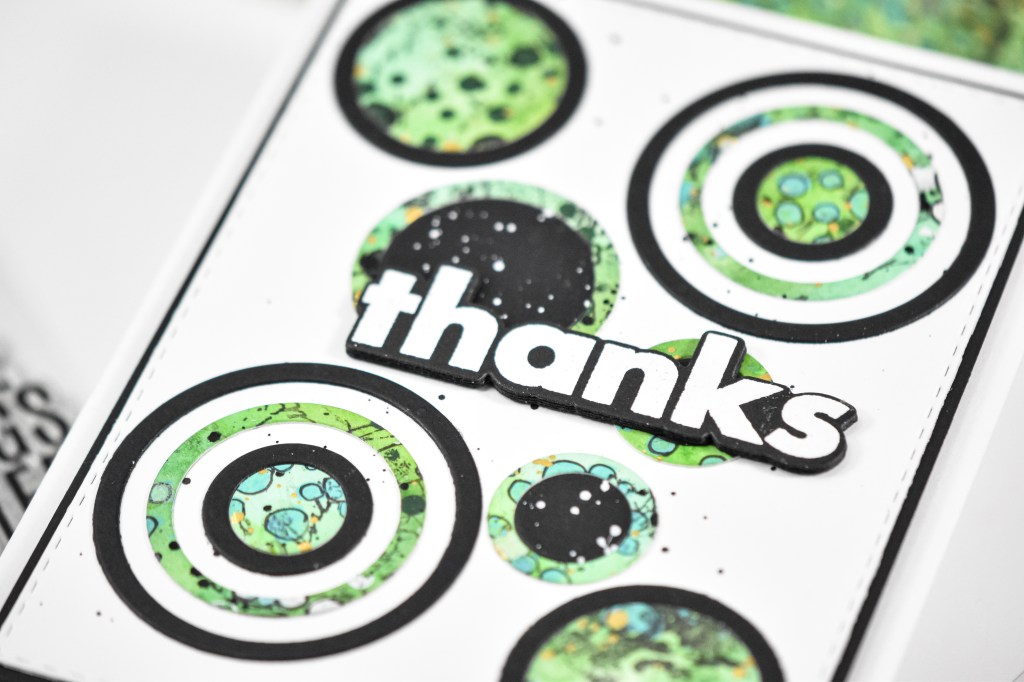
Simon Says Stamp Circle Thanks

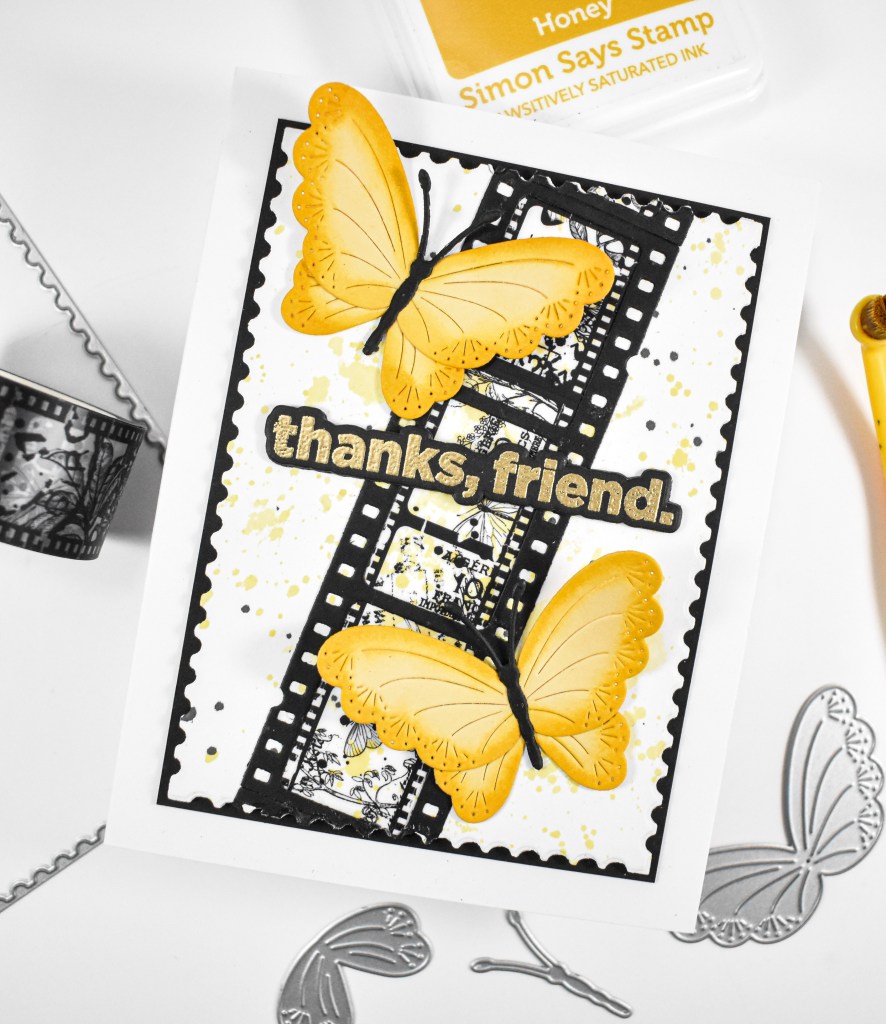
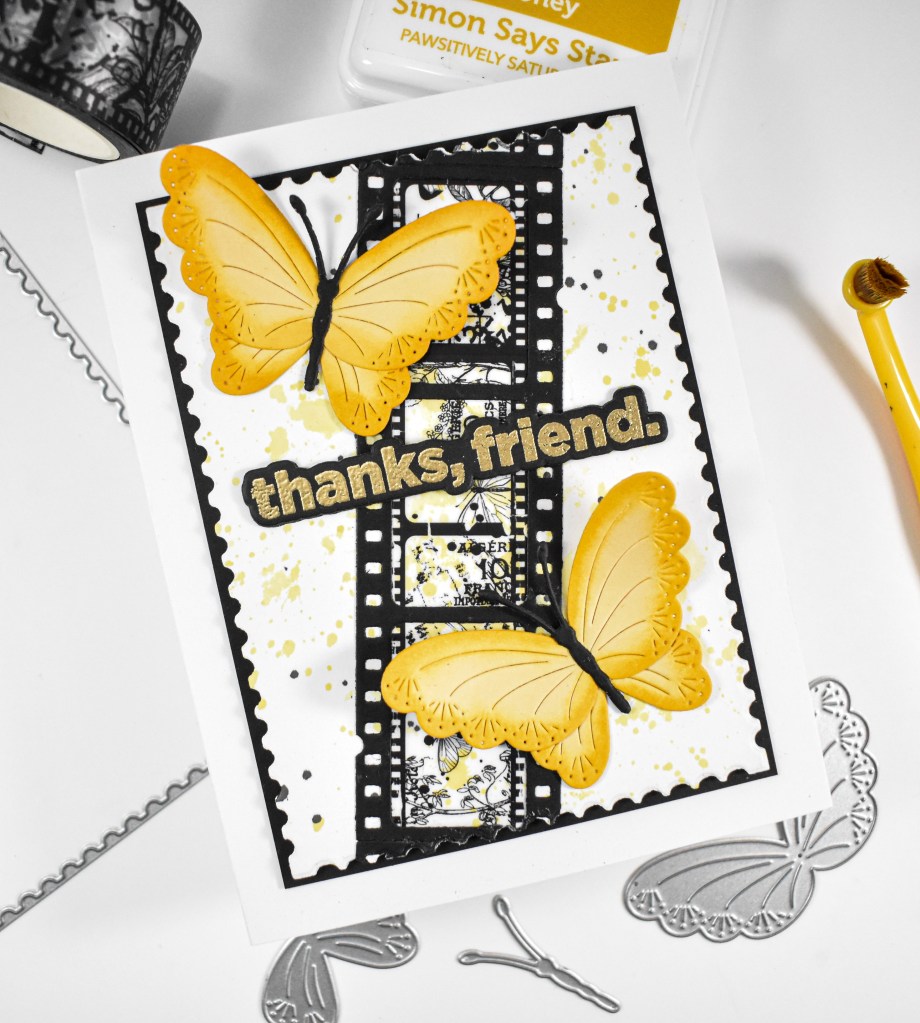
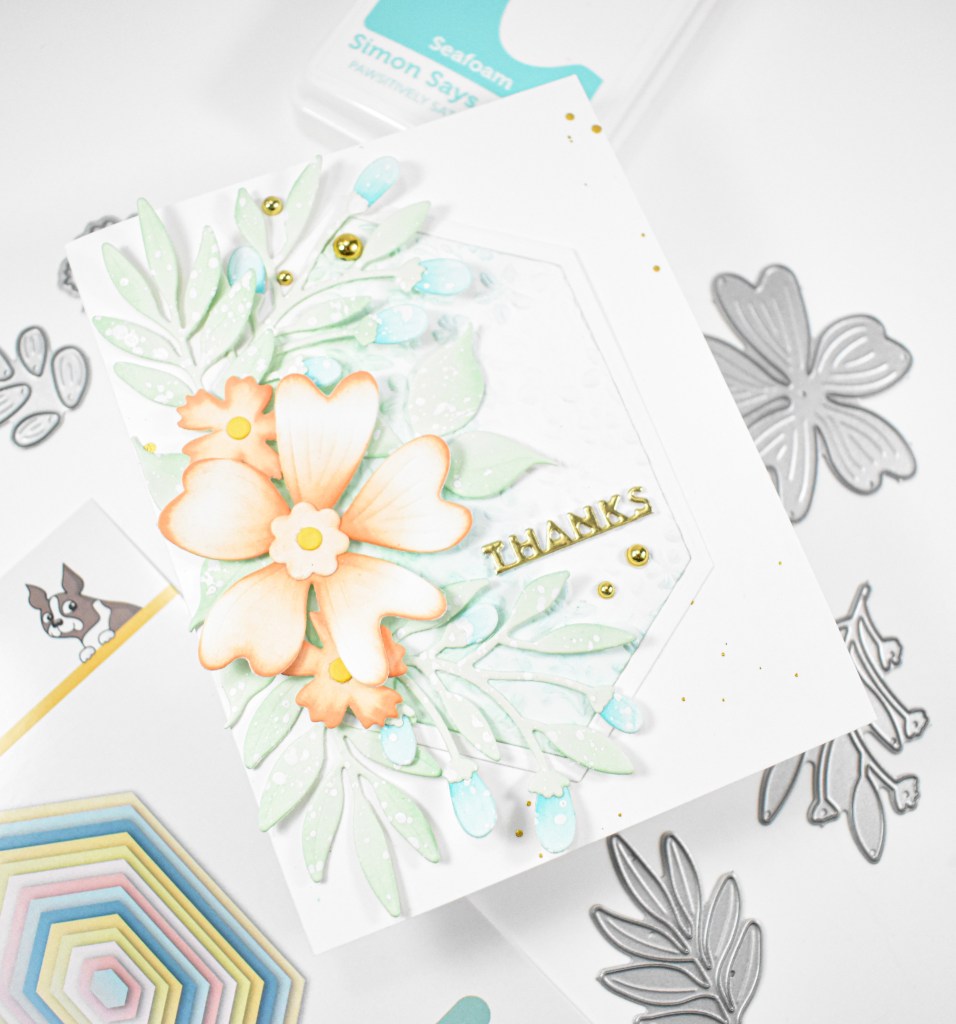
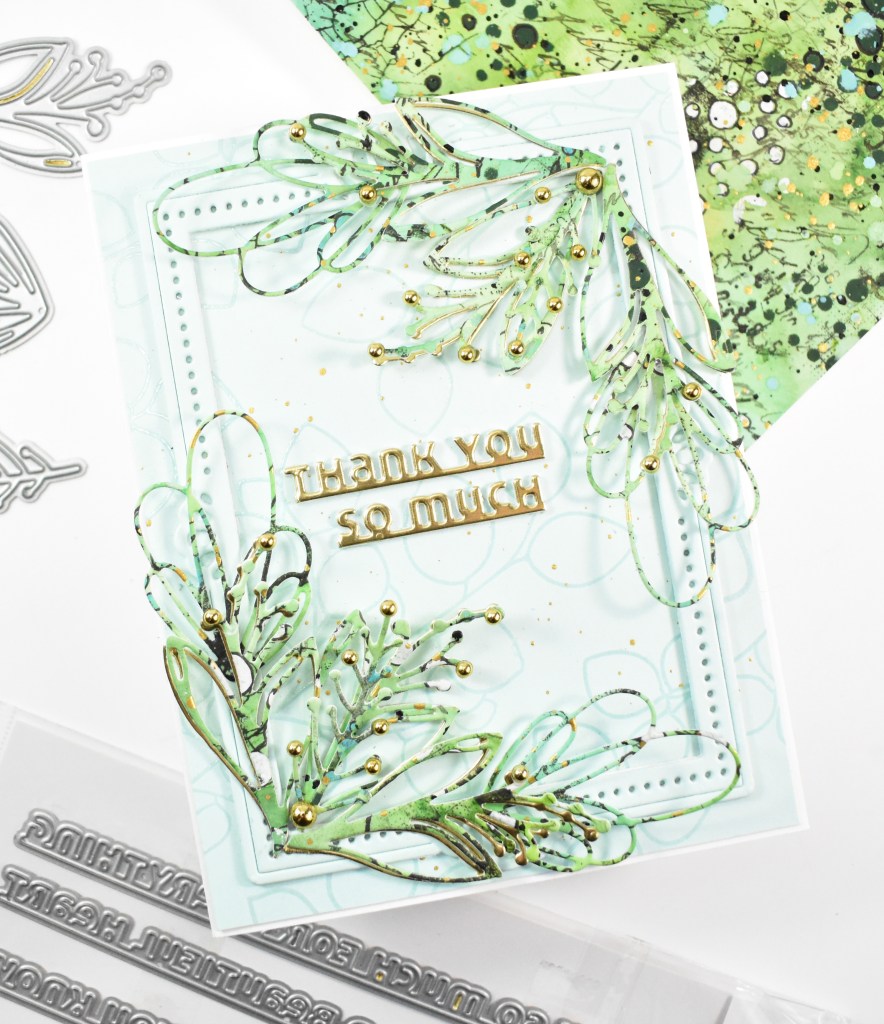
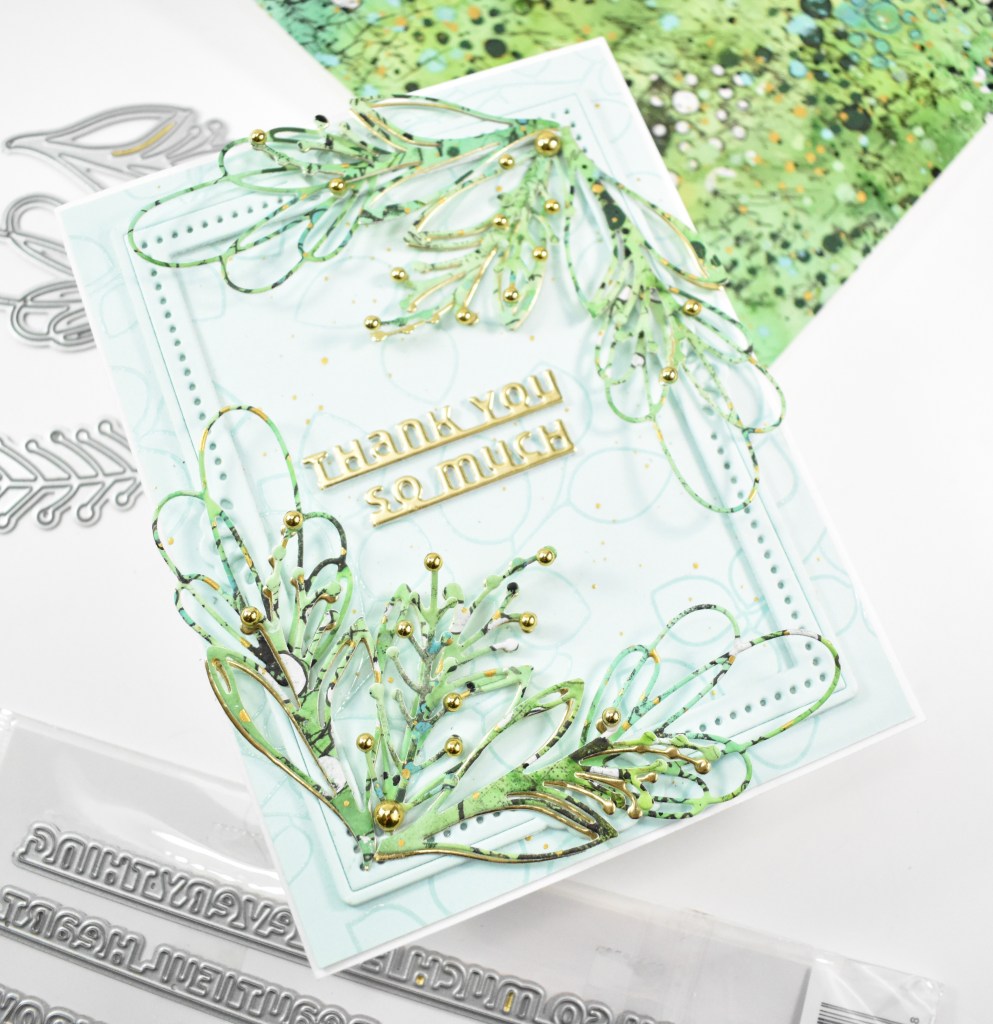
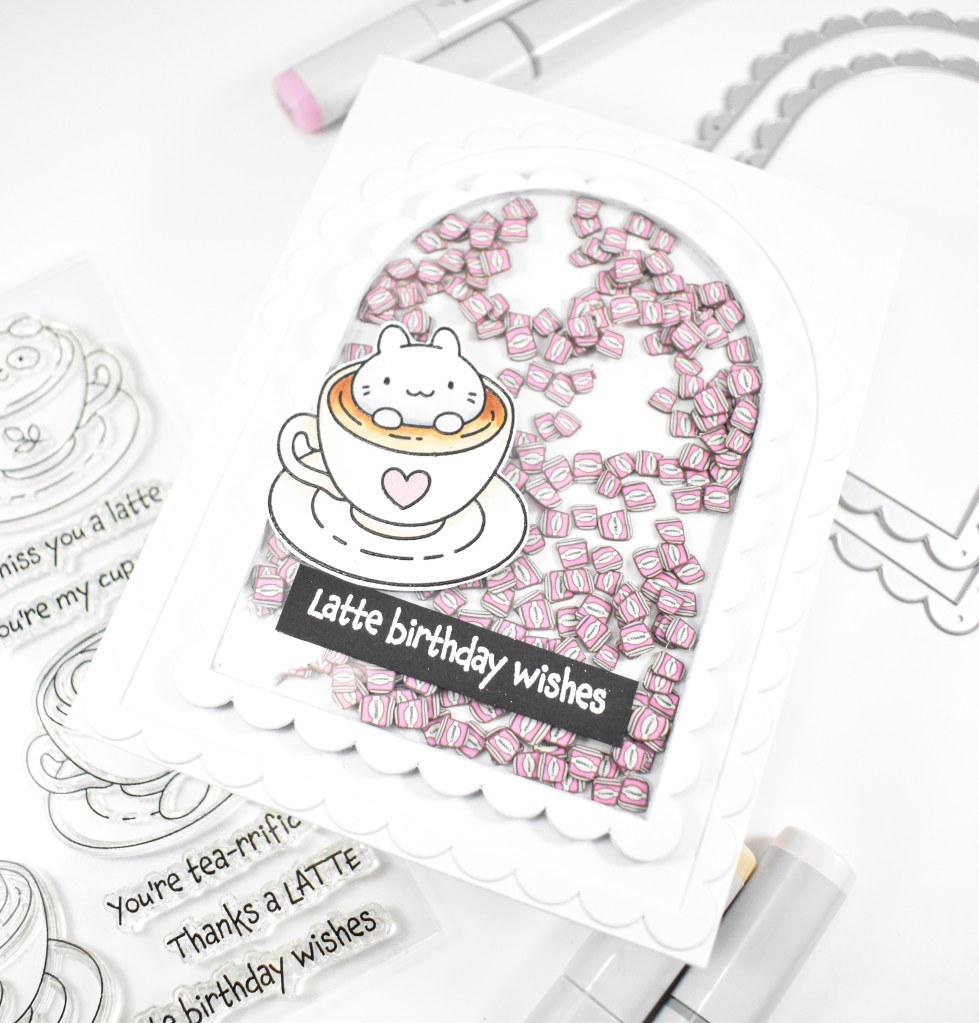
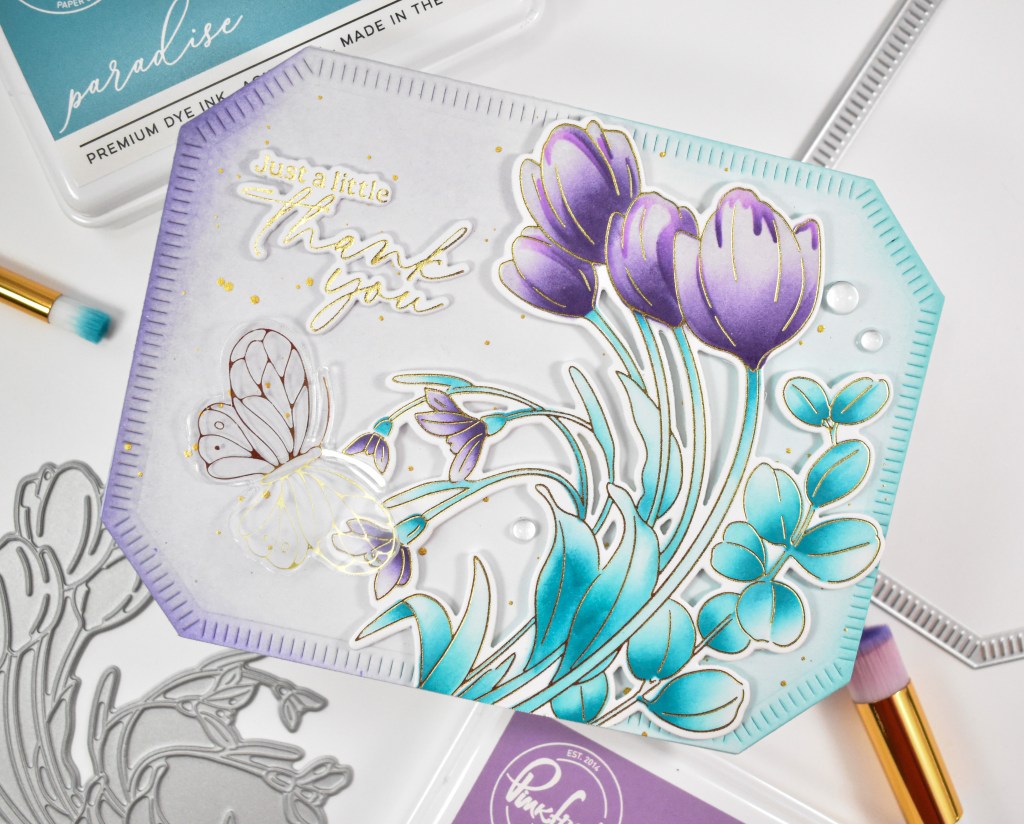
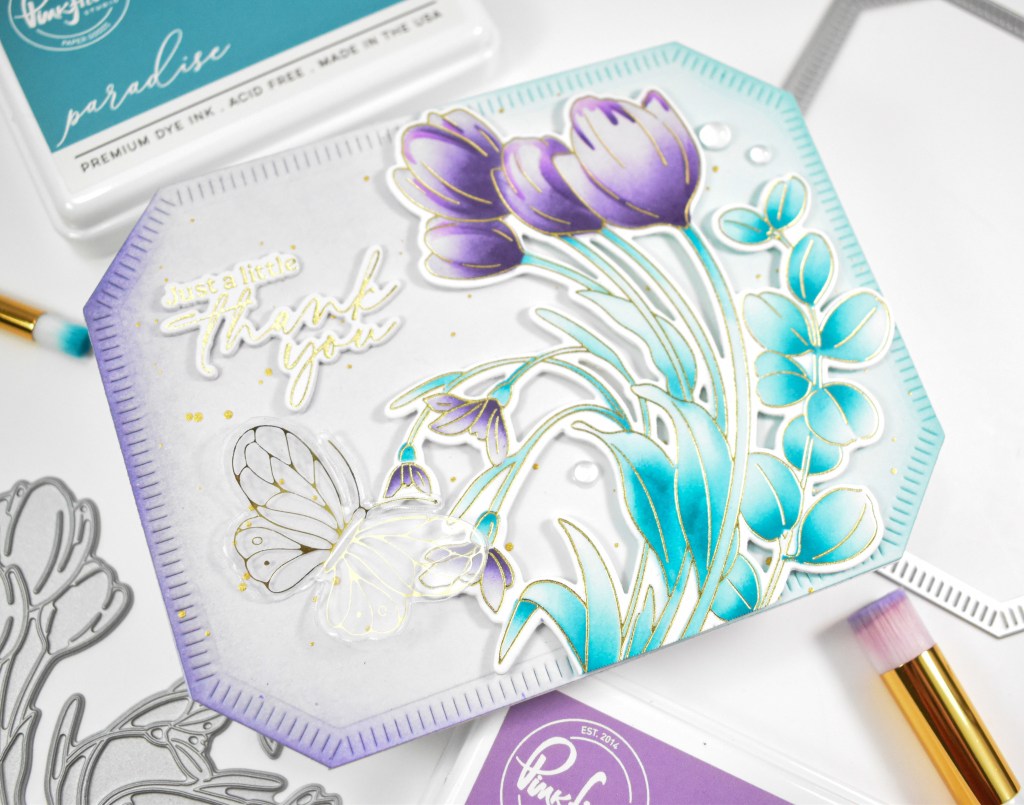
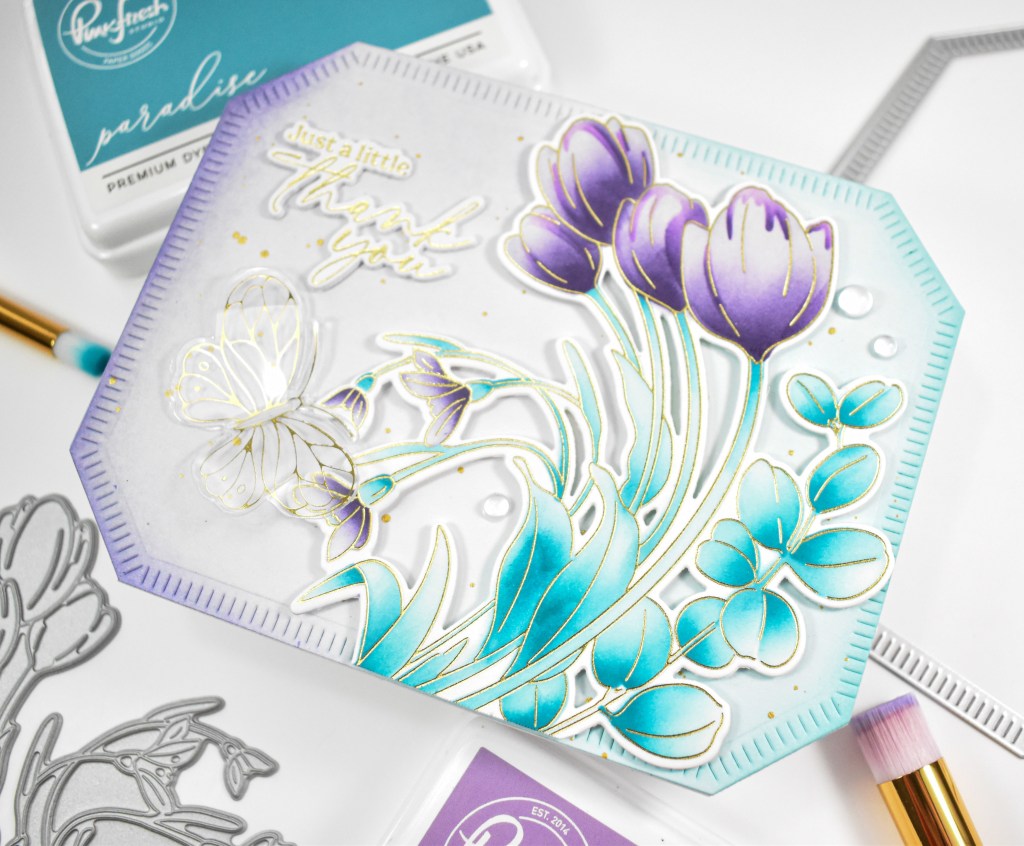
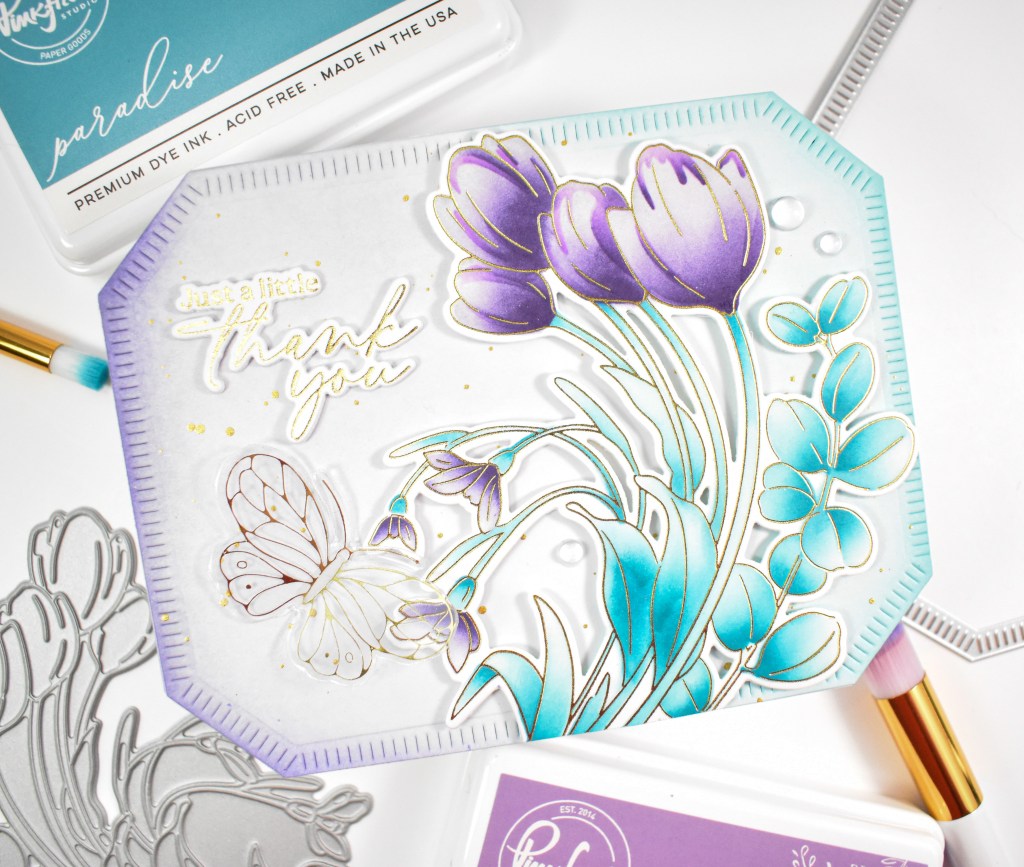
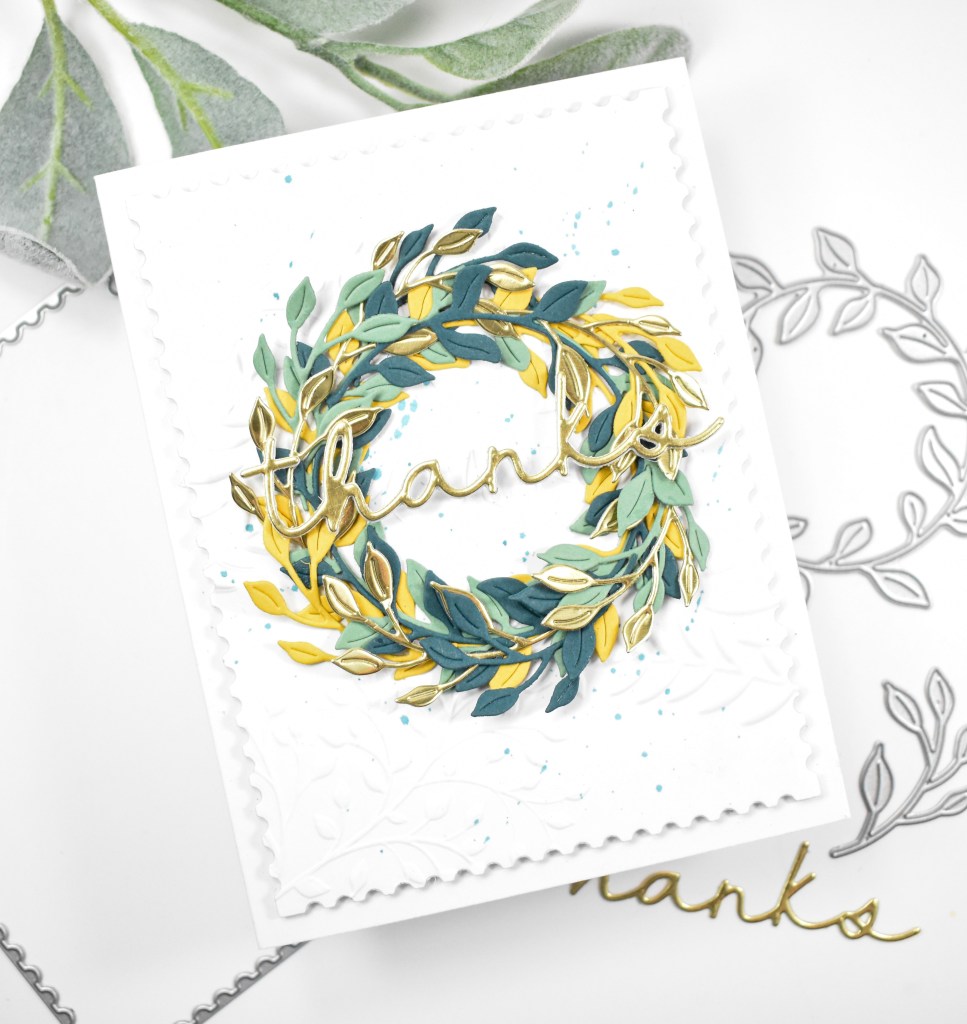
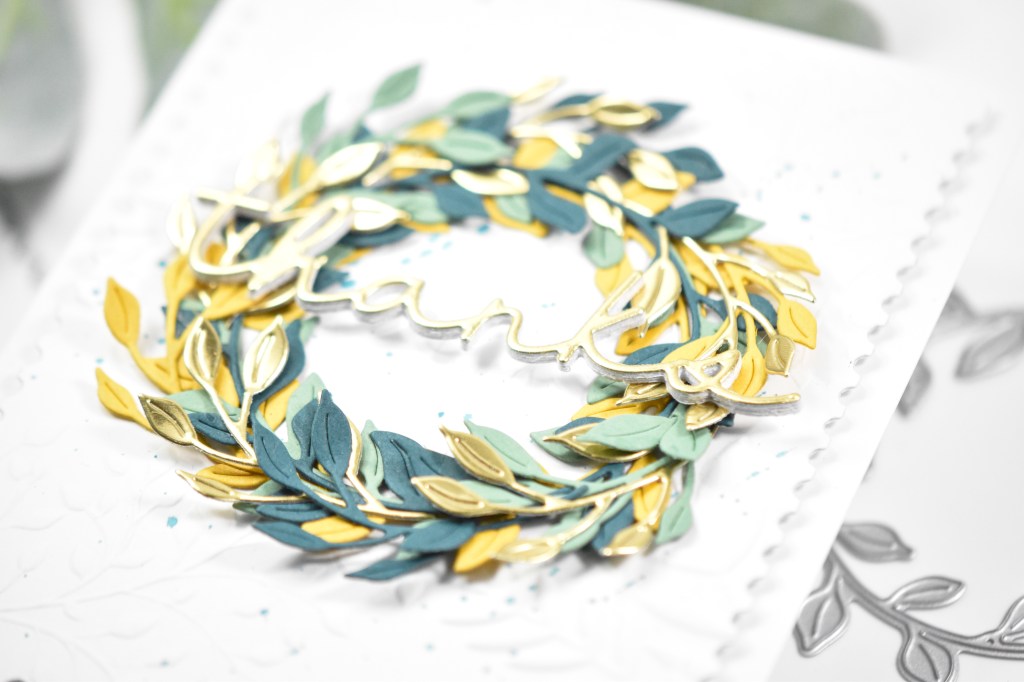
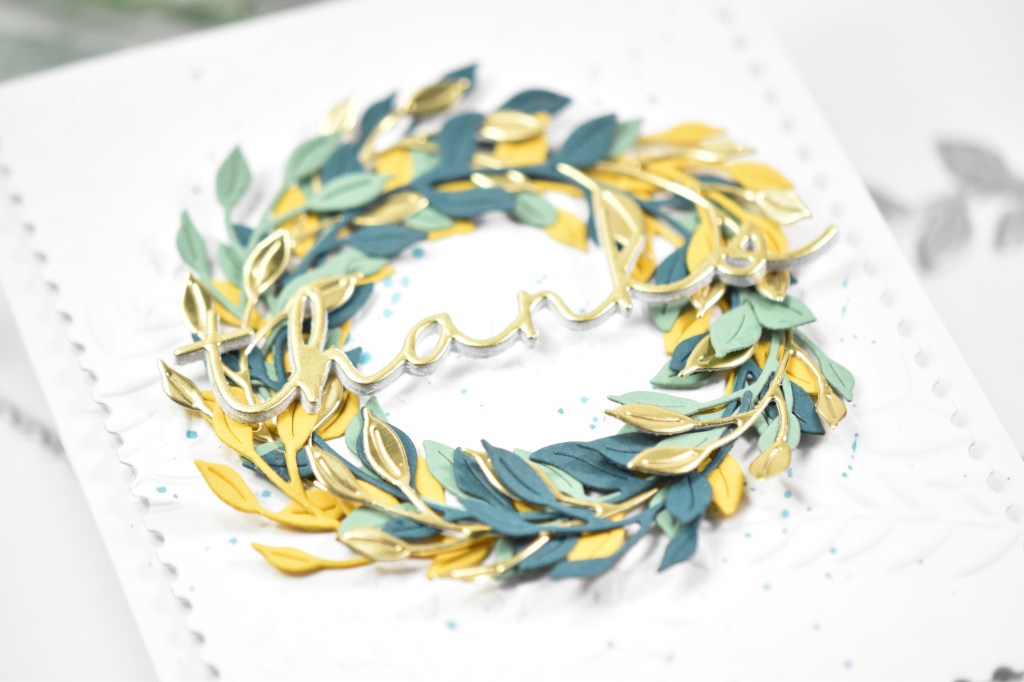
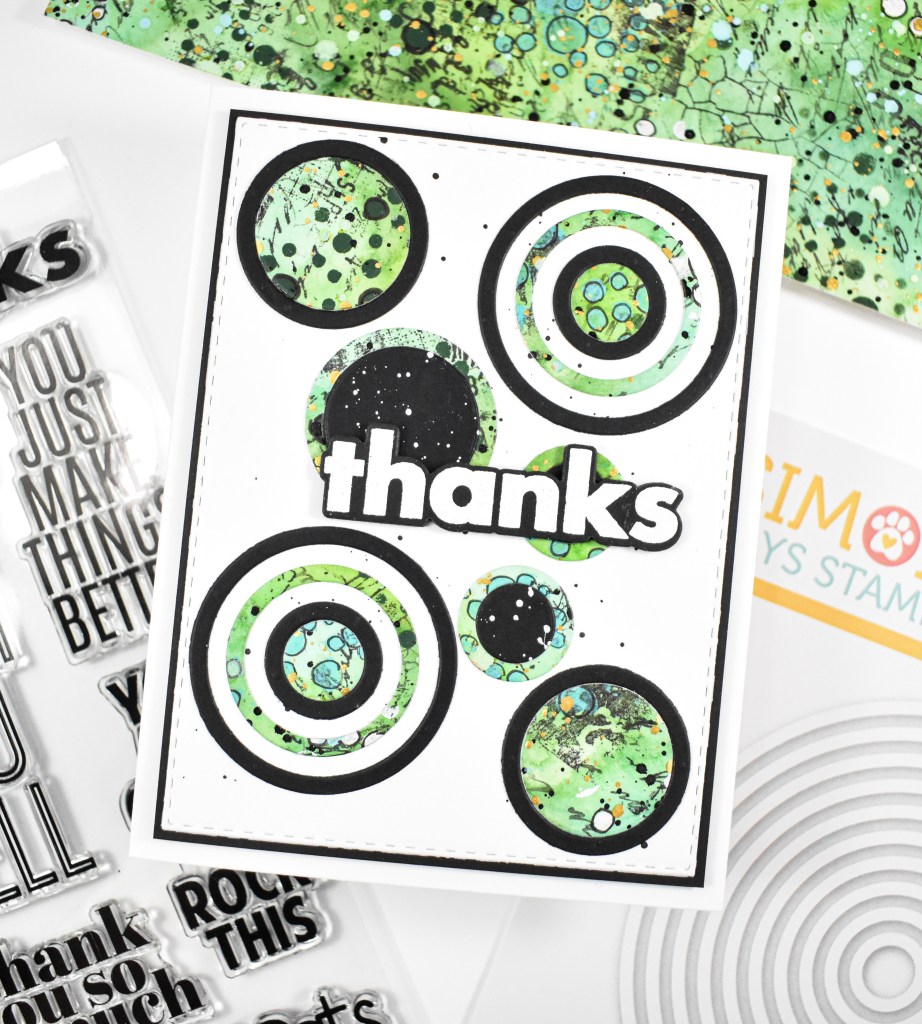
Hello Friends, and thanks for joining me! Today’s post is featuring the new Circle Frames from Simon’s latest release, Shine On. I love geometric shapes, so I got right to work creating a couple of cards using this set! Let’s go ahead and go through the details!
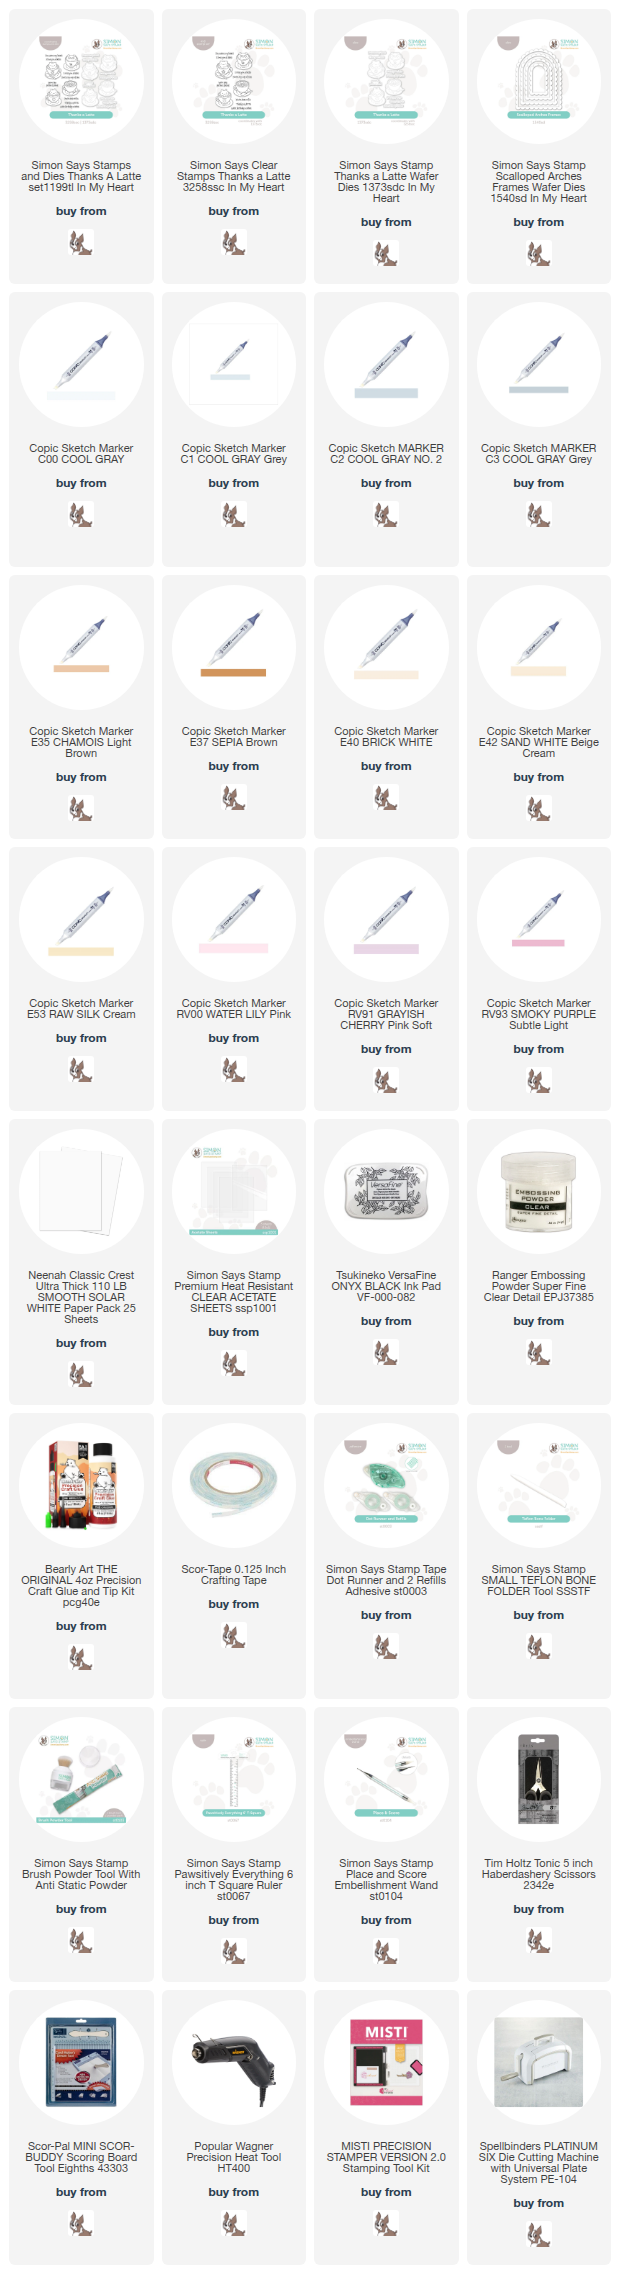
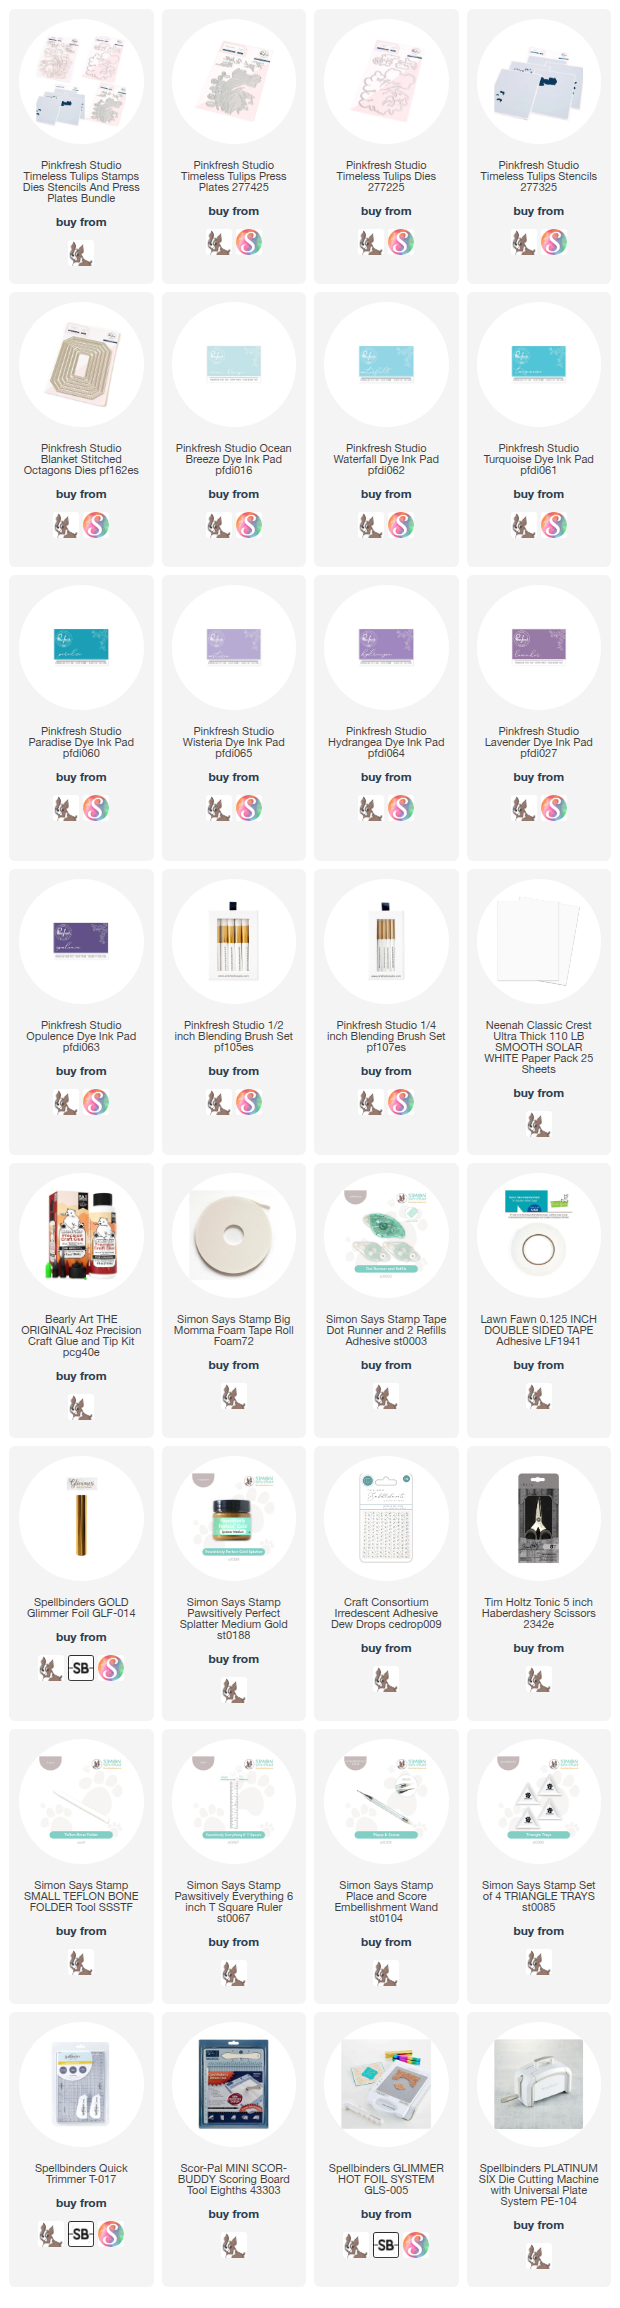
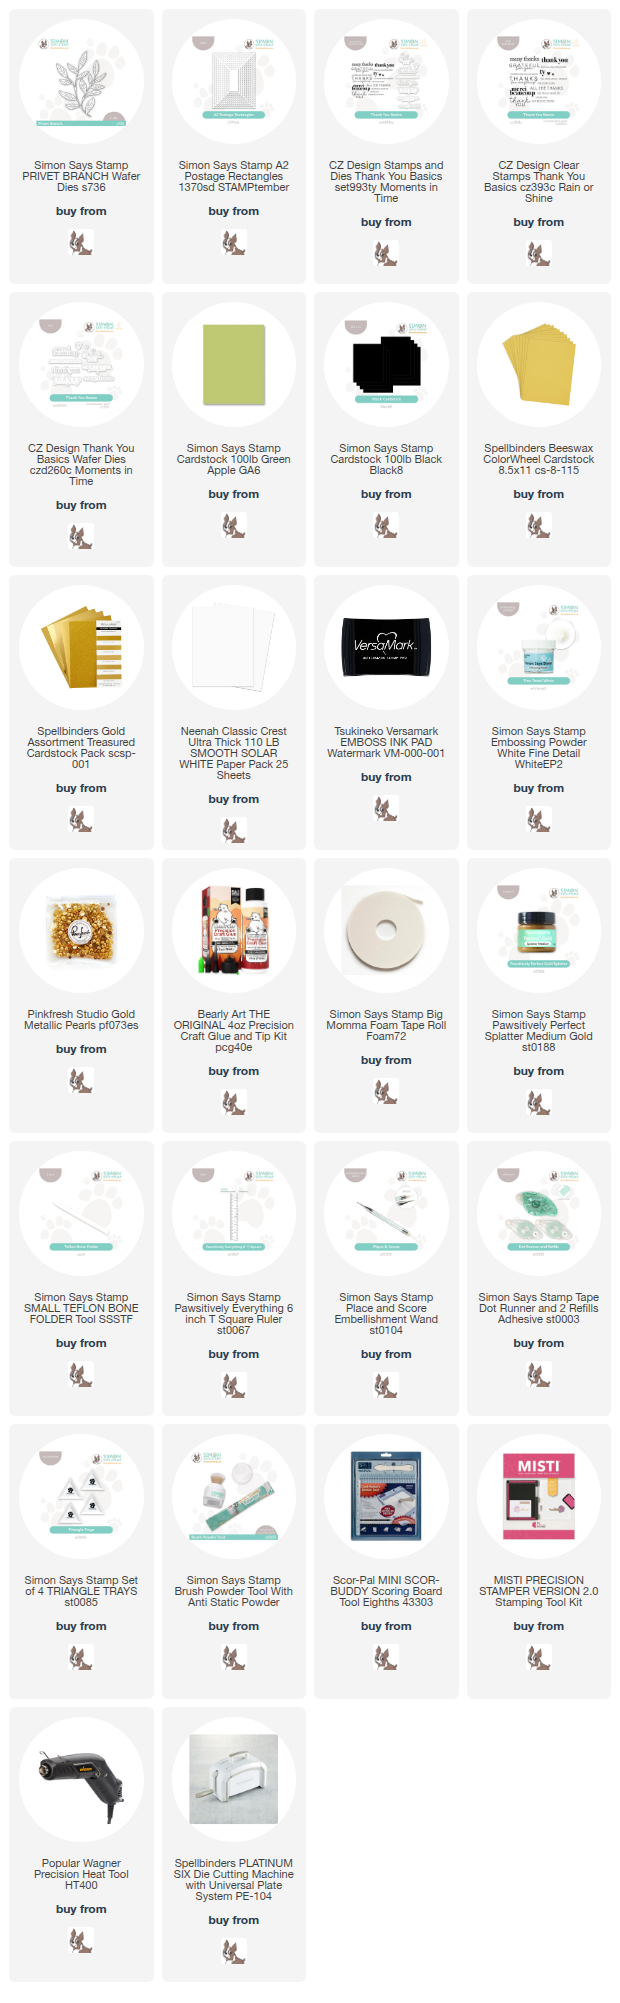
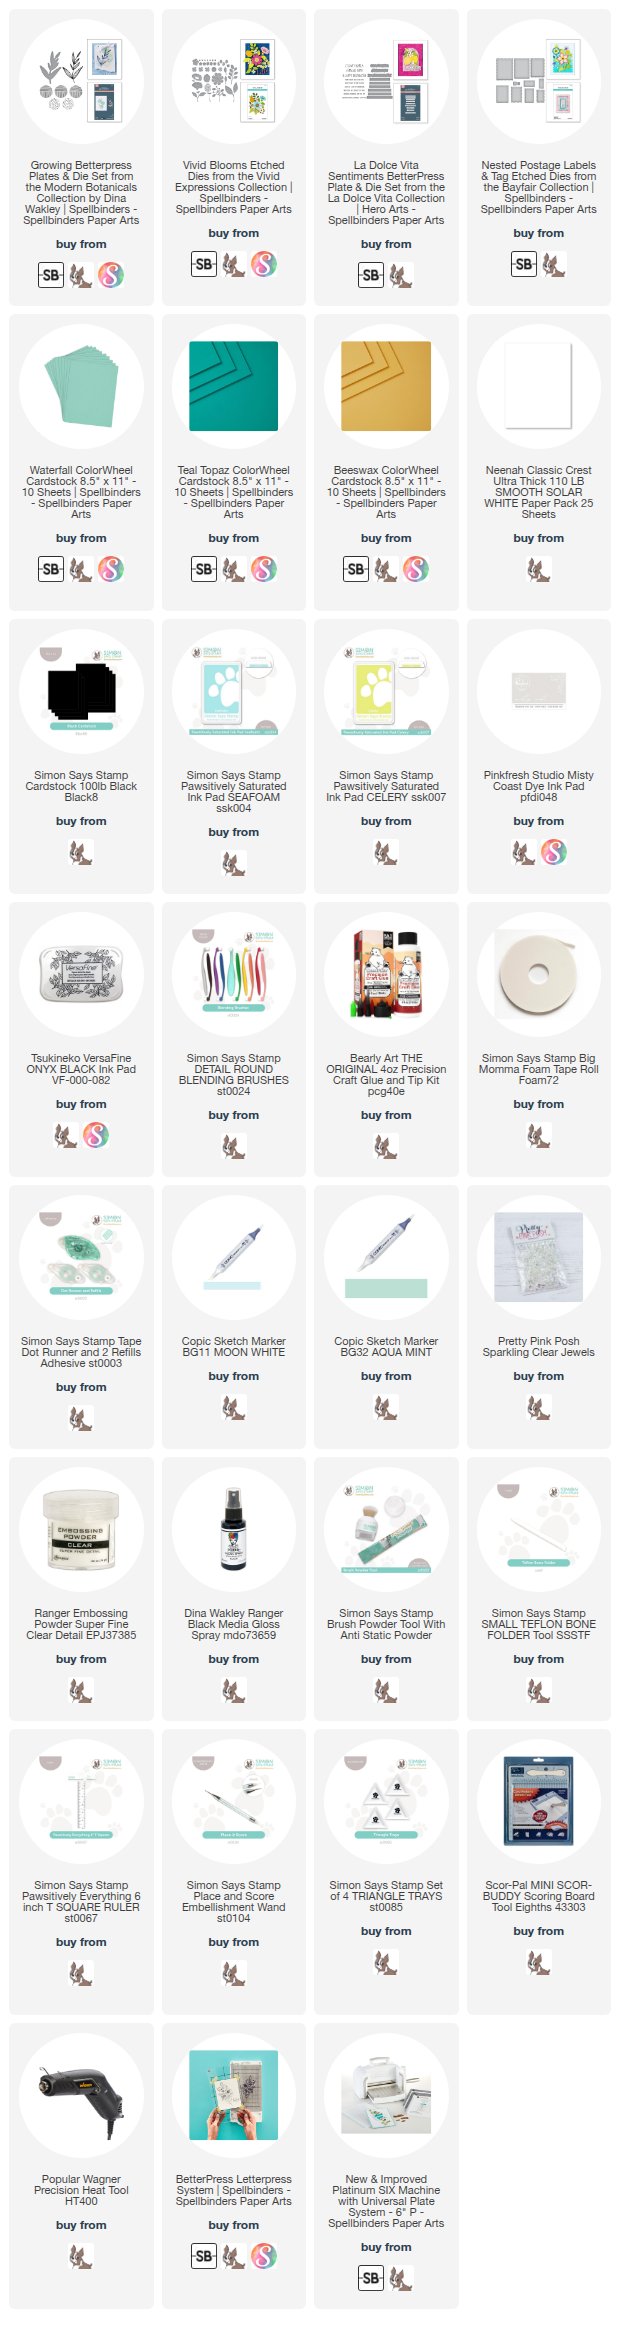
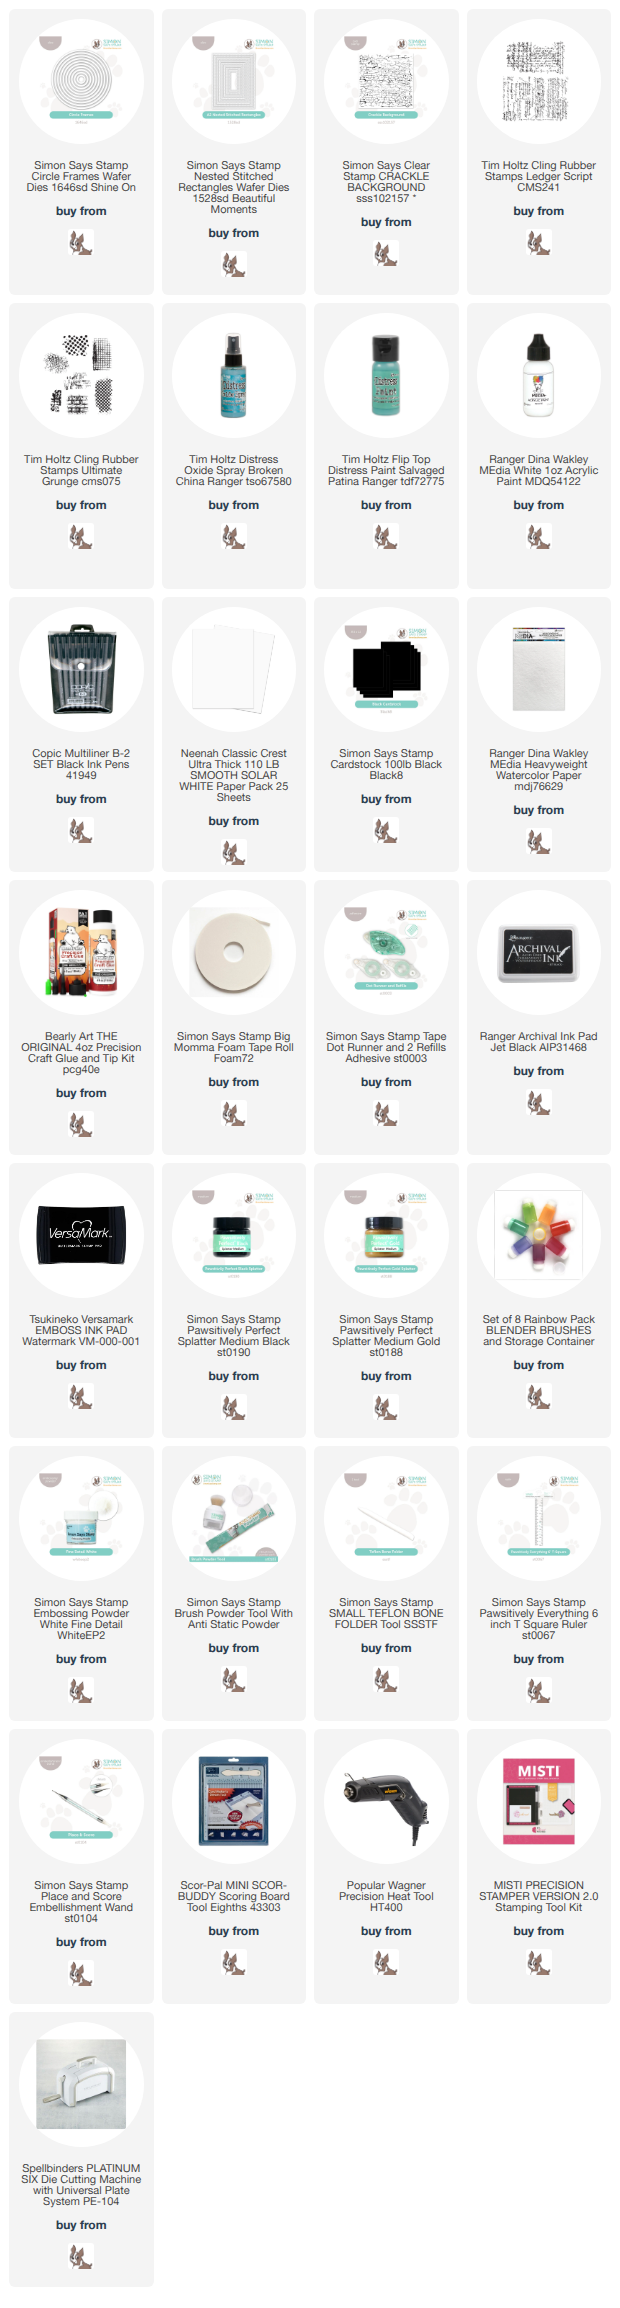
NOTE: all supplies are linked in the thumbnails at the end of this blog post.
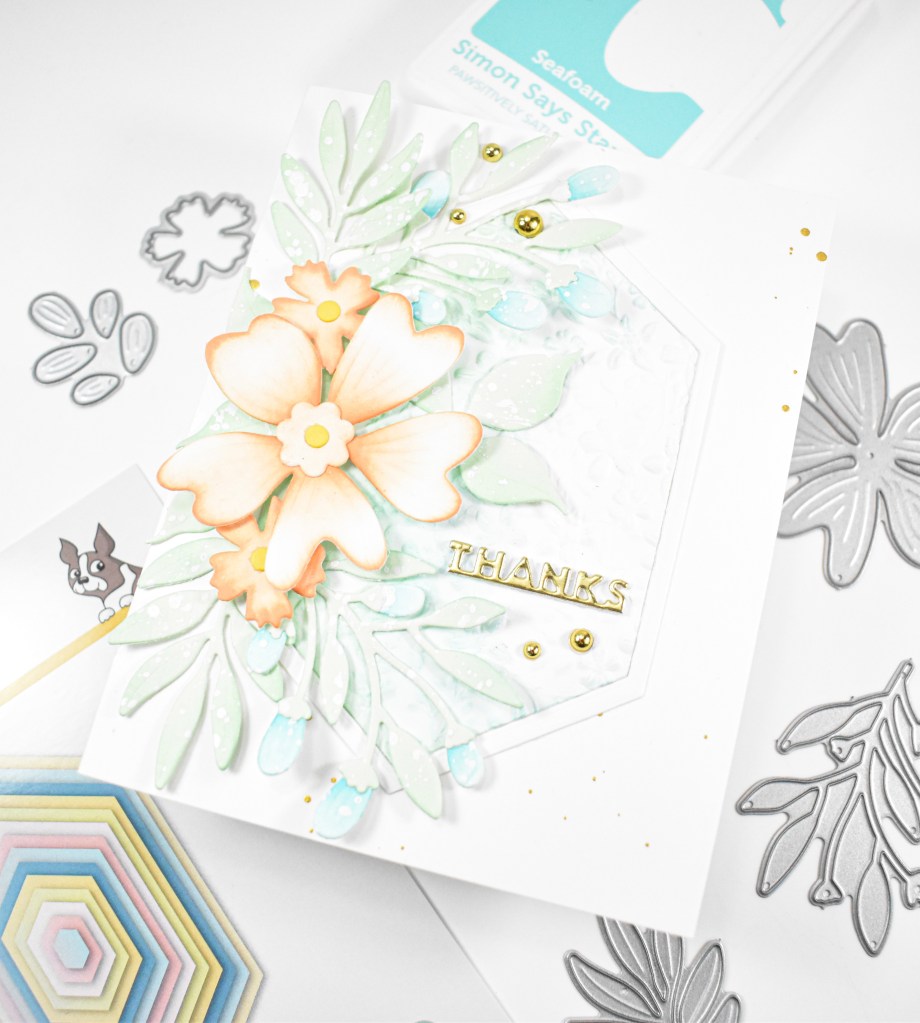
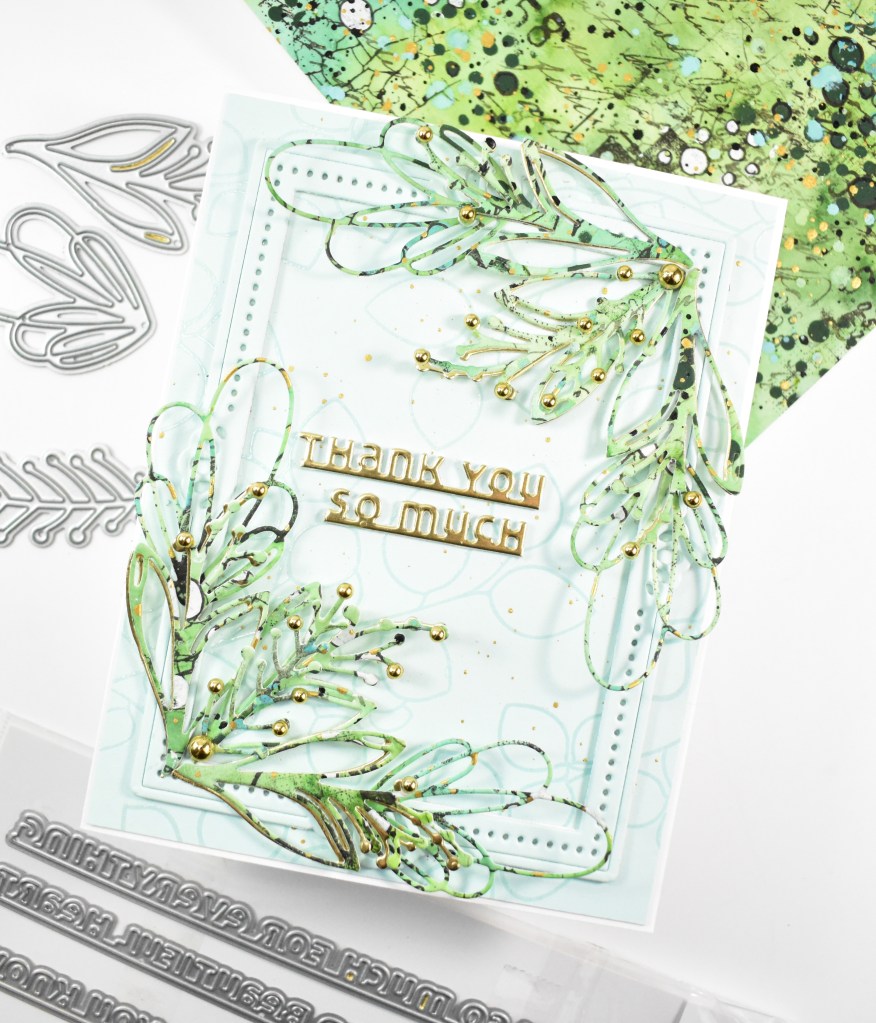
A while back I was creating fun watercolor backgrounds for die cuts, and I had a panel left over, and I thought it would be cool to create a geometric card using that. Someone had asked me to make a video of the process for creating the watercolor background, and you can view it here, if you’re at all interested. I began by pulling the smaller die cuts from this set and cutting them from the watercolor panel and from some black cardstock. This die set is a great value, because there are ten die cuts in this set, so definitely check that out!

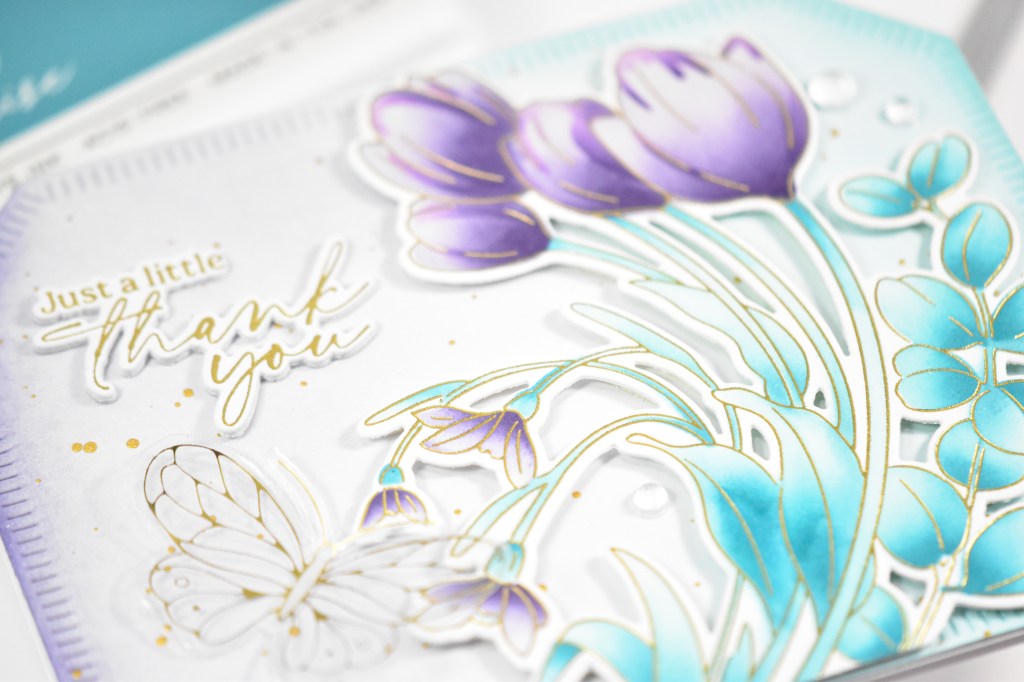
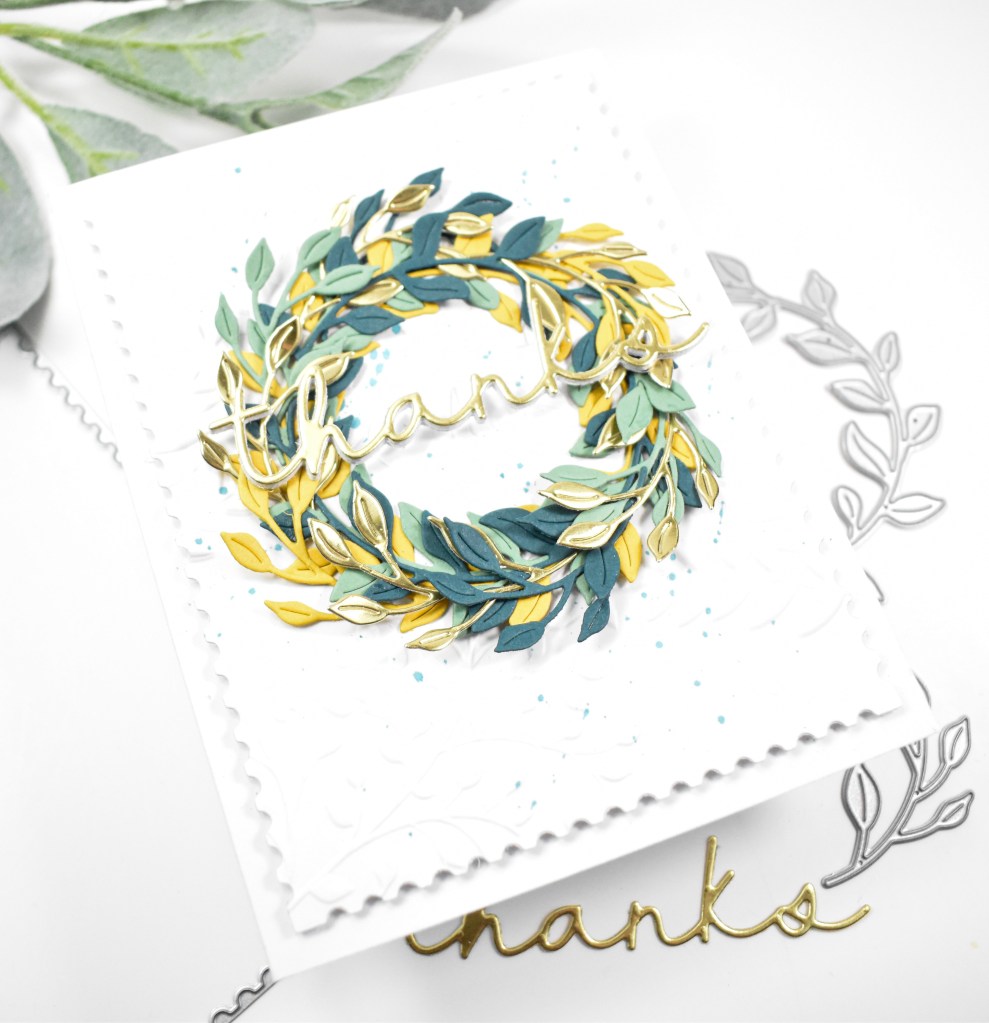
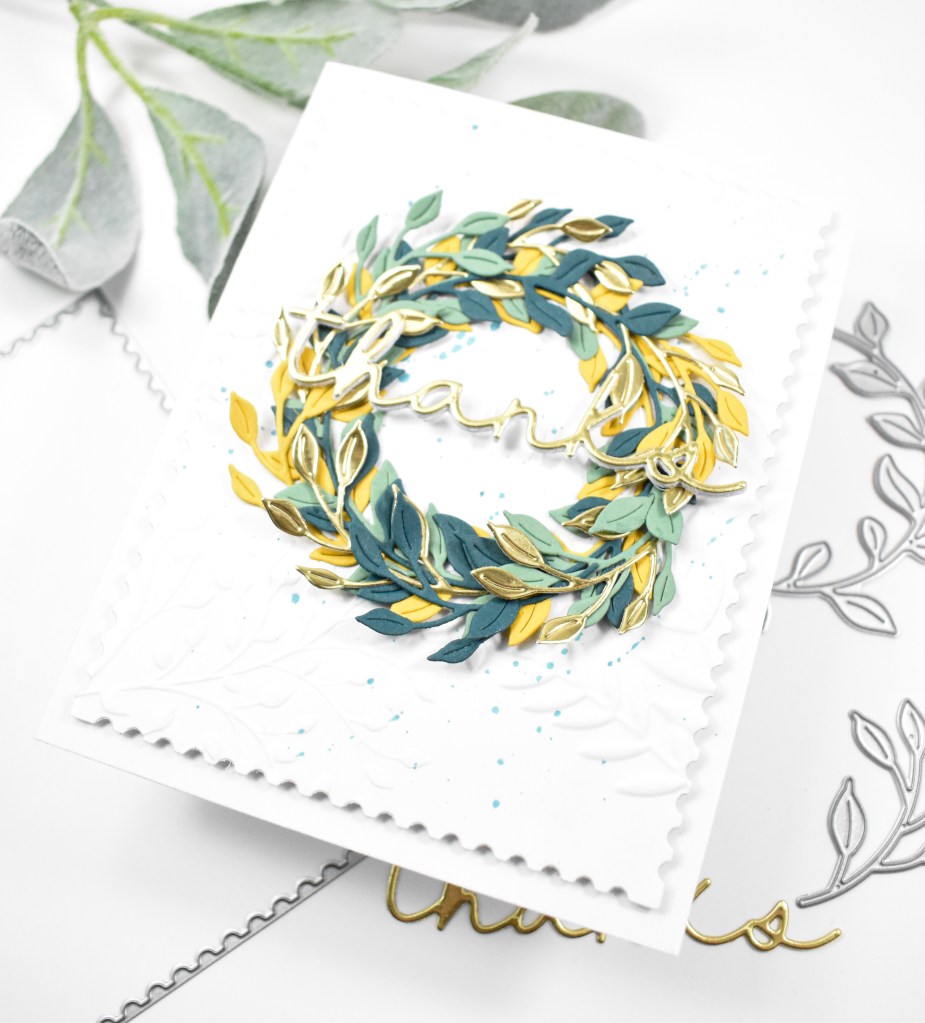
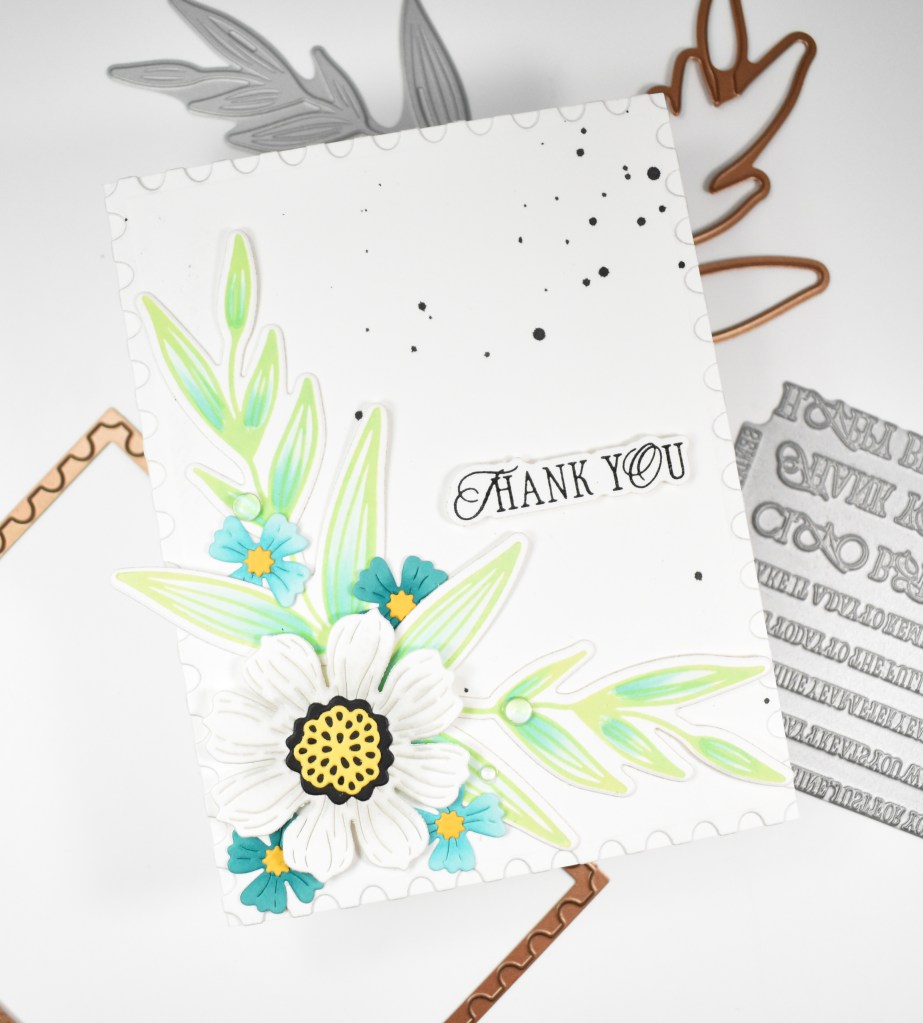
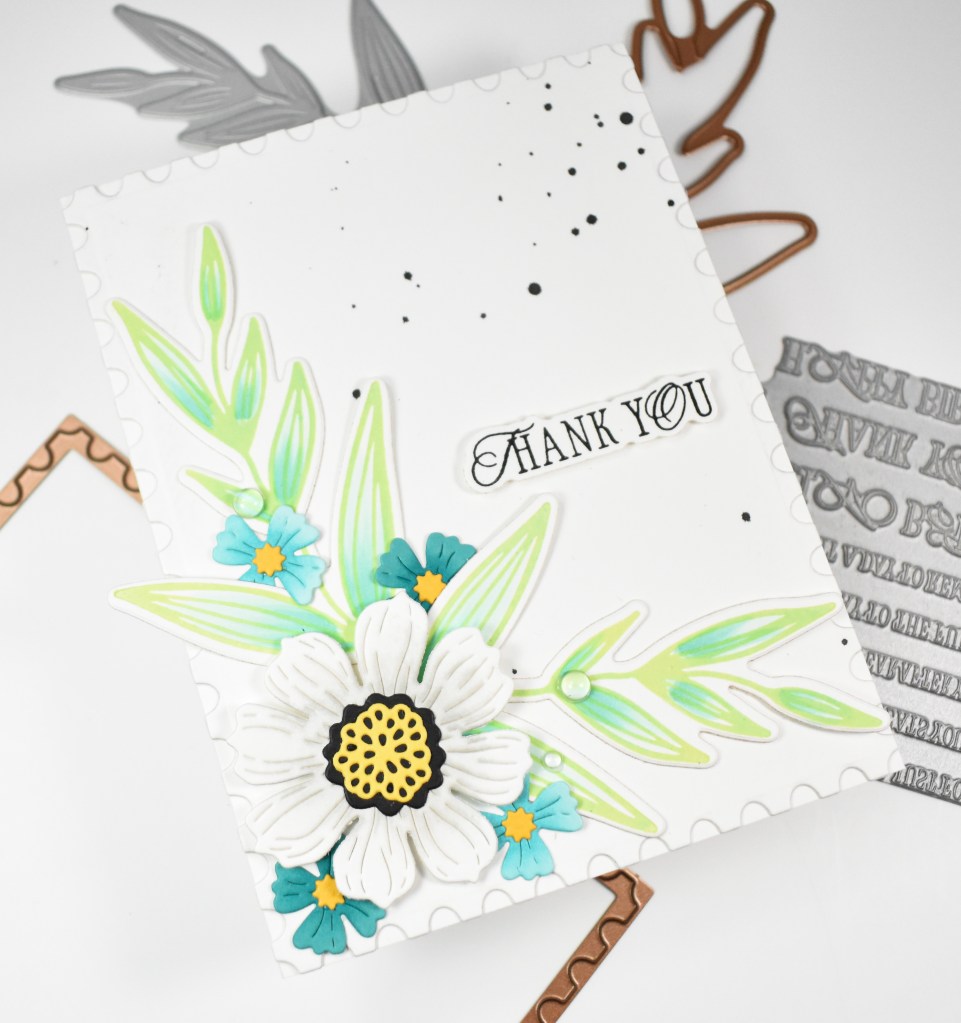
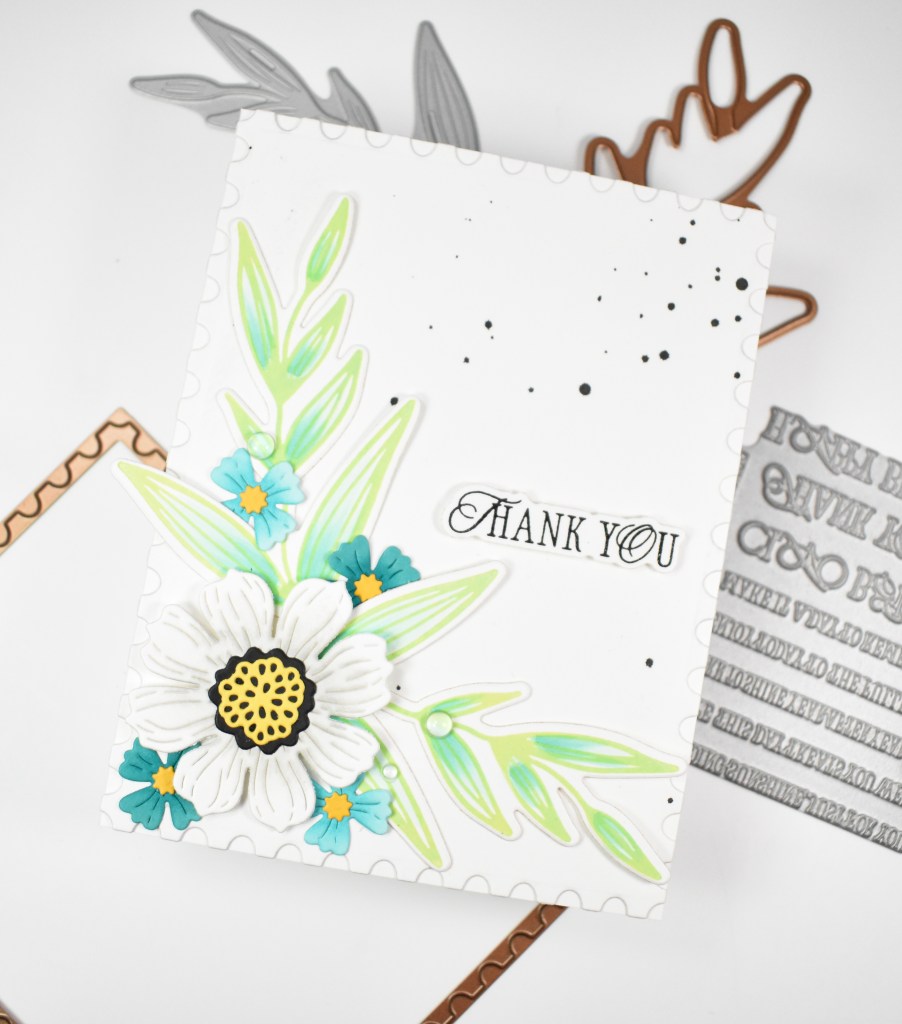
Once I had all of my pieces cut, I played around with the placement on a panel that I had cut using the A2 Nested Stitched Rectangles. Before adhering anything to the panel, I gave it a dose of black splatter, and gave my solid black pieces a dose of white splatter.
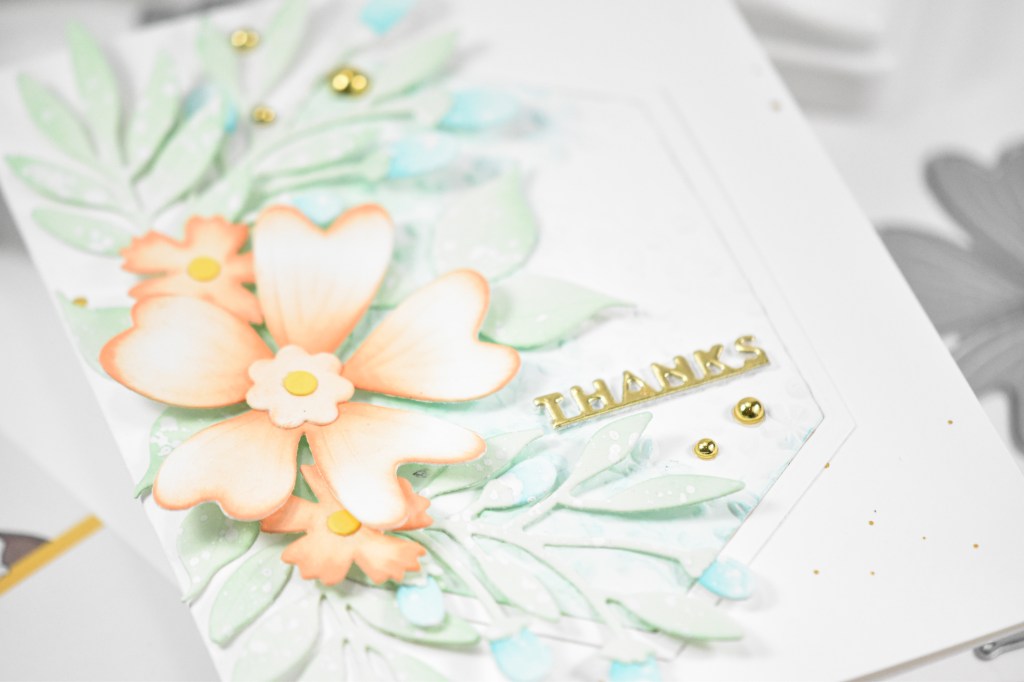
The sentiment was stamped using VersaMark ink, heat set using white embossing powder and trimmed out several times for that stacked sentiment look that we all love. This sentiment is from the XL Greetings 3 set, but I haven’t been unable to locate it on their website, unfortunately, but any sentiment you have would work just fine! My splattered panel was adhered to a black panel for contrast using foam tape, while the circles and sentiment were secured with liquid glue.
That does it for this project! A simple yet fun project! I hope you stop by and check out the entire Shine On release, as there’s lots of fun stuff to peruse! Thanks so much for stopping by, and I hope you have a wonderful day!

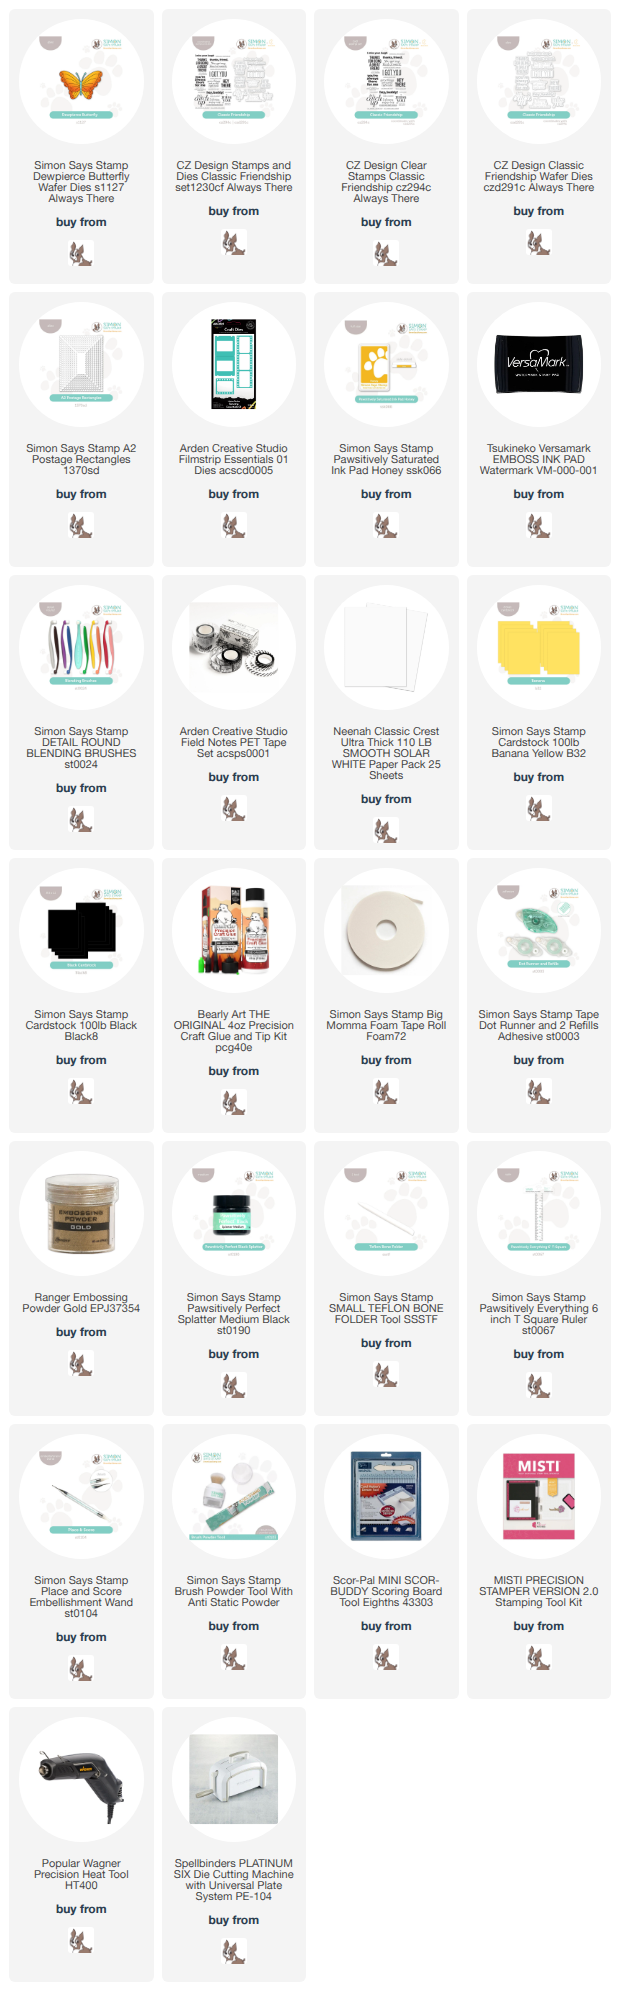
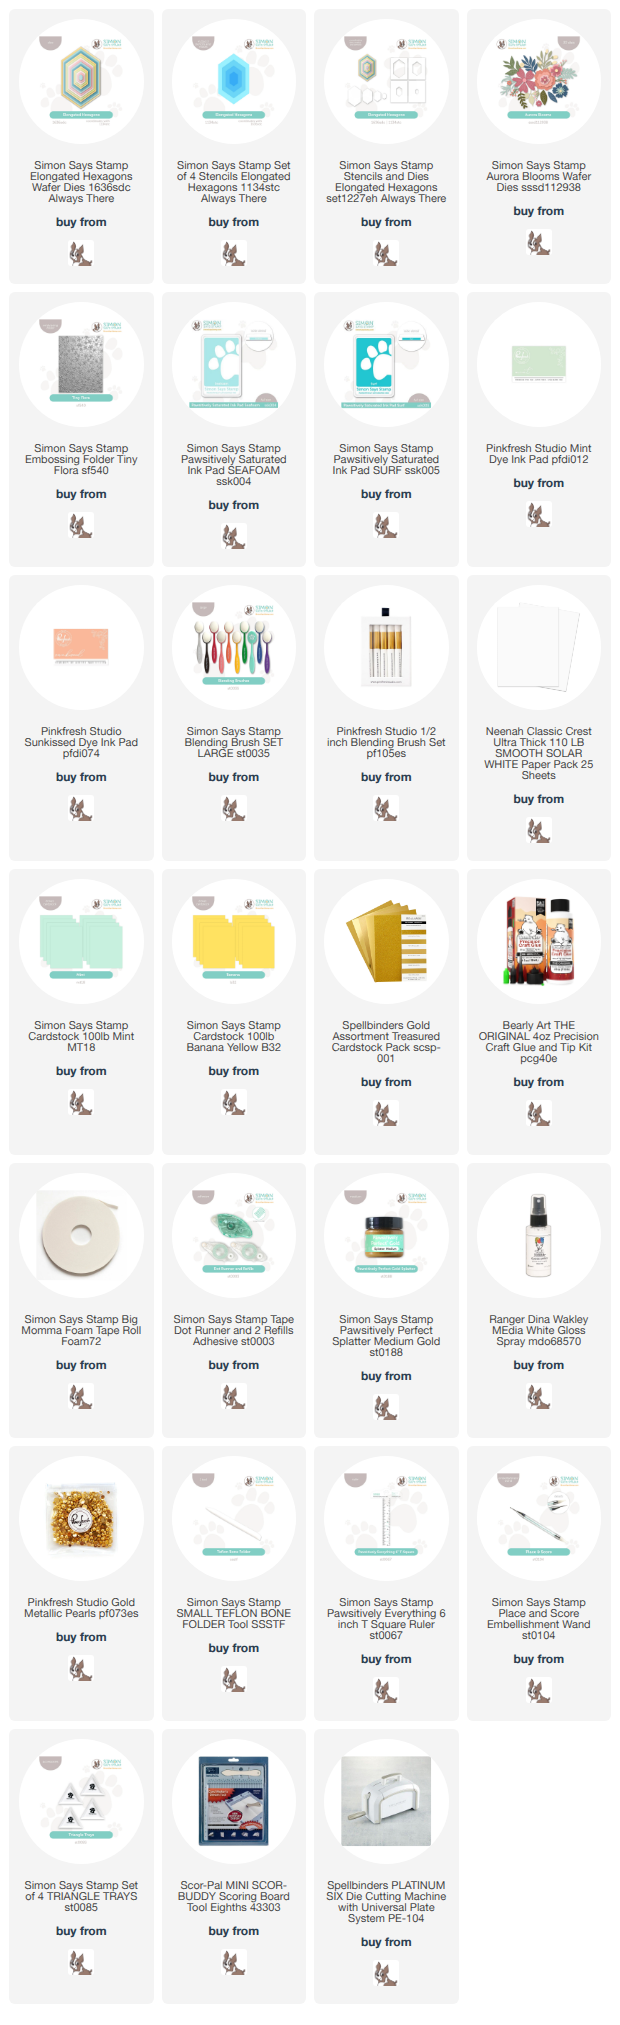
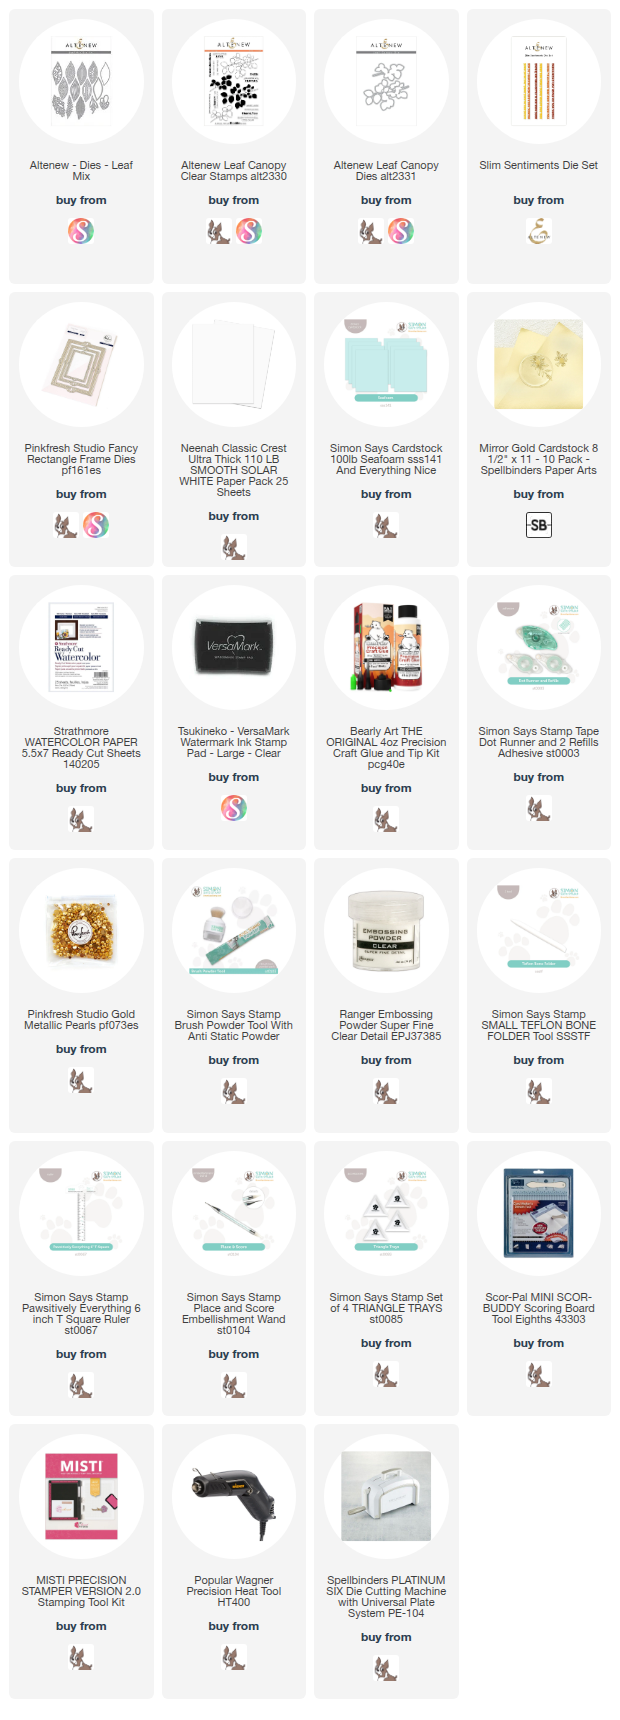
Supply List
Affiliate links used at no cost to you. What does this mean? If you use the links within this post to make a purchase, I receive a small commission, which allows me to continue to post crafty content for your enjoyment. I truly appreciate your support!
Latest Posts
- Simon Says Stamp Grungy Dewdrop Daisy

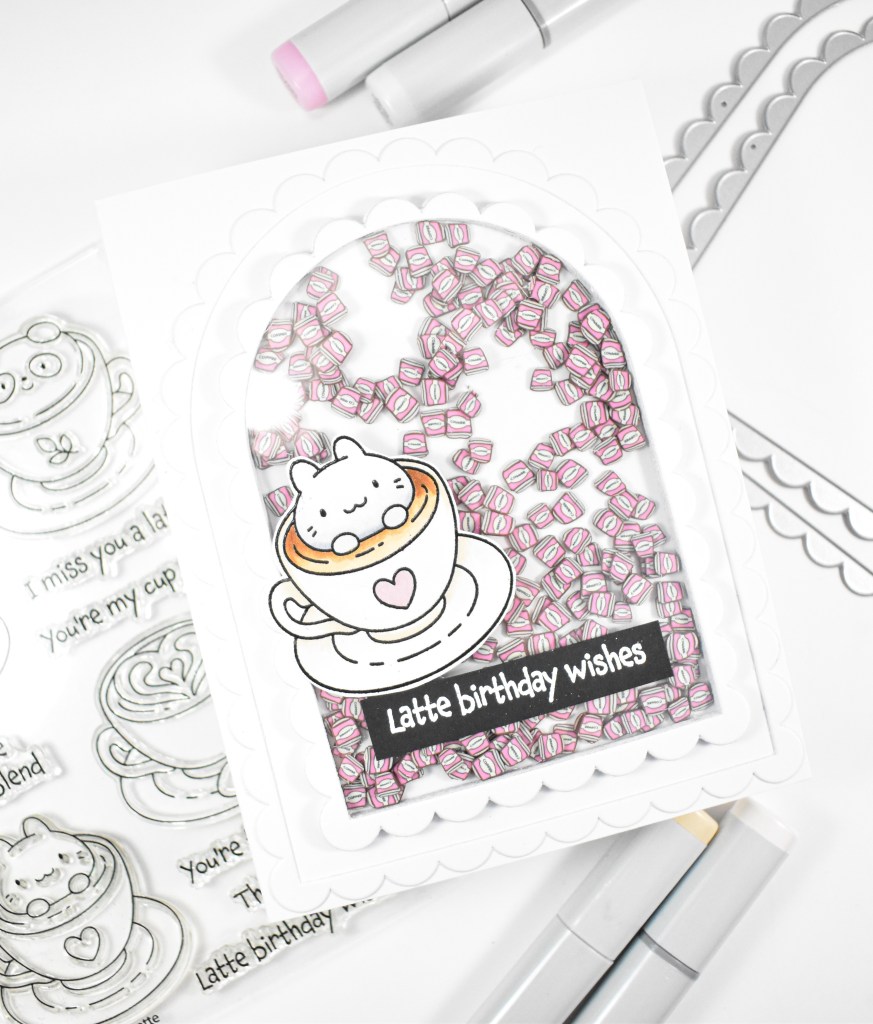
- Simon Says Stamp Pastel Birthday Wishes

- Simon Says Stamp Best Fish

- Simon Says Stamp Circle Thanks

- Simon Says Stamp Glowing Daisies
Latest Instagram Posts