Simon Says Stamp Thank You Magnolias

Hello Friend, and thanks for stopping by today! I’m super excited and honored to be joining Simon Says Stamp for Day 2 of the blog hop to celebrate the Sweetheart and Smitten releases!

Simon is giving away a $25 coupon from every stop along the hop, so be sure to follow along and leave comments for your chance to win! You can also check out Day 1 of the hop here. There’s also a blog hop exclusive offer for a free Hearts and Stars stencil with any purchase. Just follow the directions on the graphic to redeem yours. Don’t delay, this offer expires on January 14th at 11:59pm ET. My project for the hop is featuring the new Whirl Diamond Plate, which I love! Let’s get to the details!

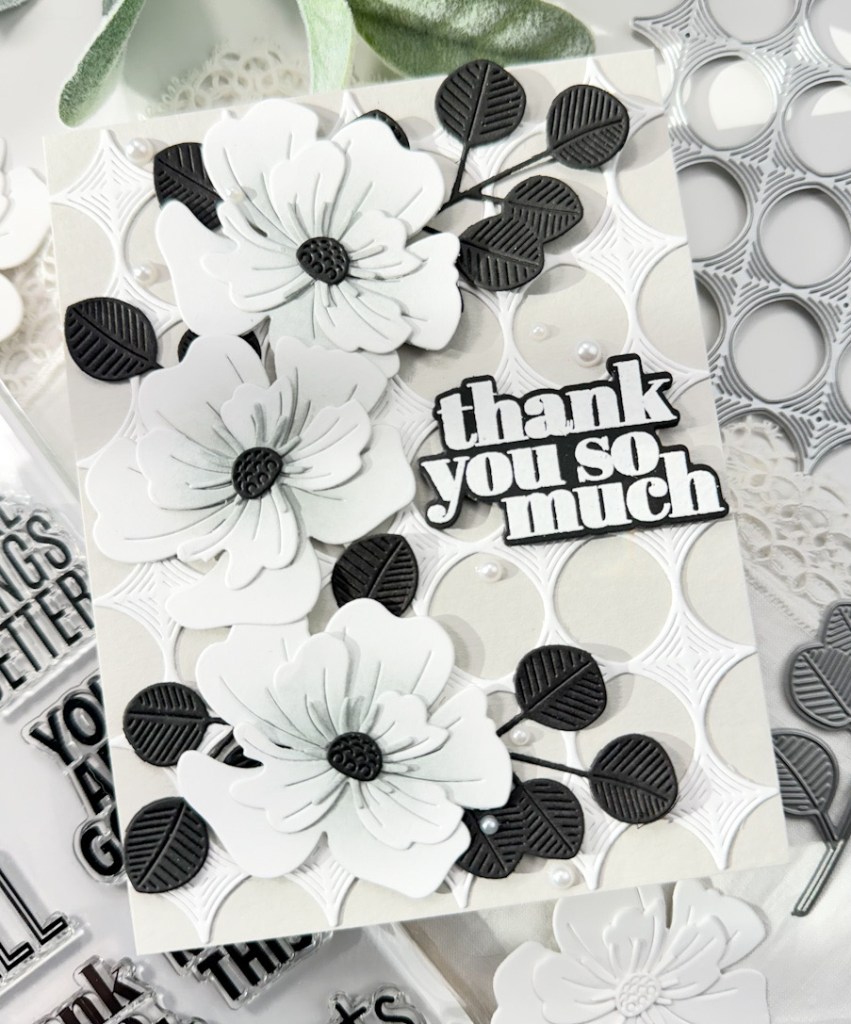
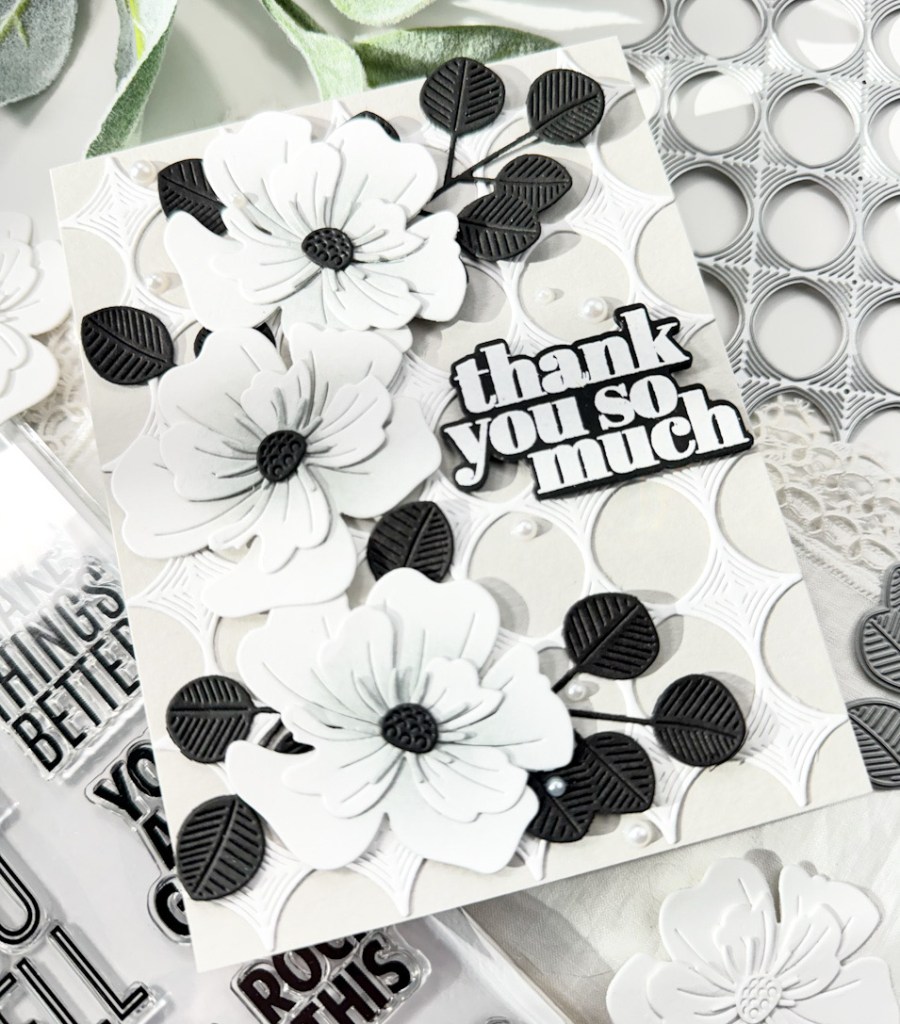
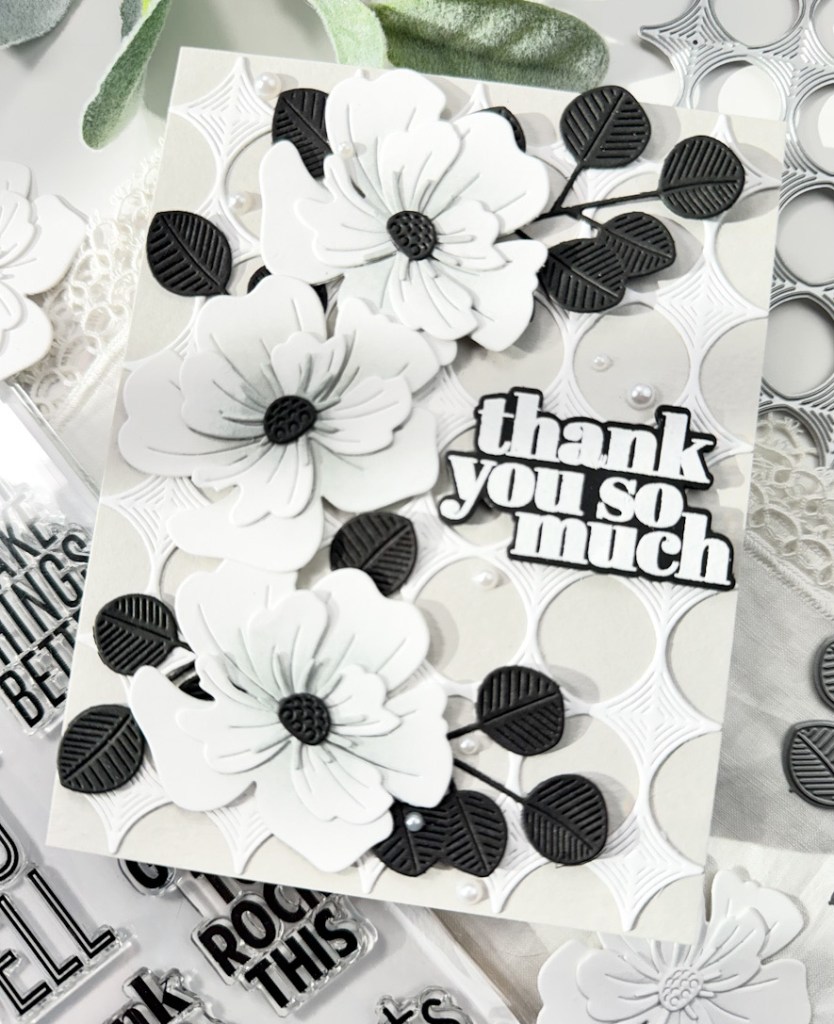
I love the color scheme of this card. I ended up using a thank you sentiment, but I think these colors would lend themselves well to a sympathy card as well. I began this card by cutting three flowers using the SSS Etched Magnolia Blossom set from Neenah 110lb cardstock. I did some ink blending on each layer of the blossom using PFS Misty Coast ink. Once the ink blending was complete, I adhered all of the layers together using liquid glue. In the process of assembling the flowers, I decided that the center of the blossoms would be better in black, so I cut a few of those.

Moving ahead, and working on the other elements of the card, I cut the SSS Whirl Diamond Plate from Neenah 110lb cardstock and glued that to a panel of SSS Fog cardstock. I played around with the placement of the florals and decided that I needed some black leaves and used the SSS Eucalyptus Leaves die for that. I adhered the florals to the panel using foam tape and glued the leaves underneath.

For the sentiment, I used the SSS XL Greetings 3 set and stamped it on black cardstock using VersaMark ink and heat set that using SSS Detail White Embossing Powder. I then used the coordinating die to trim it out, along with two others and adhered all of those together, for added dimension.

The sentiment was adhered to the panel using foam tape and the panel was adhered to the card base using foam tape as well. To finish up, I added some white pearls for a little bit of added interest.

That does it for this card! I hope you enjoyed it, and I hope it inspires you to get crafty in your space! Don’t forget to comment along the hop for Day 1 AND Day 2 for your chance to win! Simon will announce all of the winners on their blog on Wednesday, January 17th. Thanks again for stopping by. Have a wonderful day and stay awesome friend!

Hop Order:

Simon Says Stamp Blog 

Nina-Marie Trapani

Caly Person

Jennifer McGuire

Suzy Plantamura

Amy Rysavy

Debby Hughes

Emily Midgett

Lisa Addesa

Alberto Gava

Emma Williams

Heather Hoffman

Carly Minner

Tracy Ware

Jessica Vasher

Supply List:

* Affiliate links used at no cost to you. Thank you so much for your support!

Latest Posts

Latest Instagram Posts

STAMPtember Butterfly Rose Bouquet

Hello, and welcome to my blog! I’m so happy that you dropped by! It’s that time of year again when STAMPtember is upon us. One of the best months of the year! There’s so many new products, and so much inspiration to draw from, not to mention all of the collaboration sets that will debut soon. With the release of all the STAMPtember products, Simon Says Stamp is hosting a huge blog party with codes for free gifts and gifts with purchase! So, be sure to check out all of the blog posts in the party! You can begin the party by starting at Simon’s blog! Check the bottom of this post for my STAMPtember code! For my card today, I’m featuring the new Billow Butterfly, so let’s run through the details.

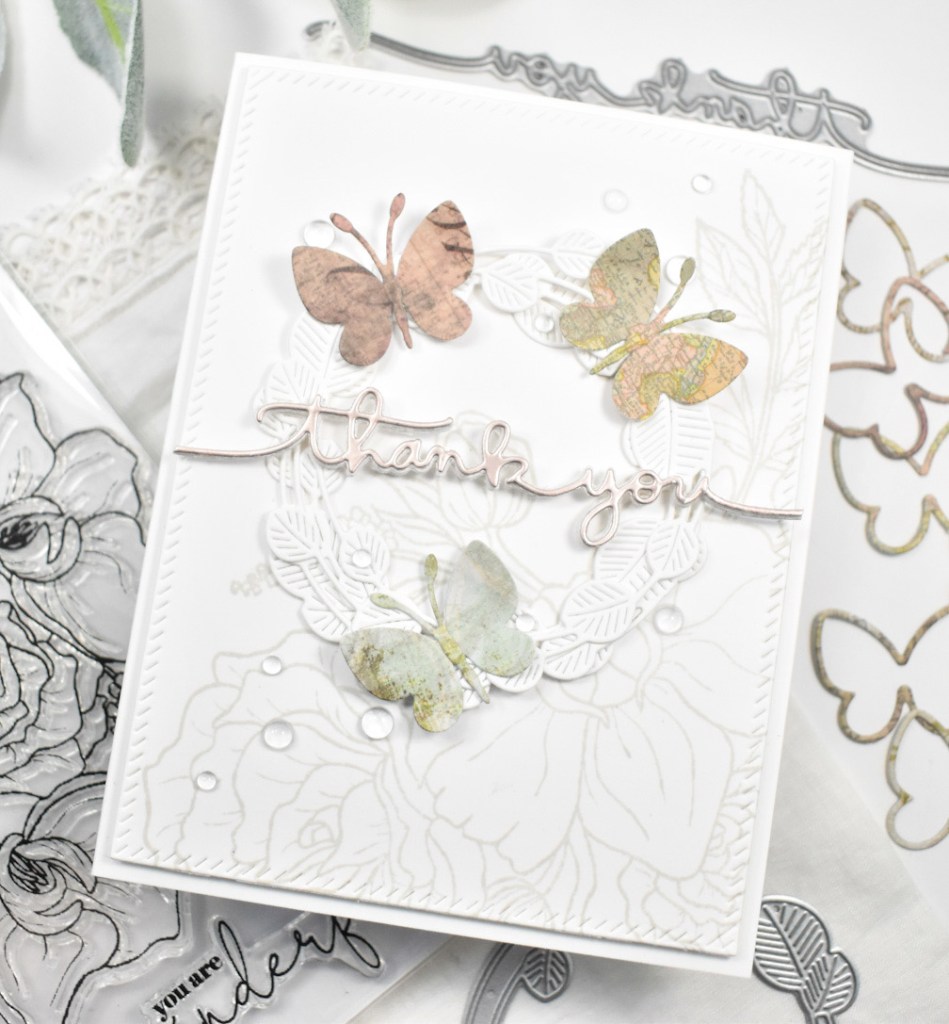
To begin, I stamped the floral image from the SSS Orchid Rose Bouquet on a panel of Neenah 110lb cardstock using PFS Misty Coast Ink. I chose this ink, because I wanted a very light background that didn’t distract from the focal point of the card. I then trimmed the panel down using the PFS Diagonal Stitched Rectangles, and cut so that the floral image was on the bottom portion of my card panel.

I used the SSS Etched Eucalyptus Wreath and cut three of those from Neenah 110lb cardstock, and adhered them together using liquid glue. Next, I used the new SSS Billow Butterfly to cut some of the butterflies from some scrap Tim Holtz patterned paper that I had hanging around in my stash. This die is super cool, because it’s one piece that cuts several different butterflies, including solid butterflies as well as, outline butterflies. I opted for the solid for this particular project, because I wanted to be able to see the print of the patterned paper. Once the butterflies were cut, I adhered the bodies using liquid glue and moved on to working on the sentiment.
For the sentiment, I used the thank you die, which is from the SSS Handlettered Greetings set. I die cut the sentiment once from Burnished Rose cardstock, and four times from Neenah 110lb, and adhered all of those together. I wanted the sentiment to be thick, so that it would be sturdy.

To assemble the card, I glued the wreath to the stamped panel, and then glued the patterned butterflies atop the wreath. The butterflies are only glued down at the bodies, so that their wings could be curled for added dimension. Once those were in place, I adhered the sentiment only where it comes into contact with the wreath, hence wanting a thicker sentiment for sturdiness. I trimmed off the excess portions of the sentiment and added some clear drops for a little shine. The panel was then adhered to the card base using foam tape.

That does it for this project! I hope you enjoyed it, and I hope it inspires you to get crafty as well. Don’t forget to check out the entire STAMPtember release along with all of the blog posts celebrating this awesome release! Each blog post will have a different code for gifts! Thanks again for stopping by! Have a wonderful day and stay awesome friend!

Supply List:

* Affiliate links used at no cost to you. Thanks so much for your support!

Latest Posts

Latest Instagram Posts

So Appreciate You

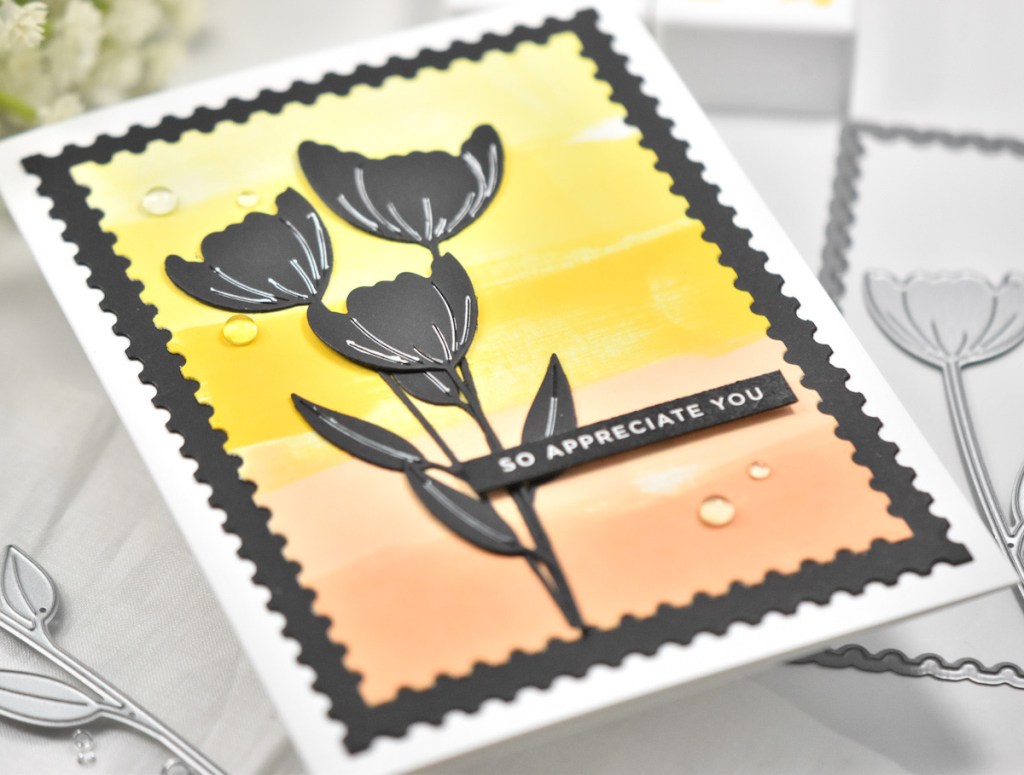
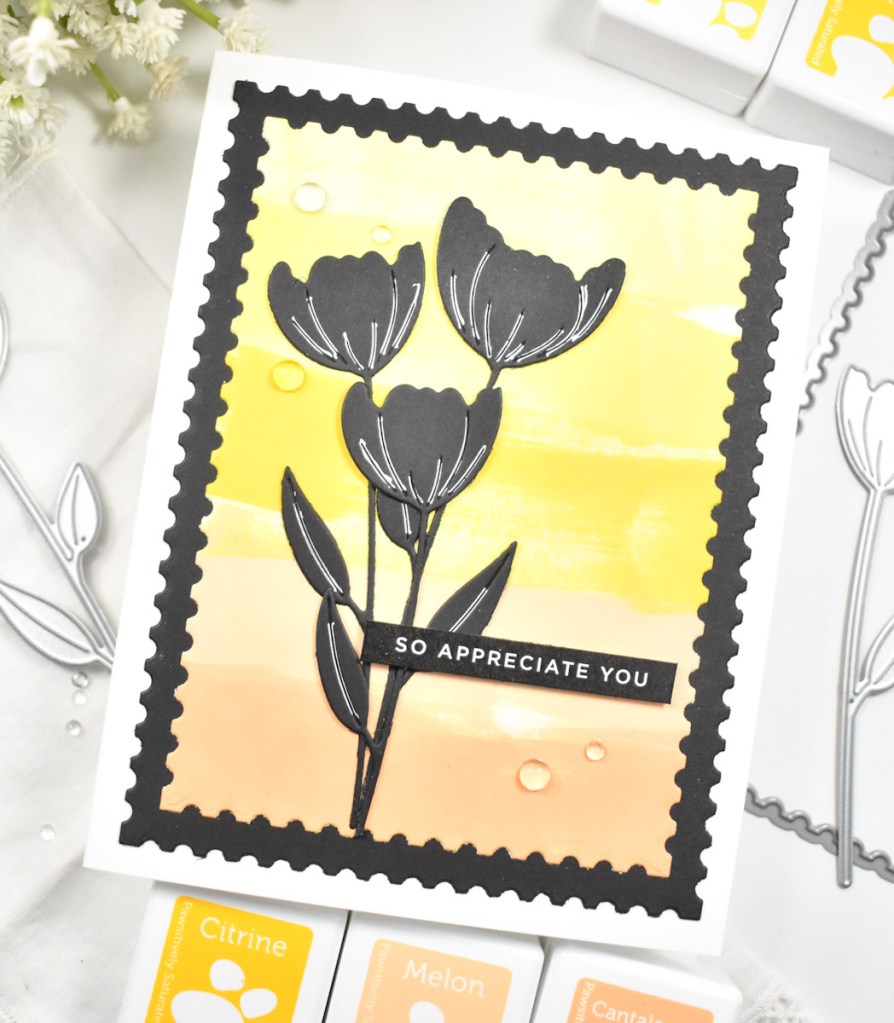
Hello Crafty Friends, and thanks for stopping by! Today’s project is featuring the new Pawsitively Saturated Ink Cubes in Yellow Sunsets, from Simon Says Stamps’s latest release, Out of This World. Have you checked it out yet? What are your favorites? I would love to know what they are. Let’s run through the details for today’s project!

I began with a panel of Neenah 110lb cardstock and swiped the SSS Pawsitively Saturated Ink Cubes, from the Yellow Sunsets, across the panel. The colors that I used were Lemonade, Sunbeam, Citrine, Melon and Cantaloupe. Once that was done, I used the SSS Postage Stamp Edge Frames to trim it down. I used a larger frame to trim a panel of black cardstock as well.

The black and yellow was really speaking to me, so I used the SSS Etched Crocus Stems and cut some of those from black cardstock. I used a white gel pen to add some detail to the flowers before adhering them to the yellow panel with liquid glue. I used a sentiment from the SSS Reverse Gratitude Sentiment Strips and used foam tape to adhere that.

The yellow panel was then adhered to the black panel before being adhered to the card base. To finish up, I added some clear drops for a little bit of added interest.

Super simple project today, but simple cards are sometimes all that you need, or all that you feel like making for that day. Not every card has to be an elaborate undertaking to create. I hope you enjoyed this project, and I hope it inspires you to get creative in your space! Don’t forget to check out the entire Out of This World release, and don’t forget to stay awesome! Have yourself a wonderful day!

Supply List:

* Affiliate links used at no cost to you. Thanks so much for your support!

Latest Posts

Latest Instagram Posts

Strawberry Fields

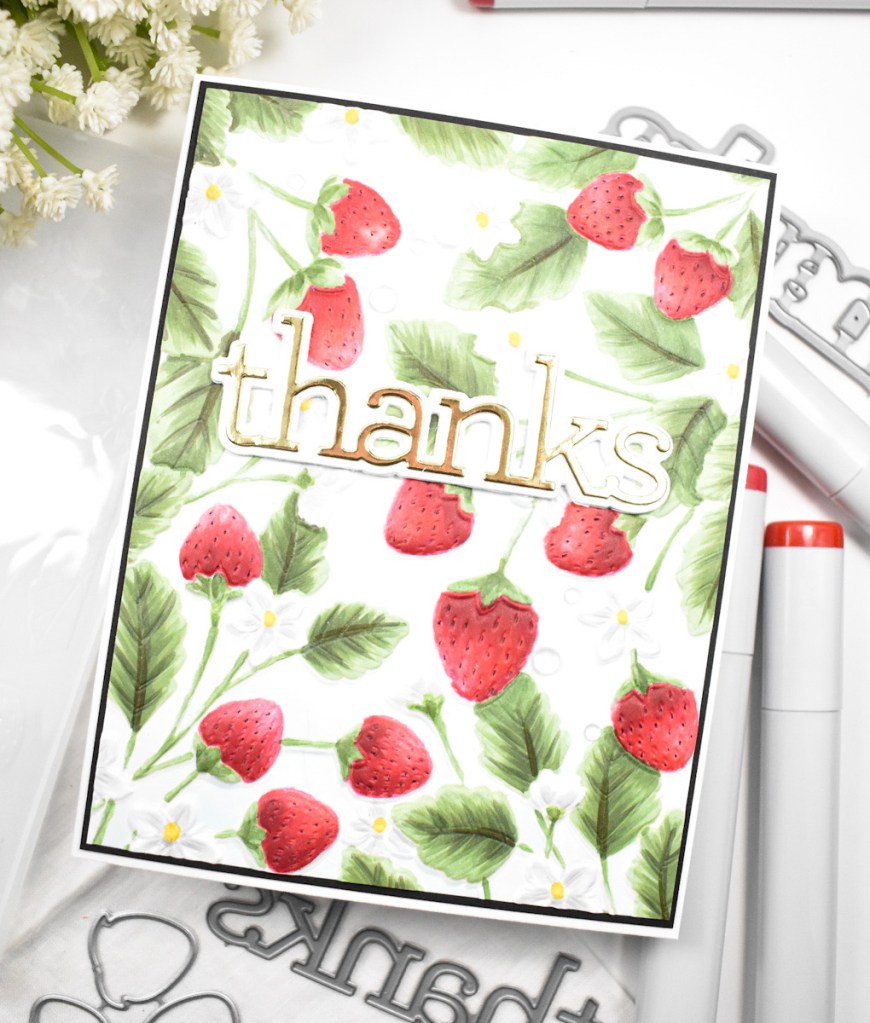
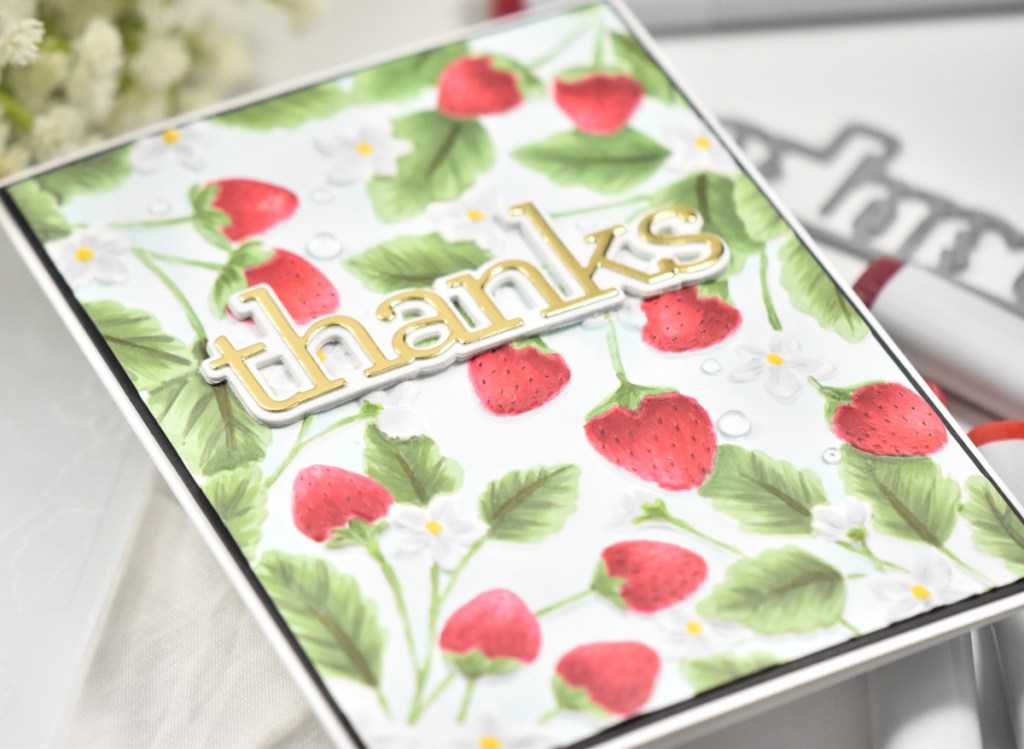
Hello Friends and thanks so much for stopping by! I’m back today with a card featuring the new Strawberry Fields Embossing Folder from Simon Says Stamp’s latest release, Out of This World. I had a fun time working on this one, although it took me the better part of a day. That’s just me though, it takes me forever to color anything! Anyhoo, let’s roll through the details of this one.

I began by trimming a panel of Neenah 110lb cardstock and misting it with a bit of water before running it through the die cutter. Once the image was embossed, I sat down and got to coloring! The Copic Markers used were R27, R35, R37, R39, RV14, B0000, Y18, N1, C2, BG96, YG99, G21, G24, G85 and G94. If you don’t have a Copic Hex Chart, I highly recommend it. It’s super nice to be able to glance at the chart and know which colors will work nicely together.

Once all of the coloring was complete, I used a Copic Multiliner 0.03 to add some detail for the strawberry seeds. I then trimmed the panel down just a smidge and adhered it to a black panel for a little bit of contrast.

For the sentiment, I opted to use the SSS Thanks die. I cut the shadow three times and the sentiment once from Polished Gold cardstock and adhered all of those together using liquid glue. That was then placed in the center of the panel.

I adhered everything to the card base and added a few clear drops to complete this project.

That does it for this one. Don’t forget to check out the entire Out of This World release and let me know your favorites! Thanks again for stopping by and have a wonderful day!

Supply List:

* Affiliate links used at no cost to you. Thanks so much for your support!

Latest Posts

Latest Instagram Posts

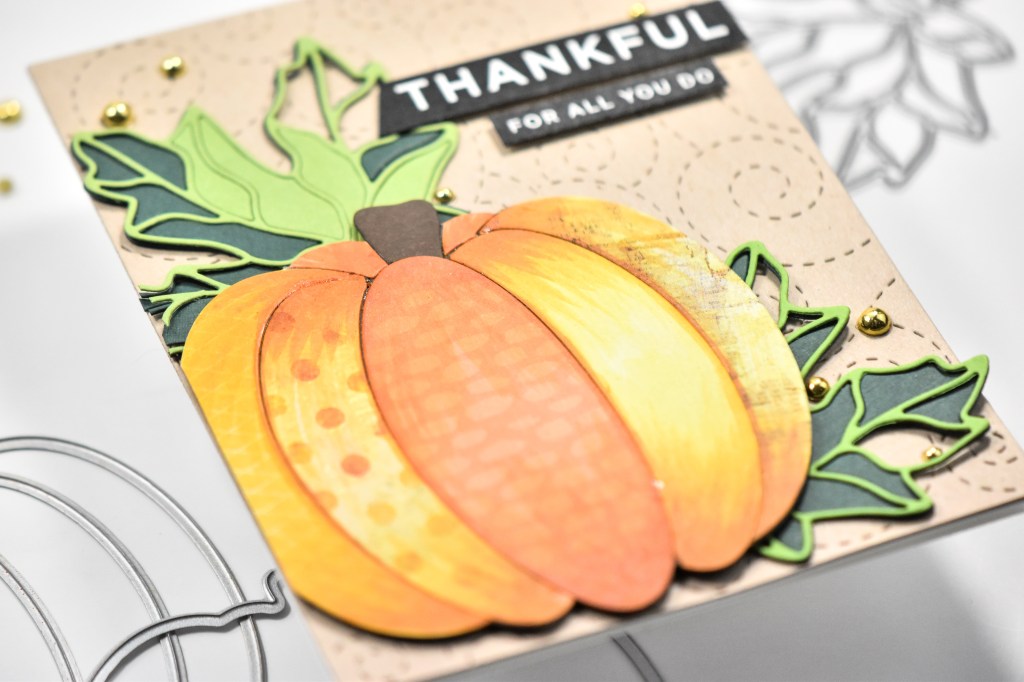
Simon Says Stamp Thankful Layered Pumpkin

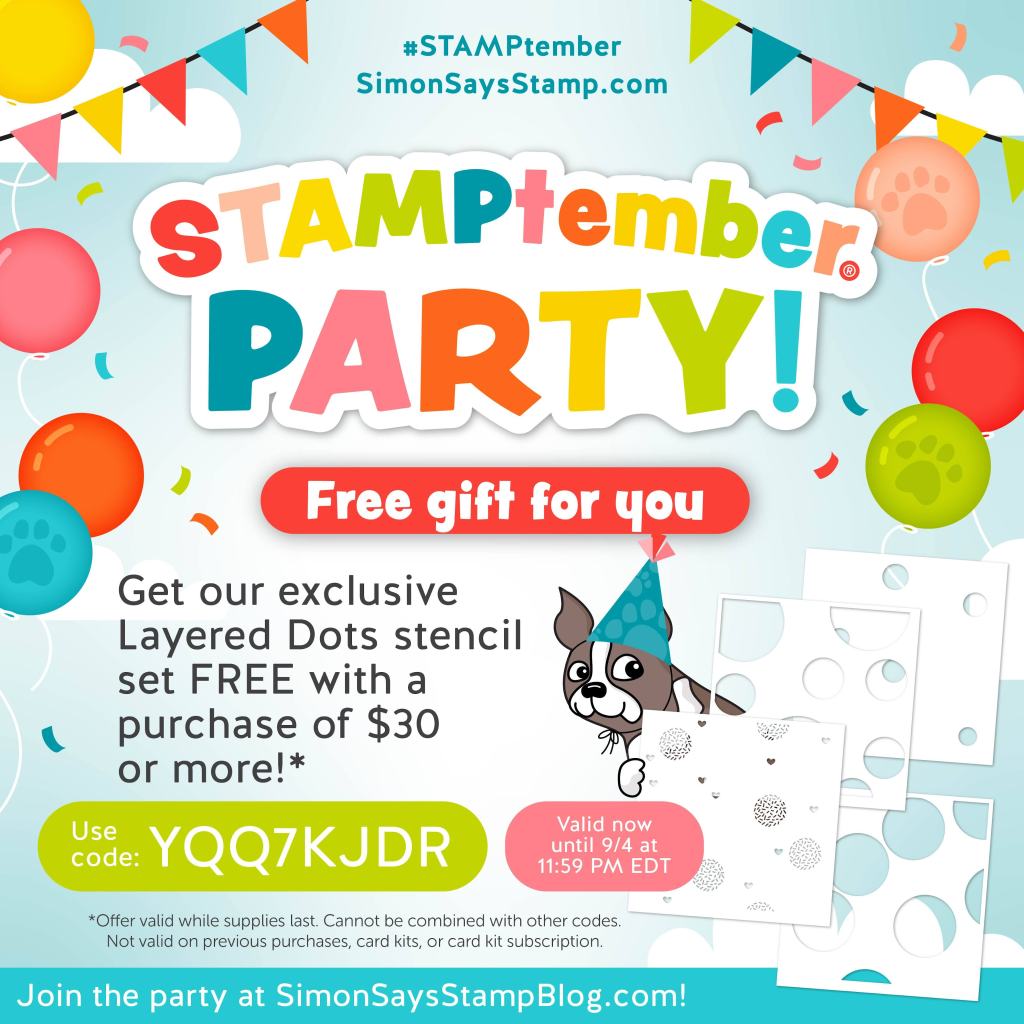
Hello Lovelies and thanks for stopping by! It’s STAMPtember and you know what that means .. a super, awesome release from Simon Says Stamp! We are celebrating today with a blog party, so be sure to start at Simon’s blog for links to everyone’s posts! There’s tons of inspiration, as well as exclusive promotions, so you’ll want to check those out for sure! Check the bottom of this post, for my STAMPtember promotion! For today’s project, I’m featuring the new Layered Pumpkin die. This project was super fun to put together, so let’s go through the details!

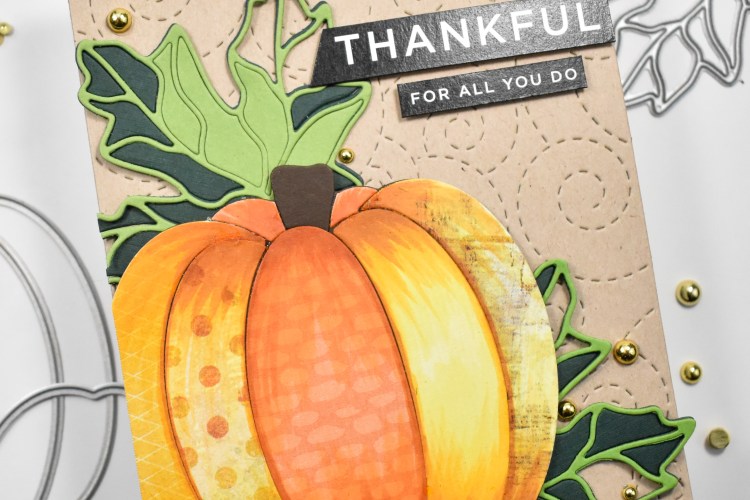
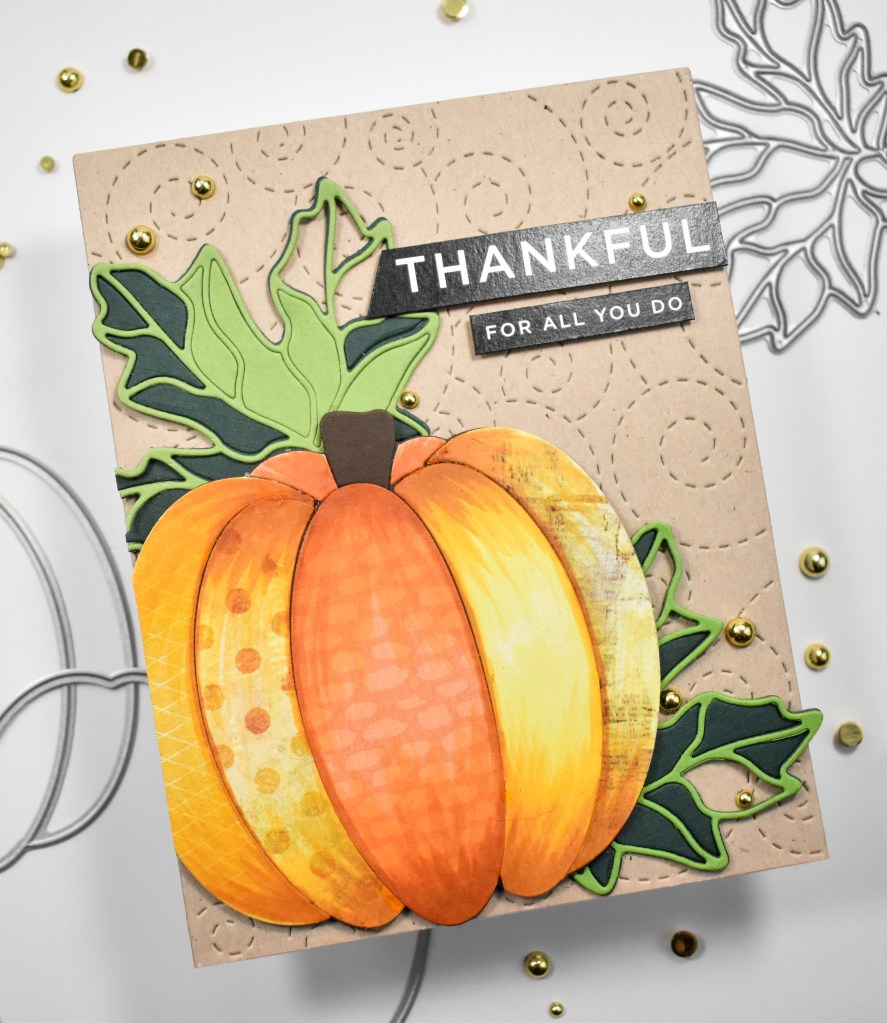
To begin, I pulled out five different yellow and orange scraps of patterned paper from my stash and cut each of them using the SSS Layered Pumpkin die. There is a solid pumpkin die in this set, and I cut that from a brown cardstock so that I would have a base for assembling the pumpkin.

I adhered the pieces of the pumpkin in their spots using liquid glue and then used some Copic Markers in Y02, Y17, YR24 and YR27 to add a bit of shading for a little more added interest. Once the pumpkin was assembled, I got to work of the rest of the card.

For the background, I used the SSS Stitched Whirl Background die on a panel of kraft cardstock, and I used the SSS Ornate Leaves set to cut one of the leaves twice from two different colors of green cardstock. Some of the pieces of the leaves fell out after die cutting, and I left them as they were, and adhered them together using liquid glue.

I arranged the leaves on the background and secured with glue, while adhering the pumpkin atop the leaves using SSS White Foam Tape for added dimension. I trimmed two SSS Sentiment Strips and adhered those with foam tape as well. The panel was then adhered to the card base using SSS Dot Tape Runner, and I finished up by adding some PFS Gold Metallic Pearls.

That does it for this project! I hope you enjoyed it, and I hope it inspires you to get crafty! Don’t forget to stop by and check out the entire STAMPtember release! You won’t be disappointed! Have a wonderful day and stay awesome! As mentioned above, here is my exclusive promotion for this awesome release!

Supply List:

* Affiliate links used at no cost to you. Thanks so much for your support!

Latest Posts
Latest Instagram Posts

Simon Says Stamp Floral Thank You

Hello Friends and thanks so much for stopping by! I’m still playing with goodies from Simon’s latest release, Happy and Joyful. There are so many beautiful florals in this release, and today’s card is featuring the new Lisianthus stamp set. Let’s run through the details for this card!

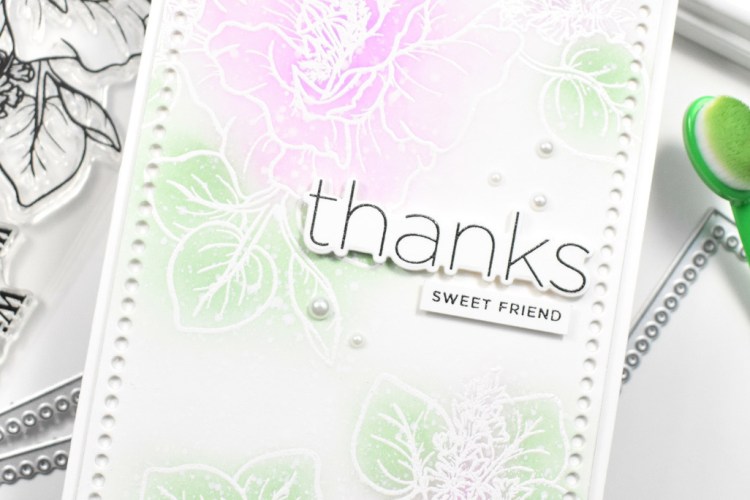
I began by stamping the floral image on a panel of Neenah Classic Crest 110lb cardstock using VersaMark Ink and then heat set it using SSS Detail White Embossing Powder.

I was going for an emboss resist technique so I used PinkFresh Studio inks in Soft Lilac and Lavender, as well as Simon’s Aspen Pawsitively Saturated Ink for the ink blending on this panel. When the ink blending was complete, I used the new SSS A2 Marquee die set to trim it down. I cut the marquee an additional two times and adhered all of those together using liquid glue for added dimension without the bulk. This is such a cool die, and I just love the detail that it adds! I also added some white splatter to the panel using Royal Talens Titanium White Acrylic Ink before moving on.

For the sentiment, I used the SSS Clean Line Gratitude stamp and die set. I stamped thanks using VersaFine Onyx Black ink and heat set that using Ranger Clear Embossing Powder. I trimmed it out using the coordinating die and placed foam tape on the back. I searched my SSS Sentiment Strips to find a sub-sentiment that worked well and added foam tape to that as well.

The sentiments were added to the panel along with some pearl accents before being added to the card base using SSS Dot Tape Runner.

Super simple card, but I love the soft airy feeling to it. I hope you enjoyed it, and I hope it inspires you to get crafty! Don’t forget to check out the entire Happy and Joyful release, and let me know your favorites! Have a wonderful stay and stay awesome!

Supply List:

* Affiliate links used at no cost to you. Thanks so much for your support!

Latest Posts
Latest Instagram Posts

Simon Says Stamp Glitzy Thank You

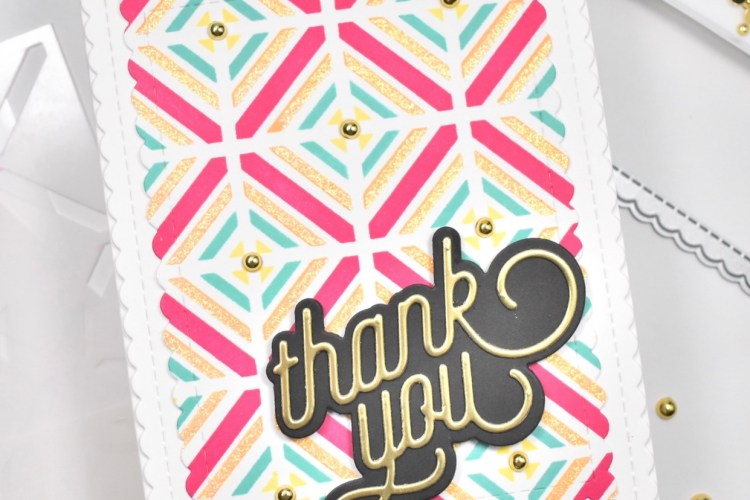
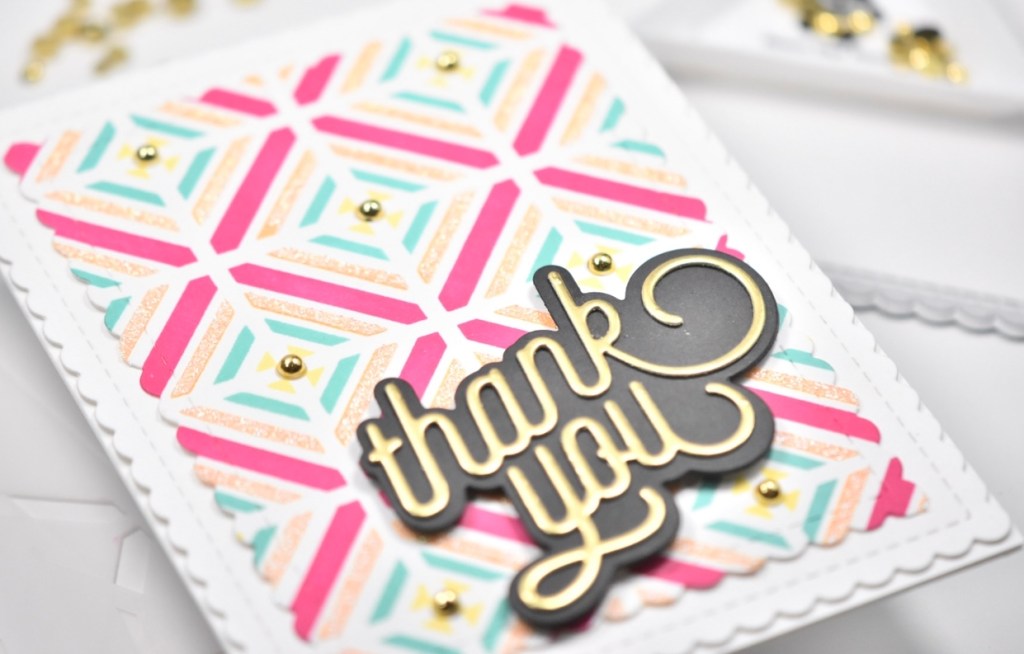
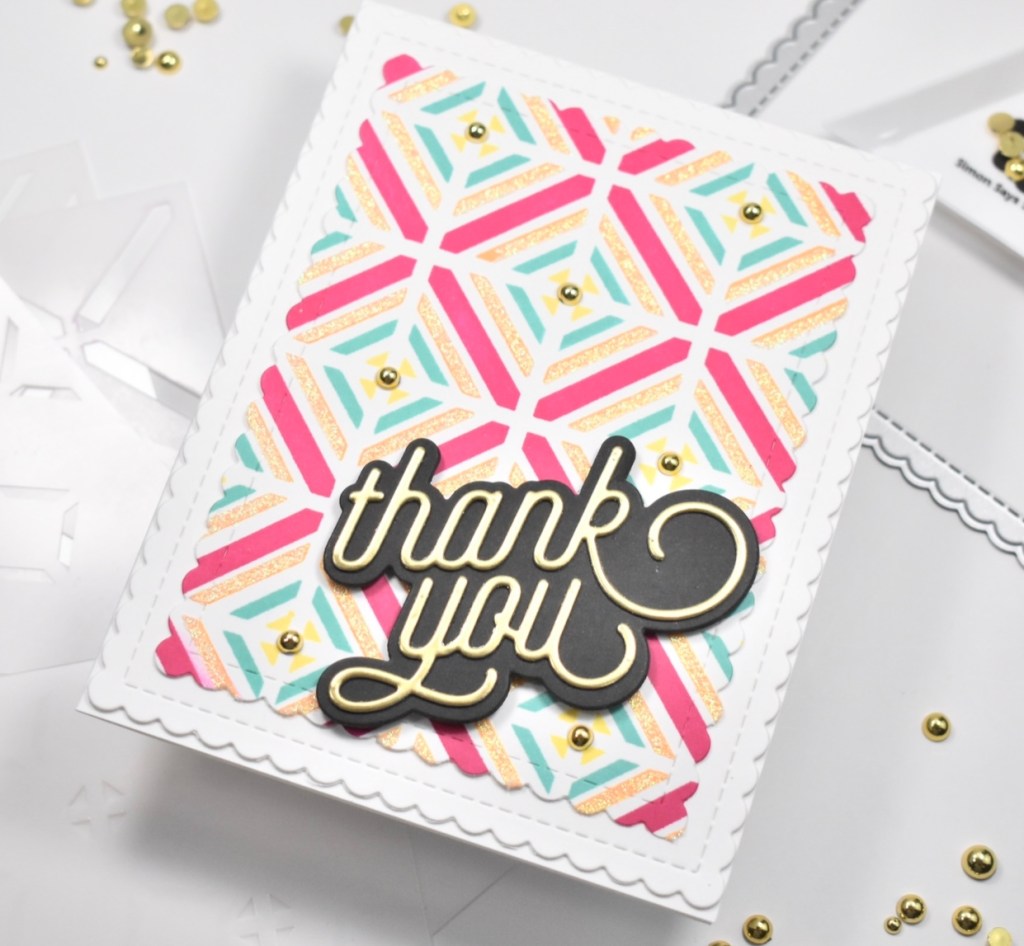
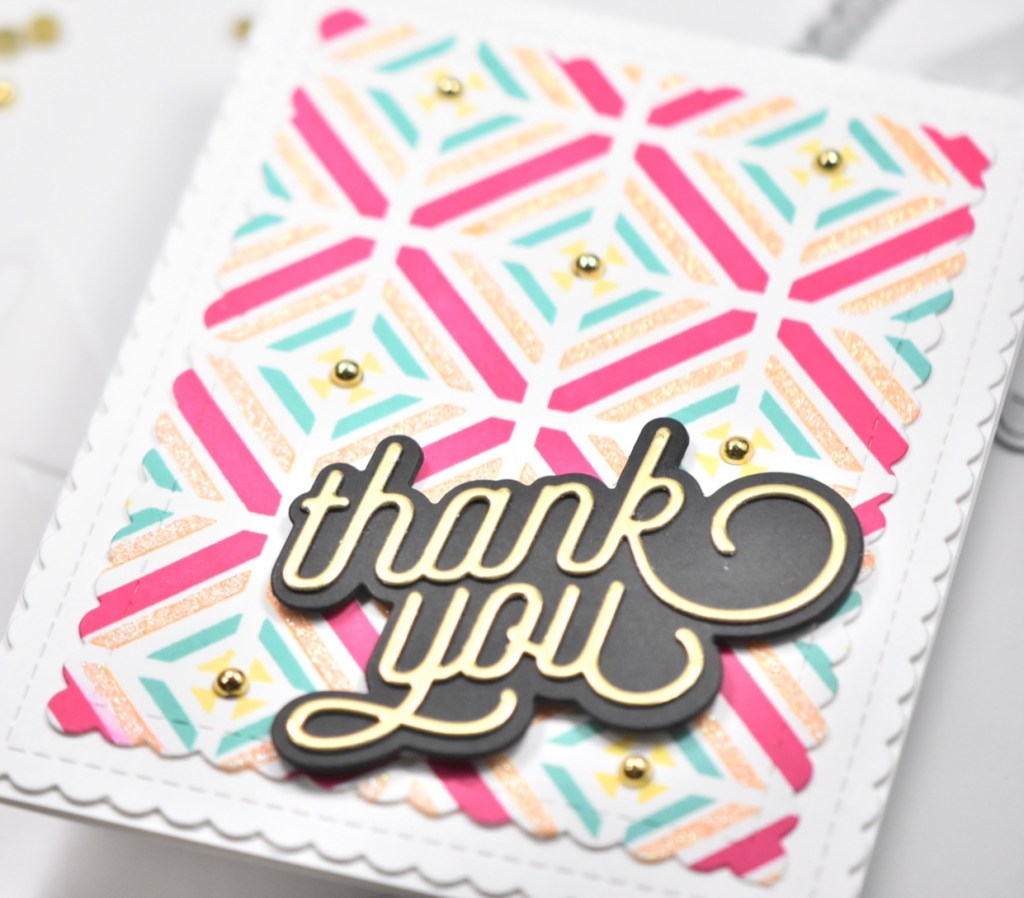
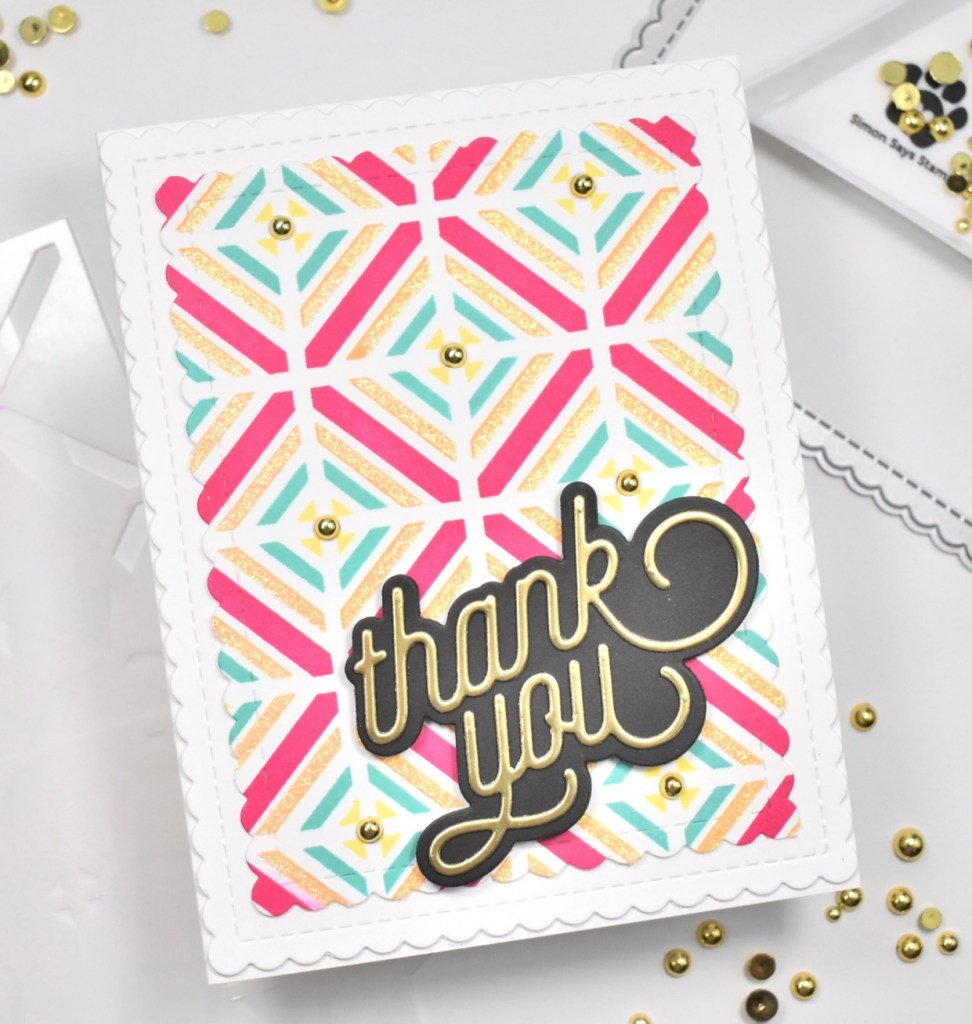
Hello Crafty Lovelies! I hope you’re having a great day! Thanks for stopping by to check out my project today featuring the new Radiating Squares Stencil set from Simon Says Stamp’s newest release, Good Luck Charm. Let’s go through the details.

I began this project by adhering my first stencil to a panel of Neenah Classic Crest 110lb cardstock using masking tape. There are four stencils in this set, so I pulled four PinkFresh Studio inks in Raspberry Bliss, Apricot, Lemon Whip, and Aquamarine, and began ink blending. I used a different ink for each stencil and made my way through the stencils.

To be honest, I messed up this panel, hence having to trim it down so small. But, mistakes happen, and you just have to roll with them! I wanted to add some glitz, so I adhered one of the stencils and used some Iridescent Gina K Glitz Glitter Gel. Once that was dry, I used a frame from the Honey Bee Scallop A2 Frames set to trim it down. I got a little ink out of place on the bottom corner, so I opted for the smaller size. I used another frame from the same set to cut a larger panel and adhered those together using SSS Dot Tape Runner.

I die cut the SSS Swoopy Thank You once from gold mirror cardstock and once from black cardstock, adhering those together with liquid glue. I also die cut the shadow twice from black cardstock and adhered those together as well. Once the sentiment was assembled, I placed foam tape on the back of that and placed it towards the bottom of the panel.

The card needed something in the middle of the squares, so I adhered some PinkFresh Studio Gold Metallic Pearls, before adhering everything to the card base.

That finishes up this project! I hope you enjoyed it and I hope it inspires you to get crafty! I was worried that I was going to have to trash this panel because of my mistake, but I worked through it and ended up with a cool card! Don’t forget to check out the entire Good Luck Charm release! There’s so many fun things in this release. Have a wonderful day and stay awesome!

Supply List:

Latest Instagram Posts

Alex Syberia Design February Release

Hello Crafty Friends! Thanks so much for stopping by! Today, the design team is celebrating Alex’s new release with an Instagram hop, so be sure to head over there to check that out! She’s giving away a $15 gift card for her shop to three lucky commenters, so hop along for your chance to win! Let’s get into the details for my card today!

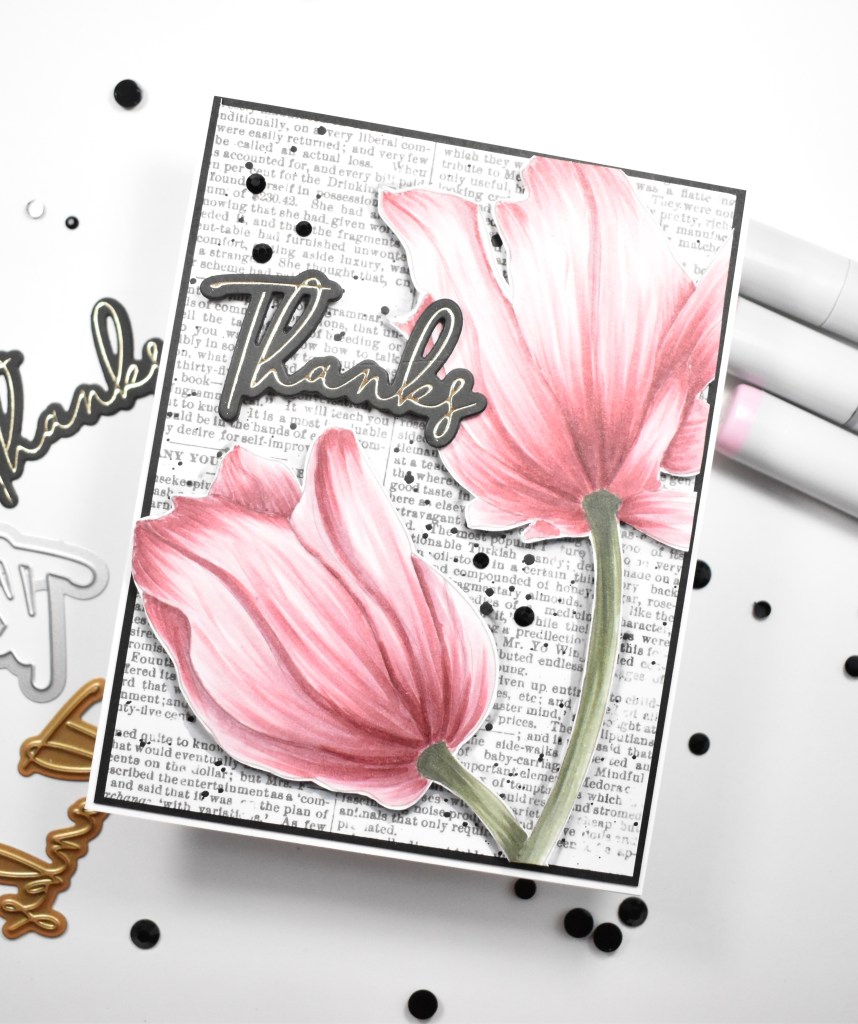
I began this project by printing the Tulip Close Up on some Neenah Classic Crest 110lb cardstock. I don’t use fancy software because I’m so not tech savvy. I just use Pages on my MacBook and resize the image to whatever size I’m looking for, and sometimes I tone down the opacity as I did for this image. That allows you to get a more no-line look, if you’re into that.

Once printed, I began coloring the image using Copic markers RV91, RV93, RV95, R56, BG93, BG96, BG99, N0 and N2. This is such a beautiful combination of pinks and reds, and definitely a go-to combo for me. When I was done coloring, I fussy cut the image and set it aside while I worked on the remainder of the card.

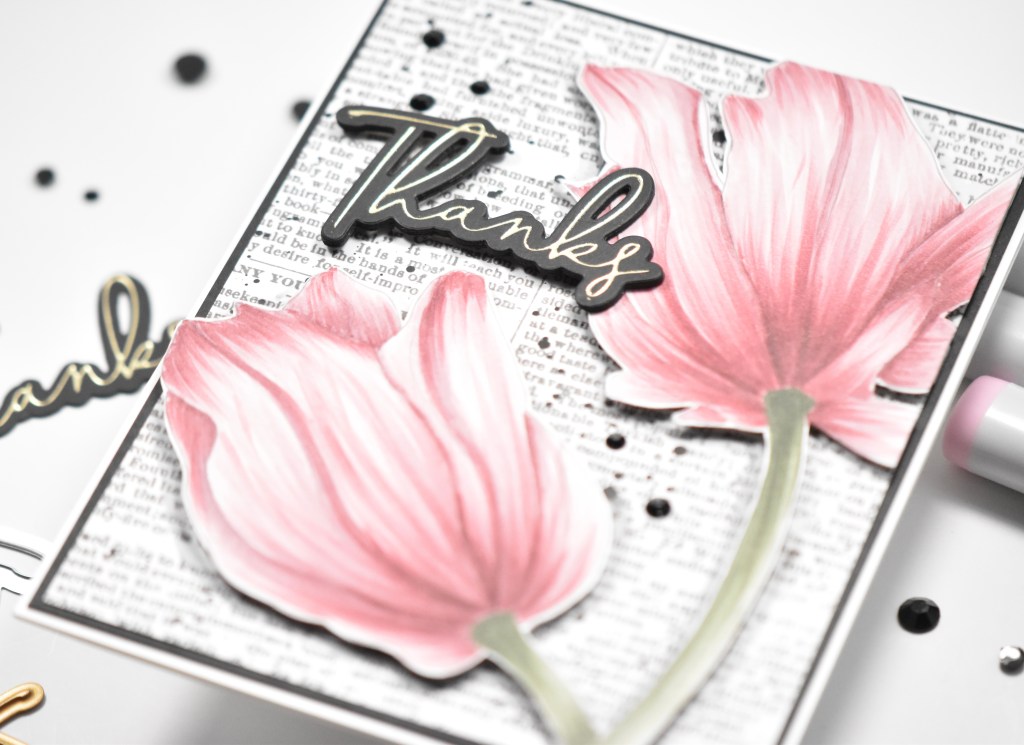
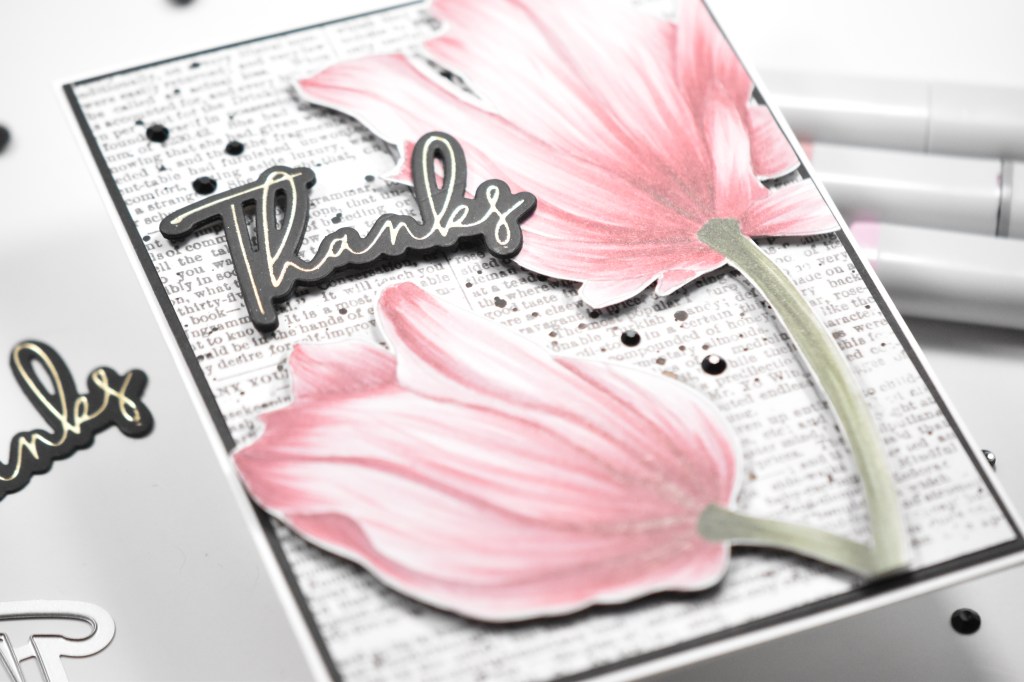
I’ve done a card like this before for Alex, and wanted to recreate that, so I pulled out this patterned paper, which is from the Wandering Ivy Collection from KaiserCraft and trimmed it down. For the sentiment, I decided to use the Thanks from PinkFresh Studio Fancy Script Words set. I hot foiled the sentiment using Spellbinders Champagne foil onto black cardstock and used the coordinating die set to trim that out. I did cut two more blank sentiments and adhered all of those together using liquid glue.

I applied foam tape to the tulips and adhered those to the text background, which I splattered using Royal Talens Oxide Black Acrylic Ink, trimming off any excess of the flowers. After those were on, I used the Copic markers in N0 and N2 to add shadows around the flowers. The text panel was then adhered to a black panel using SSS Dot Tape Runner, and that was then adhered to the card base. I adhered the sentiment using a combination of foam tape and liquid glue, and also added a few black jewels to finish up.

That does it for this project! I hope you enjoyed it, and I hope you’ll head over to Instagram to participate in the hop! Don’t forget to check out all of Alex’s new images over in her Etsy shop! Have a wonderful day and stay awesome!

Supply List:

* Some affiliate links used at no cost to you. Thanks so much for your support!

Latest Instagram Posts

Simon Says Stamp Thank You Vines

Hello Lovelies! I hope your day is going well! Thanks so much for stopping by to check out my project featuring the new Exotic Vines Embossing Folder from Simon Says Stamp’s newest release, And Back Again. Let’s go through the details!

I began this project by spritzing a panel of Neenah Classic Crest 110lb cardstock with water before placing it in the SSS Exotic Vines Embossing Folder and running it through my die cutting machine. Be sure to check Simon’s website for appropriate sandwiches for the different machines. That was super helpful for me!

Once the panel was embossed, I trimmed it down using the Honey Bee Scallop A2 Card Frames and ink blended that using Distress Oxide Broken China, Peacock Feathers, Mustard Seed, Twisted Citron and Mowed Lawn. I then sat that aside while I worked on the rest of the card. I decided on an A7 card base, which I splattered using Royal Talens Light Gold Acrylic Ink.

I die cut the thank you sentiment, which is from SSS Handlettered Greetings, once from mirror gold cardstock and once from Neenah 110lb, and adhered both of those together using liquid glue. I also die cut the SSS Privet Branch twice from the same mirror gold cardstock. I needed another layer, so I cut another panel of Neenah 110lb using a larger die from the same Honey Bee frame set.

I adhered the sentiment to the embossed panel using liquid glue and trimmed off the excess. The embossed panel was then adhered to the white scalloped panel using foam tape for dimension. The leaves were glued underneath the scalloped panels with the leaves peeking out from the edges for added interest, and everything was then adhered to the card base using SSS Dot Tape Runner. I added a few PinkFresh Studio Gold Metallic Pearls to finish up.

That does it for this project! I love the large white border around the focal point of this card! I hope it inspires you to get crafty. Stop by and check out the entire And Back Again release, there’s lots of super, fun things in this one. Have a wonderful day and don’t forget to stay awesome!

Supply List:

* Affiliate links used at no cost to you. Thanks so much for your support!

Latest Instagram Posts

Simon Says Stamp Be Grateful

Hello Friends and thanks for joining me! The Handmade Holiday release from Simon Says Stamp is live and there are so many cool things that you absolutely need to check out! Like the new Simon Glitz Glitter Gels! Yup, you heard that right, Glitz Glitter Gels! I was super excited to find these in my package and couldn’t wait to play with them! Let’s get right to my project for today!

This set comes with six containers of gels, and they are all so gorgeous, but I’m only using four of them today. To begin, I trimmed a panel of Neenah Classic Crest 110lb cardstock using the PinkFresh Studio Diagonal Stitched Rectangles. I decided on the SSS Tumbling Leaves Stencil, so I taped that to my panel using masking tape, and began applying the gel. The colors that I ended up using were Pearfection, Surf, Citrine and Sherbert. I was going for an ombre look, so I applied the first gel over the top portion of the stencil, cleaning as much as possible from the top of the stencil. I moved to the next color of gel, overlapping the previous color just slightly, continuing with the four colors to the bottom of the stencil.

For the sentiment, I chose to use the SSS Be die along with the SSS Grateful die. I cut each of the words once from mirror gold cardstock and twice from black cardstock. I die cut the shadow for grateful once from black cardstock as well. The Be die cut does not have a shadow, so I traced the die cut on black cardstock and fussy cut that one. By tracing the die, it gives you the perfect size shadow when there isn’t one available. Once all of those were cut, I adhered them all together using liquid glue.

Once the panel was dry, I adhered it to a black cardstock panel using foam tape for dimension. I then glued the sentiments directly to the glitter panel, and adhered everything to the card base, which is Neenah 110lb. To finish up, I added a few PinkFresh Studio Gold Metallic Pearls for some added bling!

Super simple project, but I love the gels and love how this card came out! I hope you’ll stop by and check out the entire Handmade Holiday release! If you love embossing folders, this release is for you! Have a wonderful day and don’t forget to stay awesome!

Supply List:

* Affiliate links used at no cost to you. Thanks so much for your support!

Latest Instagram Posts