Simon Says Stamp In My Thoughts Butterfly
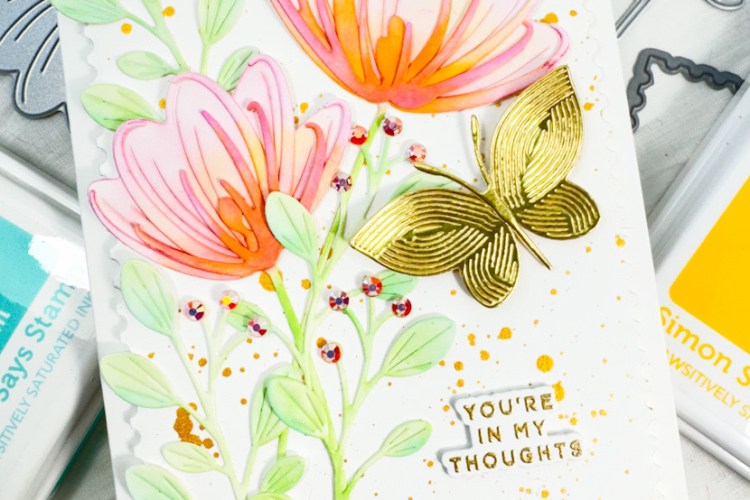
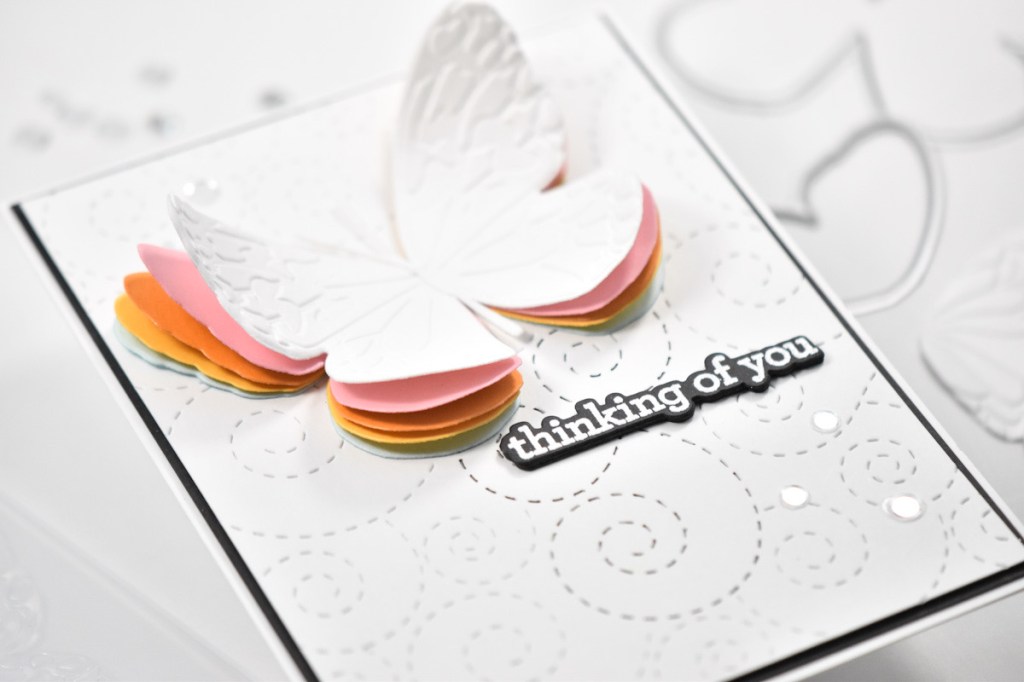
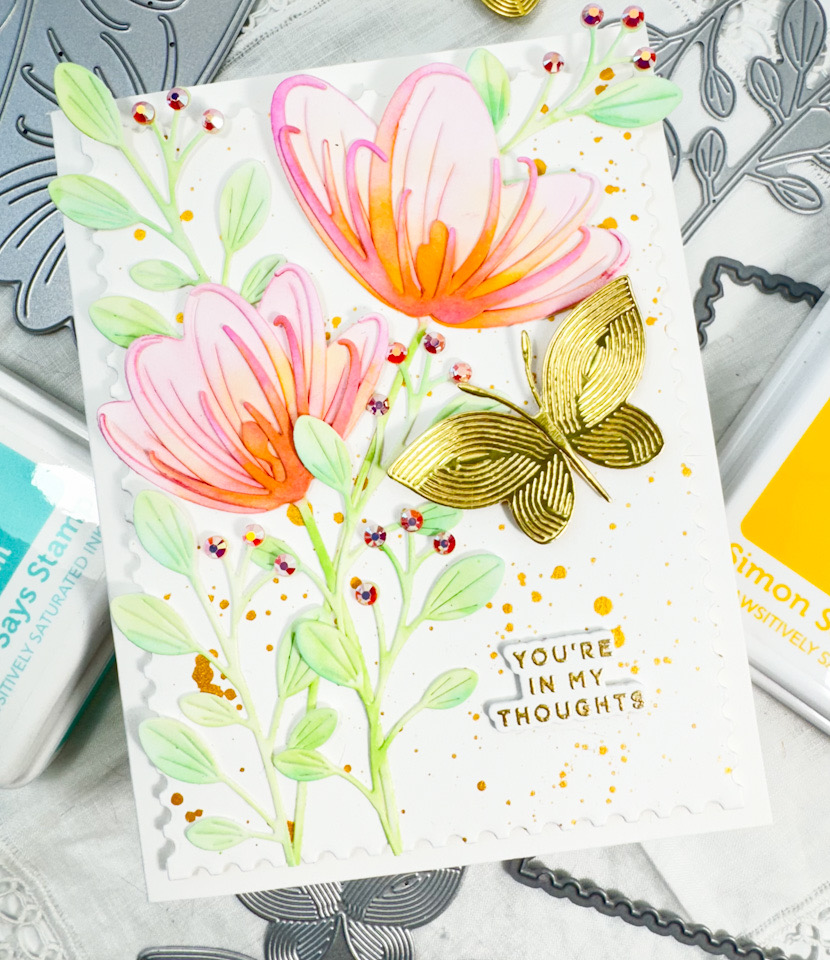
Hello and welcome back to my blog! I appreciate you stopping by! Today I’m participating in a Simon Says Stamp Instagram Hop to celebrate the CELEBRATE release. Be sure to check that out and comment along the hop for your chance to win a $25 gift card to Simon’s website. Who doesn’t love gift cards, am I right?! Today’s card is once again featuring the new Whirl Butterflies, and I had much fun with these butterflies, and probably made too many projects with them, but at least they’ve gotten some good use! Let’s run through the details for this one, shall we?

Main Products:
- SSS Whirl Butterflies
- SSS Spindle Flower
- SSS Budding Branches
- SSS Checking In Stamp, Die, Bundle
- SSS Postage Stamp Edge Frames

I began this card by die cutting the SSS Spindle Flower from Neenah 110lb cardstock, and doing some ink blending using SSS Pawsitively Saturated Inks in Bubblegum, Carnation and Zest. I chose this flower because I had never used it before, and now I’m wondering why I haven’t used it before!! It’s such a great flower! Once the flowers were colored, I assembled the pieces together using liquid glue.

The flowers were going to need leaves, because all of my flowers always need leaves! I used the SSS Budding Branches for this and did some ink blending using Seafoam and Sprout for these. I also went ahead and cut the SSS Whirl Butterflies from gold cardstock and set that aside. My panel was cut using the SSS Postage Stamp Edge Frames and then splattered with gold acrylic ink for added texture and interest.

I glued some of the leaves to the panel and then glued the florals atop those. The rest of the leaves were then glued in place, filling in the gaps, while the gold butterfly was adhered using SSS 3D Foam Strips. The butterfly doesn’t come with a body, and I wanted mine to have one so I used the body from the SSS Layered Cosmic Butterfly and secured that in place.
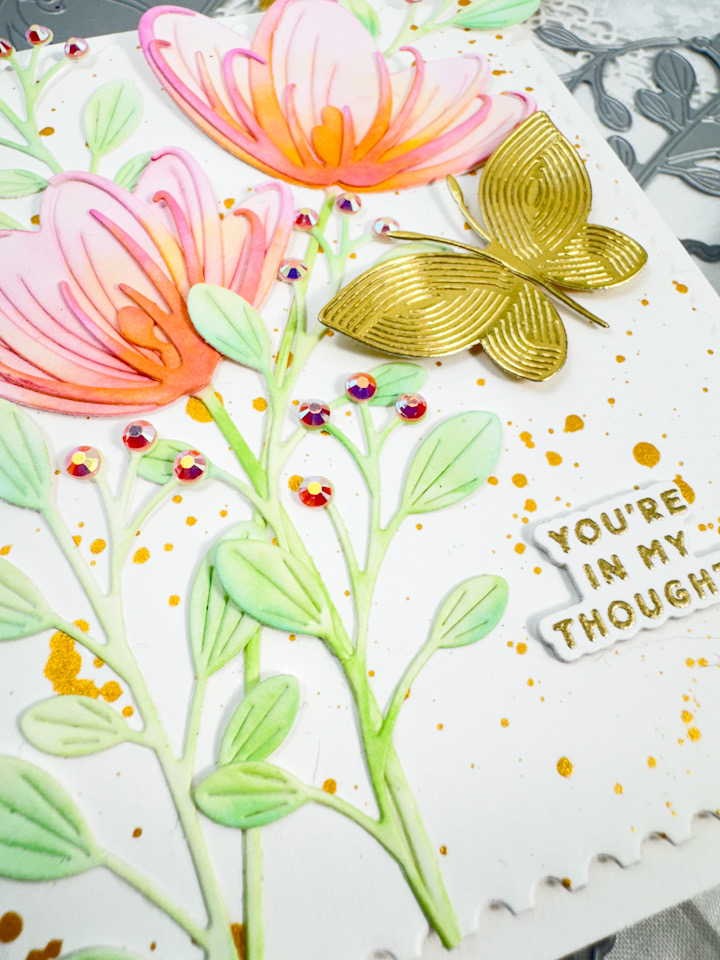
For added interest, I love adhering jewels to the ‘bud’ portion of these leaves, and did that using PFS Ballet Slipper jewels. I stamped the sentiment from the SSS Checking In set using VersaMark Ink, heat set that using Ranger Princess Gold Embossing Powder, and used the coordinating die to trim it out, along with two additional cuts. Those were all adhered together before being adhered to the panel using foam strips. The entire panel was then adhered to the card base using foam tape for added dimension to finish up.
That does it for this one! I hope you enjoyed it, and I hope it inspires you to get crafty in your space! Don’t forget to check out the entire Celebrate release over on Simon’s website, and join the hop over on Instagram for your chance to win! Thanks again for stopping by, and have a wonderful day!
Other Products:
- SSS Pawsitively Saturated Ink: Bubblegum, Carnation, Zest, Seafoam, Sprout
- SSS Layered Cosmic Butterfly
- SSS Blender Brushes
- SSS Place and Score Embellishment Wand
- SSS Bone Folder
- SSS T-Ruler
- SSS Triangle Trays
- SSS 3D Foam Strips
- SSS Foam Tape
- SSS Anti-Static Brush Powder Tool
- VersaMark Ink
- Ranger Princess Gold Embossing Powder
- PFS Ballet Slipper Jewels
- Neenah Classic Crest Solar White 110lb Cardstock
- Gold Cardstock
- Gold Acrylic Ink
- Bearly Art Glue
- Wagner Heat Tool
- Tim Holtz Scissors
- Misti
- Scor-Buddy
- Spellbinders Platinum 6
* Affiliate links used at no cost to you. Thanks so much for your support!
Latest Posts
- STAMPtember CZ Design Exclusive

- Altenew Seasonal Blooms Card Duo

- STAMPtember 2026 Party!

- Simon Says Stamp Birthday Gifts

- Simon Says Stamp Amazing Daisies