Simon Says Stamp Birthday Leafy Branch

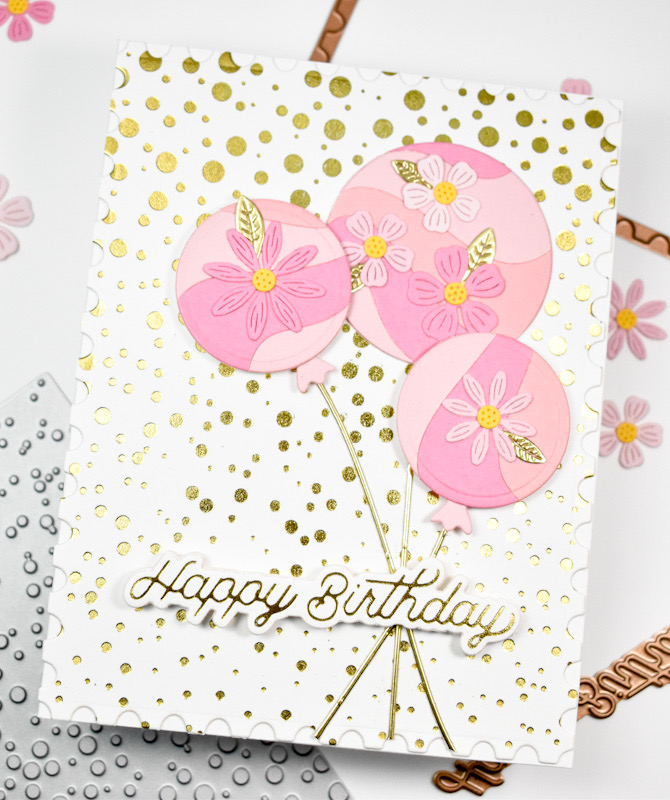
Hello Friends, and welcome back! I’m back today with a project featuring the Leafy Branch for Simon’s latest DieCember release. Let’s go ahead and get into the details!

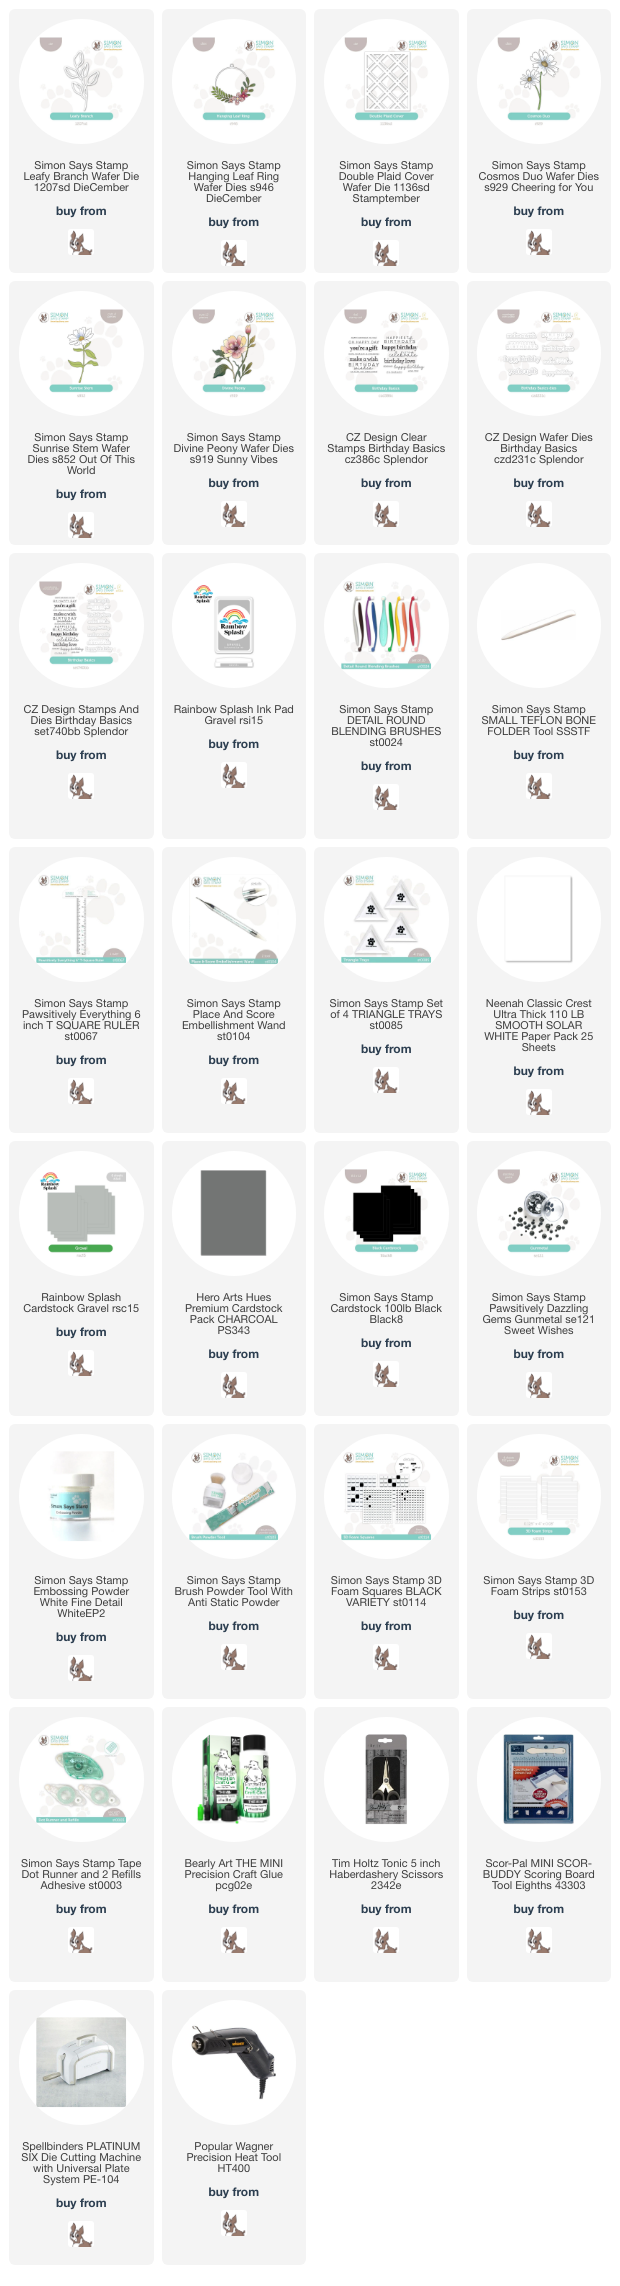
NOTE: all supplies are linked in the thumbnails at the end of this blog post.

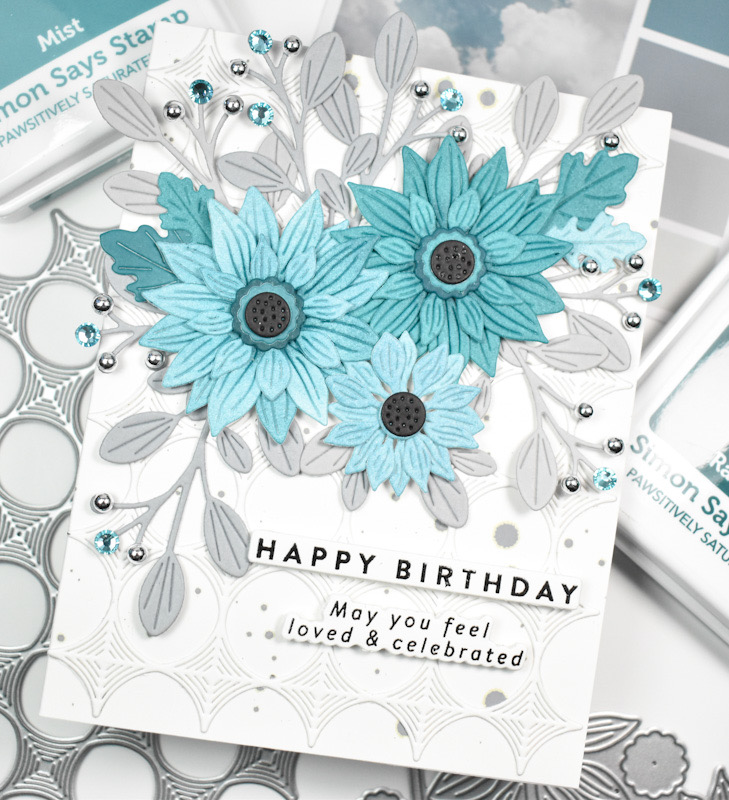
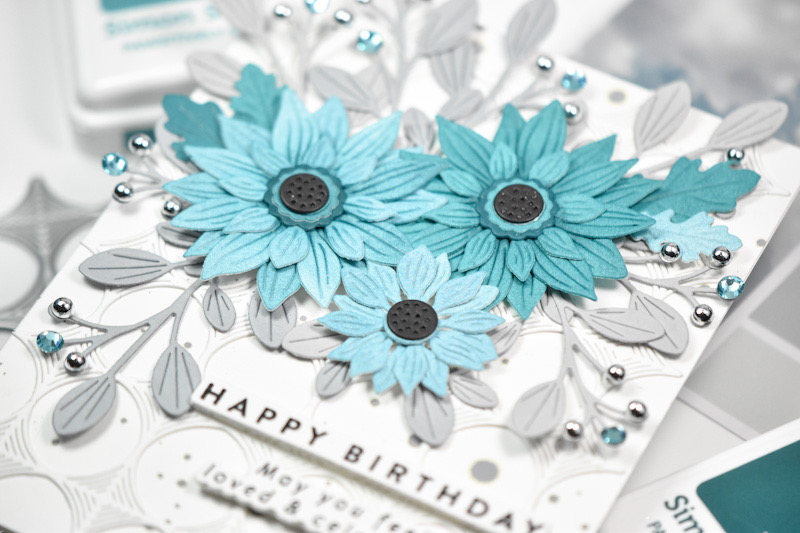
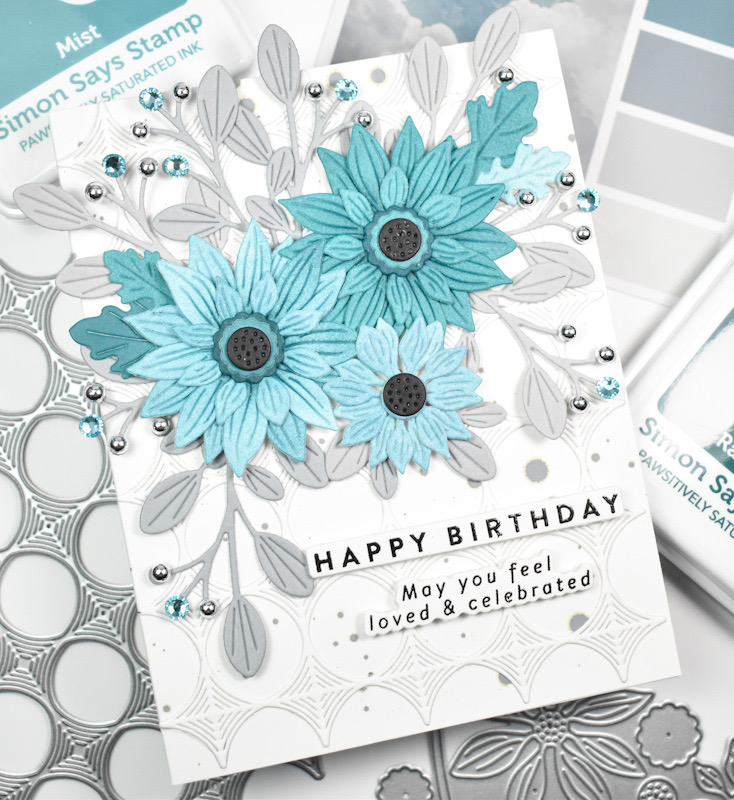
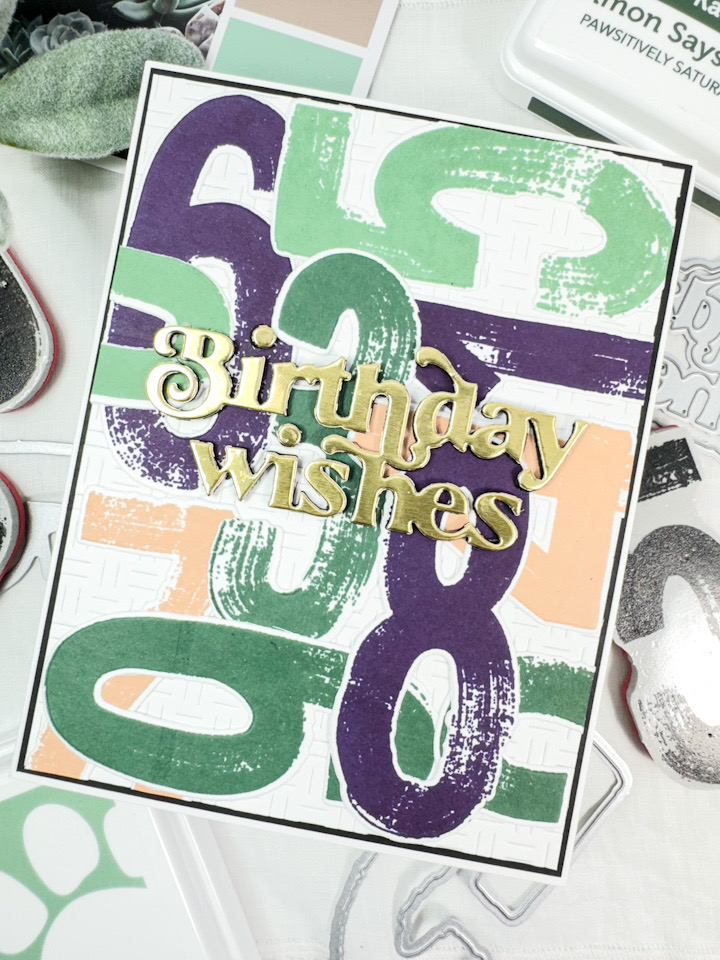
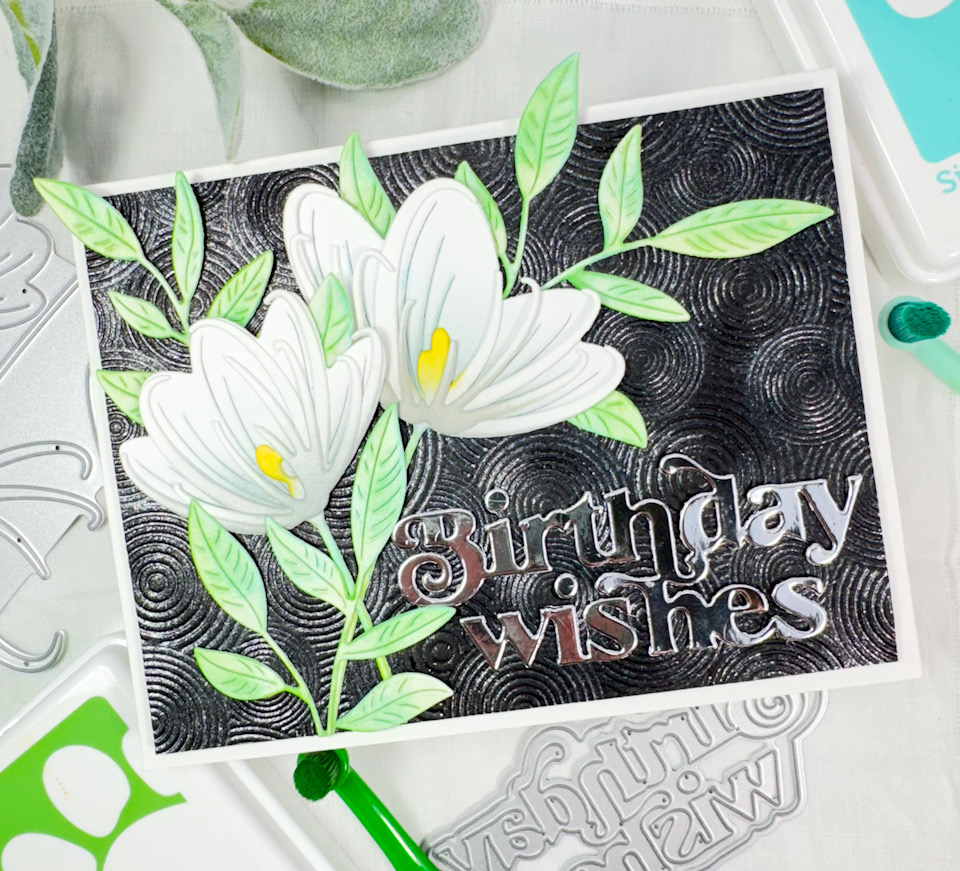
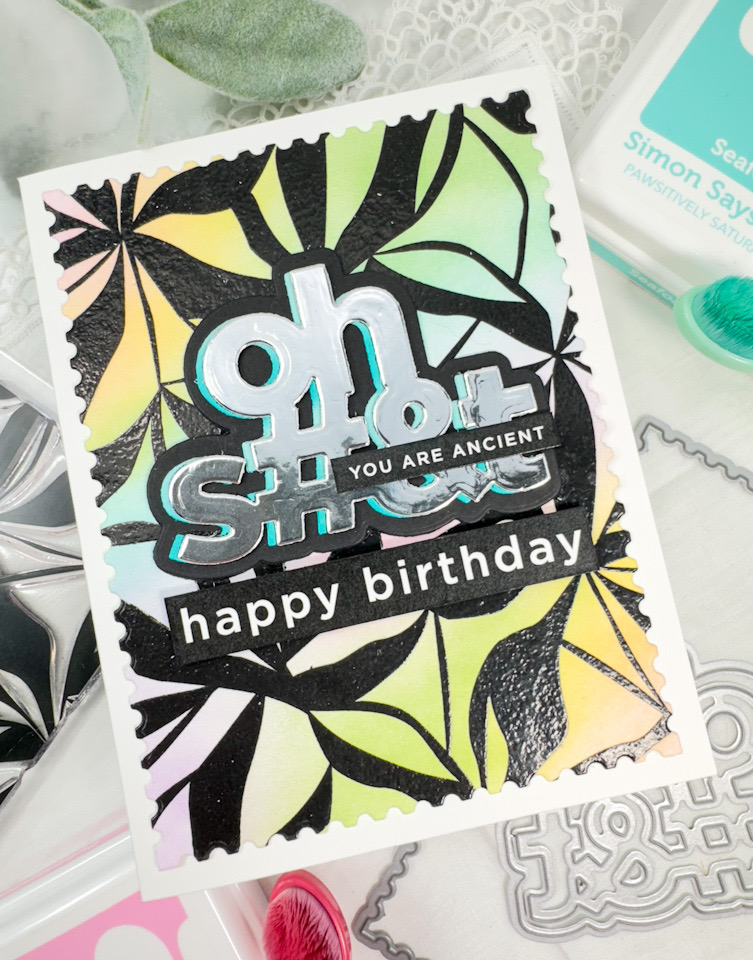
I knew that I wanted a monochromatic look to this project, so I began by die cutting the flowers from Neenah 110lb cardstock, while cutting the centers from black cardstock. I’ll list the flowers used in the thumbnails at the end of this post. Once the flowers were cut, I did some light ink blending using Gravel ink.

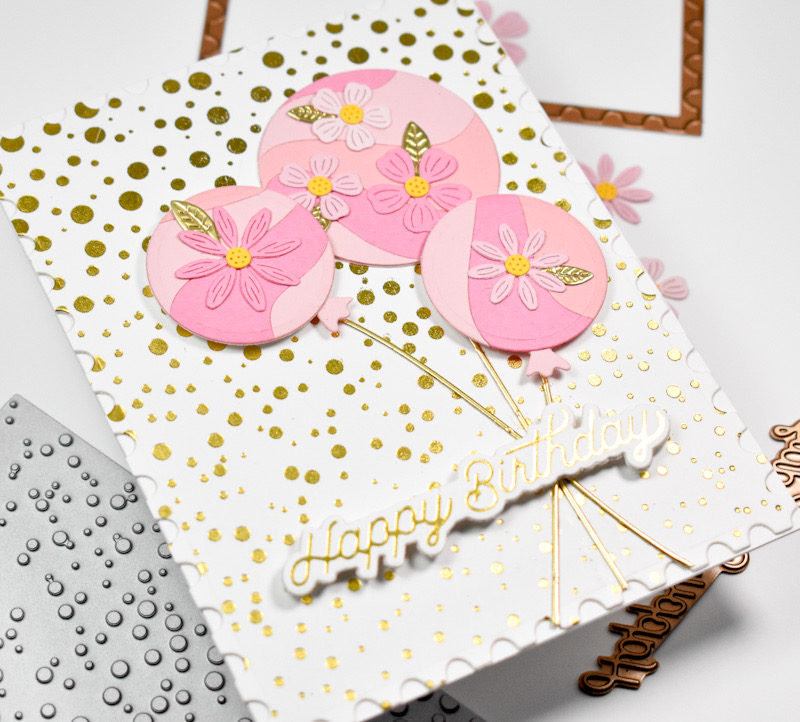
I went ahead and assembled the flowers, and adhered Gunmetal Dazzling Gems to the centers of the smaller flowers. I die cut the Leafy Branch from black cardstock to provide that contrast that I needed. For added interest, I die cut the Double Plaid Cover from Gravel cardstock and adhered that to a darker grey cardstock using liquid glue.

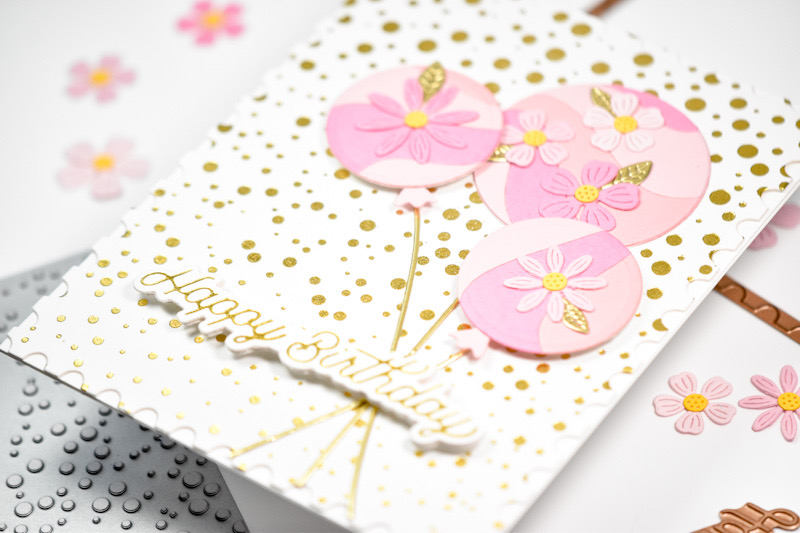
Before adhering the leaves to the panel, I splattered them with white acrylic ink. I then adhered the florals in place with black foam squares. I stamped the sentiment, which is from the Birthday Basics set, using VersaMark ink and heat set that using Detail White Embossing Powder. The coordinating die was used to trim it out, along with two additional cuts for a stacked sentiment. That was then added to the card using foam strips, along with a few more embellishments to finish up.

That does it for this project! I hope you enjoyed it! I always love working with florals, so this was a favorite of mine for sure! Thanks again for stopping by, and I hope you have a wonderful day!

Supply List
Affiliate links used at no cost to you. What does this mean? If you use the links within this post to make a purchase, I receive a small commission, which allows me to continue to post crafty content for your enjoyment. I truly appreciate your support!
Latest Posts
- Simon Says Stamp Braided Greetings

- Together By Design Color Cube Floral

- Simon Says Stamp Cute Duckling

- Simon Says Stamp Watercolor Wild Rose

- Simon Says Stamp Striped Missing You

Latest Instagram Posts