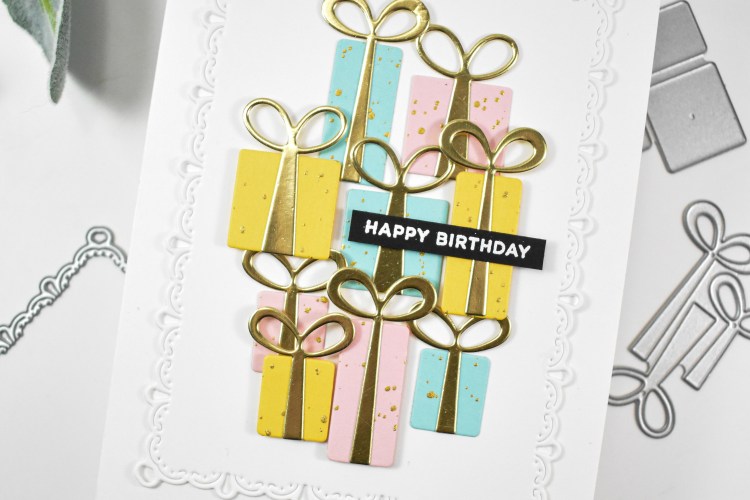
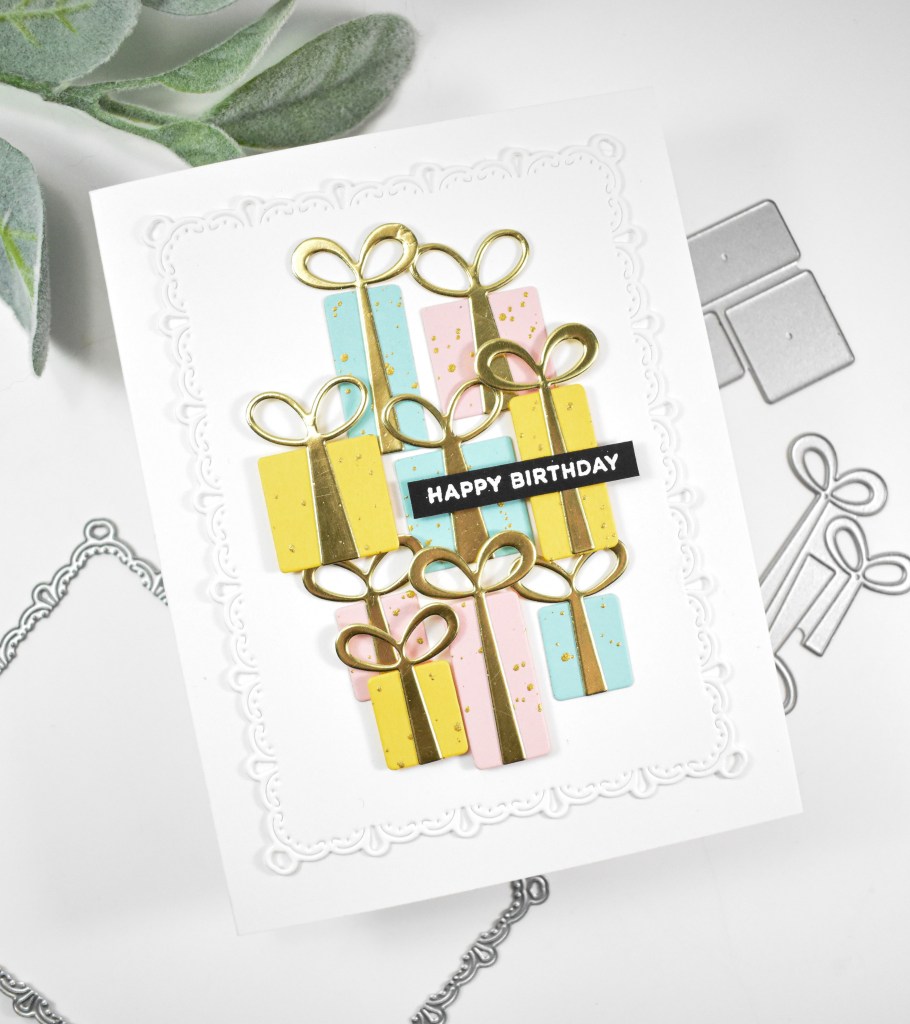
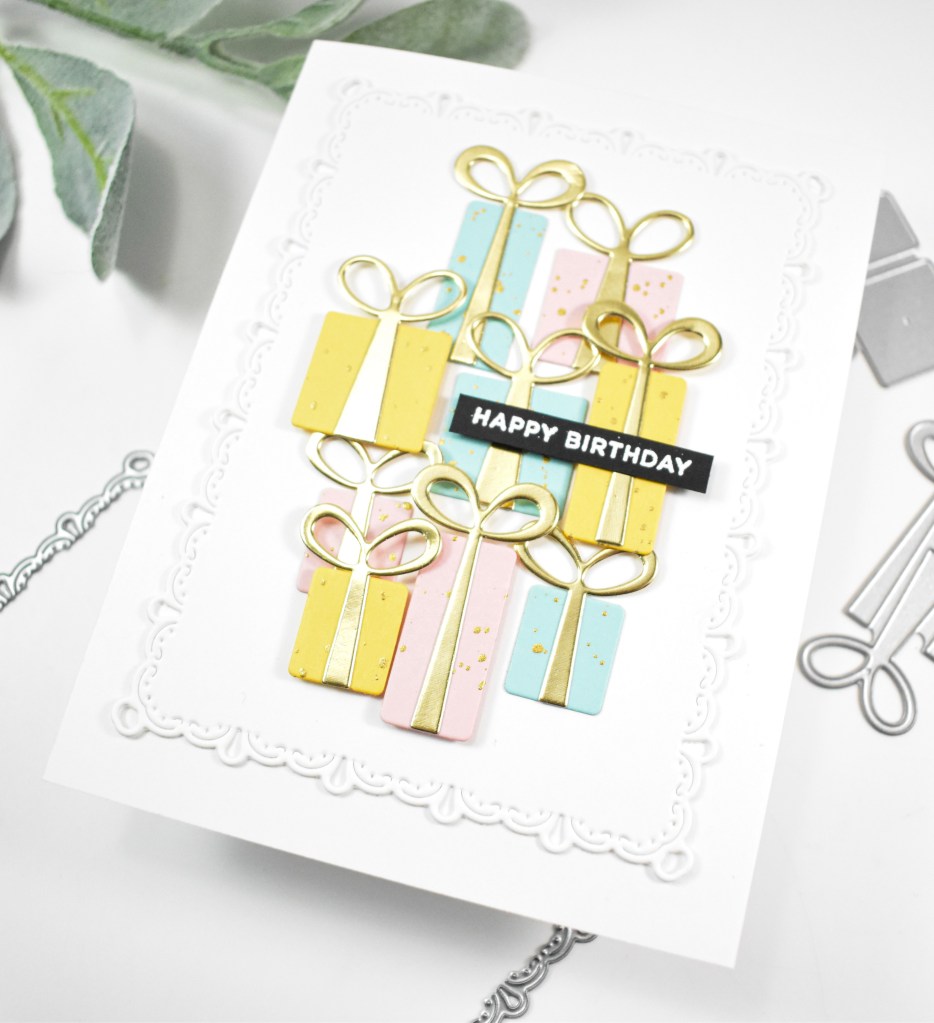
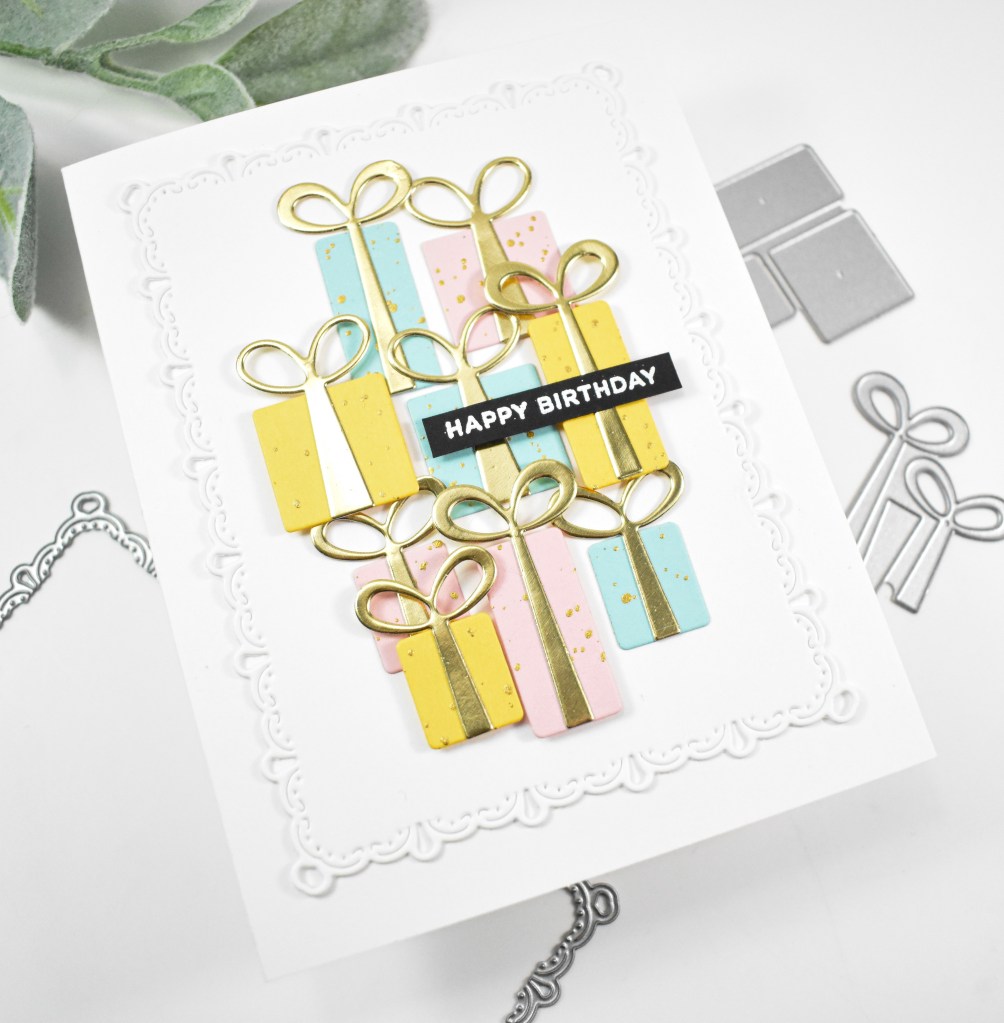
Simon Says Stamp Pastel Birthday Wishes

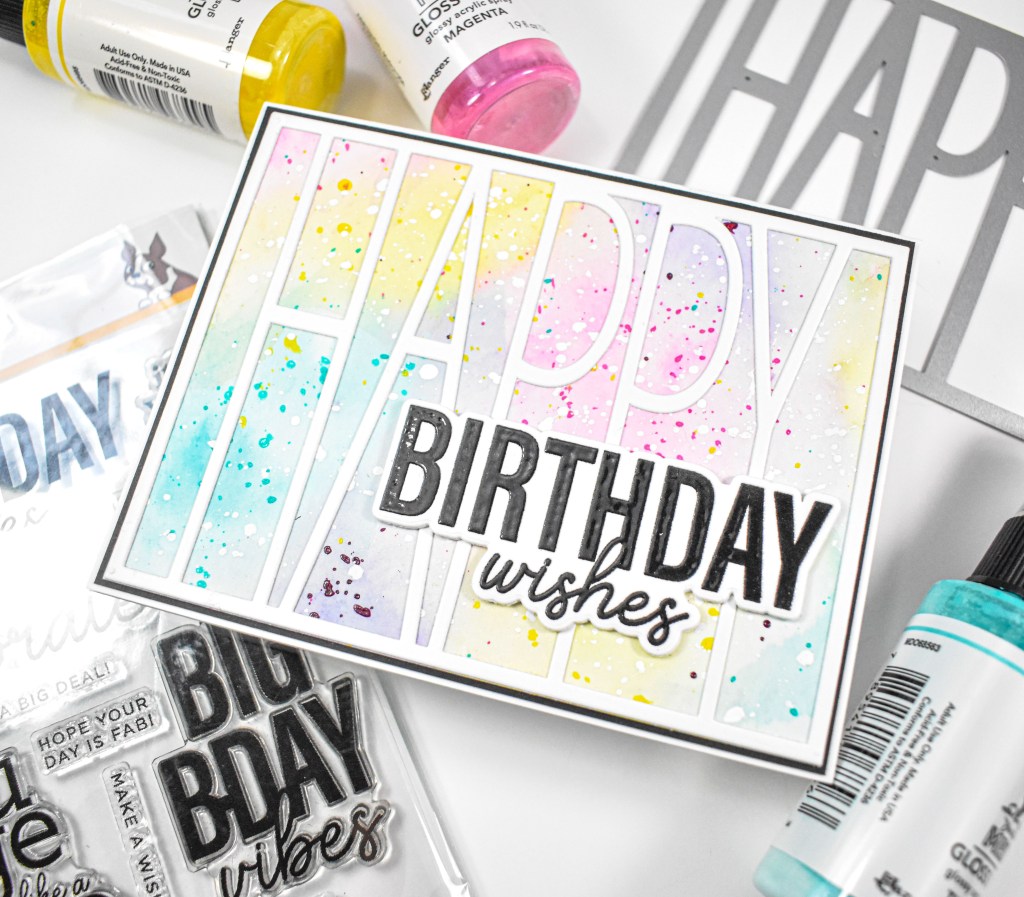
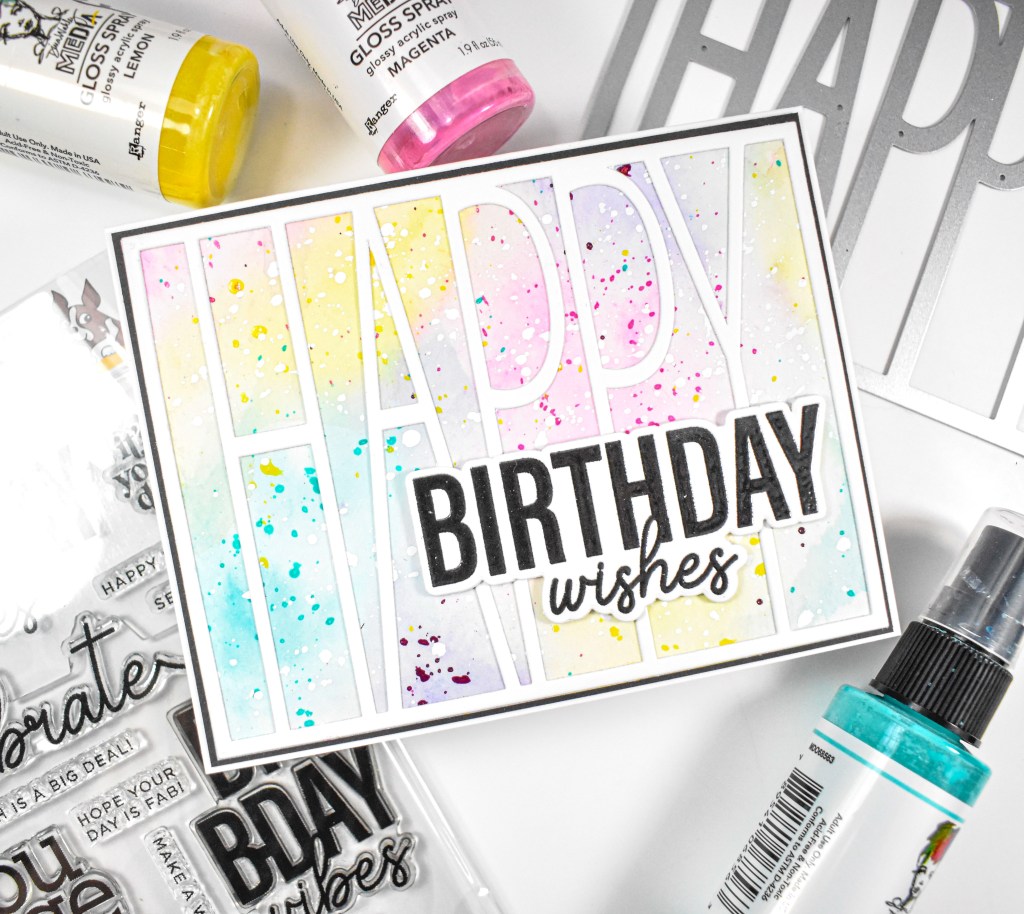
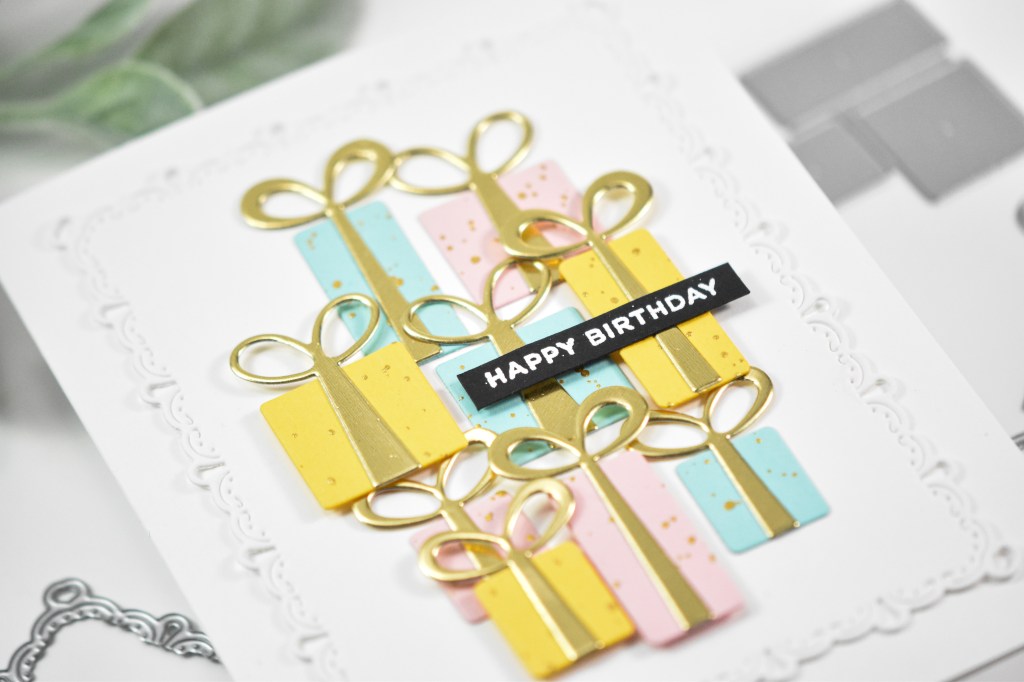
Welcome back, Friends! Thanks so much for stopping by to check out today’s project featuring the new Tall Happy Cover from Simon’s latest release, Shine On. This was a quick project, so let’s get into the details.

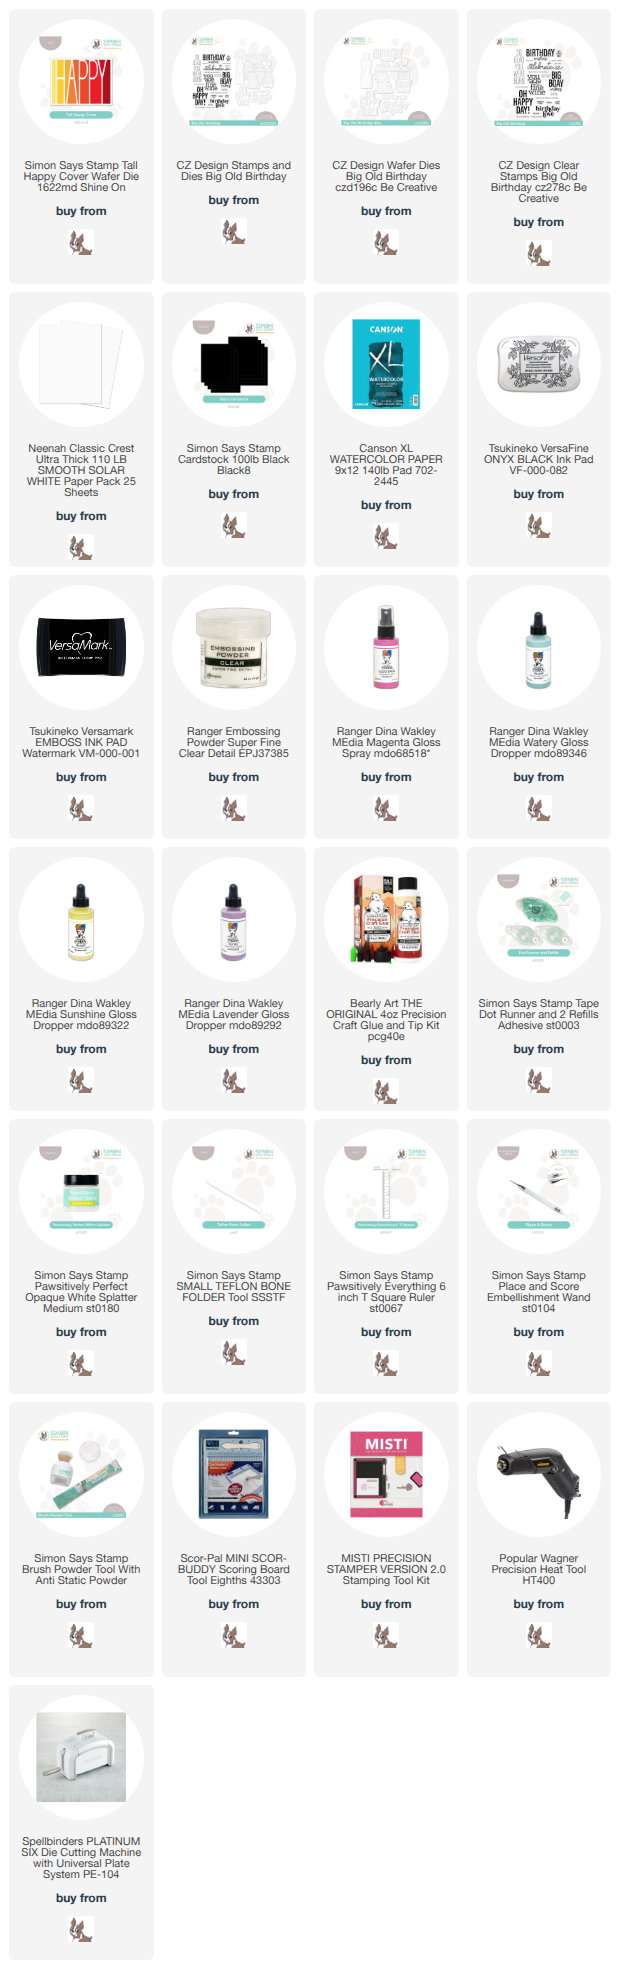
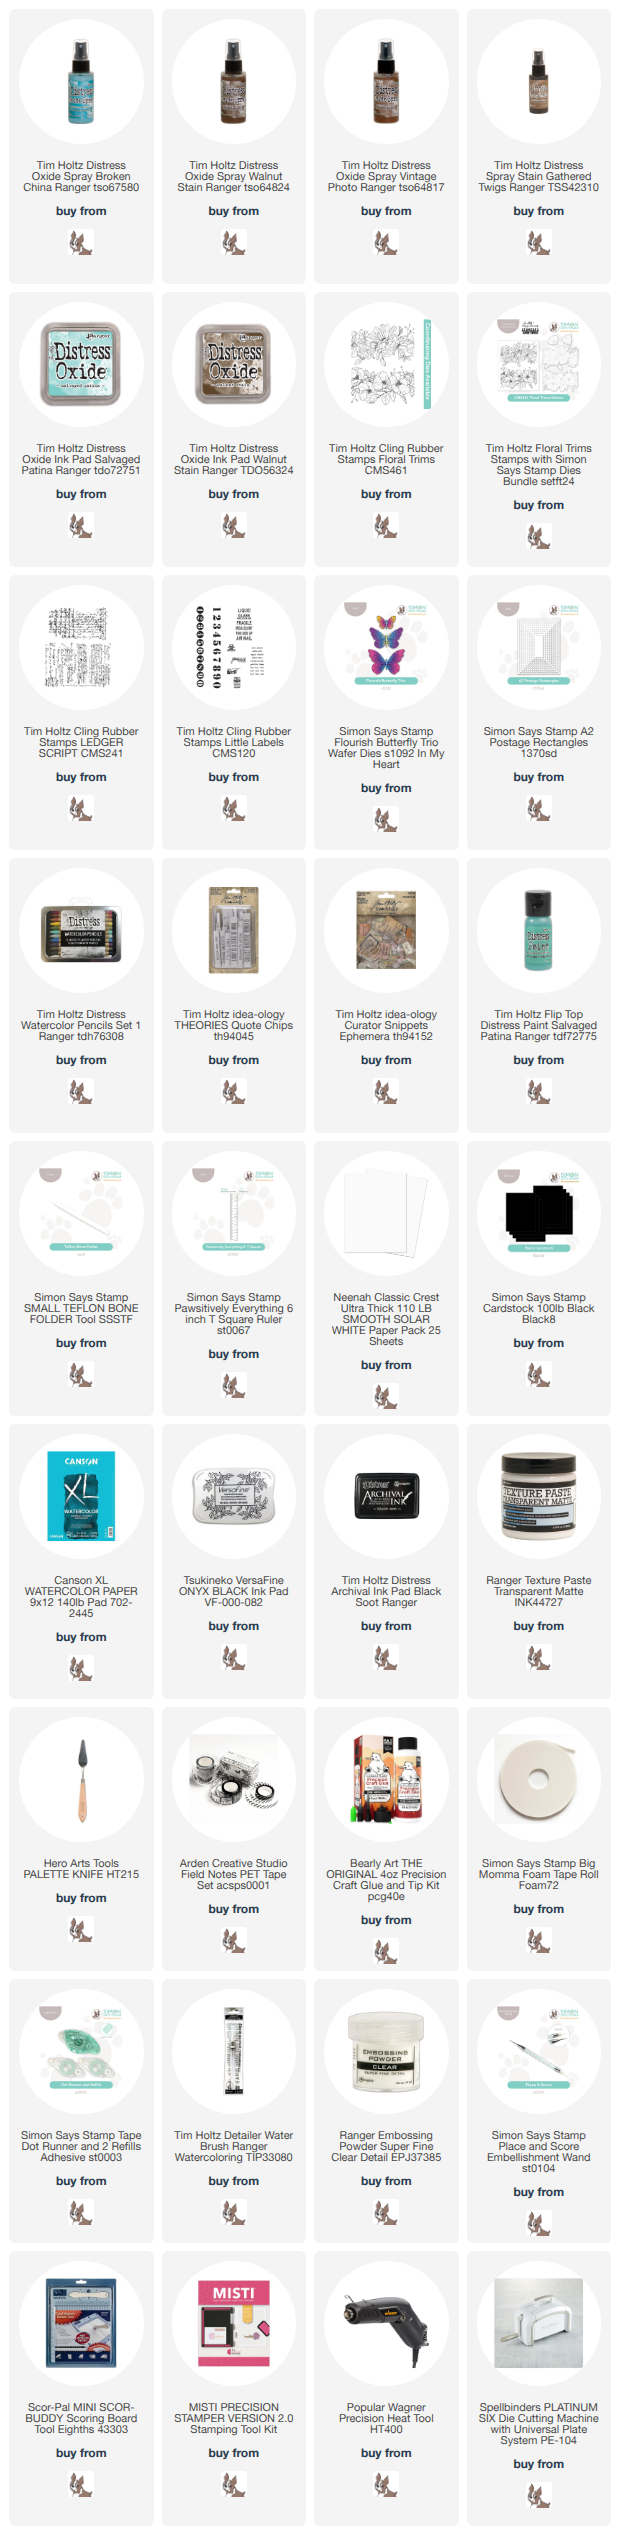
NOTE: all supplies are linked in the thumbnails at the end of this blog post.
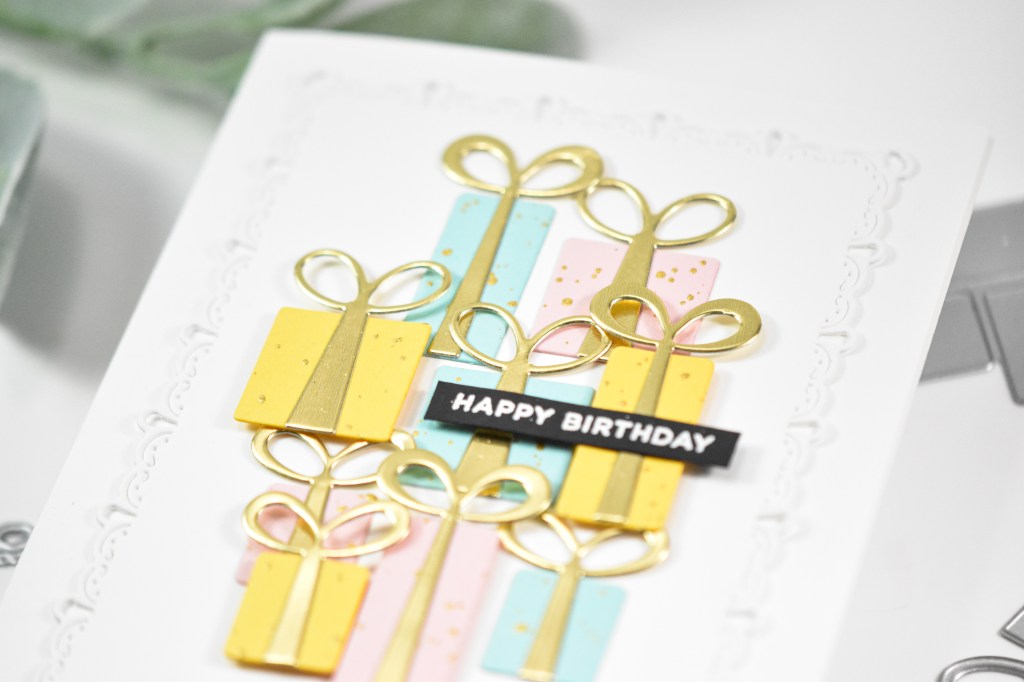
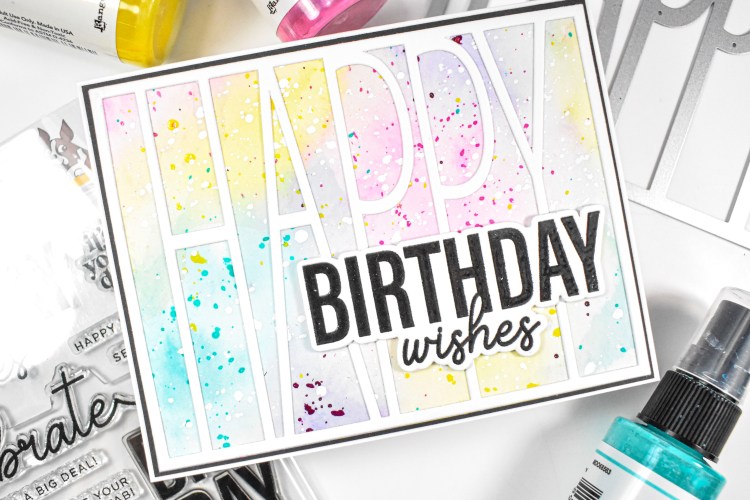
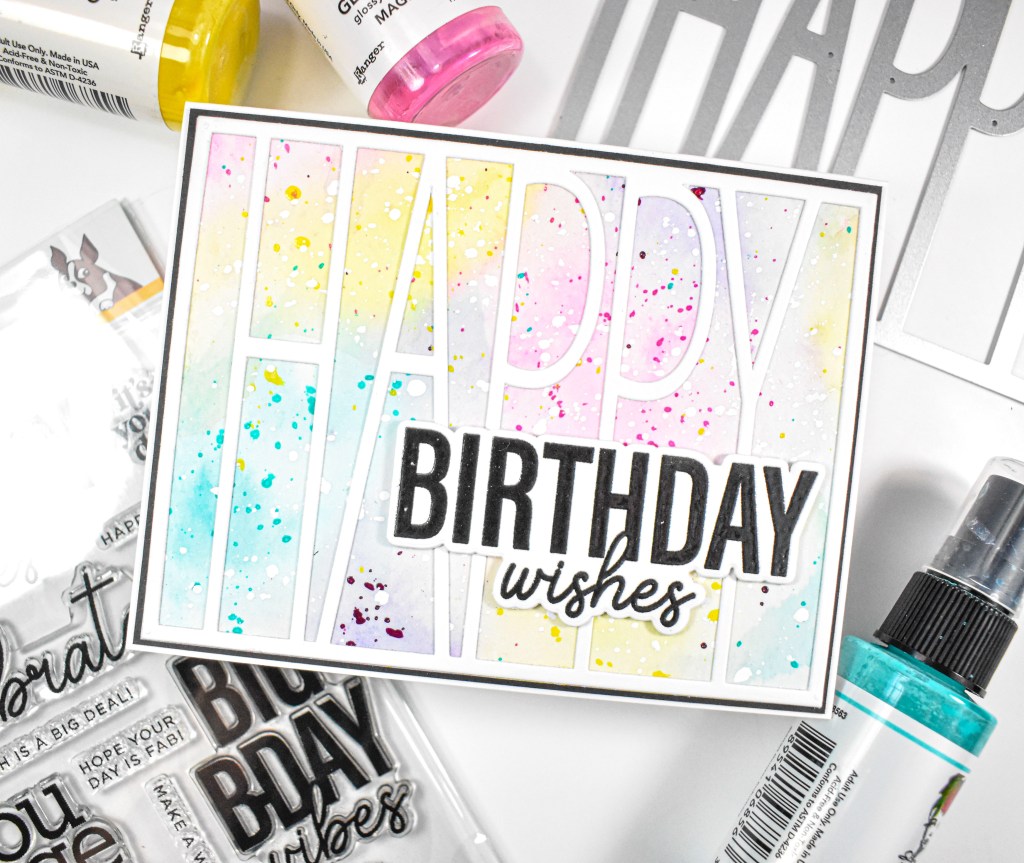
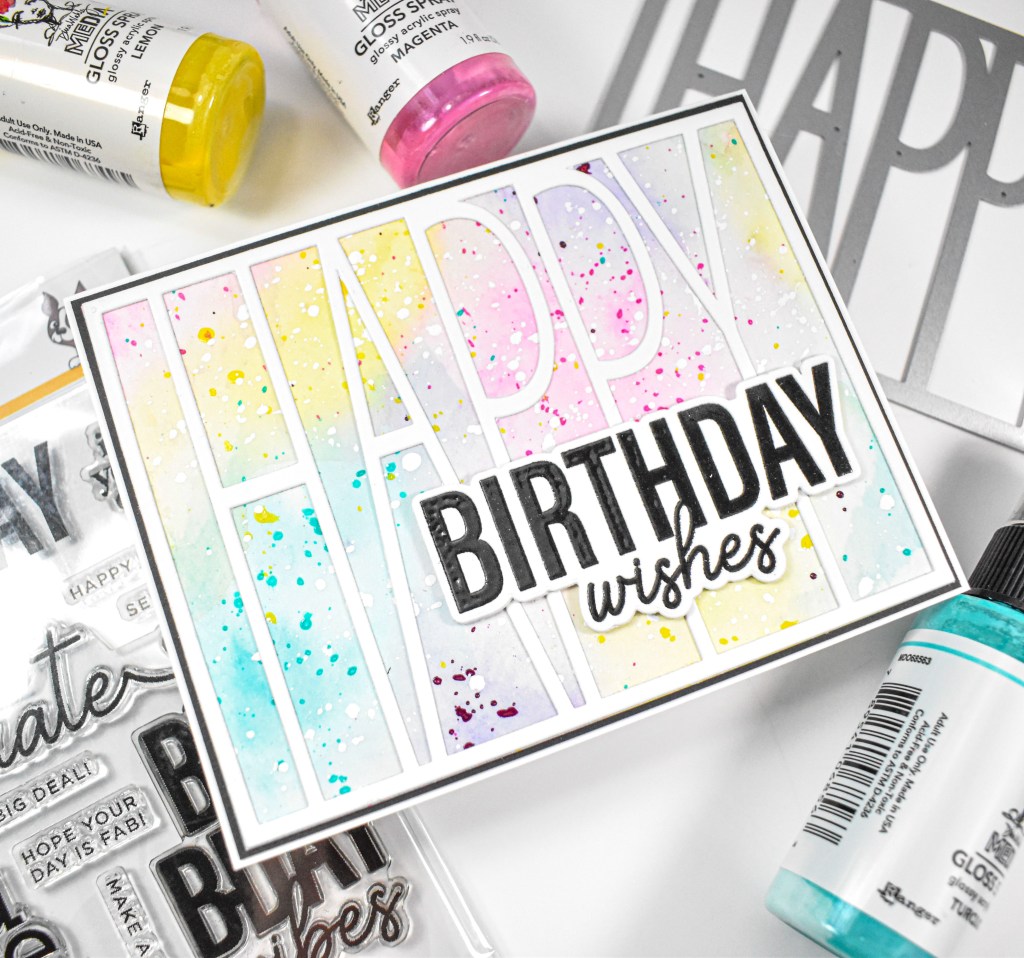
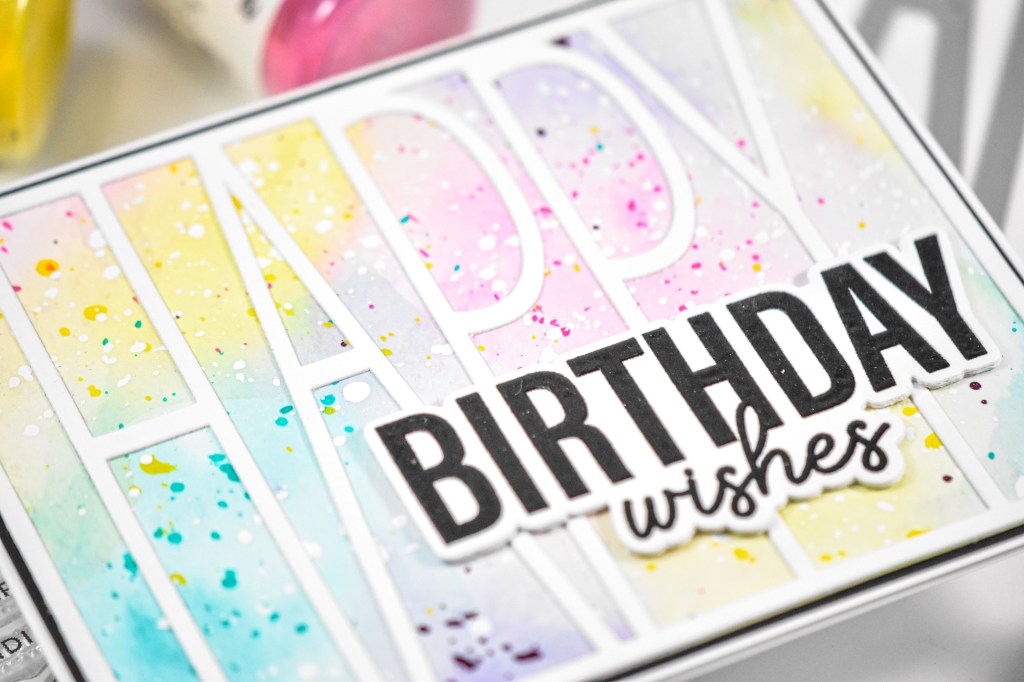
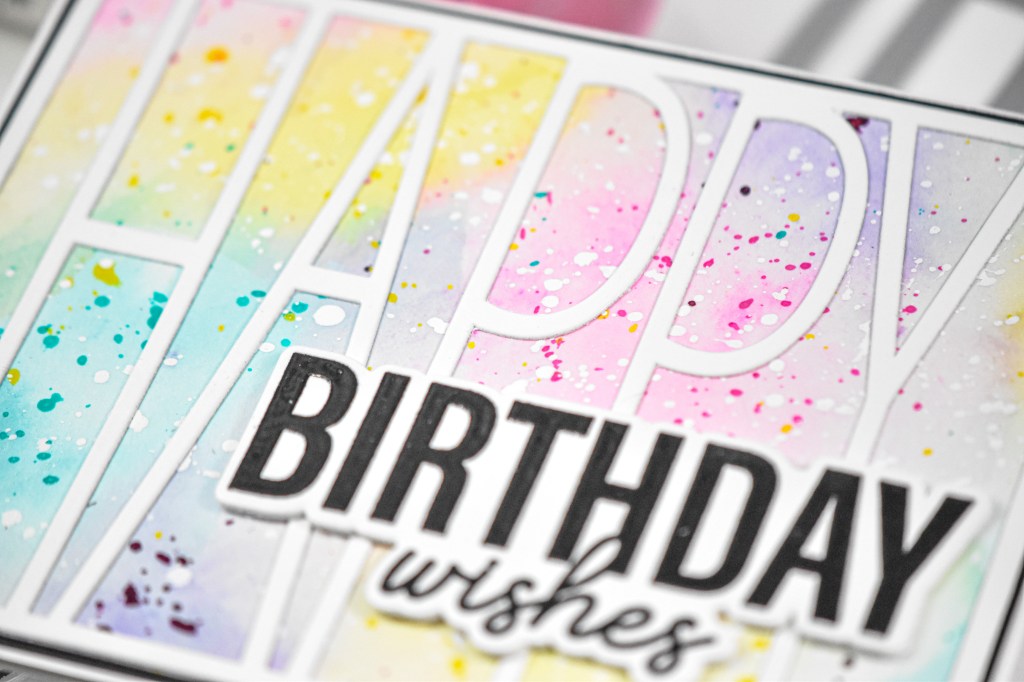
The background for this project was a super quick watercolor background in softer tones that I splattered in the corresponding areas with Dina Wakely Gloss Sprays. The sprays that I used were Magenta, Lemon, Turquoise and Eggplant. I was unable to find all of the sprays on the Simon website, so I’ll link to a similar product. The panel also got a good dose of white splatter since I was cutting the Tall Happy from white cardstock.

The sentiment was stamped using VersaFine Onyx Black ink and heat set using clear embossing powder for the first time. The second and third times, it was stamped using VersaMark ink and heat set again with the same clear powder. By doing this three times, it gave a super smooth, glossy finish. You may be asking why I stamped with the VersaMark for the second and third times, and that’s because I find that when heat embossing, my paper warps ever so slightly and then the stamped images don’t line up exactly. By stamping it with the VersaMark ink, you can’t even tell. Just a little hack that I like to use when I’m heat embossing an image several times. The sentiment was trimmed out several times as well to create that stacked sentiment look that I love.

The Tall Happy was glued atop the watercolor panel, that panel was then adhered to a black panel for contrast and the sentiment was glued in place to finish up.

That does it for this one! I hope you enjoyed it! Don’t forget to swing over and check out the entire Shine On release! I’d love to know your favorites! Thanks again for joining me, and I hope you have a fabulous day!

Supply List

Affiliate links used at no cost to you. What does this mean? If you use the links within this post to make a purchase, I receive a small commission, which allows me to continue to post crafty content for your enjoyment. I truly appreciate your support!

Latest Posts

Latest Instagram Posts

Together By Design Featuring Distress Oxides

Together by Design is a monthly collaboration where a small group of designers all create with products from the same featured brand. Each of us chooses a favorite product and puts our own creative spin on it, showing just how many different ways one brand can inspire. Follow along, explore every project, and discover new designers and new favorites along the way.

This month’s featured brand:  Distress Oxides

NOTE: all supplies are linked to multiple sources in the thumbnails at the end of this blog post.
Here is a list of designers participating this month:

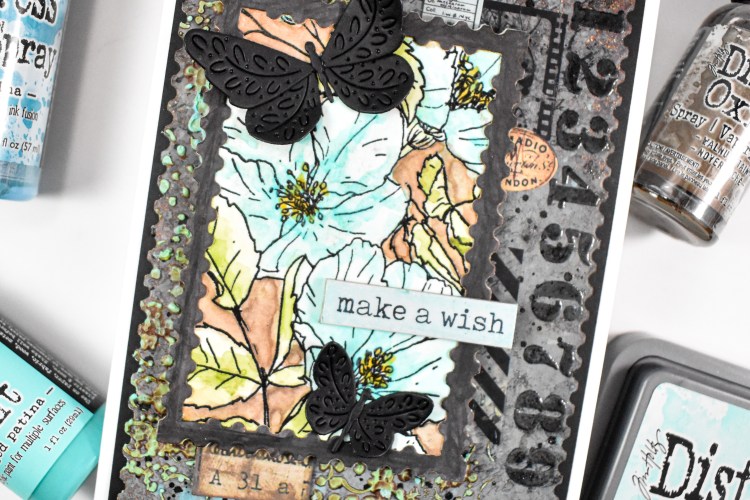
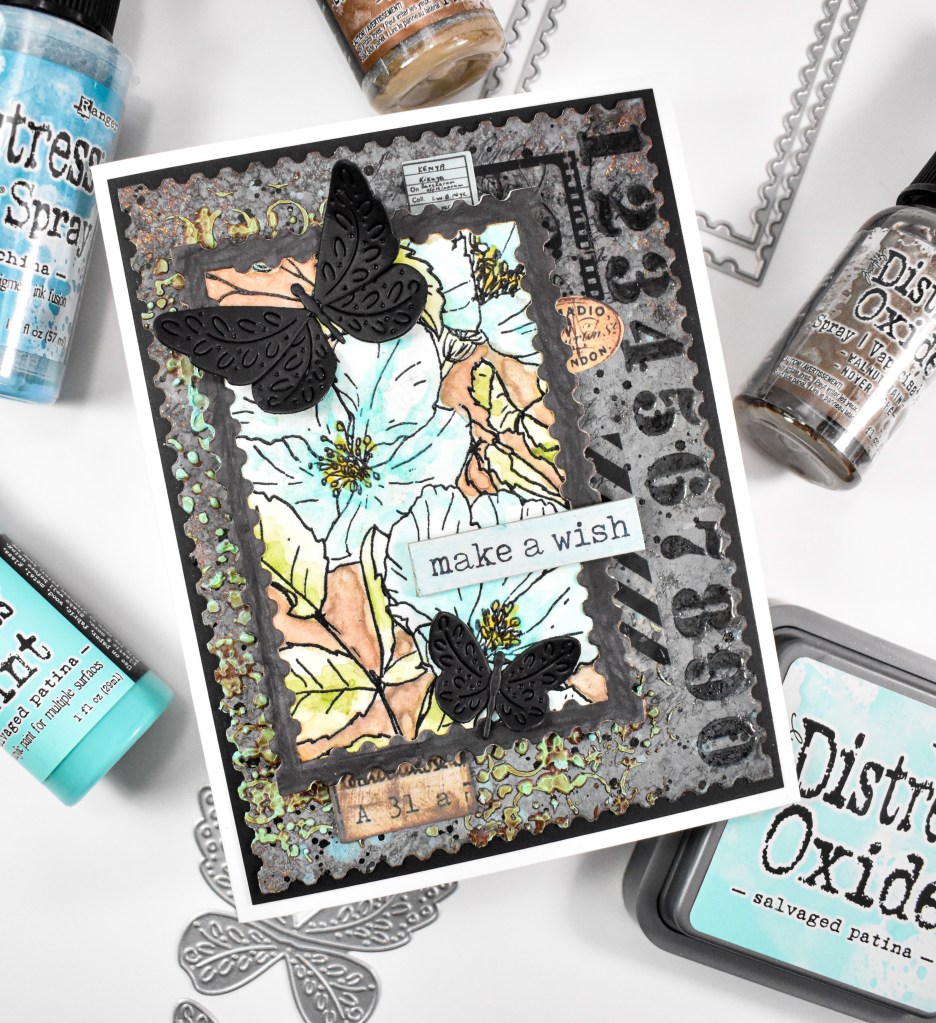
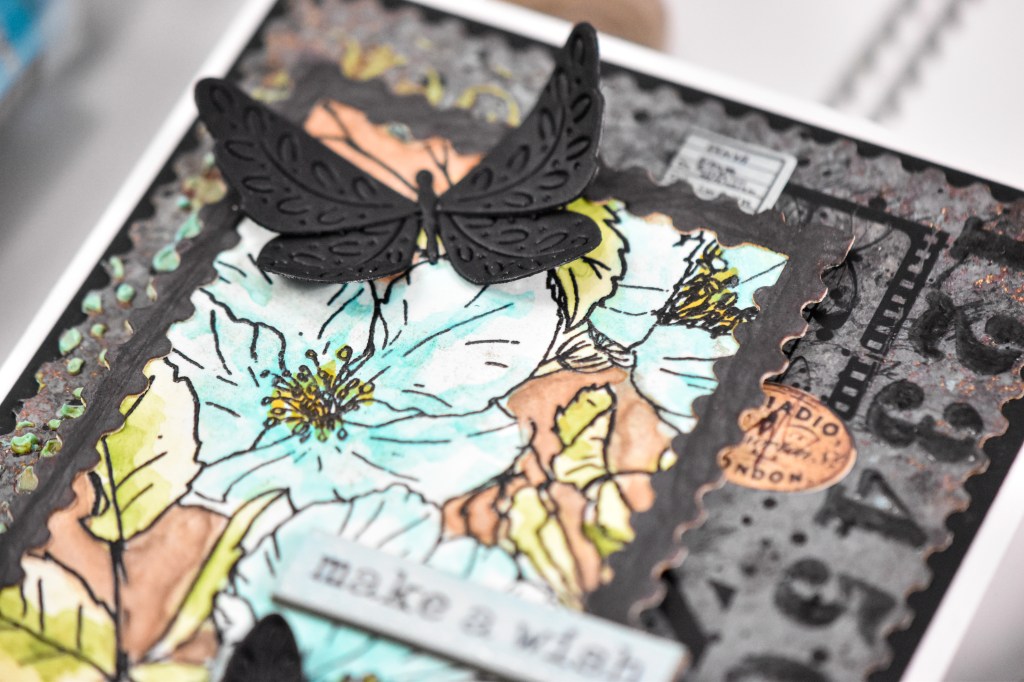
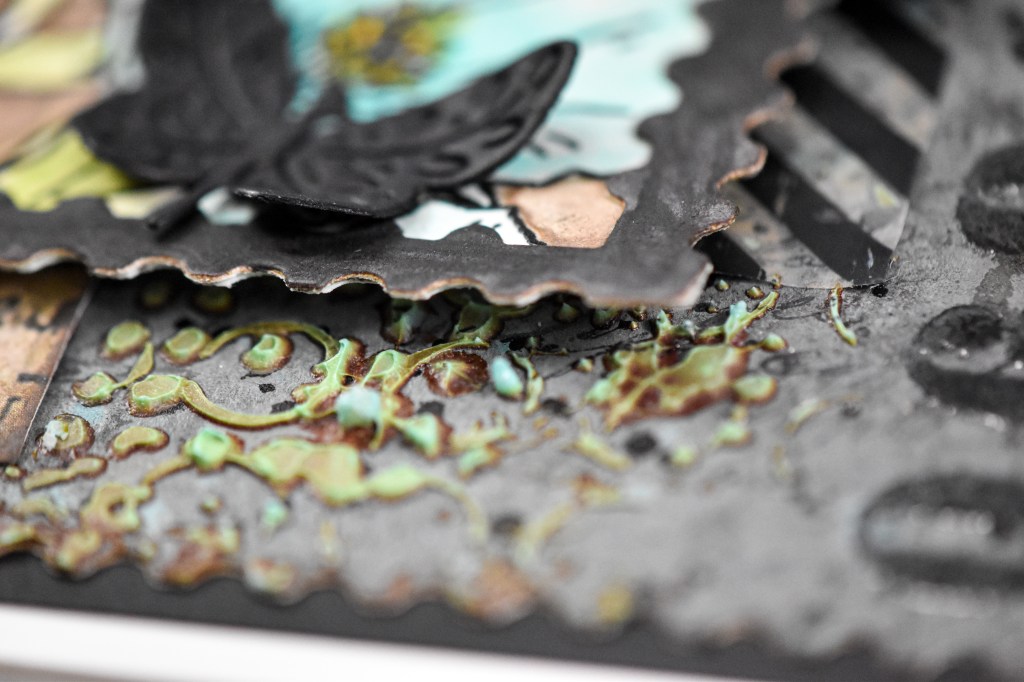
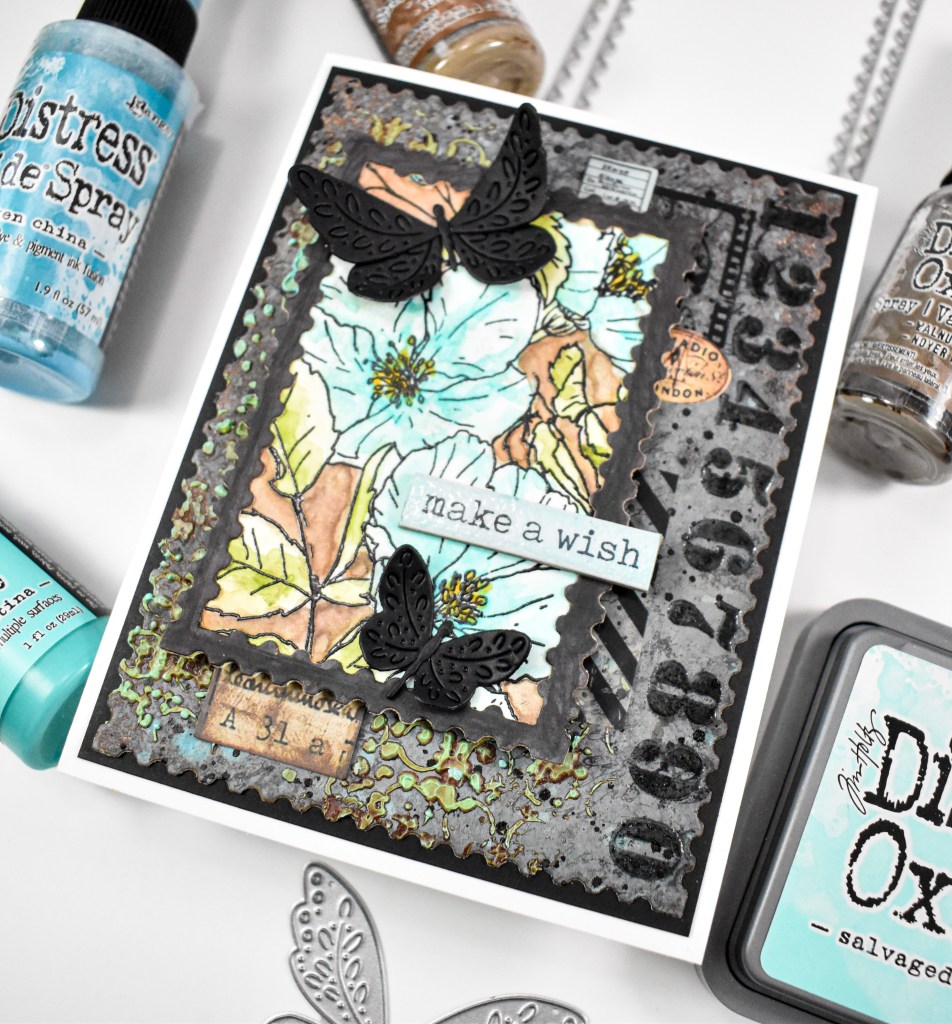
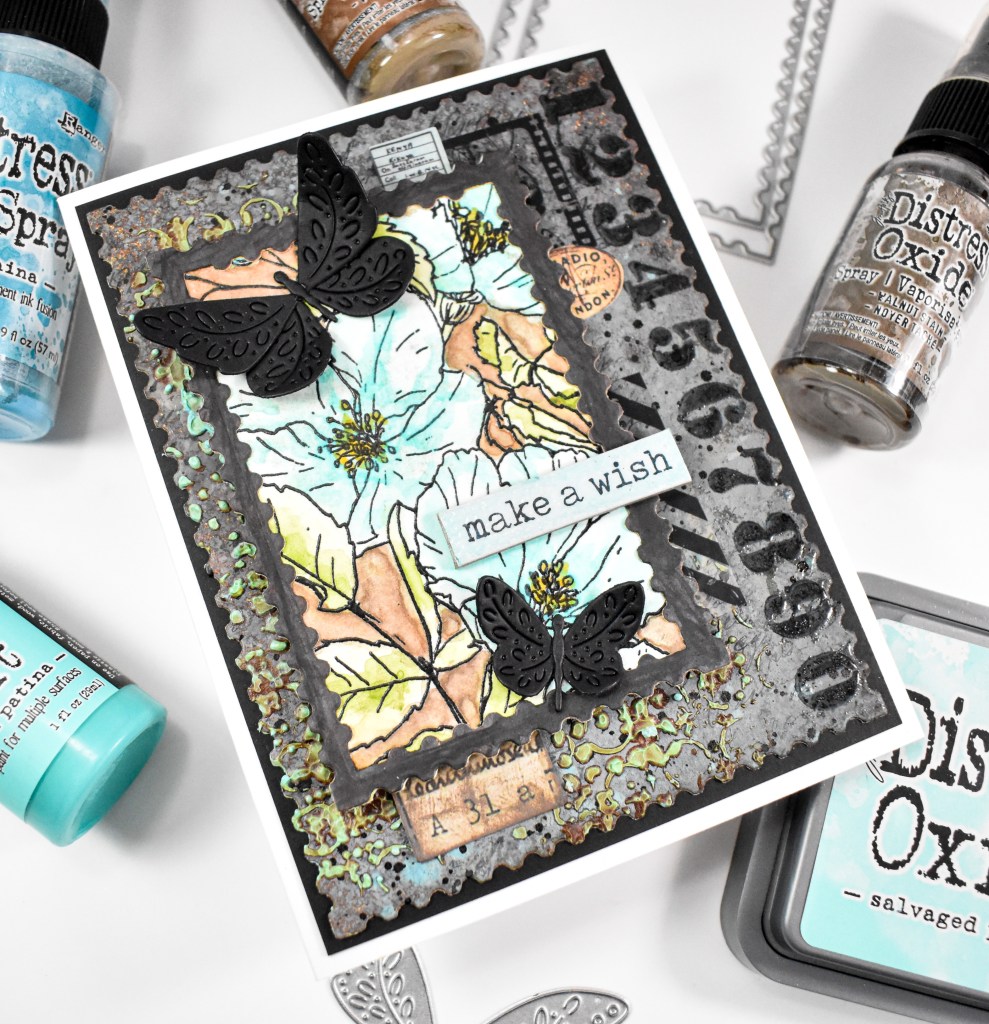
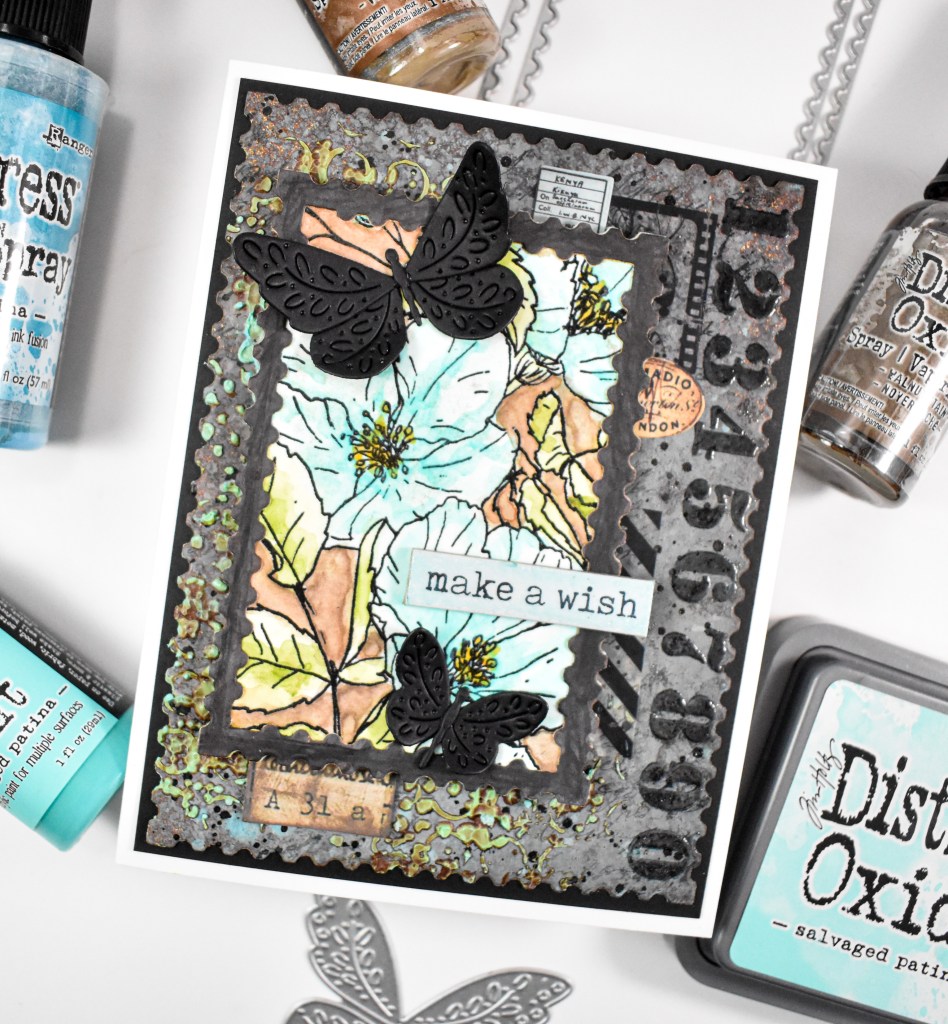
My project got pretty detailed, and I apologize for that, but let’s go ahead and run through the details! I began by creating the background first using Distress Oxide sprays in Vintage Photo, Walnut Stain and Broken China. I did also use regular Distress spray in Gathered Twigs. I was drying my panel between ink applications, so that I would get some good color variations. Once I was satisfied with the background, I did some stamping using various Tim Holtz sets from my stash, and trimmed it down using A2 Postage Rectangles. I knew that I wanted some texture as well, so I mixed some Ranger Transparent Texture Paste with some Distress Salvaged Patina Paint and added that through the TCW Mini Well Rounded Stencil. I’m not even sure if this stencil is still available, but any stencil that you love would work just great!

For the focal image, I stamped the Floral Trims stamp onto a panel of watercolor paper using VersaFine Onyx Black ink and heat set that using clear embossing powder. I then did some watercoloring using Distress Oxide ink pads in Salvaged Patina and Walnut Stain. While I was creating my background panel, I went ahead and created another panel that I used to cut the frame surrounding the floral. That was trimmed out using the same postage set and adhered to the floral.

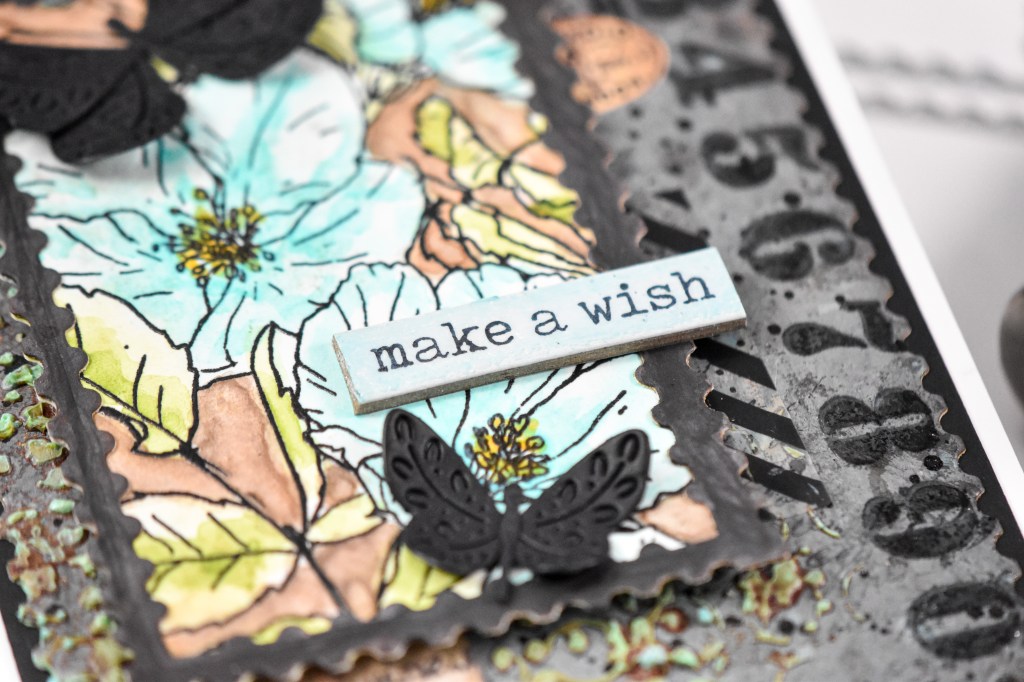
The background panel was adhered to a black panel for contrast, and then adhered to the card base. I added some bits from the Tim Holtz Curator Ephemera Pack, as well as some Field Notes PET Tape from 49 and Market. The floral was adhered using foam tape and some black butterflies were added to tie in all of the black stamping. The sentiment is from the Tim Holtz Theories Quote Chips set that I added some Salvaged Patina ink to and then heat embossed it with clear embossing powder to give it a bit of shine.

That does it for this project! I hope you enjoyed it, and I hope you’ll stop by again next month to find out what our featured product or brand will be! Thanks so much for stopping by, and I hope you have a fabulous day!

Supply List

Affiliate links used at no cost to you. What does this mean? If you use the links within this post to make a purchase, I receive a small commission, which allows me to continue to post crafty content for your enjoyment. I truly appreciate your support!
Latest Posts

Latest Instagram Posts