Simon Says Stamp Love You Shaker
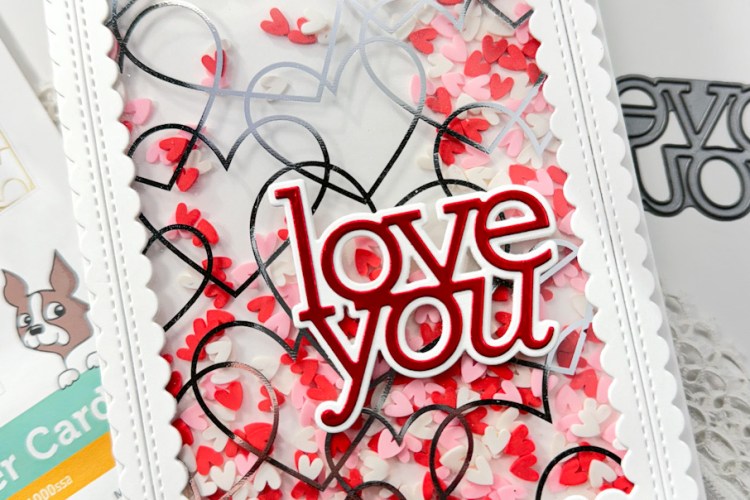
Hello Crafty Friends and welcome back! Today, I’m featuring a card using a sheet from the Acetate Hearts Foil Transfer Card set from Simon Says Stamp’s latest release, Sweetheart. There are four sheets in the set, and you’ll see another card from this set later on. I don’t often make shaker cards, because I’ve messed up so many in the process, that I usually shy away from them. However, when I saw this sheet, it screamed shaker to me, so I had to give it another go! Let’s go through the details!

To begin, I pulled out the Minc Mini and some silver foil. I set the Minc to level four and waited for it to heat up before proceeding. Once hot, I figured out which side the toner was on and placed the sheet and foil in the pocket and ran it through. Next, I die cut a frame from Neenah 110lb cardstock using the PFS Stitched Scallop Rectangles to build the shaker window.

I used 1/8″ Scor-Tape and placed that on the back of the frame, removed the release paper, and adhered the foiled acetate sheet. Whew, the beginnings of a shaker, and I haven’t messed up yet! Progress! The next step is to build the walls of the shaker, and I did this using foam tape, adhering it along the edges of the frame on the back side of the acetate.
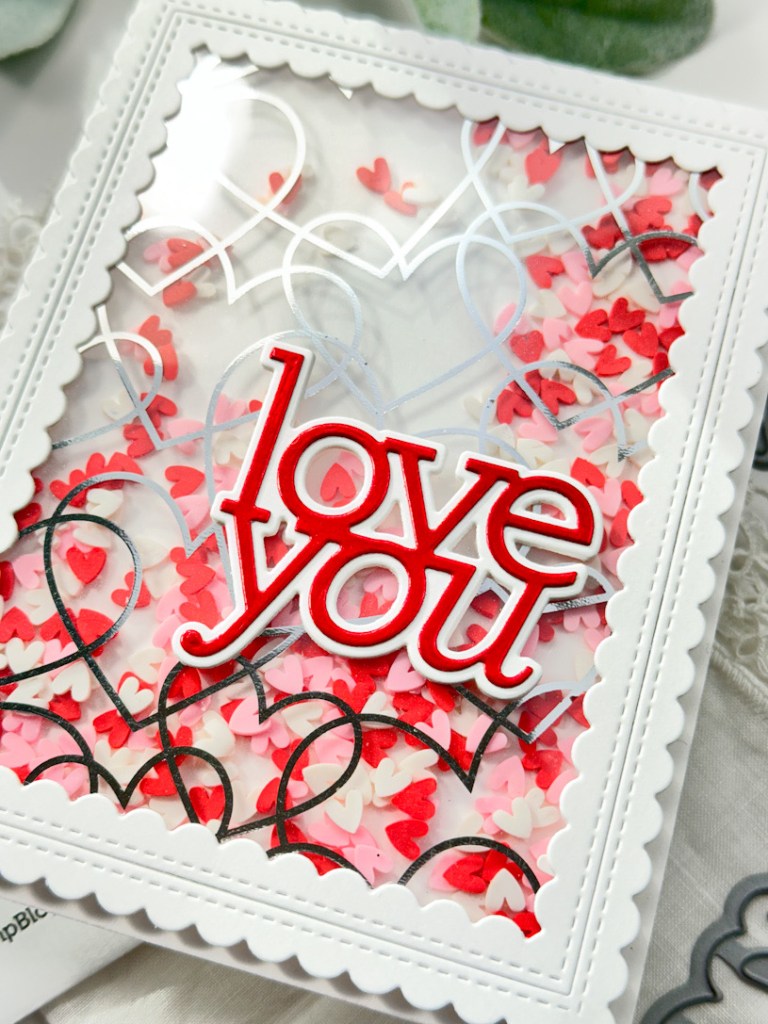
Now that the walls are built, the contents of the shaker can be added and contained. I ended up using these cute little hearts from Buttons Galore, and I used quite a bit of them, because I wanted a fuller shaker. I cut a panel of Neenah 110lb cardstock just smaller than the frame and adhered it very carefully to the foam tape. I then adhered the shaker panel to a card base, and moved on to the sentiment.
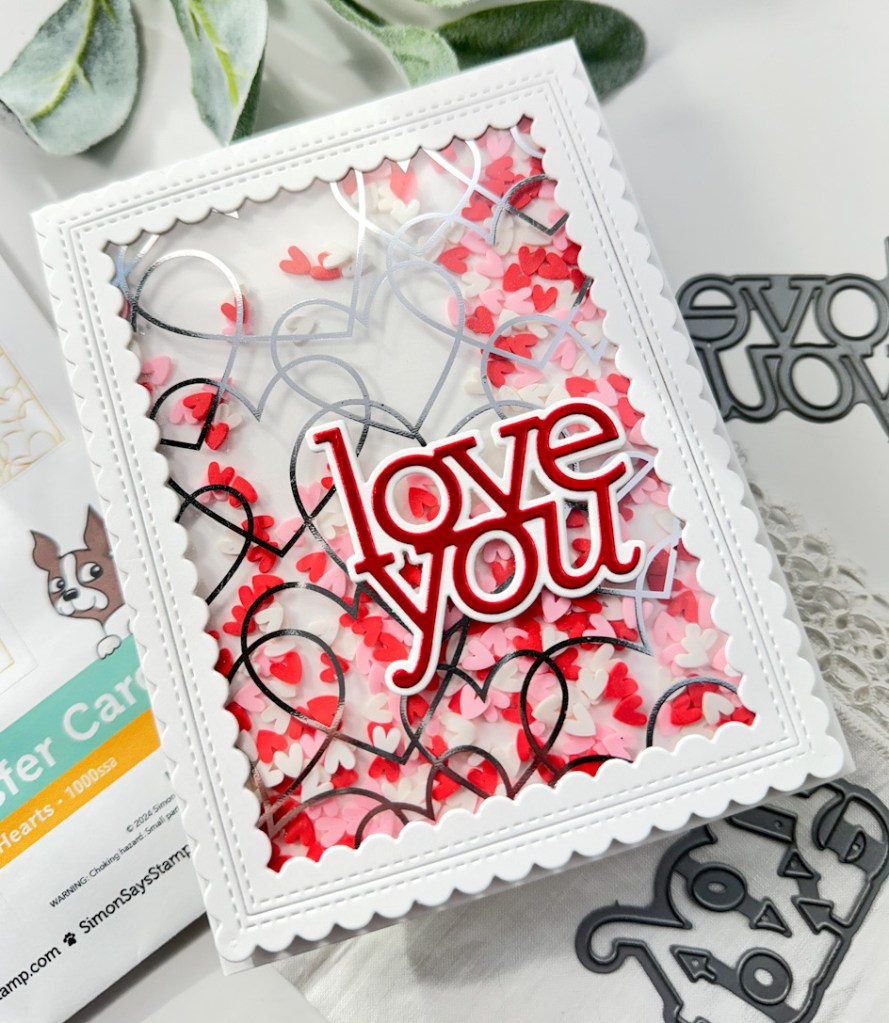
I didn’t want to cover up too much of the acetate panel, so I chose the SSS Love You die and cut that once from SSS Rich Red Matte Metallic cardstock, and cut the shadow three times and adhered all of those together using liquid glue. The sentiment was then glued directly to the acetate being careful not to shift it while drying.

That does it for this card! And.. I didn’t even mess it up! I hope you enjoyed this project, and I hope it inspires you to get crafty in your space! Don’t forget to check out the entire Sweetheart release! Thanks so much for stopping by, and I hope you have a wonderful day! Stay awesome friend!

Supply List:

* Affiliate links used at no cost to you. Thank you for your support!

Latest Posts

Latest Instagram Posts

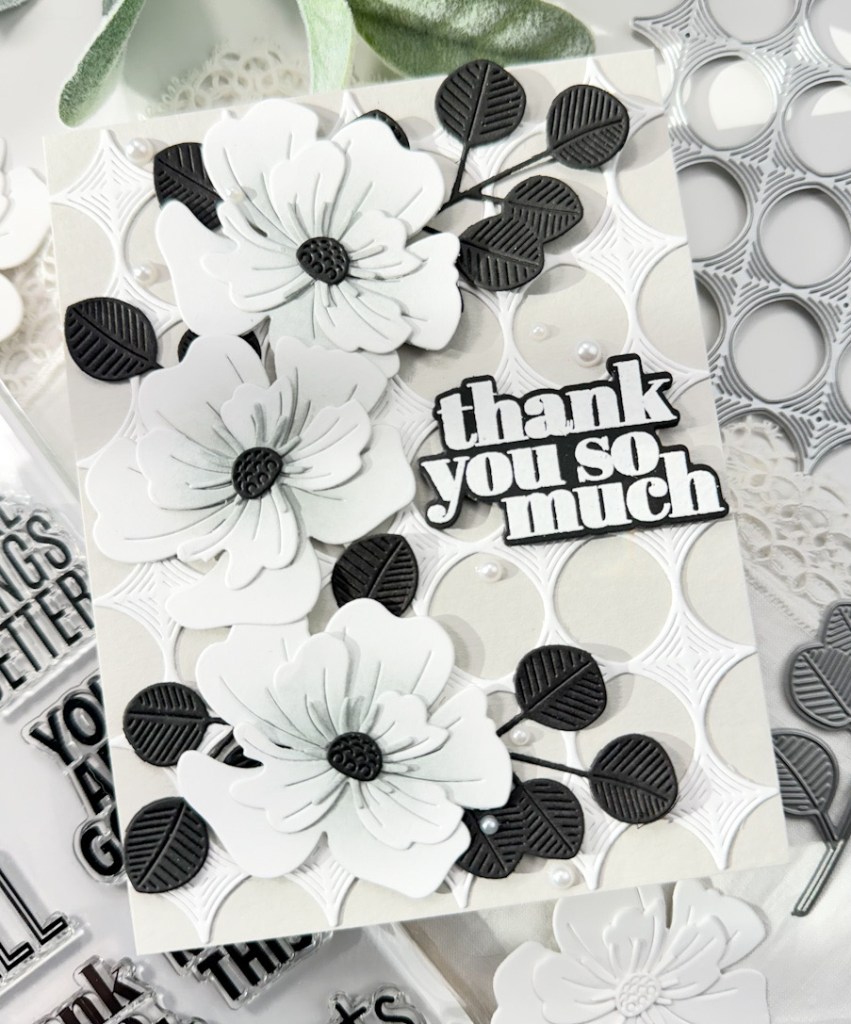
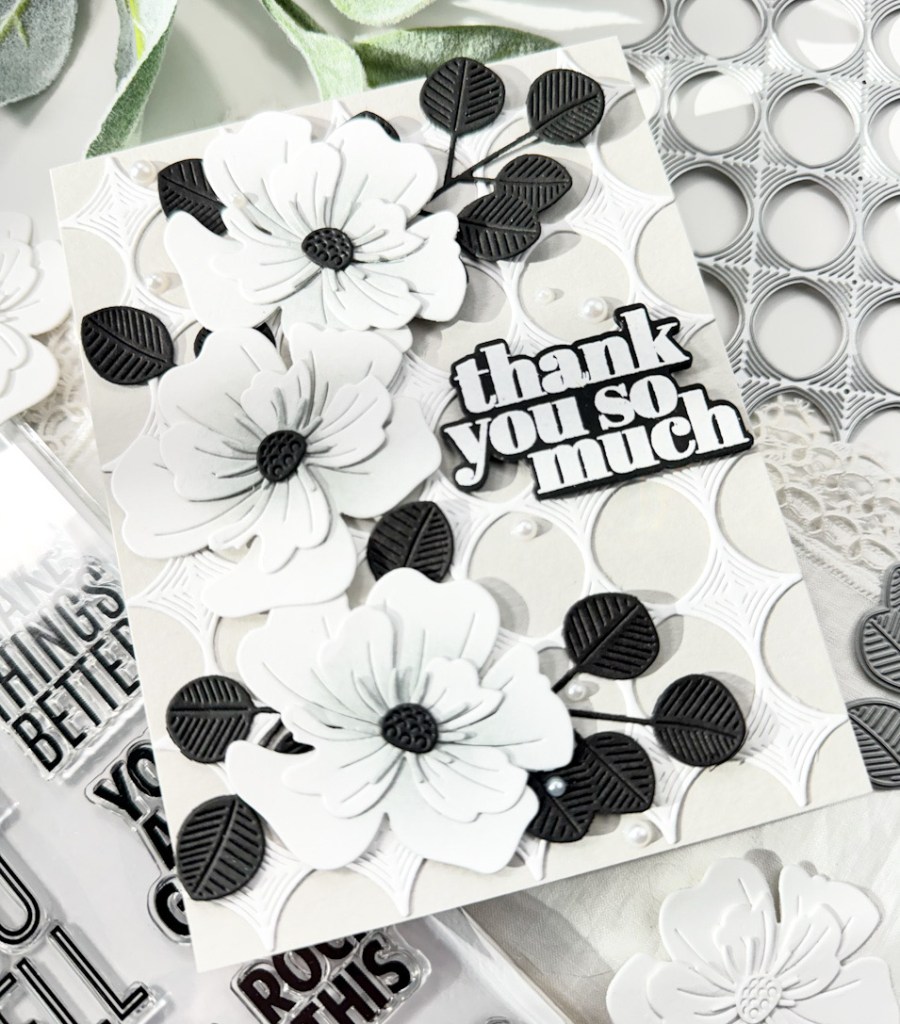
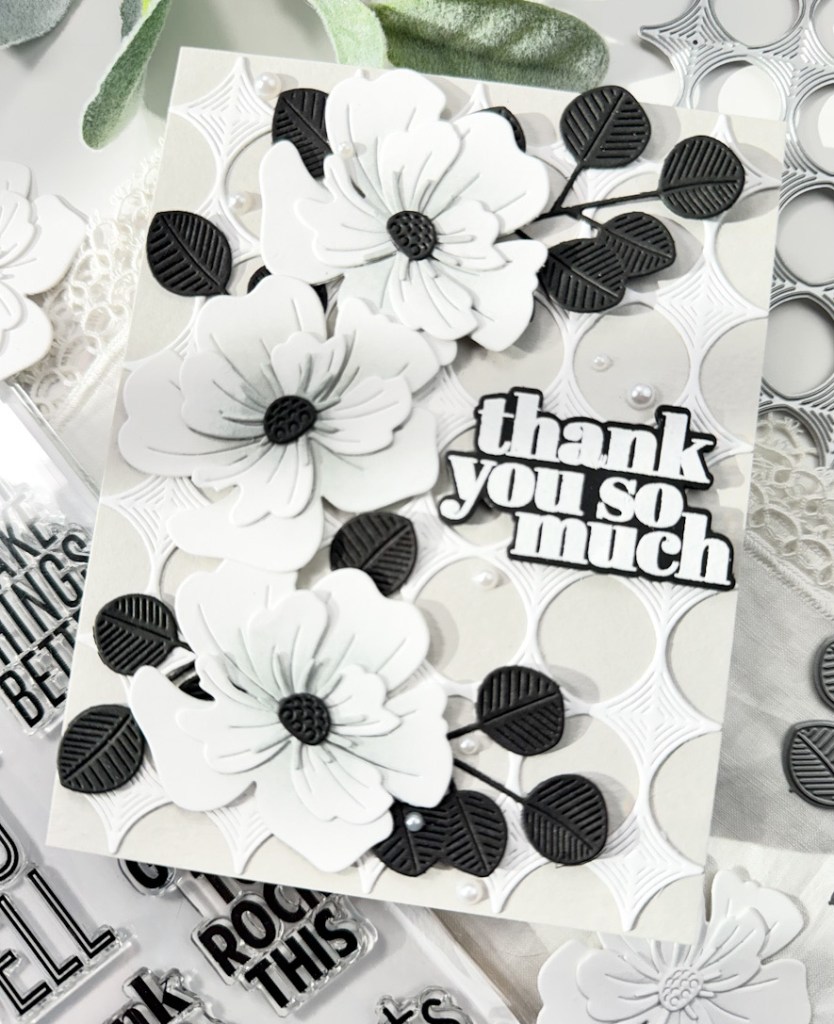
Simon Says Stamp Thank You Magnolias

Hello Friend, and thanks for stopping by today! I’m super excited and honored to be joining Simon Says Stamp for Day 2 of the blog hop to celebrate the Sweetheart and Smitten releases!

Simon is giving away a $25 coupon from every stop along the hop, so be sure to follow along and leave comments for your chance to win! You can also check out Day 1 of the hop here. There’s also a blog hop exclusive offer for a free Hearts and Stars stencil with any purchase. Just follow the directions on the graphic to redeem yours. Don’t delay, this offer expires on January 14th at 11:59pm ET. My project for the hop is featuring the new Whirl Diamond Plate, which I love! Let’s get to the details!

I love the color scheme of this card. I ended up using a thank you sentiment, but I think these colors would lend themselves well to a sympathy card as well. I began this card by cutting three flowers using the SSS Etched Magnolia Blossom set from Neenah 110lb cardstock. I did some ink blending on each layer of the blossom using PFS Misty Coast ink. Once the ink blending was complete, I adhered all of the layers together using liquid glue. In the process of assembling the flowers, I decided that the center of the blossoms would be better in black, so I cut a few of those.

Moving ahead, and working on the other elements of the card, I cut the SSS Whirl Diamond Plate from Neenah 110lb cardstock and glued that to a panel of SSS Fog cardstock. I played around with the placement of the florals and decided that I needed some black leaves and used the SSS Eucalyptus Leaves die for that. I adhered the florals to the panel using foam tape and glued the leaves underneath.

For the sentiment, I used the SSS XL Greetings 3 set and stamped it on black cardstock using VersaMark ink and heat set that using SSS Detail White Embossing Powder. I then used the coordinating die to trim it out, along with two others and adhered all of those together, for added dimension.

The sentiment was adhered to the panel using foam tape and the panel was adhered to the card base using foam tape as well. To finish up, I added some white pearls for a little bit of added interest.

That does it for this card! I hope you enjoyed it, and I hope it inspires you to get crafty in your space! Don’t forget to comment along the hop for Day 1 AND Day 2 for your chance to win! Simon will announce all of the winners on their blog on Wednesday, January 17th. Thanks again for stopping by. Have a wonderful day and stay awesome friend!

Hop Order:

Simon Says Stamp Blog 

Nina-Marie Trapani

Caly Person

Jennifer McGuire

Suzy Plantamura

Amy Rysavy

Debby Hughes

Emily Midgett

Lisa Addesa

Alberto Gava

Emma Williams

Heather Hoffman

Carly Minner

Tracy Ware

Jessica Vasher

Supply List:

* Affiliate links used at no cost to you. Thank you so much for your support!

Latest Posts

Latest Instagram Posts

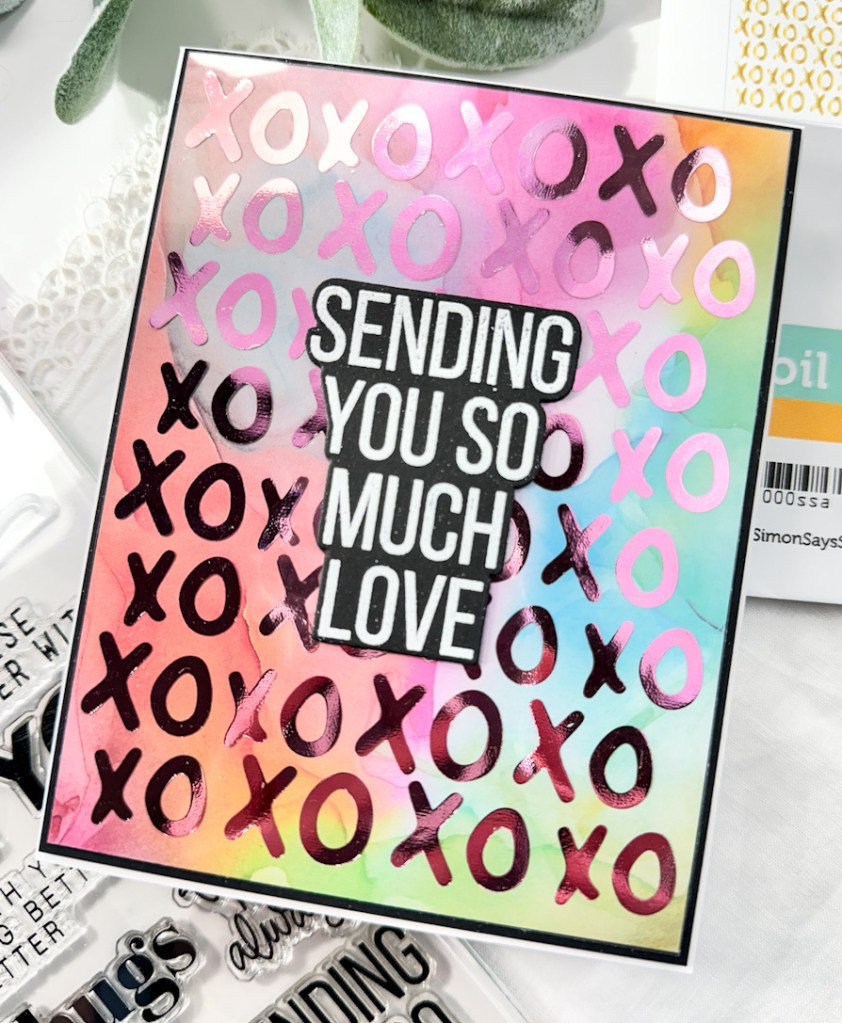
Simon Says Stamp Sending Love XO

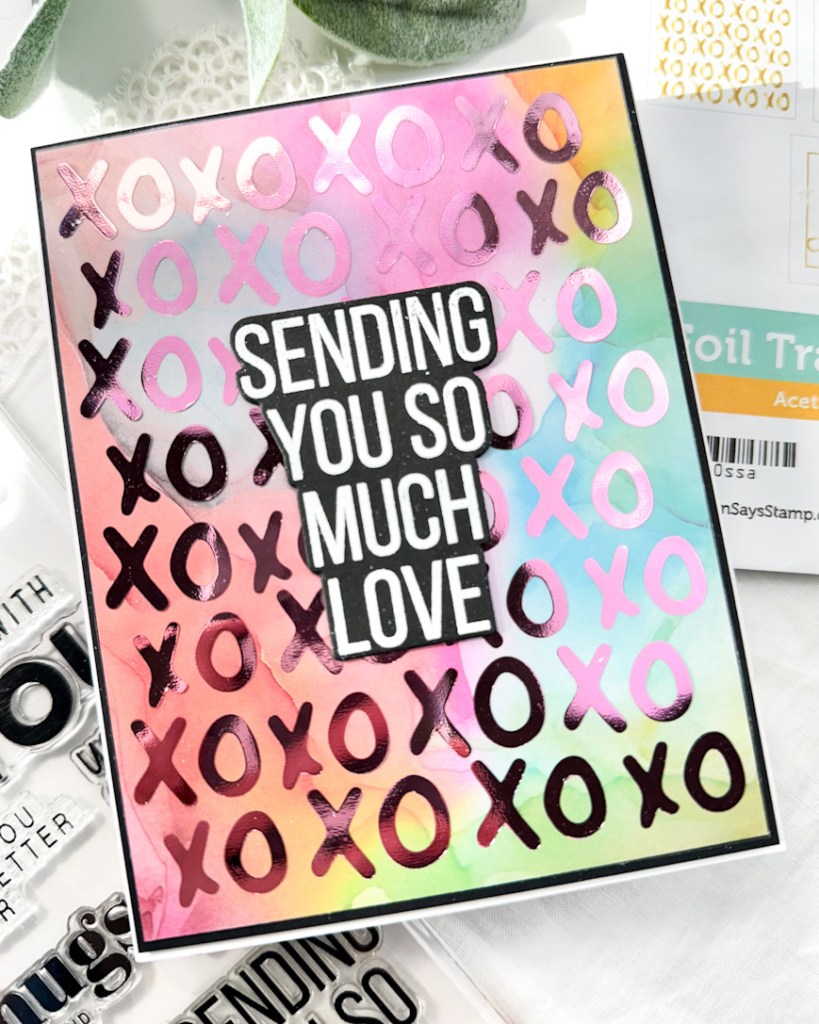
Hello Crafty Friends, and thanks so much for stopping by! I’m back today with a card featuring the new Acetate Hearts Foil Transfer Cards from Simon Says Stamp’s latest release, Sweetheart. This card is so simple, but I love the results that I got! Let’s run through the details!

To begin, I pulled out the Minc Mini and some pink foil. I cut a panel of foil while the Minc was heating up, and placed the acetate panel and the foil inside the transfer envelope and fed it through when the machine was heated and ready. I ended up using heat setting four because this yielded better results for me.

I trimmed a panel of patterned paper and applied small dots of glue on the back side of the Xs and Os, and then adhered that to the paper. This was then adhered to a panel of black cardstock for contrast.

I stamped the sentiment, which is from the SSS XL Love Greetings set, onto black cardstock using VersaMark Ink and heat set that using SSS Detail White Embossing Powder. I used the coordinating die to trim that out, along with two additional cuts and adhered all of those together using liquid glue.

The sentiment was adhered atop the acetate with glue and everything was then adhered to the card base using foam tape.

That does it for this card! Like I said, super simple! Using patterned paper can yield some amazing results and make it look like you spend hours on a project, when you really only spent a few minutes! I hope you like this project, and I hope it inspires you to get crafty, maybe even with some of your patterned paper! Thanks again for stopping by, and have a wonderful day!

Supply List:

* Affiliate links used at no cost to you. Thanks so much for your support!

Latest Posts

Latest Instagram Posts