Simon Says Stamp Pastel Birthday Wishes

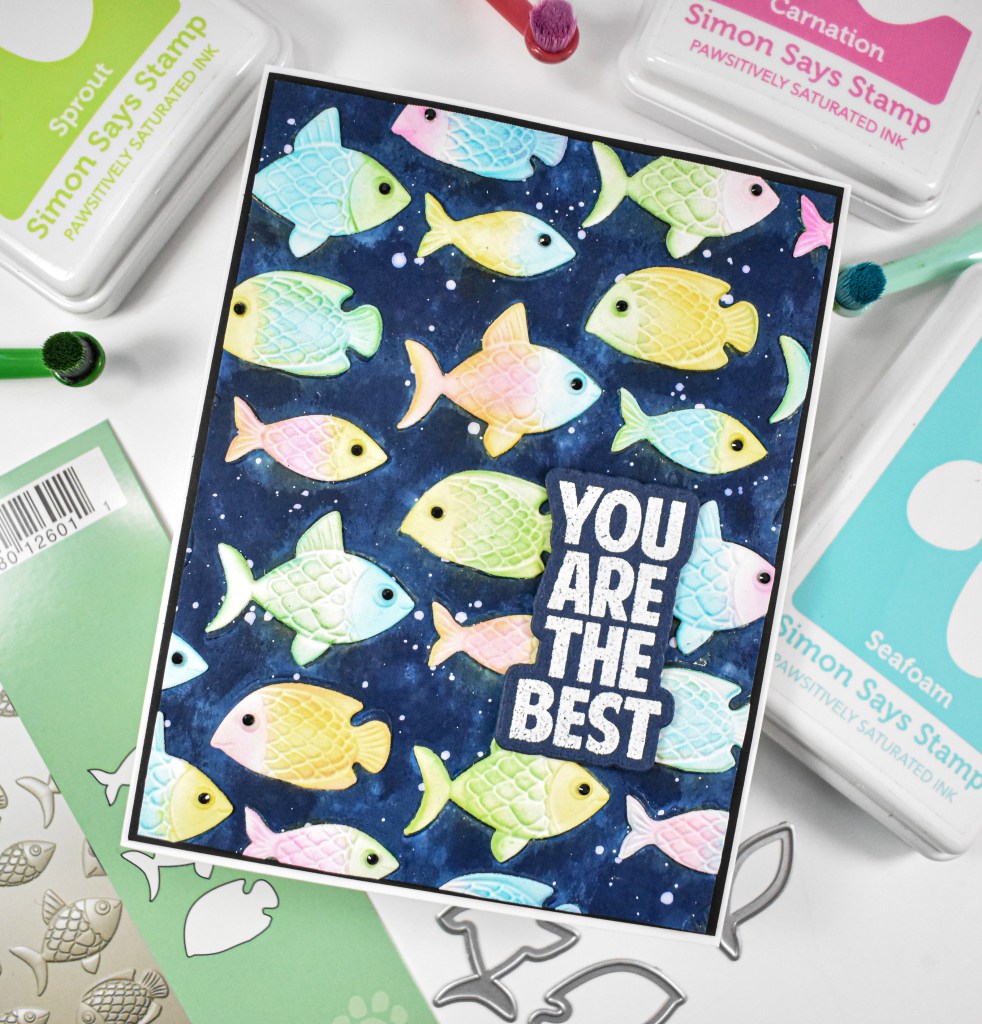
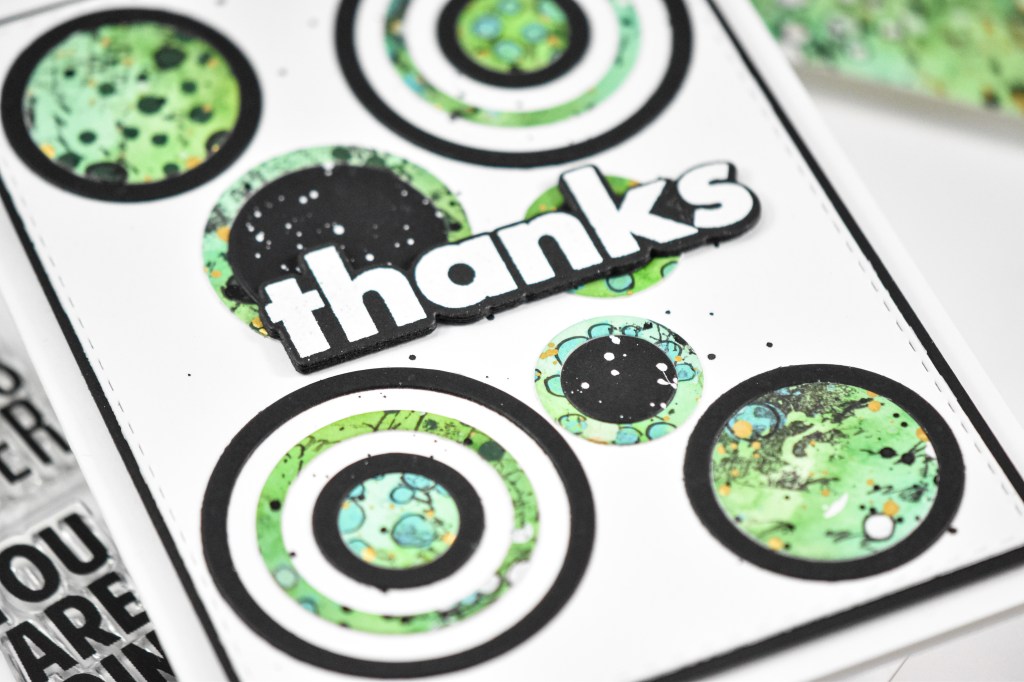
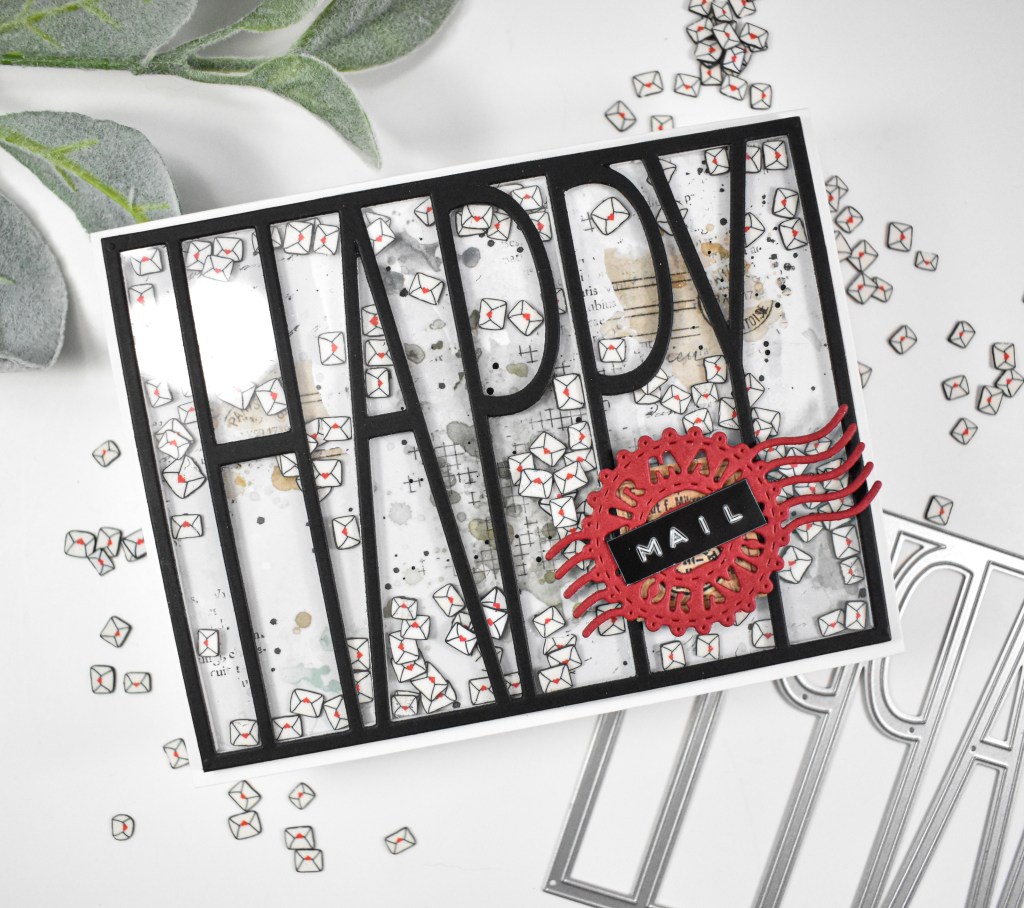
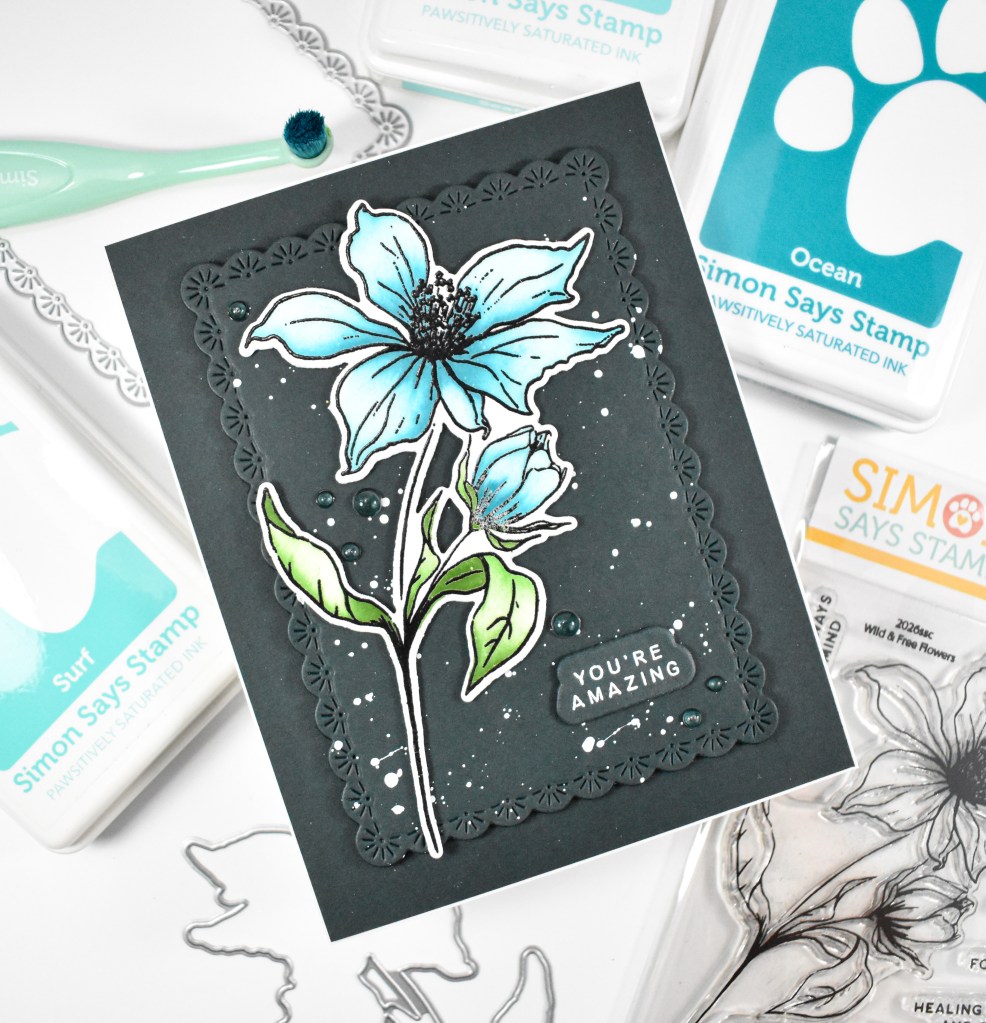
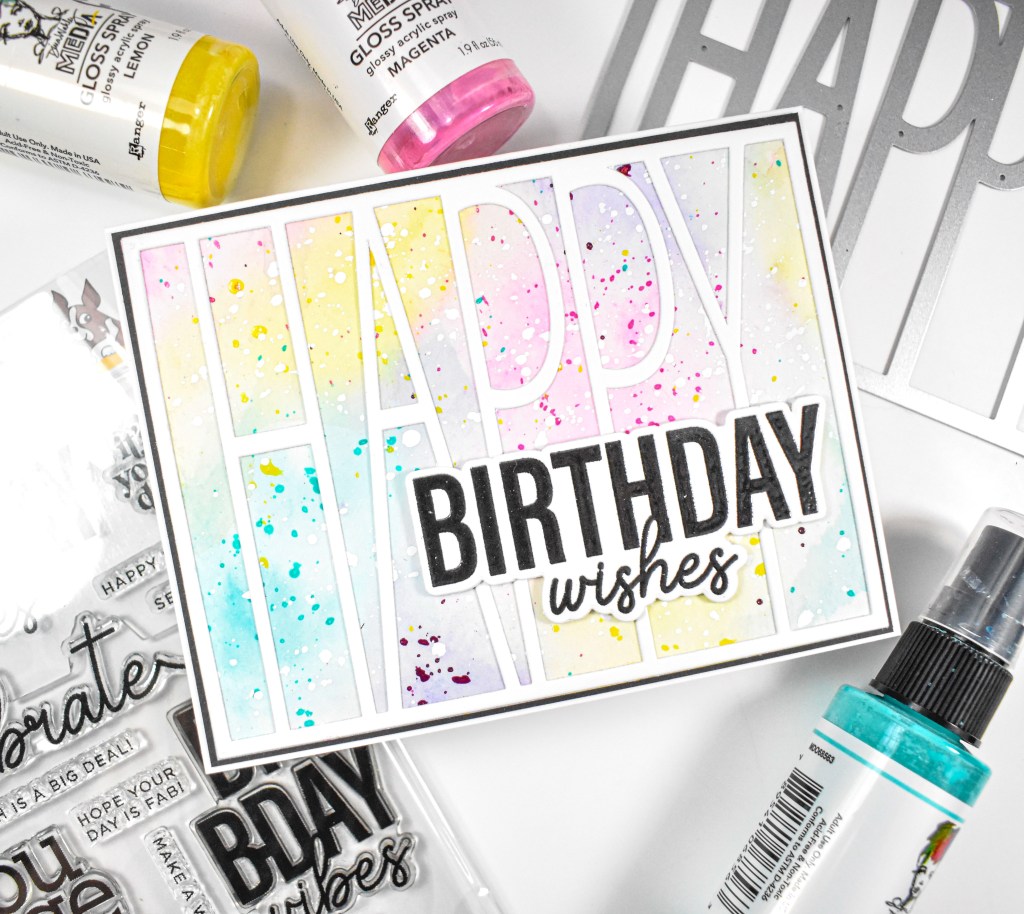
Welcome back, Friends! Thanks so much for stopping by to check out today’s project featuring the new Tall Happy Cover from Simon’s latest release, Shine On. This was a quick project, so let’s get into the details.

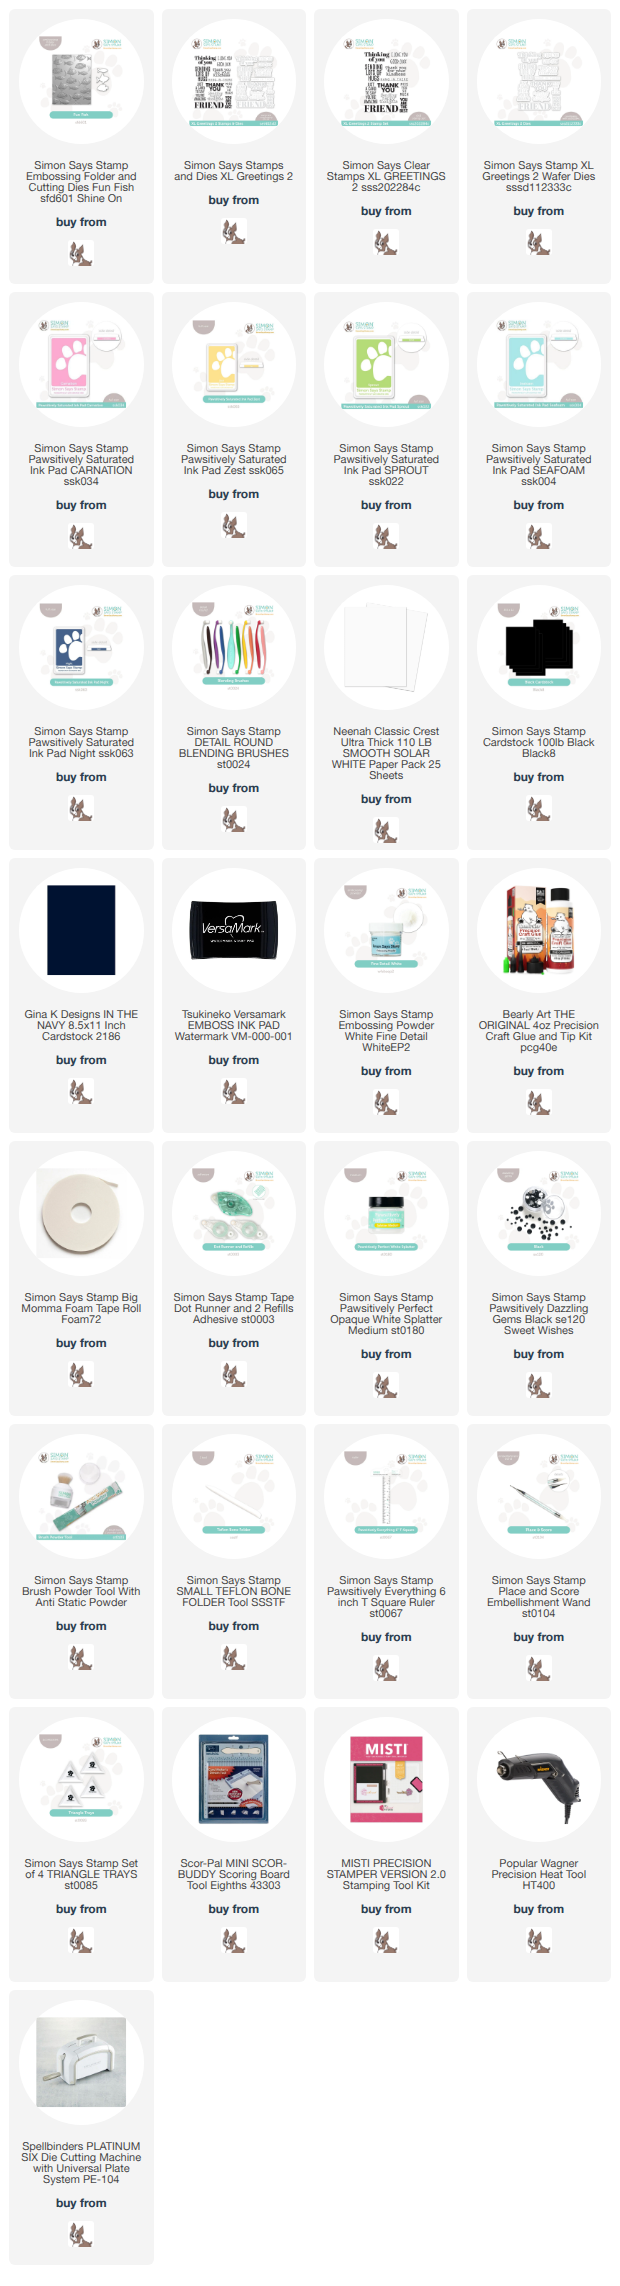
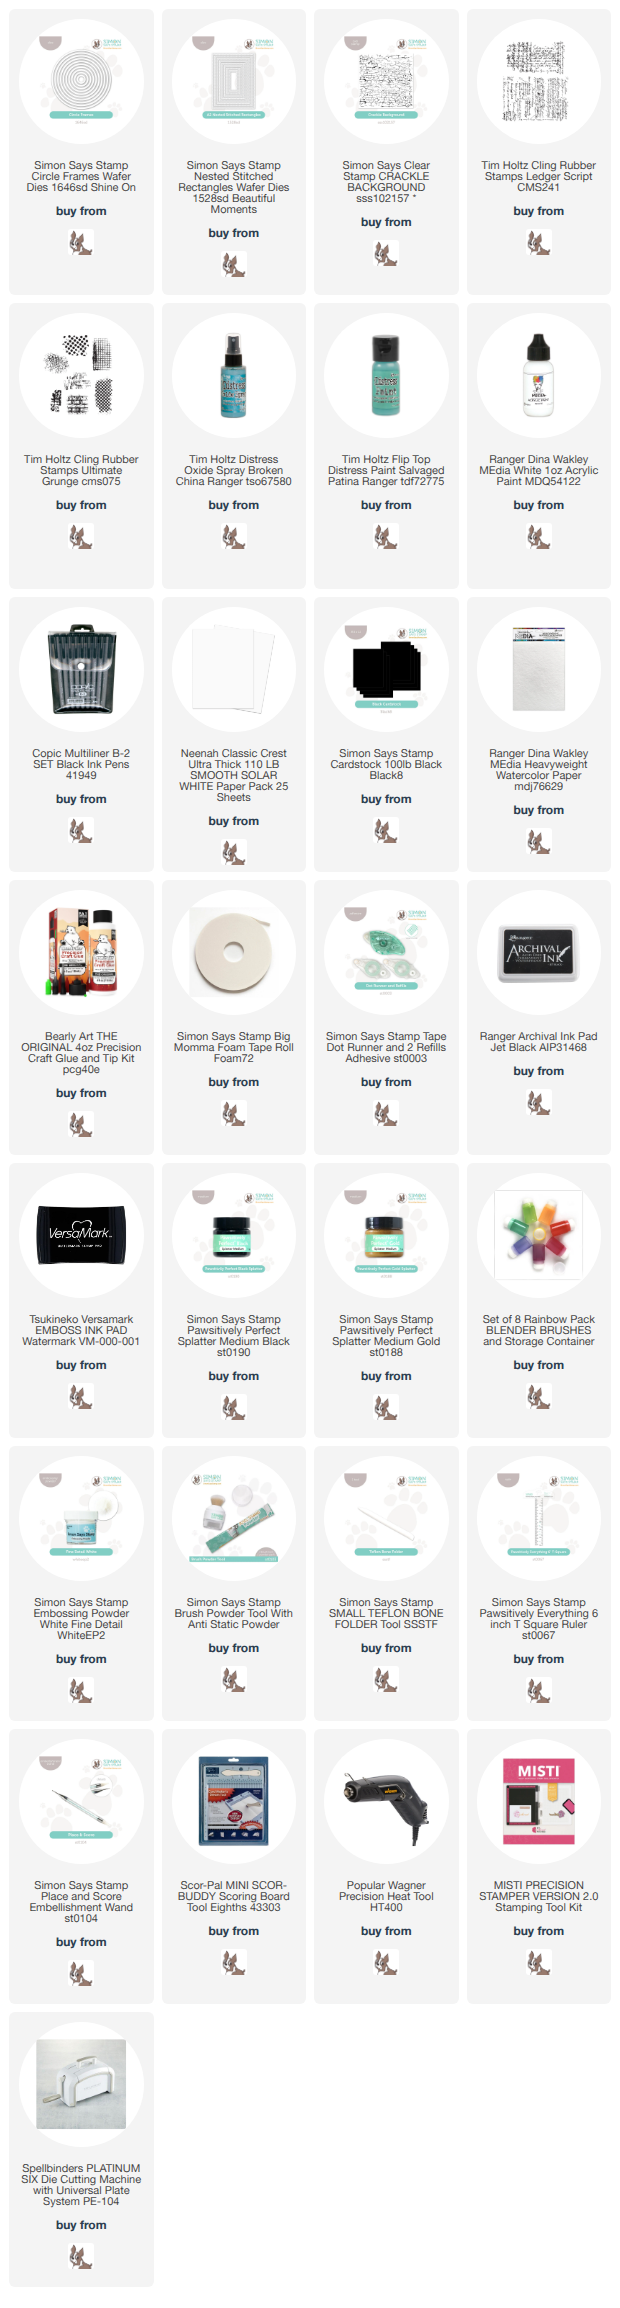
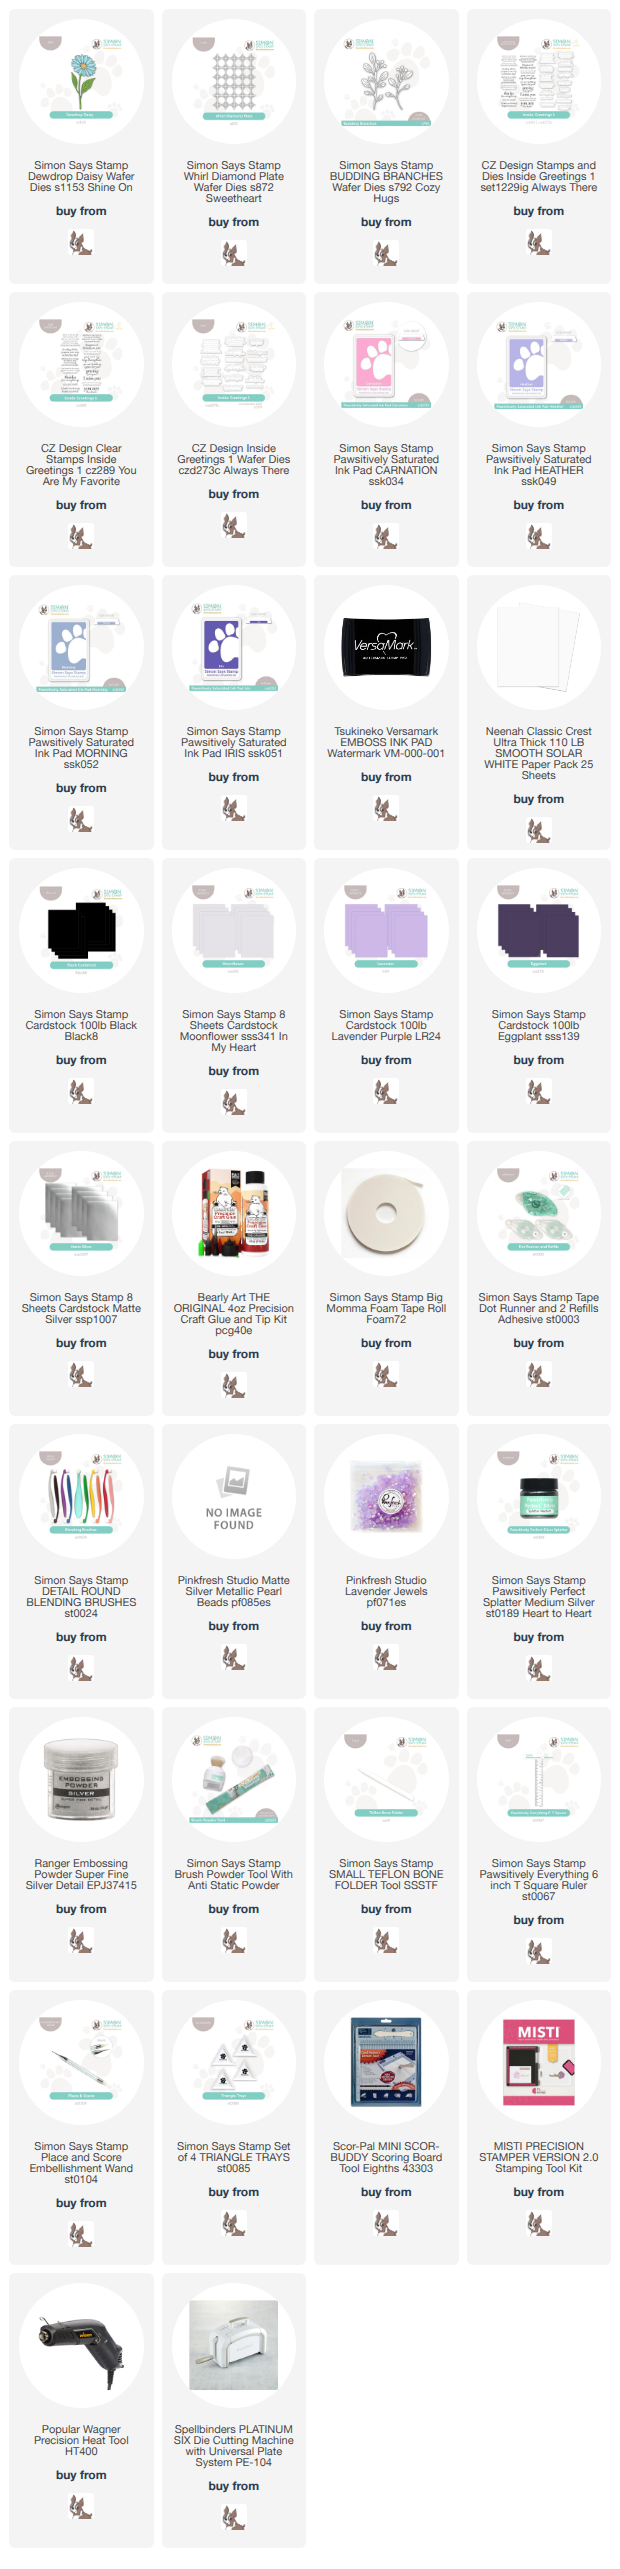
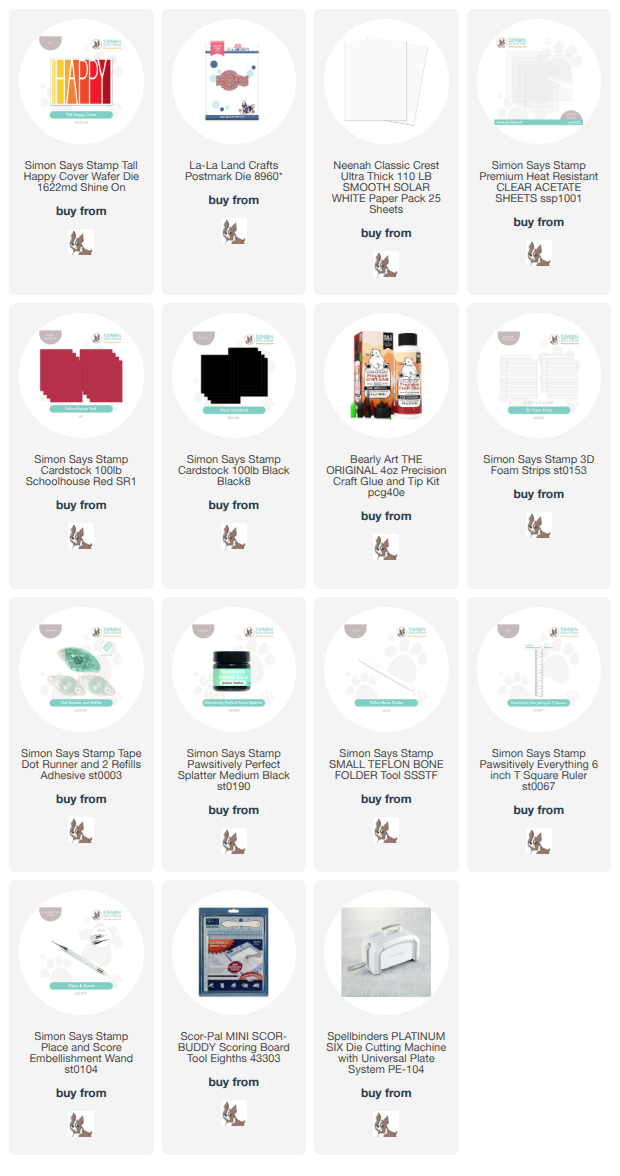
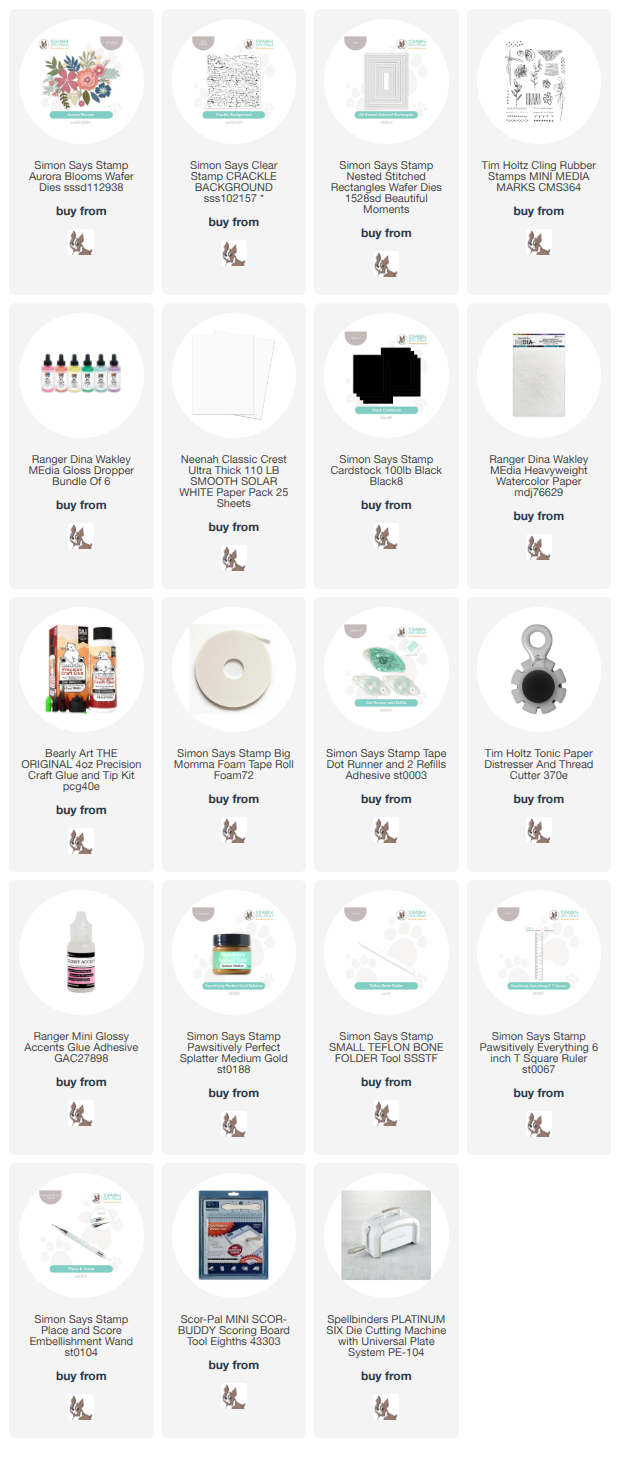
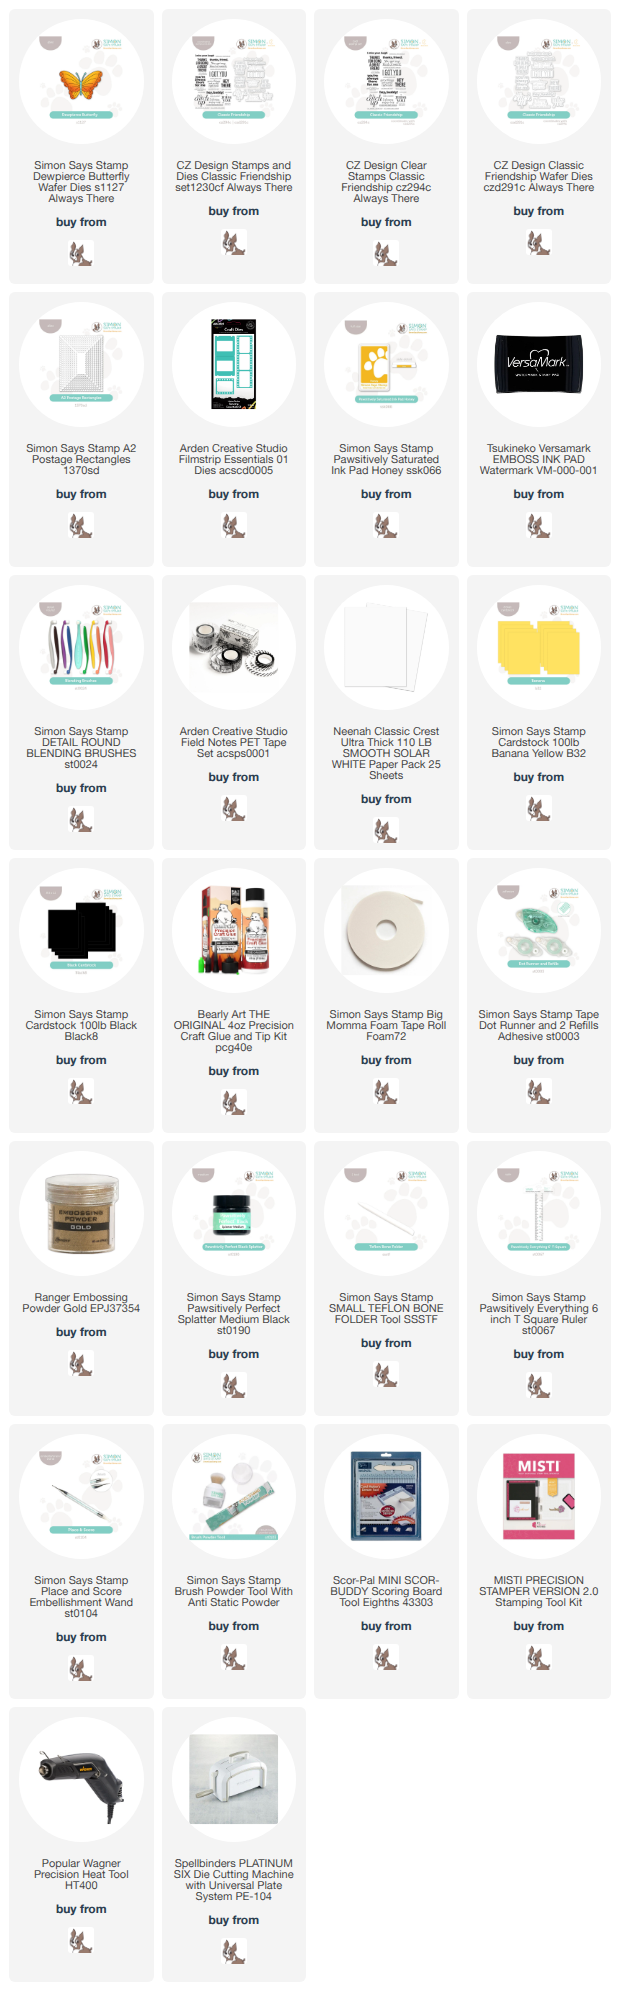
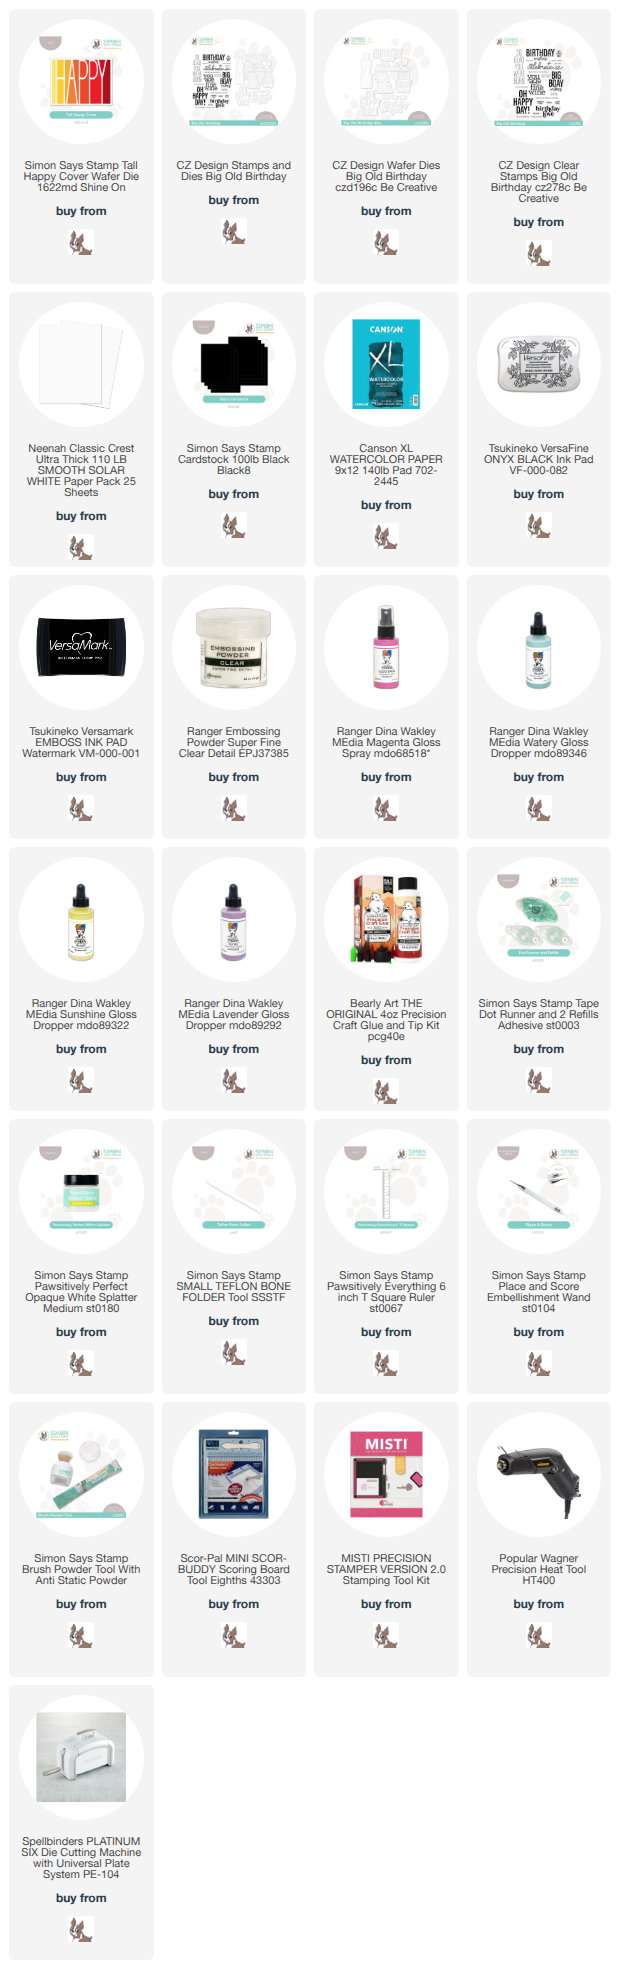
NOTE: all supplies are linked in the thumbnails at the end of this blog post.
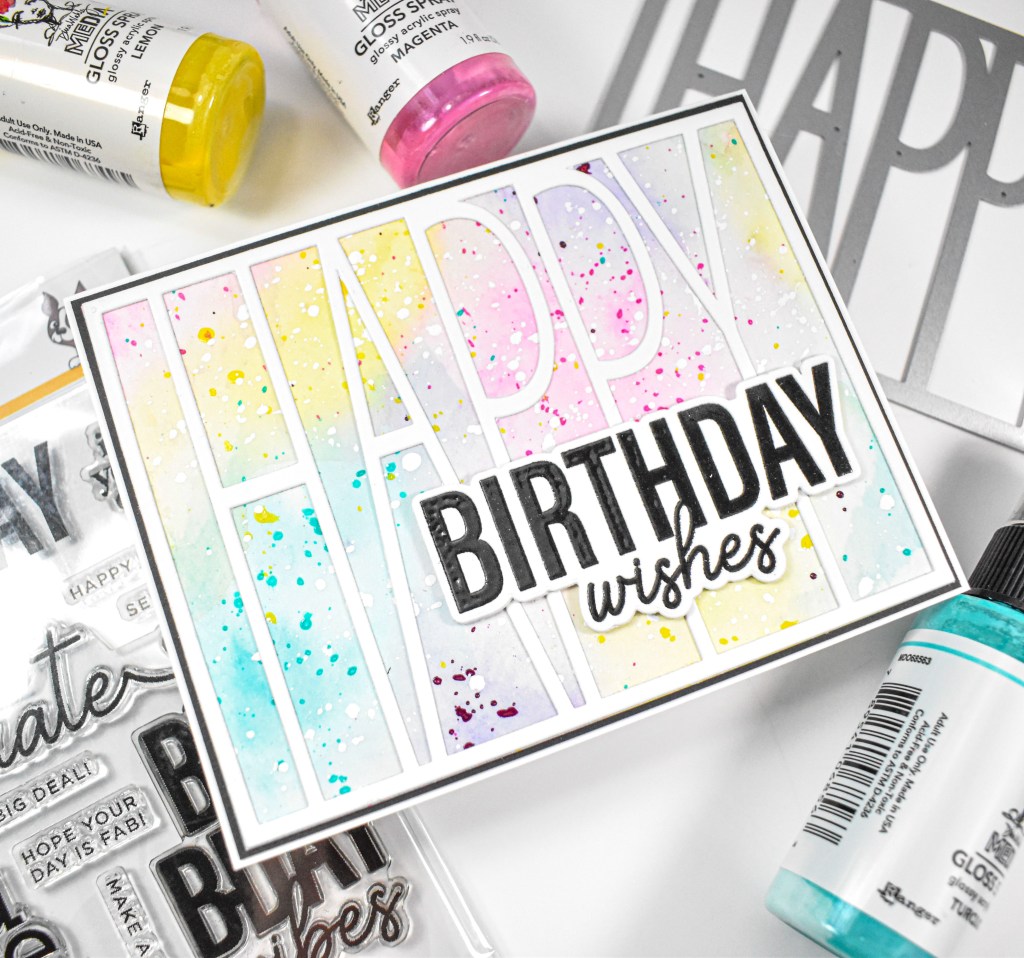
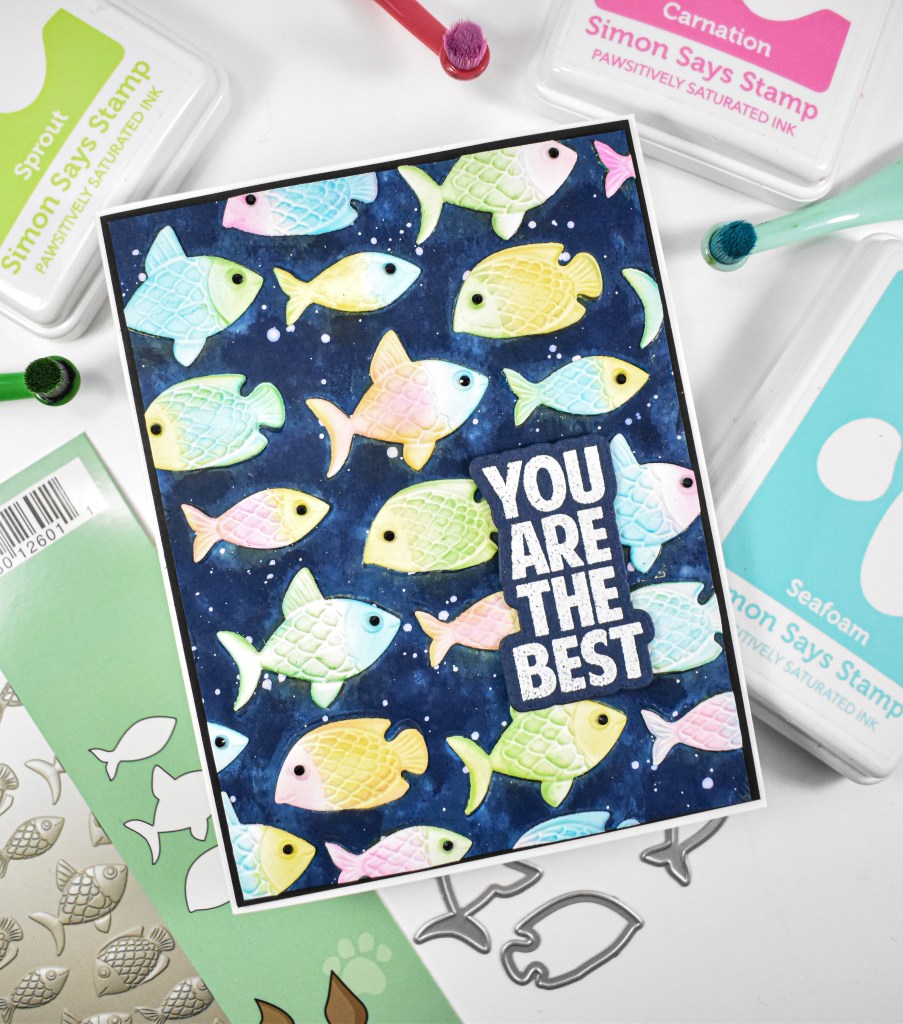
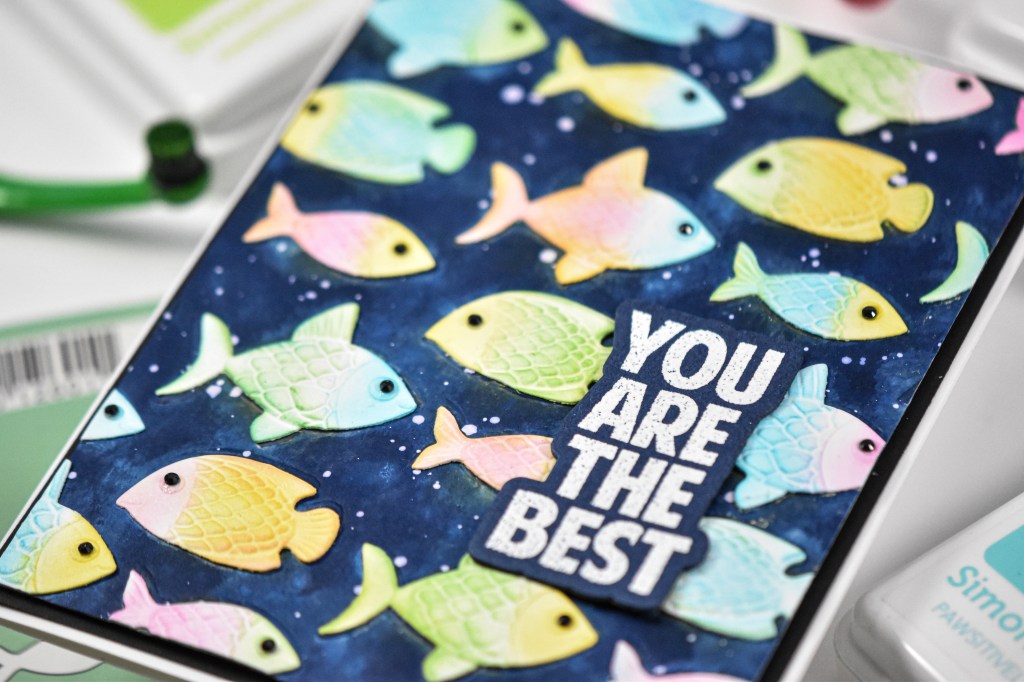
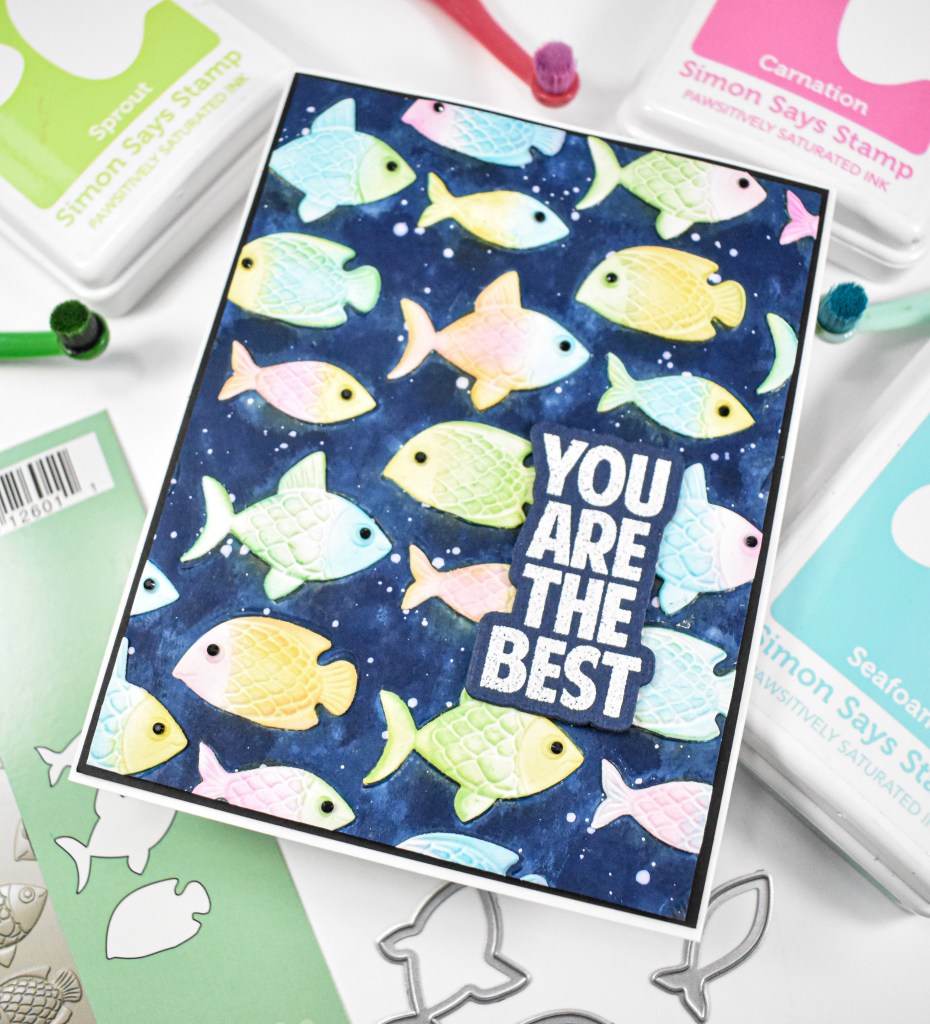
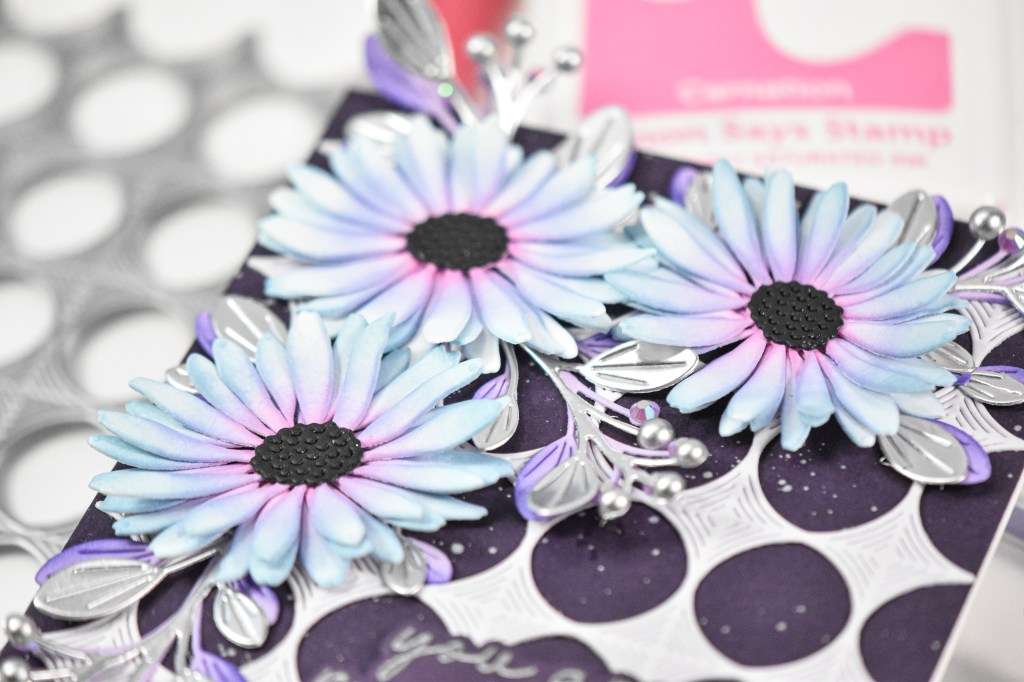
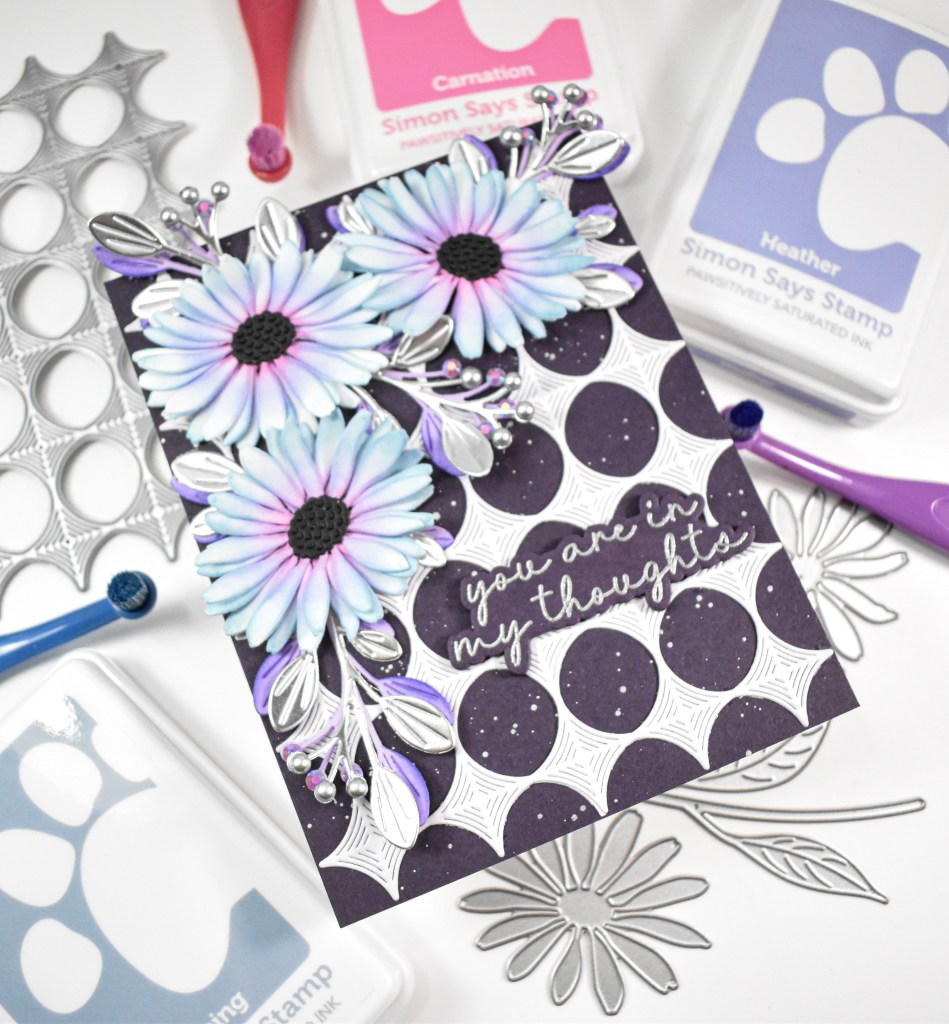
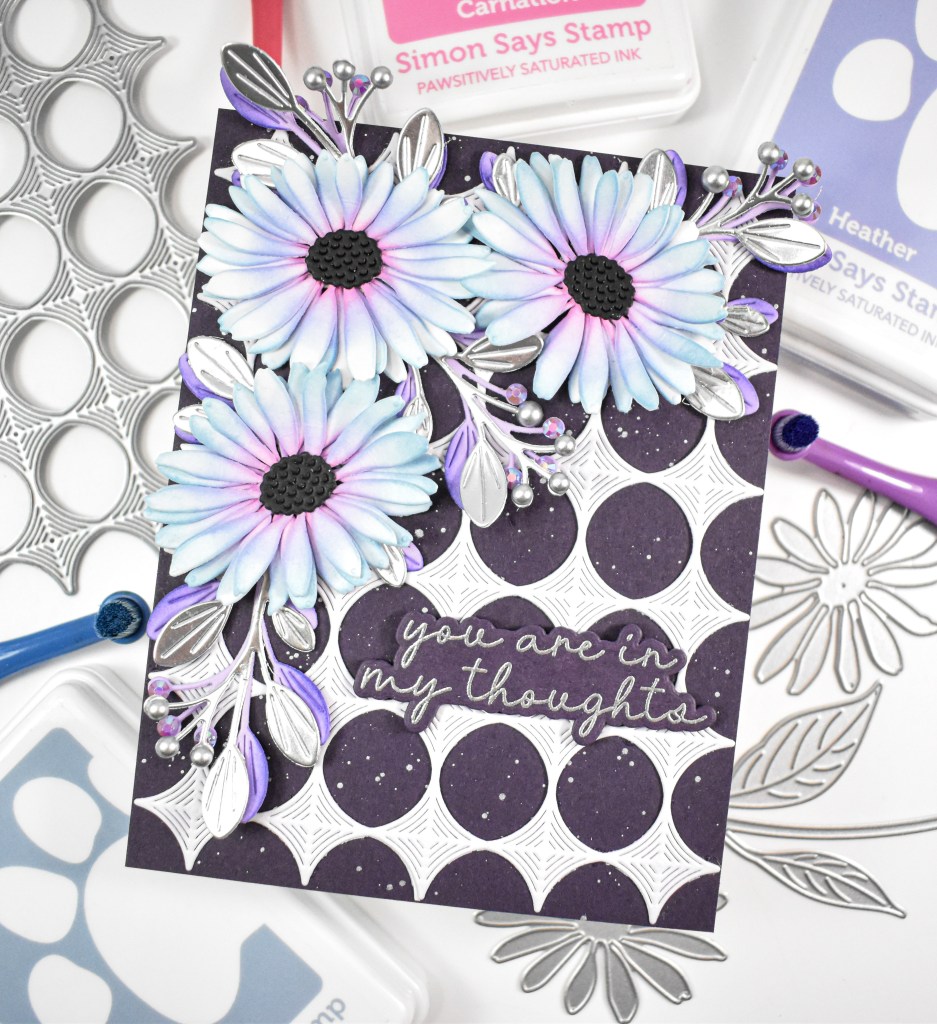
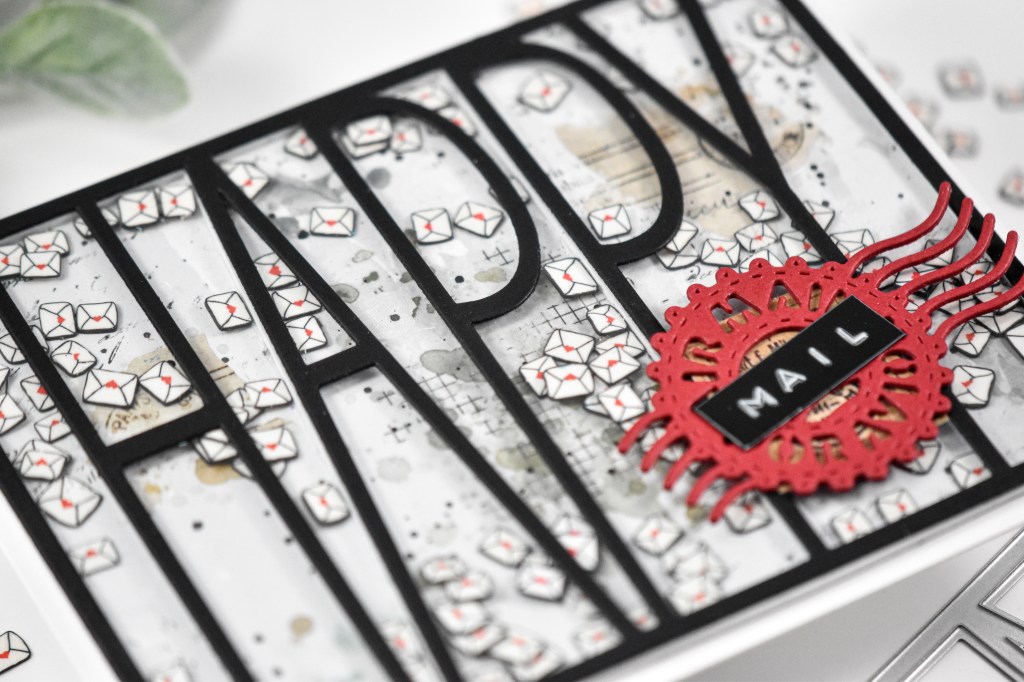
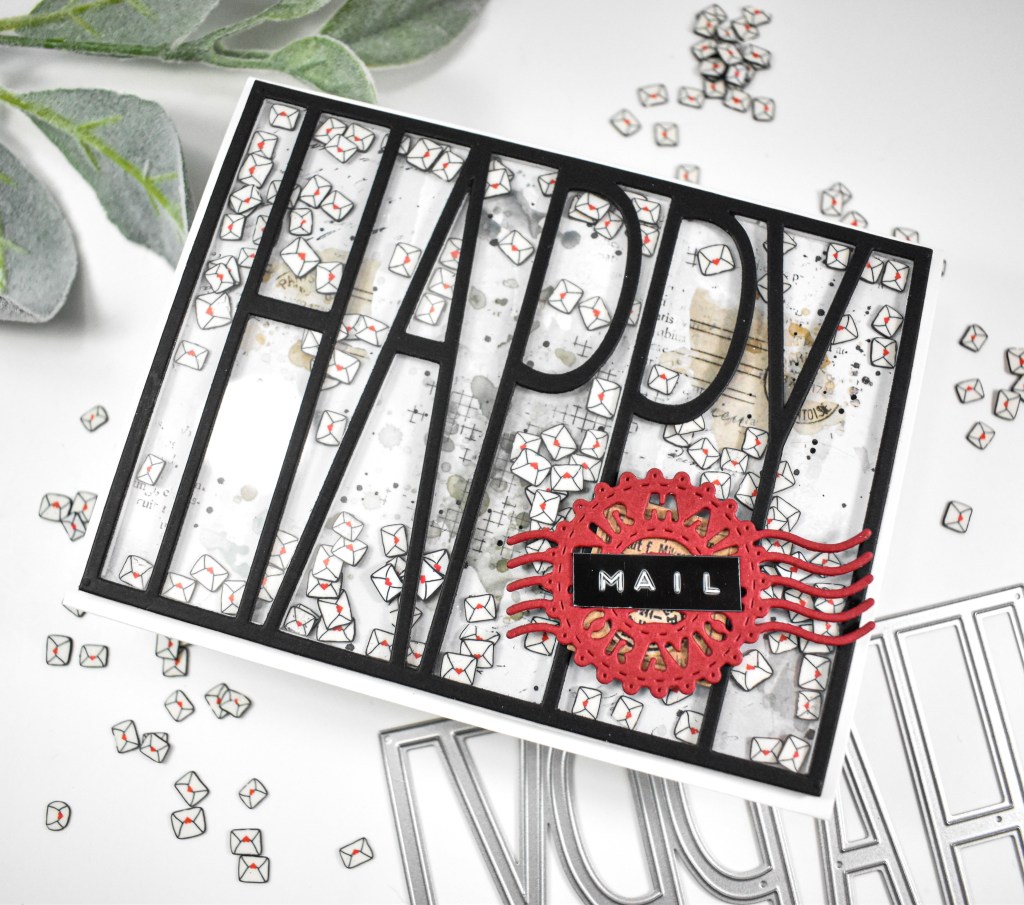
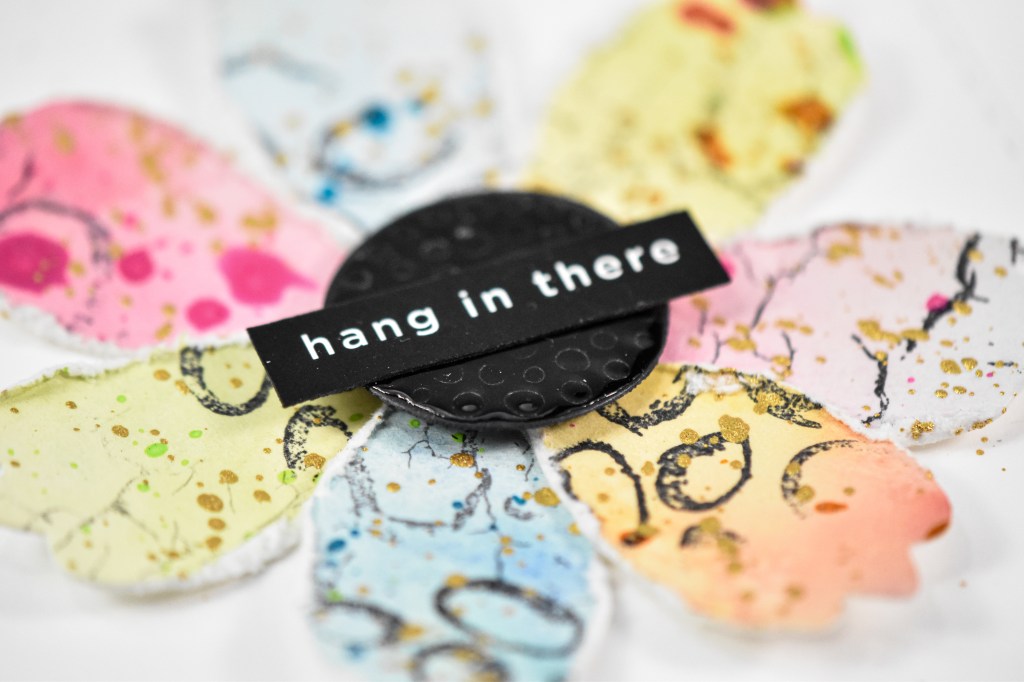
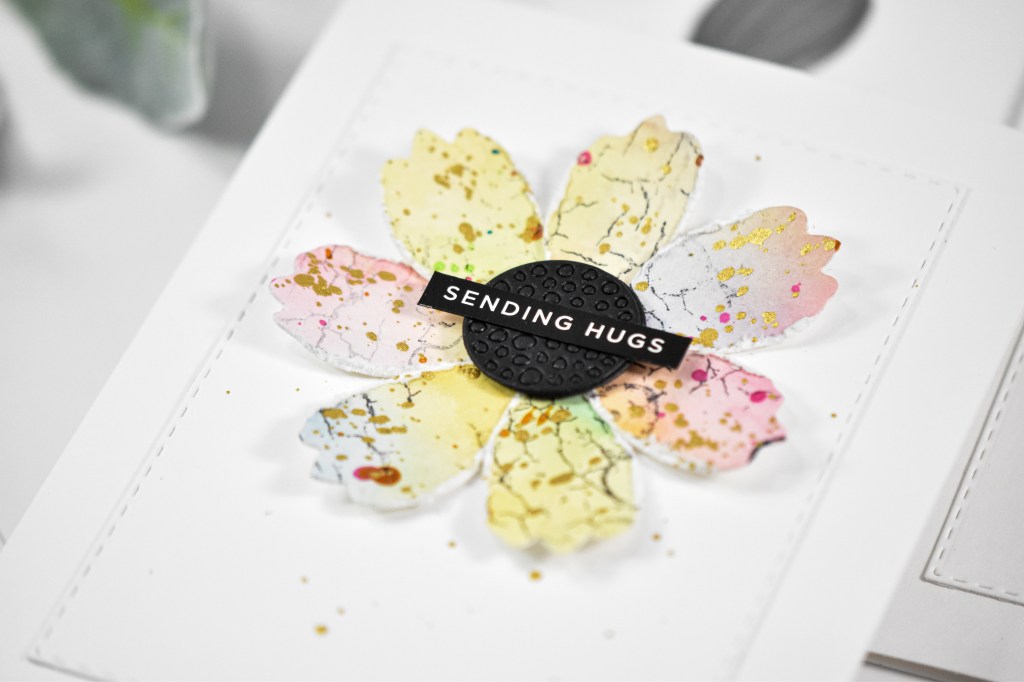
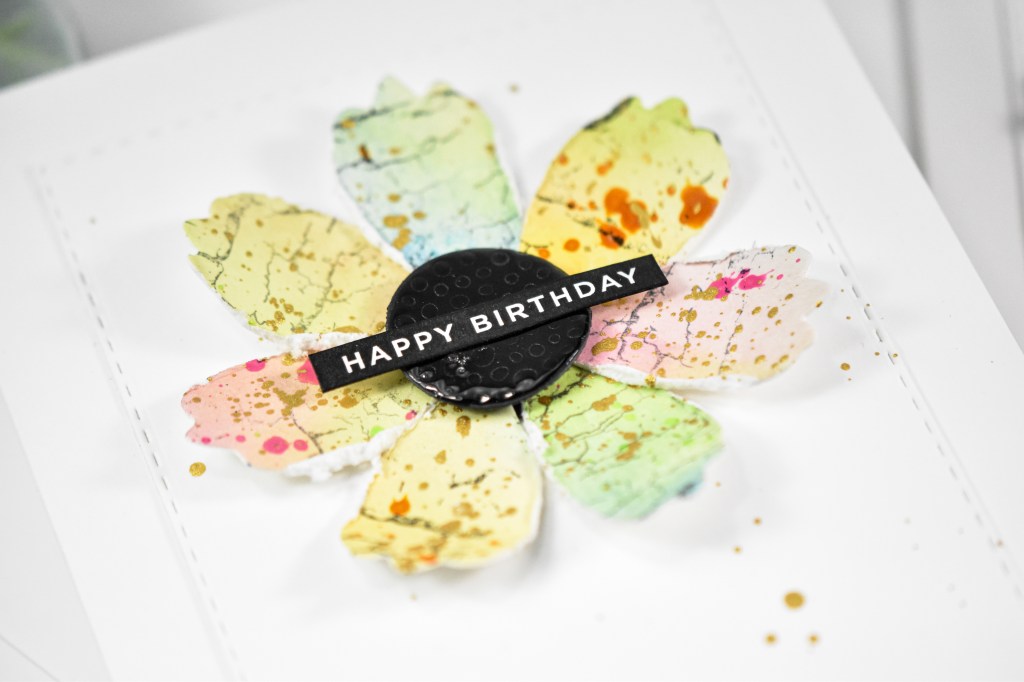
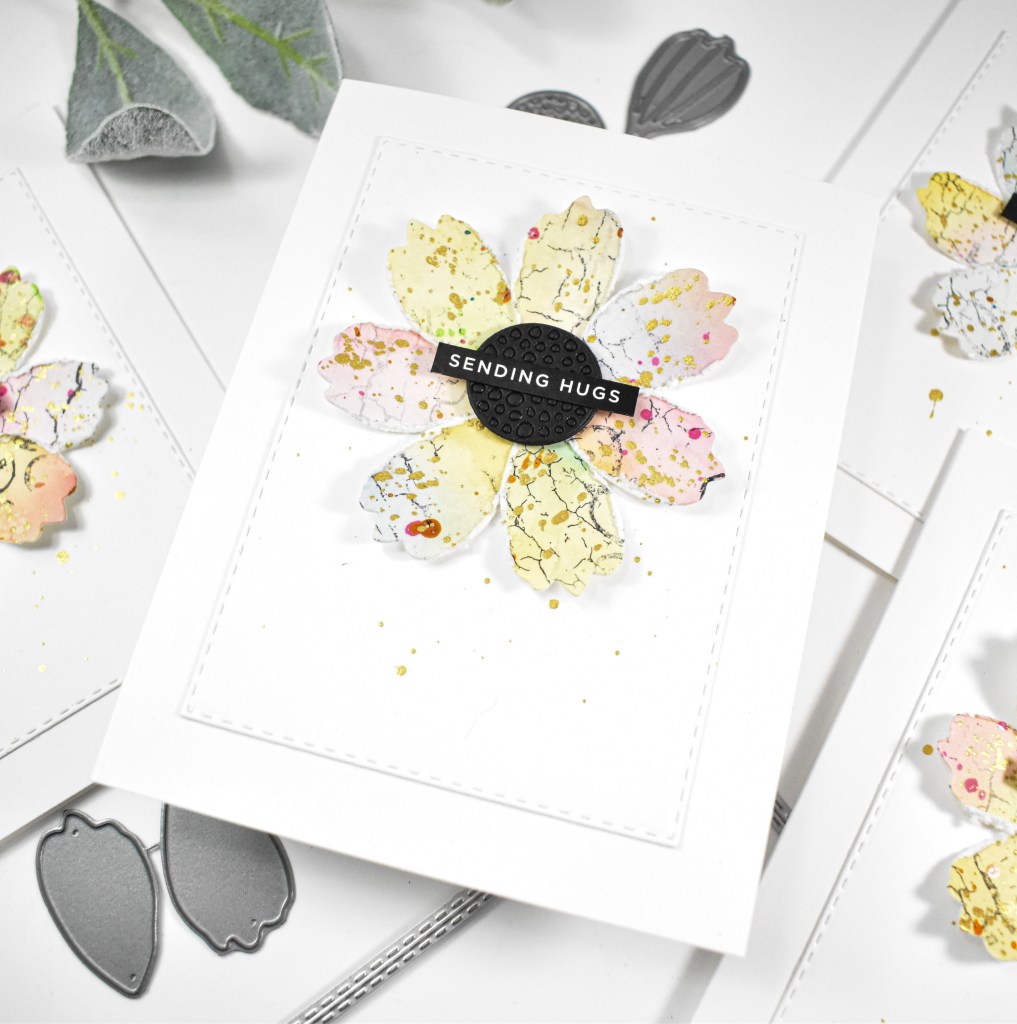
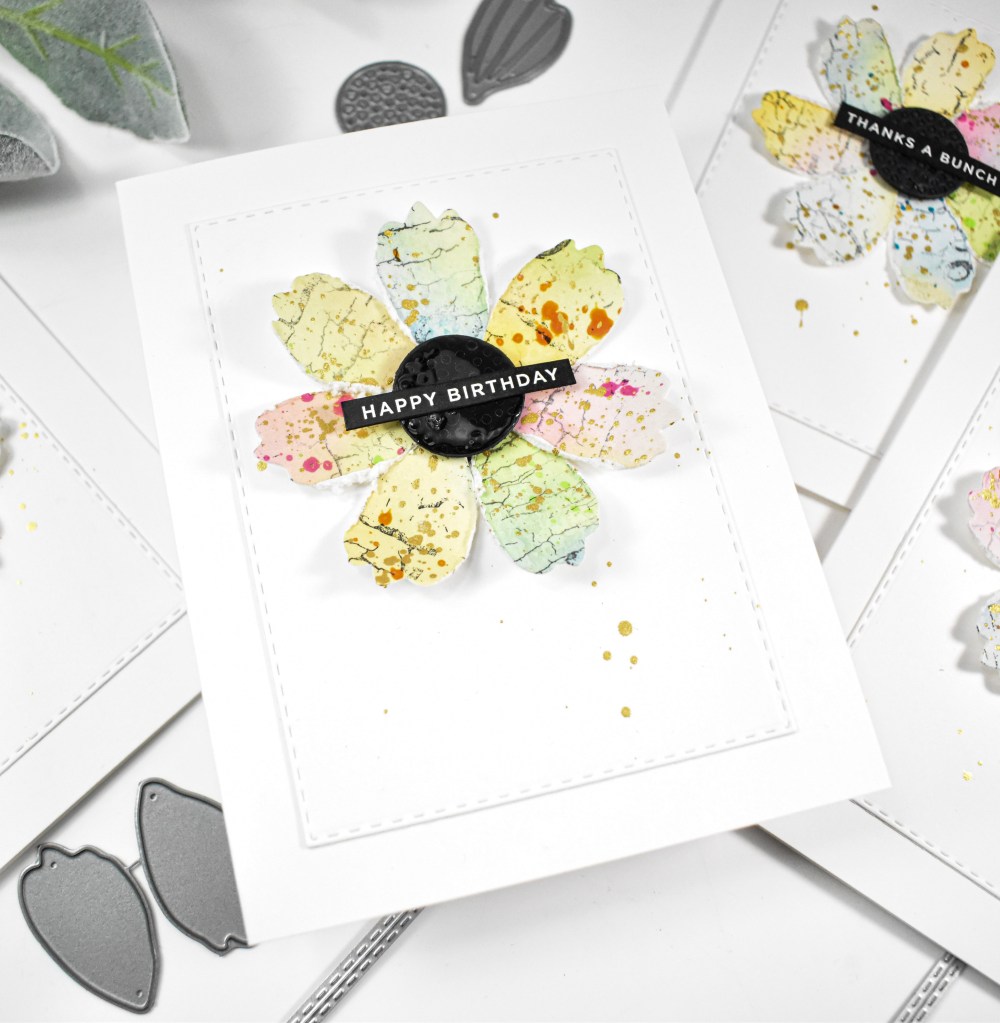
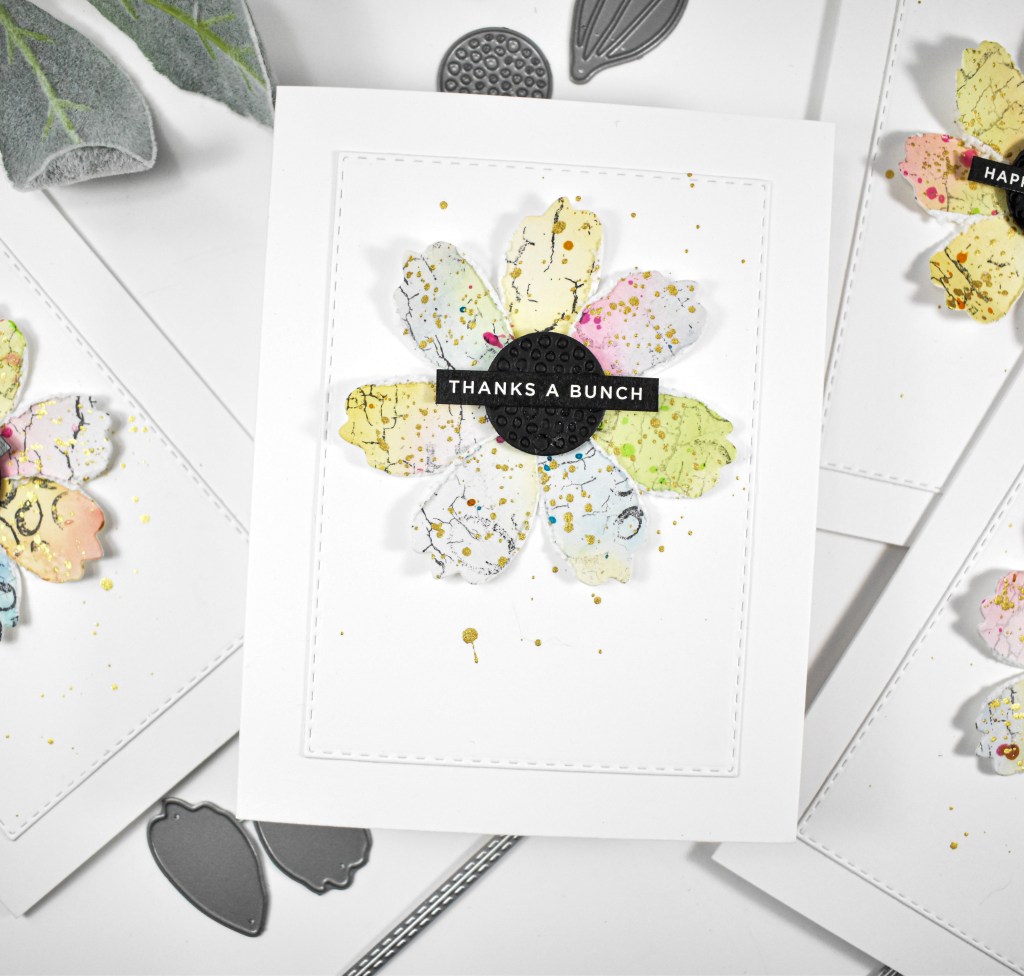
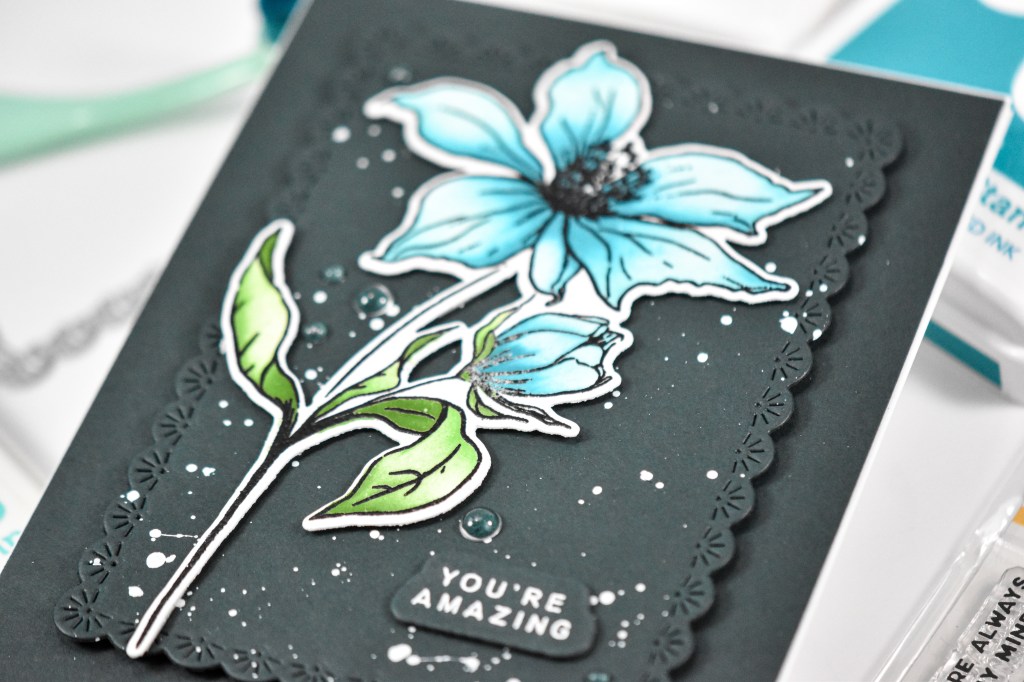
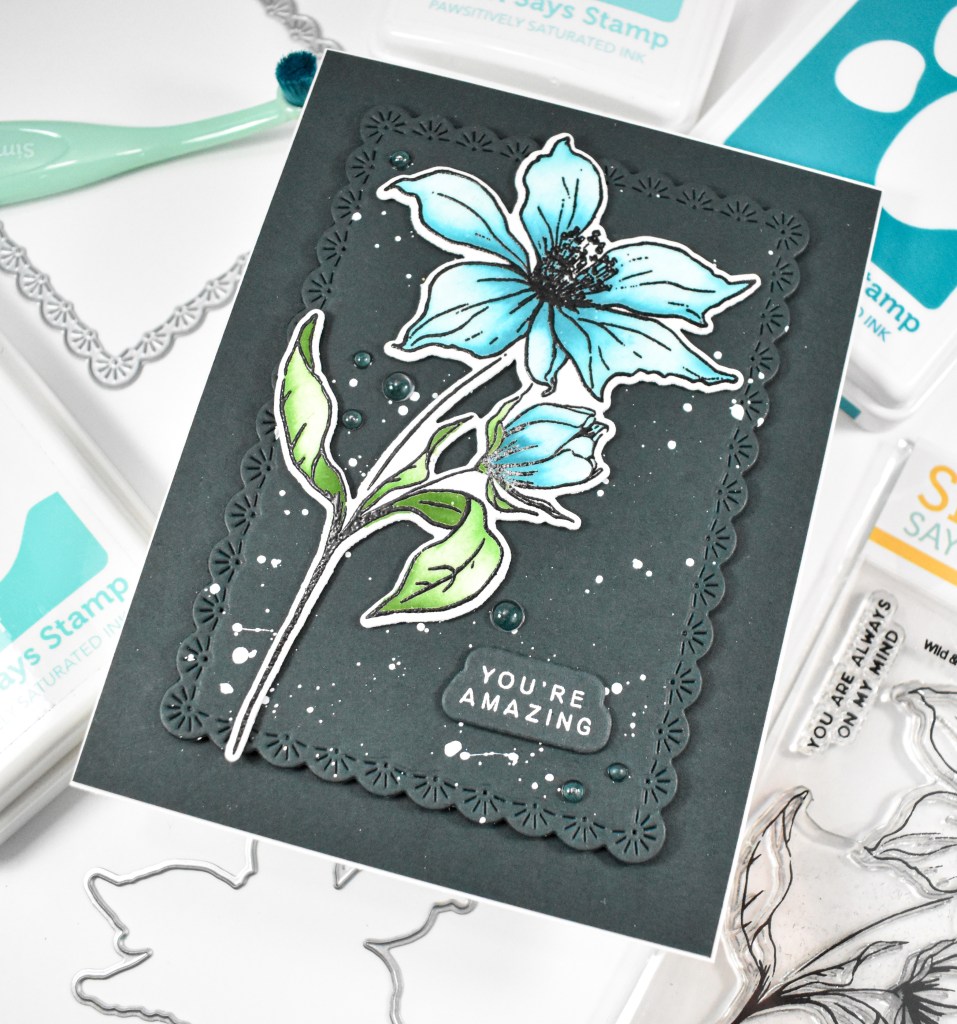
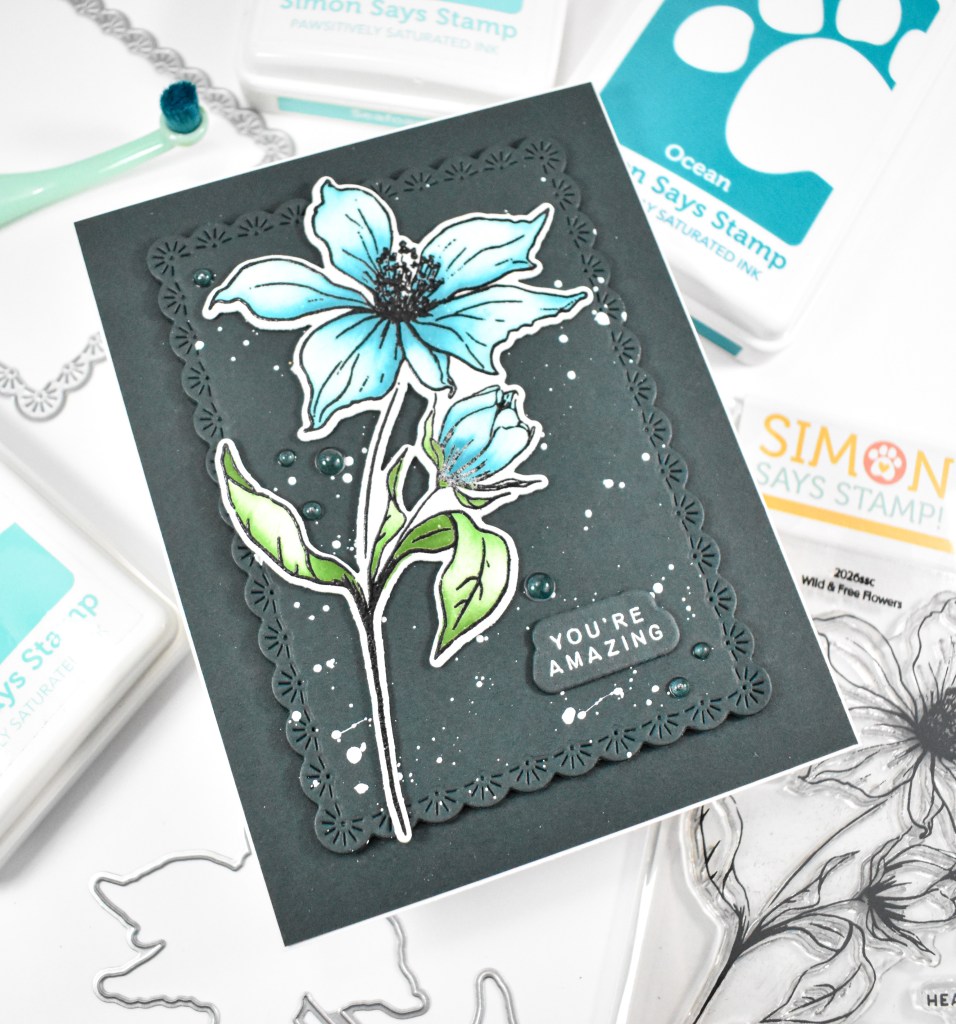
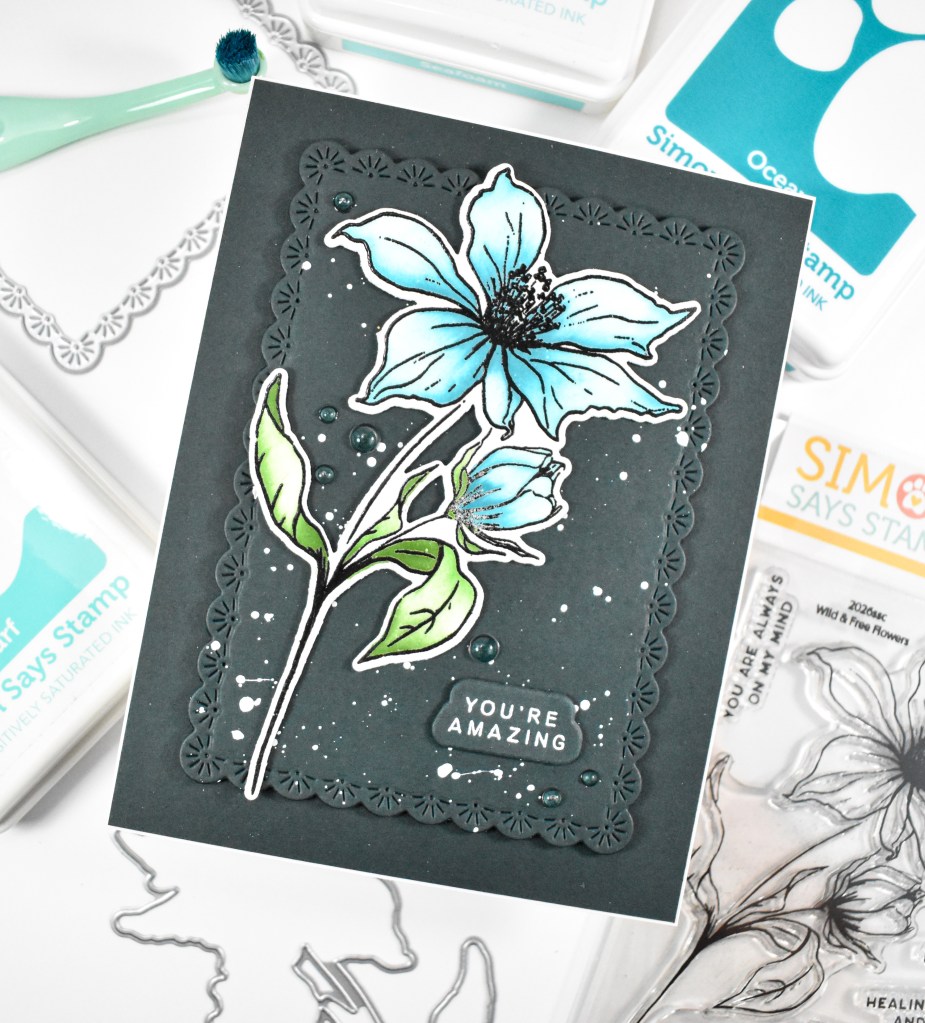
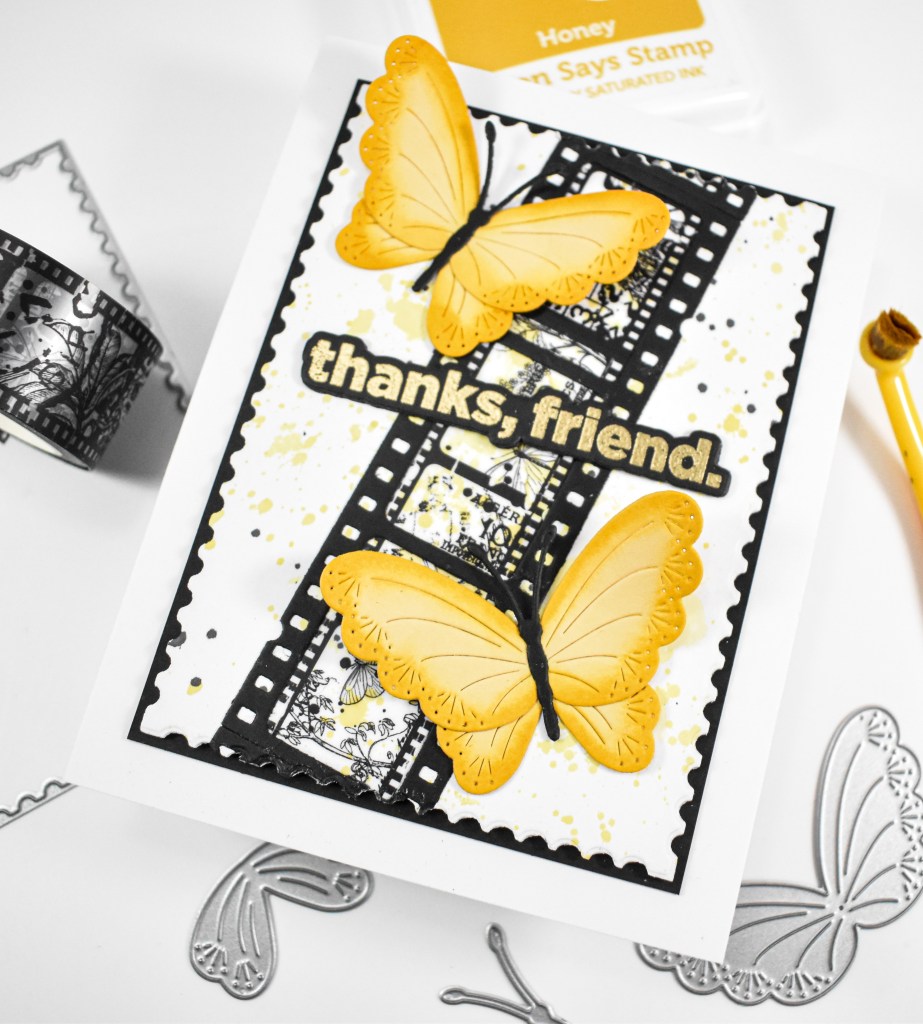
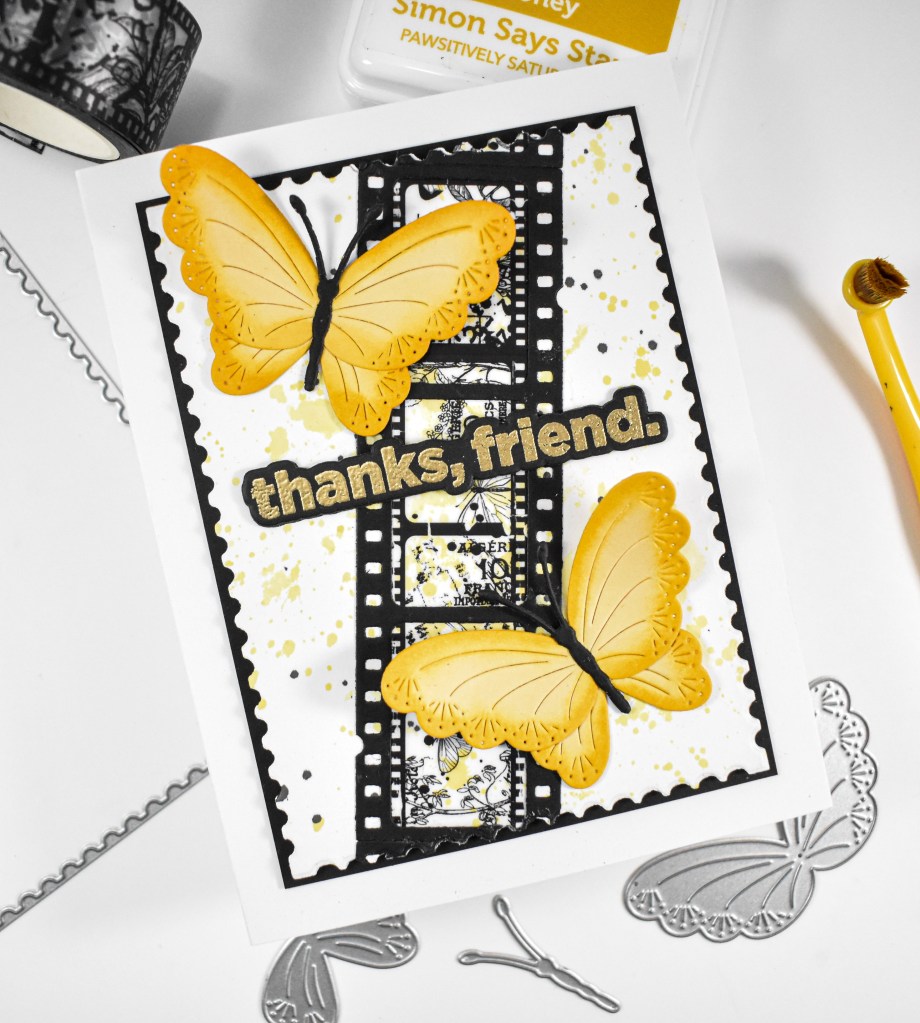
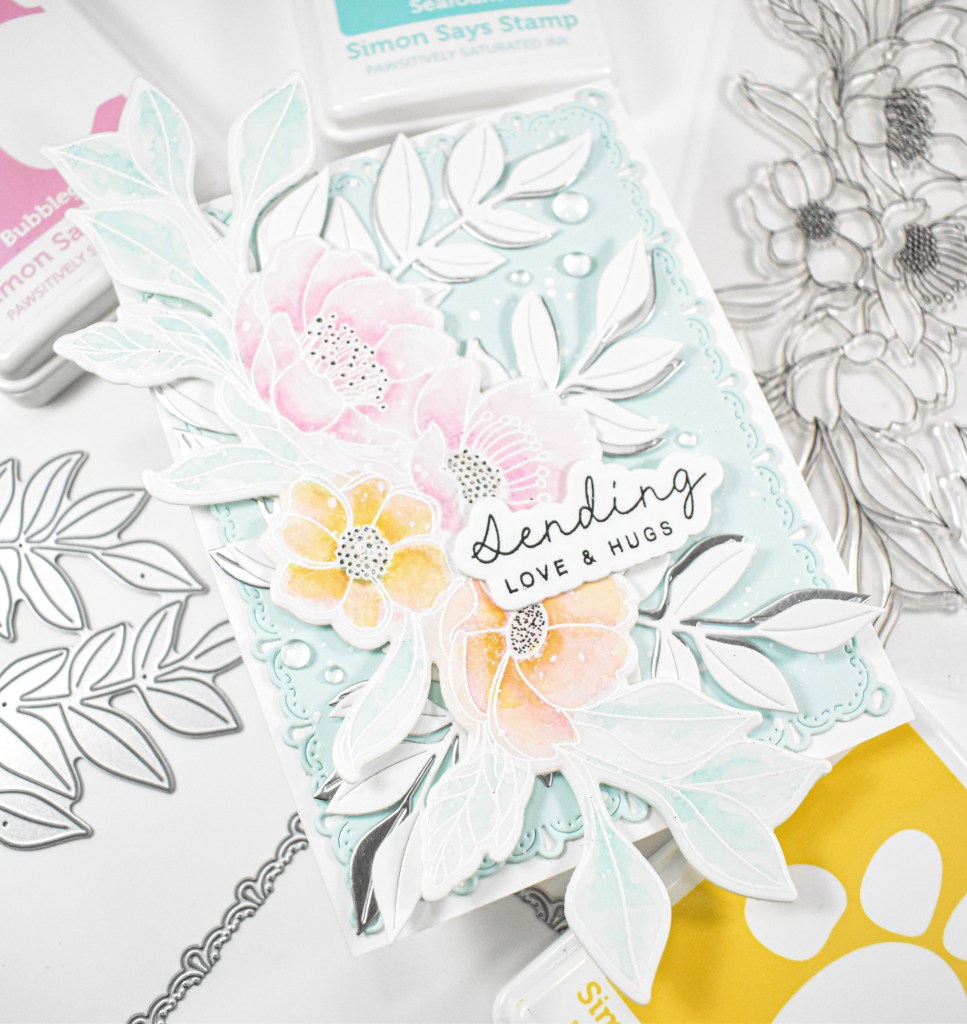
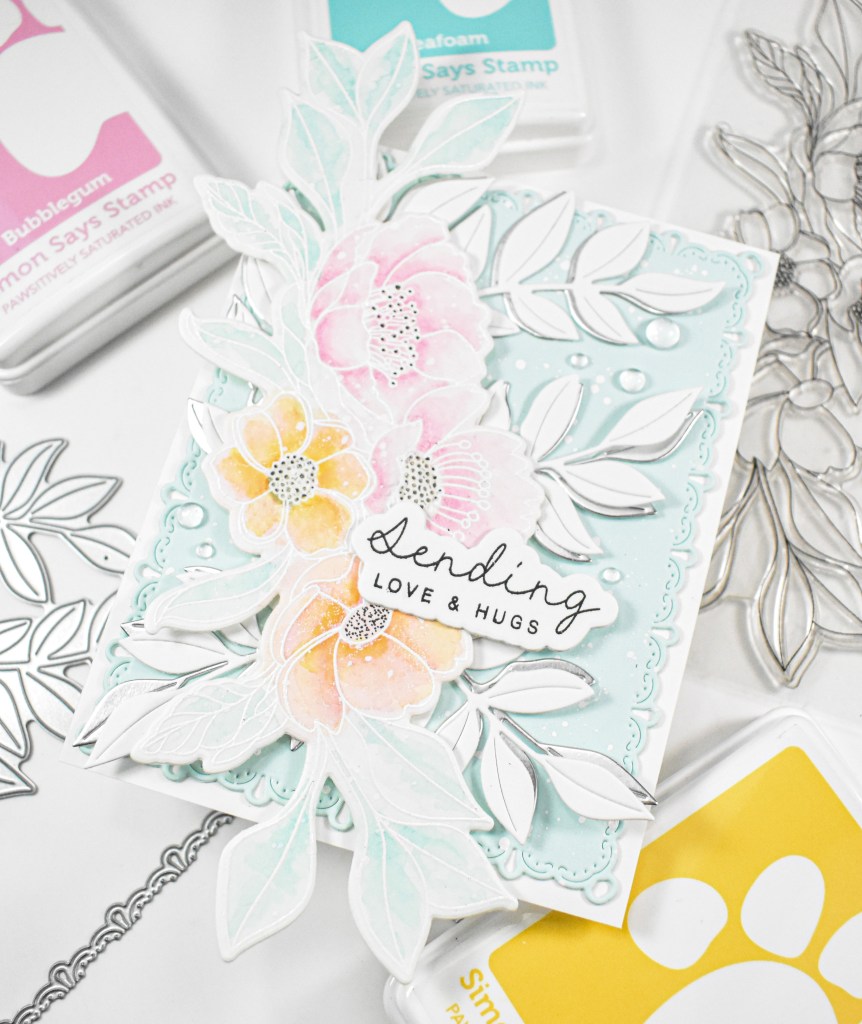
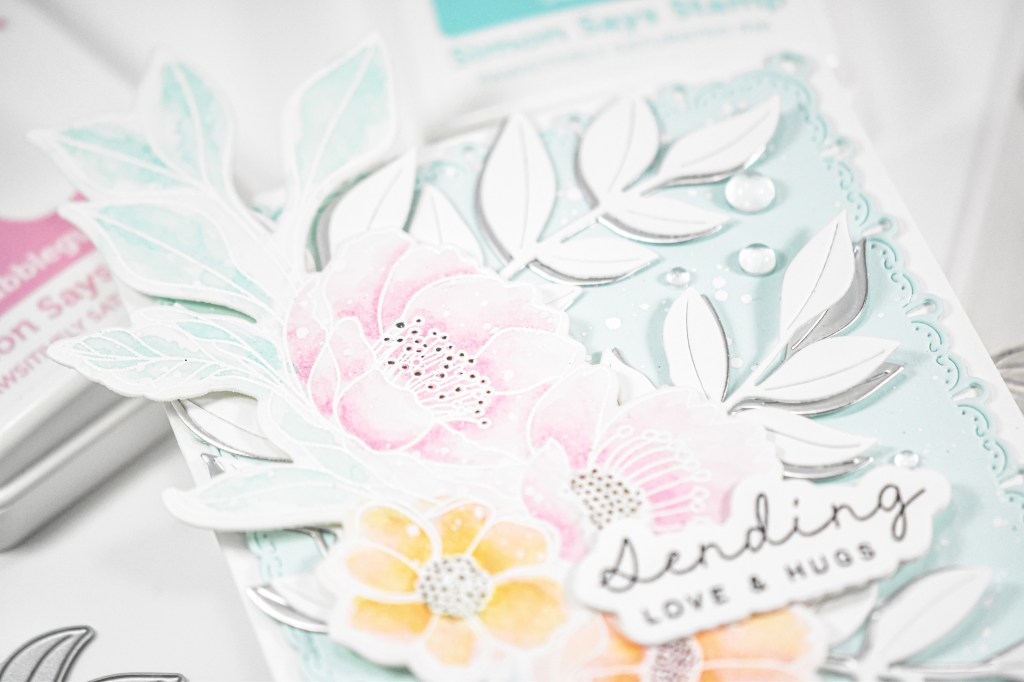
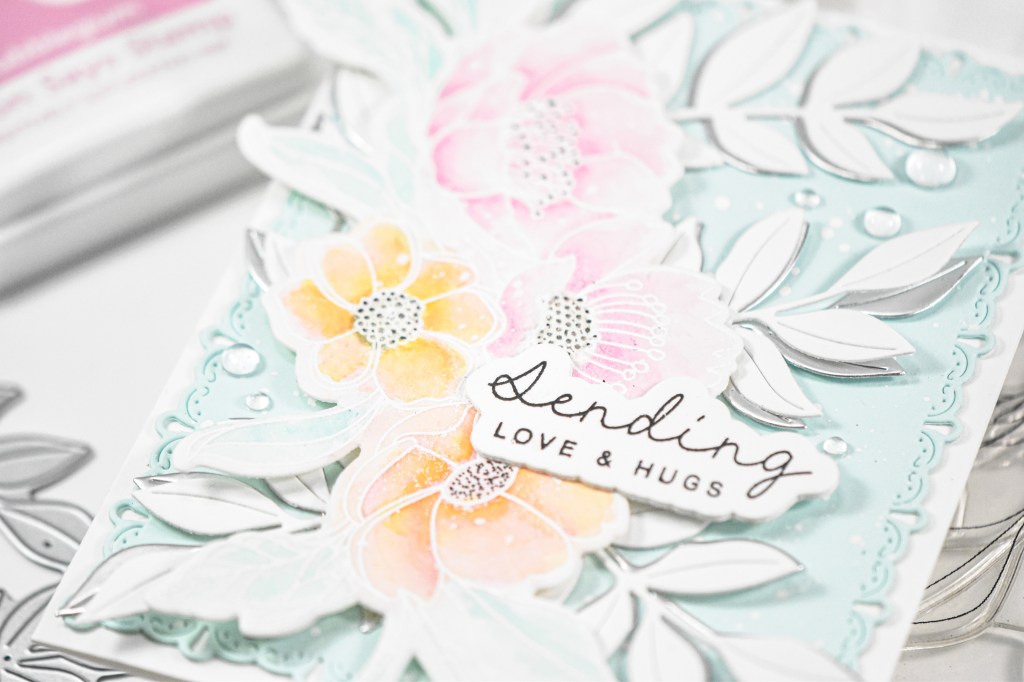
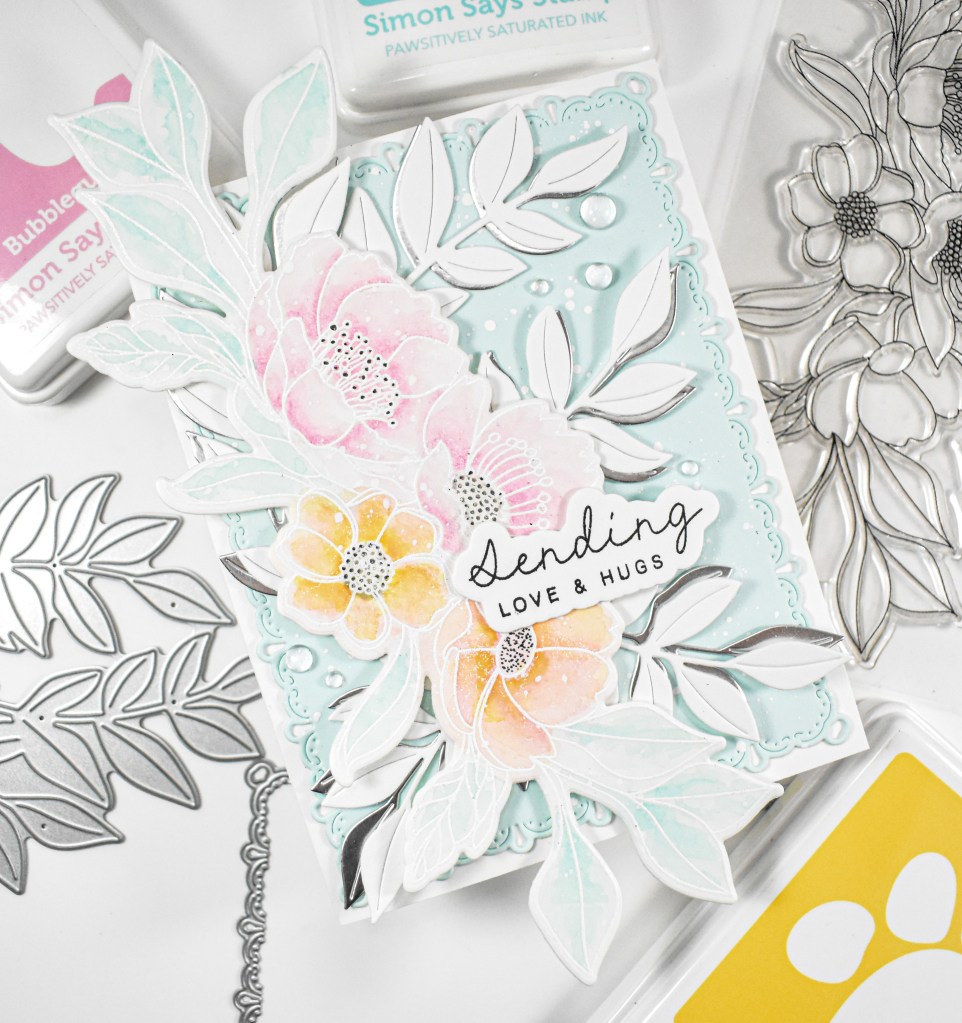
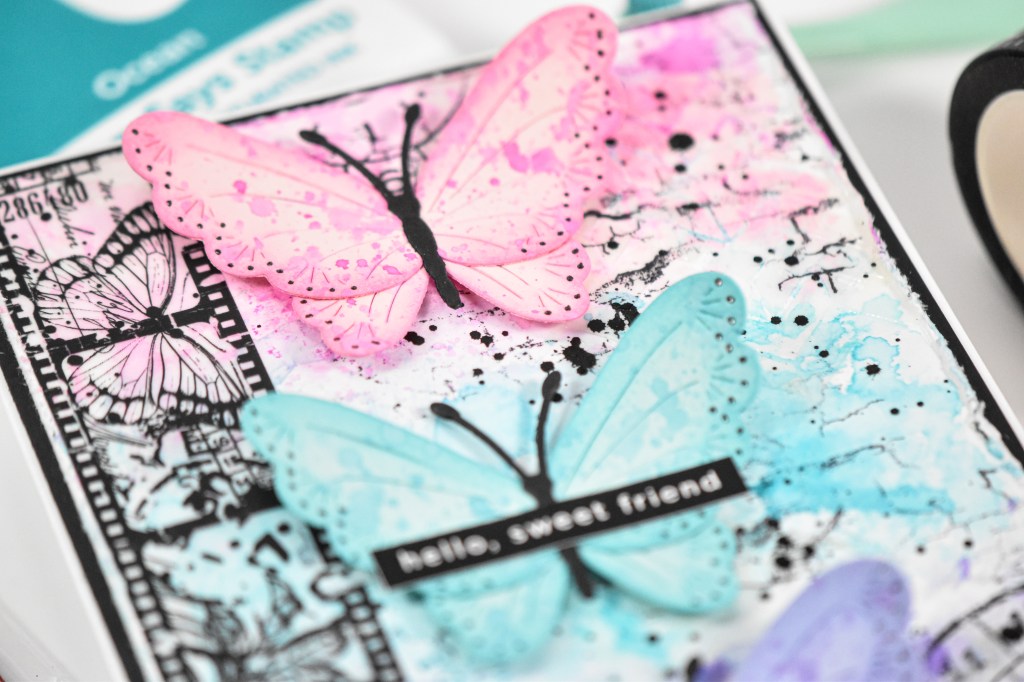
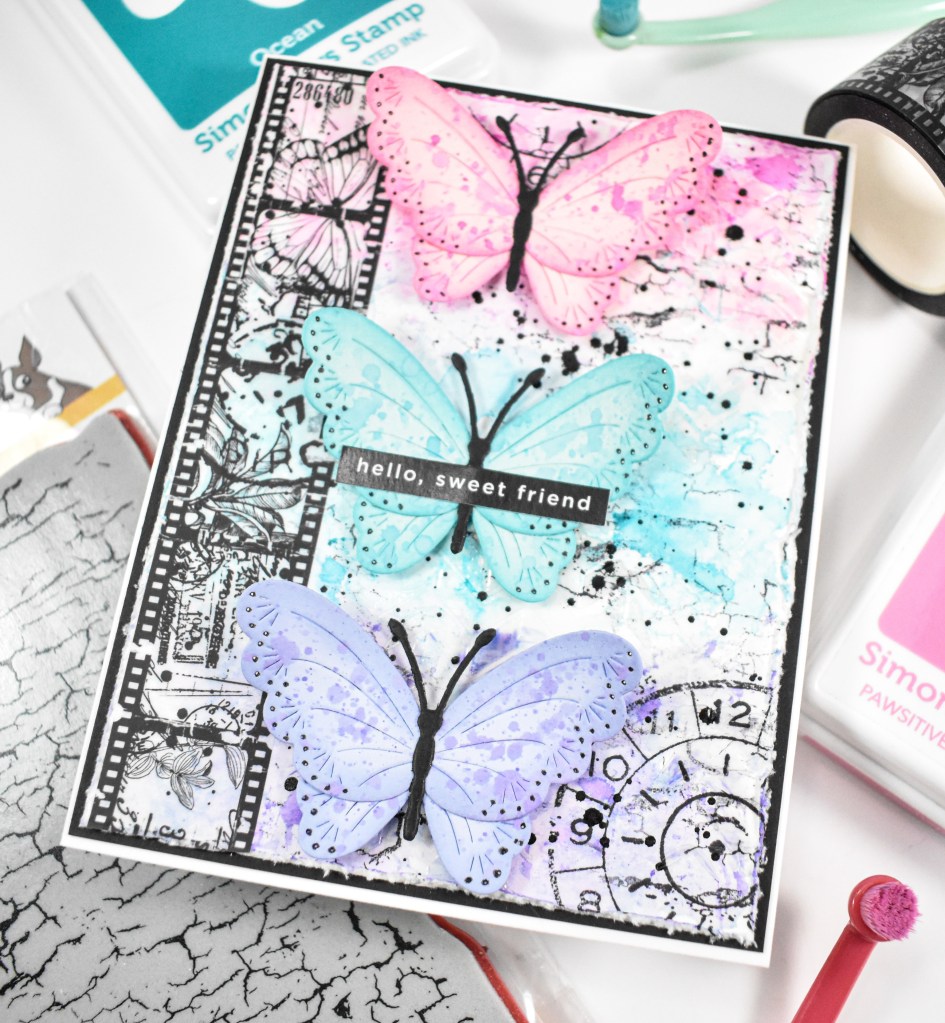
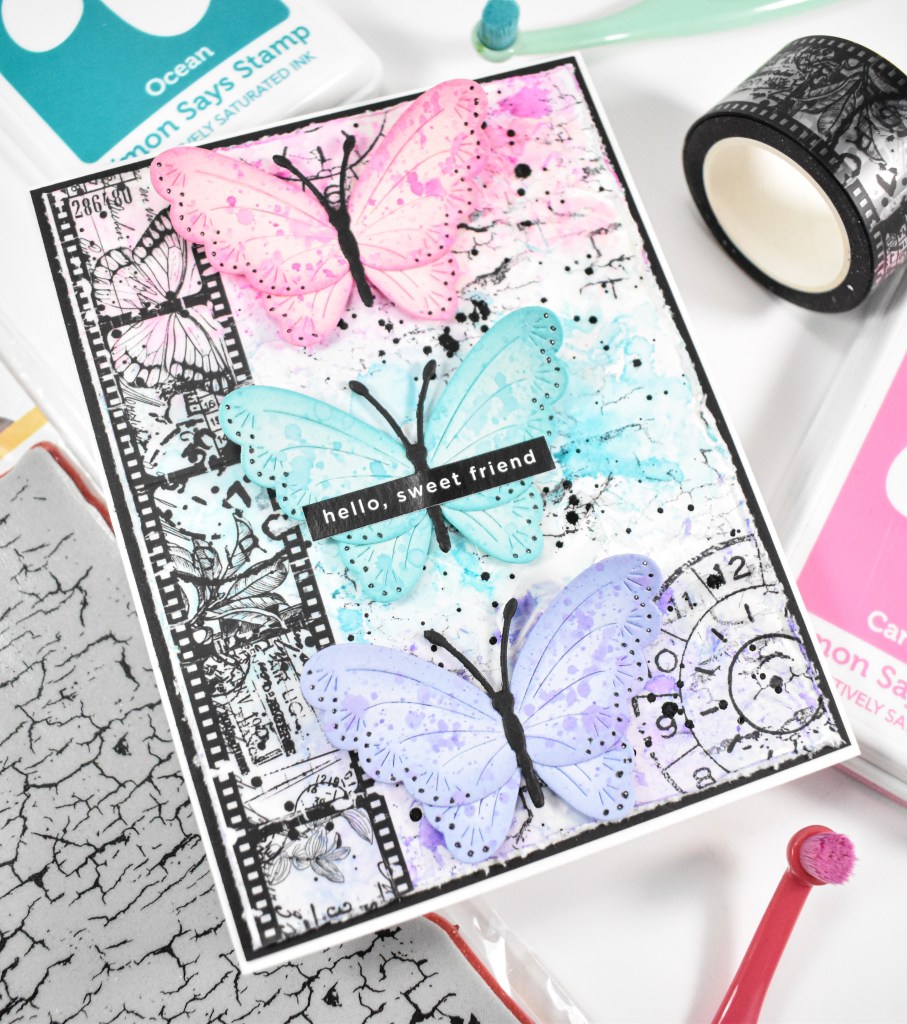
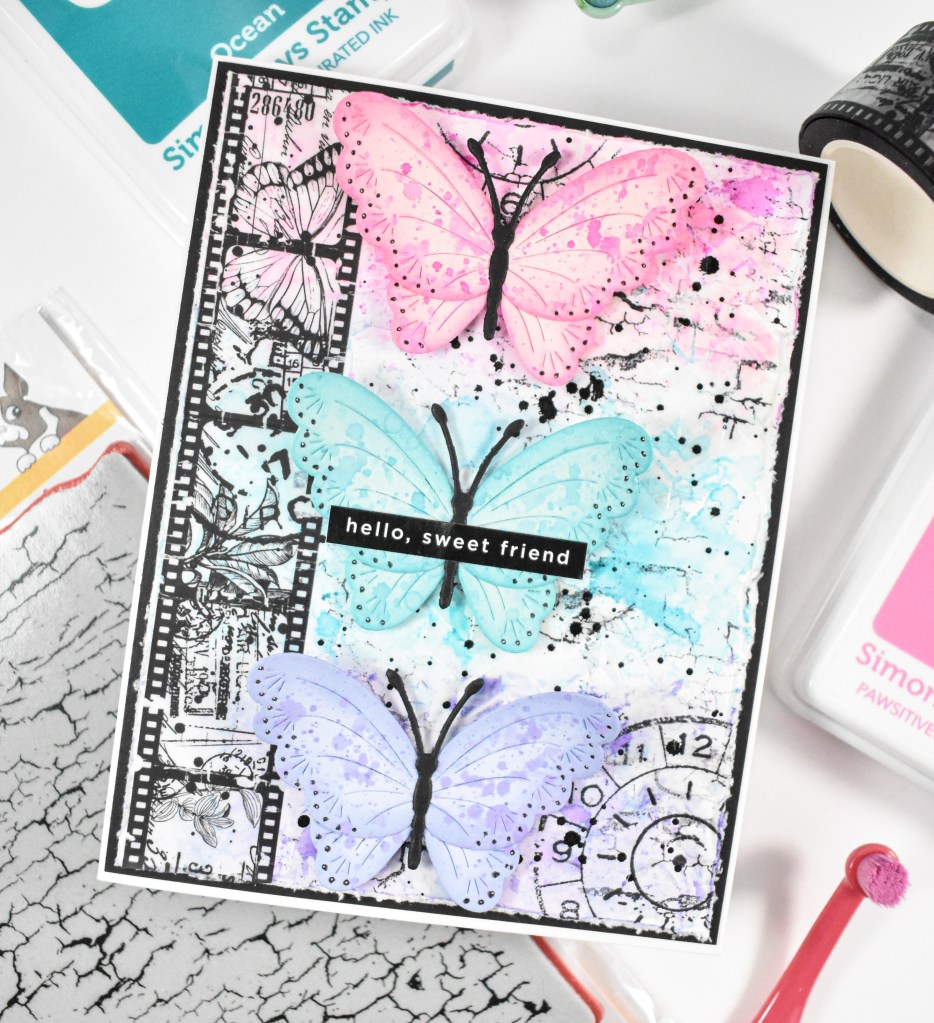
The background for this project was a super quick watercolor background in softer tones that I splattered in the corresponding areas with Dina Wakely Gloss Sprays. The sprays that I used were Magenta, Lemon, Turquoise and Eggplant. I was unable to find all of the sprays on the Simon website, so I’ll link to a similar product. The panel also got a good dose of white splatter since I was cutting the Tall Happy from white cardstock.
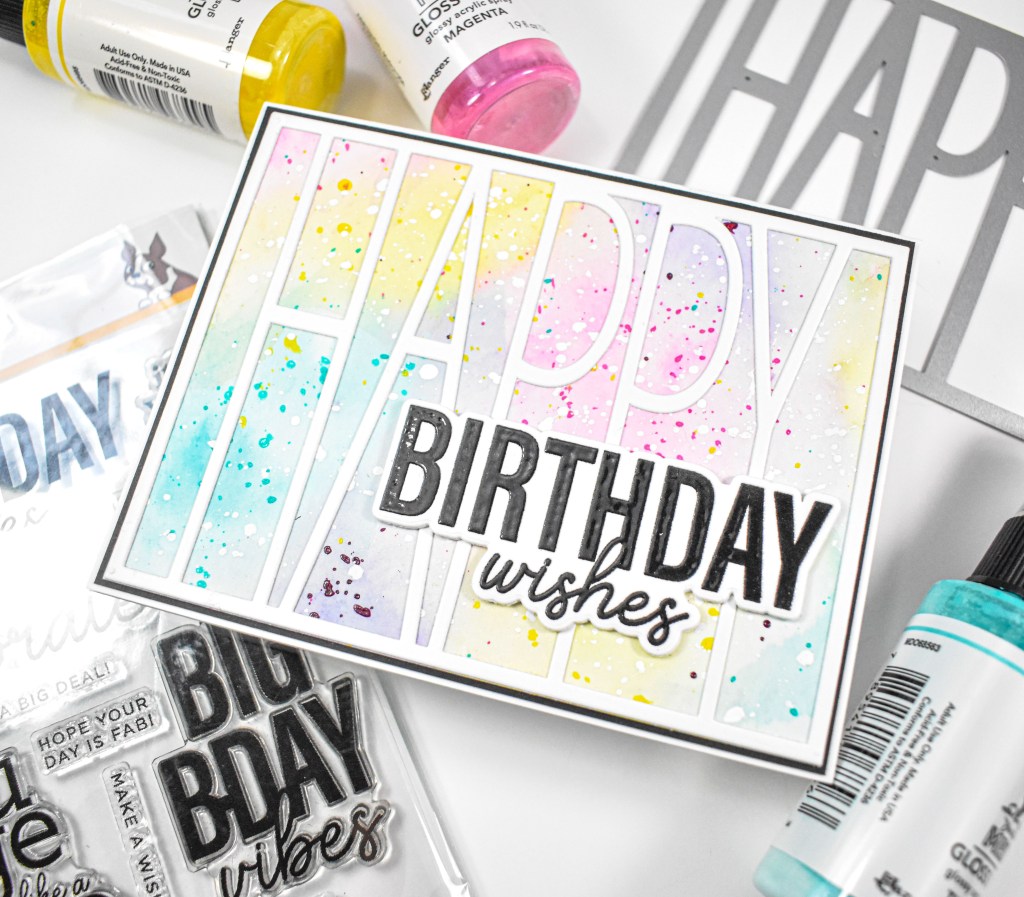
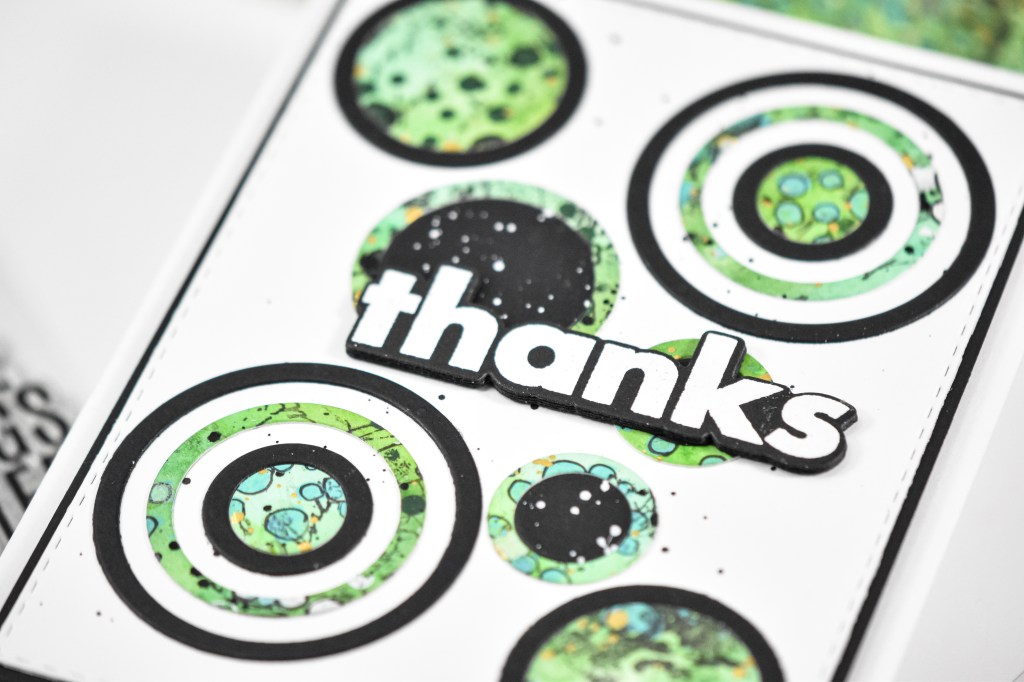
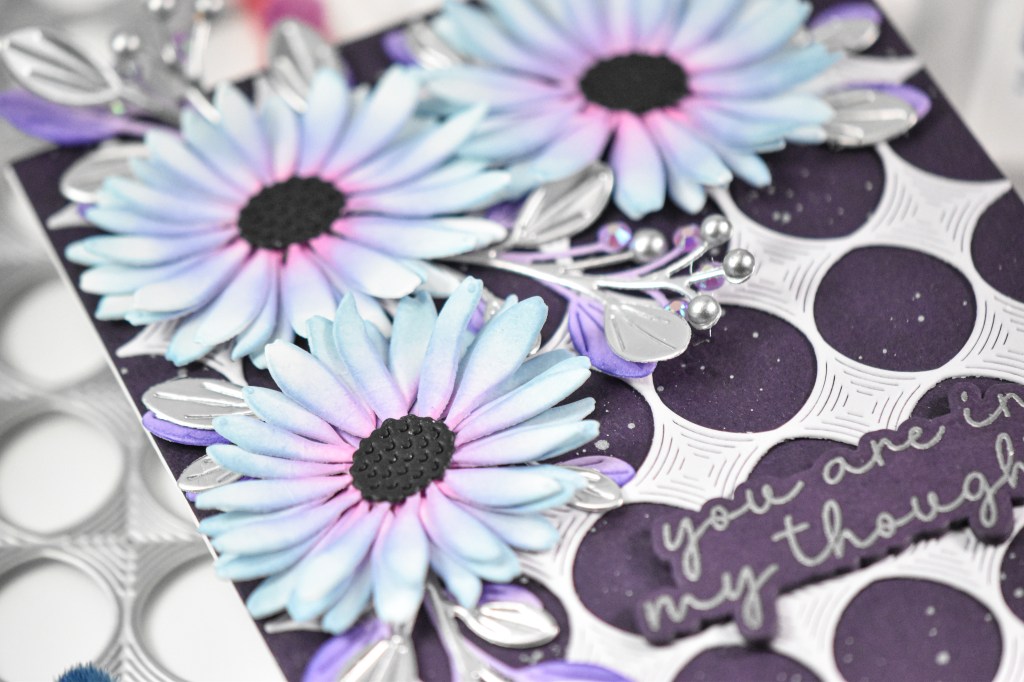
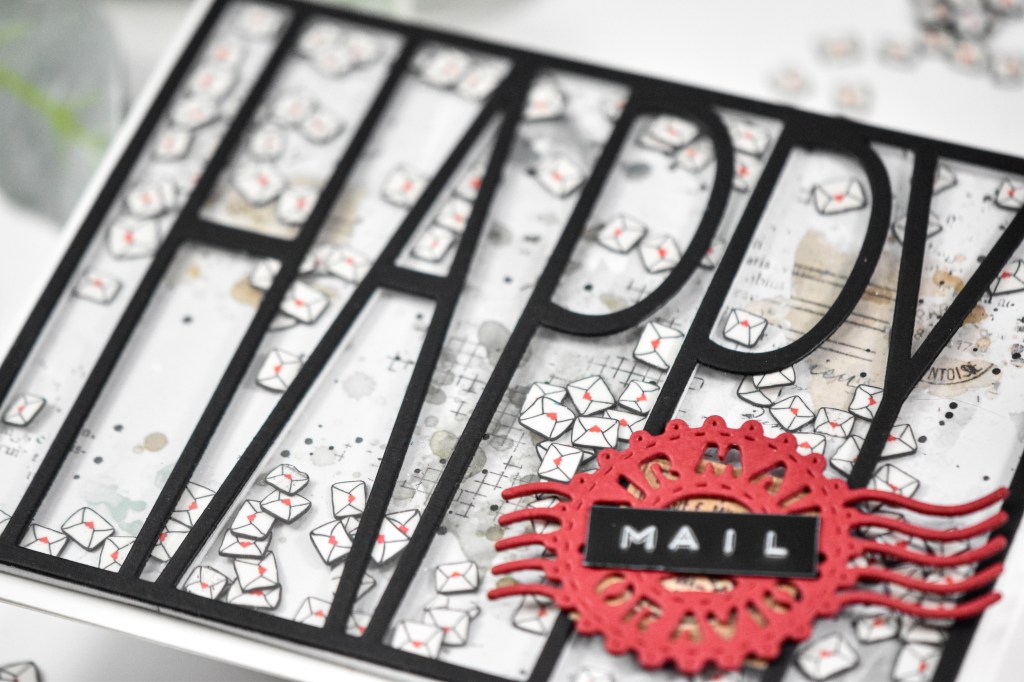
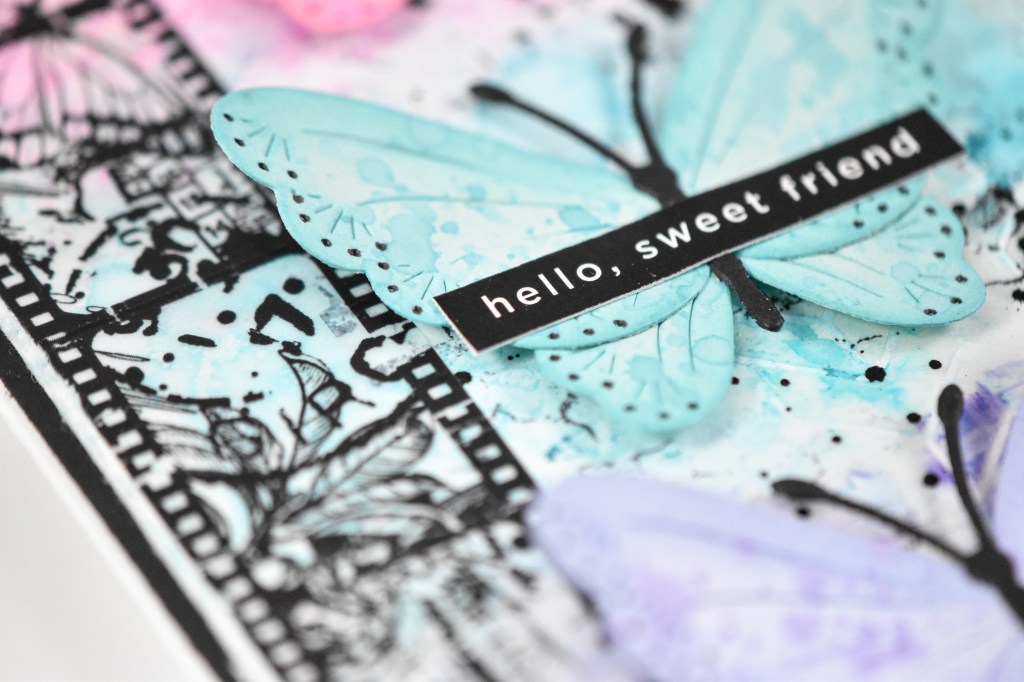
The sentiment was stamped using VersaFine Onyx Black ink and heat set using clear embossing powder for the first time. The second and third times, it was stamped using VersaMark ink and heat set again with the same clear powder. By doing this three times, it gave a super smooth, glossy finish. You may be asking why I stamped with the VersaMark for the second and third times, and that’s because I find that when heat embossing, my paper warps ever so slightly and then the stamped images don’t line up exactly. By stamping it with the VersaMark ink, you can’t even tell. Just a little hack that I like to use when I’m heat embossing an image several times. The sentiment was trimmed out several times as well to create that stacked sentiment look that I love.

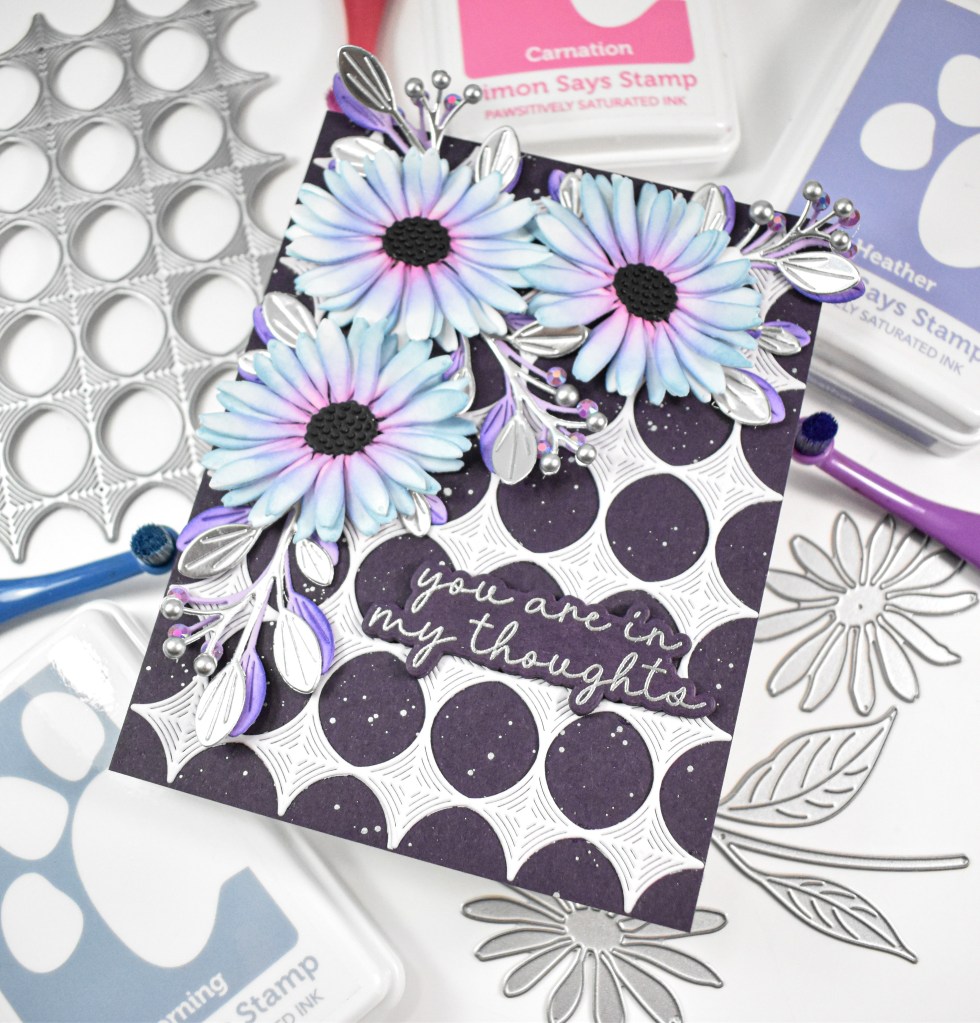
The Tall Happy was glued atop the watercolor panel, that panel was then adhered to a black panel for contrast and the sentiment was glued in place to finish up.

That does it for this one! I hope you enjoyed it! Don’t forget to swing over and check out the entire Shine On release! I’d love to know your favorites! Thanks again for joining me, and I hope you have a fabulous day!
Supply List
Affiliate links used at no cost to you. What does this mean? If you use the links within this post to make a purchase, I receive a small commission, which allows me to continue to post crafty content for your enjoyment. I truly appreciate your support!
Latest Posts
- Simon Says Stamp Grungy Dewdrop Daisy

- Simon Says Stamp Pastel Birthday Wishes

- Simon Says Stamp Best Fish

- Simon Says Stamp Circle Thanks

- Simon Says Stamp Glowing Daisies
Latest Instagram Posts