Striped Hey There Featuring Your Paper Insider

Hello Friends and thanks so much for stopping by! I’m back today with a project featuring some awesome papers from Box 11 of Your Paper Insider. If you haven’t checked them out yet, what are you waiting for?!?! It’s a super cool subscription box filled with gorgeous papers from all over the world! If you aren’t ready to commit, just go follow them on Instagram to see the gorgeous projects that people are creating!
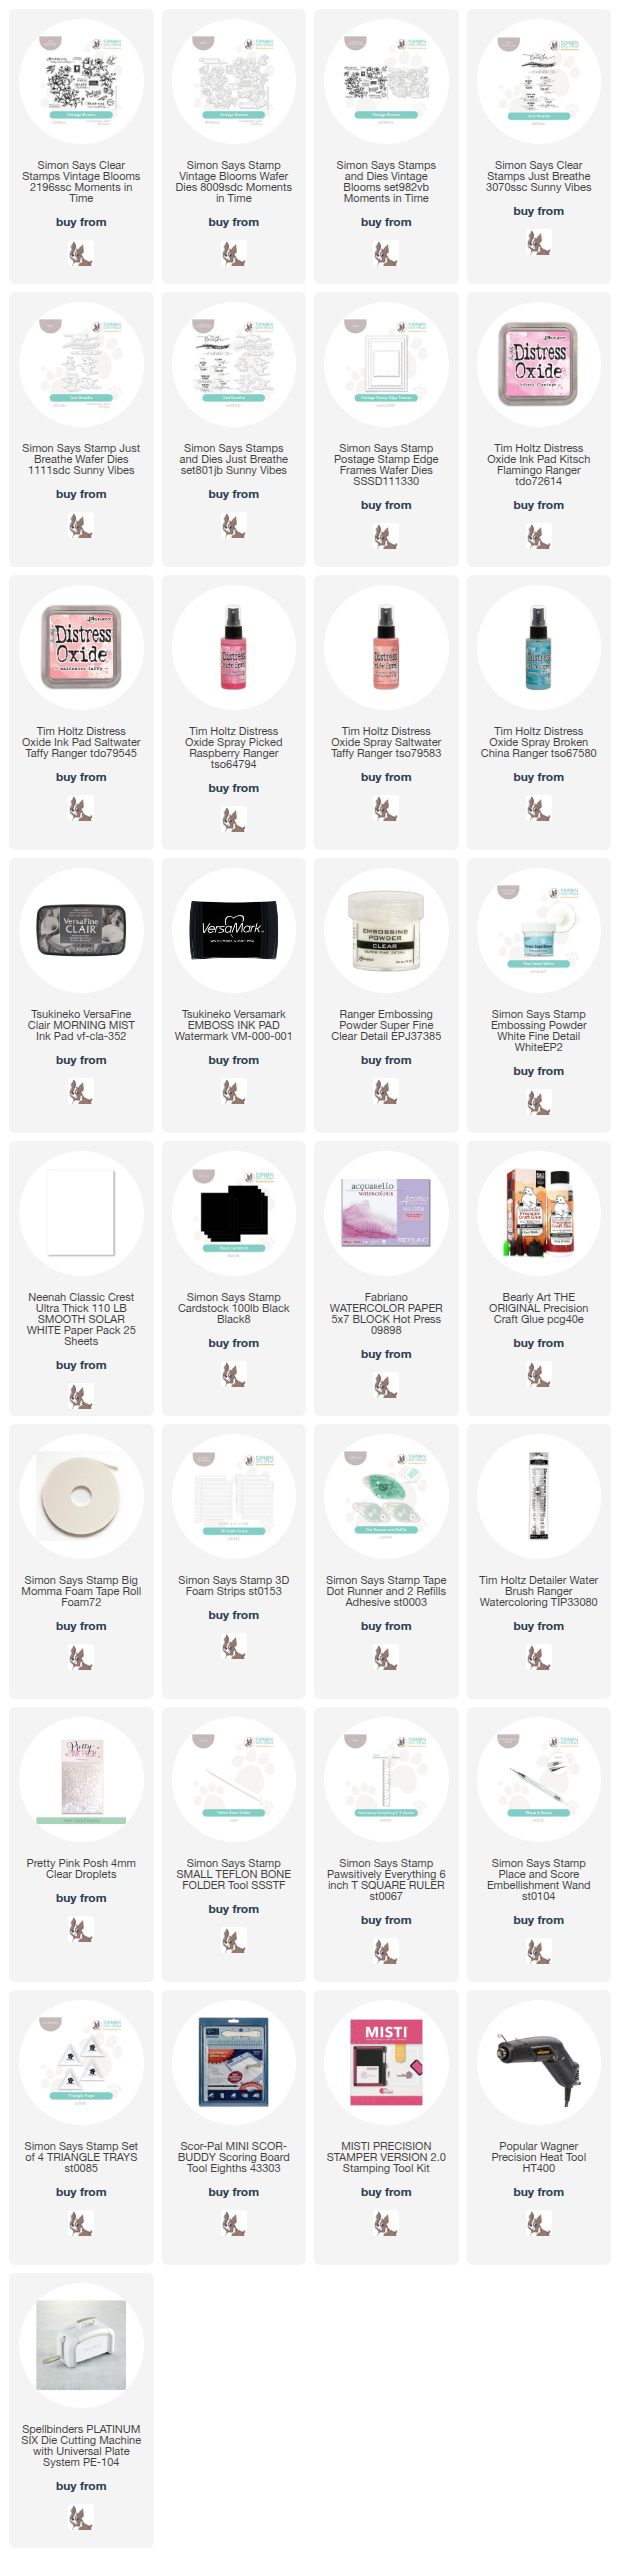
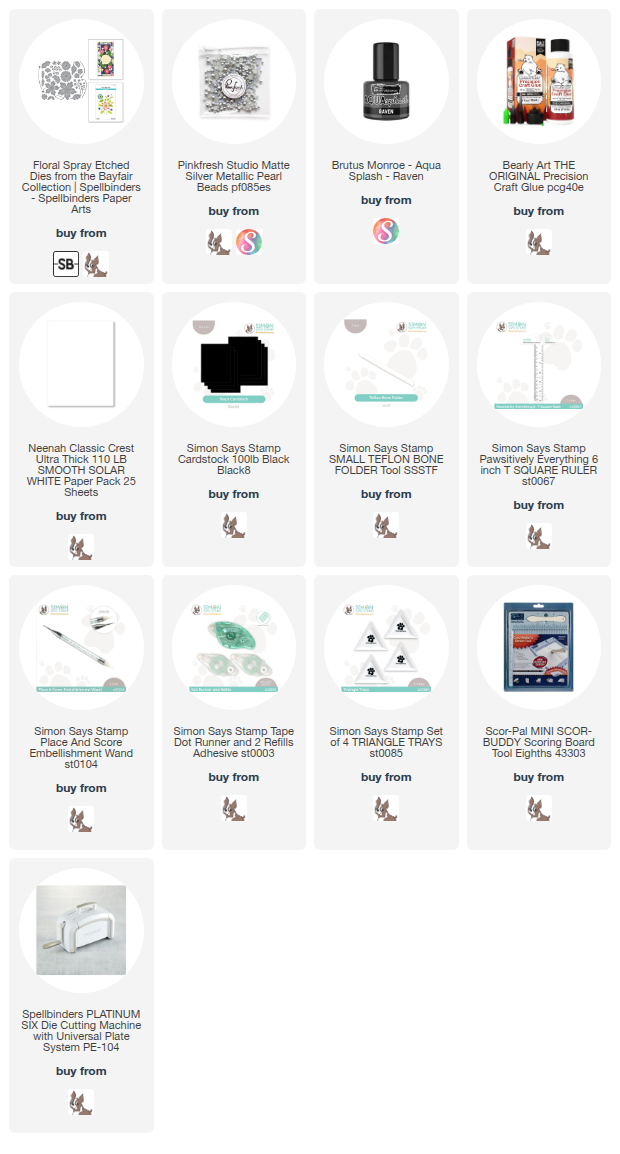
NOTE: all supplies are linked to multiple sources in the thumbnails at the end of this blog post.

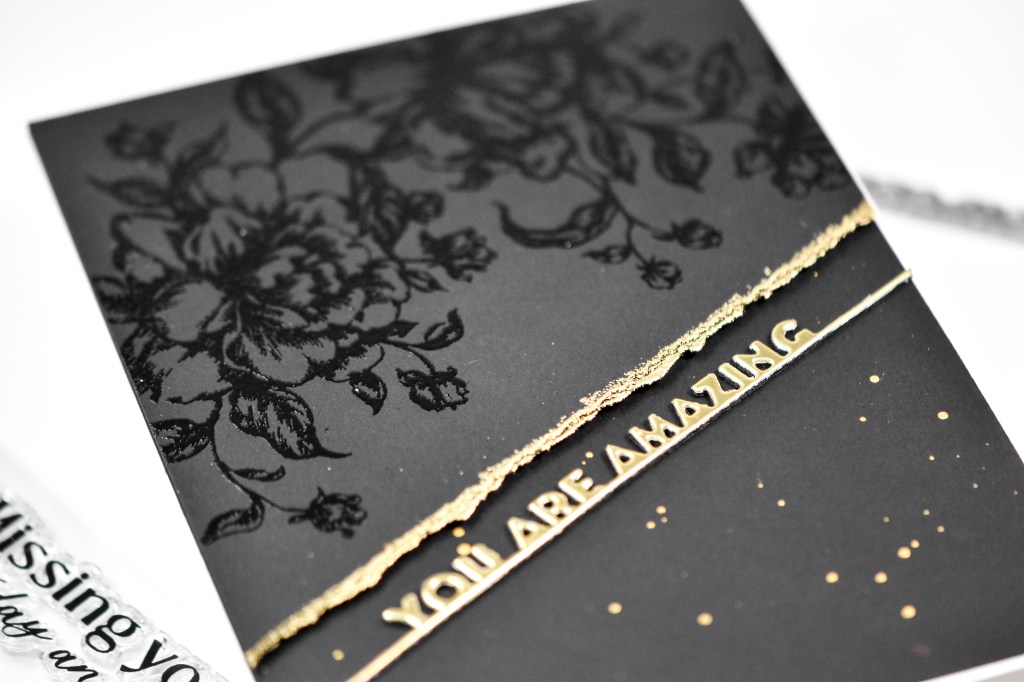
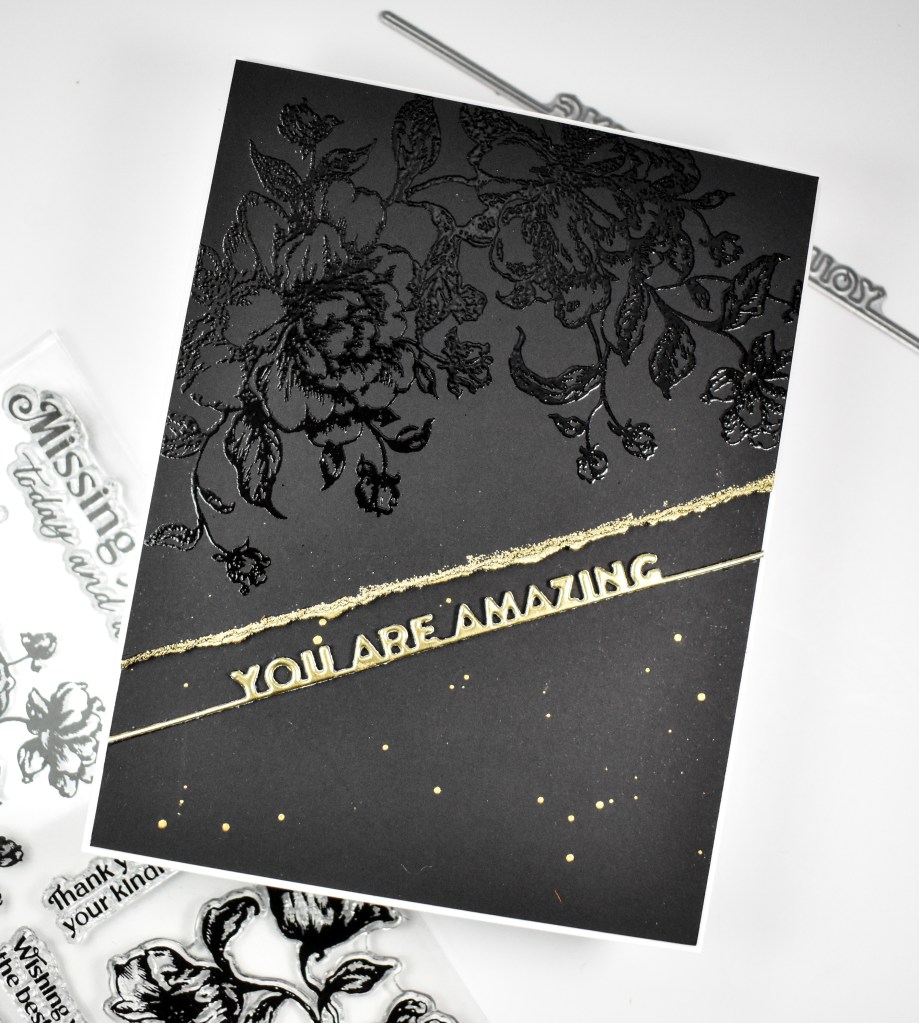
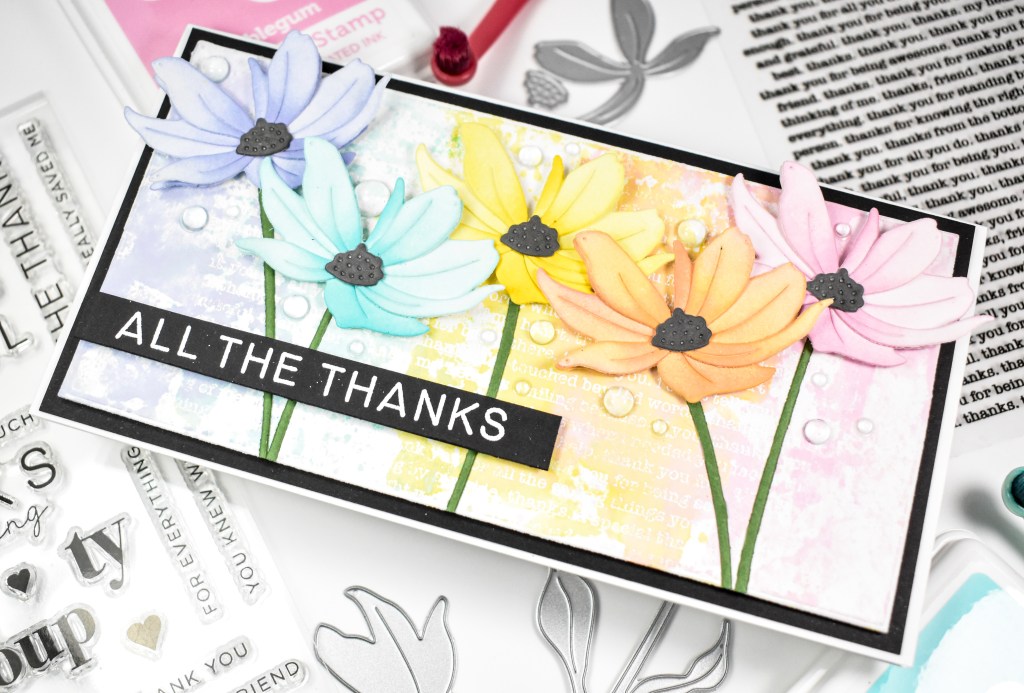
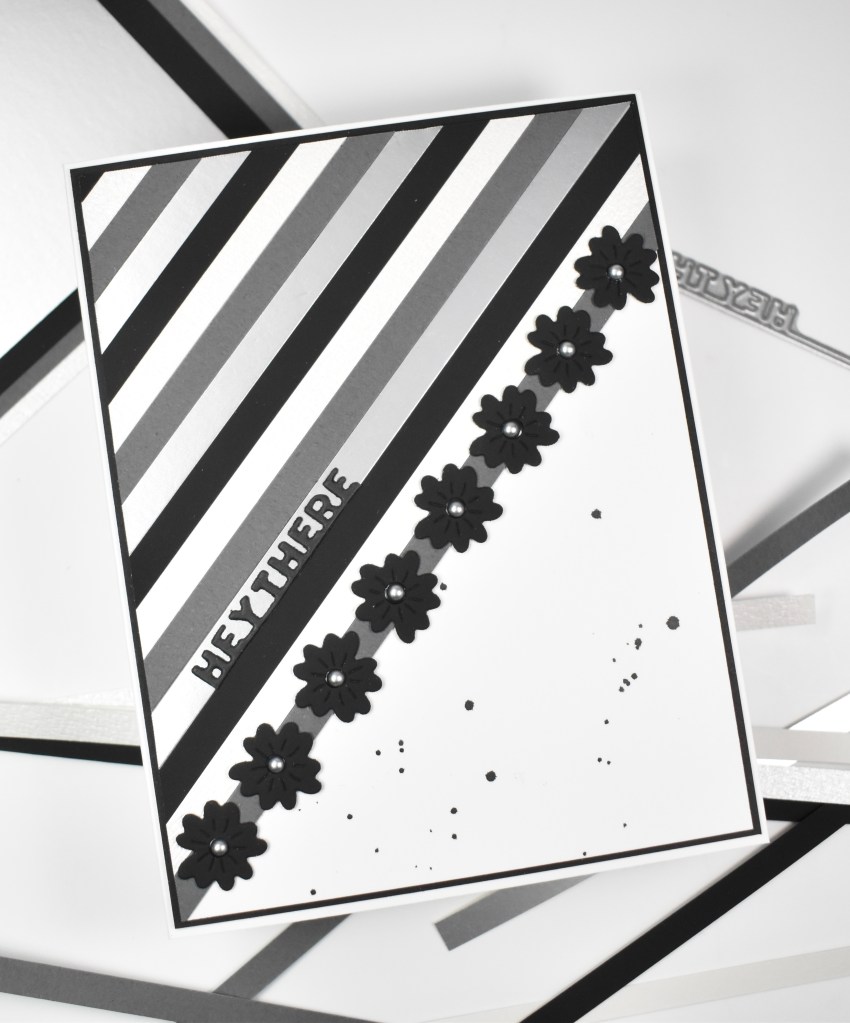
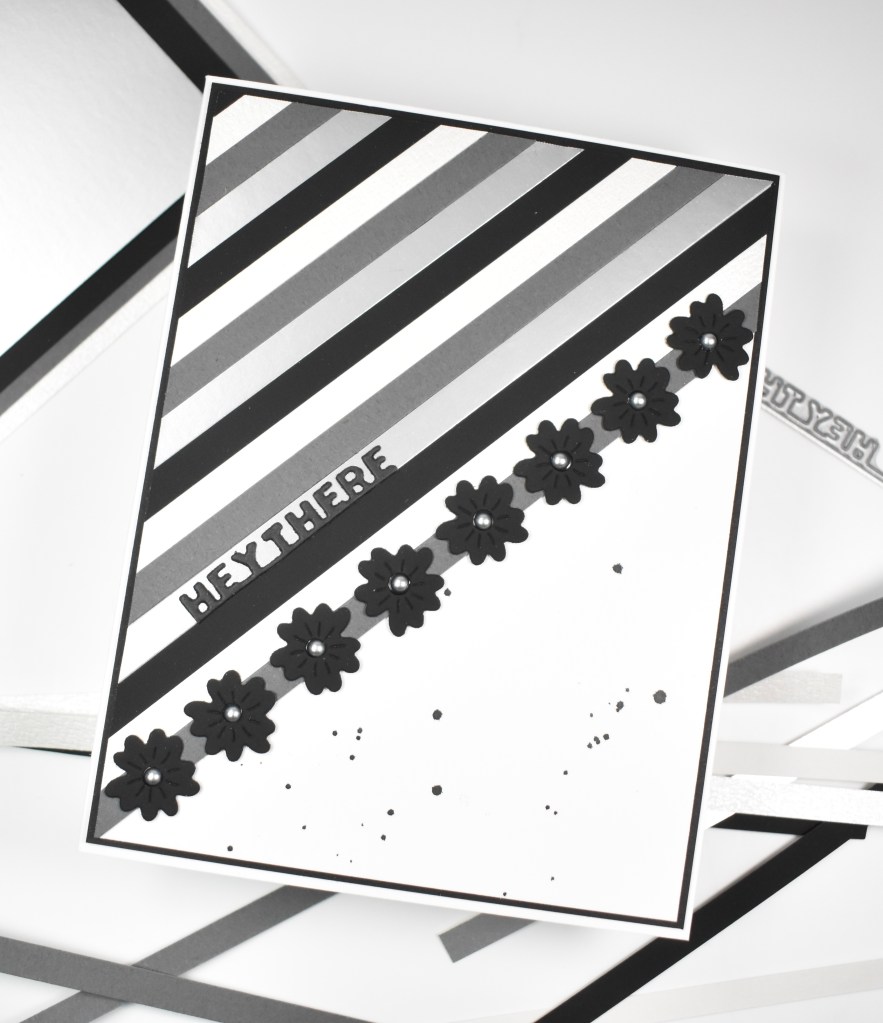
Among all of the papers in Box 11, I chose this medium grey, a matte silver and a white shimmer cardstock. There’s also a really interesting black, which is from Box 10, that feels almost like suede. I love it so much, but I think box 10 might already be sold out, unfortunately.
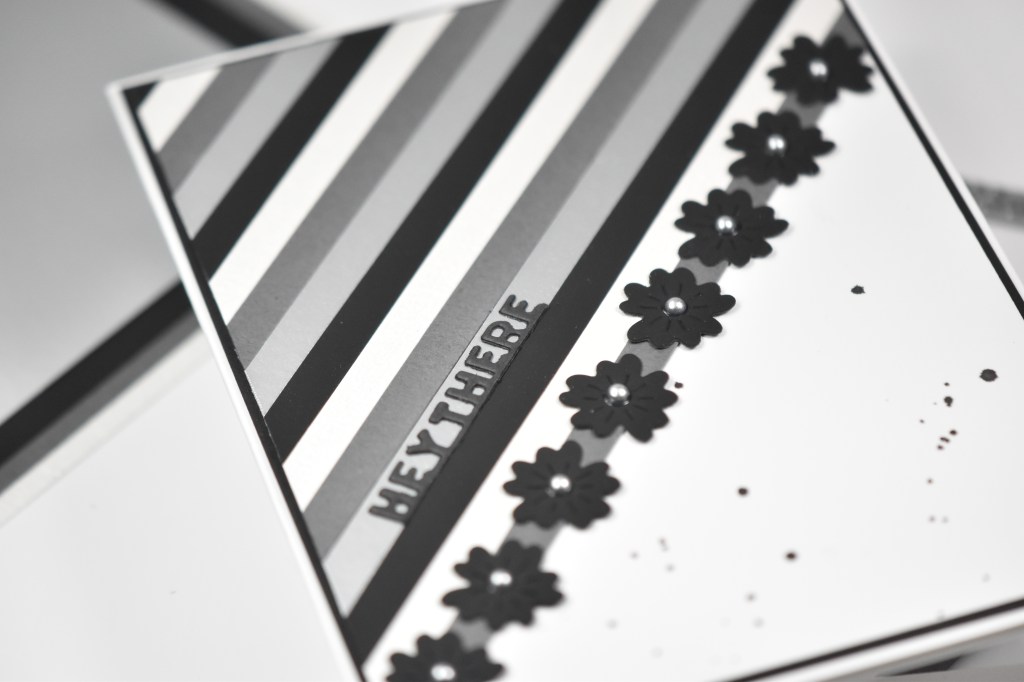
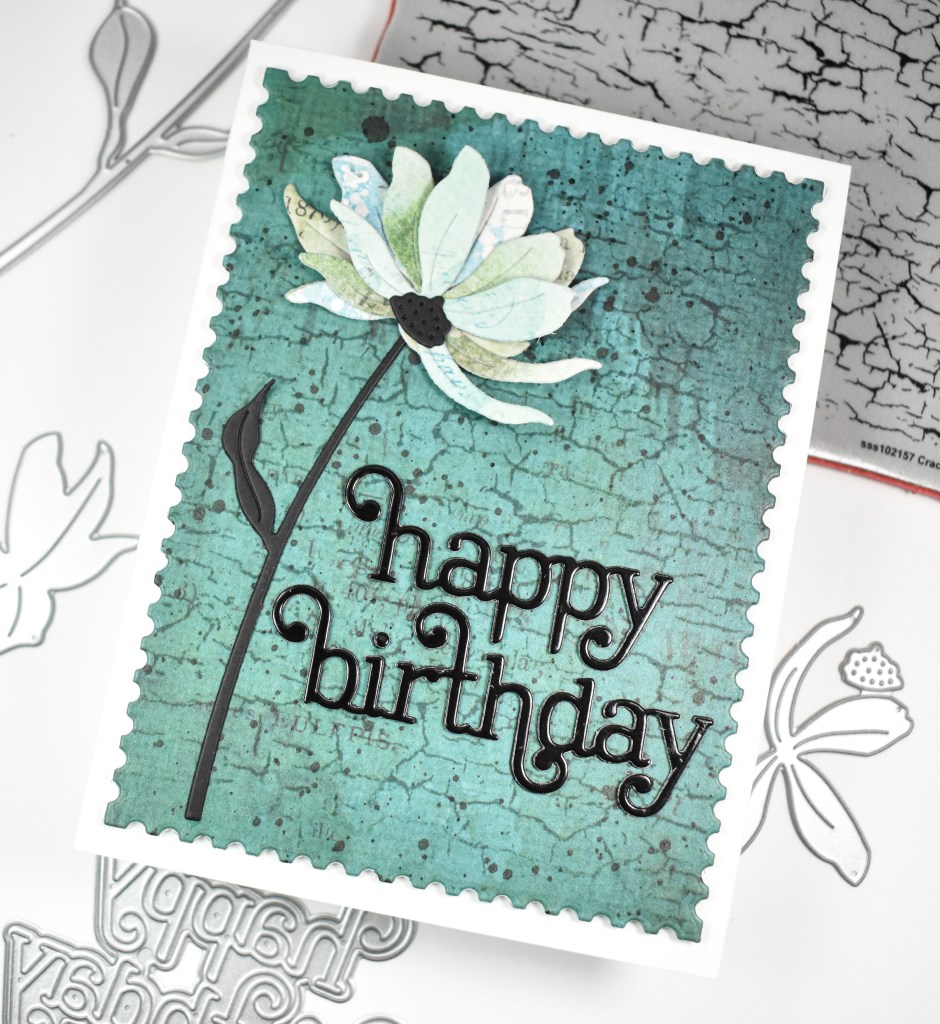
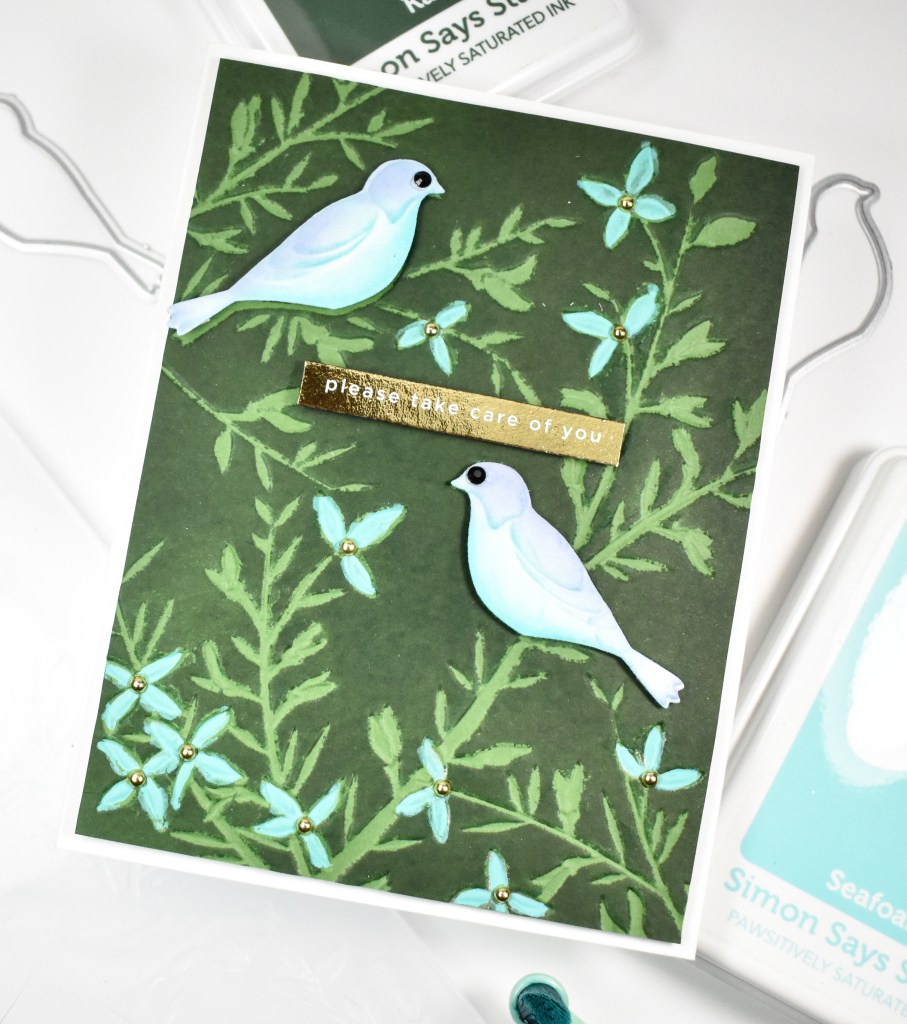
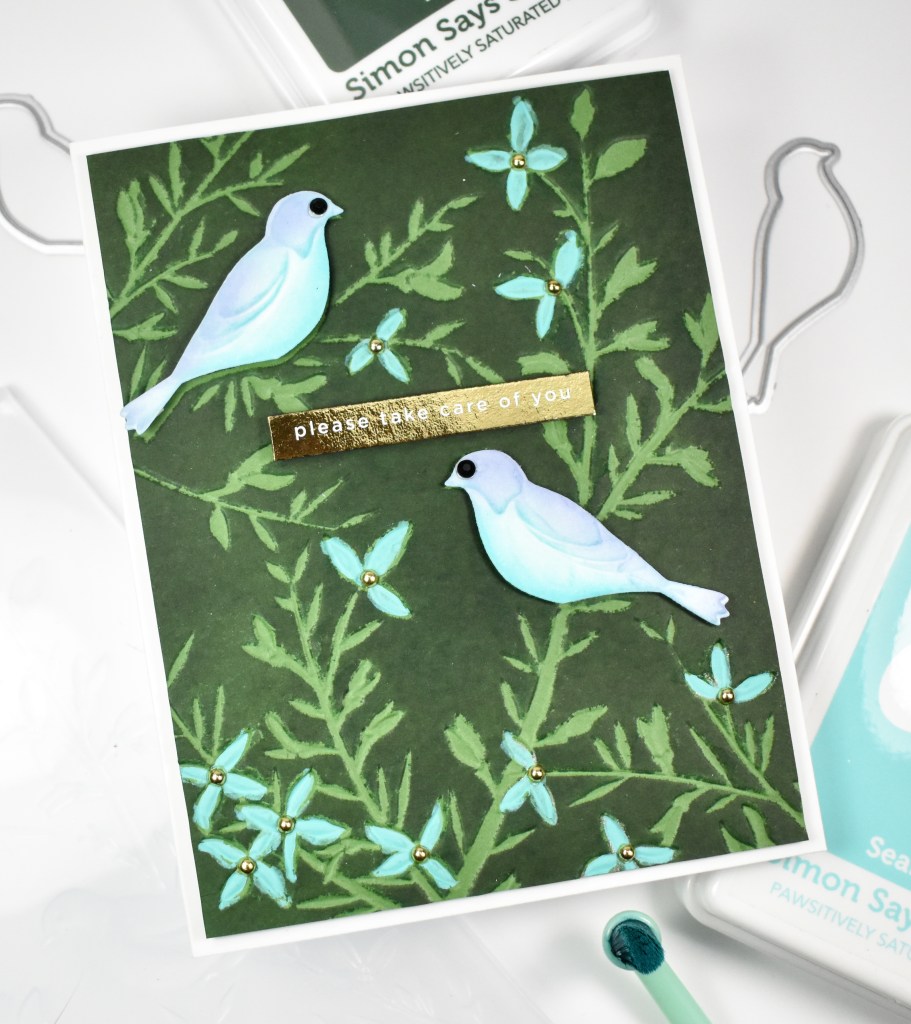
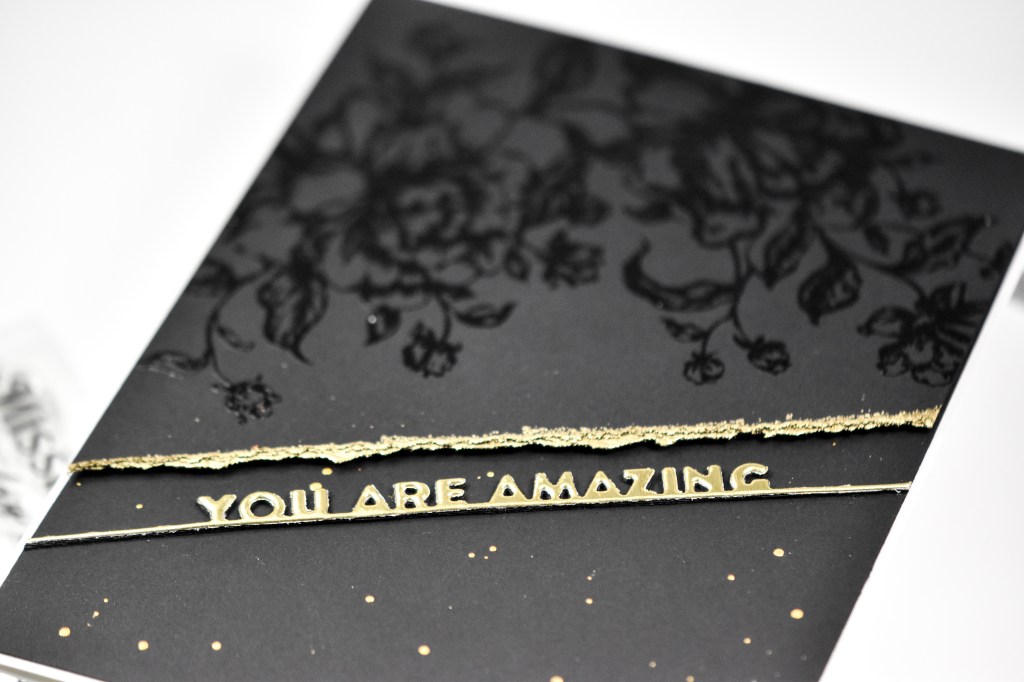
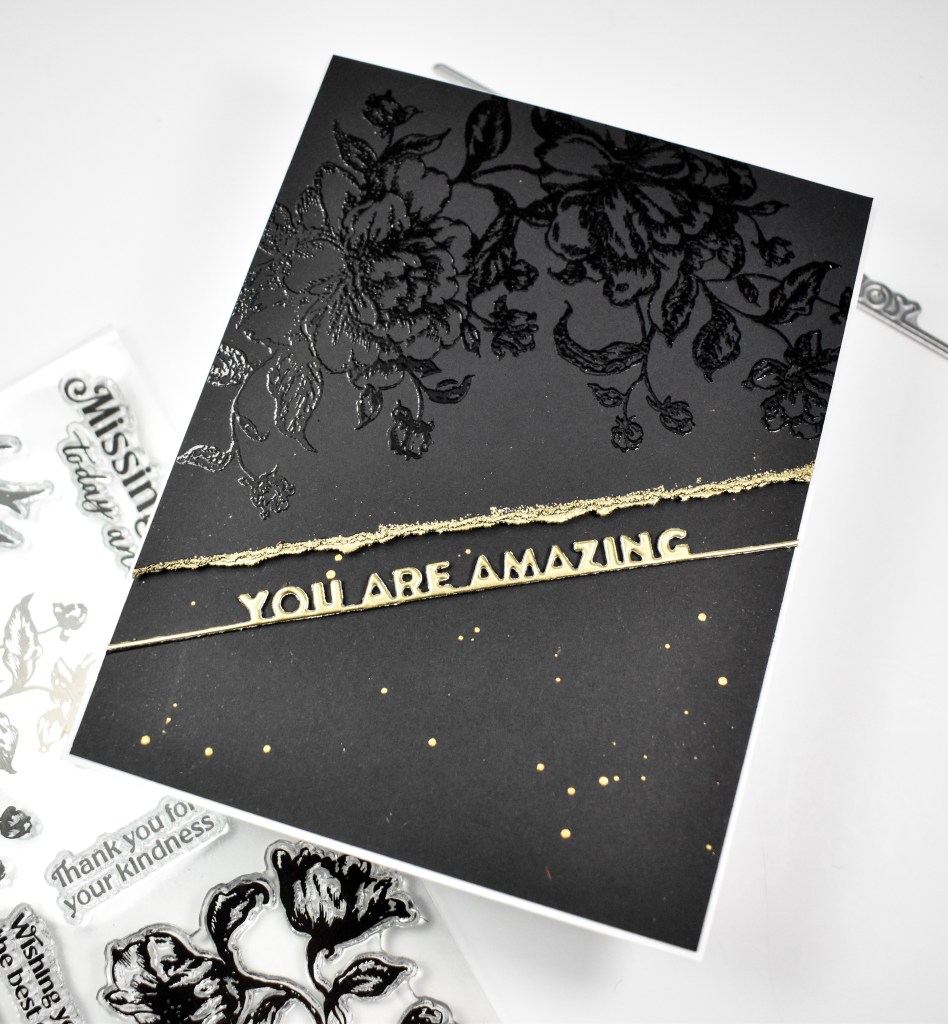
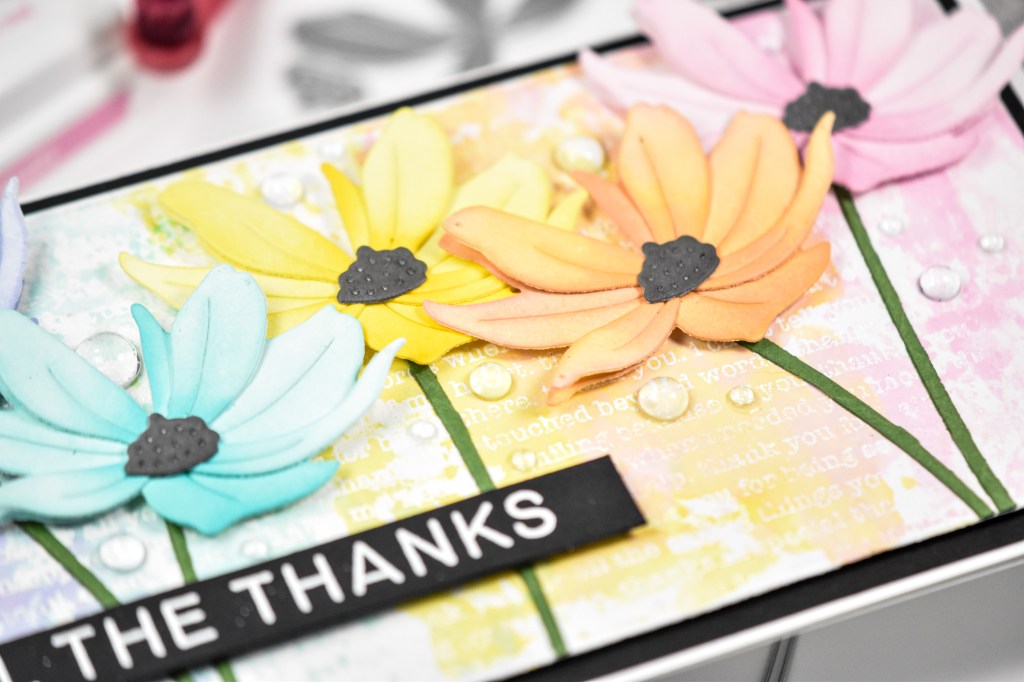
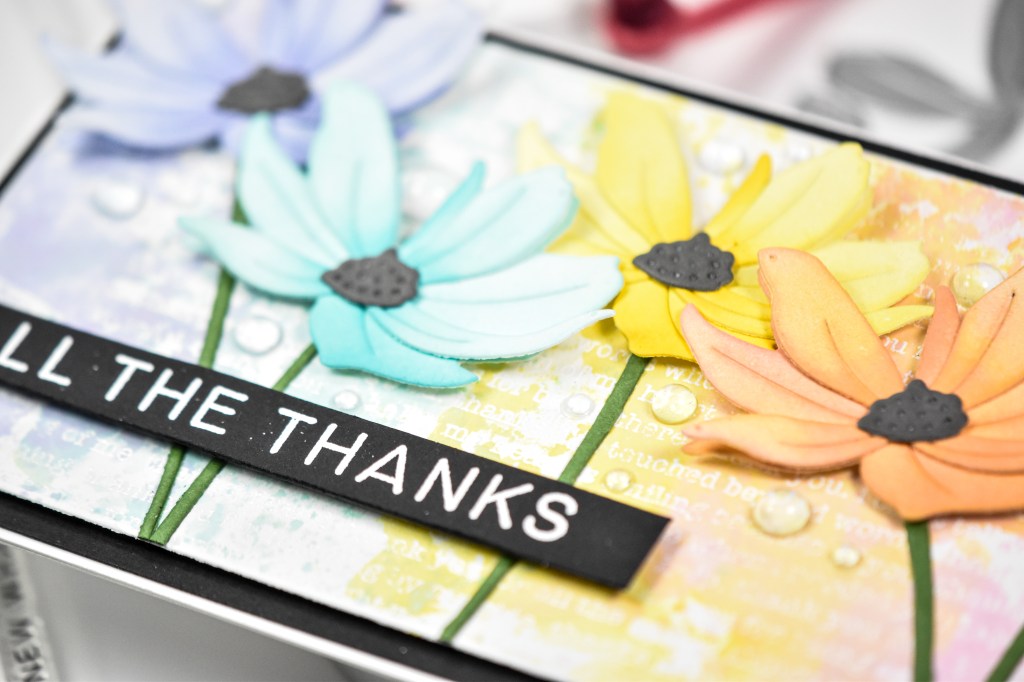
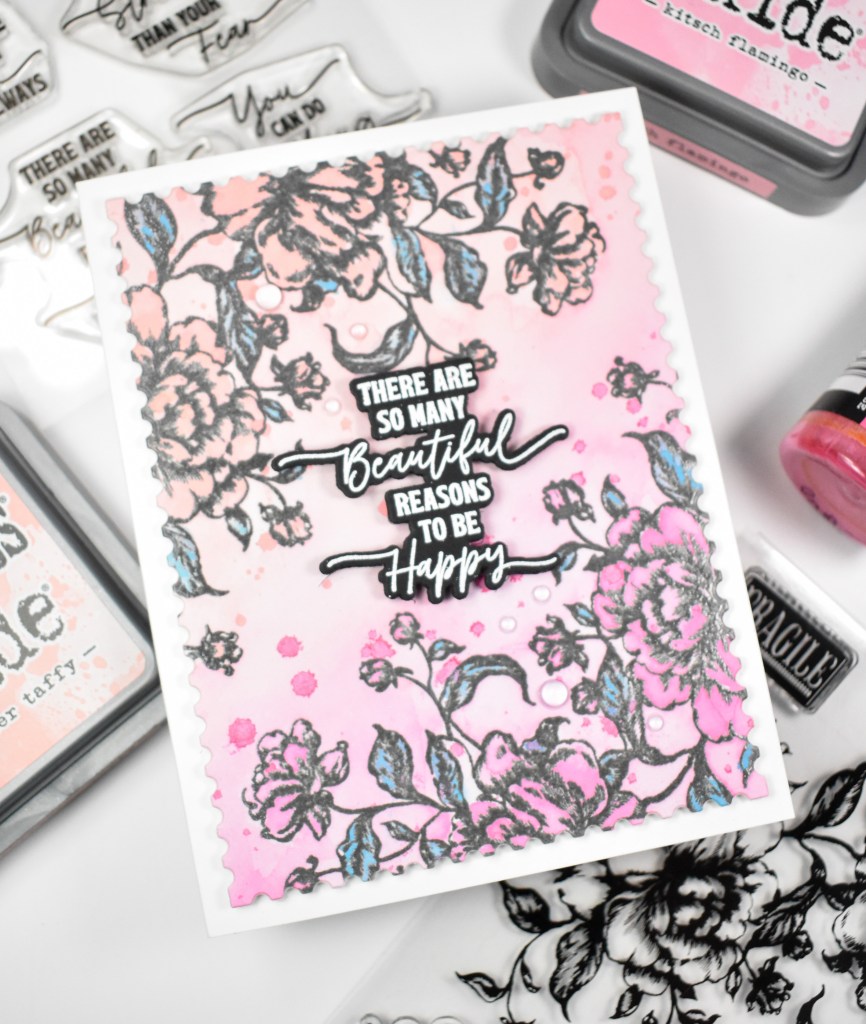
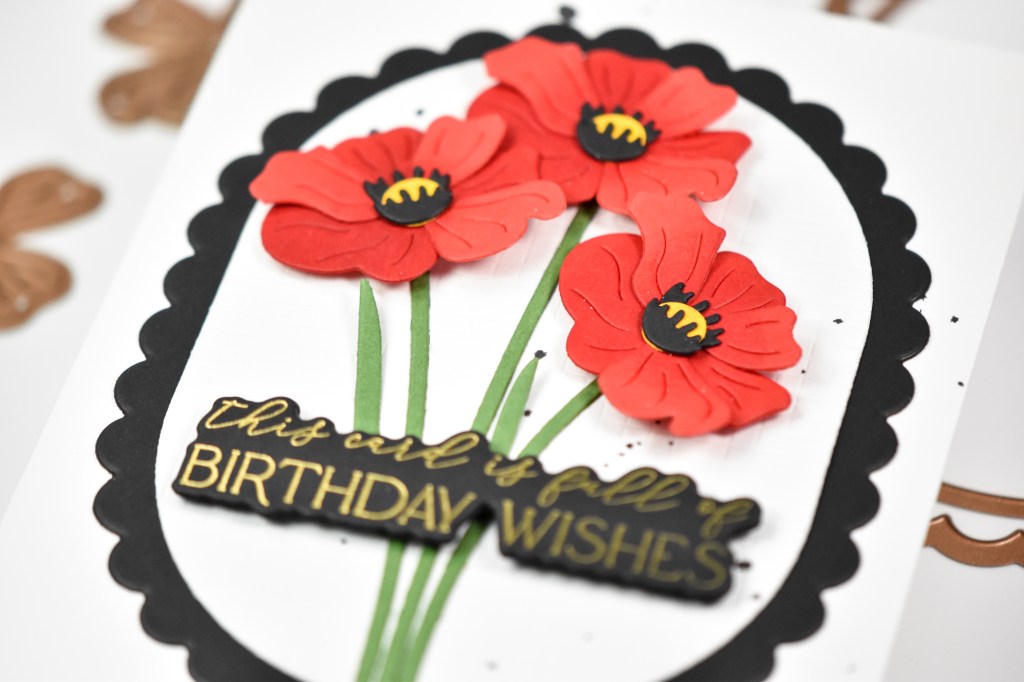
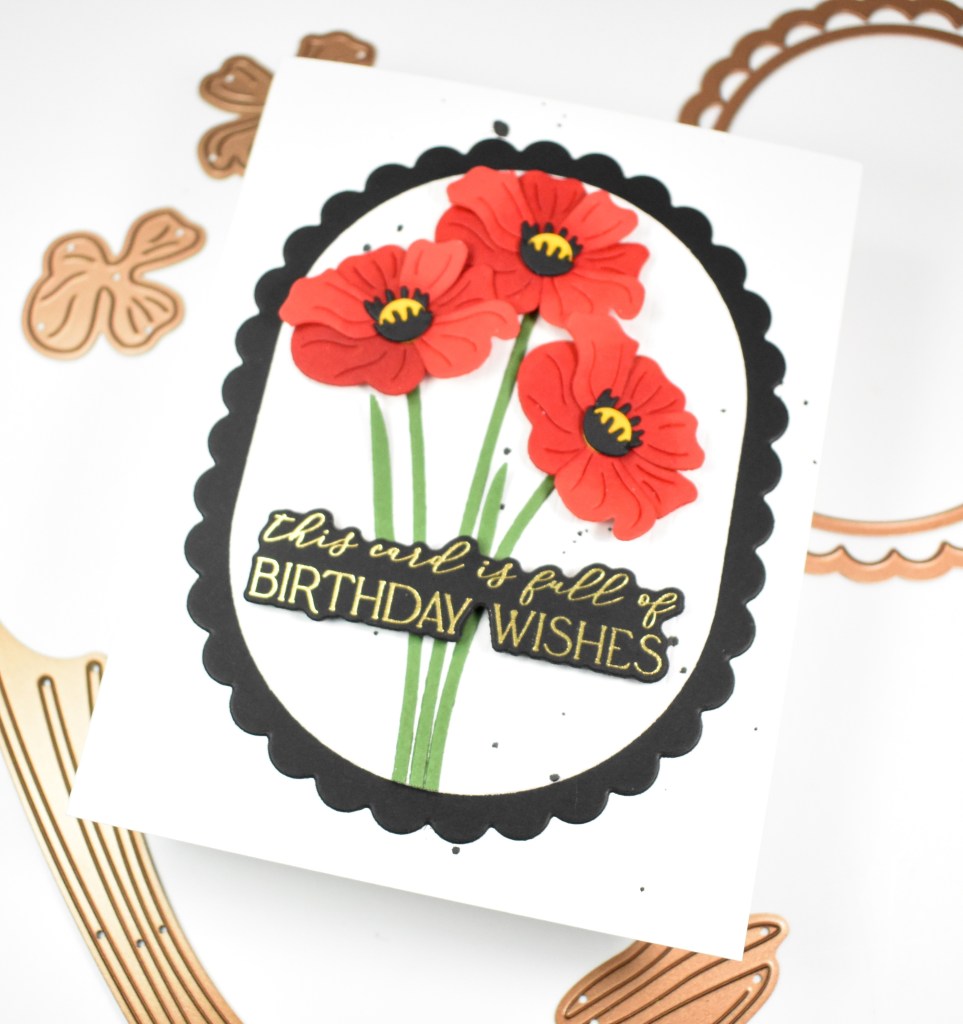
I began this project by cutting 1/4 inch strips of the chosen cardstock colors, and gluing them in place atop an already black splattered panel of Neenah 110lb cardstock. I die cut several small flowers using the “suede” type cardstock and the Spellbinders Floral Spray set. I adhered those along the bottom stripe of color and added a matte silver pearl to the centers of the flowers. The sentiment, which is from the Everyday Words on a Line set, was cut from regular black cardstock and glued directly to the panel. Unfortunately, this sentiment set has been discontinued, but any small sentiment would work fine.
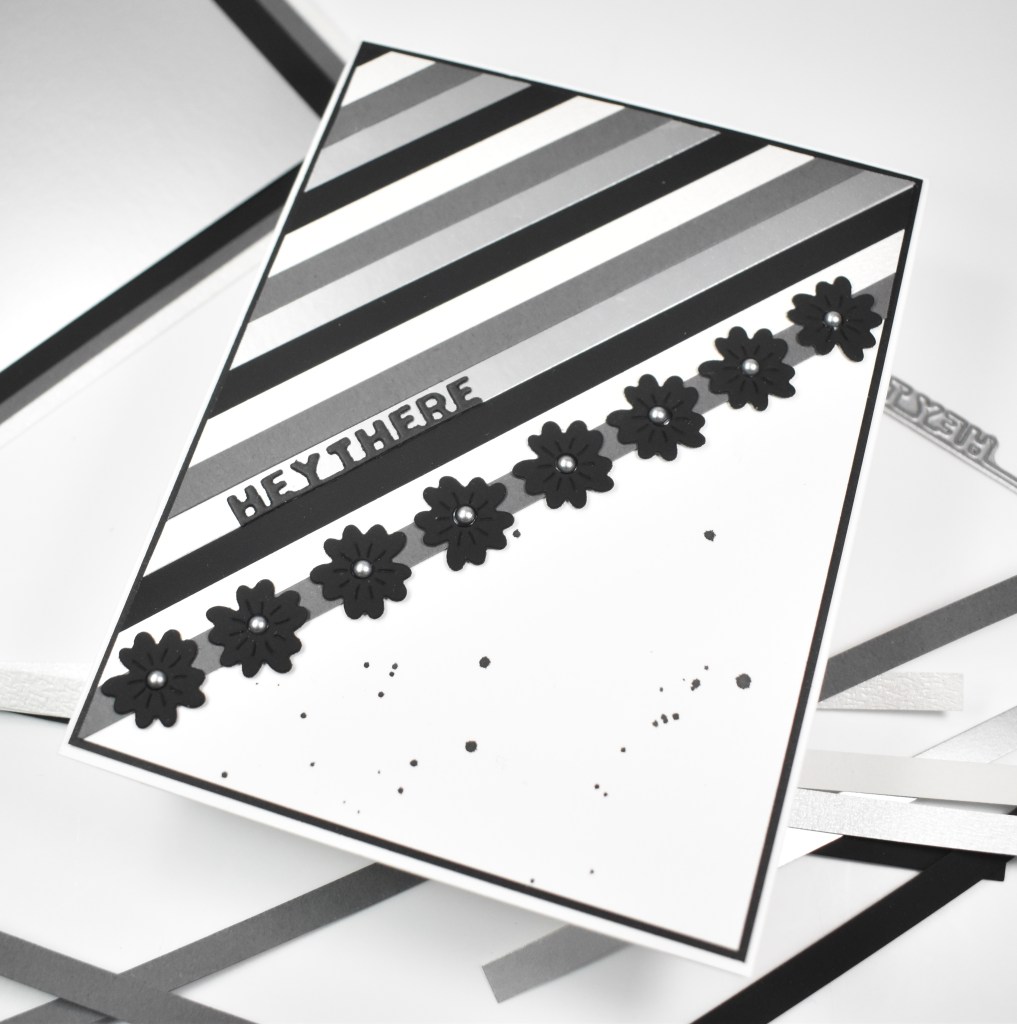

Everything was then secured to a black panel before being adhered to the card base, and that finishes up this project! I hope you enjoyed it! Don’t forget to check out Your Paper Insider, and give them a follow on Instagram to see some awesome projects from various makers. Thanks for stopping by, and have a great day!
Supply List
Affiliate links used at no cost to you. What does this mean? If you use the links within this post to make a purchase, I receive a small commission, which allows me to continue to post crafty content for your enjoyment. I truly appreciate your support!
Latest Posts
- Simon Says Stamp Braided Greetings

- Together By Design Color Cube Floral

- Simon Says Stamp Cute Duckling

- Simon Says Stamp Watercolor Wild Rose

- Simon Says Stamp Striped Missing You

Latest Instagram Posts