Simon Says Stamp Hip Hip Hooray

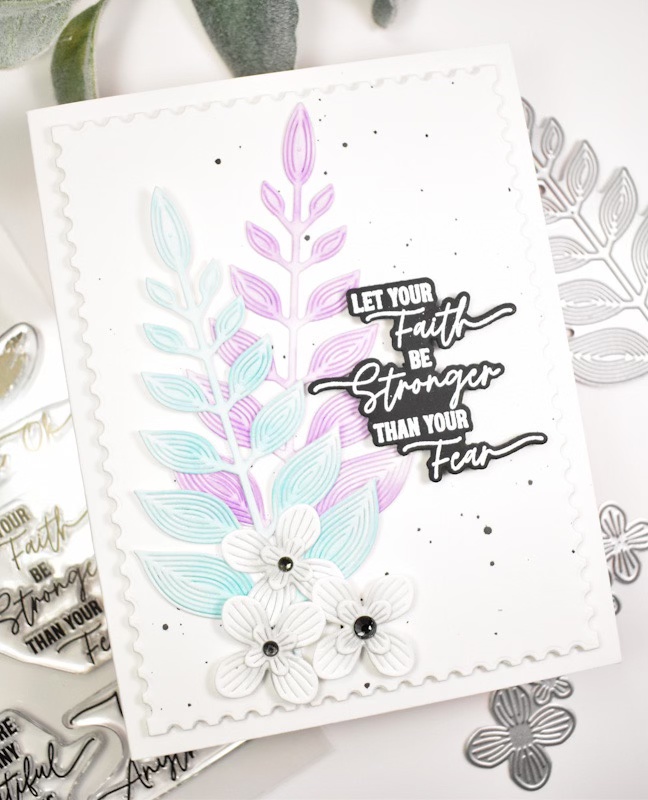
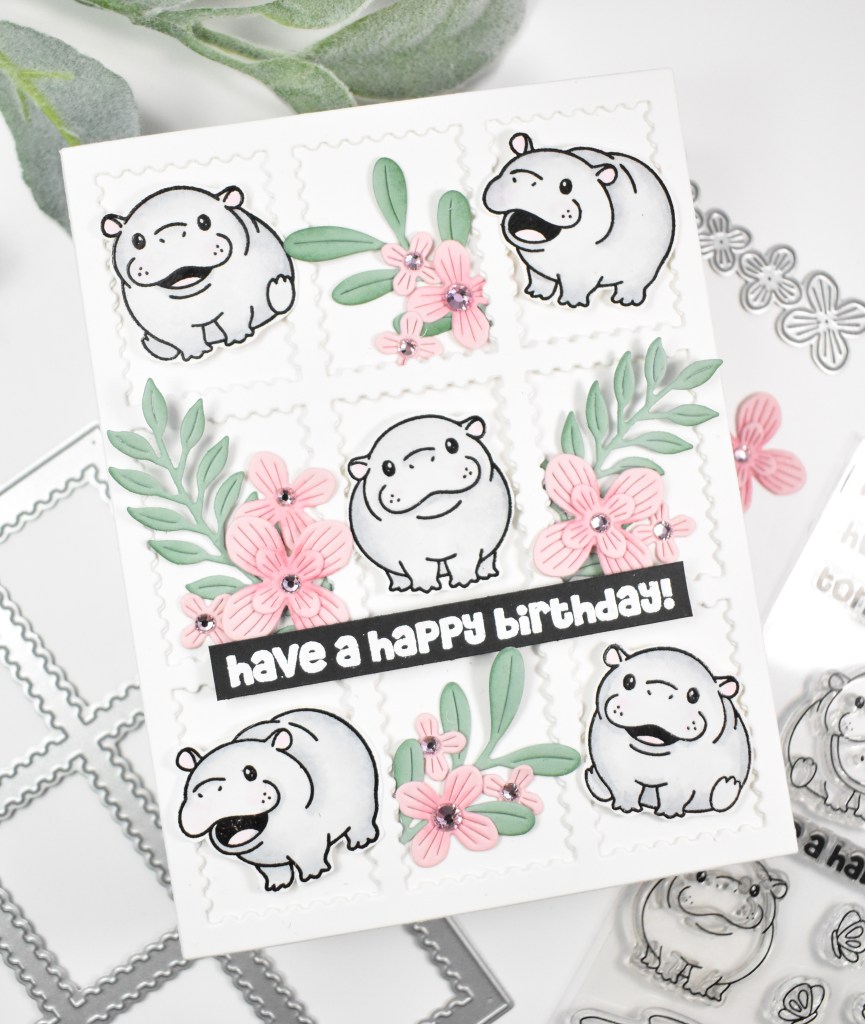
Hello Crafty Friends, and welcome back! The latest release from Simon Says Stamp, Favorite Things, is live and I’m back today with a project featuring the new Hip Hip Hooray set. Let’s go ahead and jump into the details, shall we?

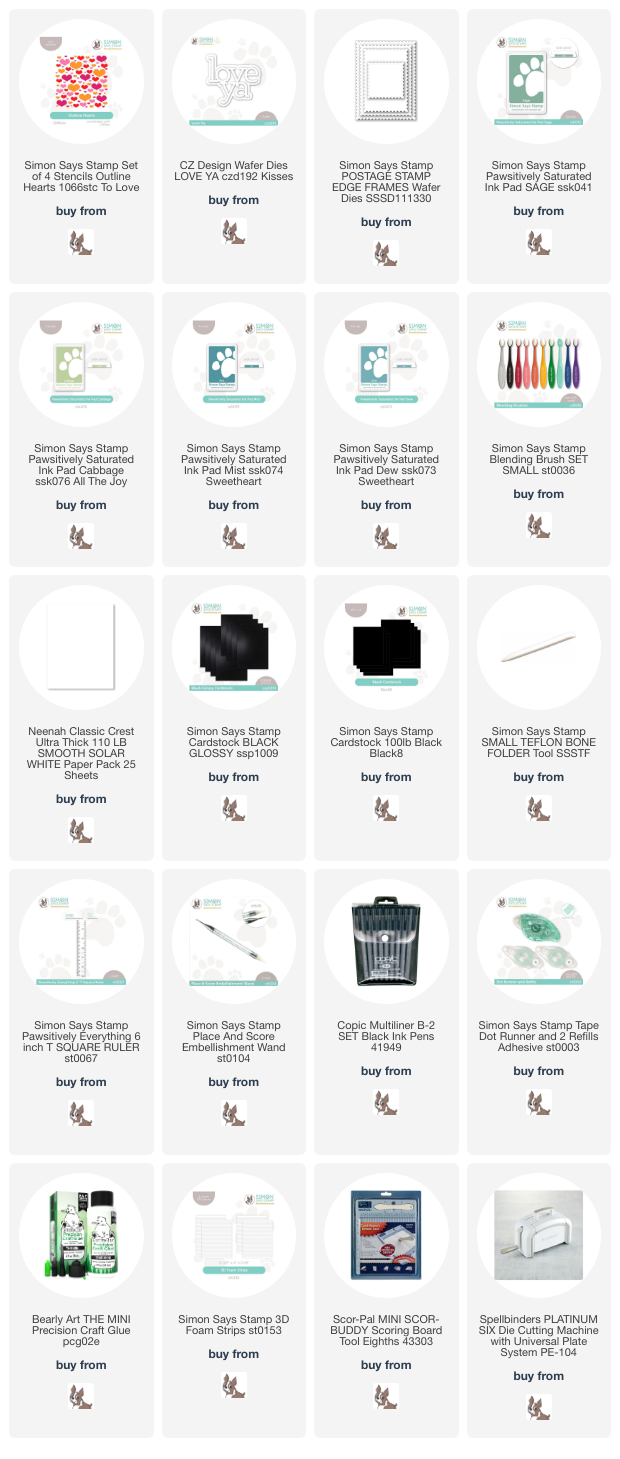
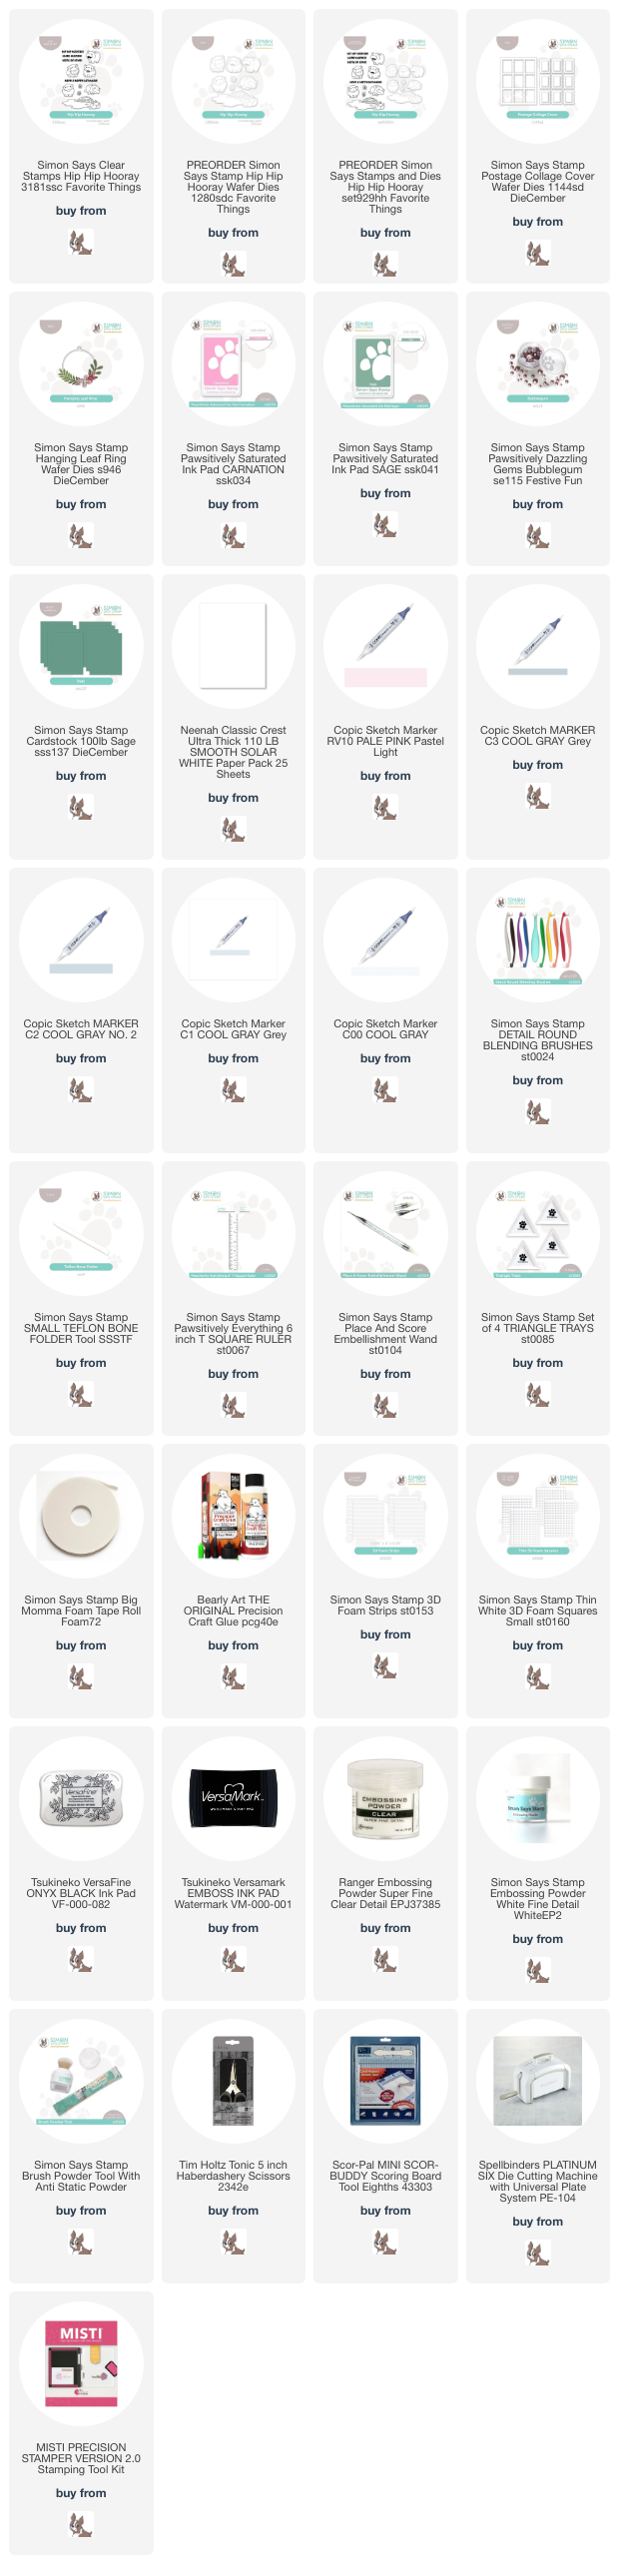
NOTE: all supplies are linked in the thumbnails at the end of this blog post.

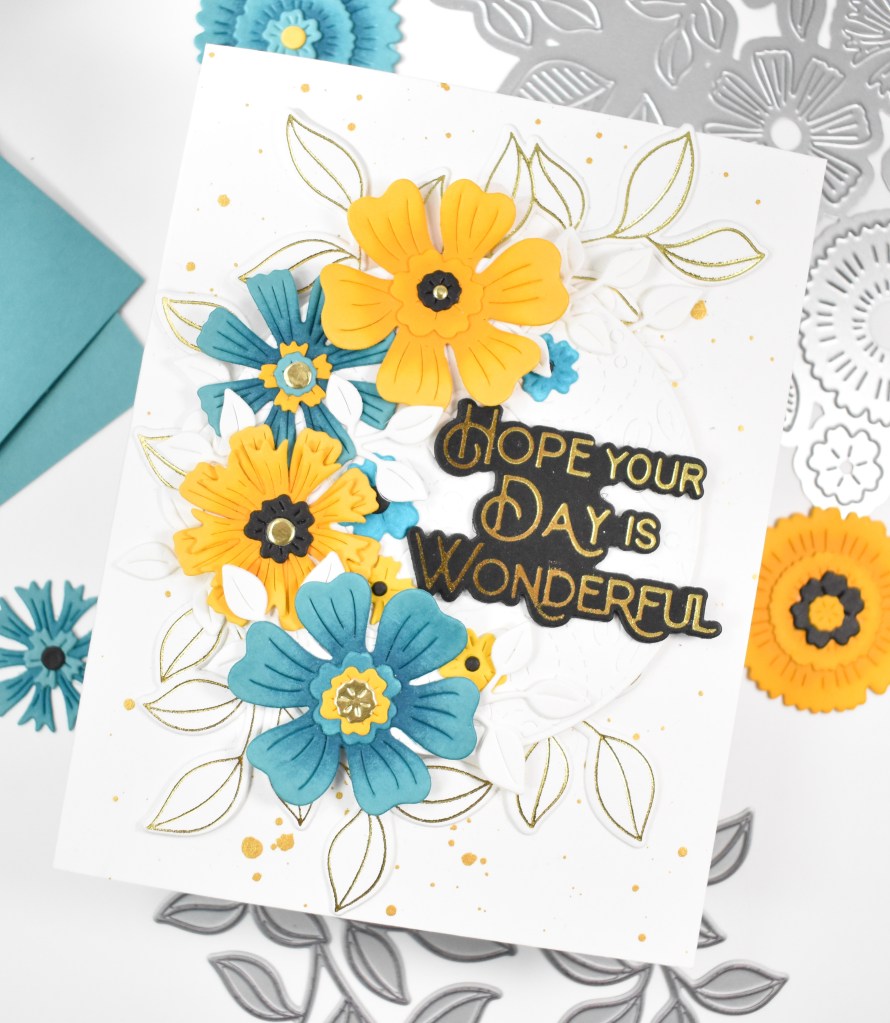
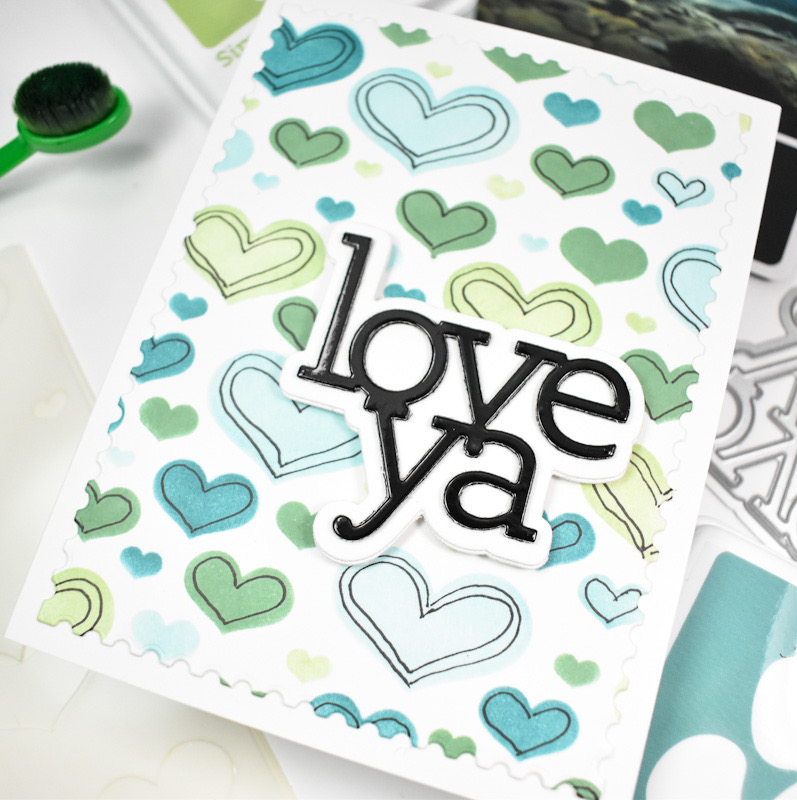
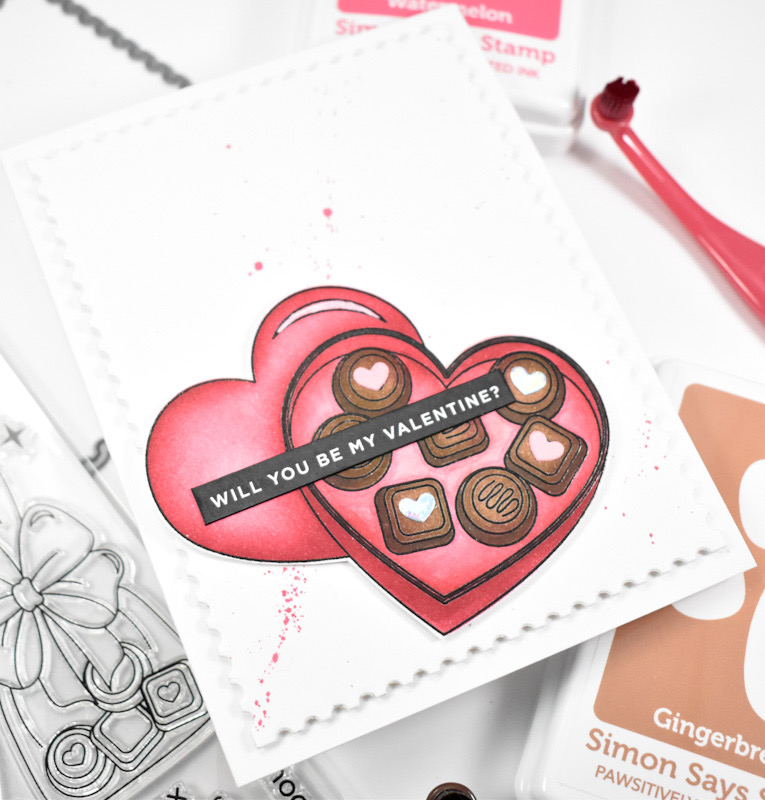
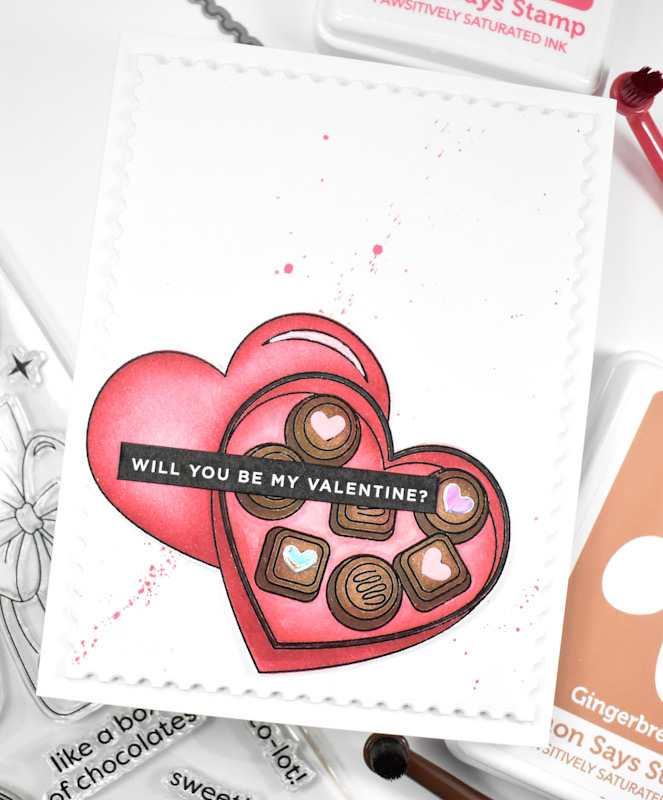
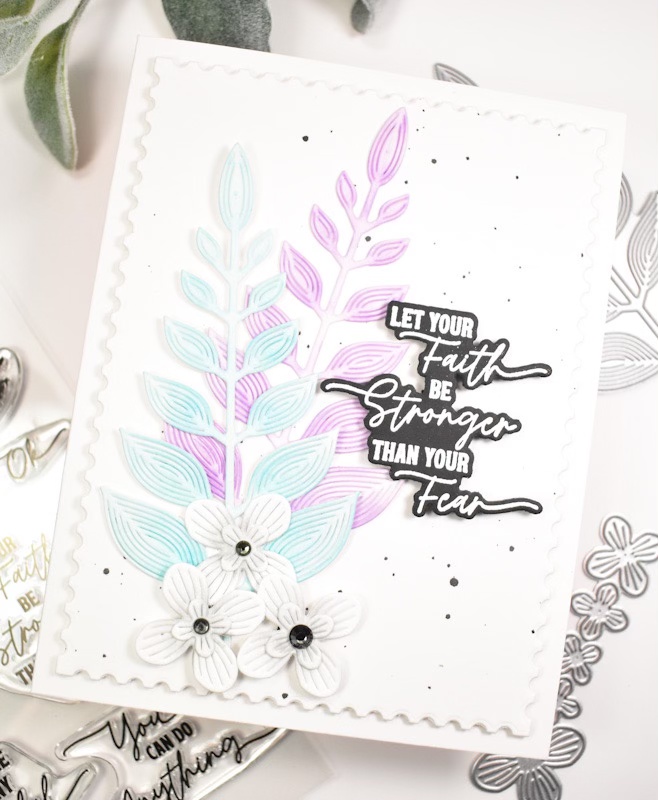
I began this project by stamping some of the hippos using VersaFine Onyx Black ink and heat setting that with Ranger Clear Embossing Powder. I then used Copic Markers C00, C1, C2, C3 and RV10 to add color to the hippos. I then fussy cut the images and went to work on the rest of the card.

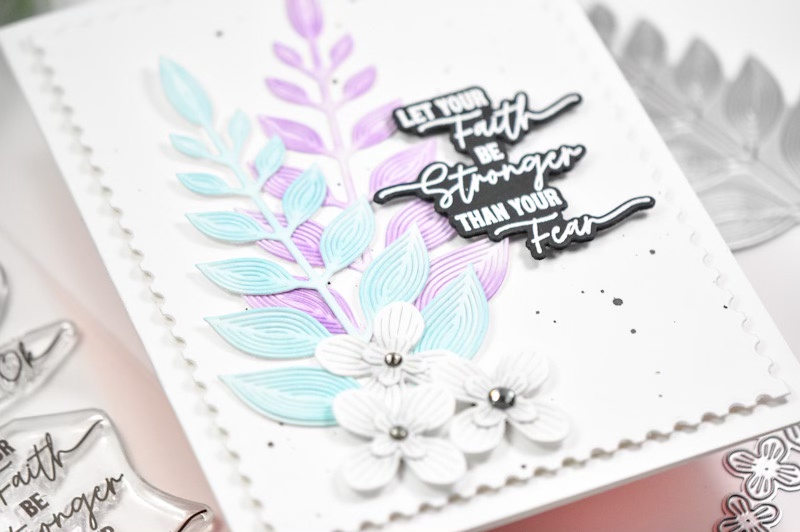
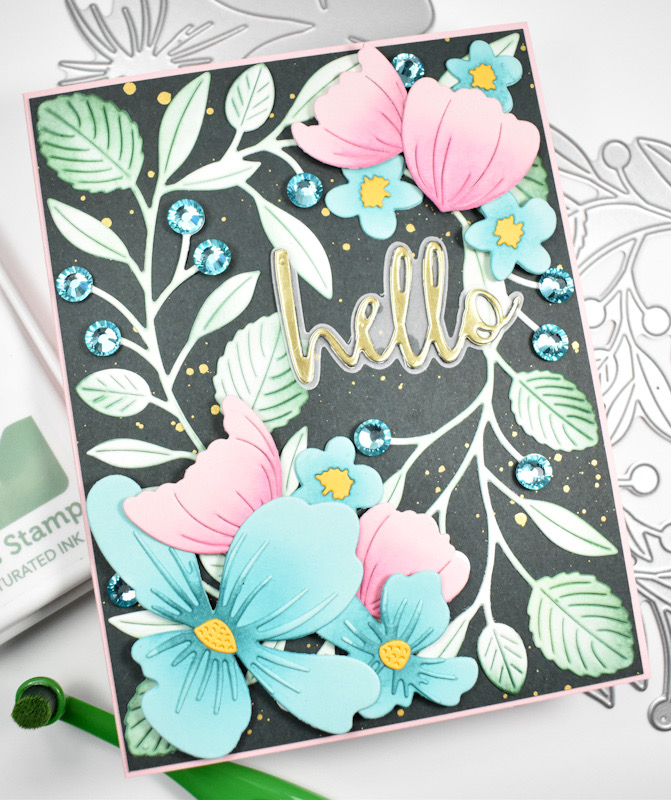
The Postage Collage Cover was cut twice from Neenah 110lb cardstock and adhered together for a little bit of a stacked look. That was then adhered to my card base using liquid glue, and I went ahead and die cut the flowers and leaves from the Hanging Leaf Ring set from Sage and Neenah cardstock. I did do some light ink blending on these pieces using Carnation and Sage inks as well.

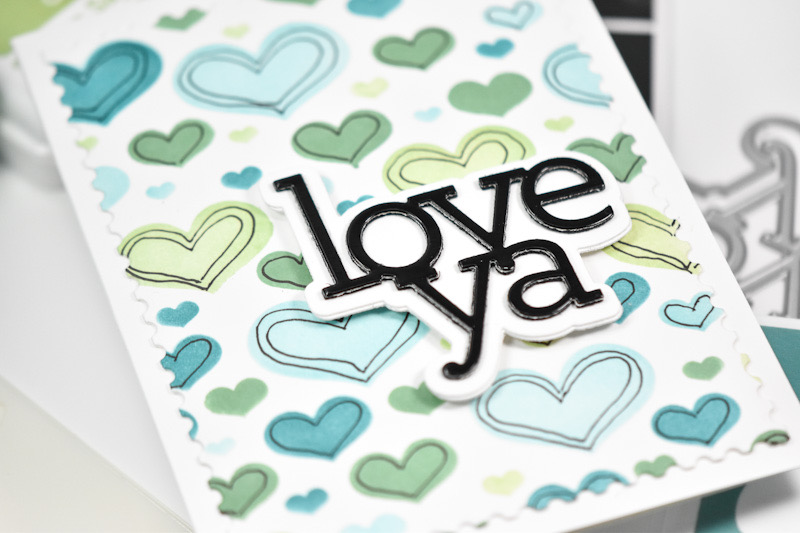
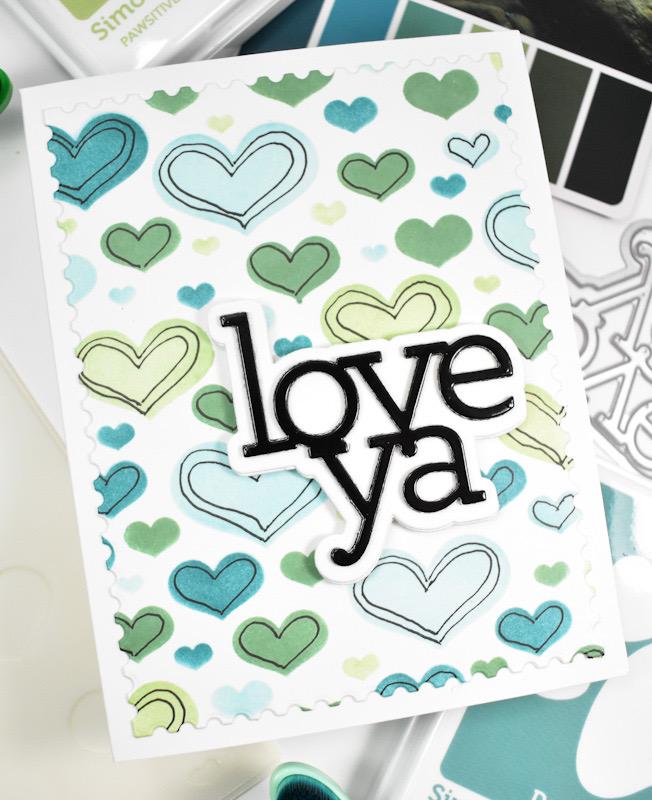
Once the ink blending was complete, I assembled the flowers and added Bubblegum Dazzling Gems to the centers. The sentiment, which is from the Hip Hip Hooray set, was stamped with VersaMark ink and heat set using SSS Detail White Embossing Powder. This was then cut into a strip with foam strips added to the back of it. The hippos were adhered using foam tape while the flowers and leaves were adhered with a combination of glue and foam squares. The sentiment was secured in place to finish up.

That does it for this project! I hope you enjoyed it! I don’t normally do cutesy cards, because I don’t feel that I’m very good at those types of cards, but this card makes me smile, so I’m counting that as a win! Don’t forget to check out the entire Favorite Things release over on Simon’s website! Thanks again for joining me, and I hope you have an amazing day!
Supply List
Affiliate links used at no cost to you. What does this mean? If you use the links within this post to make a purchase, I receive a small commission, which allows me to continue to post crafty content for your enjoyment. I truly appreciate your support!
Latest Posts
- Simon Says Stamp Tattered Florals

- Simon Says Stamp Amazing Floral

- Simon Says Stamp Friendly Butterflies

- Simon Says Stamp Graceful Hugs

- Simon Says Stamp Hello Butterflies

Latest Instagram Posts