Spellbinders Lush Birthday

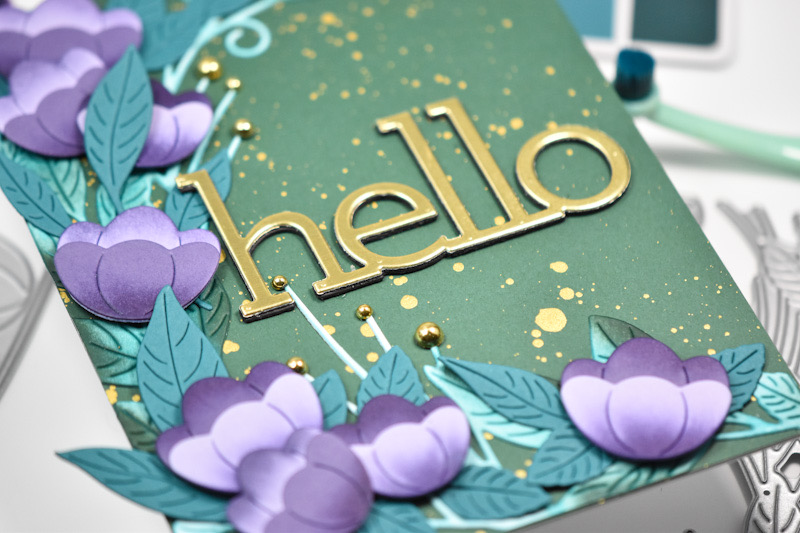
Hello! Hello! Thanks so much for joining me for today’s project featuring the new Lush Leaves 3D Embossing Folder from Spellbinders. For my first go with this folder, I had to pair it with the traditional green just to get a feel for it. Let’s run through the deets for this one!

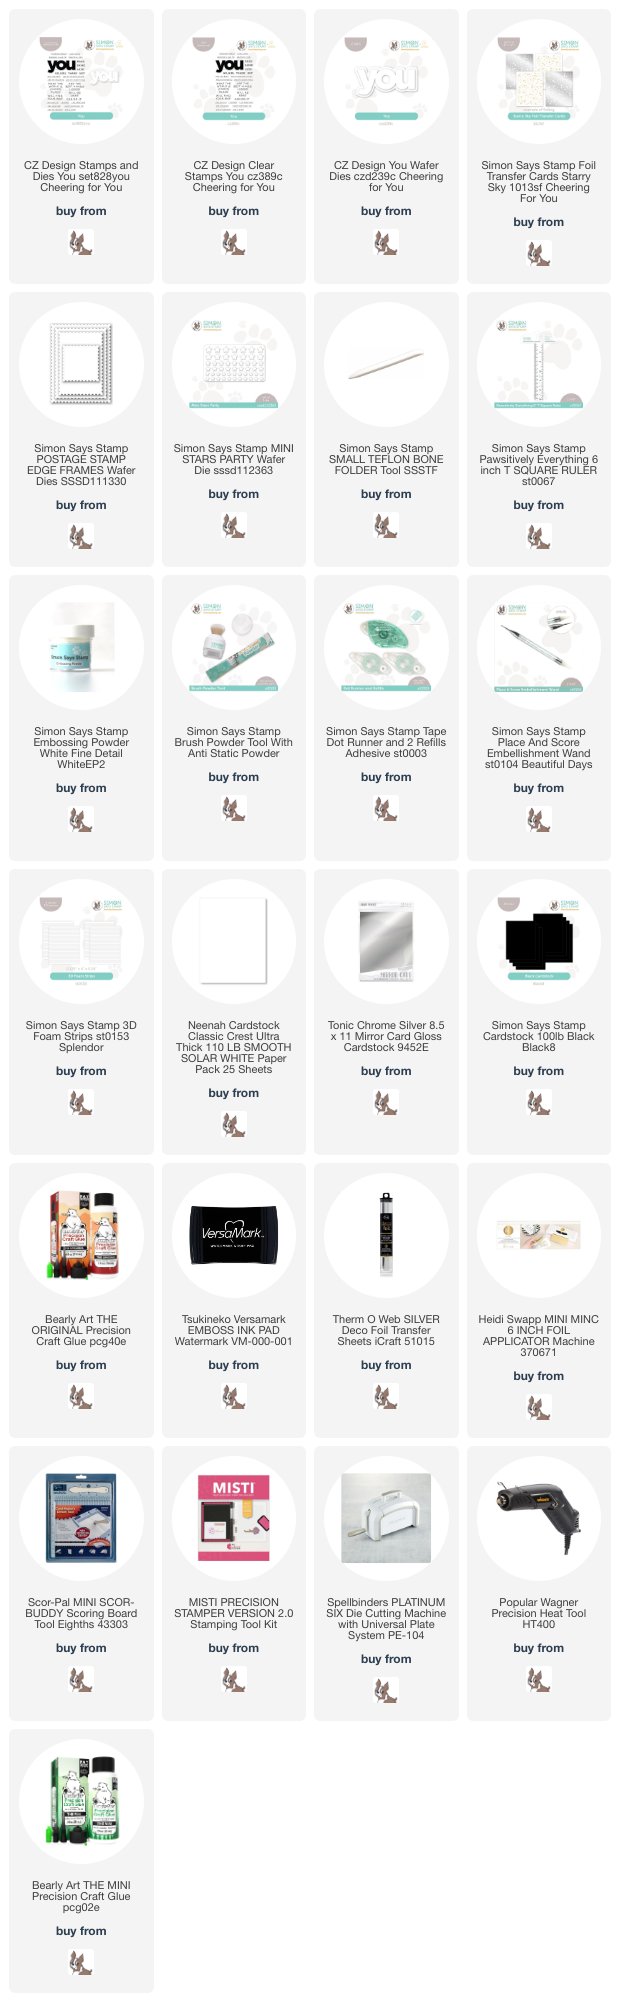
NOTE: all supplies are linked to multiple sources in the thumbnails at the end of this blog post.

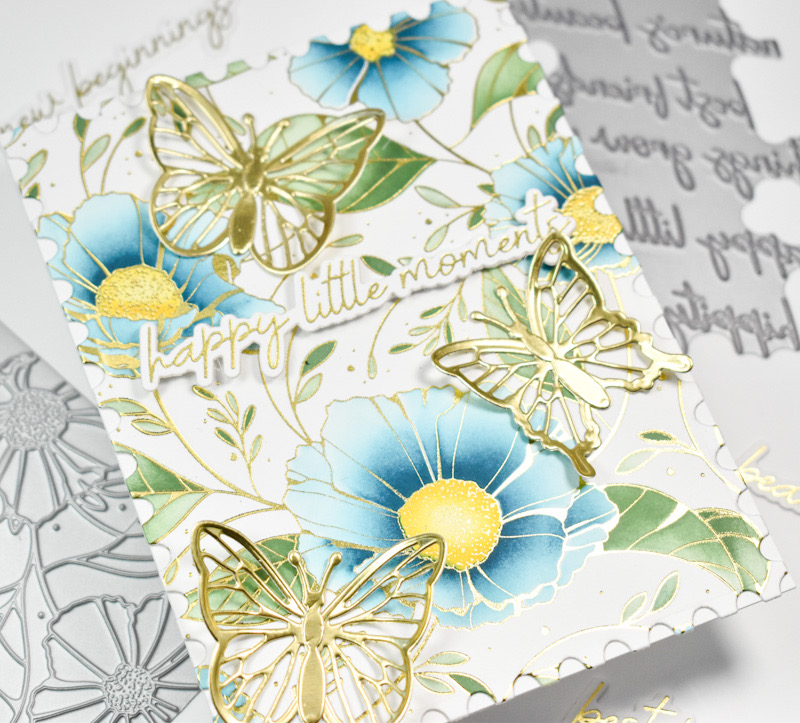
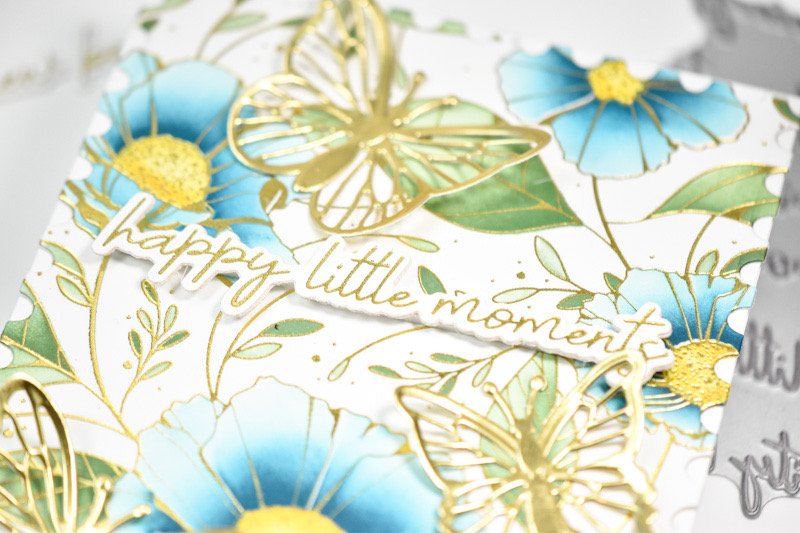
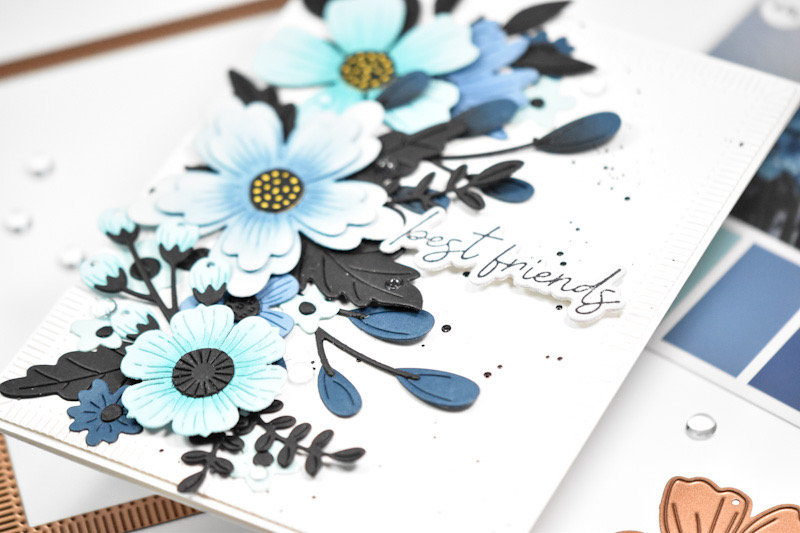
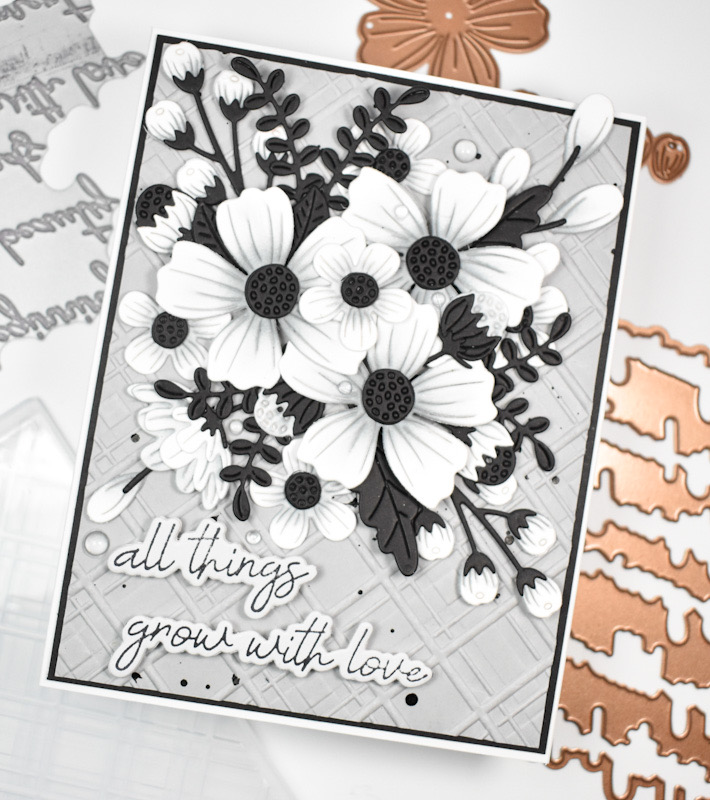
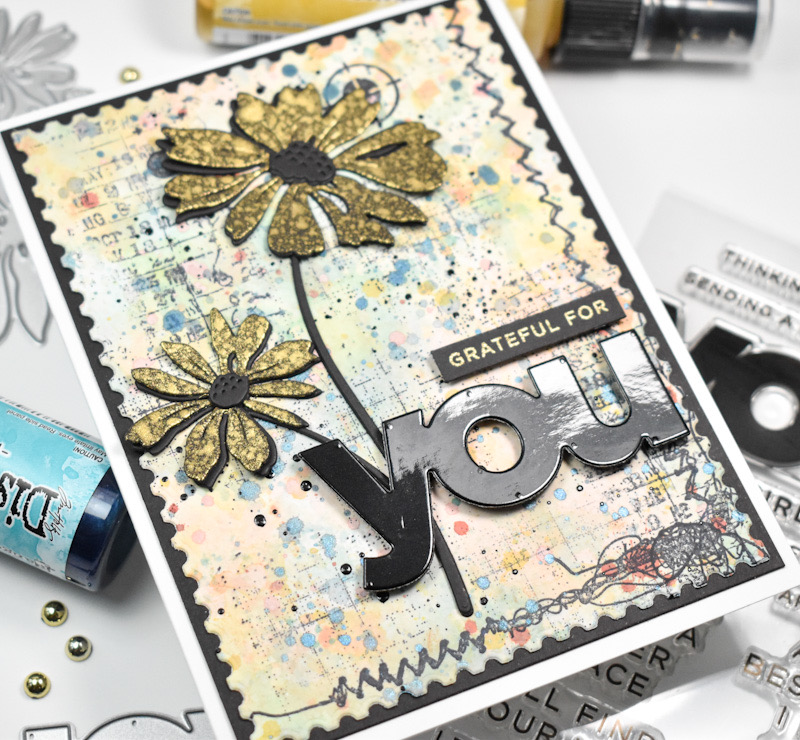
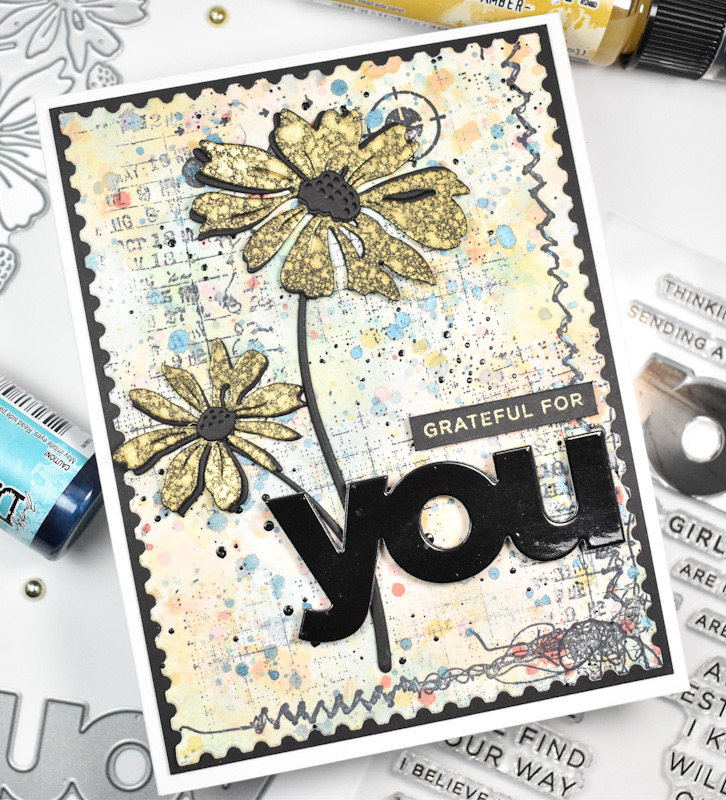
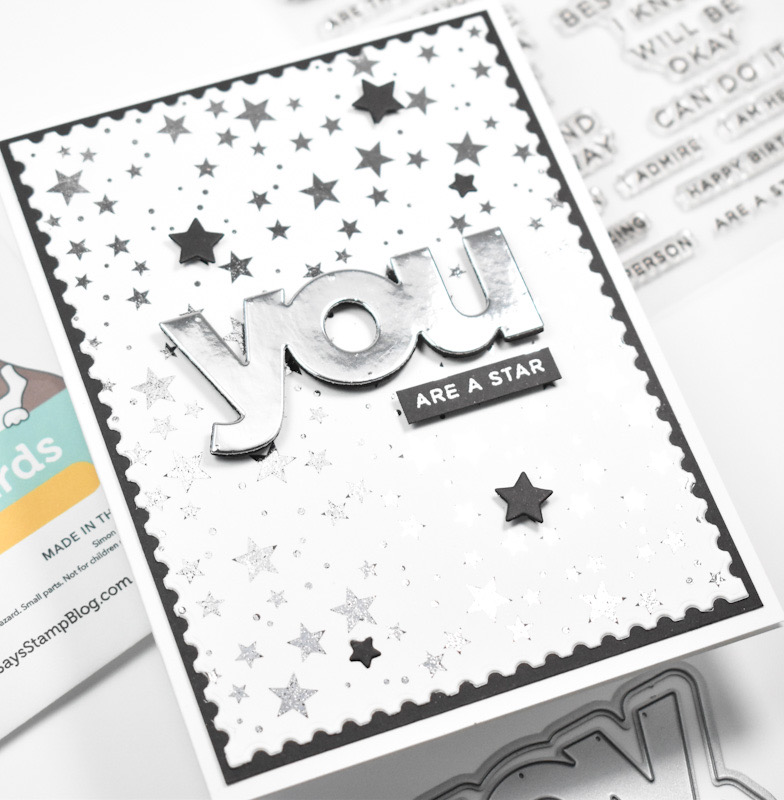
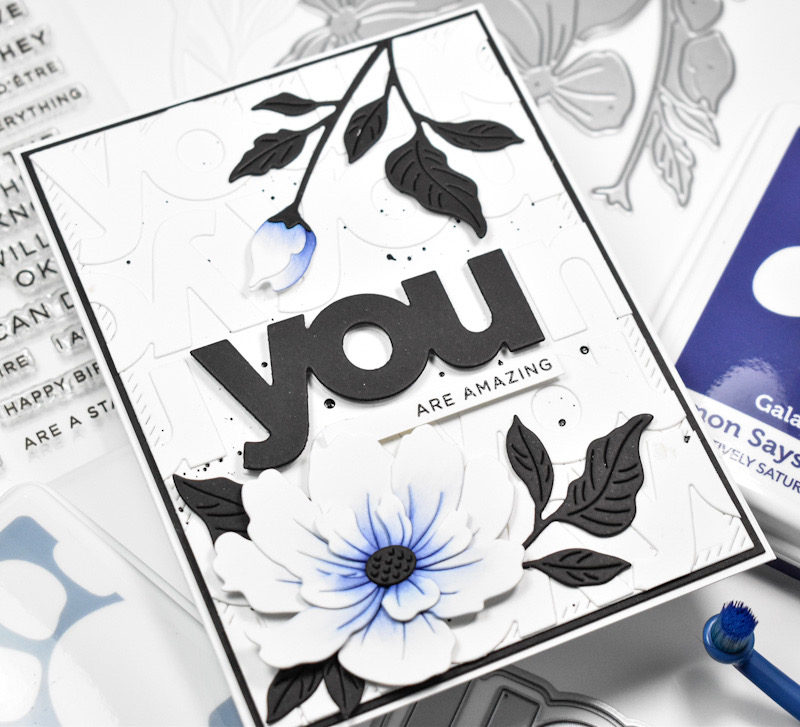
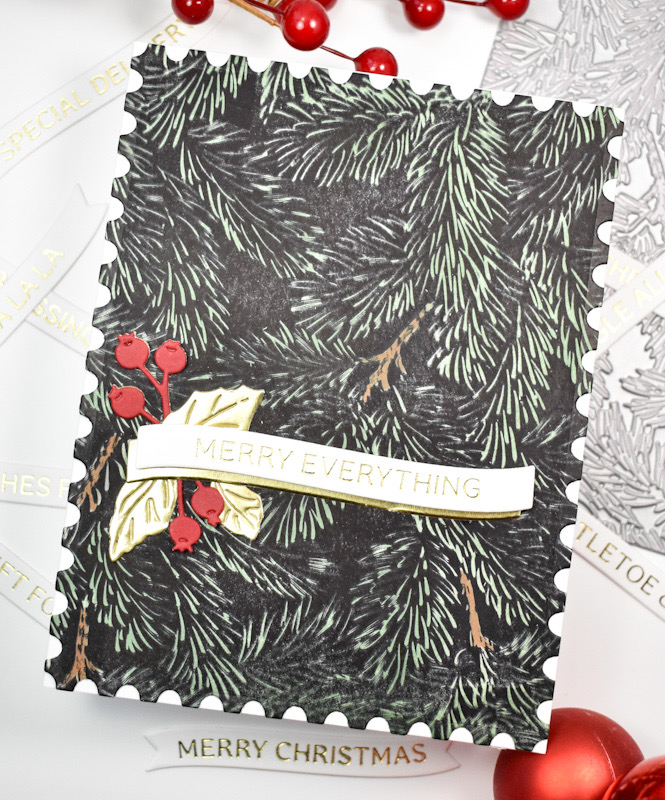
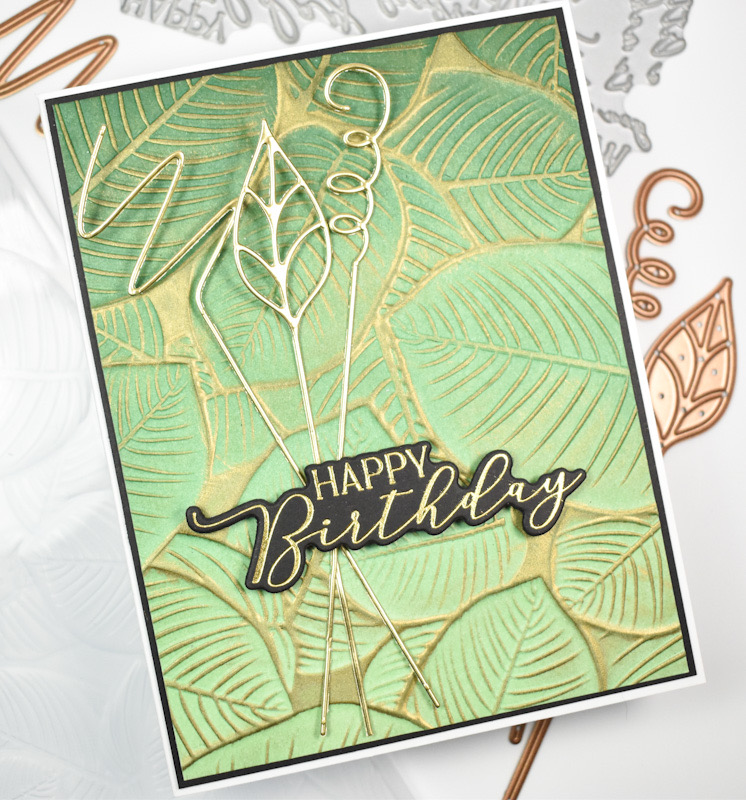
I began this project by using the Lush Leaves folder to emboss a panel of Neenah 110lb cardstock. I then did some ink blending using SSS Pawsitively Saturated Inks in Aspen, Sage and Pine on the de-bossed side of the panel. Once satisfied with the ink blending, I used the Encore Gold ink pad to rub over the raised portions. I thought the green and gold were a nice pair!

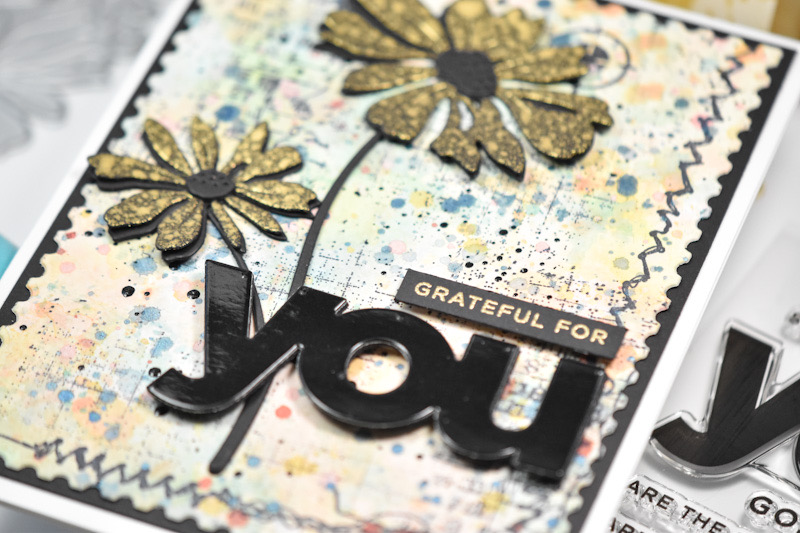
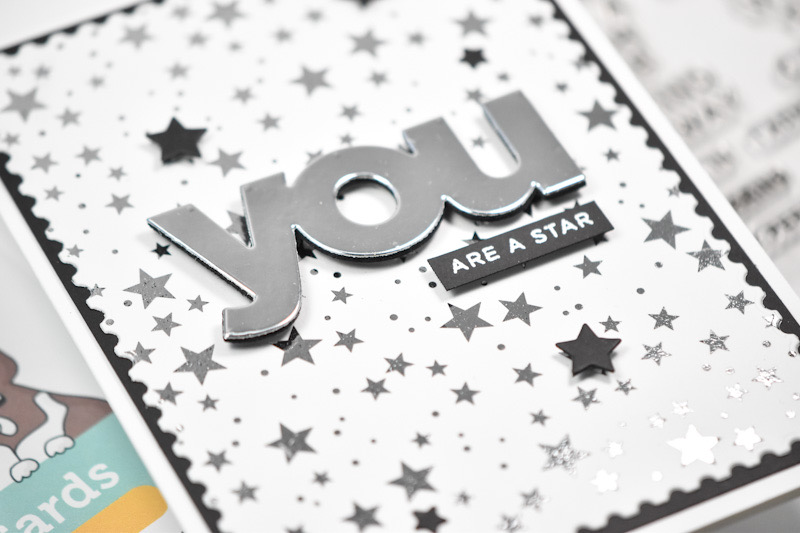
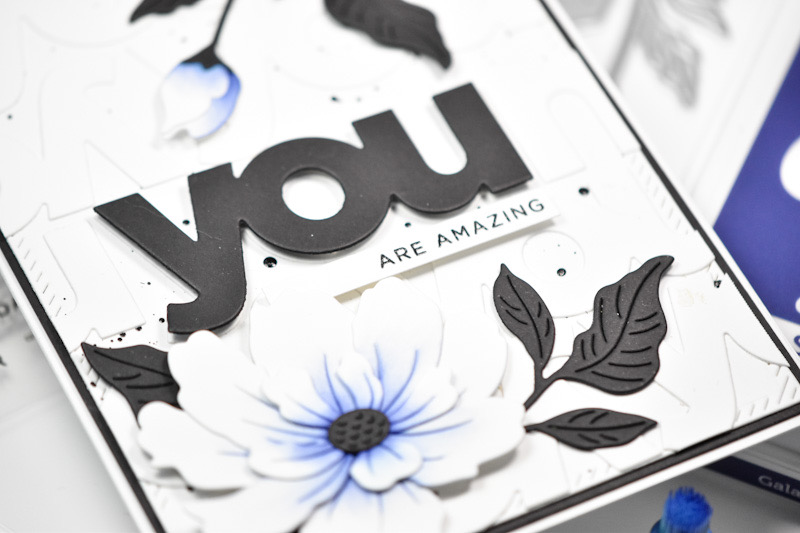
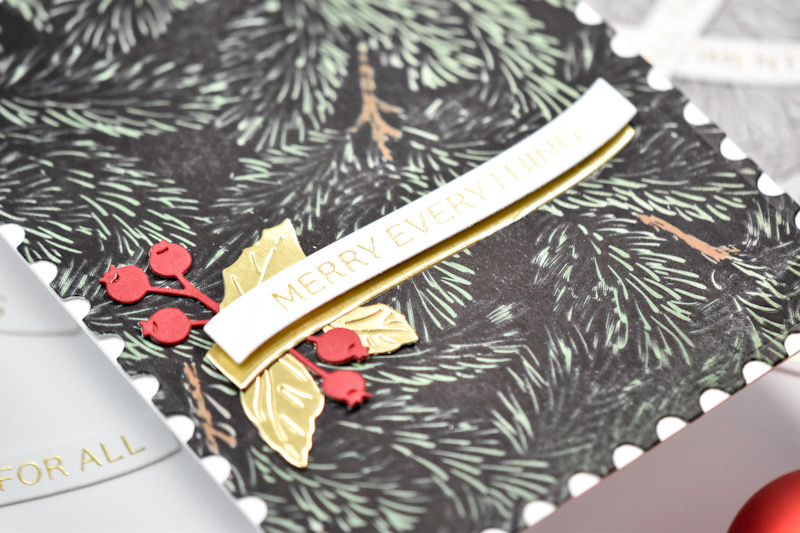
For the sentiment, I used the Spellbinders You Are Everything Sentiments set and gold foiled that onto black cardstock. I used the included die to trim it out, along with two additional cuts for that stacked sentiment that I love.

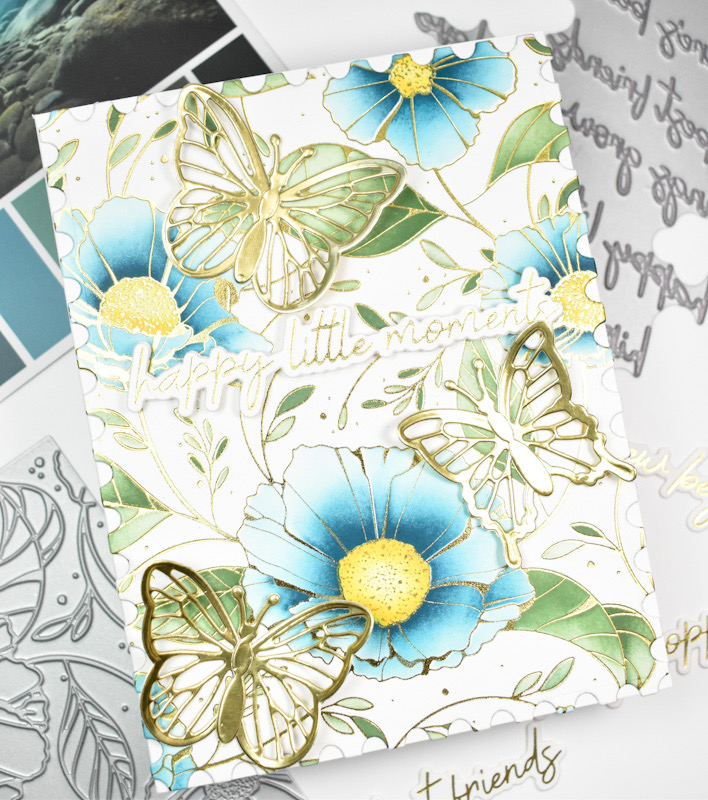
I felt the card was going to need some additional elements, so I used the Spellbinders Sealed Squiggles set and cut a few of those from gold cardstock. The embossed panel was adhered to a black panel for contrast, while the squiggles were adhered with liquid glue, and the sentiment was adhered with foam strips for added dimension.

That finishes up this project! A super simple project, but I really like the green and gold together. Head on over to the Spellbinder’s website to check out all of the new things for August, as there’s tons of fun stuff! Thanks again for stopping by, and I hope you have a wonderful day!
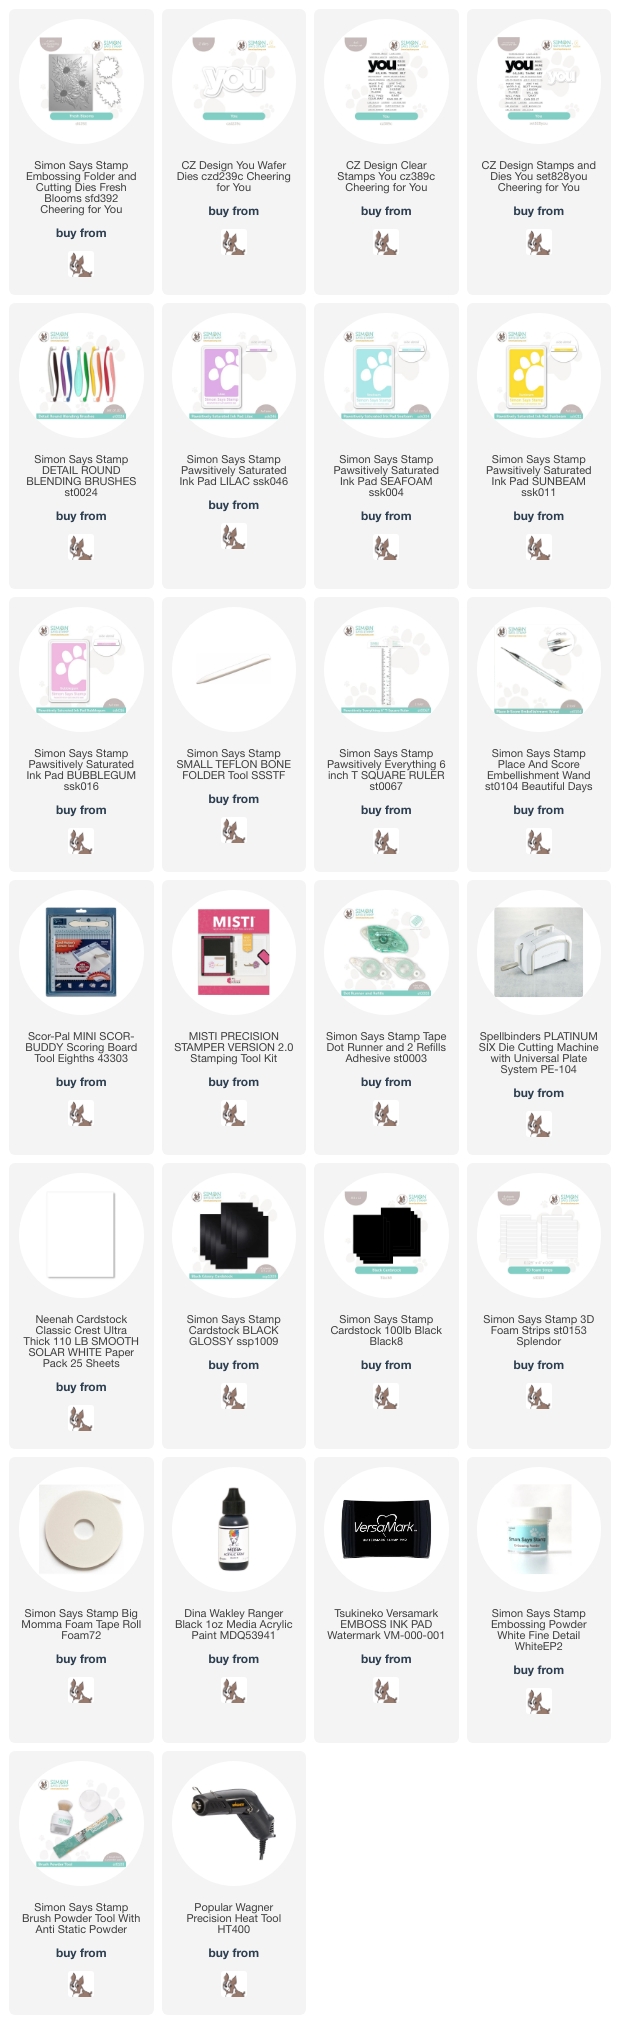
Supply List
Affiliate links used at no cost to you. What does this mean? If you use the links within this post to make a purchase, I receive a small commission, which allows me to continue to post crafty content for your enjoyment. I truly appreciate your support!
Latest Posts
- Simon Says Stamp Braided Greetings

- Together By Design Color Cube Floral

- Simon Says Stamp Cute Duckling

- Simon Says Stamp Watercolor Wild Rose

- Simon Says Stamp Striped Missing You