Simon Says Stamp Valentine Chocolates

Hello Friends and welcome back! Thanks so much for stopping by to check out today’s project featuring the Sweet Treats stamp and stencil combo. I kind of got on a short clean and simple kick this month, and today’s project falls right in line! Let’s get to the deets!

NOTE: all supplies are linked in the thumbnails at the end of this blog post.

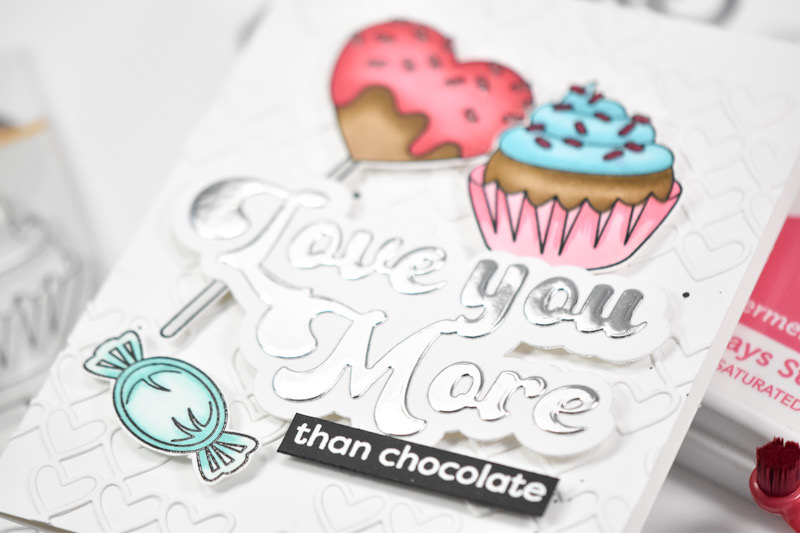
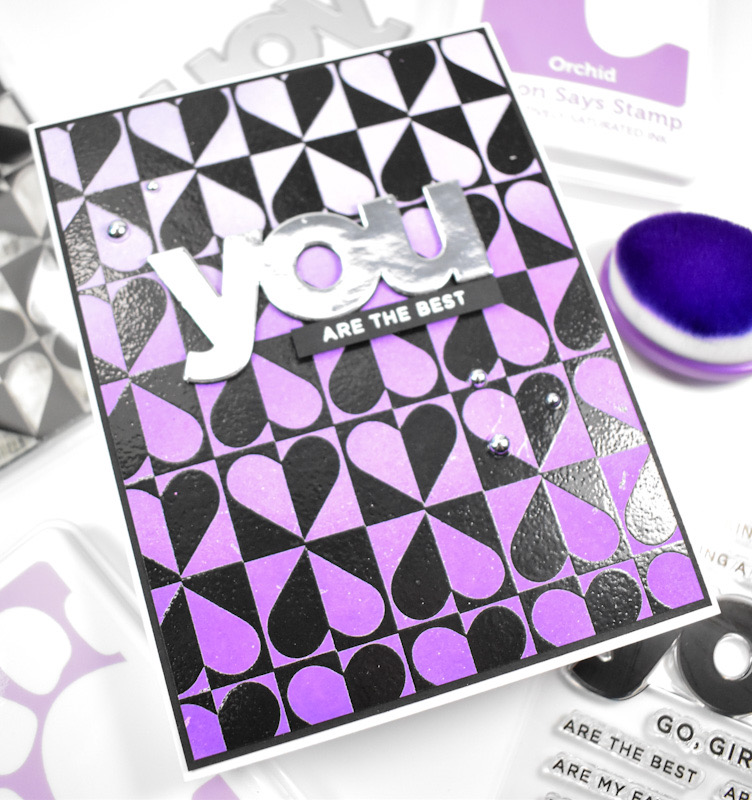
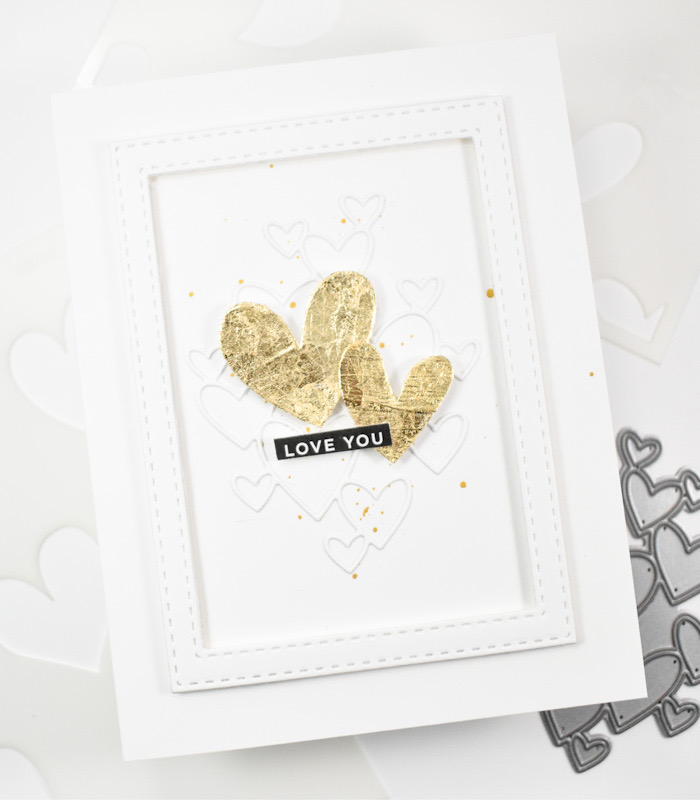
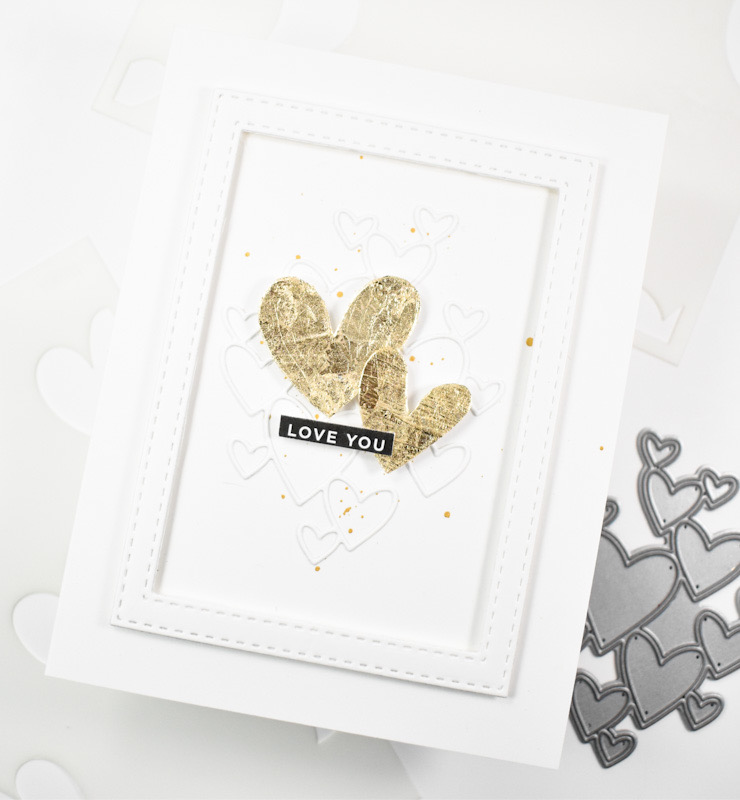
I began this project by stamping the chocolate box from the Sweet Treats set onto a panel of Neenah 110lb cardstock using VersaFine Onyx Black ink and heat setting that with Ranger Clear Embossing Powder. I then used the coordinating stencil to add the color using Gingerbread, Cocoa, Watermelon and Cherry inks.

Once the color was added, I trimmed out the box and added some pink and holographic hearts atop some of the chocolates for added interest. The background was created using the Postage Stamp Edge Frames along with a splatter from the Cherry ink pad. This was then adhered to the card base using foam tape, while the heart box was adhered using foam squares. To finish up, I glued the sentiment, which is from the Reverse Love Sentiment Strips, directly onto the heart.

That does it for this one! Again, a simple card, but it’s cute nonetheless. I hope you enjoyed it, and I hope it inspires you to get crafty in your space! Thanks again for hanging out with me, and I hope you have yourself a fabulous day!

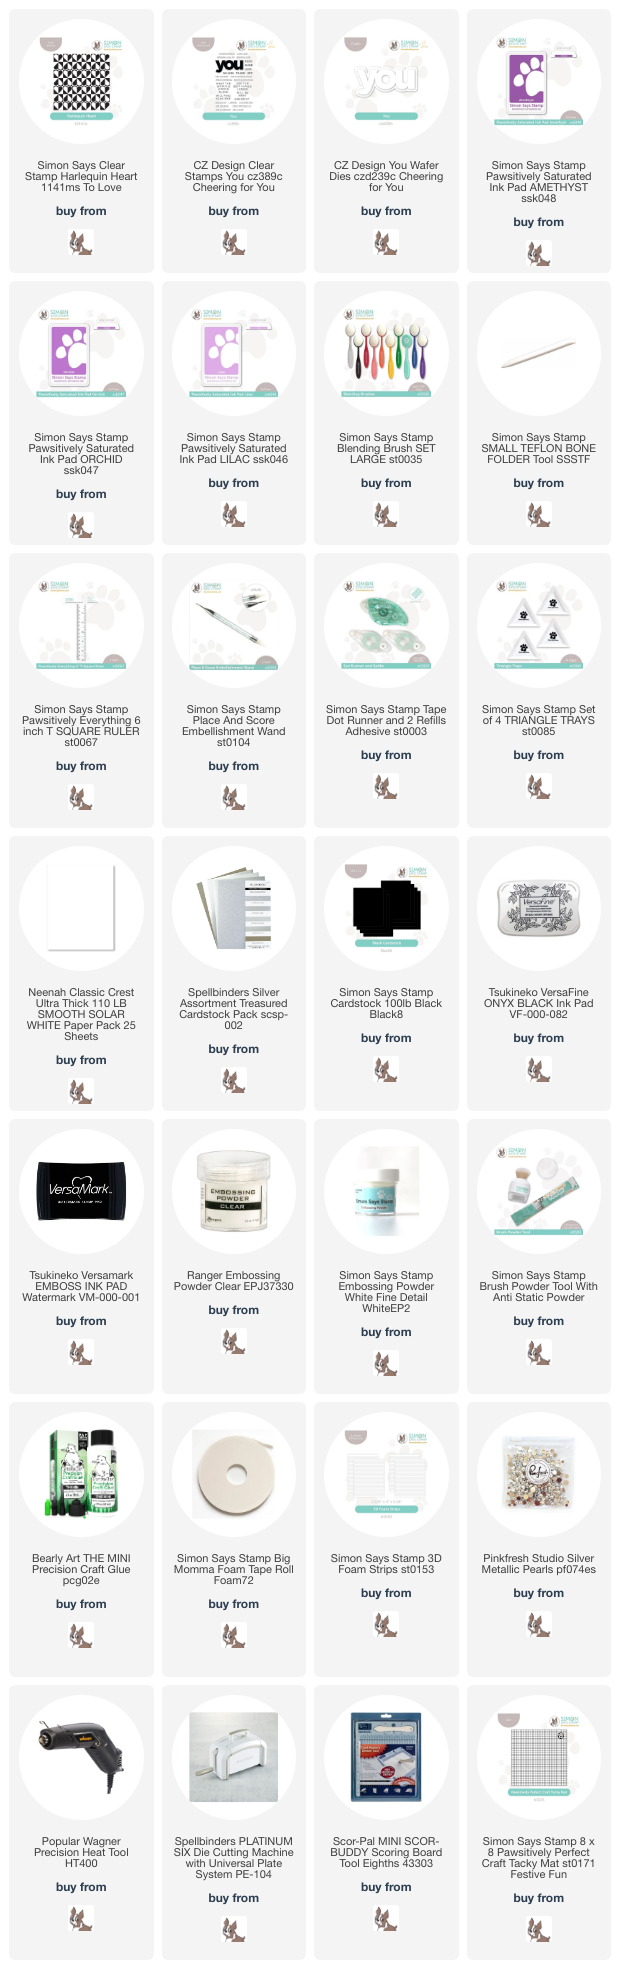
Supply List
Affiliate links used at no cost to you. What does this mean? If you use the links within this post to make a purchase, I receive a small commission, which allows me to continue to post crafty content for your enjoyment. I truly appreciate your support!

Latest Posts
- Spellbinders Trailside Birthday Raccoon

- Simon Says Stamp Grateful Heart

- Simon Says Stamp Braided Greetings

- Together By Design Color Cube Floral

- Simon Says Stamp Cute Duckling

Latest Instagram Posts