Spellbinders Daisy Birthday Wishes

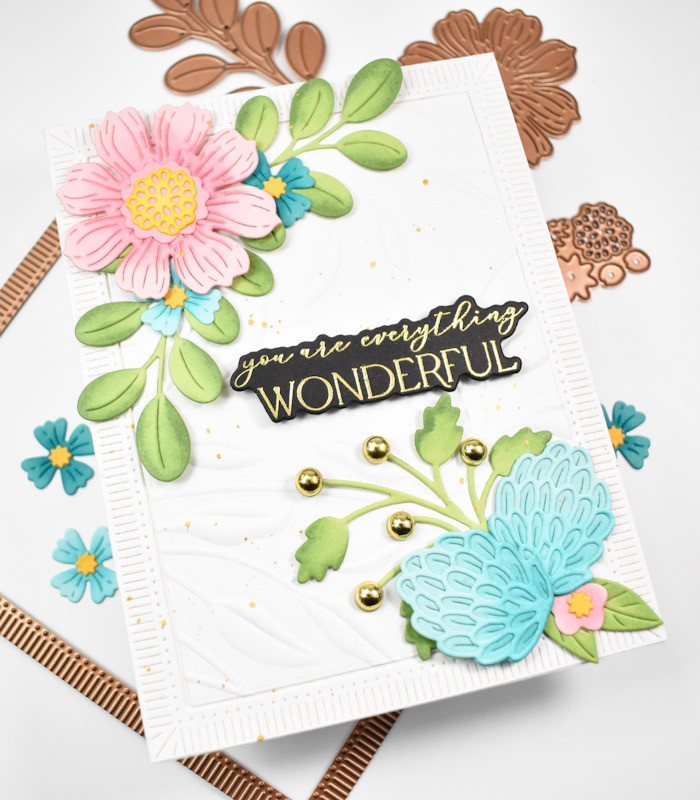
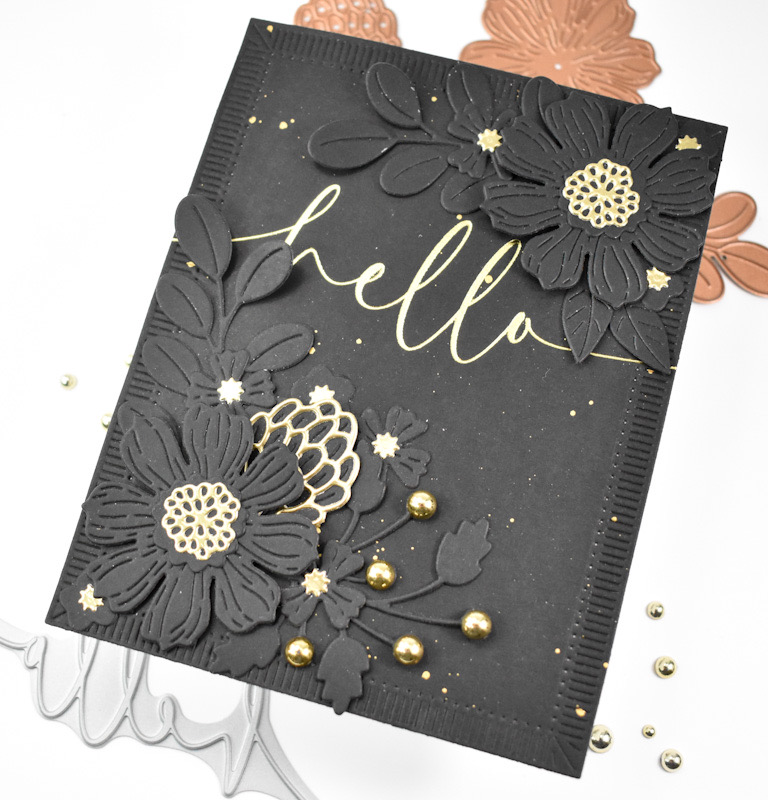
Hello Friends and welcome back! I’m so glad you decided to join me for today’s project featuring the new Painted Daisy & Ladybugs from Spellbinders and Susan Tierney Cockburn. This daisy is so gorgeous and I had so much fun making it, and am so happy with this project! Let’s go ahead and go through the deets, shall we?

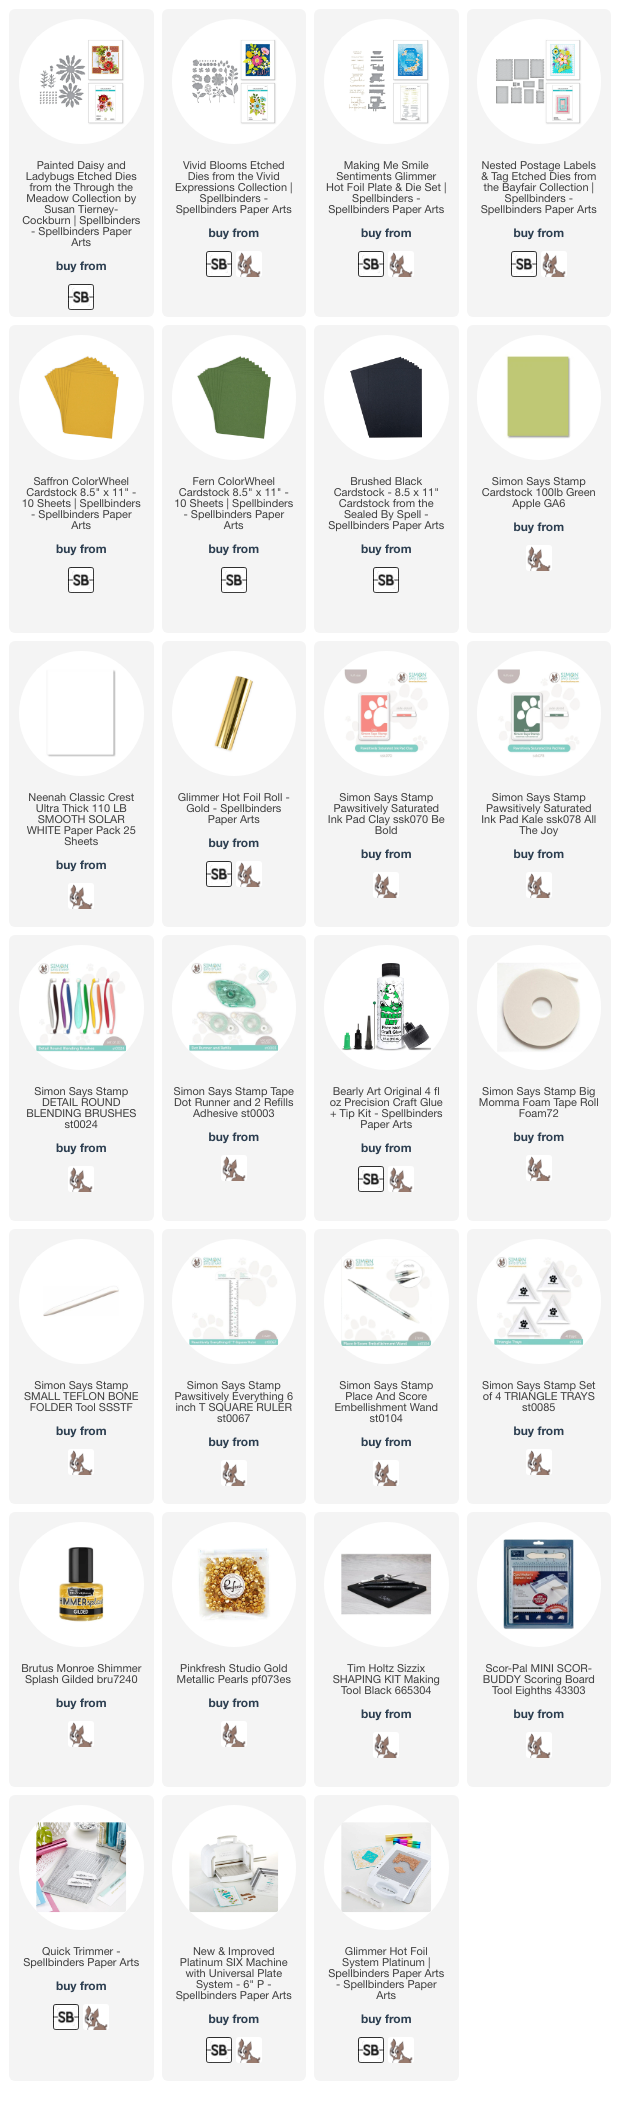
NOTE: all supplies are linked to multiple sources in the thumbnails at the end of this blog post.
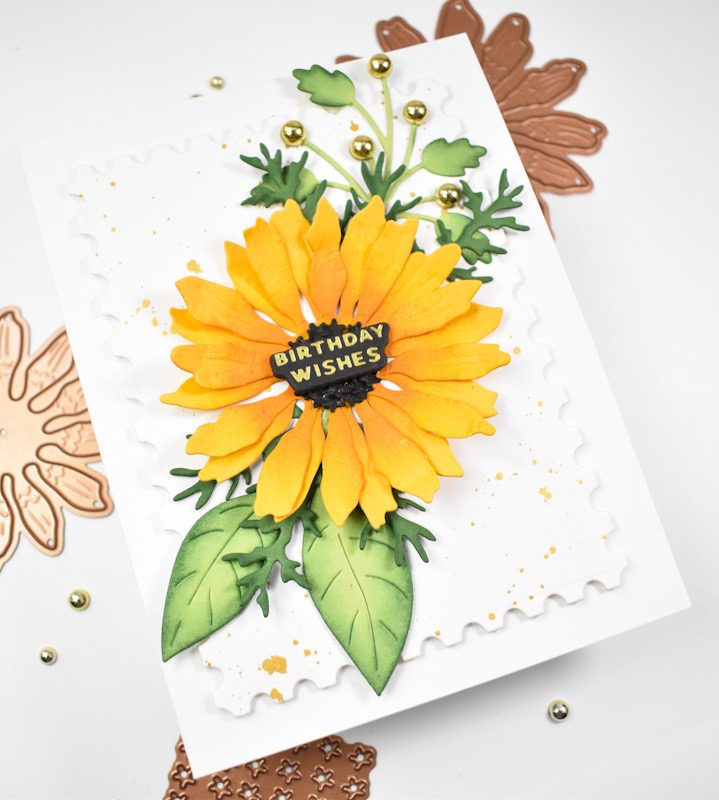
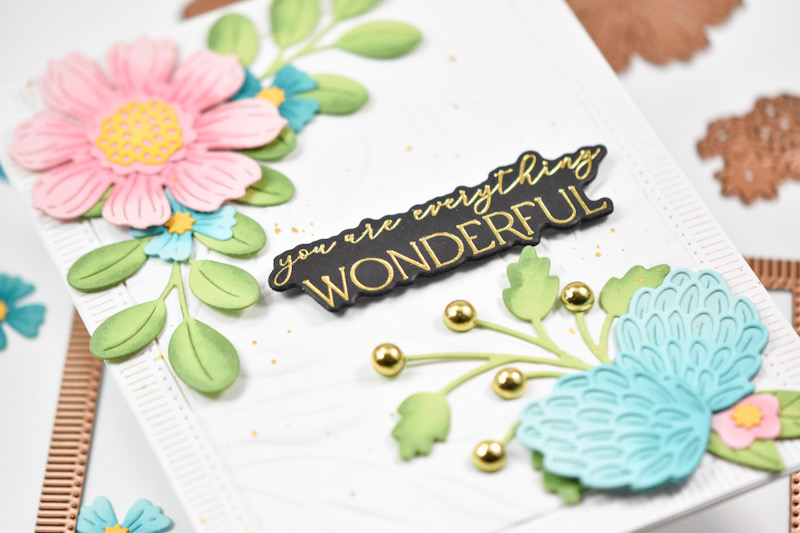
I began this project by die cutting the daisy pieces from Saffron and Black cardstock, while die cutting the leaves from Fern cardstock. I did some ink blending on the flower portions using Clay ink and Kale ink for the leaves. Before assembling the flower, I used the Sizzix Shaping Kit to soften the petals some. I did also die cut some other leaves from the Vivid Blooms set as well.

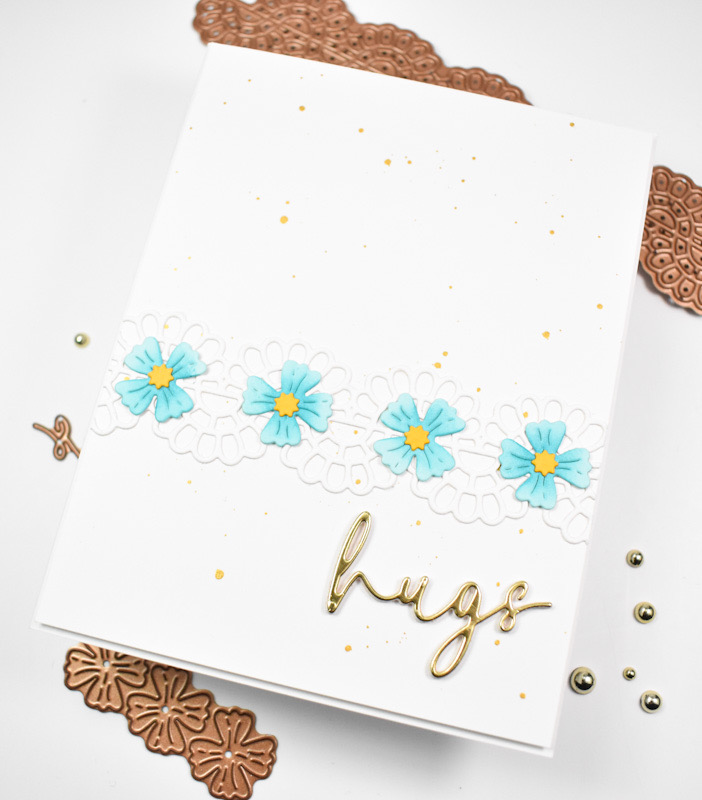
Once the ink blending was complete, I assembled the flower using liquid glue. The center portion of the flower did take some time, but I absolutely love the texture! The sentiment that was used is from the Making Me Smile Sentiments Hot Foil set and that was gold foiled onto black cardstock. I used the included die cut to trim it out along with two additional cuts for a stacked sentiment.
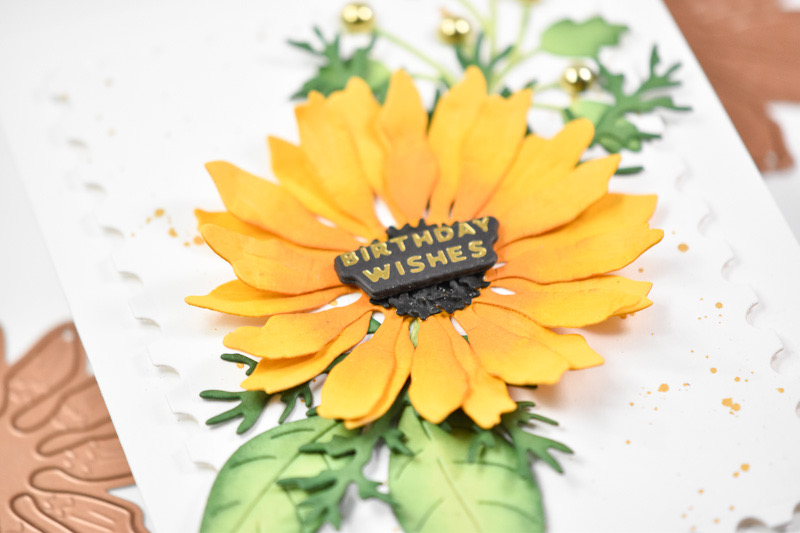

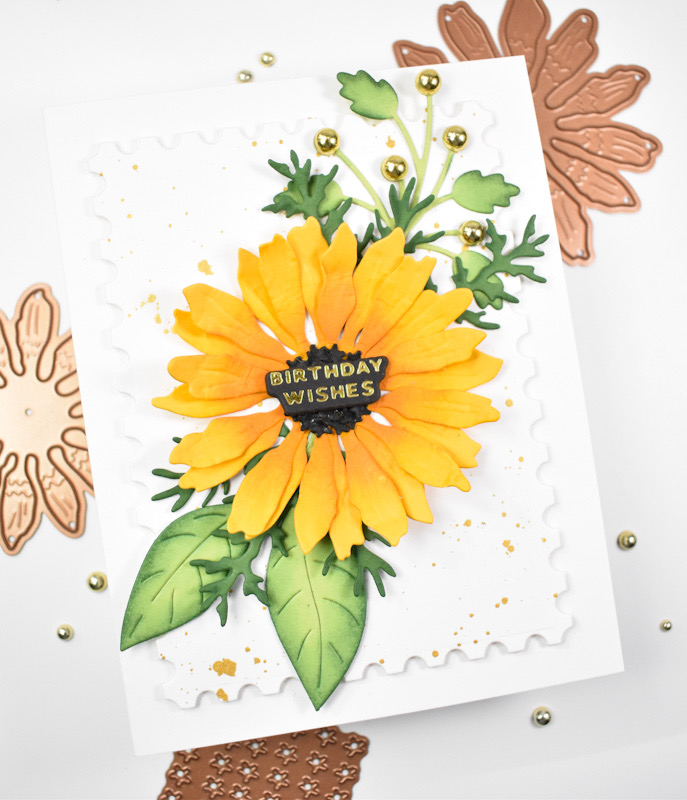
The background was created using the Nestled Postage Labels and Tag set and that was gold splattered before adhering it to the card base with foam tape. The leaves were adhered first, and then the flower. I glued the tiny sentiment right in the middle of the flower and added some Gold Metallic Pearls to one of the leaves to finish up.


A simple design for today’s card, but I love the way it turned out! I hope you enjoyed it as well. I’m always so happy working with florals! Thanks for stopping by, and I hope you have an absolutely wonderful day!
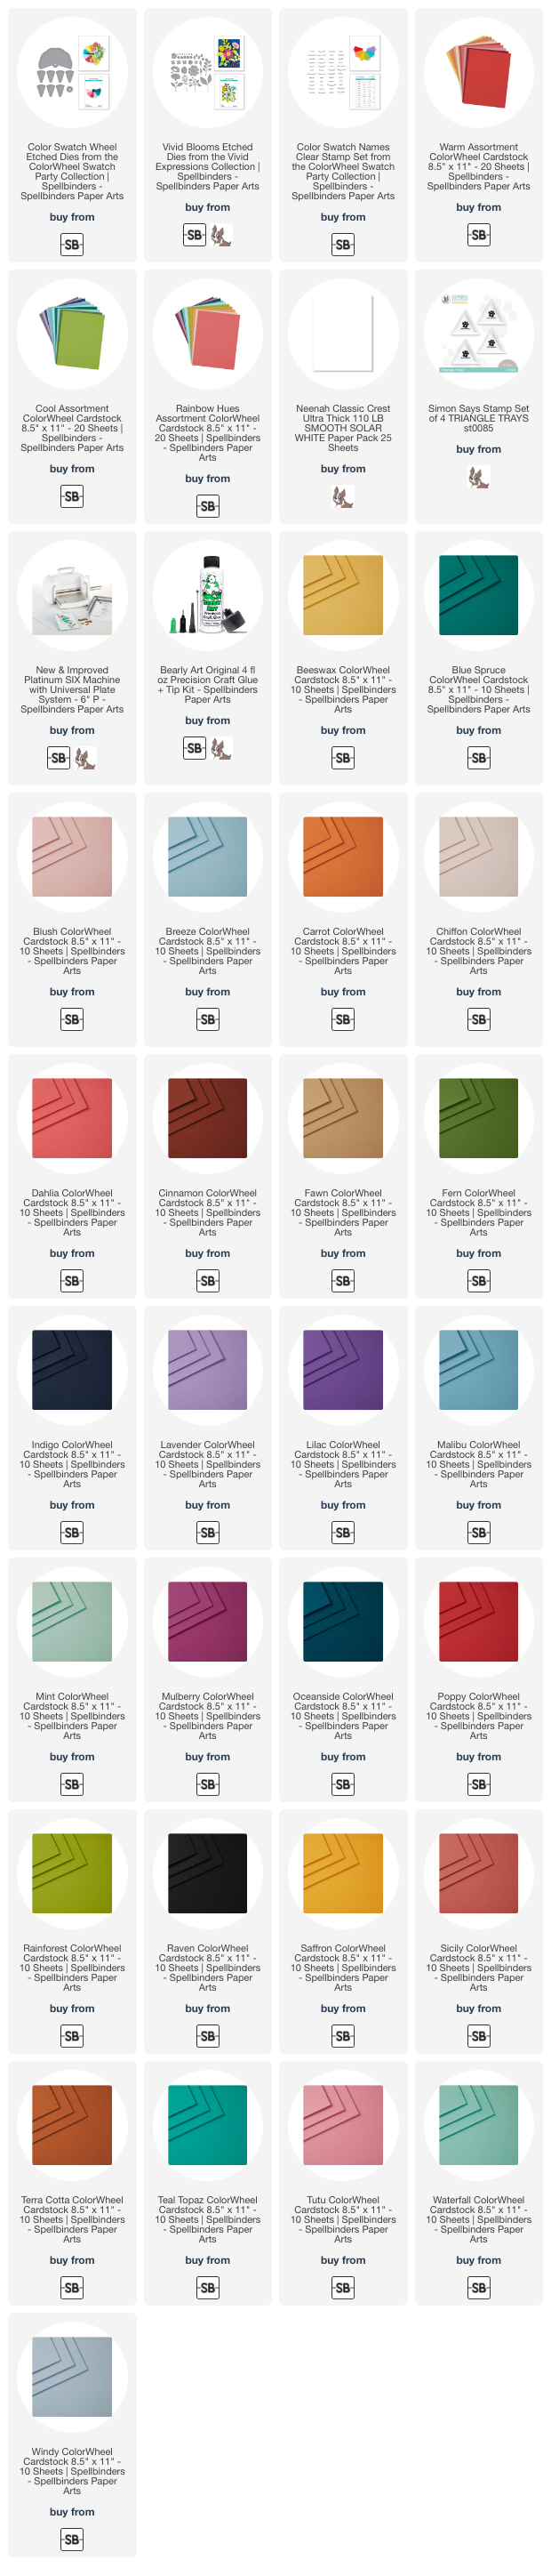
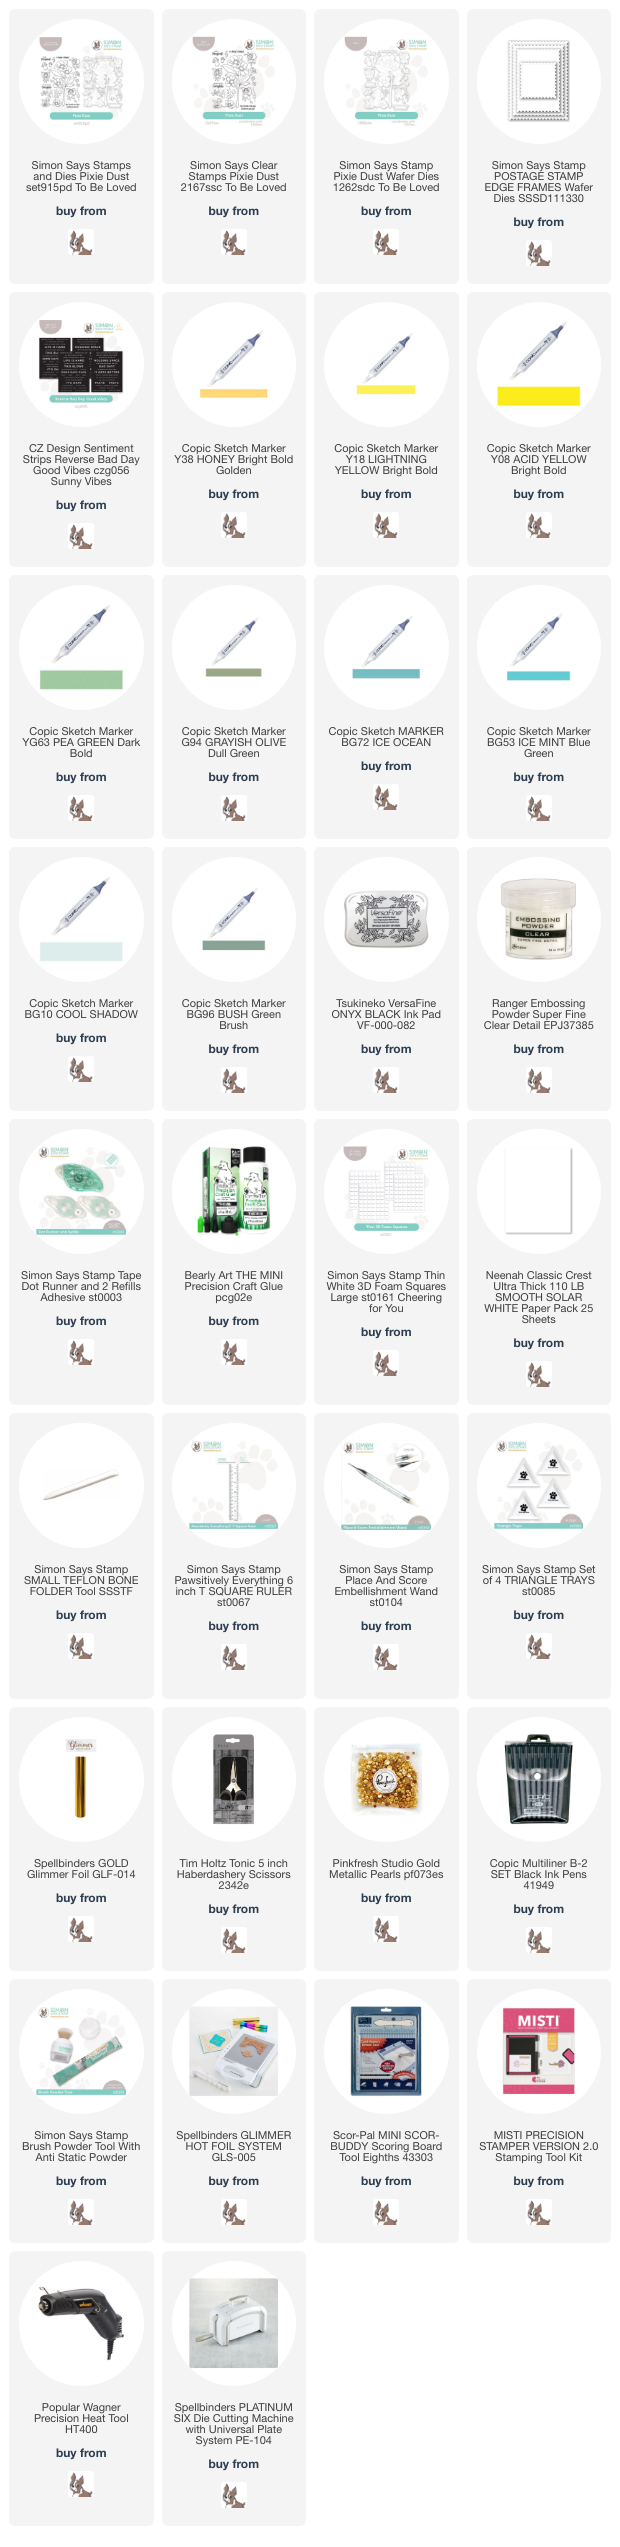
Supply List
Affiliate links used at no cost to you. What does this mean? If you use the links within this post to make a purchase, I receive a small commission, which allows me to continue to post crafty content for your enjoyment. I truly appreciate your support!
Latest Posts
- Spellbinders Trailside Birthday Raccoon

- Simon Says Stamp Grateful Heart

- Simon Says Stamp Braided Greetings

- Together By Design Color Cube Floral

- Simon Says Stamp Cute Duckling

Latest Instagram Posts