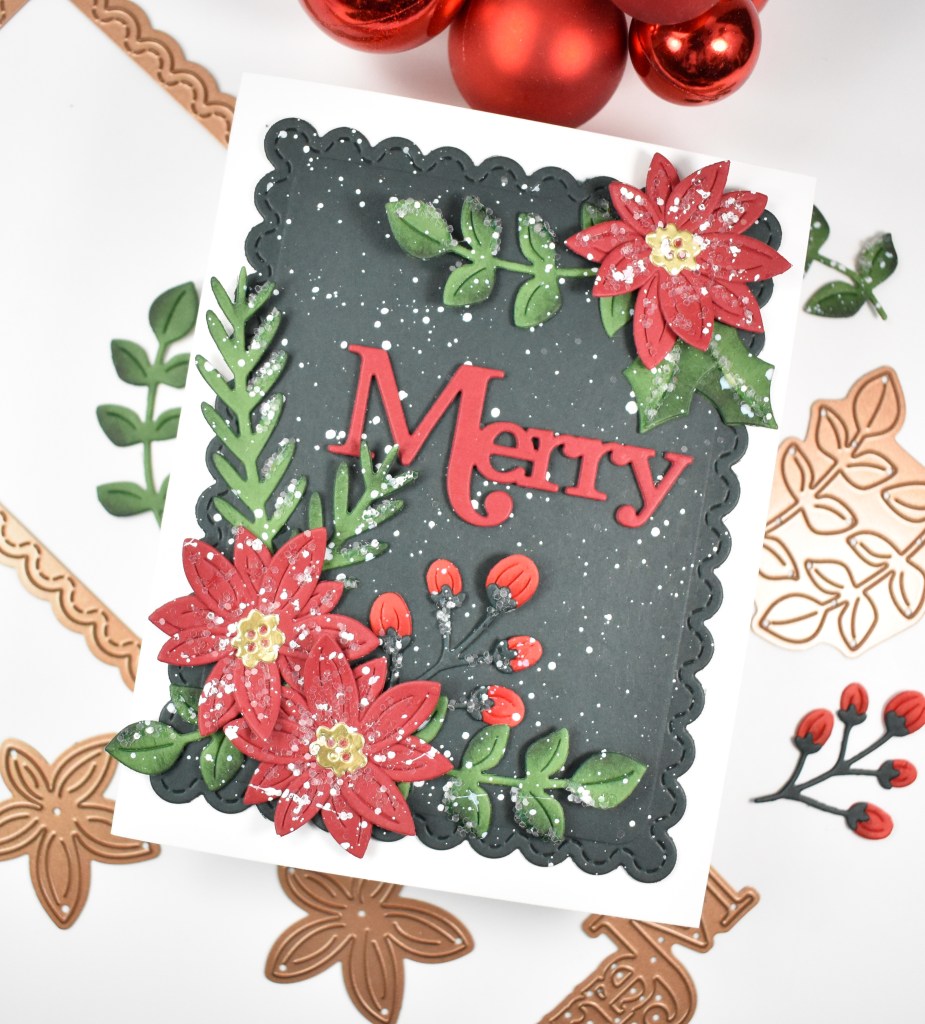
Spellbinders Foliage Swag

Hello Friends, and thanks for joining me! Today’s project is featuring several new products from the Spellbinders August releases. I had a lot of fun creating this swag, so let’s go ahead and go through the details.

NOTE: all supplies are linked to multiple sources in the thumbnails at the end of this blog post.

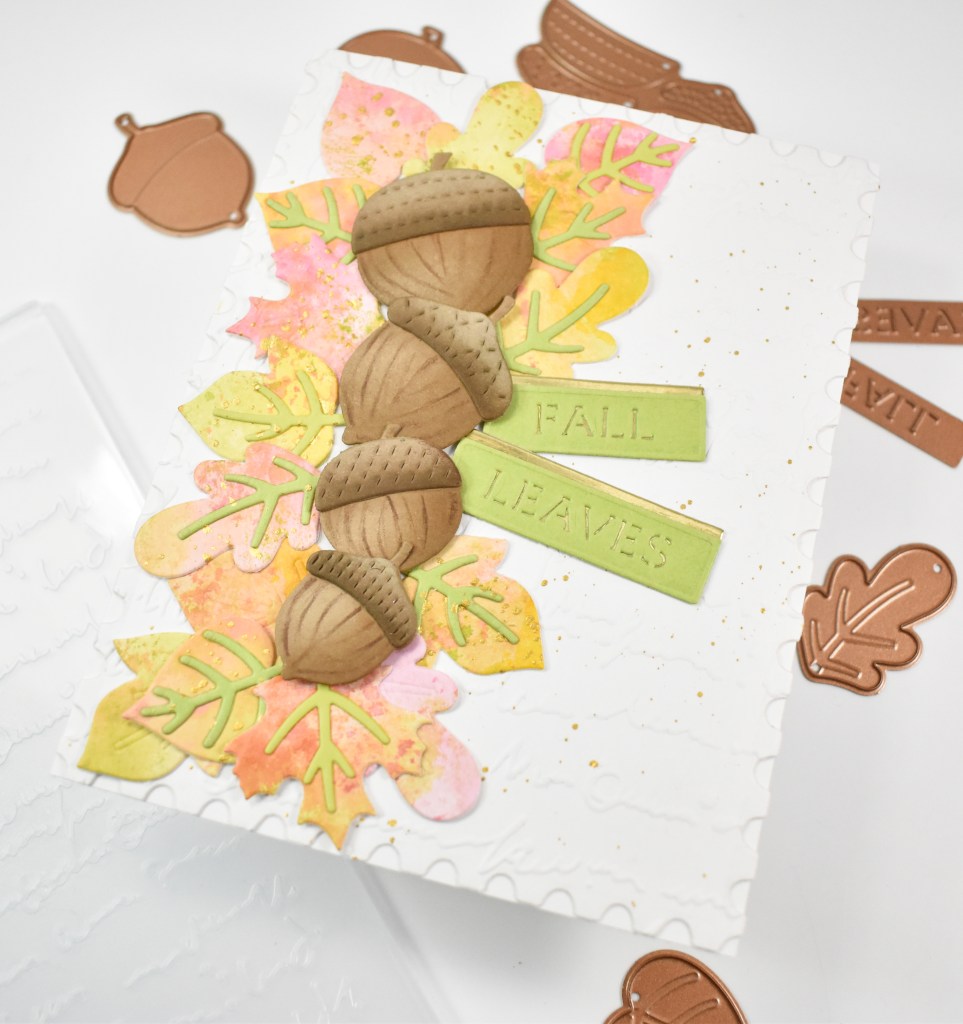
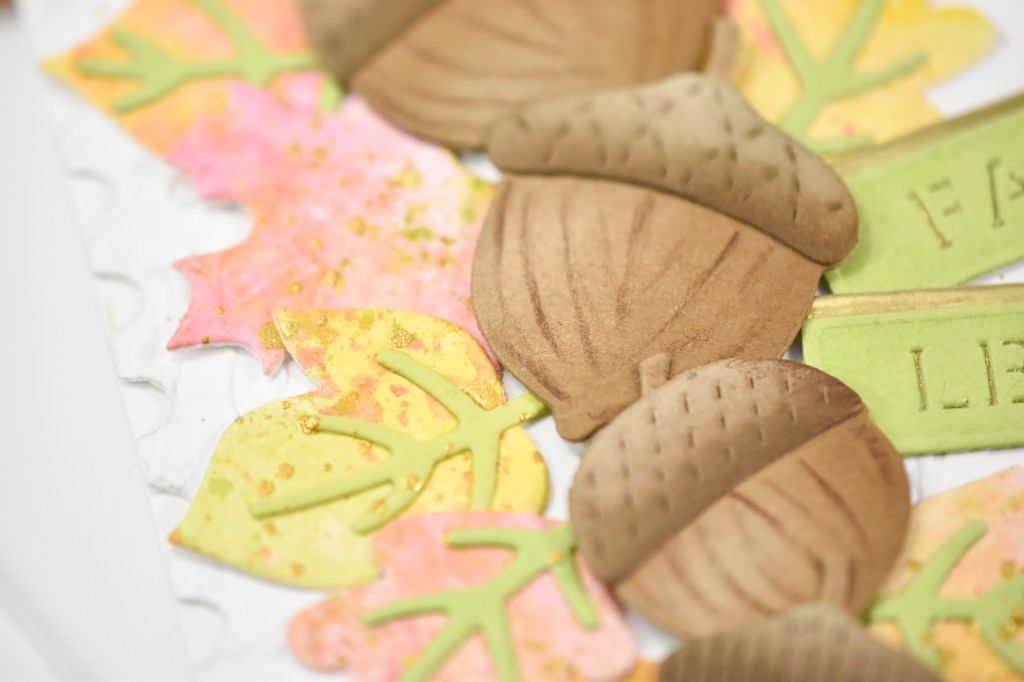
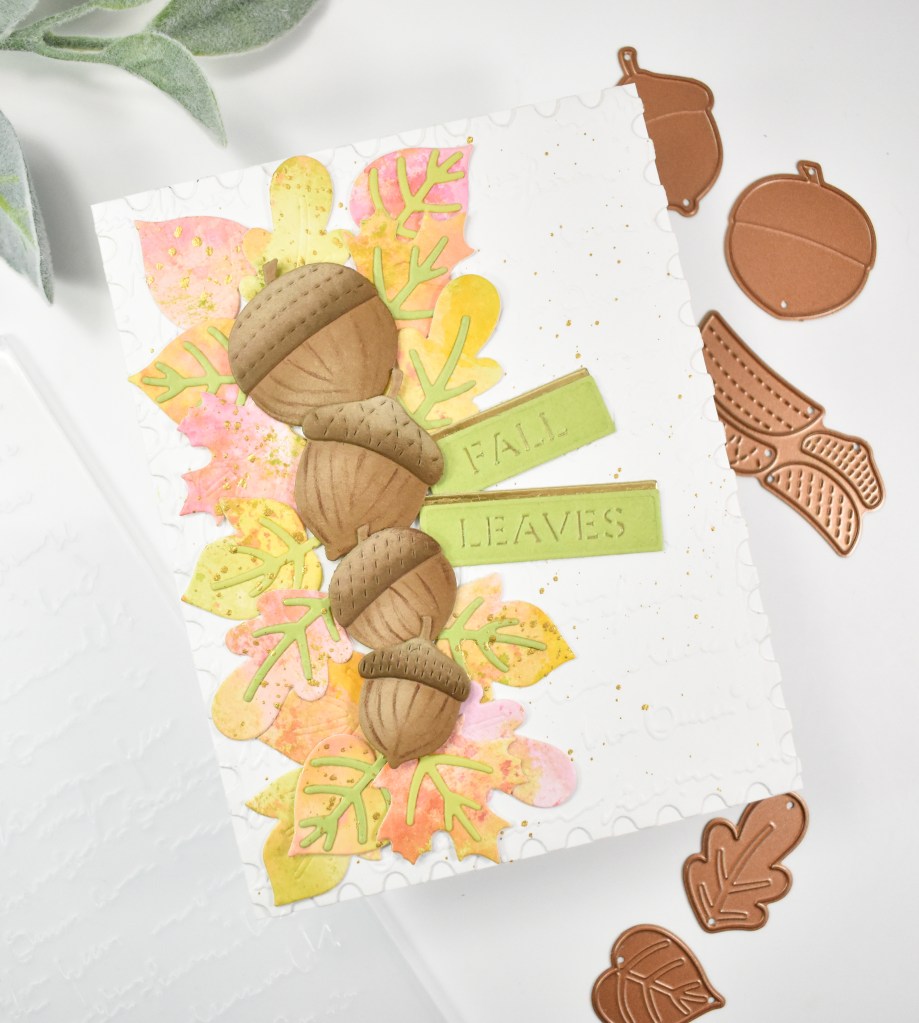
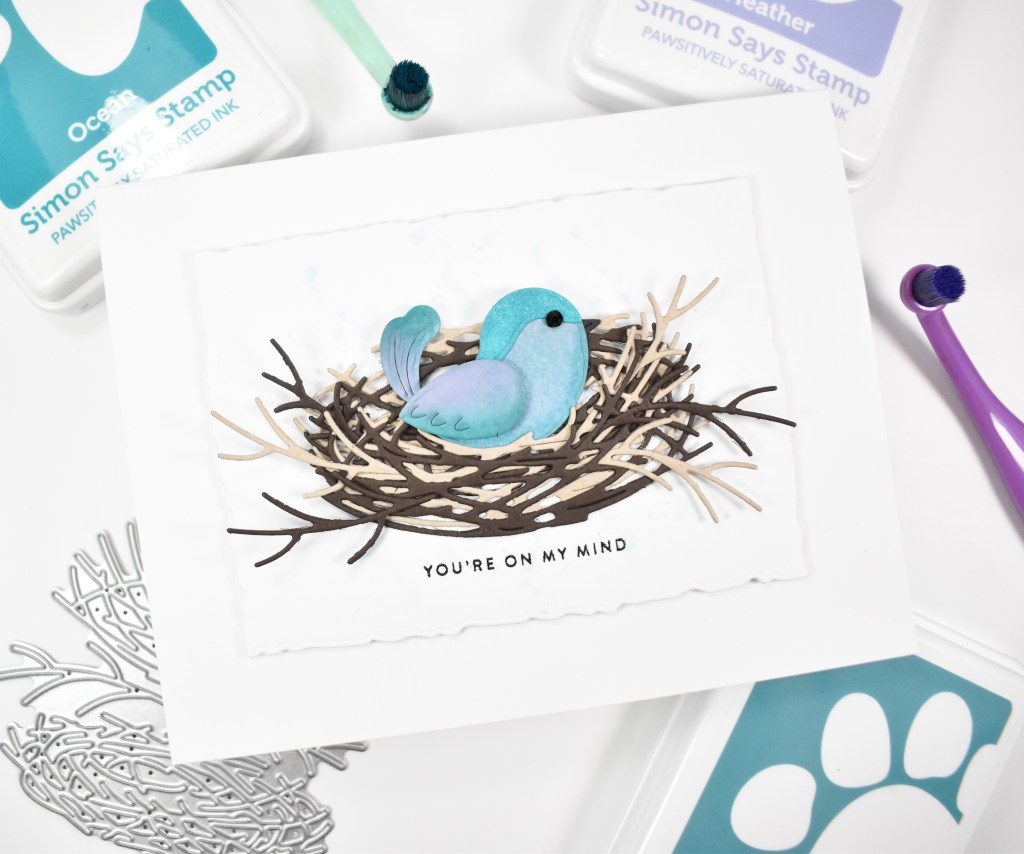
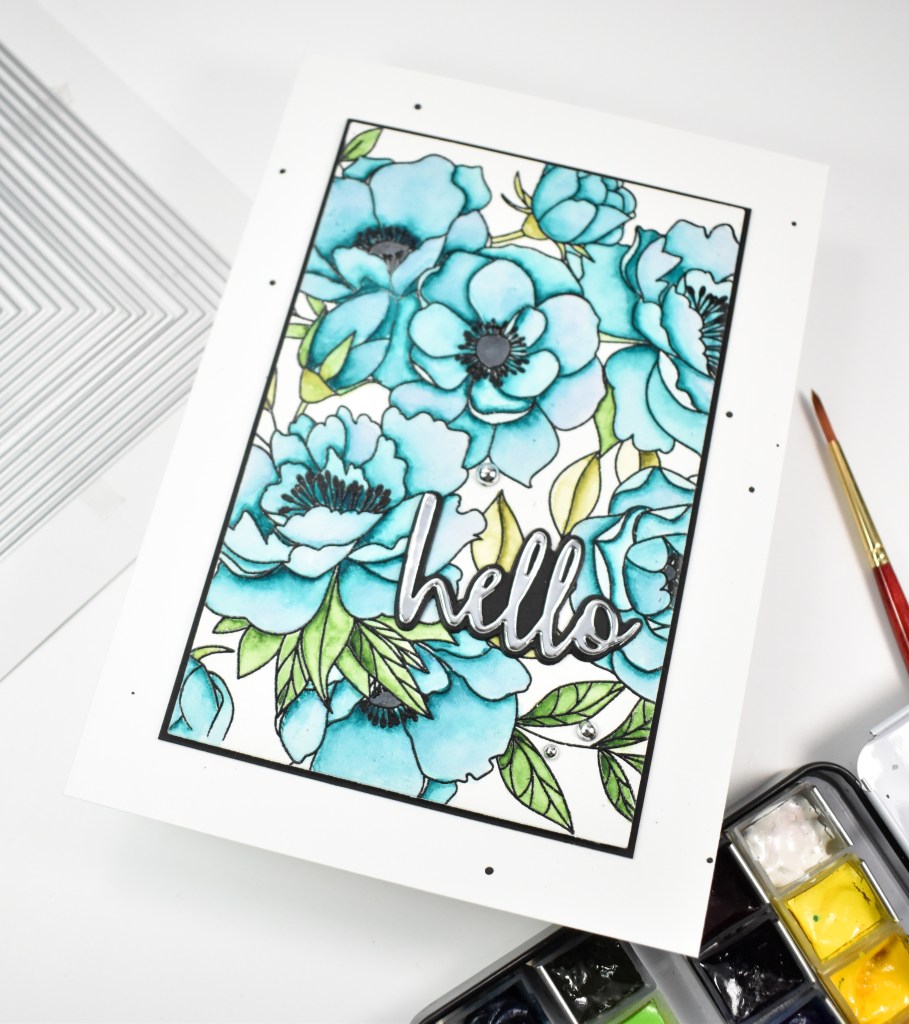
I began this project by die cutting the Christmas Foliage from Crimson, Fern and gold cardstock. I will mention that this leaf was cut multiple times to achieve this full look. I did some ink blending Lush Forest and Brick inks. Once I was done with that, I assembled the flowers and white splattered the leaves and added “ice” using glue and clear glitter.

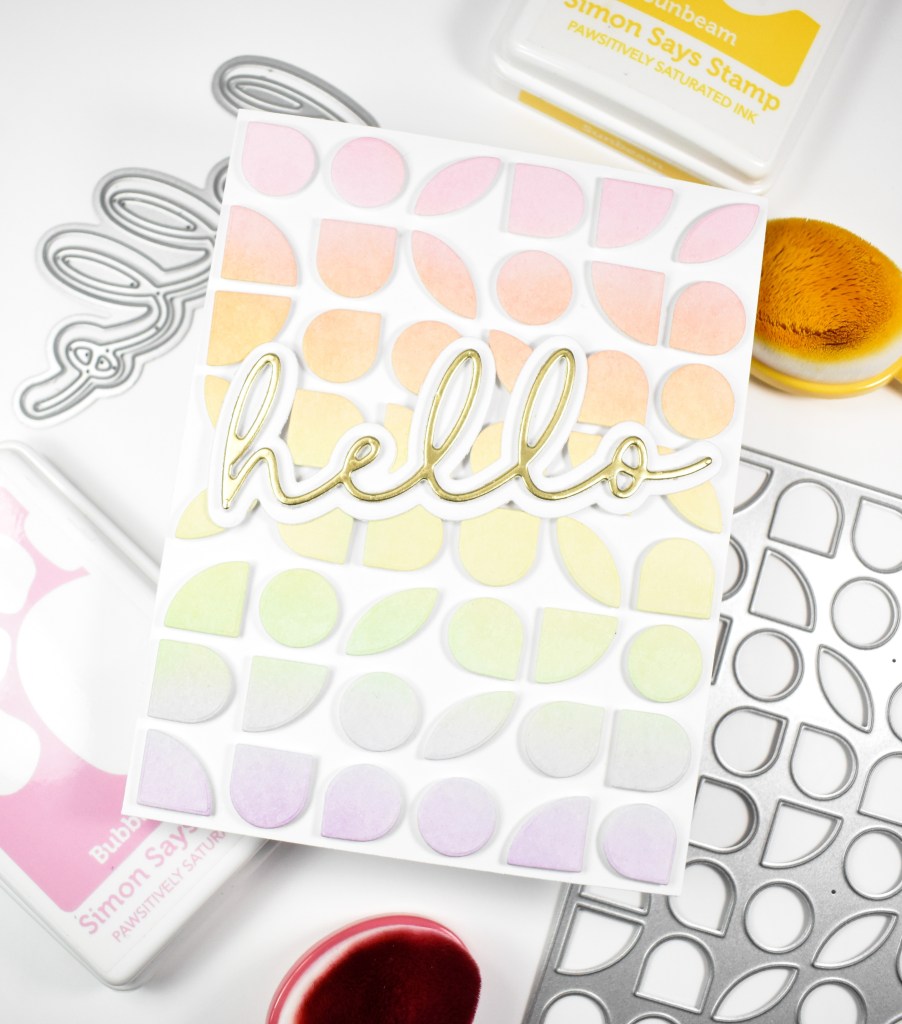
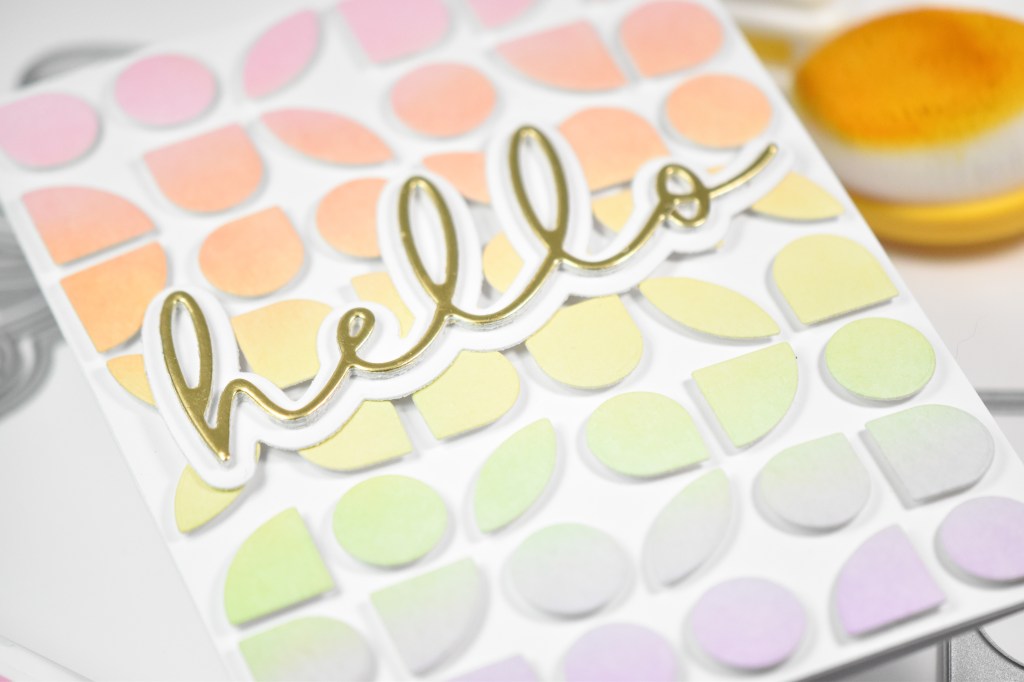
The background panel was created using the new Bow & Bell Scallop Frame along with some gold splatter. I cut the Merry sentiment once from gold cardstock and twice from Neenah 110lb cardstock and adhered all of those together for that stacked sentiment that we all love.

The panel was adhered to the card base, the leaves were glued in place, as were the flowers and the sentiment.

It was a lot of die cutting, but I’m quite happy with the end project. It’s hard for me to work on holiday cards this early in the year, but I didn’t mind this one, because I think it came out so pretty. Thanks again for joining me, and I hope you have a wonderful day!

Supply List
Affiliate links used at no cost to you. What does this mean? If you use the links within this post to make a purchase, I receive a small commission, which allows me to continue to post crafty content for your enjoyment. I truly appreciate your support!

Latest Posts
- Simon Says Stamp Grateful Heart

- Simon Says Stamp Braided Greetings

- Together By Design Color Cube Floral

- Simon Says Stamp Cute Duckling

- Simon Says Stamp Watercolor Wild Rose

Latest Instagram Posts