Simon Says Stamp You Grow, Girl!

Hello Friends and thanks for stopping by! I’m so glad that you joined me today for a project featuring the new Rooting For You set from Simon’s latest release, Happy Camper. It’s a quick one, so let’s run through the deets!
NOTE: all supplies are linked in the thumbnails at the end of this blog post.

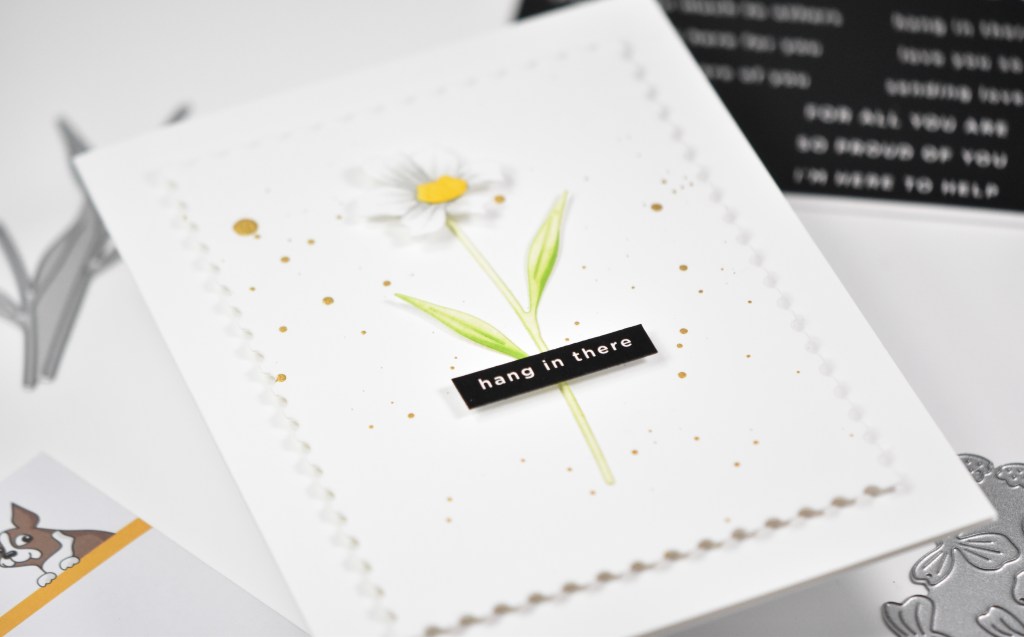
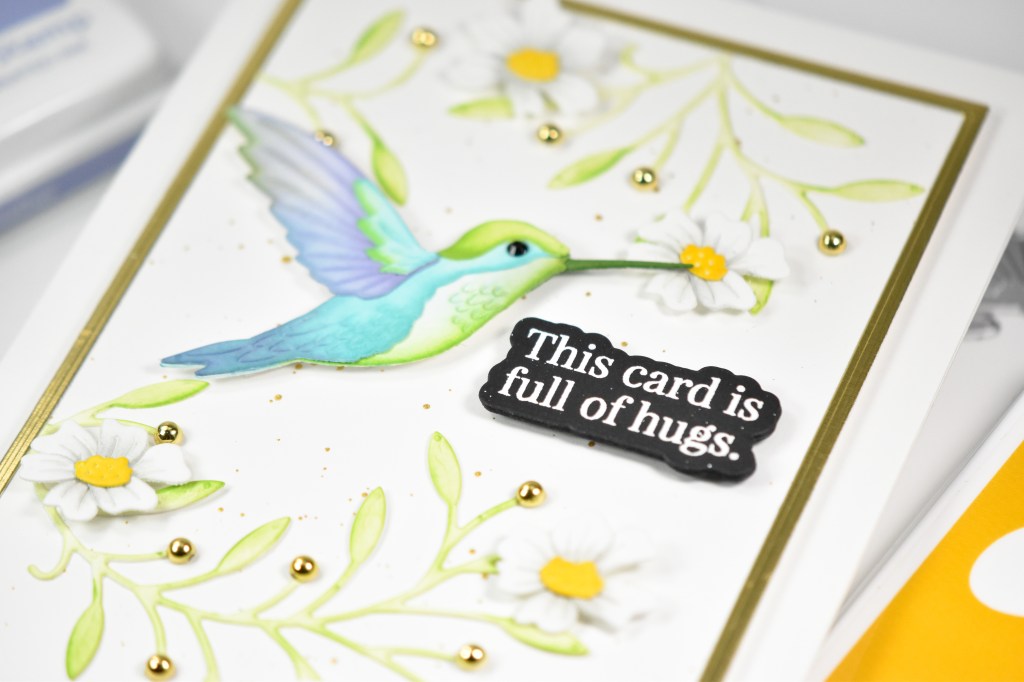
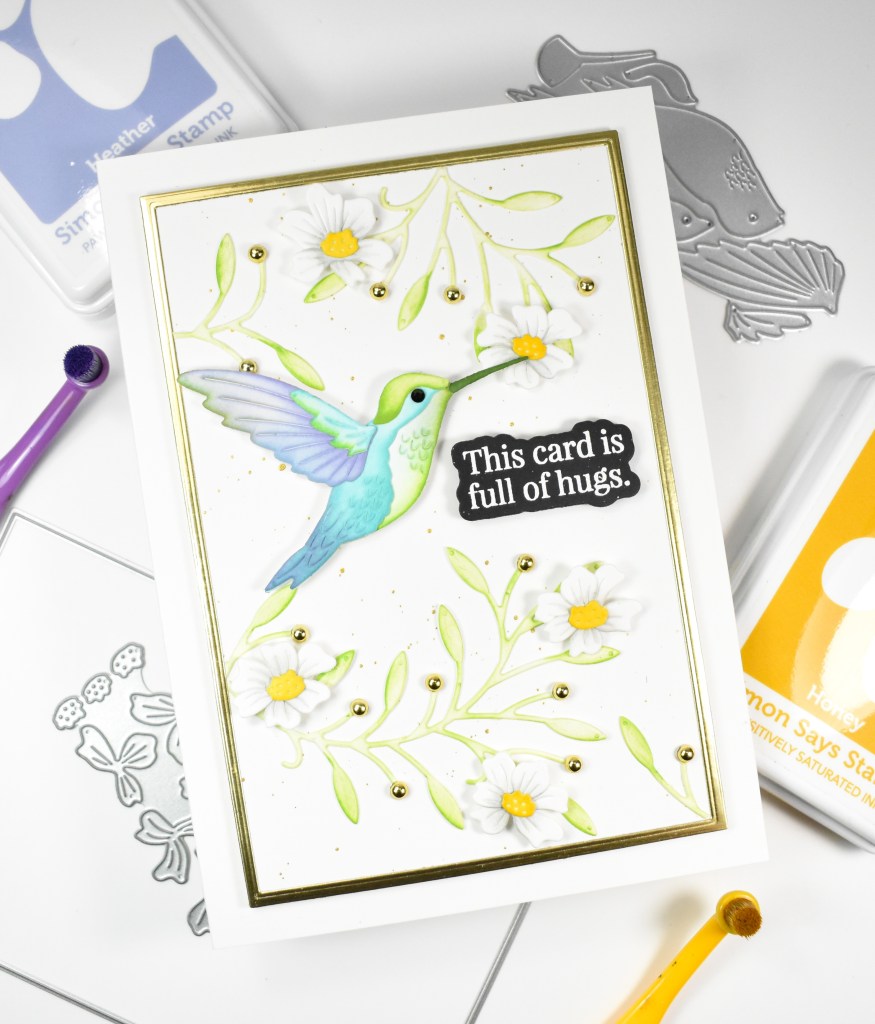
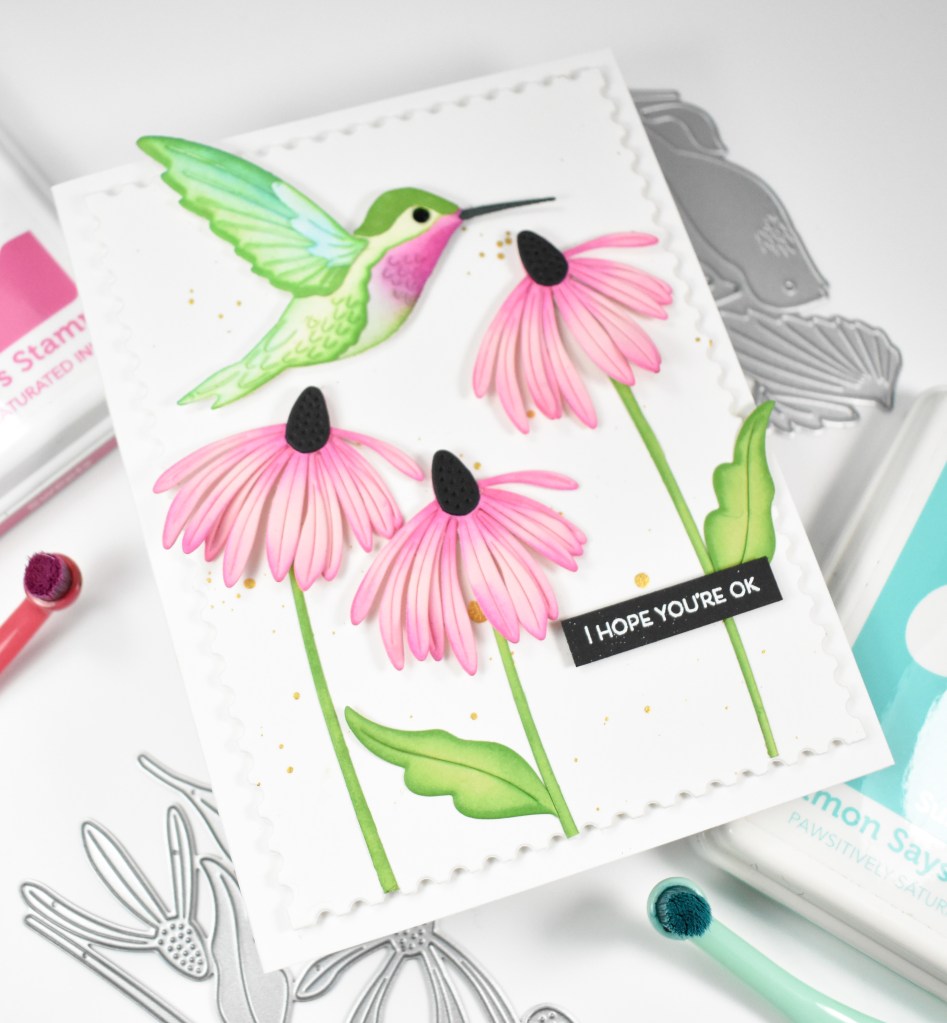
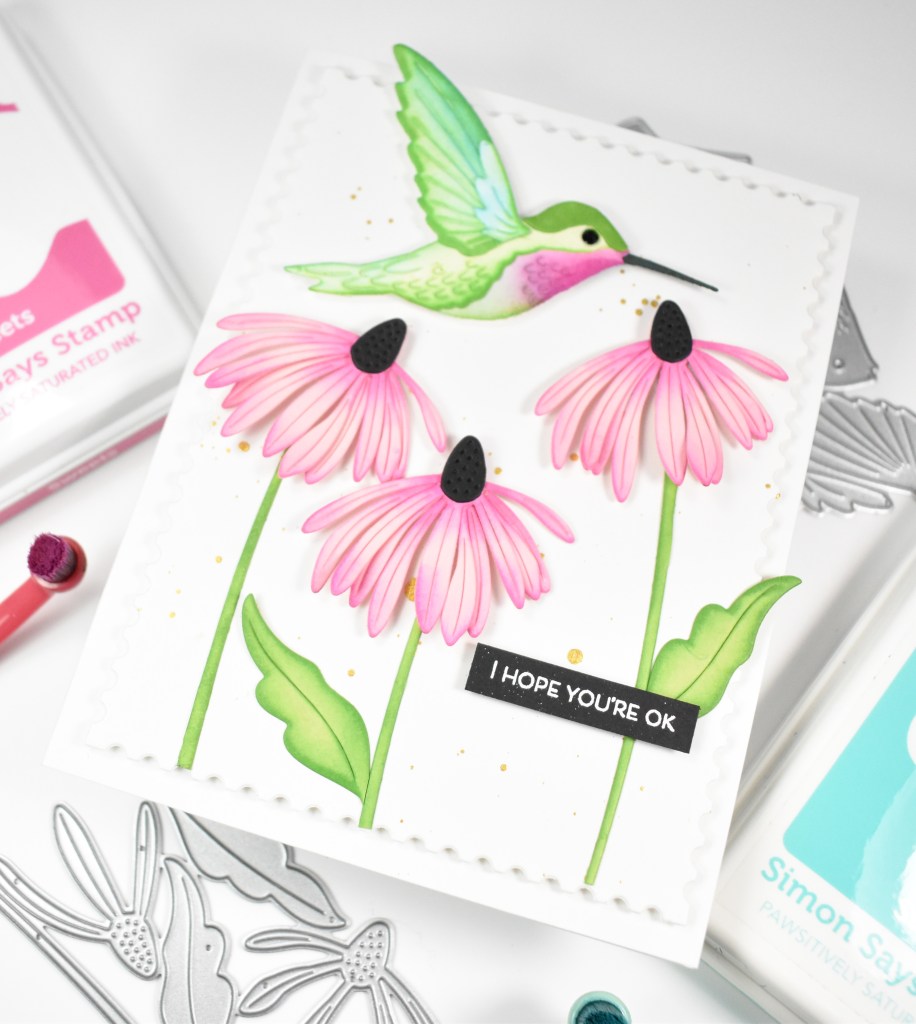
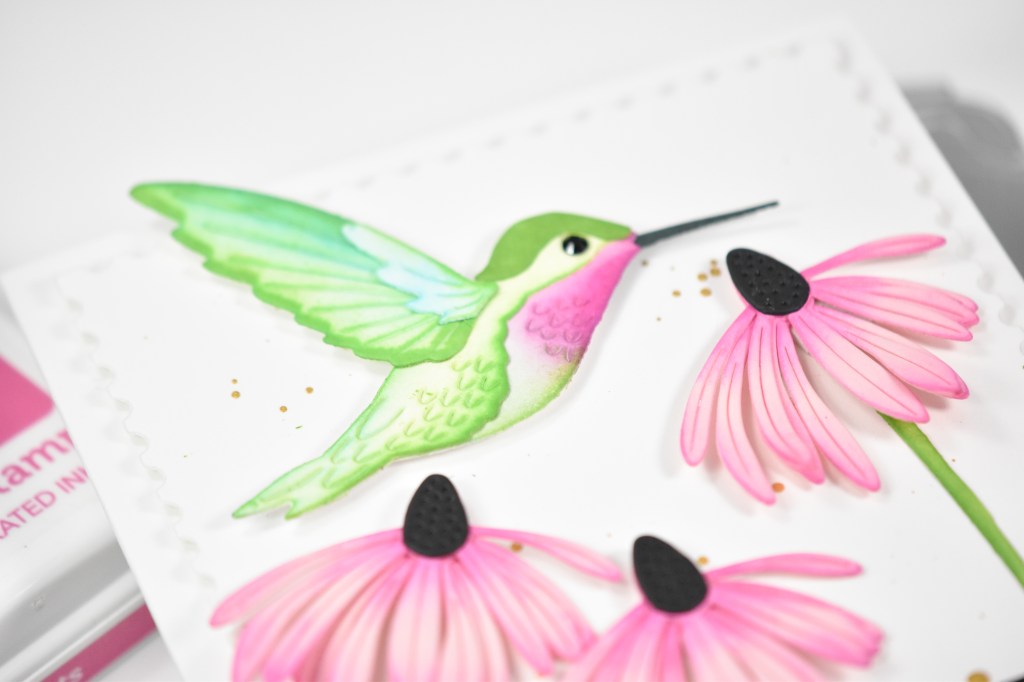
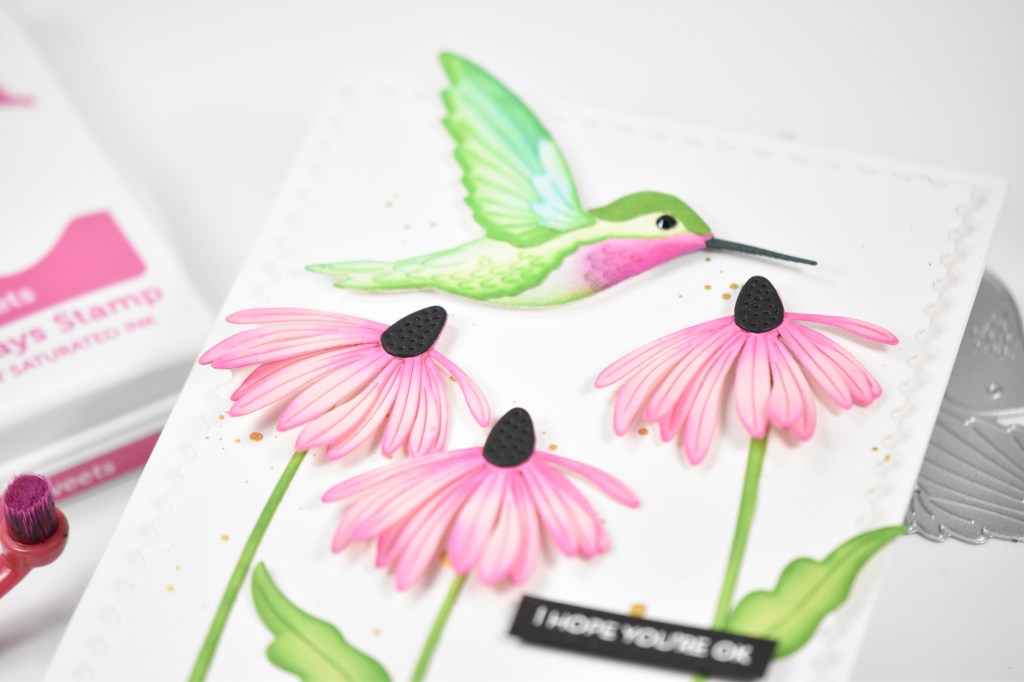
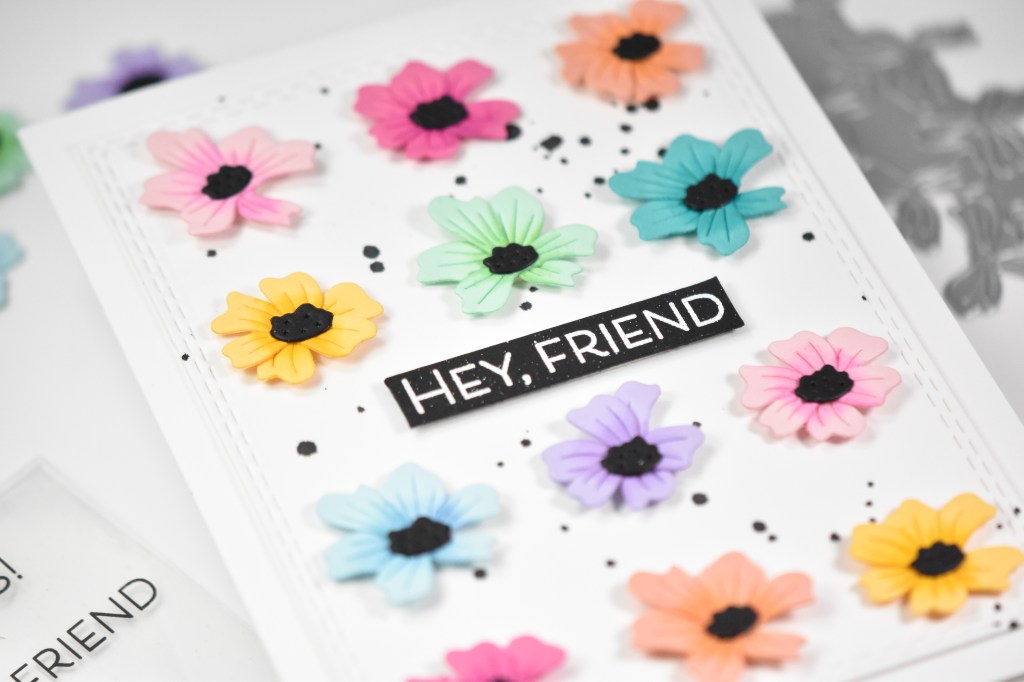
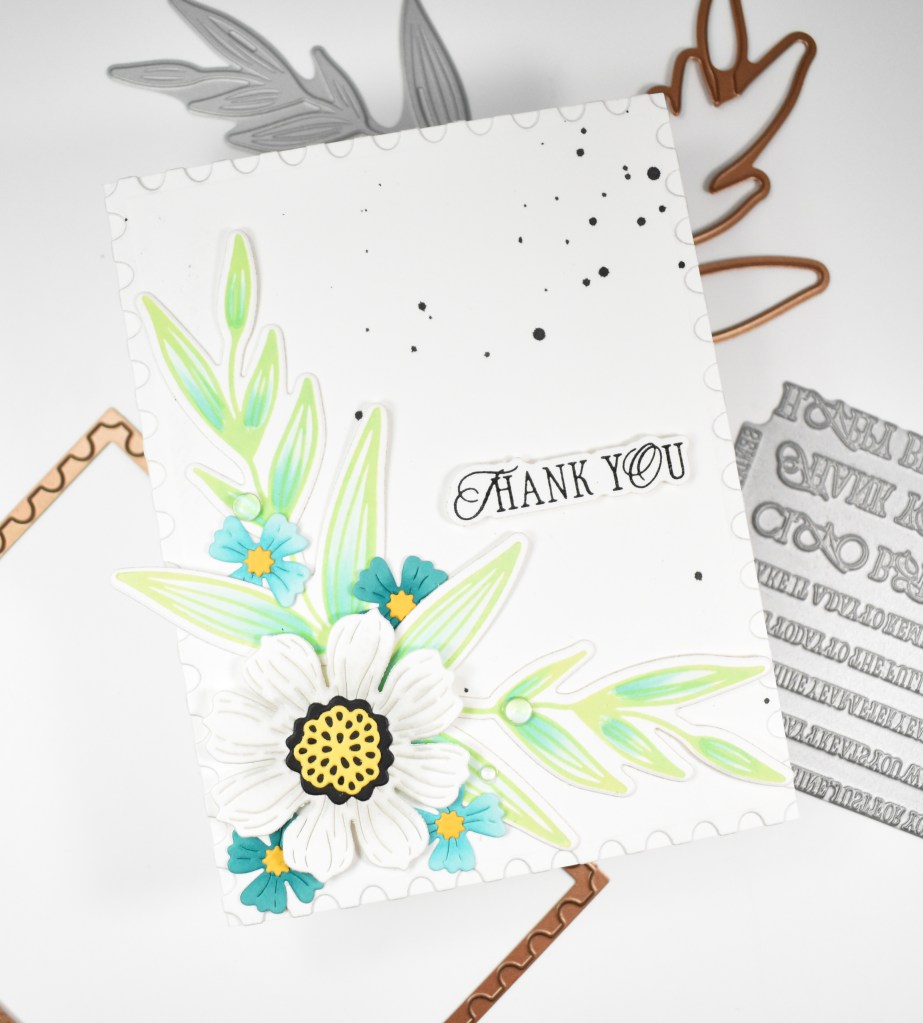
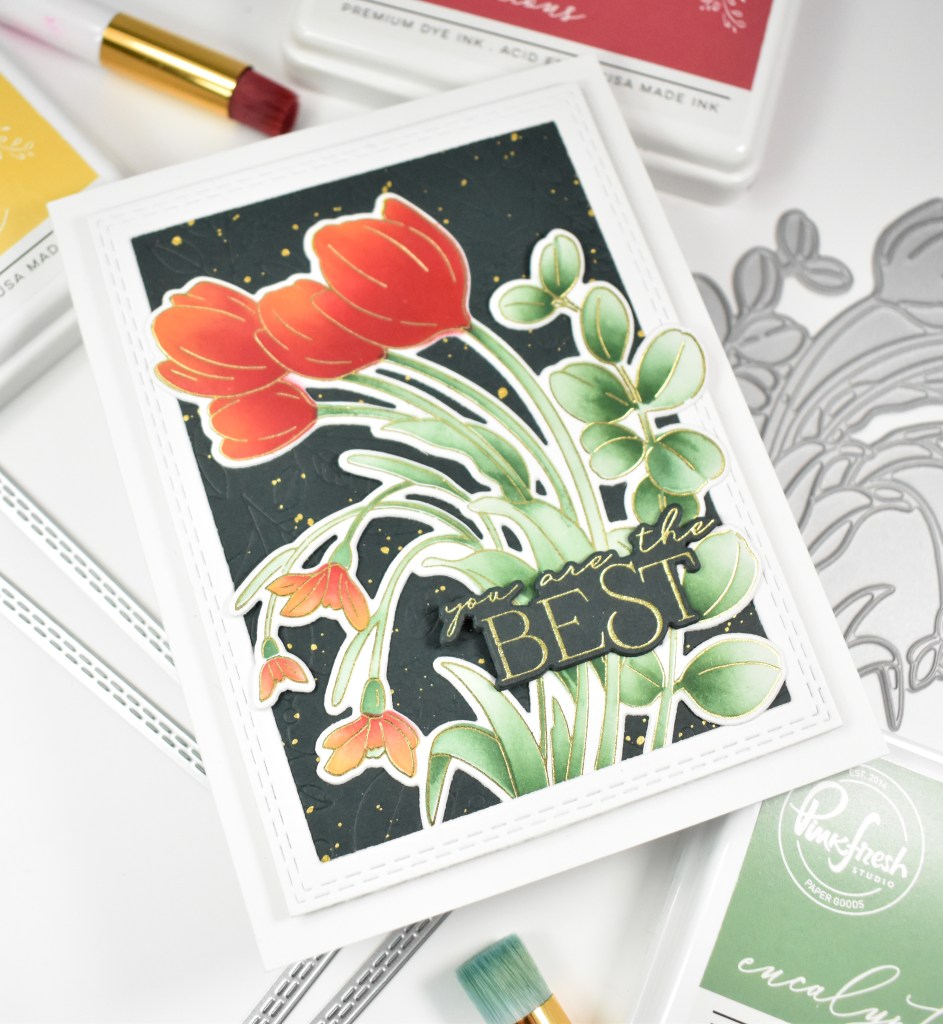
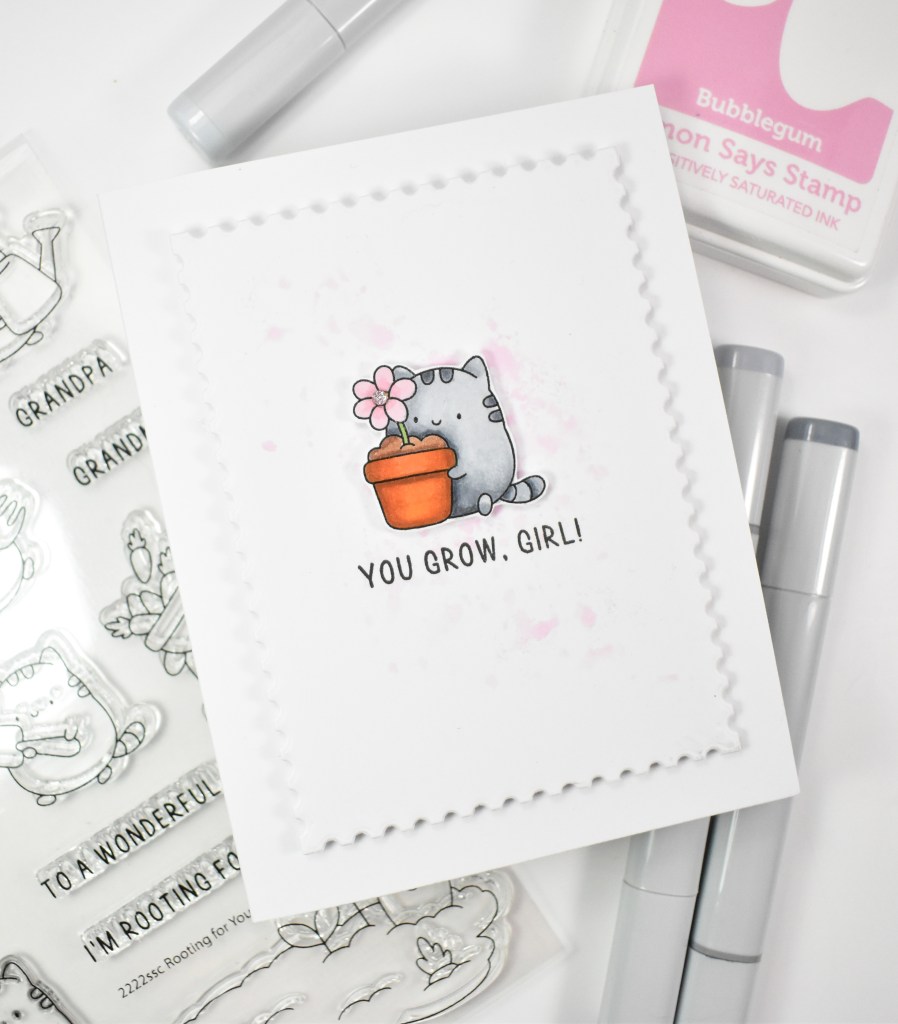
I began this project by stamping one of the critters from the set onto Neenah 110lb cardstock using VersaFine Onyx Black ink and heat setting it with clear embossing powder. I used Copics C1, C3, C4, C5, C7, R81, R83, YG17, E23, E27, E37, YR16 and YR18 to color in the image. Once finished, I fussy cut the image out, because I did not have the coordinating dies.

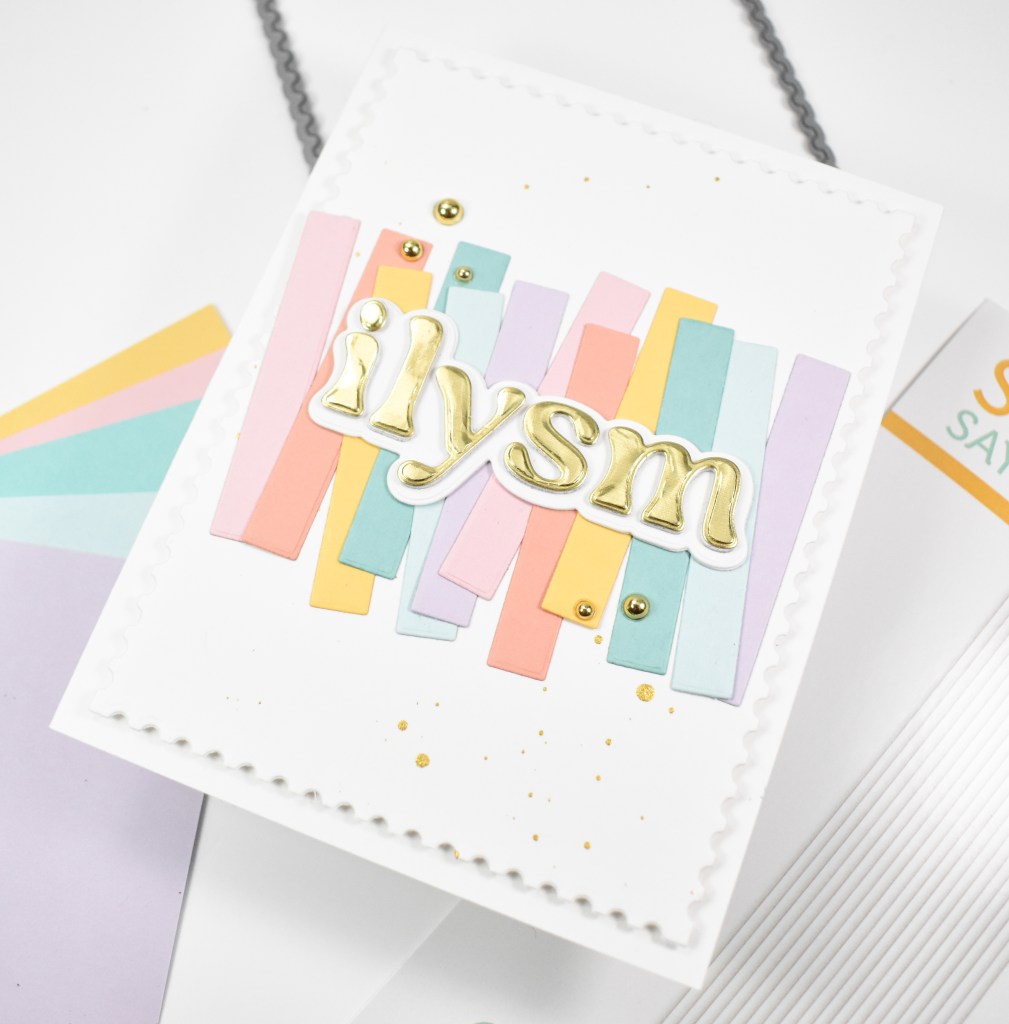
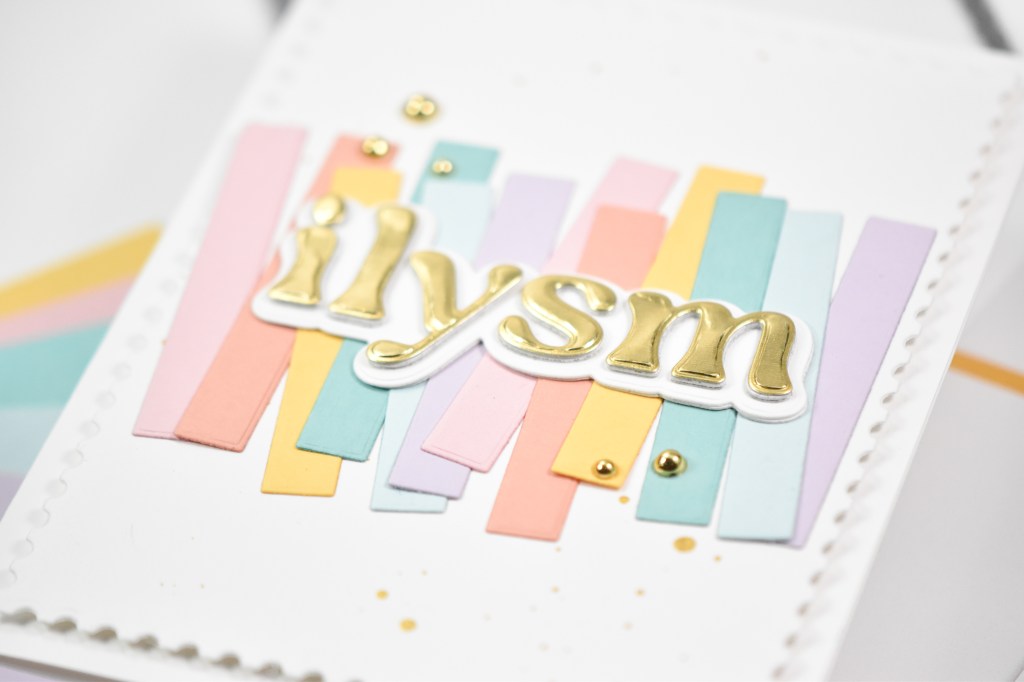
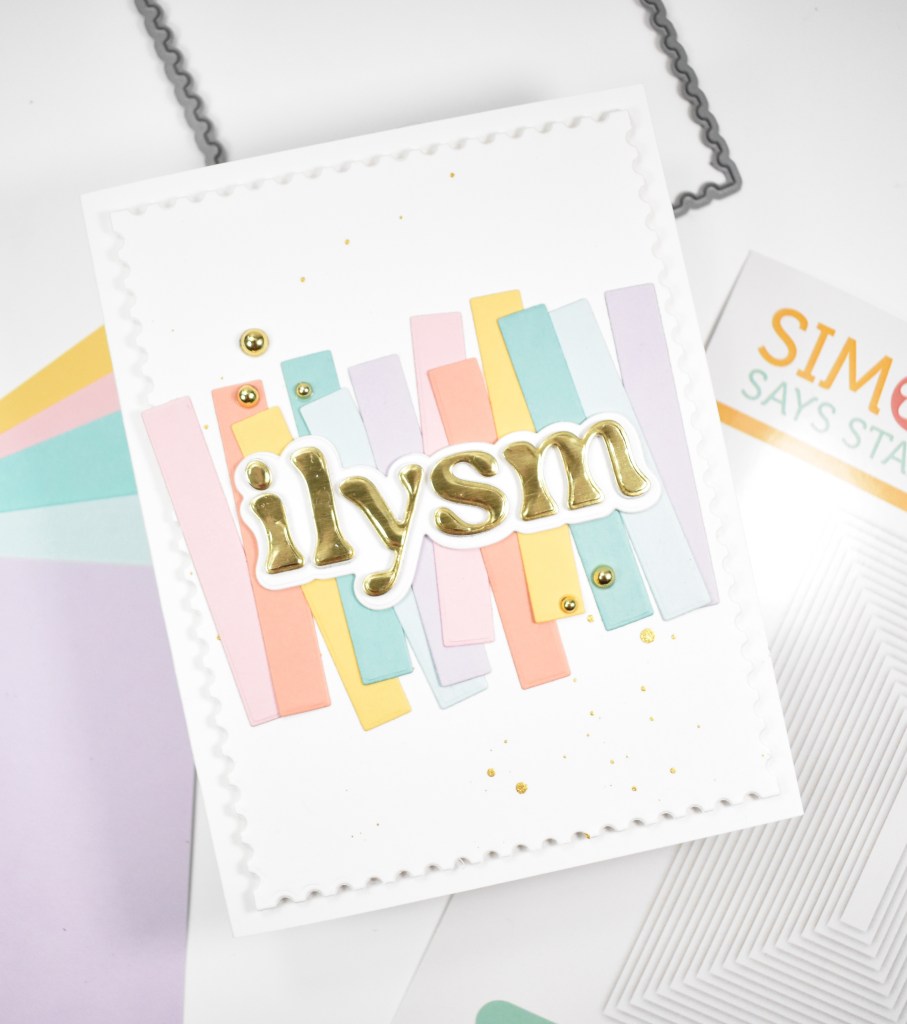
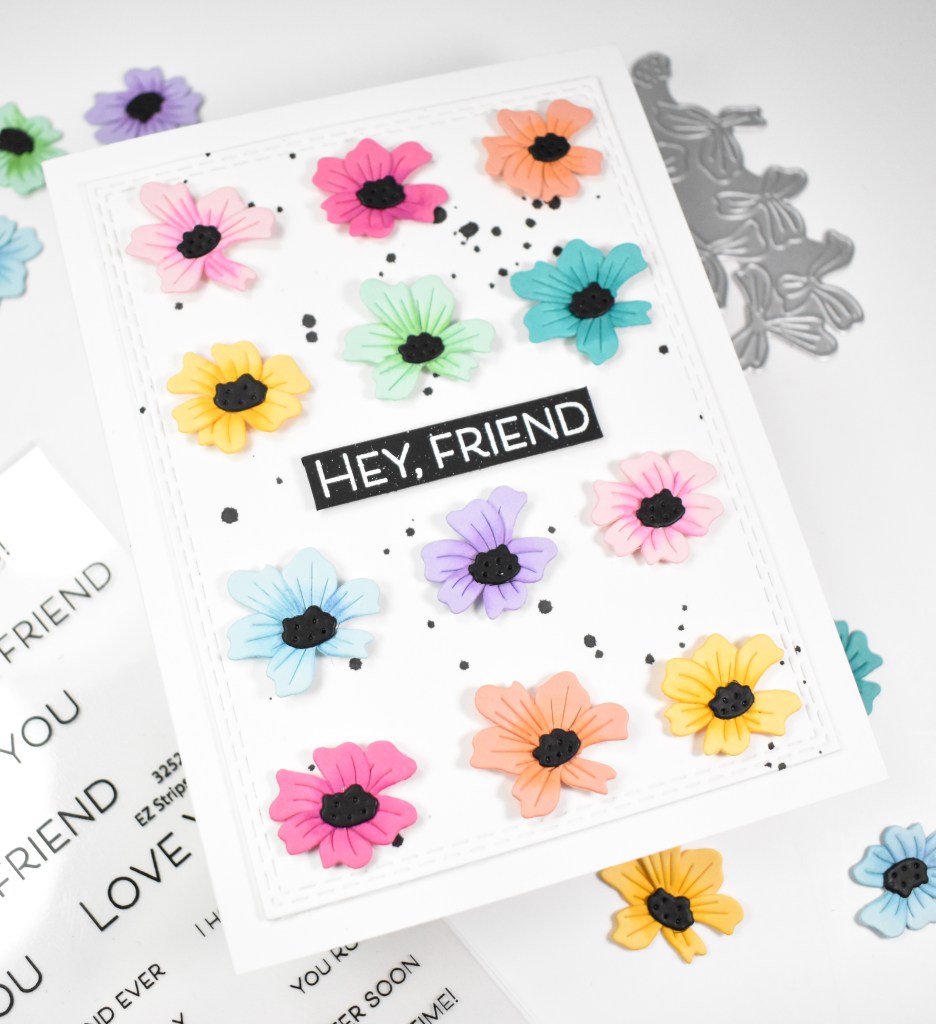
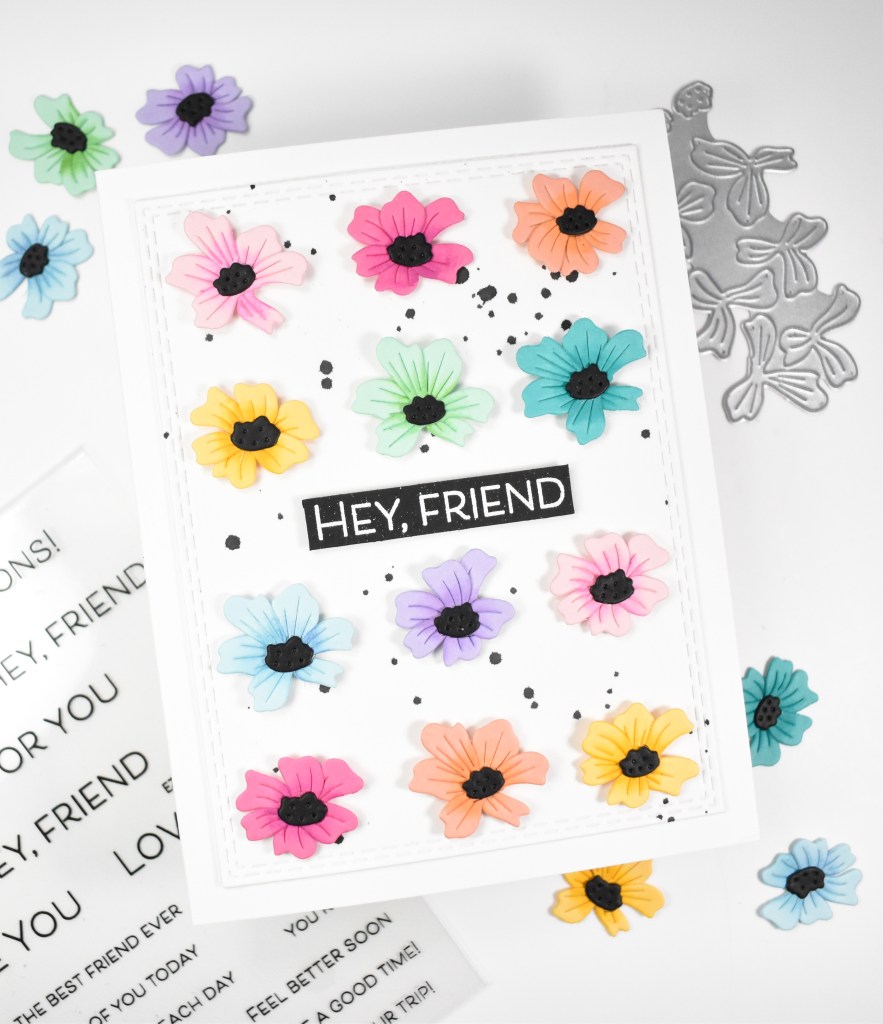
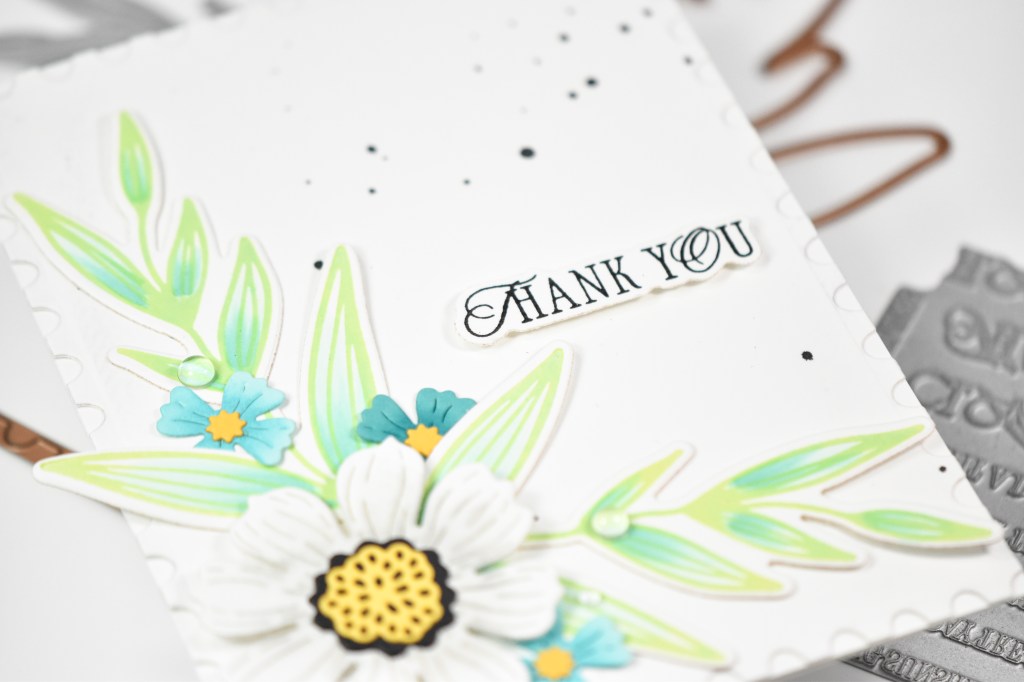
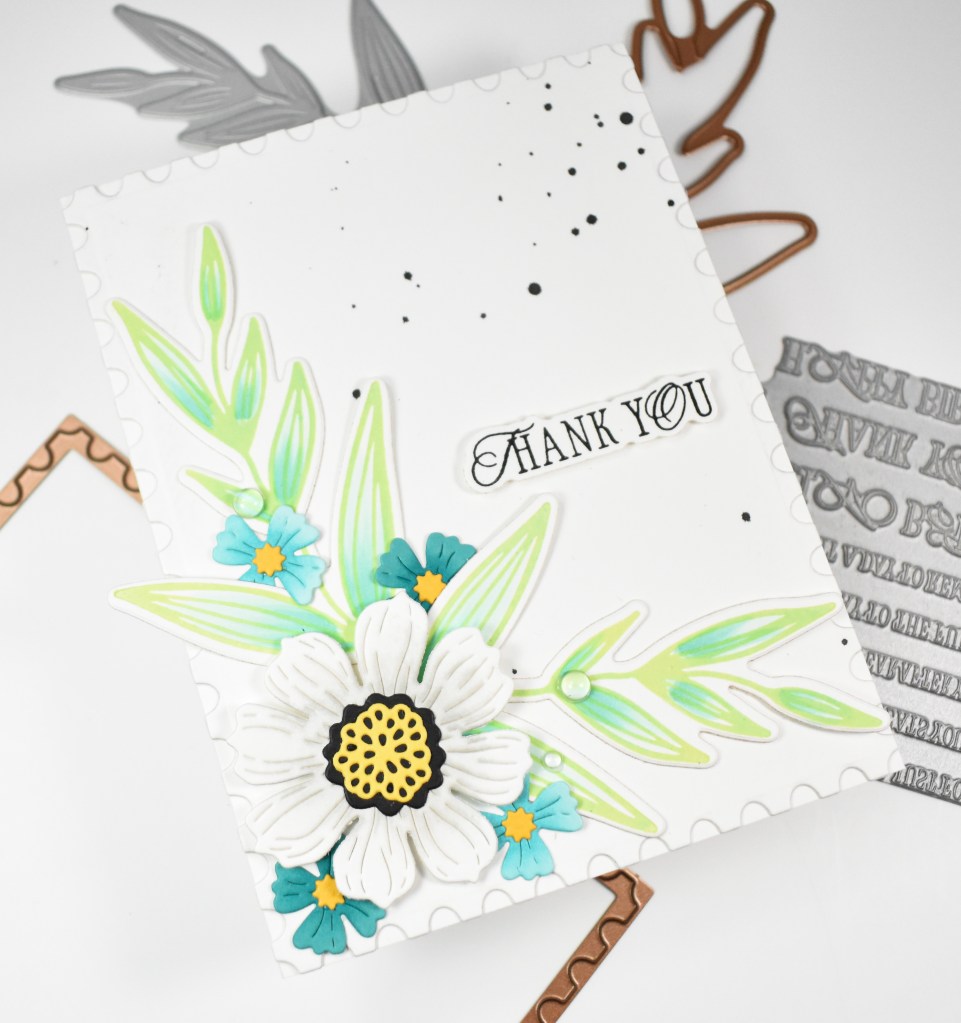
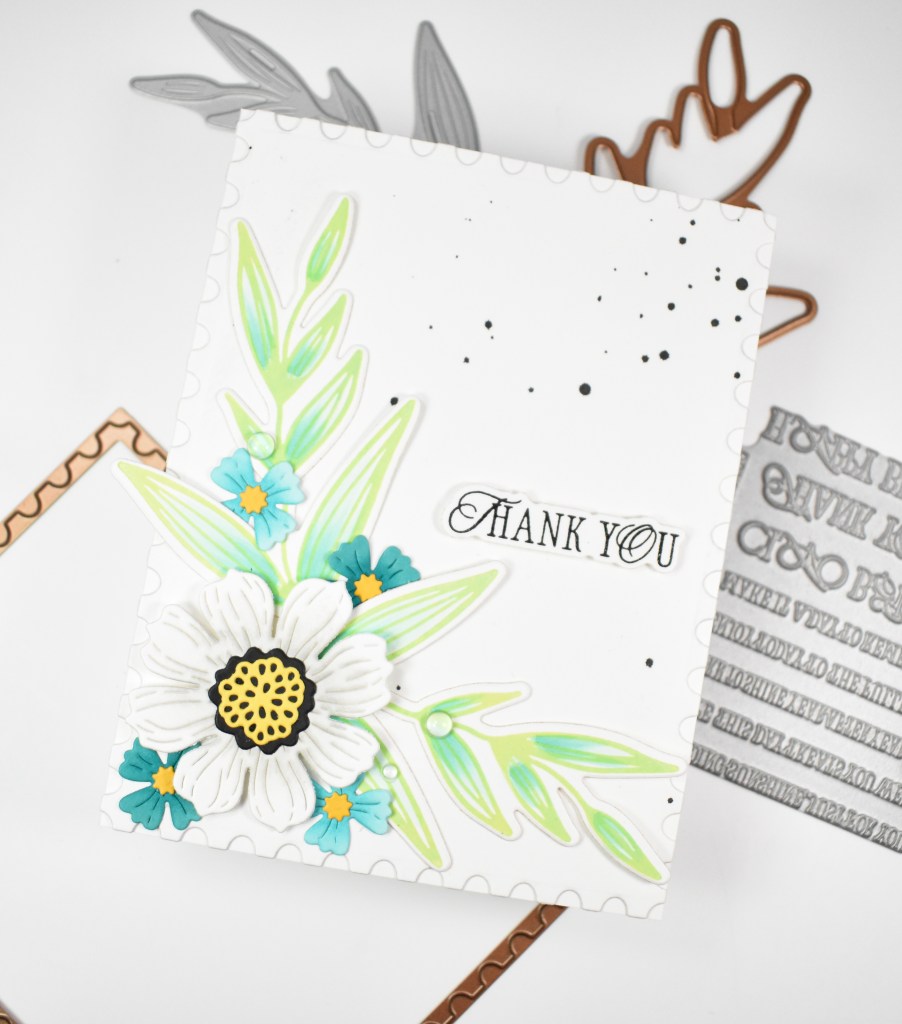
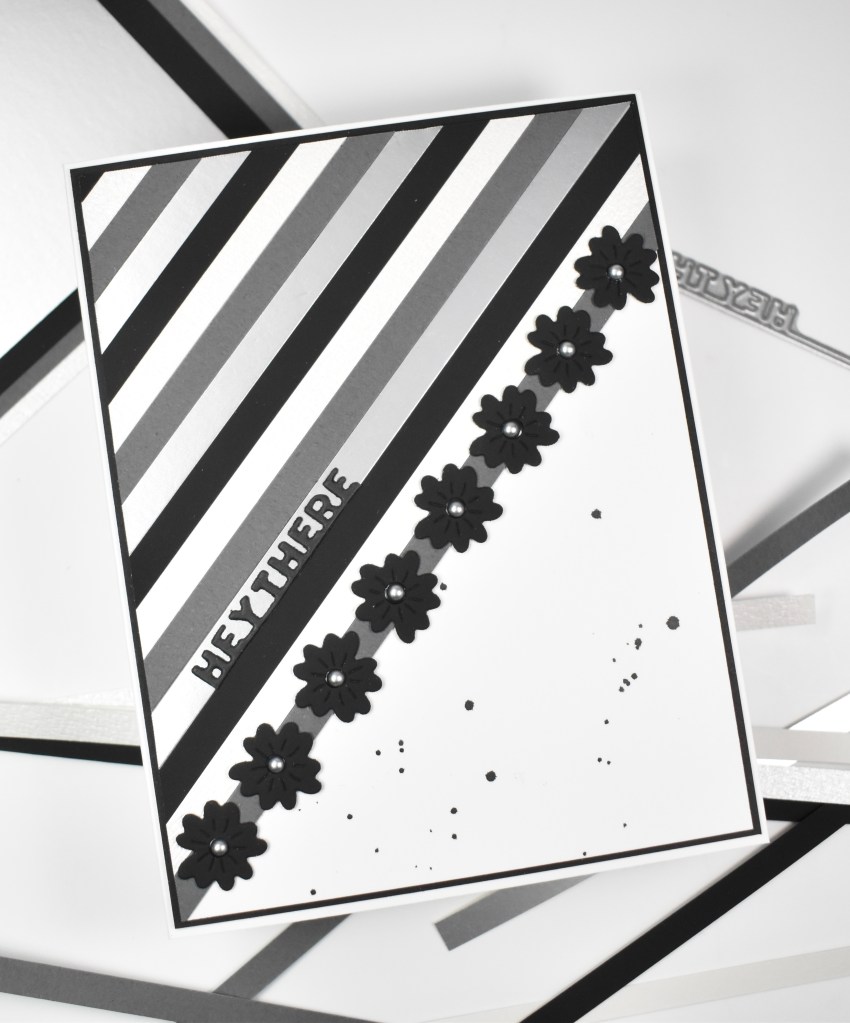
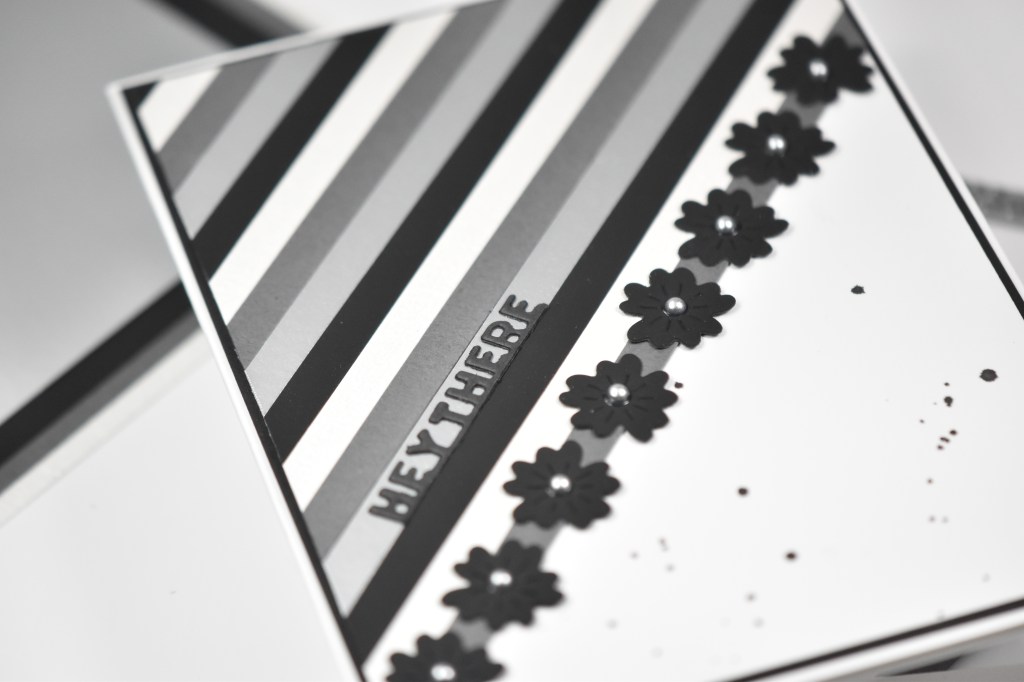
My background was created using the Postage Stamp Edge Frames and the smooshing technique used by Cathy Zielske. I smooshed Bubblegum ink onto my glass mat, spritzed it with water, and then used a ziplock bag with a paper towel inside of it to smoosh it onto the ink and then onto the paper for an organic look. Once the panel was dry, I stamped the sentiment using the same black ink.

The critter was adhered using foam tape and the panel was adhered to the card base using foam tape as well. I added pink glitter drop to the center of the flower to finish up.

That does it for this one. I hope you enjoyed it! I don’t always do clean and simple cards, but do enjoy them when I decide to do one. Thanks again for stopping by, and don’t forget to stay awesome!

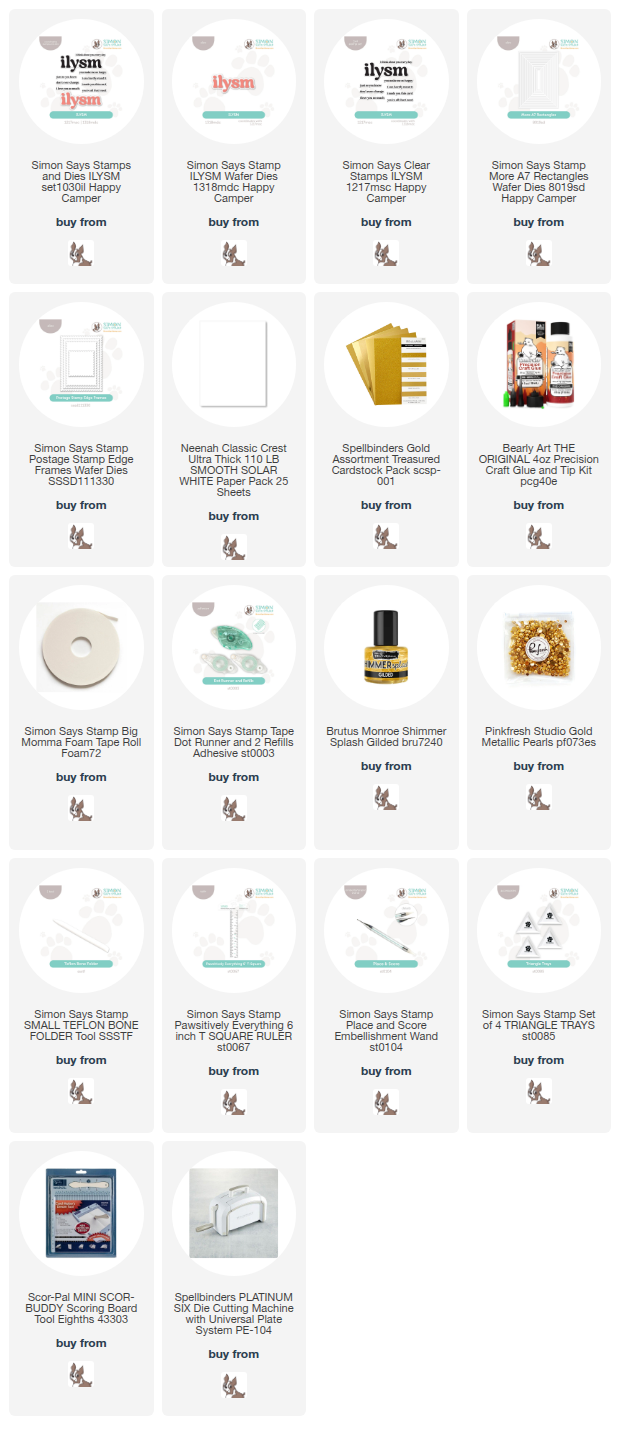
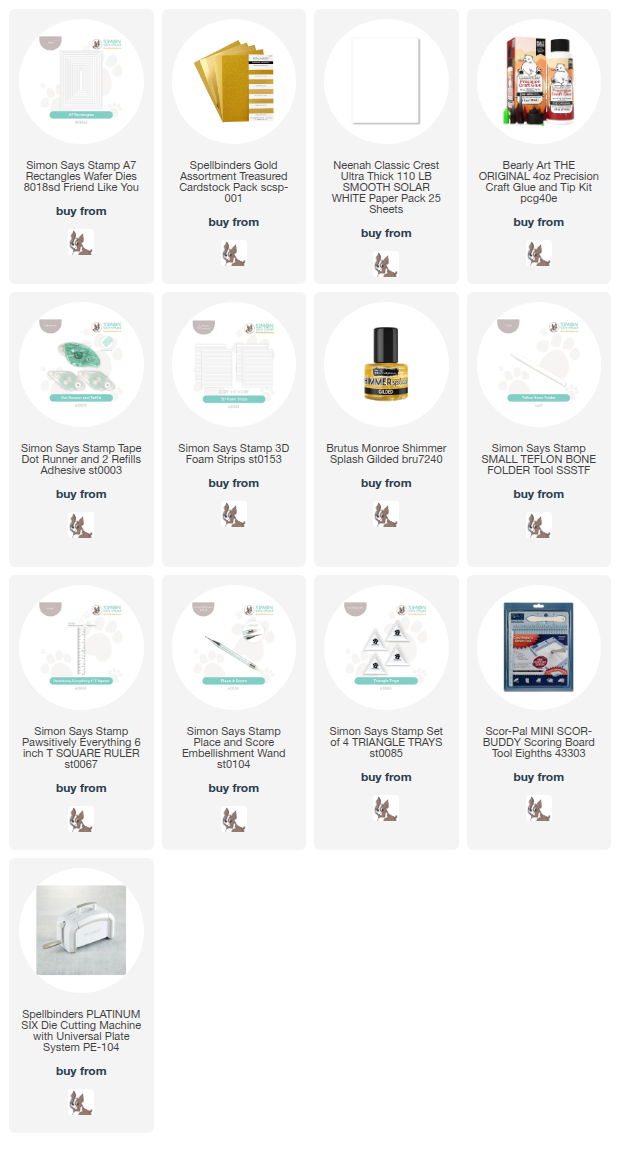
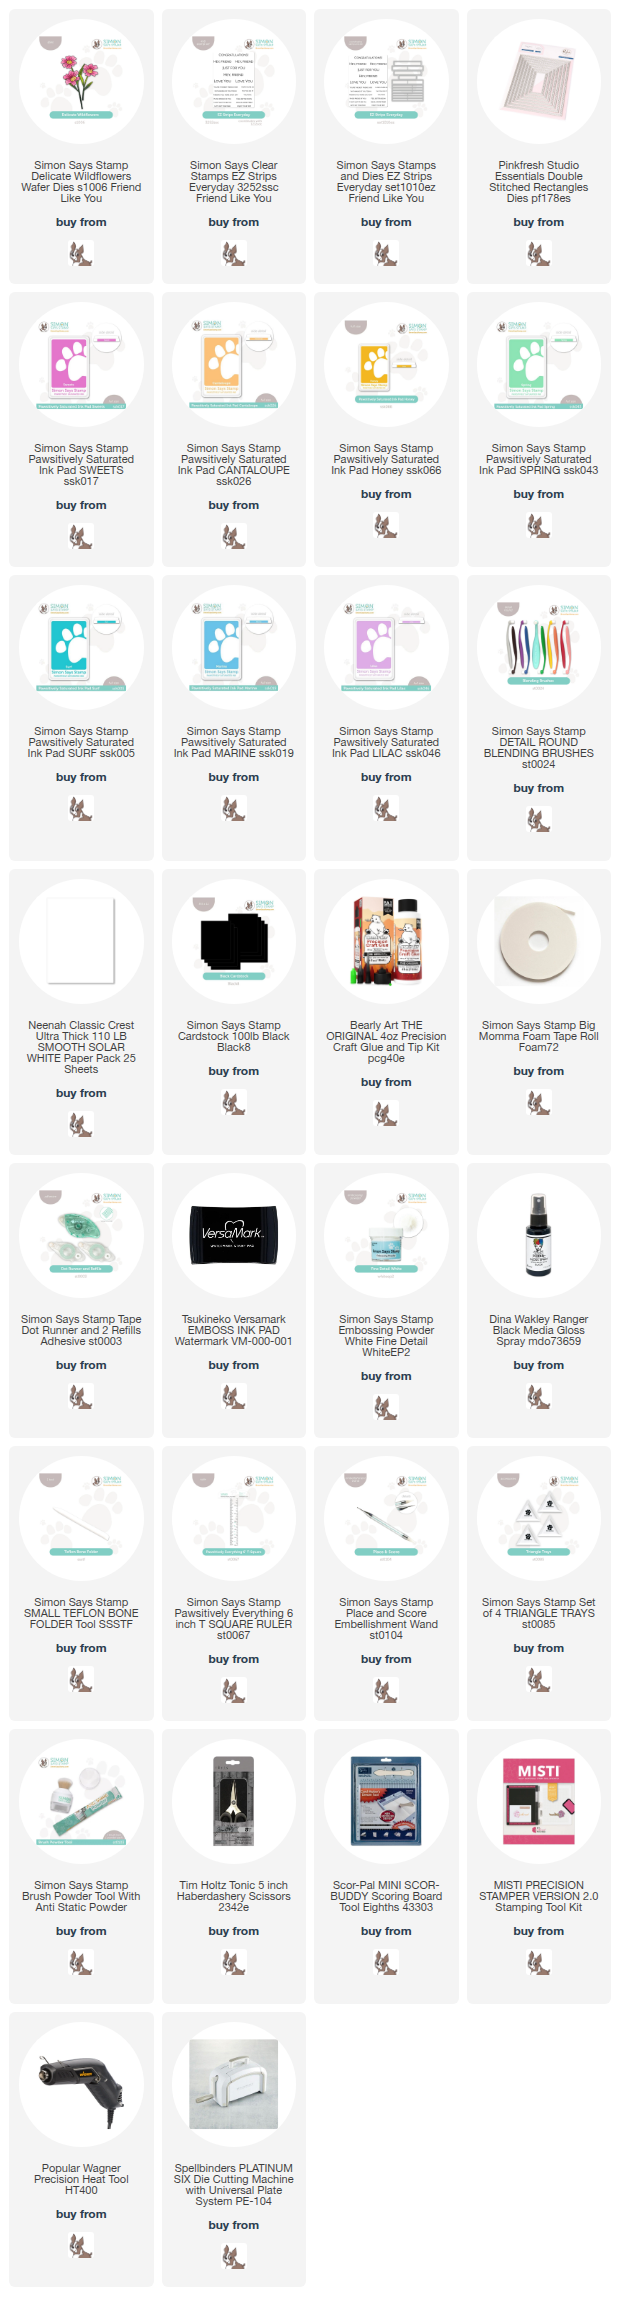
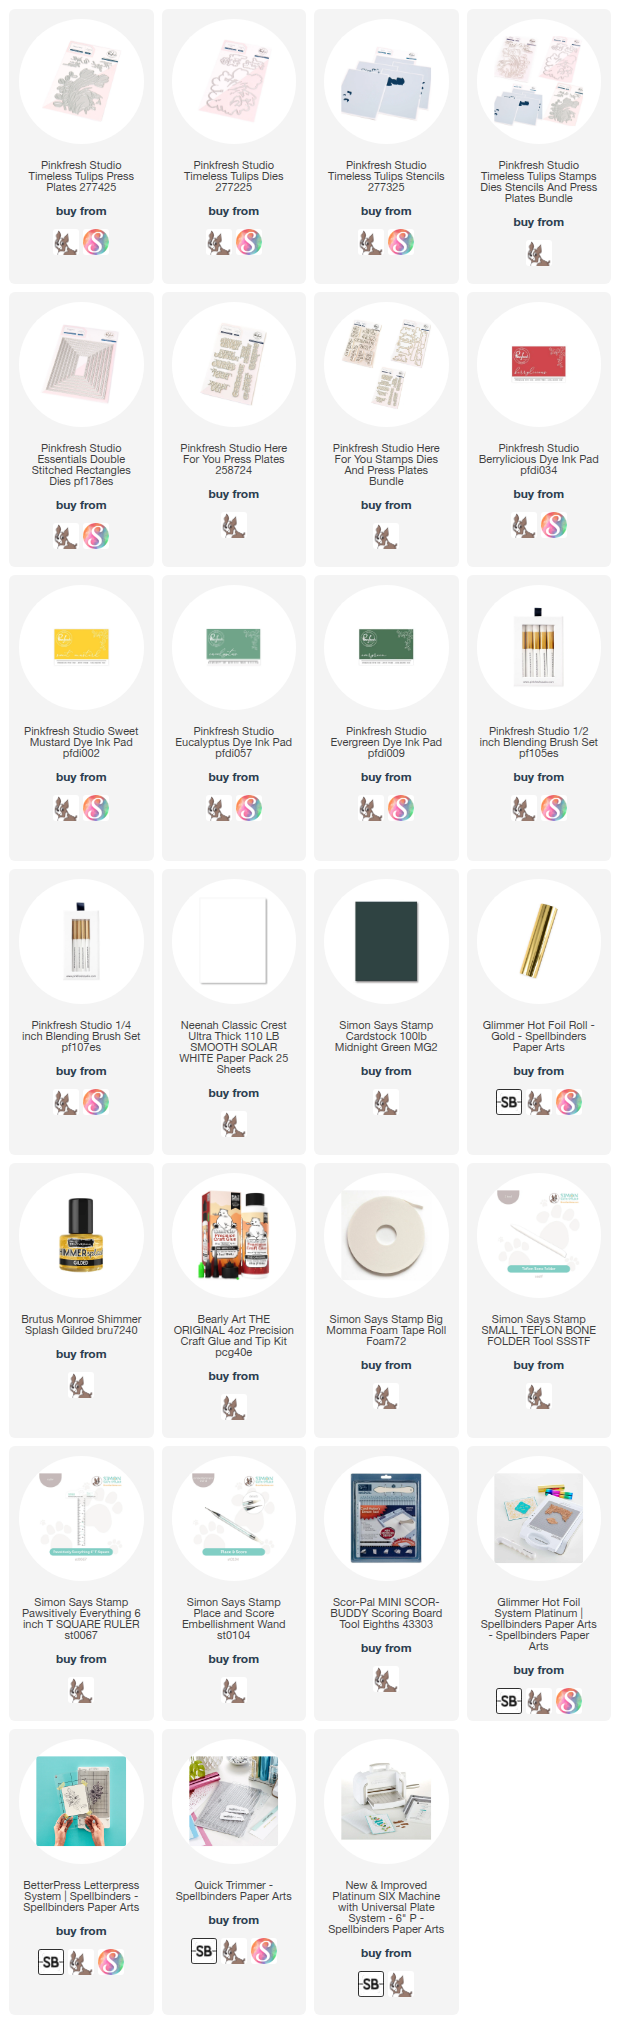
Supply List
Affiliate links used at no cost to you. What does this mean? If you use the links within this post to make a purchase, I receive a small commission, which allows me to continue to post crafty content for your enjoyment. I truly appreciate your support!
Latest Posts
- Simon Says Stamp Grateful Heart

- Simon Says Stamp Braided Greetings

- Together By Design Color Cube Floral

- Simon Says Stamp Cute Duckling

- Simon Says Stamp Watercolor Wild Rose

Latest Instagram Posts