Simon Says Stamp You Are Amazing Vintage Bloom

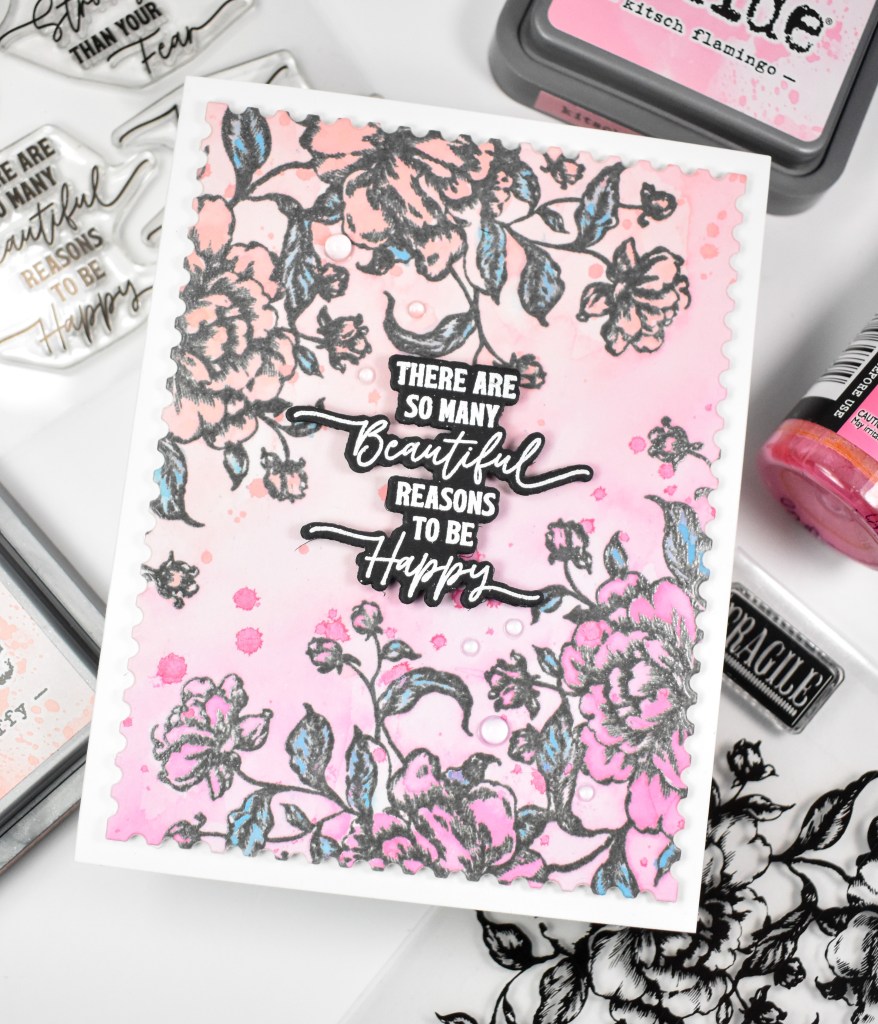
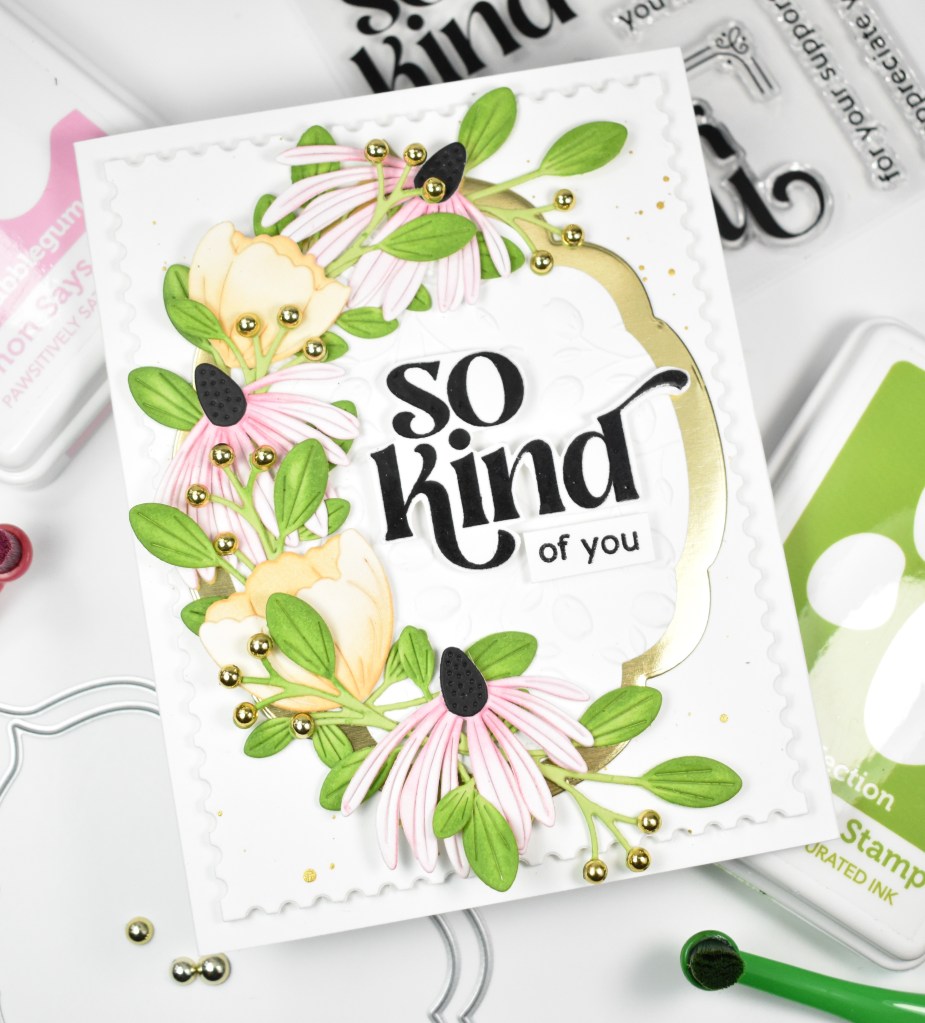
Hey There, Friends! Thanks so much for stopping by! Today’s project is featuring the new Vintage Blooms from Simon’s latest release, Moments In Time. This is a super simple project, but I always love dark and dramatic cards, so let’s go ahead and go through the details for this one!

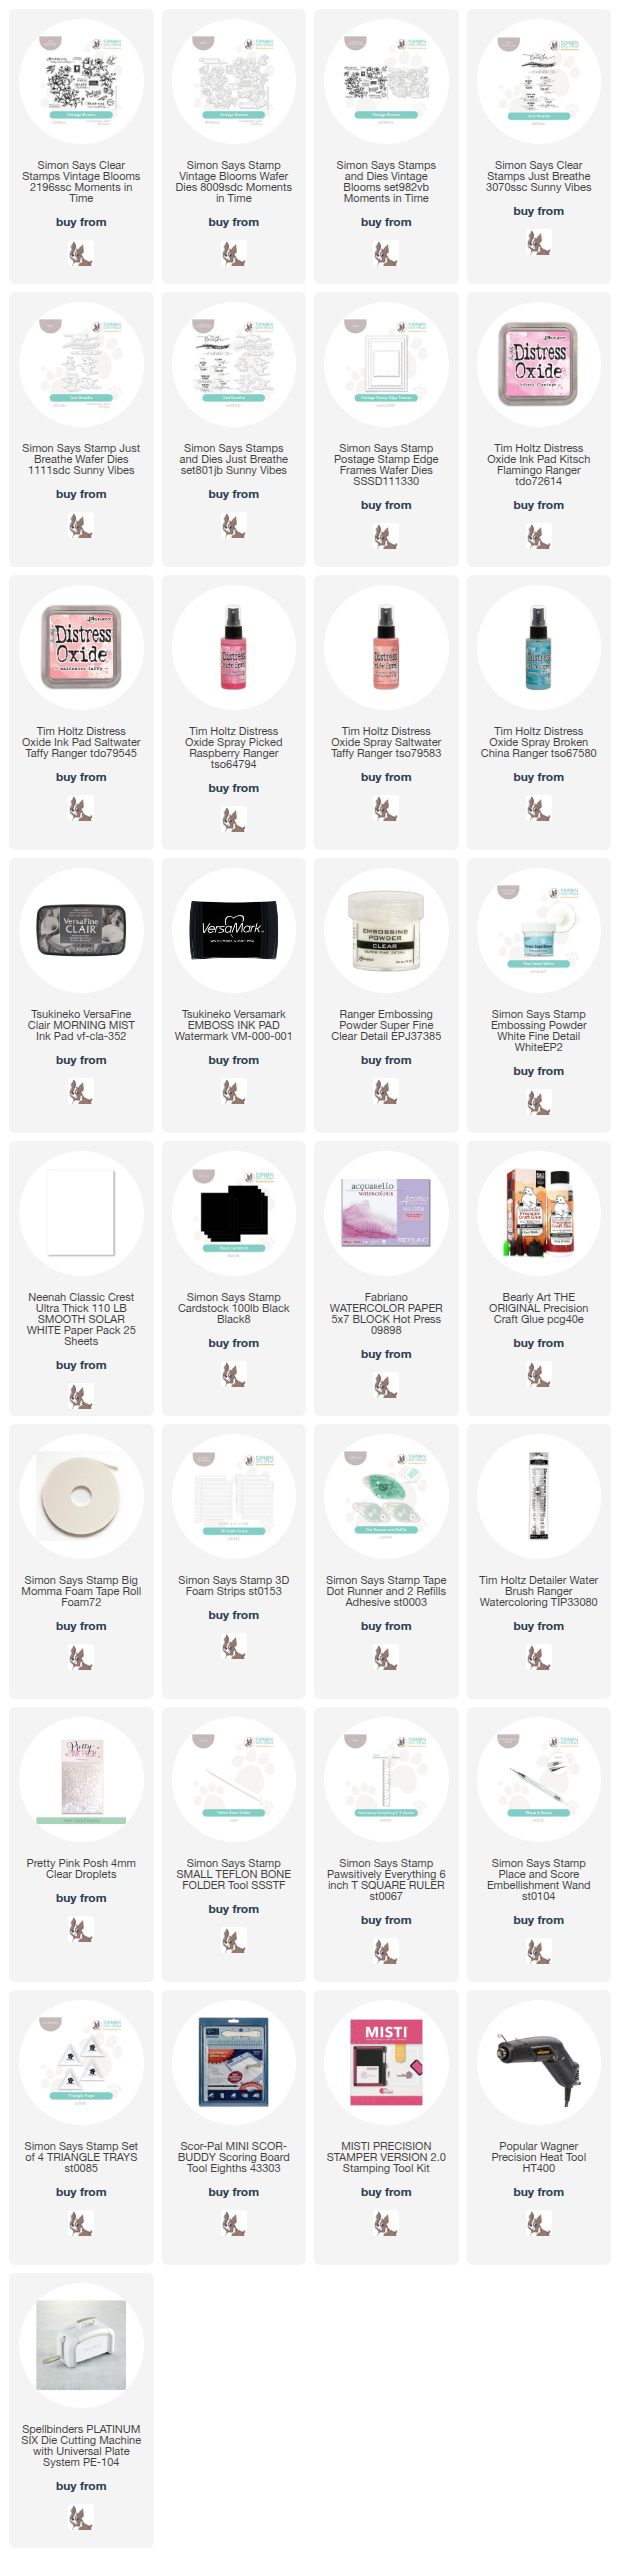
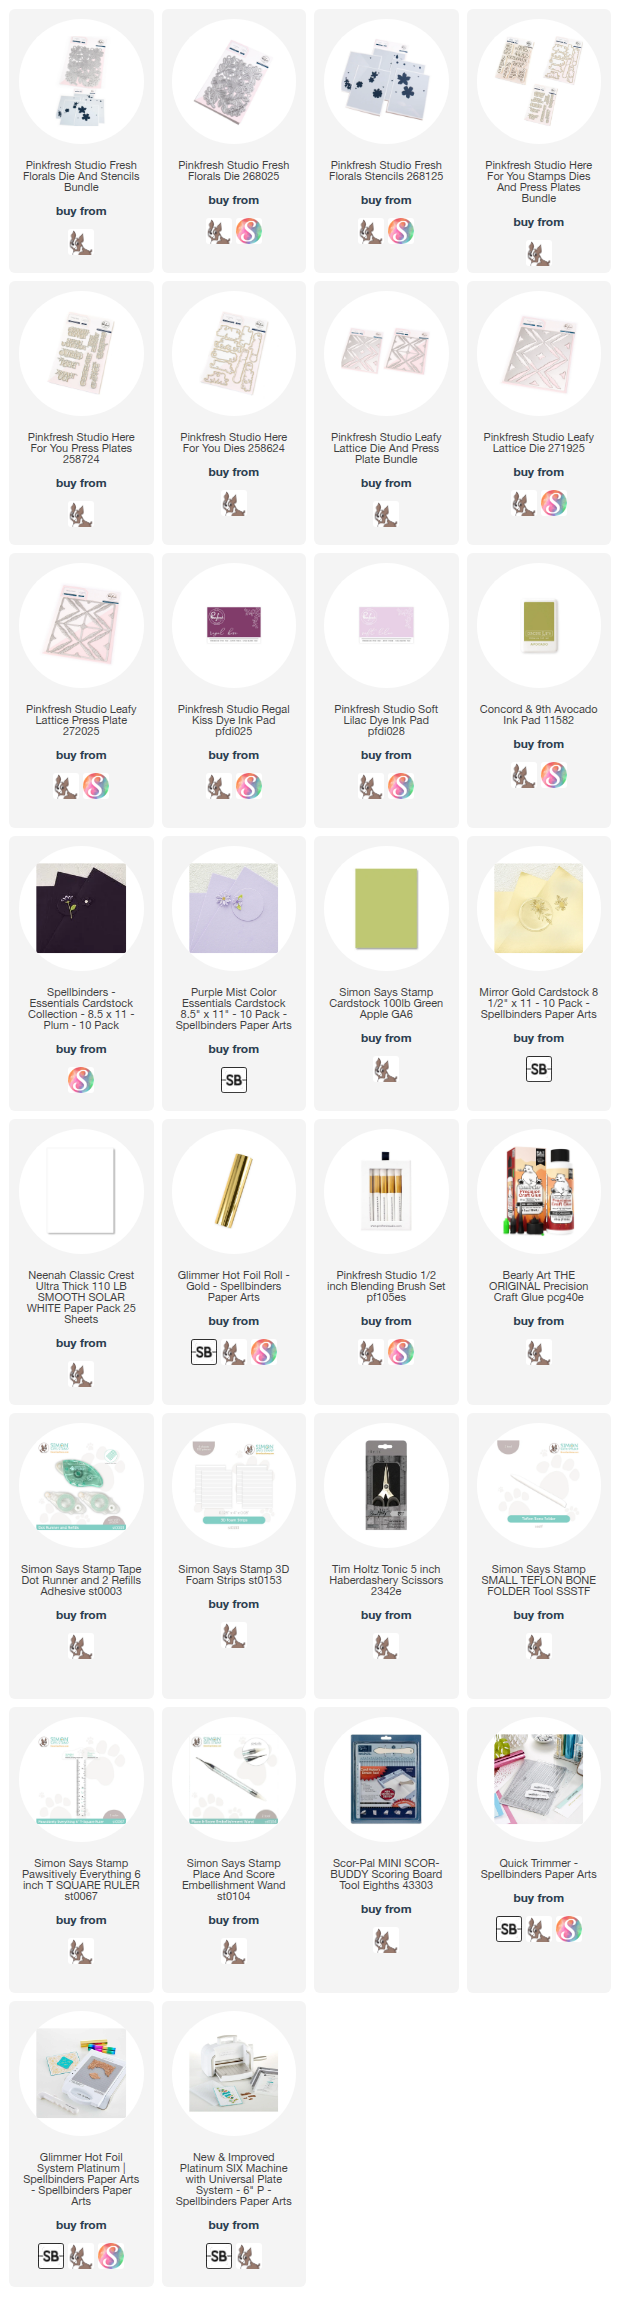
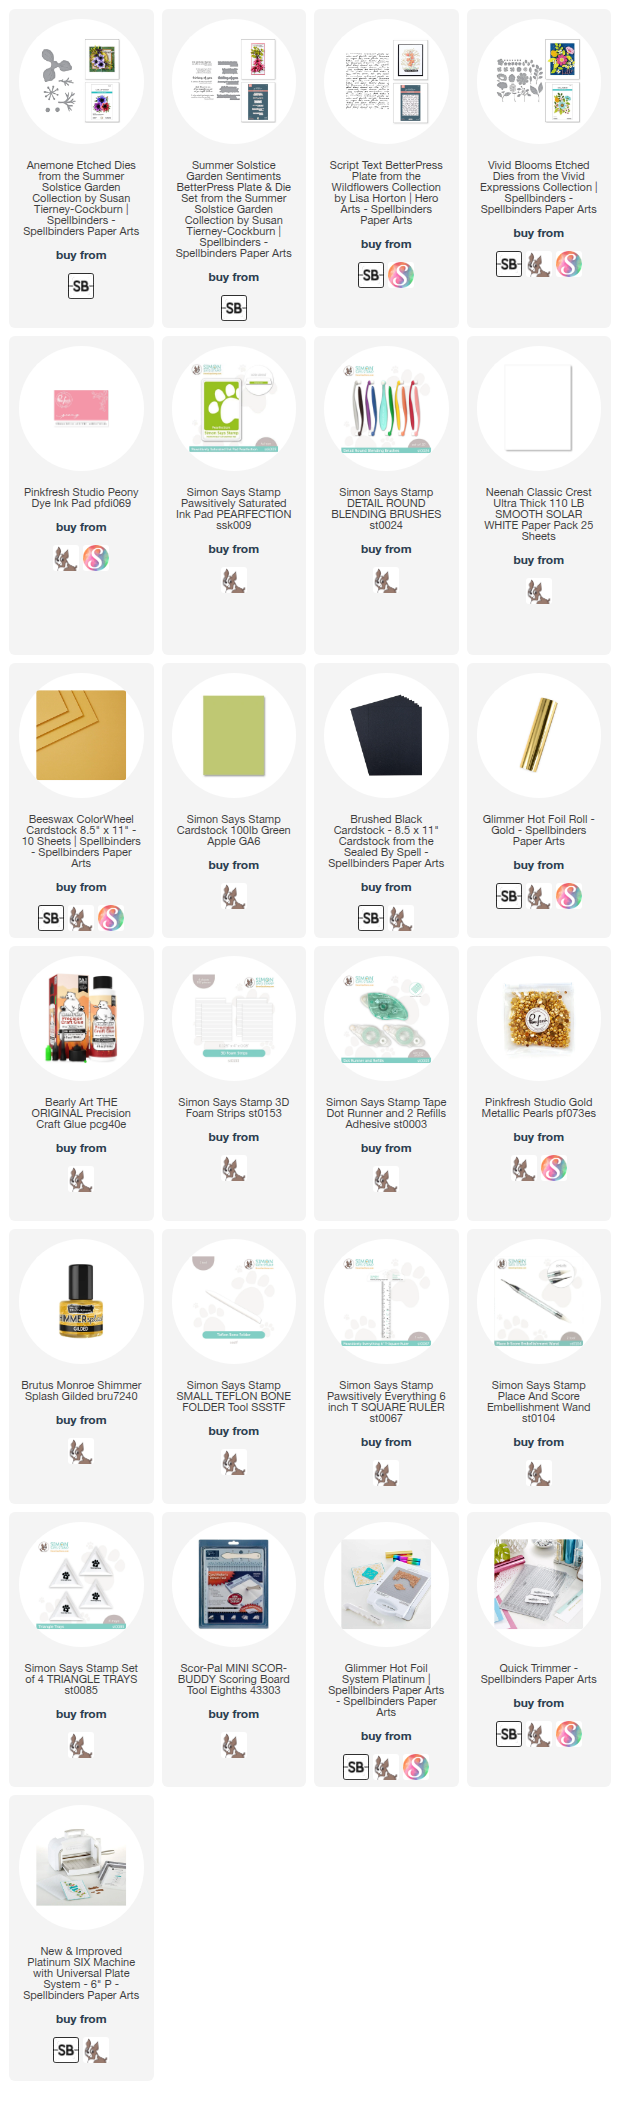
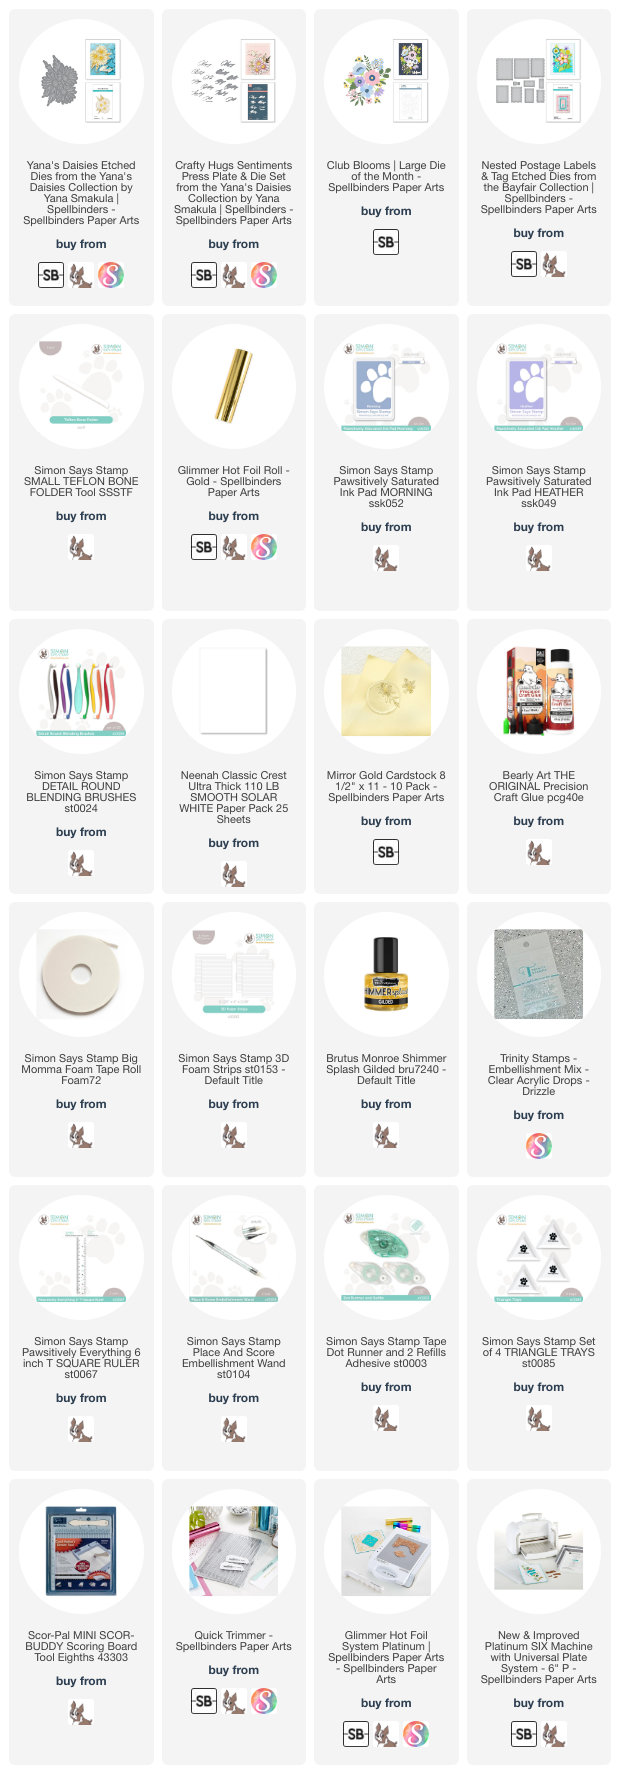
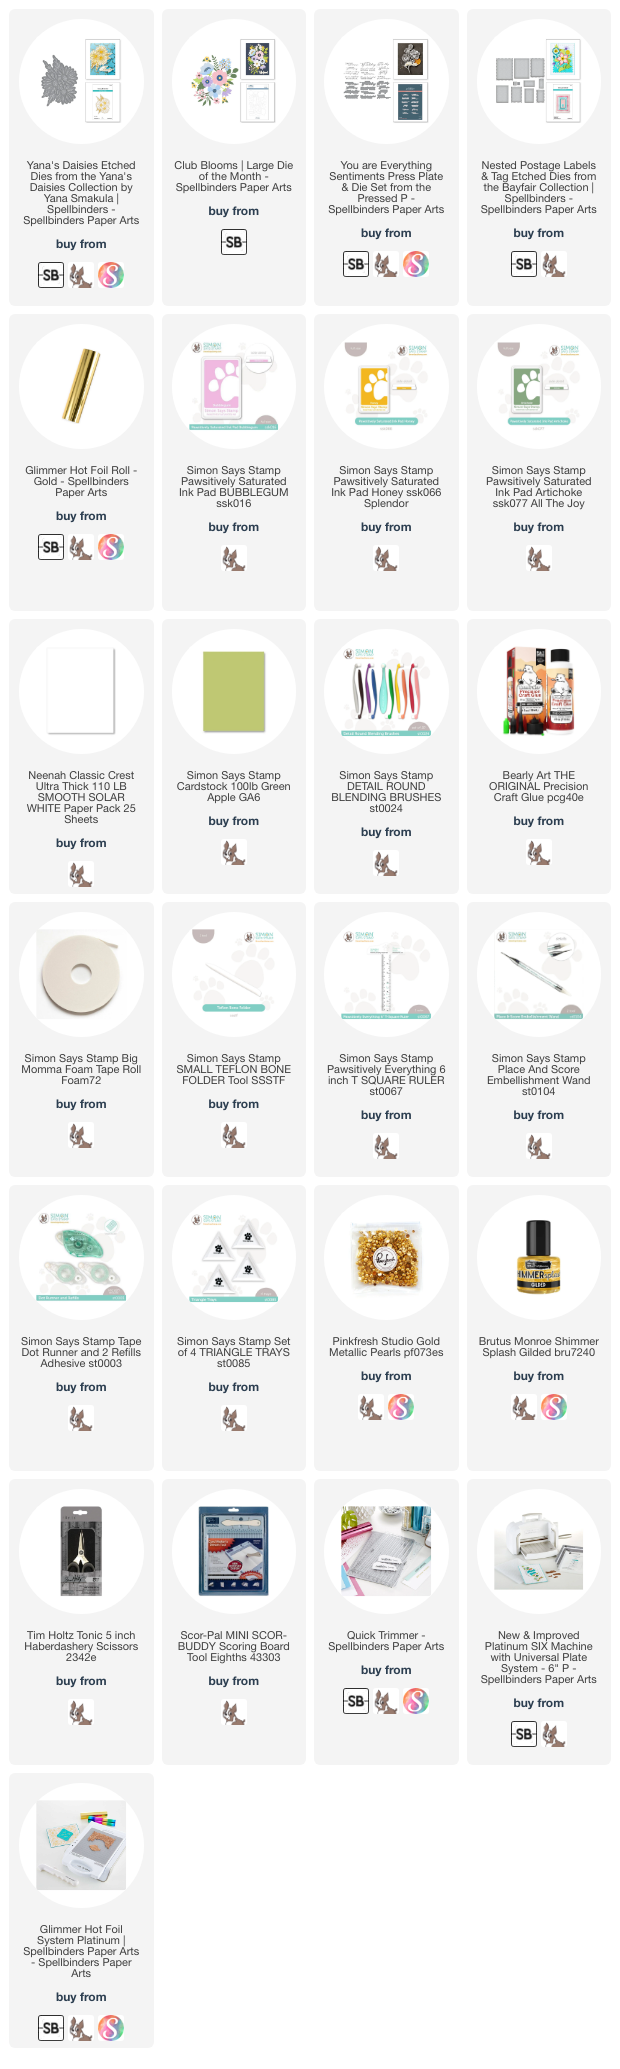
NOTE: all supplies are linked in the thumbnails at the end of this blog post.
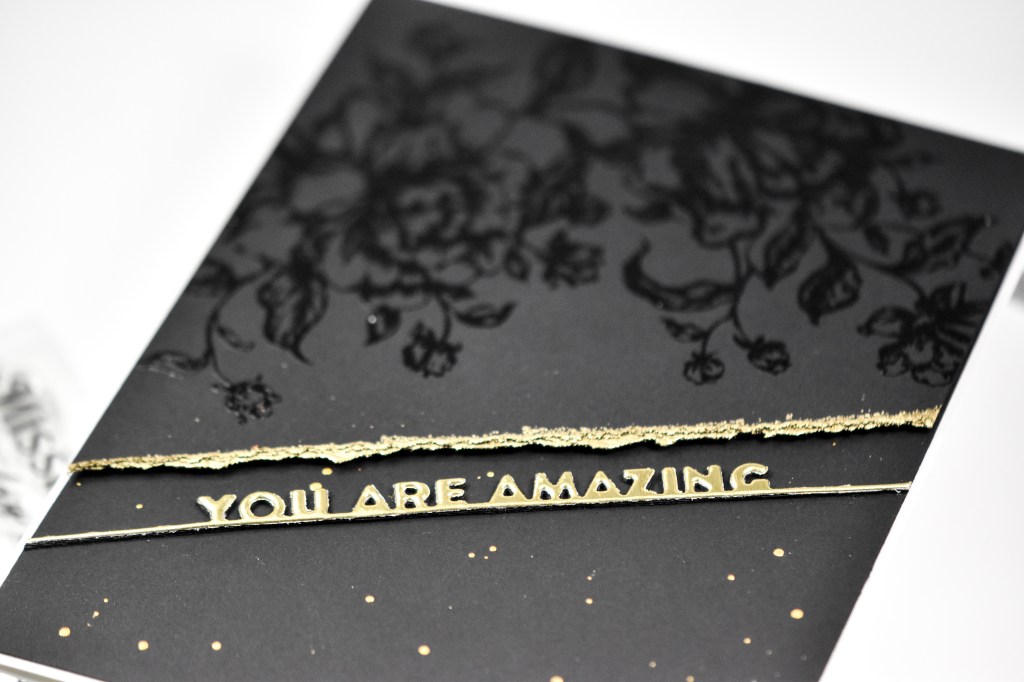
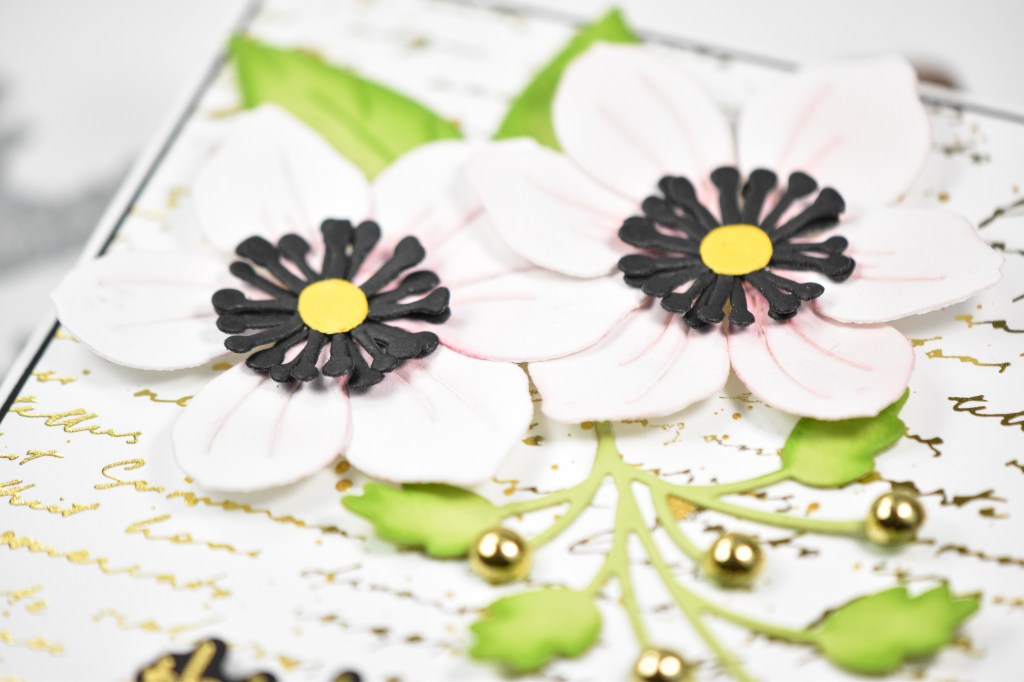
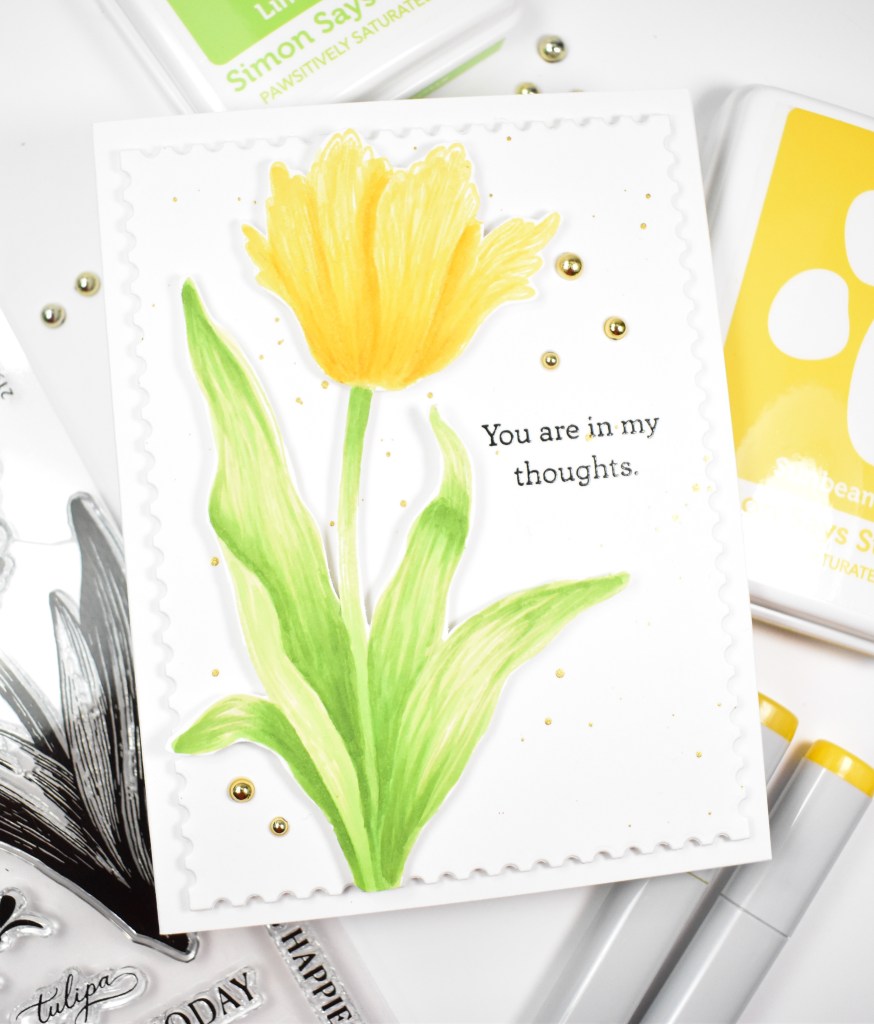
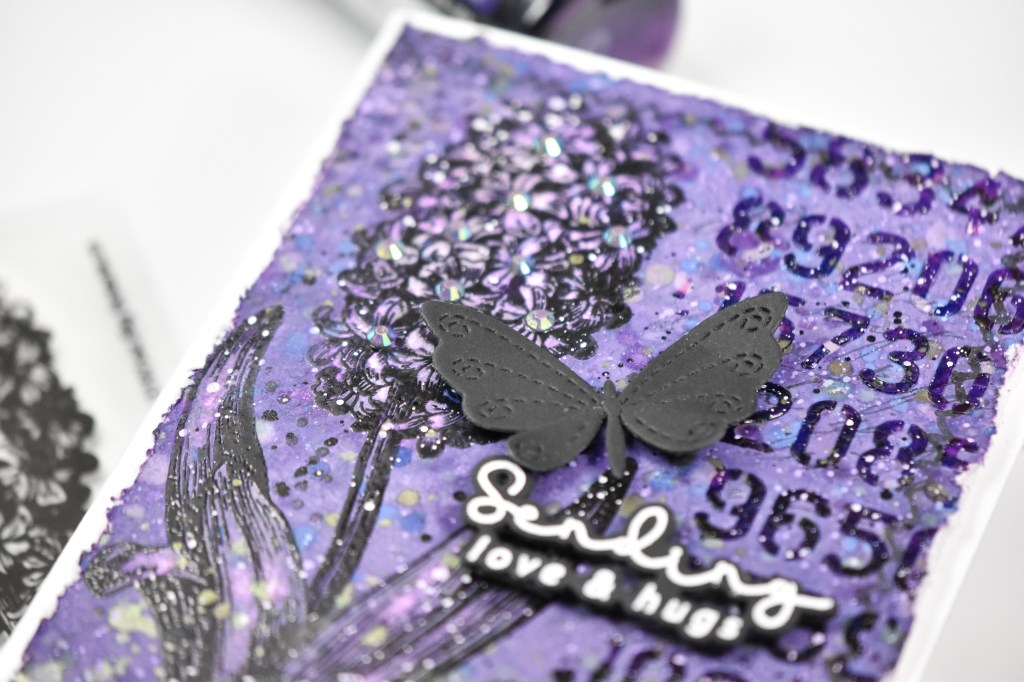
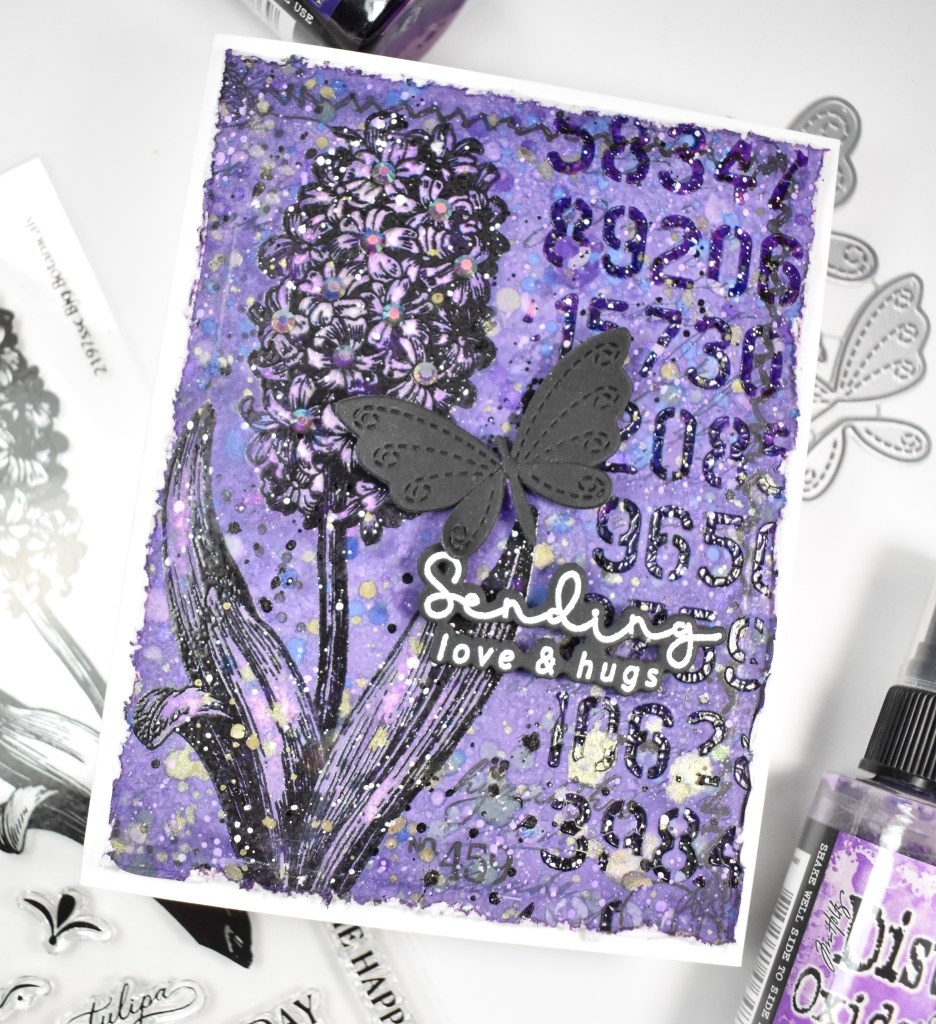
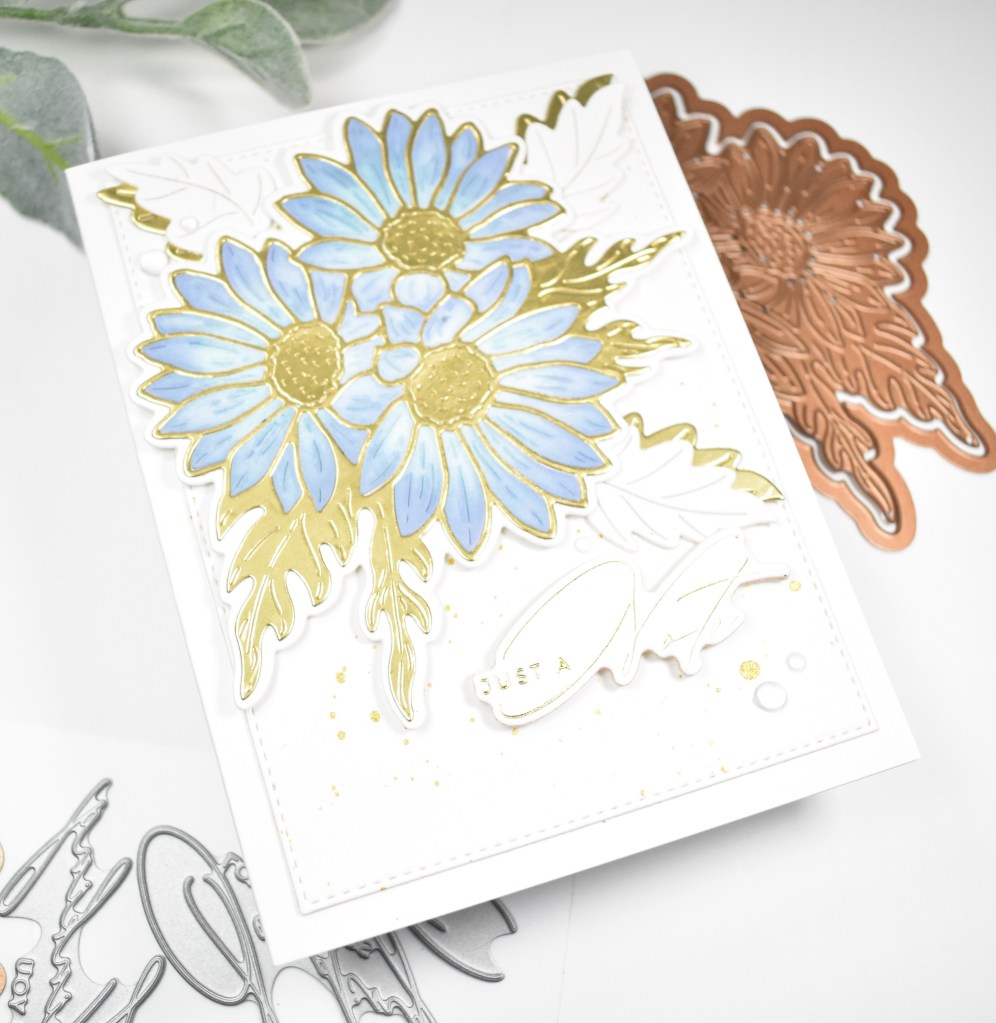
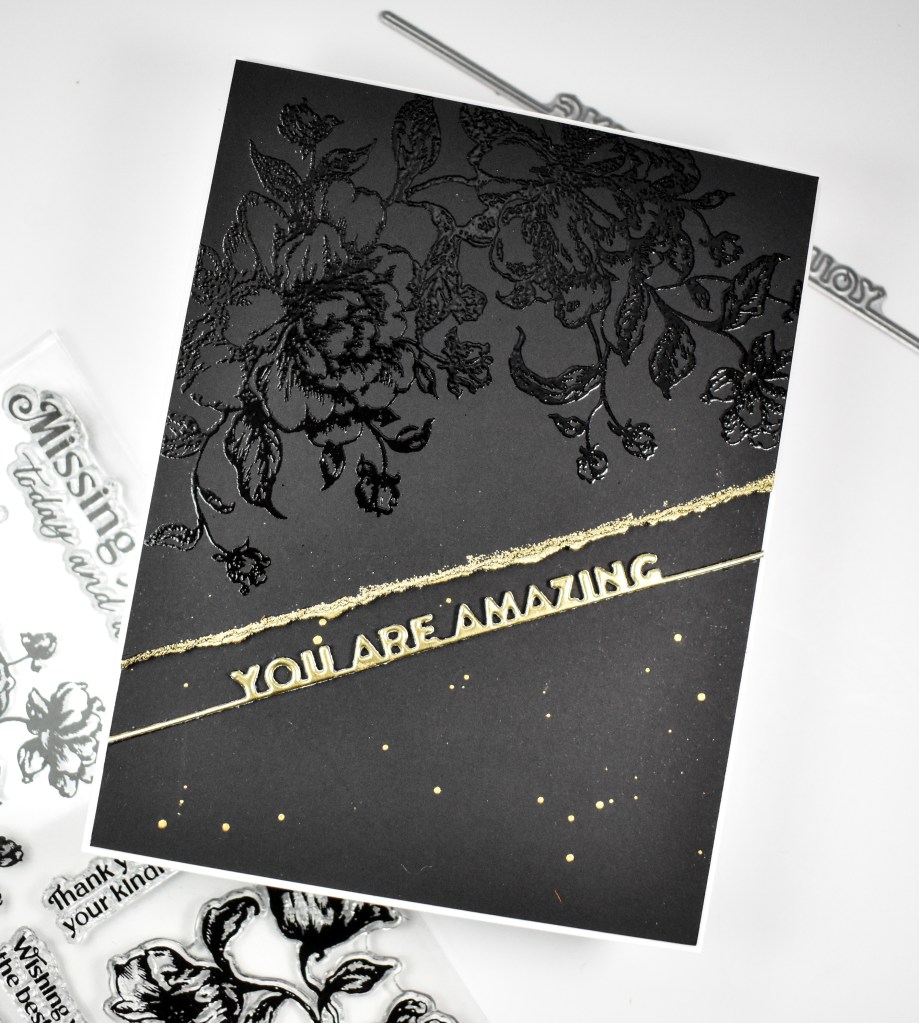
This Vintage Blooms stamp set has two larger floral images, and I decided to just use one of them on the corner of a black panel. I stamped the floral using VersaFine Onyx Black Ink and heat set it using Ranger Clear Embossing Powder. I then took a deckle edged ruler and ripped off the remaining portion of the panel.
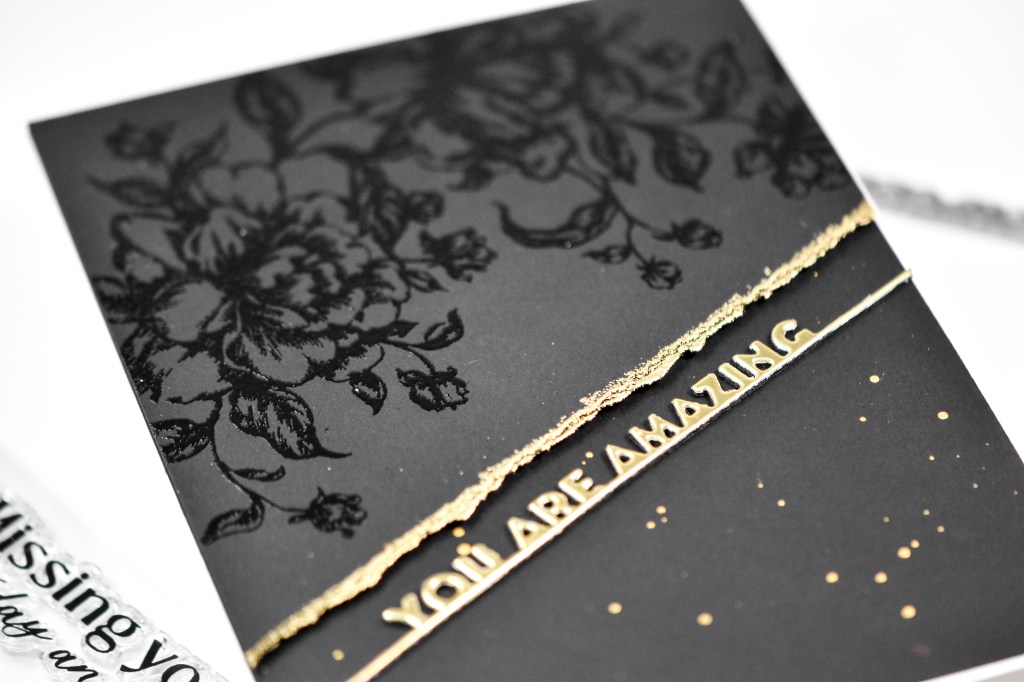
I wanted that rough edge to have some detail, so I rubbed the VersaMark Ink pad along the edge and heat set it using Ranger Princess Gold Embossing Powder. Before adhering the stamped panel to another black panel with foam tape, I gold splattered that for some additional interest.
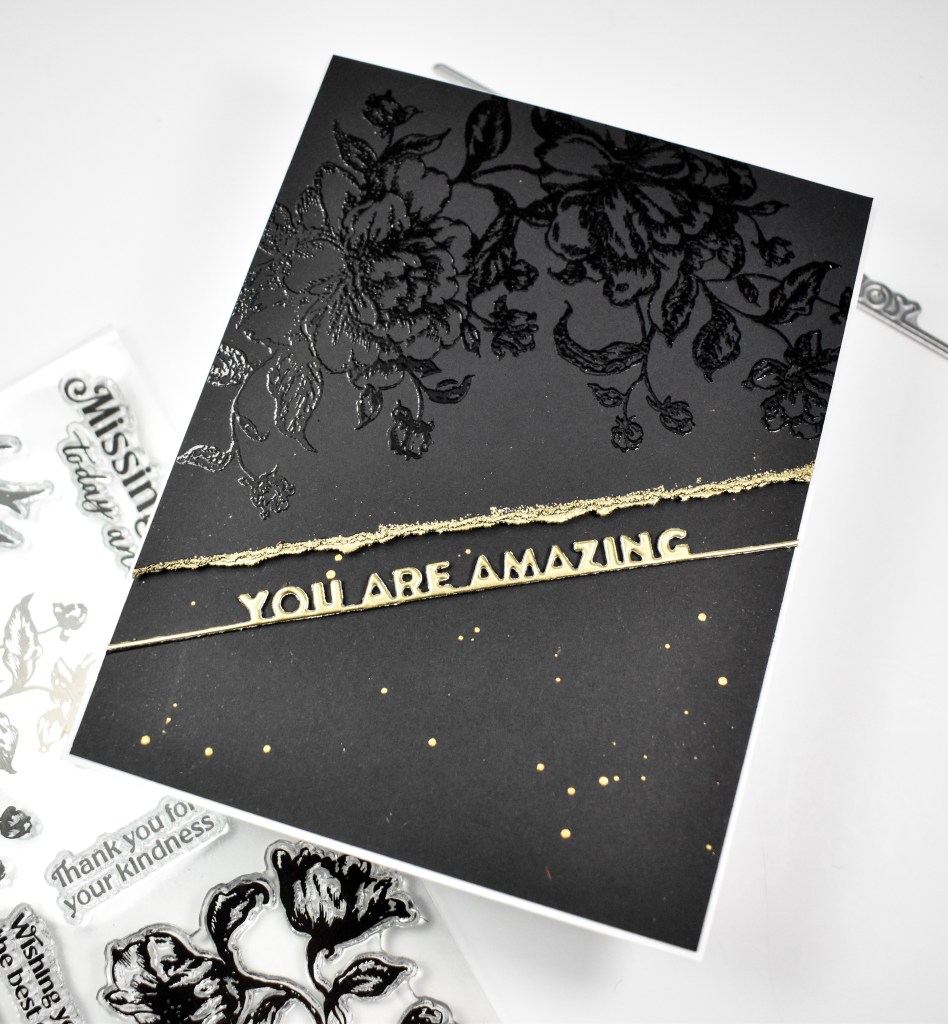
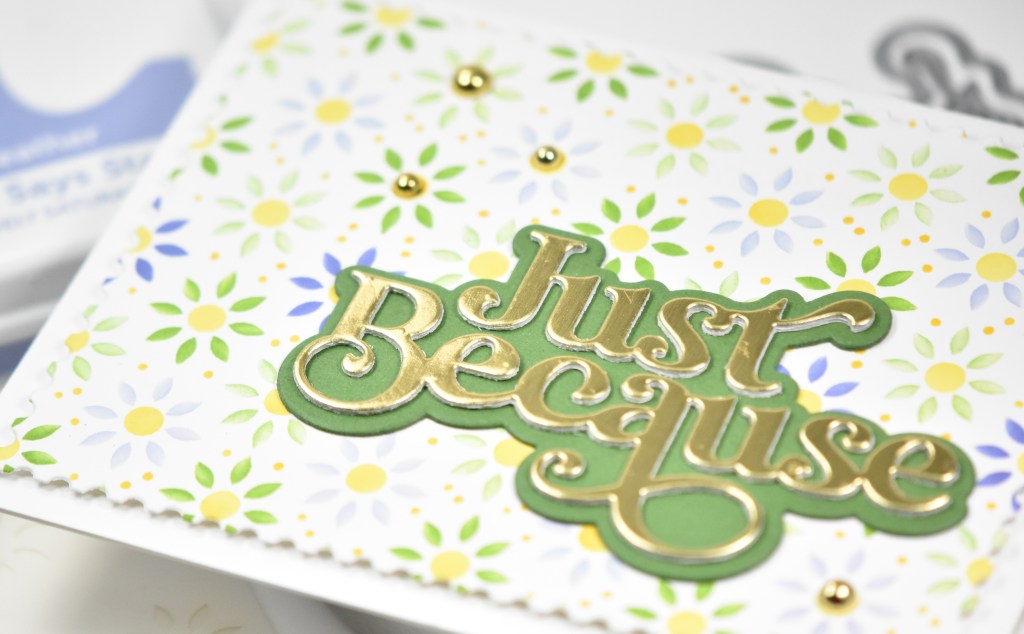
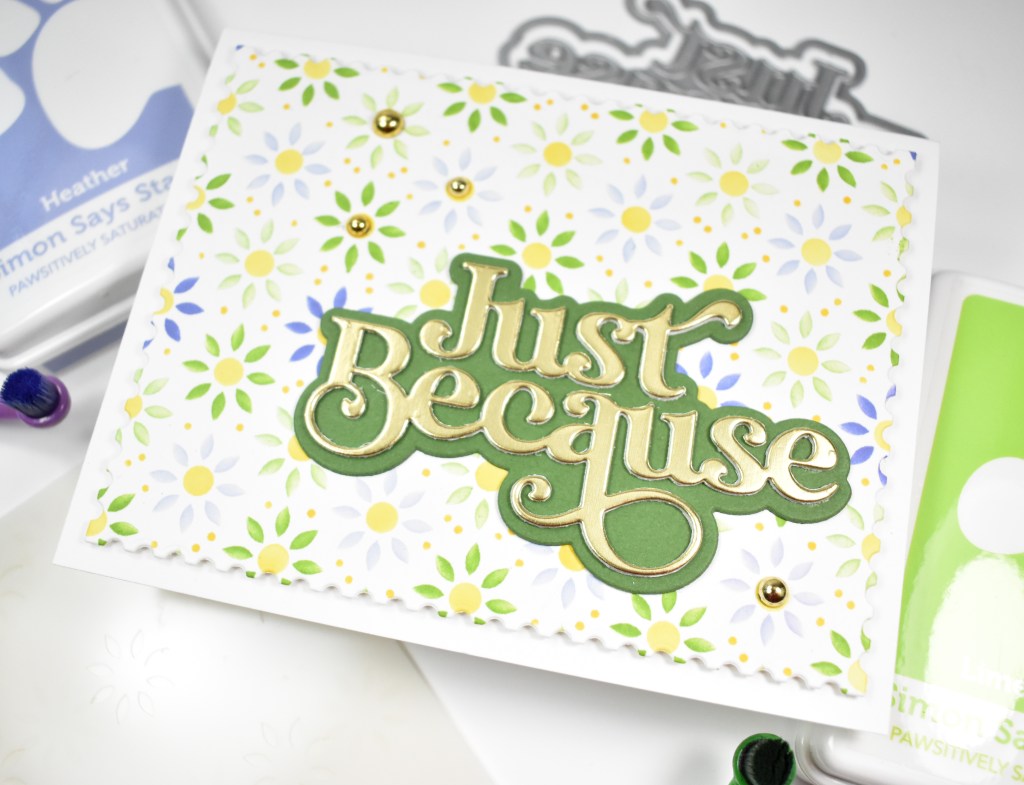
The sentiment is from a discontinued Simon set, but in looking on their website, Papertrey Ink has some similar items that would work great too. I die cut the sentiment once from gold cardstock and twice from black cardstock for a stacked sentiment and then glued that along the torn edge.

That does it for this project! A dark, clean and simple design! This design would be great for any occasion, but I also can see it as a wedding card as well. Don’t forget to check out the entire Moments In Time release over on Simon’s website. I hope you have an absolutely wonderful day!
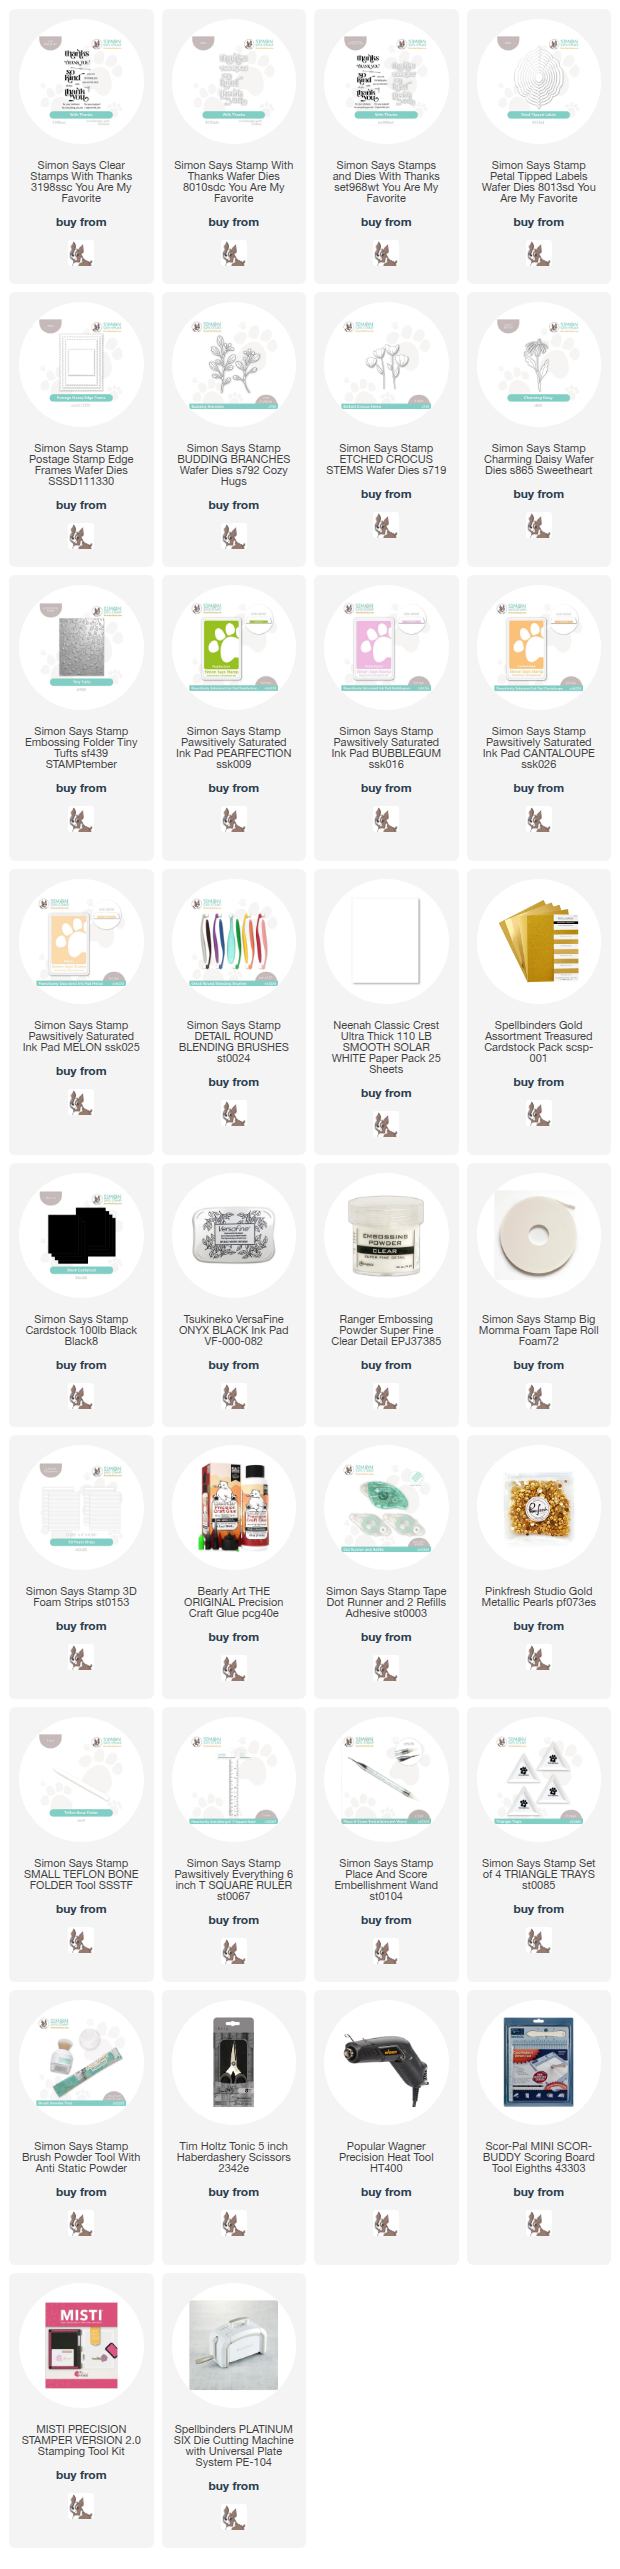
Supply List
Affiliate links used at no cost to you. What does this mean? If you use the links within this post to make a purchase, I receive a small commission, which allows me to continue to post crafty content for your enjoyment. I truly appreciate your support!
Latest Posts
- Simon Says Stamp Braided Greetings

- Together By Design Color Cube Floral

- Simon Says Stamp Cute Duckling

- Simon Says Stamp Watercolor Wild Rose

- Simon Says Stamp Striped Missing You

Latest Instagram Posts