Simon Says Stamp Rainbow Stacked Blooms

Hey there, Friends! Thanks for joining me! Today’s project is featuring the new Stacked Blooms Embossing Folder from Simon’s latest release, Rain or Shine. This was a super quick card, so let’s get to the details.

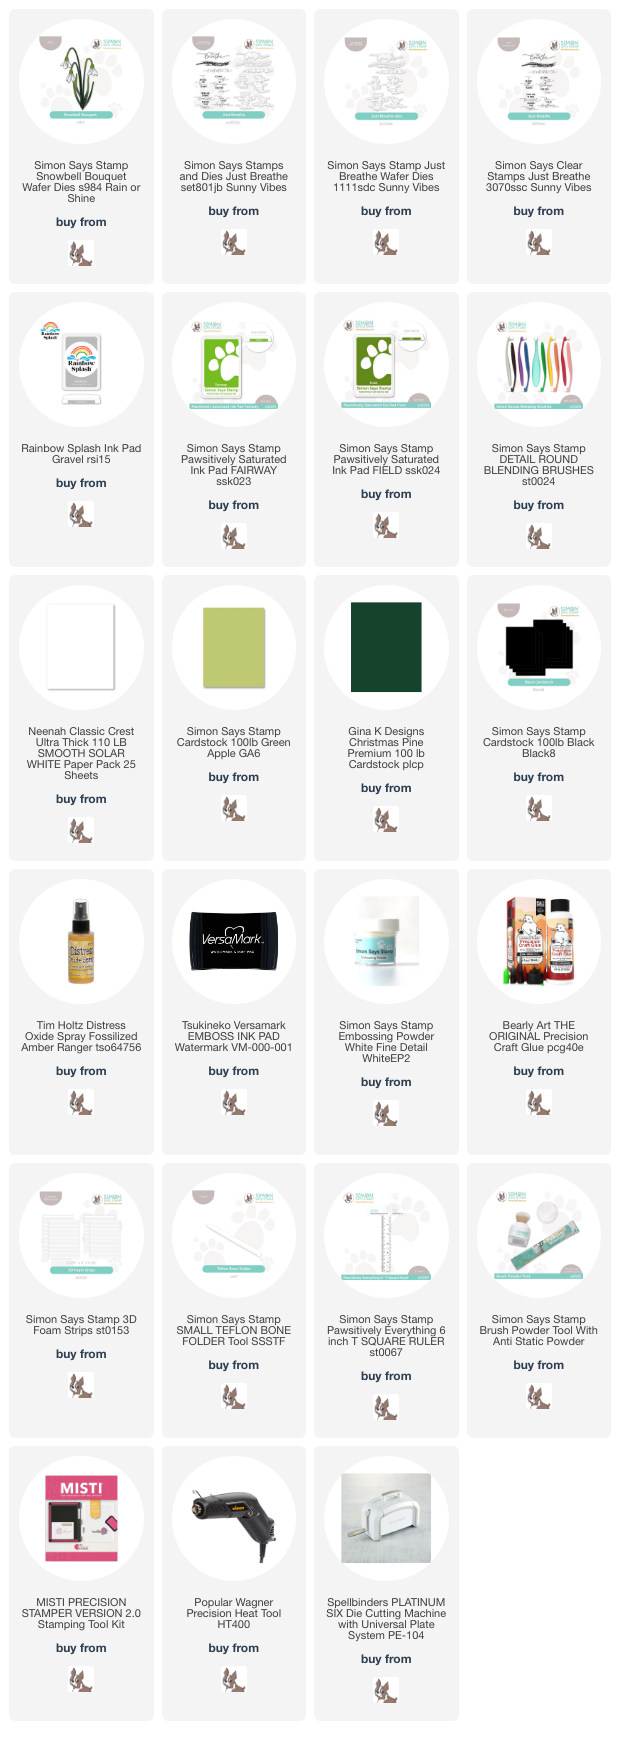
NOTE: all supplies are linked in the thumbnails at the end of this blog post.
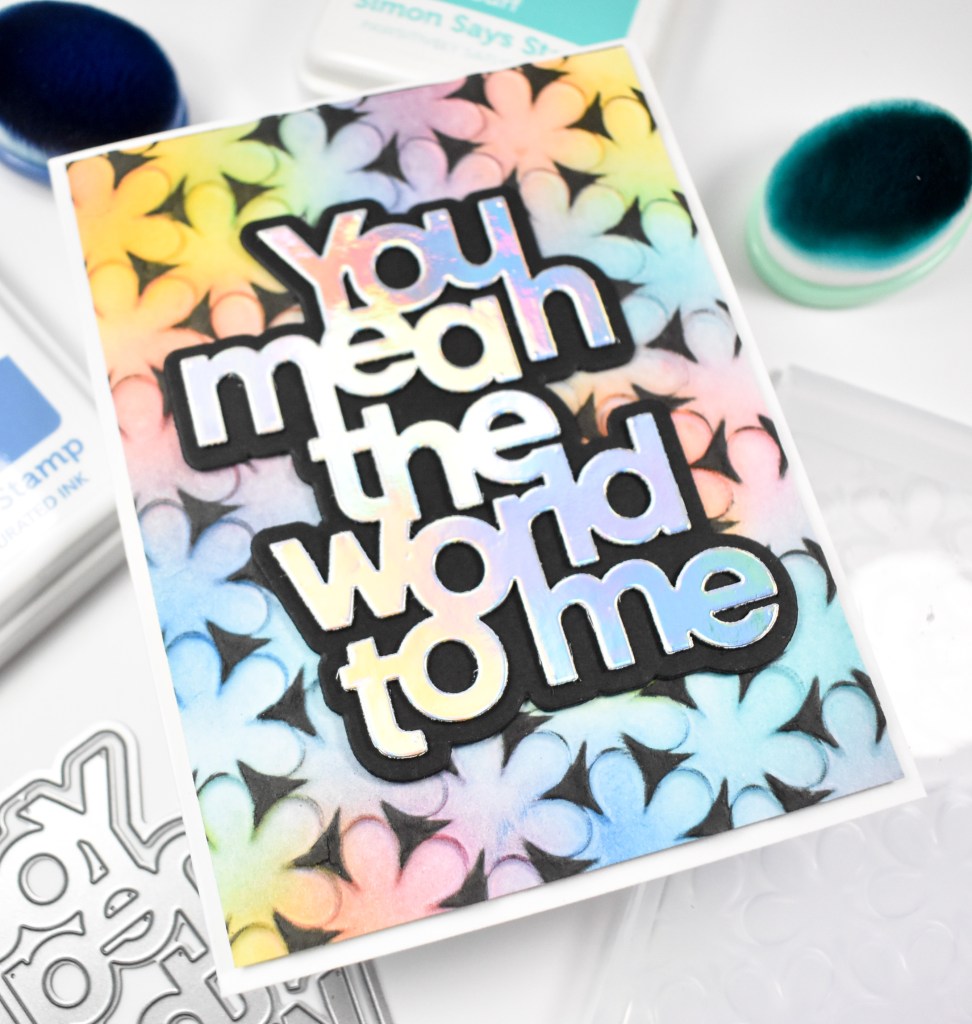
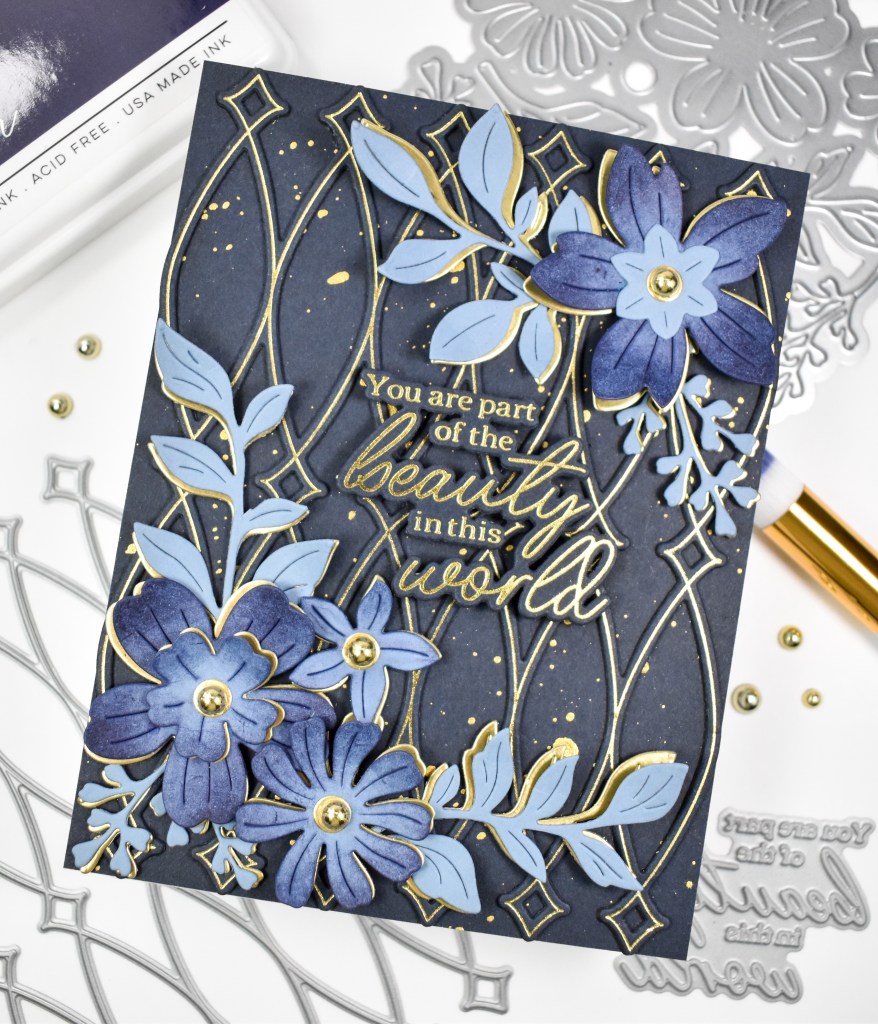
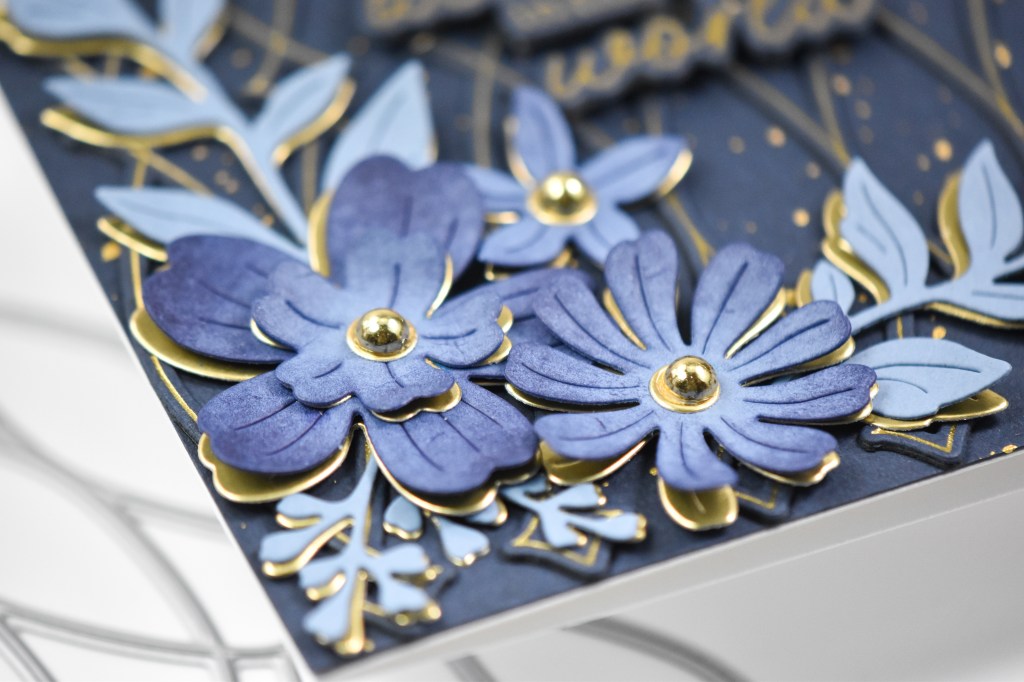
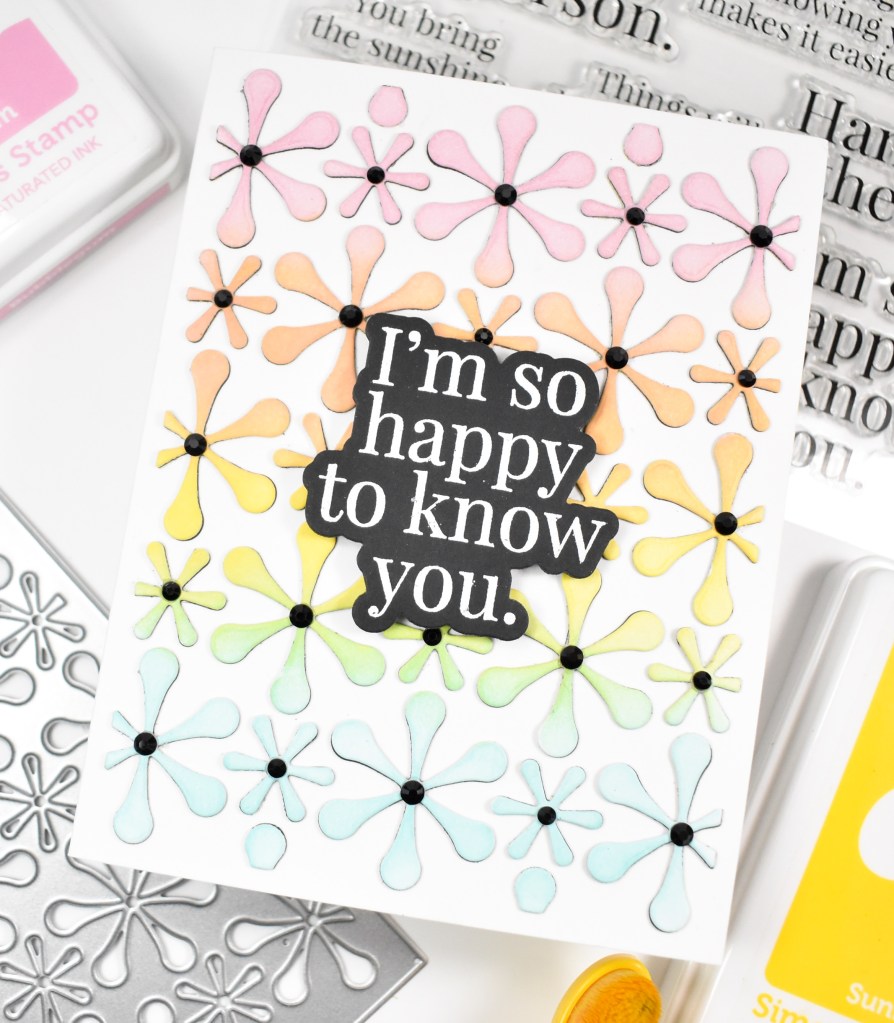
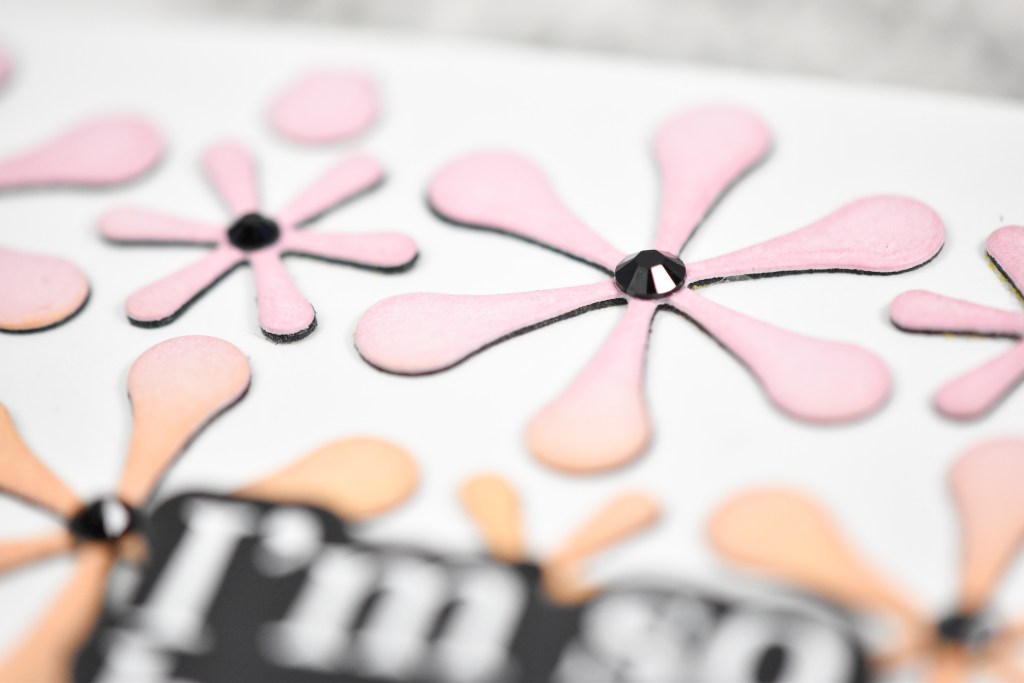
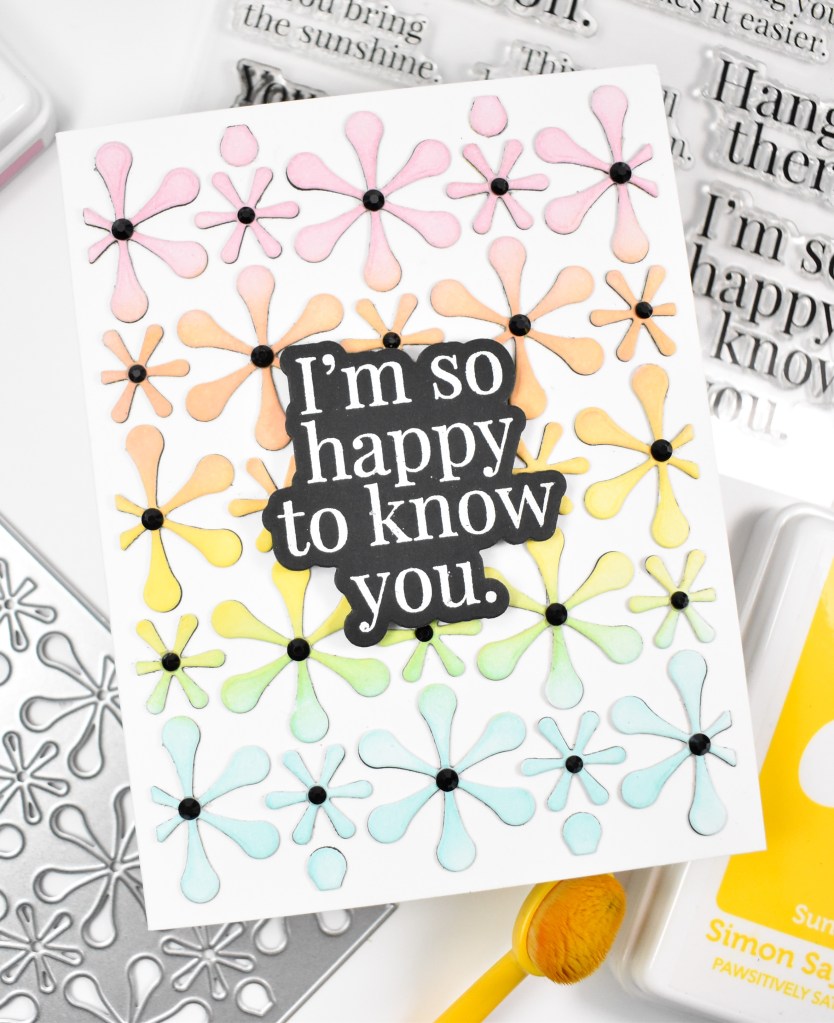
I began this project by embossing a panel of Neenah 110lb cardstock with the embossing folder and did some random ink blending on the debossed side of the panel using Carnation, Sunbeam, Surf and Cadette inks.

Once the ink blending was complete, I used my black Rainbow Splash ink pad and rubbed that on the raised portions of the panel to give this black-out feel. The You Mean The World to Me sentiment was cut once from holographic cardstock and twice from black cardstock. The shadow portion was also cut twice, and all of those pieces were adhered together using liquid glue.
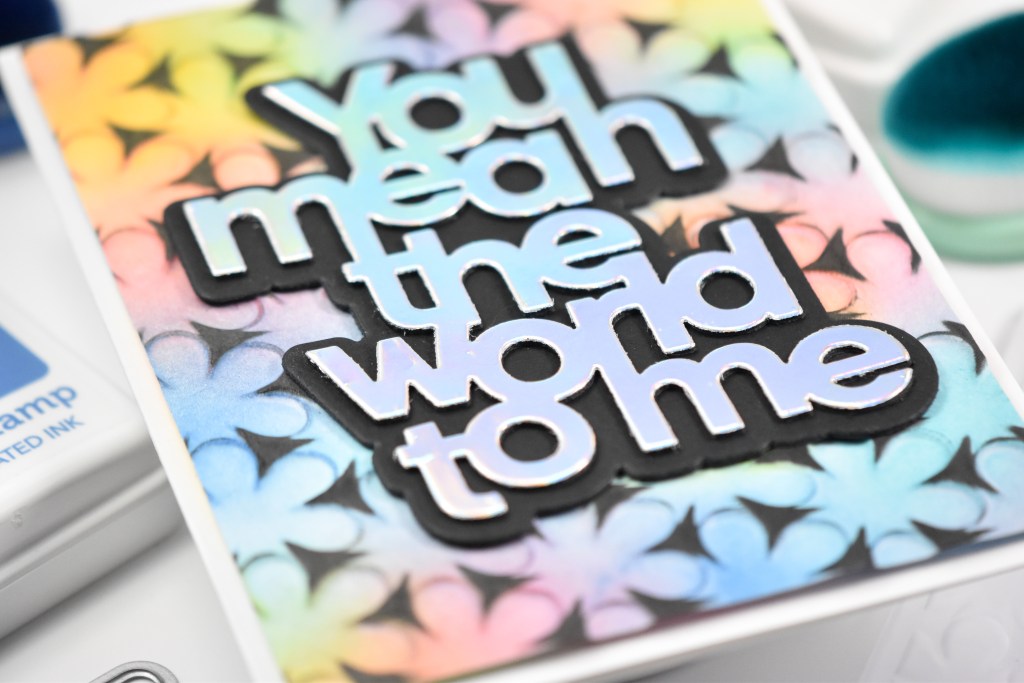

The panel was adhered to the card base using foam tape, while the sentiment was glued in place. I didn’t feel that this card needed any additional bling, which is weird for me!

That finishes up this project! Like I said, a super, simple one for today. Thanks again for joining me, and I hope you have a fabulous day!
Supply List
Affiliate links used at no cost to you. What does this mean? If you use the links within this post to make a purchase, I receive a small commission, which allows me to continue to post crafty content for your enjoyment. I truly appreciate your support!
Latest Posts
- Simon Says Stamp Braided Greetings

- Together By Design Color Cube Floral

- Simon Says Stamp Cute Duckling

- Simon Says Stamp Watercolor Wild Rose

- Simon Says Stamp Striped Missing You

Latest Instagram Posts